Think about a song with a robotic voice… there are thousands, right? That’s all thanks to the legendary Vocoder.
Interestingly enough, it was never even intended to be a musical effect at all, but now it can be manipulated in a multitude of ways to add a little something extra to your sessions, making it stand out.
Table of Contents
- A LITTLE HISTORY
- SINCE THEN
- WHAT IS A VOCODER?
- VOCODER PARAMETERS
- VOCODER vs AUTOTUNE
- TIP #1: HARMONIZE SURPRISE
- TIP #2: LET’S CHOP IT UP
- TIP #3: YOUR VOICE IS YOUR INSTRUMENT
- TIP #4: VOCODE YOUR CHORD PROGRESSION/MELODY
- TIP #5: GATED VOCODING
- TIP #6: USING VOCODER ON DRUMS
- TIP #7: DON’T CONFORM TO YOUR OWN FORMANTS!
- FINAL THOUGHT
A LITTLE HISTORY
The Vocoder was invented in 1938 by Homer Dudley at Bell Labs to synthesize human speech. It was intended to improve telecommunications, primarily to reduce the cost of long-distance calls by preserving bandwidth.
During World War Ⅱ, it was repurposed as an encryption tool to mask speech by the military and NASA. Several vocoder systems are even used today in NSA encryption systems as well.
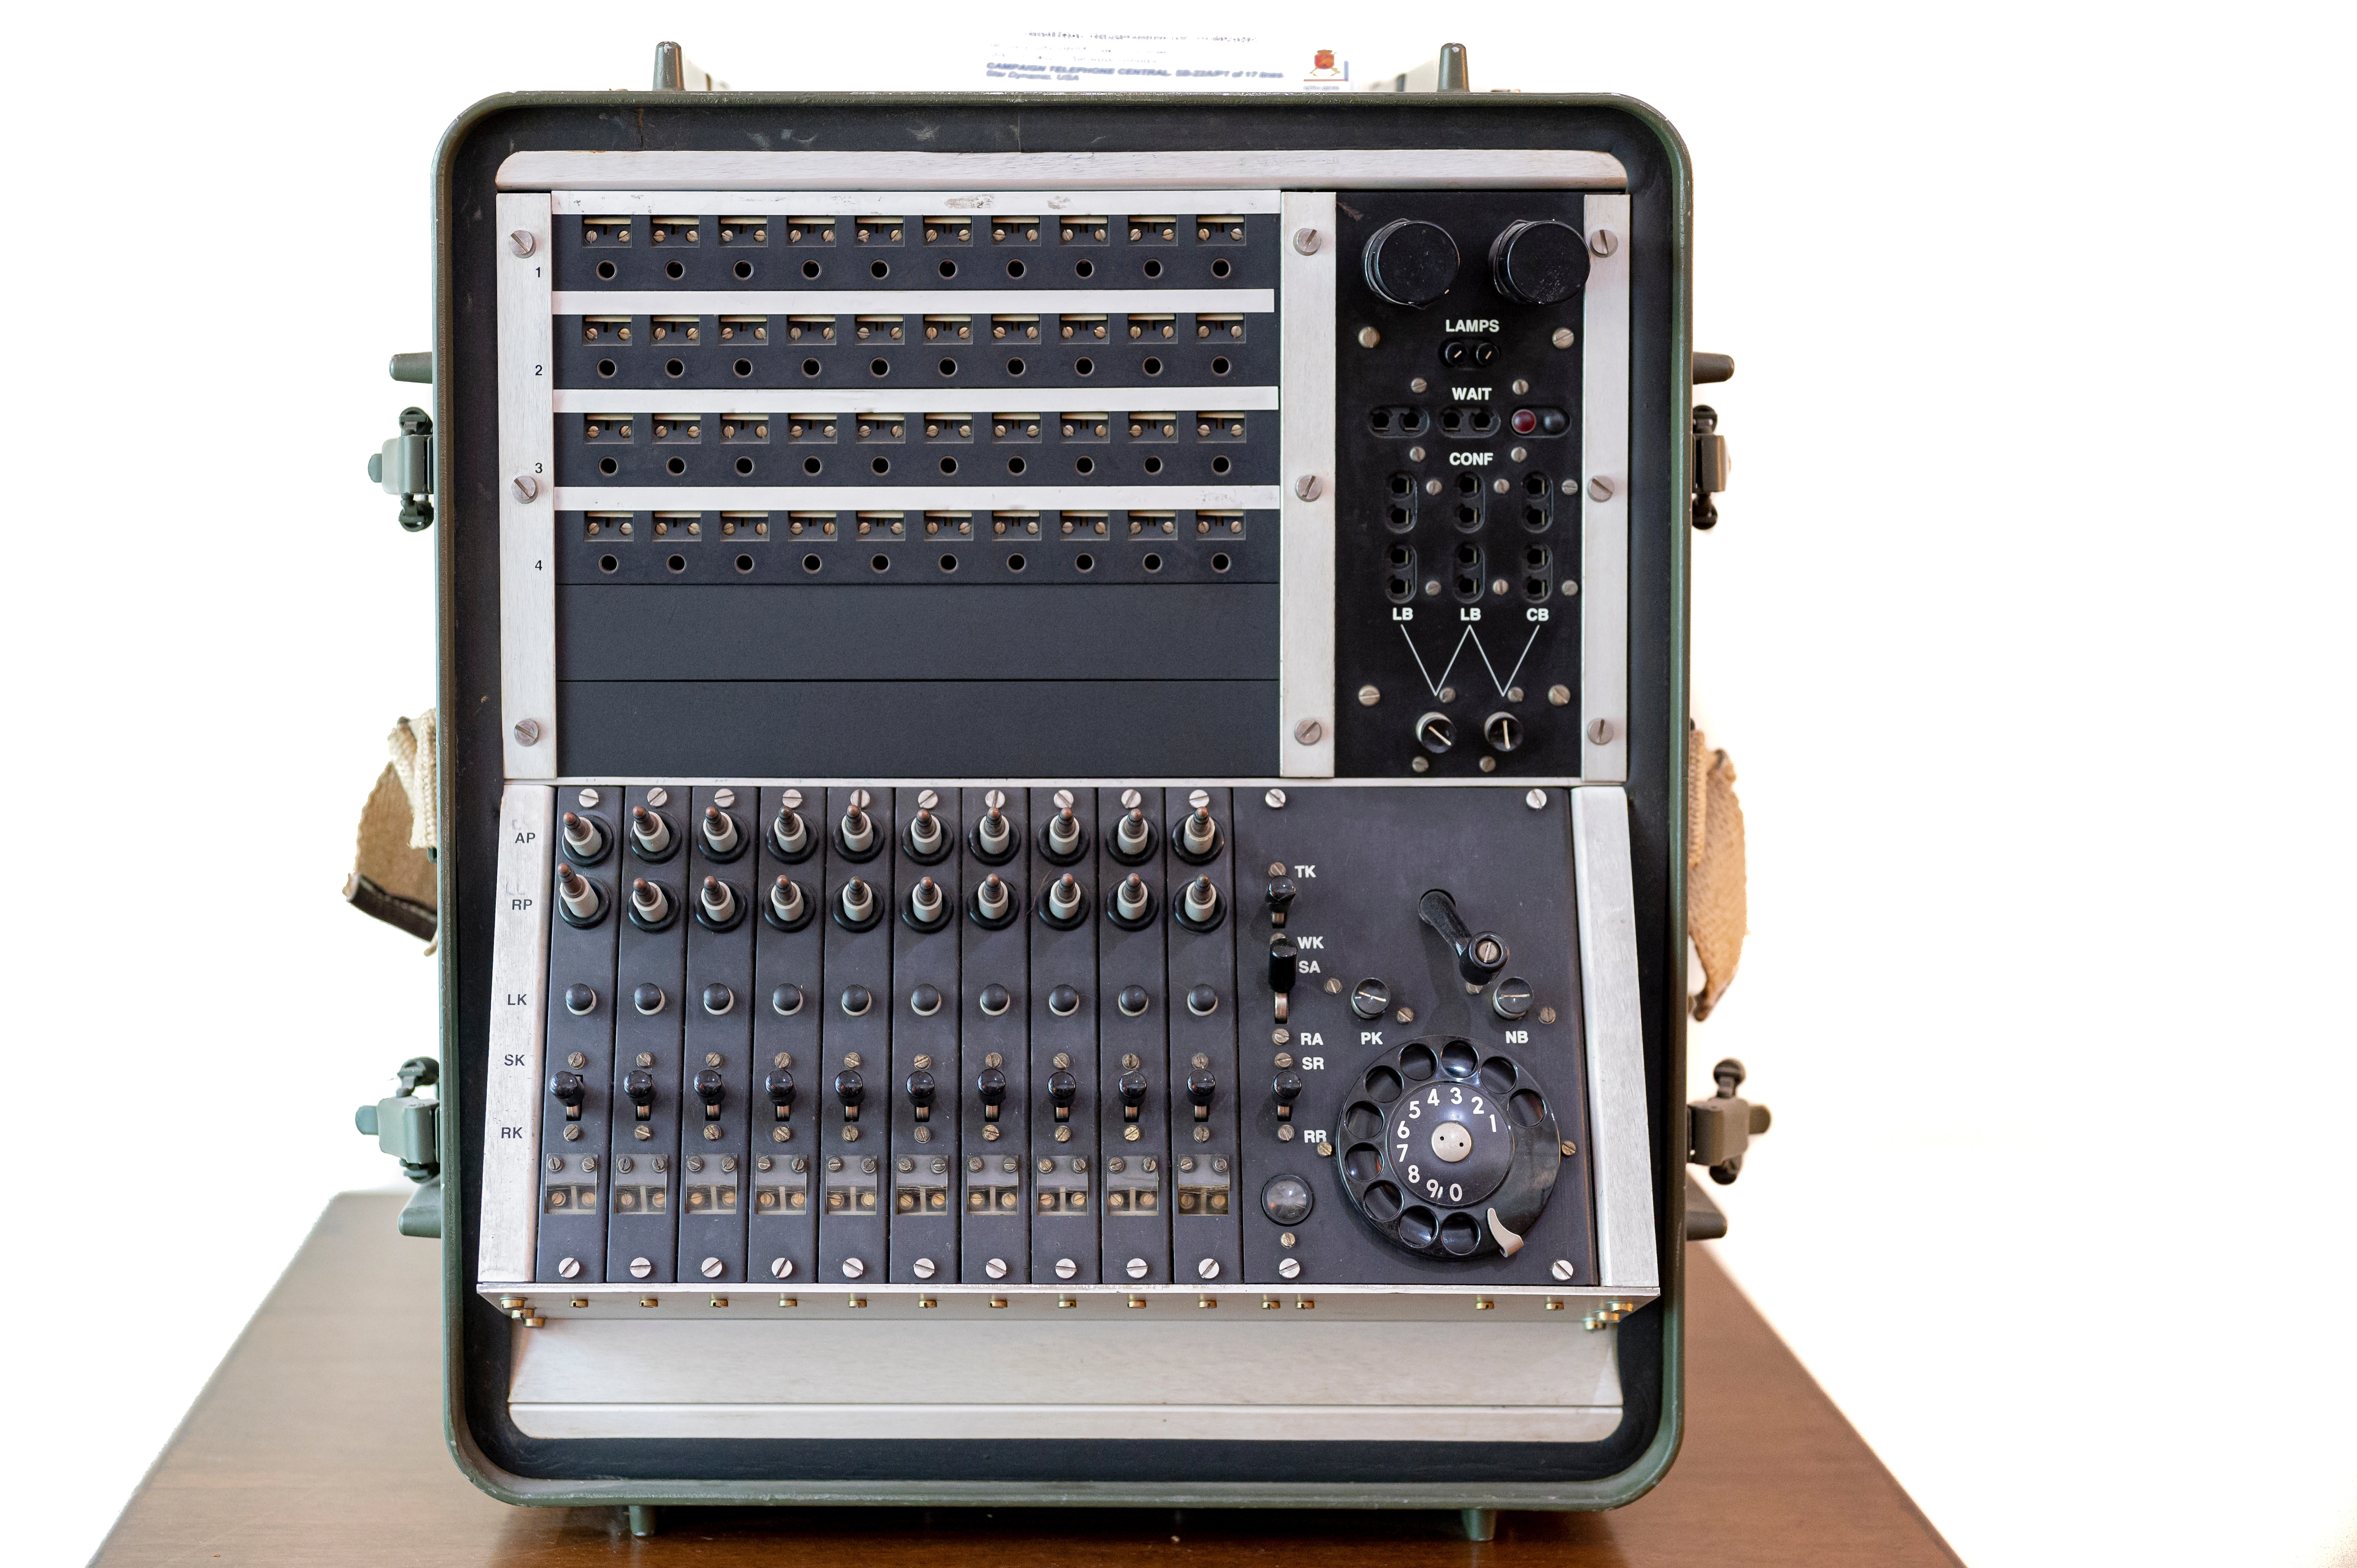
It is a category of Voice Codec (one of the first used on a commercial scale) that analyzes and synthesizes the human voice signal for audio data compression, voice encryption, and voice transformation.
It went from a military tool to a musical effect in 1971 when it was first introduced to the public, on the soundtrack of ‘A Clockwork Orange.’ People had absolutely no idea what it was they were hearing, and it intrigued them greatly.
By the 80s, the Vocoder became the voice of Electro Funk. Popular artists and groups (such as Kraftwerk and Zapp) started using it as a musical instrument, because of its ‘robotic’ properties. At the time, the sound was very futuristic and complemented the synthesizer beautifully.
≫ One of the first vocoders to be used in the music industry for vocal synthesis was invented by Robert Moog, the creator of the iconic Moog company, in 1968.
You were able to use your voice as a playable instrument by simply speaking into a mic, and playing the notes/chords you’d like the vocoder to output.
The results were legendary and pristine. It became synonymous with the pitch-based voice of a robot (or computer) throughout the film industry long before anyone had access to a physical one.
SINCE THEN
The vocoder has taken many forms, and the technology behind it has spawned some of the most important vocal processors ever: Pitch Correction.
This technique is the basis of many other familiar effects as well, such as:
- The Talkbox
- Stompbox
- Cross Synthesis
- The Auto-Tune effect
- Formant-shifting
- Harmonizers
- Doublers
- Vocoding itself
The sound caught like wildfire and has remained one of the most influential movements in music to this day. Although the vocoder is less prevalent in today’s more popular music (due to its successor: Autotune), its legacy will always remain.
WHAT IS A VOCODER?
A Vocoder is a cross between an instrument, vocal effect, and audio processor.
It allows you to impose the ever-changing dynamics and structural content of one signal (the Modulator) and resynthesizes it while imparting the Spectral Content of another audio signal (the Carrier).
This creates the distinctive sound we recognize today as Vocoding. If you have ever used (or tried to grasp the concept of) FM Synthesis, it follows the same basic principle.
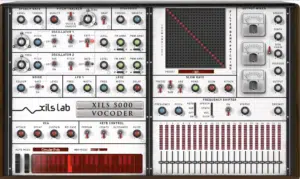
It works using a set of generators known as the Modulator and the Carrier:
- THE MODULATOR 一 The human voice (or any input, when used creatively), used for its dynamic and structural content. For example the words you say, without any identifiable characteristics, like the pitch and voice itself.
- THE CARRIER 一 The waves/signals the vocoder uses to ‘encode’ or generate the Spectral Content that’s applied to the voice itself. This ignores any dynamic or structural content that the signal may have. Used strictly for its spectral and harmonic content.
It takes the structure (not the Tonality) of what you’re saying and imparts the sonic characteristics of the carrier wave/signal; ignoring the pitch, timbre, and formants of the user’s vocals.
Originally, producers were restricted to the waveforms that were available and were forced to creatively trick the vocoder into using an audio signal other than what’s spoken into the (provided) Gooseneck Mic.
Luckily, with DSP and modern technology, you can now use any signal as the carrier and modulator.
≫ Whenever possible, try exchanging the voice for drums, like the ones found in the FREE Unison Essential Drum Loops.
Also, trade out the synthesizer waveform for white noise. This will create some unique, eccentric effects, sure to capture people’s attention.
IN SIMPLEST TERMS:
The vocoder takes your voice (the modulator) and splits up the harmonic content using a ‘bank’ of band-pass filters. Then, it’s sent through the carrier wave (the oscillator), replacing the harmonic content with the carrier’s timbre.
The modulator imparts what is spoken, and reproduces it into an entirely new instrument altogether, using the carrier as the voice’s ‘identity.’
To let the audio through and instruct the carrier-wave what pitches/notes it should generate its signal in, you play notes on a keyboard during this process.
Additionally, you have an Envelope Follower.
This enables the vocoder to ‘follow’ the carrier signal’s level/dynamics, along with the traditional VCA (or, ‘DCO’ in early hardware units), and let the signal through. Known as the ‘gate’ component of today’s Envelope; most commonly of the ADSR variety.
VOCODER PARAMETERS
Aside from the carrier and modulator, a variety of other parameters allow you to manipulate the characteristics of the vocoder’s sound. The following are the most common ones you’ll find within (most) modern-day versions.
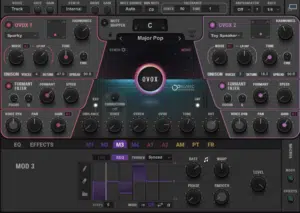
1. NUMBER OF BANDS
Determines the total amount of Filter bands applied to the carrier signal. Think of this number as the vocoder’s overall resolution. Sometimes this is fixed, others may offer dozens.
- A lower number 一 produces a more vintage, robotic sound, which can be hard to make out at times.
- Higher numbers 一 offer more ‘clarity’ detail but come at the expense of CPU utilization.
2. FREQUENCY RANGE
You can set an upper and lower frequency for the vocoder bands if supported. These will be divided across the number of bands available.
These parameters are beneficial in the tuning of filter bands and adjusting the vocoding effect’s details when using other instruments as modulators.
≫ The frequency-range Values pertain to the incoming signal.
The analyzed range goes into the Vocoder. This is, essentially, a side-chain that enables the vocoder to listen to the specified frequency range only. It is crucial when using signals other than your voice, like a drum loop.
The vocoder analyzes and resynthesizes the low-end (or lower-pitched) signals in a way that’s spotty, at best.
However, by specifying only the loop’s mid-and-upper range to be processed, you can prevent any interference of signals under 1K with the vocoder results.
3. BANDWIDTH
Controls the total width of each individual frequency band.
- Extremely low values 一 provide a sparkling, ‘crystalline’ texture to the vocoder output.
- Higher values provide 一 more ‘legible’ results.
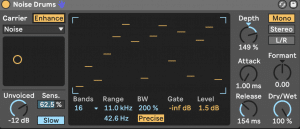
In Logic’s EVOC 20, it’s labeled ‘Formant Stretch.’ In Ableton Live, it’s simply ‘BW’ (above)
4. THE ENVELOPE FOLLOWER
Tracks how quickly the Vocoder (amongst other parameters) responds to dynamic changes in volume.
- Typically set to fairly quick response times when dealing with vocals.
- Longer times are ideal when craving more ‘impressionistic’ results or those more reminiscent of a musical instrument/soundscape.
The Envelope Follower and its associated parameters are handled internally. The basic Volume/AMP Envelope, along with any modulator-envelopes (with explicit controls) are of a specified design.
5. UNVOICED ELEMENTS (AND THEIR ASSOCIATED FILTERS/PARAMETERS)
When plosives and sibilants are not processed properly by the filter bank, intelligibility can suffer greatly. This is why you use a Pop Filter when recording.
If you were to say something like ‘pop’ (with a really quick Attack and emphasis on the ‘p’), it creates a type of distortion that the mic has trouble picking up properly. This is described as a Plosive.
Examples of troublesome plosives include: P, T, K, B, etc.
Another instance of this is called Simbilance. This includes ‘S’ (esses) or when you say something like ‘sssshushhh’ into the mic.
The results are usually very harsh on the ears and overall undesirable.
≫ In these situations, an additional Highpass (HP) Filter is the key. It blends in a small amount of treble content from the Modulator input, which emphasizes the constants.
≫ Some vocoders include a ‘Sensitivity’ parameter to further enhance this process. You can accentuate or de-emphasize the unvoiced components depending on the source signal and the effect you’re looking for.
NOTE: To learn all about the different types of filters, including HP, refer to our article on EQ, found here.
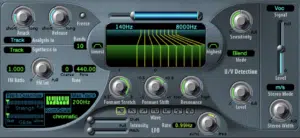
6. FORMANT SHIFTS
If you’re familiar with AutoTune or Melodyne, you’re aware that formant-shifting a vocal, in the most extreme of cases, results in Chipmunk (upward) or Darth Vader (downward) effects.
≫ ‘Formant’ does not refer to the pitch or frequency content of an affected signal, but rather its timbre.
In a vocoder’s case, the technique is applied to the filter-bands directly; shifting their ranges up or down across the Frequency Spectrum.
Reason’s vocoder (above) has this labeled simply as ‘Shift.’ Others may label it ‘Tone,’ or even base it on gender (male/female/child).
VOCODER vs AUTOTUNE
Most Pitch-Correction Processors, such as Melodyne (and Auto-tune itself), are achieved through a process known as ‘Phase Vocoding.’
The Vocoder and Autotune can both be used to produce an artificial timbre to a persons’ voice. However, they are very different in essence and obtain a wide variety of different effects, processes, and methods of achieving the desired pitch correction.
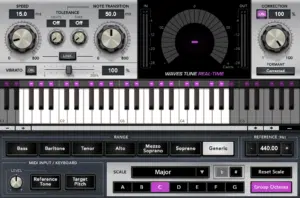
This can range from super natural to superhuman, and everything in between. The choice is yours.
- AUTO-TUNE
Originally developed as a Pitch-Correction tool that allowed singers to sound in-tune when performing, in a more natural way than the (very) few existing Hardware Processors at the time. Achieved by nudging the sung notes to be more in line with the selected scale (subtle to not-so-subtle).
Today it’s routinely applied in its real-time form, optimized for live performances. No one has the excuse of being off-key with this technology available.
Similar to penicillin, it was a happy accident that forever changed the course of modern music. The first song to feature it (in the form of a vocal effect) was the 1998 song ‘Believe,’ by Cher.
Another example would be when the natural variation of sustained (sung) notes is removed with Auto-Tune.
Instead of hearing the vibrato glide up and down between notes, the vocal was ‘hard tuned,’ allowing the notes to go back and forth instantaneously without a transition.
≫ One of my favorite songs which display Auto-tune in all its glory is ‘One More Time,’ by Daft Punk.
Although in 2009 Jay-Z claimed he would be the ‘Death of Auto-Tune’ it remains a super common (and often, clever) device in hip-hop now more than ever… especially by the supposed ‘killer’ himself.
- A VOCODER
Replaces the sound-generating section of your vocal tract (the vocal cords) with an electric oscillator (a synthesizer) and replaces your throat/mouth with a bank of bandpass filters (mentioned above).
The result is an entirely artificial, robotic sound, with the original vocal timbre removed completely.
≫ One of my favorite vocoded songs is ‘California Love,’ by Tupac ft. Dr. Dre & Roger Troutman.
Now that you have the gist of what a Vocoder is and how it works, let’s get to the fun part… how to creatively use it to make your track stand out!
TIP #1: HARMONIZE SURPRISE
Harmonizing your vocals is the most common way to use a vocoder. It has been applied to (pretty much) every genre imaginable. With Autotune on the rise, it could serve as a refreshing alternative your listeners will appreciate.
When using a vocoder for any vocal part, a hook or bridge, in particular, you have 3 options:
- Have it play front and center.
- Use the Hybrid approach.
- Take a ‘backseat’ role.
- TO HAVE IT PLAY FRONT & CENTER 一 Use the vocoder without a Parallel Vocal DRY, Pre-Vocoder, or with a mix-level at (or near) 100% (80%+) if using your MIX parameter. This will give you that classic ‘Roger Truman’ effect; having your voice replaced fully by the Vocoder.
- HYBRID APPROACH 一 Blend together the vocoded signal and the non-vocoded signal. They will play in parallel with each other. Or, use a MIX/Blend level in the 50% range. This will produce a pleasant blend (or, ‘cross’) of the original vocals and the vocoded version.
If it has a ‘MIX’ parameter, it’s not necessary to route the tracks in parallel, but it does allow for more control and easier manipulation.

- BACKSEAT 一 Take your original vocals and blend them (in parallel) with the vocoded signal, at a relatively low level. If using your MIX parameter: set it to a level anywhere below the 30% range. This is the most ‘subtle’ of the 3 vocoding approaches.
When using this approach, it’s best to have the vocal inserted intermittently as if it were being applied to doubles. If you want it playing consistently, increase the width of the track’s Stereo field using a Stereo Imager.
To take it one step further, use MONO tracks without a Stereo Imager to create some trippy stereo effects.
This is done by using (preferably) 2 duplicate signals, panned left to right, with different settings on each. It will produce a super trippy stereo effect.
NOW, SIMPLY PITCH YOUR VOCODED SIGNAL (FOR ALL 3 METHODS):
- Play/figure out the melody of your vocals
- Draw it into the piano roll (or use the ‘Convert-Audio-To-MIDI option, found on most popular DAWs; usually within the ‘advanced options’ menu)
- Feed a MIDI clip into the Vocoder’s MIDI input instead of playing it live. For simplicity’s sake, this is very beneficial.
DON’T FORGET TO have your DAW in ‘Playback’ mode for this trick. This remains true for (mostly) all vocoders to work and respond properly.
If you decide you’d like a harmony, take the ‘Input’ MIDI, duplicate the notes, and drag them either up 7 semitones, or down 5 semitones. This will give you the perfect fifth harmony… yes, like the group.
TIP #2: LET’S CHOP IT UP
You’ve undoubtedly h-h-heard (and probably love) this effect, and truth is, it’s pretty s-s-simple to accomplish.
The secret to this technique is to create/use your own sample to sample and chop up, but first, you must determine 1 of 2 things:
- If you want your chops to either be random, or semi-random words.
- If you would rather have sustained ‘hums’ (think of humming a melody) or consonants (oh’s, ah’s) strung together. Or even a combination of both, intermittently.
It’s best to record and create your vocal part once the direction of your instrumental is determined. This is because it’s beneficial to ensure all the notes you play are in-key since the pitch you sing is traditionally irrelevant.
- SUSTAINED HUMS 一 typically used as a backdrop (behind a hook), or as a melody (scattered throughout the song).
- CONSONANTS 一 typically used as a counter-melody (anywhere). Meaning, an entirely new melody that builds upon the original, to create depth and interest.
Remember, the vocoder doesn’t recognize pitch until you input MIDI.
However, if you have not yet started the ‘melodic’ composition, or plan to use this as the melodic backbone of your instrumental, you can create and lay down the vocals to help guide you in determining your scale. As well as the notes you will input into the vocoder.
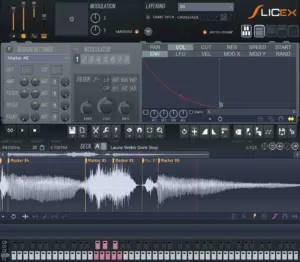
Now for the fun part: let’s get chopping!
STEP 1 一 Determine what your vocals will be composed of, as mentioned above.
STEP 2 一 Record them/lay them down.
This can be accomplished by either:
(A): Recording your vocals first, and separately feed the recorded vocal into the Vocoder; configuring/inputting the vocoder’s notes and melodies independently, or
(B): Recording the vocals and vocoder input simultaneously (more advanced).
NOTE: Leave very small moments of silence between words if you plan on having full (complete) words/consonants without it sounding cut-off; more slices, less choppy.
STEP 3 一 Lock-in and bounce the fully-vocoded and processed track. Light processing is advised, for now, the rest should be left for after the chops have been configured.
STEP 4 一 Take the bounced audio file and administer a split/slice for each individual word or syllable (dealer’s choice). Depending on how you recorded the vocals, this can even be noted visually.
STEP 5 一 If you want the vocals to sound super ‘chopped,’ simply crop each sample’s start and end time. You can always fine-tune this later, once the chops are in place.
STEP 6 一 Take your chops and implement them into the track as desired. You can choose to create a new set of lyrics, or a new melody, or even both! How you reorder them is up to you.
You can use pitch-shifting techniques to manipulate a few chops if needed.
Even if you have a pitch pre-recorded, manually repitching one note to conform to another will impart a ‘tonal’ character that otherwise couldn’t be obtained by using a note that wasn’t repitched.
Check out the following tip (below) and apply that technique to this one before loading the chops into a sampler; playing them as if you were using an MPC. The results are insane.
TIP #3: YOUR VOICE IS YOUR INSTRUMENT
This particular technique draws from the vocal-chops technique (above). It’s yet another opportunity to sample yourself, except this time you’re going to use it as a literal instrument. One you could even play, as you would any synth, instrument, or sampler if desired.
How cool is that?
STEP 1 一 Choose one (or multiple) phrases/consonants you’d like to be your instrumental’s backbone. You can record brand new ones, or use the samples from your vocal chops.
STEP 2 一 Take your recording and manipulate the vocoder and the vocals (both pre & post vocoder).
STEP 3 一 Now time to bounce. You can work these samples into your song.
NOTE: At times, words tend to get annoying as they loop through the song. Try recording and vocoding yourself humming or singing along with the melody.
BOUNCING OPTIONS:
(A): Take the sample and work it into your instrumental in your normal way; copy and paste it throughout your song on the timeline. If your goal is to create a melody, repitch the sample as needed.
(B): Load the sample into a Sampler to use as a typical MIDI instrument, and work it into your song that way.

When using this method, create a few alternative samples to either play ‘round robin’ style, or to trigger manually.
This will keep your listeners interested on a subconscious level, and help you to avoid making it sound like a 1-sample loop.
Each method has its own advantages and disadvantages. Which one you chose is entirely up to you. Experiment with them both, and decide which one you should use on a track-by-track basis. Never rule either one out.
Be cognizant of Time Stretching and Transposition. To avoid ‘artifacts,’ you shouldn’t transpose a note more than 7 or 8 semitones max. 2-4 is the sweet spot.
- TIME STRETCHING 一 The process of changing the speed or duration of an audio signal without affecting its pitch.
- TRANSPOSITION 一 The process/operation of moving a collection of notes (pitches or pitch classes) up or down in pitch by a constant interval.
- ARTIFACTS 一 Unwanted or accidental sonic material, resulting from the manipulation of a sound.
TIP #4: VOCODE YOUR CHORD PROGRESSION/MELODY
The coolest part about this trick is you’re able to take one, single word (a sustained ‘ahhhhh’ or ‘ohmmmm’ for example) at one pitch, and loop it to create an entire melody or chord progression.
You can also use it to replace your existing instrument-voicing.
- INSTRUMENT VOICING 一 The instrument/generator used to play that melody or chord progression (a synth, for example).
When it comes to Vocoders, the pitch you sing is irrelevant. Output pitch is determined only by the notes being played/sustained, or the ones that were pre-programmed, as opposed to the pitch you’re speaking into the vocoder’s mic.
So, with three easy steps, you’re able to successfully use a vocoder as a full-blown instrument:
- Take your MIDI and route it through your Vocoder.
- Take your audio-input track, whether it’s pre-recorded or live input from your mic, and lay it down (record it).
- Set the parameters to your heart’s content.
Simple, yet super effective and intriguing!
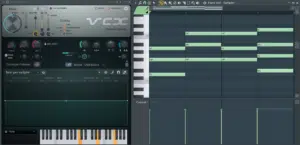
NOTE: Almost all modern Vocoder implementations (in plugin form) allow you to side-chain your modulator signal, vocals, or any audio signals from any track/file. You can pre-record it, and really get hands-on when it comes to parameters.
TIP #5: GATED VOCODING
You’ve all heard this effect in some form or fashion. It produces a ‘glitchy’ effect, or can even be applied methodically; turning the signal itself into a rhythmic element.
You can even include a little bit of both. Whichever way you choose to implement it, the process remains the same:
STEP 1 一 Take your vocoded signal and bounce the vocoder’s output. Or, repeat the steps above so you have the vocoded signal at the ready.
STEP 2 一 Enable the automation for the bounced file’s ‘clip gain.’
≫ Automating anything other than the bounced signal’s clip-gain will make certain aspects of the volume impossible to manipulate or tweak after the fact.
STEP 3 一 Determine how you’d like this effect to sound (glitchy or rhythmic), as well as where it will take place. Should it be the entire time, or just certain sections and/or transitions?
STEP 4 一 Draw what you hear. This step can be tedious (depending on the DAW you’re using), but all the drawing and tweaking will be well worth the effort.
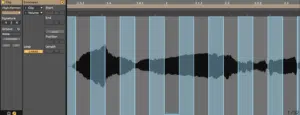
Always check your DAW’s documentation. Some of them offer a multitude of shapes and features. This will shorten the process considerably.
TIP #6: USING VOCODER ON DRUMS
This technique is not only the easiest but the most sonically unique example of what a vocoder is truly capable of. As long as you know how to use one, there are no additional steps, per se, just a simple exchange of modulation signals.
Simply apply the steps from tip #4, and swap out the modulator signal (your voice) for a drum/percussion track or loop.
Once that’s all sorted out, load up your favorite preset and tweak the vocoder (if desired). From there, let the vocoder do its magic!
The settings required to get the most out of this technique will most likely be drastically different from those applied to vocals or standard presets. But, with a little adjusting and a lot of patience, you will no doubt master (and love) this trick.
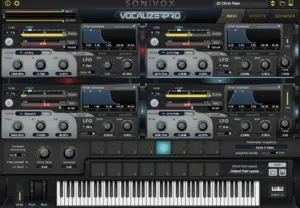
Some vocoders, such as the more modern digital options are ideal candidates for this process. They even come equipped with presets and, sometimes, even modulators intended for drums and other external instruments/sources.
This technique can be done with any instrument or external input, but it truly shines when using drums as the modulator.
TIP #7: DON’T CONFORM TO YOUR OWN FORMANTS!
This technique is what I like to call The Mashup. It’s when you take all the aforementioned tricks, tips, and techniques and apply them for an insane outcome.
It produces professional, profound vocal effects. Using it along with a vocoder only makes things stranger, in the best possible way.
NOTE: You can use anything related to creative vocal applications as well. Picture when you hear someone’s voice on a track that sounds like a monster to get a better feel of this method…
≫ Technically the pitch is not any lower, by the formants are. You can create a wide range of effects, from subtle to extreme, trippy to pronounced: it’s all in your hands.
≫ Also, it won’t affect the speed of your original signal as you increase or decrease the formant ‘value,’ which is a plus.
- See if your Vocoder has any additional Formant parameters. Even if it does, it’s best to use a specialized Pitch and Formant plugin, one of the ‘creative’ varieties.
- Decide if you want the effect to be random or methodic. Either way, there should not be static, so automation is key. If your plugin has an internal Envelope/LFO or Modulation System, that works as well, as long as it suits your needs.
- Determine where exactly you’d like these effects to occur, and how drastic your pitch alterations will be.
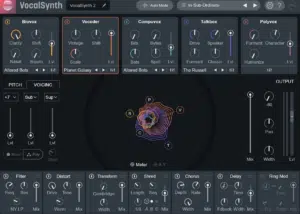
BONUS: Apply the ‘Gate’ tip above to make a few words stutter.
Now, either lower or raise the formants; producing the ultimate ‘robot’ glitching effect without any compromises (or intrusive artifacts) from pitch-shifting the existing audio!
FINAL THOUGHT
AutoTune is the Vocoder’s successor, yes, but that doesn’t mean it is superior in any way.
It gives listener’s a refreshingly unique experience and provides something AutoTune cannot: full control over the output pitch; making it an instrument in and of itself, not an effect.
So next time you’re not quite sure what to do with a vocal element, throw on a Vocoder and see where it takes you. The results will be magical.
However, the vocals are only half the battle, you’re going to need MIDI to go with it…
Check out the FREE Unison Essential Advanced MIDI Chord Progressions pack for the fastest, easiest, and most professional way to get your creative juices flowing. You won’t regret it.
Until next time…


