Gated reverb is all about tight control, massive punch, and that unforgettable sound that cuts off in just the right way.
It can help you add weight to your snare, space to your synths, and power to your drums — all while keeping your mix clean.
Plus, it has the ability to create super punchy effects and dramatic transitions like nothing else, for real.
As producers, knowing all the best techniques when it comes to gated reverb is invaluable 一 that’s exactly why I’m breaking down everything you need to know, like:
- How gated reverb actually works ✓
- The exact controls that shape the sound ✓
- How to mix it with your snare drum ✓
- Where to place it in your channel chain ✓
- Why it still matters in modern music production ✓
- Which plug-in works best for gated reverb ✓
- How to shape your reverb tail with a noise gate ✓
- Advanced automation tricks for gated reverb ✓
- Techniques for vocals, drums, and other instruments ✓
- Super interesting effects you can achieve ✓
- Much more about gated reverb ✓
By knowing (and mastering) different gated reverb techniques, you’ll be able to transform your tracks and level up your drum sound like an absolute boss.
This way, your tracks will punch through the mix all day and help you leave space for everything else 一 making sure they sound super professional.
And you’ll never have to worry about your snare sounding weak or your reverb tail bleeding into the next section ever again.
Table of Contents
- What is Gated Reverb & Why Does it Matter?
- The Key Breakdown Behind Gated Reverb
- Essential Tools/Plugins for Gated Reverb in Your DAW
- Step-by-Step: How to Create Gated Reverb from Scratch
- When and Why to Use Gated Reverb in a Track
- Gated Reverb Techniques for Different Instruments/Sounds
- My Favorite Automation Tricks That Bring Gated Reverb to Life All Day
- Sound Design with Gated Reverb (Advanced)
- Resampling Gated Reverb for Custom FX Sounds
- Reversing or Time-Stretching Gated Tails
- Bitcrushing or Distorting the Gated Reverb Return
- Multi-Band Gated Reverb for Precision
- Sidechaining the Gate to a Ghost Trigger
- Using LFOs to Animate Gated Reverb Parameters
- Reverse Gated Reverb as a Vocal Pre-Effect
- Compressing the Gated Verb Return for Sustain Punch
- Pro Tip: How to Avoid Common Mistakes with Gated Reverb
- Final Thoughts
What is Gated Reverb & Why Does it Matter?
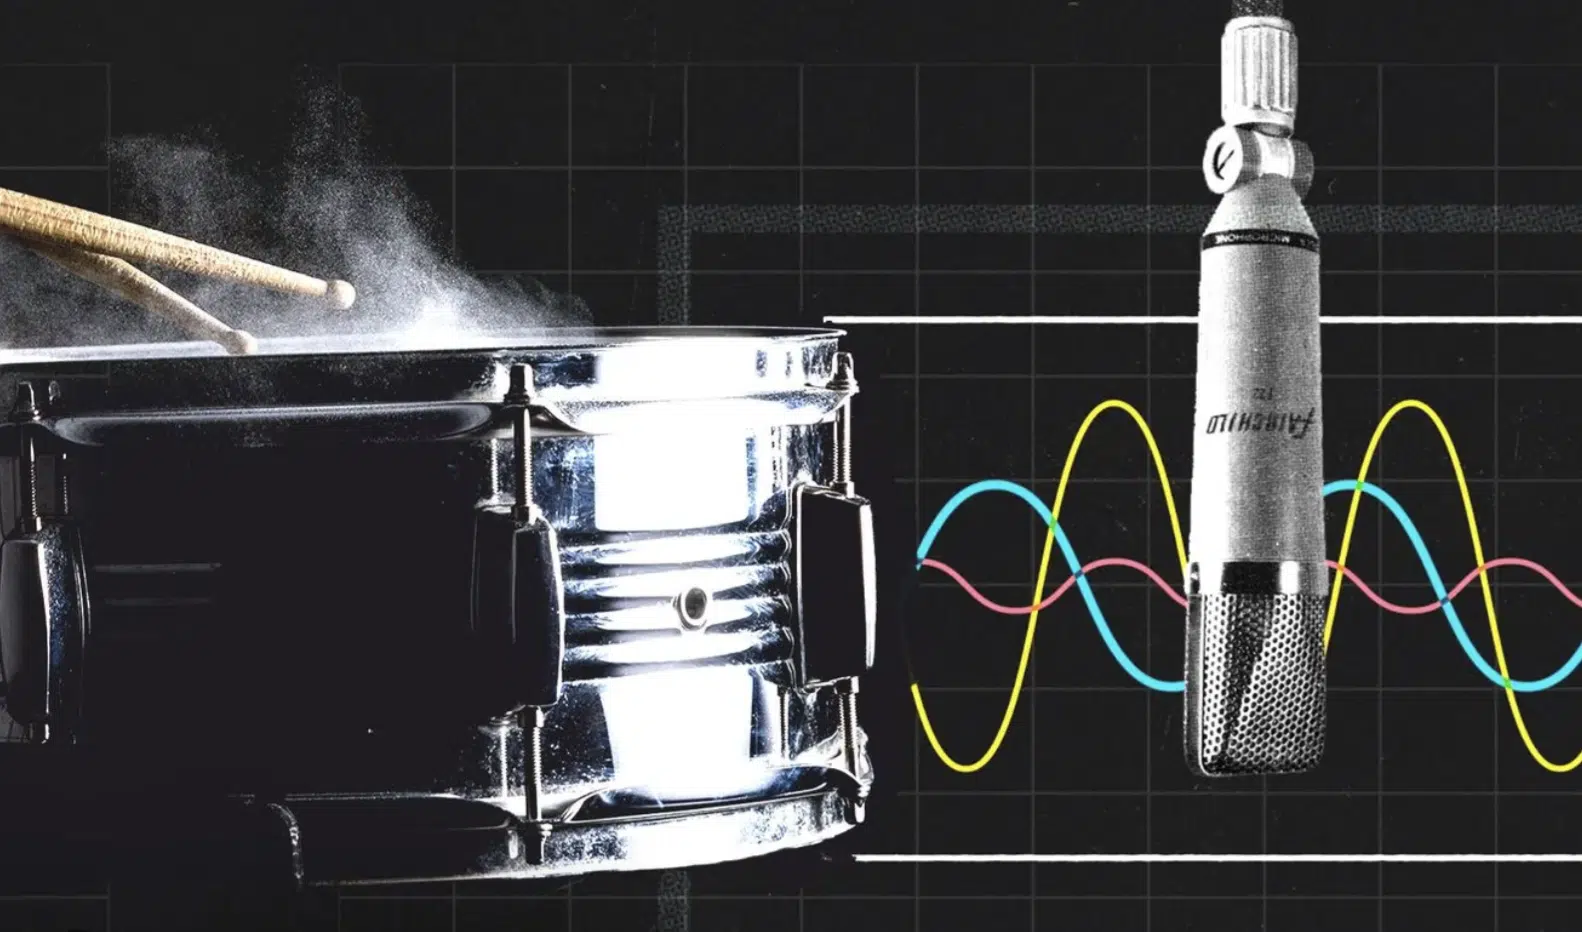
Gated reverb is a reverb effect where the reverb tail is suddenly cut short using a noise gate.
This gives you a super controlled yet explosive sound that doesn’t spill over into the next transient (which is key).
This technique became iconic by Phil Collins in the 1980s, specifically in “In the Air Tonight,”
It happened when a talkback mic in a very live room was accidentally routed through a gate and a compressor 一 giving us that signature snare drum sound we’ve all heard.
But what makes gated reverb still so relevant is how it allows us to create impact while keeping the mix tight, especially when layering drums.
It gives you the ability to make the snare or kick pop, without muddying up the overall mix.
This is exactly what we want when we’re working with stacked drum kits, sampled room mics, or even digital reverb plugins.
Don’t worry if it sounds a little confusing right now, because I’ll be breaking down everything you need to know (in detail) so you have a super solid understanding.
The Key Breakdown Behind Gated Reverb
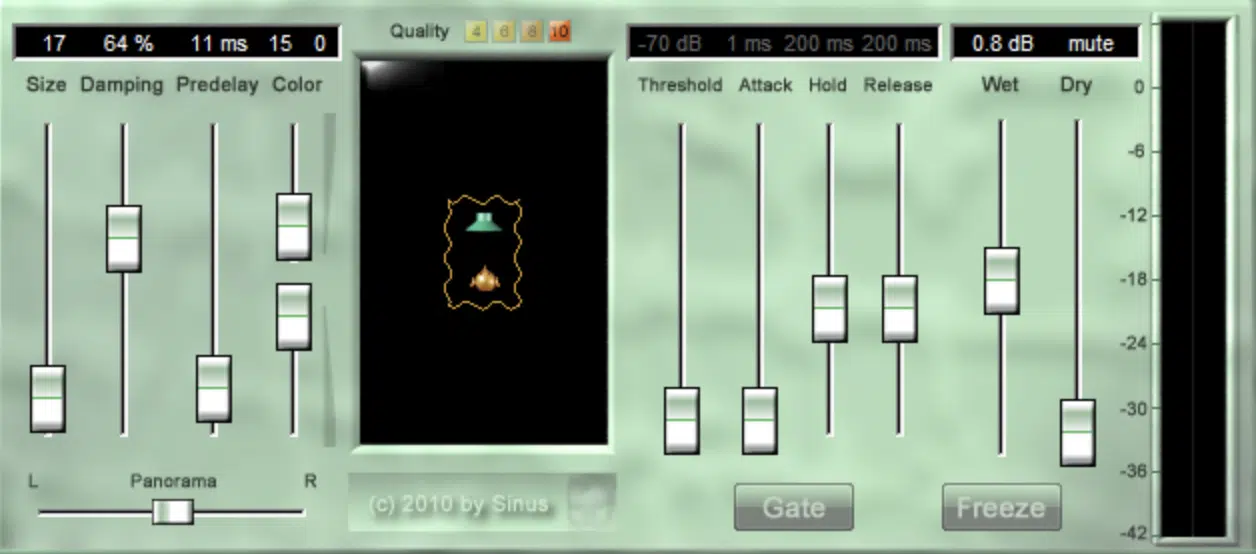
Gated reverb is all about the interaction between three elements:
- The reverb
- The gate
- How they shape the reverb tail together
It all starts with a long reverb sound, and then a gate cuts it off at a specific threshold.
Most of the time, producers/musicians set the pre-delay between 30ms and 100ms, the reverb time around 1.5–2 seconds, and the gate hold just long enough to let the snare breathe before it slams shut.
Usually around 250–400ms 一 depending on the tempo and drum sound.
By dialing in your attack and release times on the gate, you’re literally sculpting the punch, the width, and the perceived space the sound lives in.
And when you get that combo just right, the result is massive, trust me.
The listen mic and room mics play a big role too, especially if you’re going for that overhead mic-heavy, heavily compressed tone.
One that cuts through the track but still feels glued to the mix, if that makes sense.
So, when you’re tweaking your controls, think of this whole process as a combination of balance and timing.
And once you nail it like a boss, gated reverb becomes one of the most powerful tricks in your entire music production toolbox, period.
Essential Tools/Plugins for Gated Reverb in Your DAW
![]()
One of the easiest ways to dial in gated reverb is by using your DAW’s stock FX because all you really need is a:
- Good digital reverb
- Noise gate
- Channel to route them through
But, using a dedicated plug-in like ValhallaRoom, UAD Lexicon 224, or Eventide SP2016 can make things way smoother if you want that polished reverb sound.
If you’re going the manual route, you can simply throw something like Ableton’s Reverb on a return channel and dial in a reverb time between 1.8s–2.4s.
Then, drop a gate after it and set your threshold around -30dB, with hold at 300ms and a fast release around 90ms.
It’ll instantly lock in that tight snare drum slap without drowning the mix.
When it comes to creative routing, try duplicating your snare channel, sending the copy through a gated reverb chain, and then blending it back in at -10dB under the dry signal.
That channel blend gives you more output control without muddying up the overall mix.
And if you’re playing around with more complex setups, adding an EQ before the gate (cutting below 400 Hz and above 6kHz) and placing a compressor after it is key.
It will help you shape the gated reverb effect even more precisely, especially in live room emulations where things get really messy, fast.
Step-by-Step: How to Create Gated Reverb from Scratch
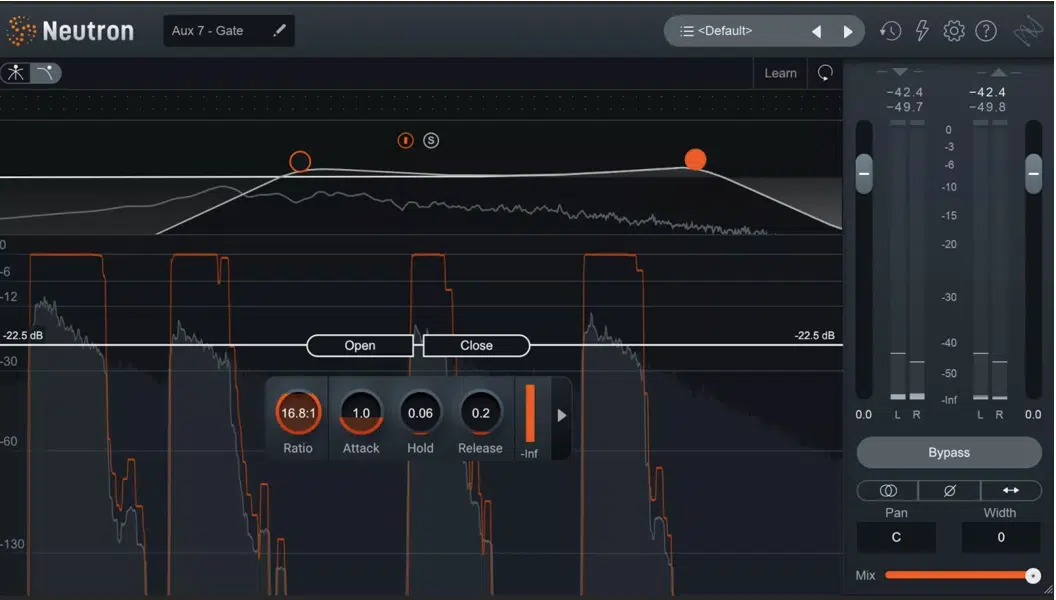
Once you’ve got your tools loaded, creating gated reverb from scratch is actually super straightforward. But every setting matters, especially when you’re aiming for that punchy, aggressive snare that sits perfectly in the mix. So, let’s break it down step-by-step so you know exactly which controls to tweak, what settings to try, how to adjust things depending on your source sound, and how one such effect can change everything.
Setting the Reverb Type, Size & Time
To get the most out of your gated reverb, start with a plate reverb or room reverb, as these respond best to tight gating.
Set the size to around 40–50 square meters if you’re using something like ValhallaRoom, or dial in a room size between 0.4 and 0.6 in Ableton’s stock Reverb.
Your pre-delay should land somewhere between 20ms–50ms to let the original snare pop before the reverb sound kicks in.
This keeps the drums sounding punchy without washing them out.
When it comes to decay/reverb time, try 1.8 seconds for trap or EDM and stretch up to 2.4 seconds for more atmospheric or rock-style tracks.
Just keep in mind, the longer the tail, the more drastic your gate settings will need to be.
PRO TIP: if your reverb tail sounds too clean or thin, throw in a subtle modulation rate around 0.3–0.4Hz with a depth of 25–30% to keep it from sounding too static.
This works great on overhead mic-style reverbs or talkback mic-style channels where you want a little movement.
And if you’re working with drum machines like the TR-808, you’ll want to keep your reverb size smaller (under 30 ms pre-delay and 1.2s time) to keep that snappy gated ambience intact without masking the tone of your drum sound.
Dialing in the Gate: Threshold, Hold & Release
When tweaking the gate for your gated reverb, start with the threshold…
This is the exact level the signal has to hit before the gate opens, and for snares or claps, something around -28dB to -34dB usually gives you just the right amount of reverb tail without too much spill.
Once the gate opens, you’ll need to set the hold time, which keeps the gate open before it shuts.
I’ve found that 250–400ms tends to feel natural on a tight snare drum, especially in a live room with a lot of room mics or listen mic bleed.
The release setting controls how fast the gate closes, and if you want that iconic gated reverb effect, try setting it really fast (around 60–90ms).
This way the tail gets chopped off clean 一 giving it that aggressive snap you hear in classic rock songs or drum-heavy Peter Gabriel tracks.
If your reverb tail feels too sharp or too slow to close, try automating the threshold slightly so that quieter hits still trigger the noise gate, but without being inconsistent.
This can help big time when playing drums dynamically.
PRO TIP: If you’re working with drum machines, you might want to push the hold time closer to 500ms for that exaggerated punch, and then set a higher threshold (like -24dB) to stop softer cymbals or toms from falsely triggering the gate.
EQing the Verb for Focused Impact (Optional)
EQing your gated reverb return is where you lock in the clarity, especially when you’re working with dense arrangements or busy drum kits.
A great starting point is placing an EQ before the gate, cutting anything below 400Hz to avoid a muddy low-end buildup from kick bleed.
And make sure to roll off above 6.5kHz if your reverb sound is clashing with vocals or sharp overhead mic details.
When working with digital reverb, adding a:
- Slight boost at 1.2kHz (around 3dB wide Q) can give your snare a nice bite through the mix.
- Narrow cut at 500 Hz helps tame boxiness in room mic-heavy setups.
If you’re trying to emphasize the original snare without making the gated reverb too harsh, put a dynamic EQ post-gate that dips 3–5dB around 2kHz only when the signal gets hot to keep it punchy but smooth.
I also recommend automating a high-pass filter on the reverb return channel, sweeping from 150Hz to 400Hz during transitions.
This will make your sound feel like it’s rising or opening up in the overall mix (perfect for build-ups or intro sections).
When and Why to Use Gated Reverb in a Track
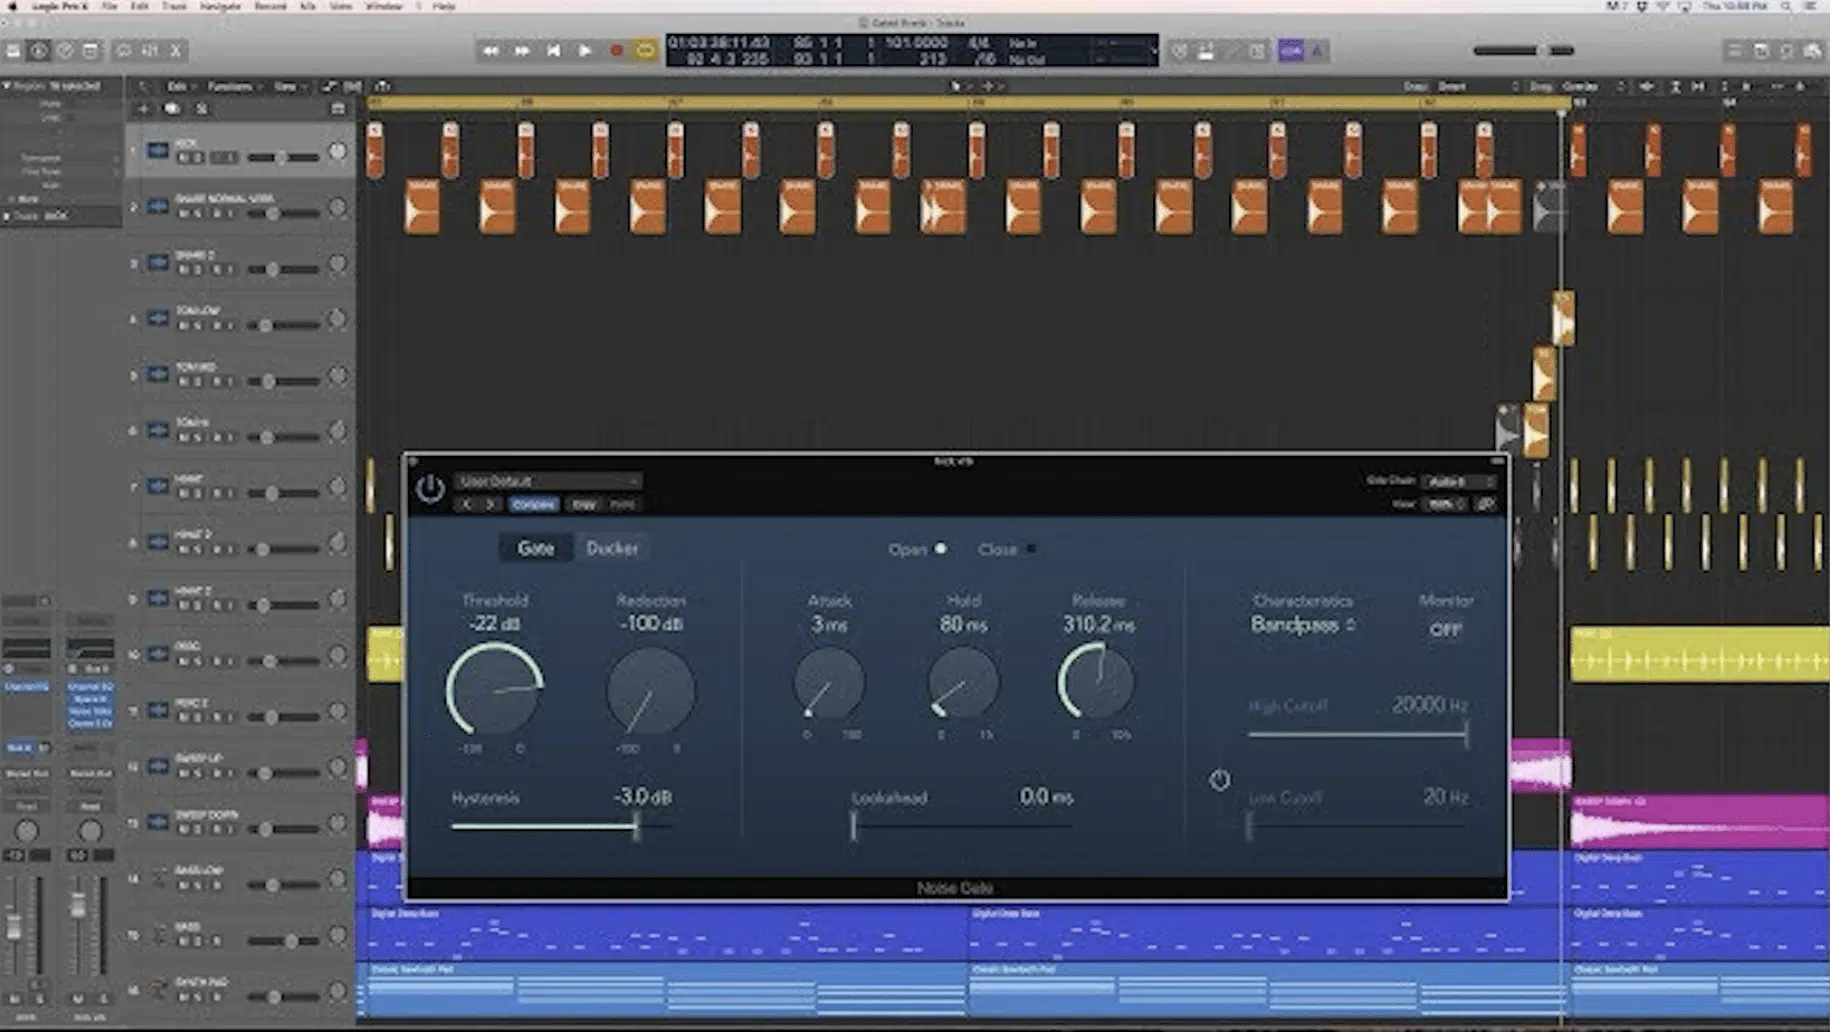
There are certain moments where gated reverb just hits different.
This could be like when your snare drum feels weak and you need it to punch through a wall of synths, vocals, and stacked drums without actually increasing the volume.
And instead of pushing the fader, a gated reverb effect adds energy and thickness that cuts through the mix 一 especially when paired with a heavily compressed reverb channel that stays tight and doesn’t overstay its welcome.
One of my go-to tricks is:
- Slapping a gated reverb chain on a cloned snare channel
- Setting the threshold just low enough to catch the main hits
- Blending it in at -8 to -12dB
This will give you that classic ’80s slap, but still works perfectly in modern trap or pop music, and it’s also awesome for creating contrast between sections.
For example, using gated ambience on your drums in the verse, then switching to longer verbs in the chorus to really open things up properly.
This technique works just as well on vocals or one-shots that need punch and character without getting drowned in reverb.
You can gate those tails to stop exactly where you want, so do what works best.
And when you’re dealing with other instruments like electric guitars or layered toms, gated reverb helps carve space in the overall mix.
It gives you clarity and separation without sacrificing energy or vibe.
Gated Reverb Techniques for Different Instruments/Sounds
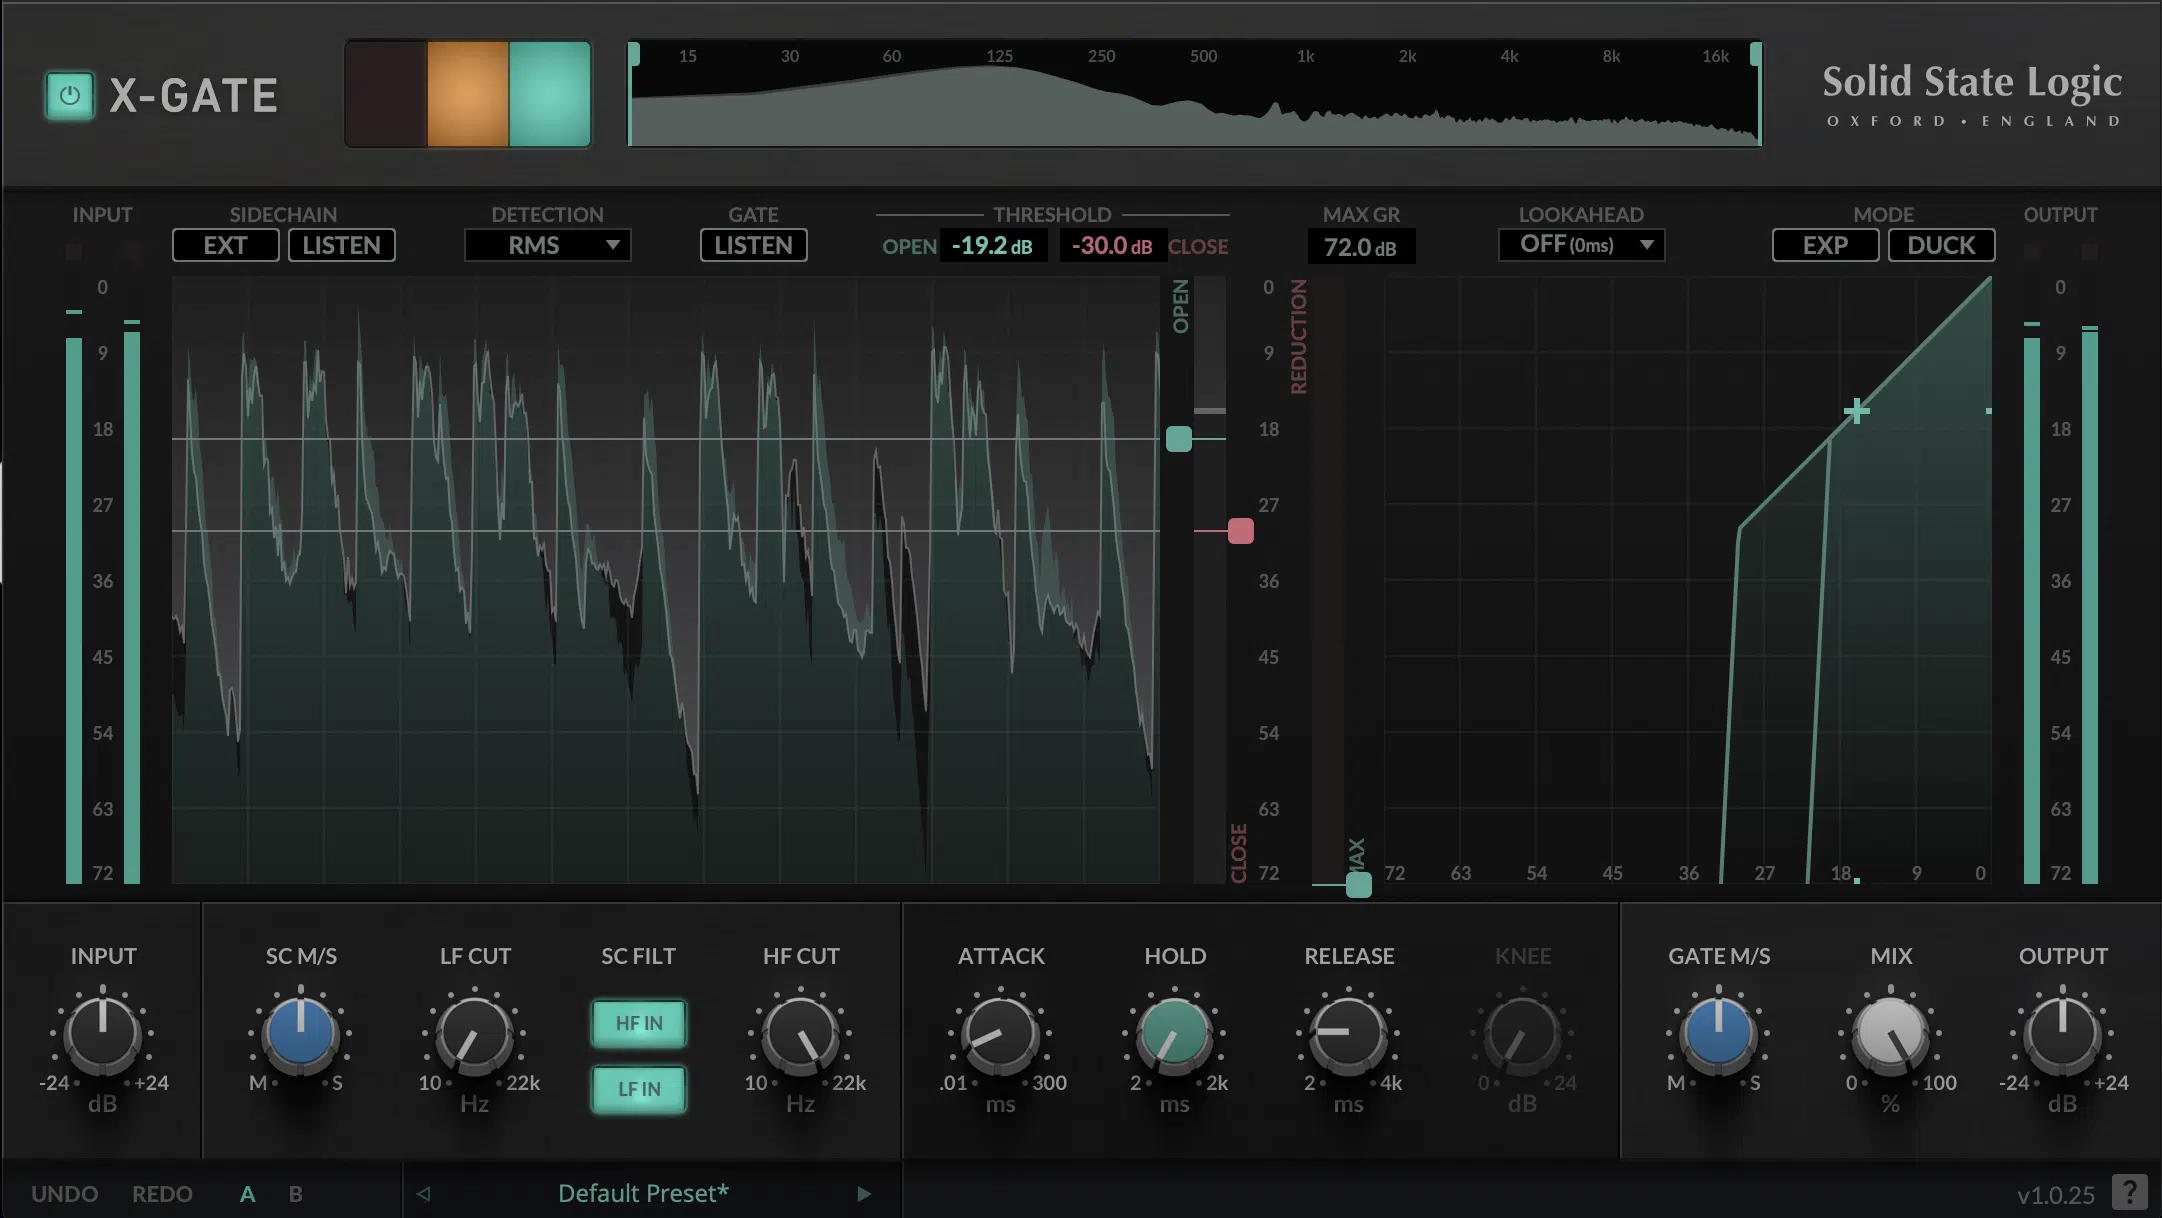
On snares, the best technique is to use a plate reverb with around 1.8s decay, followed by a noise gate with a fast release of 70ms and hold around 300ms.
If you want that aggressive, punchy tail that drops off like it’s been sliced, just like in “Air Tonight” by Phil Collins, this is the way to go.
For claps, you’ll want to pull the threshold higher (around -22dB) so only the biggest hits trigger the gated reverb.
Then, use a shorter reverb time (like 1.2s) to avoid smearing the drum sound.
On vocals, try using a large digital reverb space but immediately gate it with a sidechain trigger from the listen mic or control room feed.
It’ll make the vocals sound massive and animated without muddying up the top end of your track, which nobody wants to hear.
And when working with synth stabs or bass one-shots, gated reverb helps you create movement without mud.
Just make sure to keep the decay under 1 second, and use multiband gating to isolate the mid-highs for that crisp tail.
On cymbals, it’s usually best to avoid gated reverb…
But if you do it, make sure your output gain is pulled down and that you’re using a soft slope on the release (like 90ms) so it doesn’t get harsh.
PRO TIP: For drum machines, layering a gated ambience tail with a narrow Q boost at 1.6kHz will give the illusion of a bigger room without adding actual reverb time.
This is super helpful when the drums are dry but you still want them to sound “finished.”
My Favorite Automation Tricks That Bring Gated Reverb to Life All Day

One of my favorite ways to make gated reverb feel alive in a mix is to automate the gate threshold across different song sections.
For example, in the verse, I’ll set the threshold around -34dB, then slowly ramp it up to -28dB for the chorus so only the strongest transients open the gate.
This gives the chorus extra slap and focus that people really react to.
You can also automate the decay time on the digital reverb itself by setting the reverb time to 1.5s for the verse, then pushing it to 2.2s right before the drop.
Then, slam the gate release at 70 ms to chop it off hard because that combo adds tension and release without relying on risers or filler FX.
Another trick that slaps is automating a pan sweep on the reverb return channel.
This lets your gated reverb tail start center and then drift slightly left or right (±25%) right before it cuts off.
Think 一 swirling, disorienting tail that disappears like freakin’ magic.
Filtering is key too, which is why I suggest that you automate a low-pass filter (starting around 9.5kHz) and sweep it down to 3.5kHz over 4 beats to make the gated ambience feel like it’s being pulled away in real-time.
PRO TIP: Layer this with a volume automation curve that fades the gated reverb return by 4–6dB during breakdowns to keep your overall mix breathing and make room for vocals, then snap it back to full strength for the drop.
That’s how you get movement without clutter, my friends, so definitely don’t overlook it.
Sound Design with Gated Reverb (Advanced)
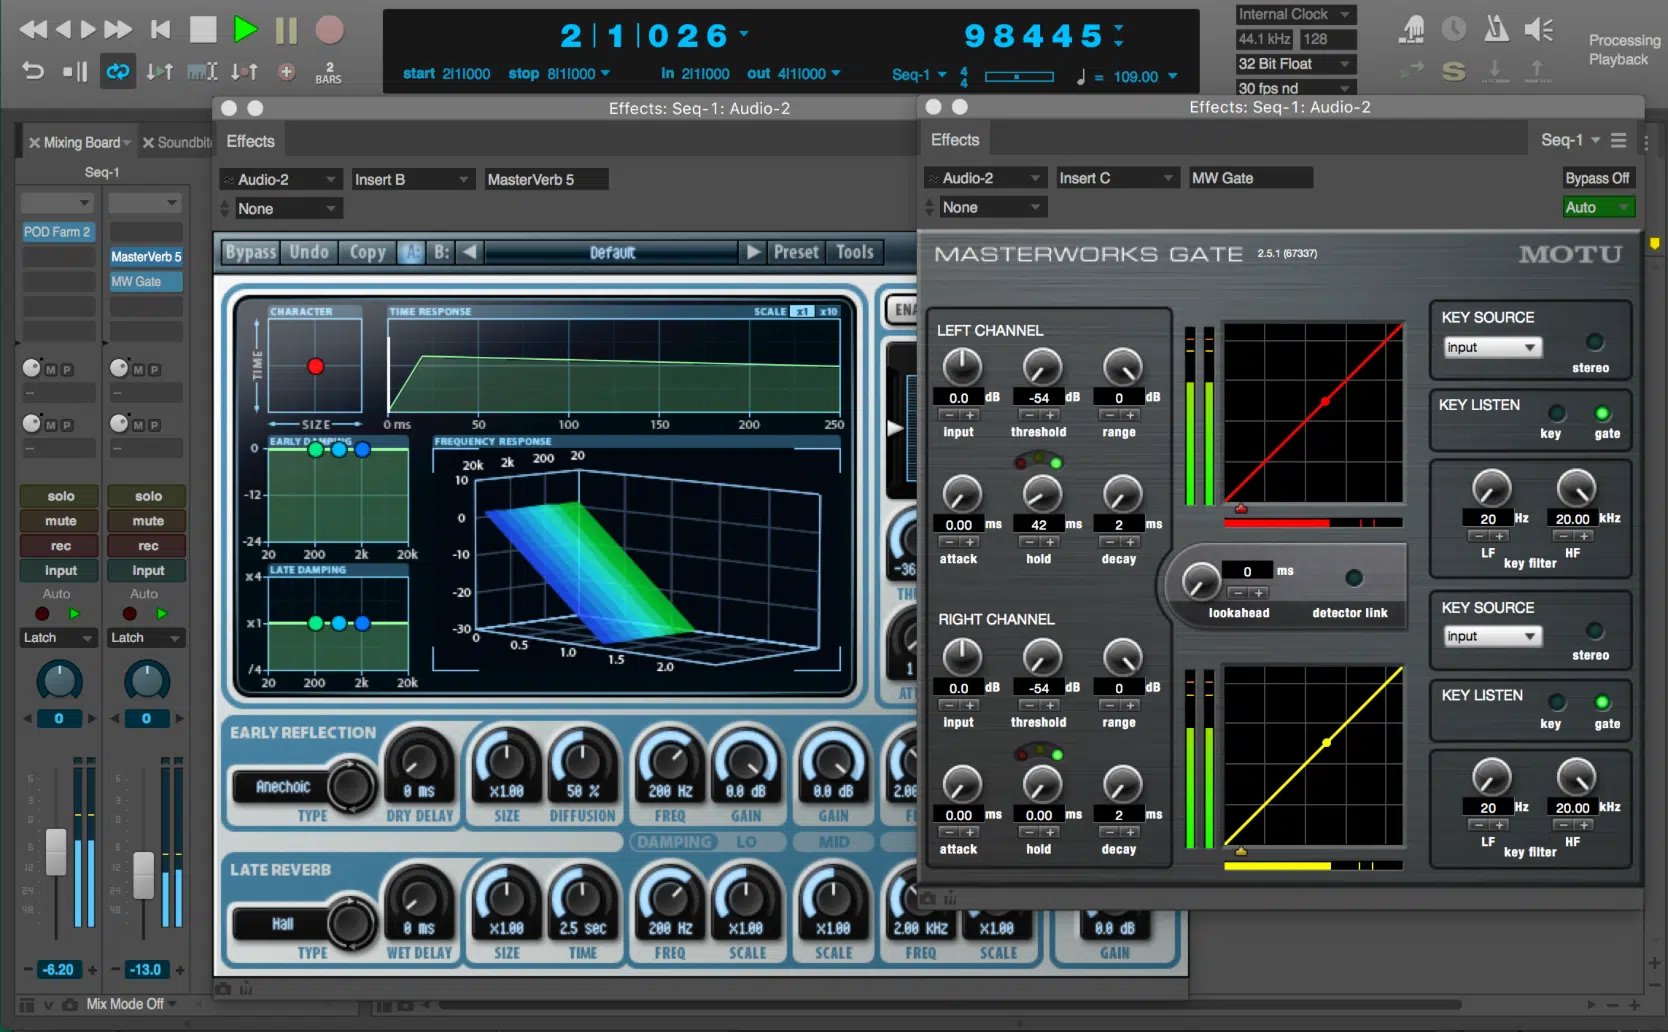
When it comes to sound design, gated reverb isn’t just for snare drums or drum machines. It’s a legit creative weapon that can turn any dry element into a textural powerhouse. So let’s run through a few advanced techniques that’ll seriously level up your music production game and give you a ton of new tools to play around with.
Resampling Gated Reverb for Custom FX Sounds
If you bounce your gated reverb return to audio and start slicing it, you can build entire FX racks from a single snare tail.
All you have to do is:
- Solo the reverb channel
- Route it to a new audio channel
- Freeze/flatten the clip once it sounds right
From there, trim it to about 1.2 seconds, pitch it down -2 to -4 semitones, and layer it under your next kick hit for a super thick impact layer that doesn’t add any actual low-end.
You can also take a clipped gated reverb tail, stretch it out to 200% time with no pitch preservation.
By doing this, you’ll get this haunting, metallic wash that works great under vocals or during song transitions (super dope).
PRO TIP: If you’re working in FL Studio or Ableton, use the Built-In Time-Stretch mode (Ableton’s “Complex Pro” or FL’s “Stretch”) with formant shifted +3.
It keeps the top-end clean and creates more harmonic content to blend in later using EQ.
Reversing or Time-Stretching Gated Tails
Reversing a gated reverb tail and aligning it just before the next snare hit gives you a killer whoosh effect that builds tension without needing any external samples.
So, to achieve this, set your reversed clip to start exactly 3/16th notes before the transient to give it proper space.
If you need it to breathe more, simply time-stretch the reversed clip to 125%, then automate a low-pass filter starting at 7kHz and sweeping down to 2.5kHz just before the hit.
This works insanely well for intros and breakdowns 一 especially in pop, EDM, and ambient music, where you want more texture without adding actual rhythmic content.
And one of my favs I’ll leave you with is stacking two reversed tails (one high-passed at 600Hz and panned hard right, the other low-passed at 3.5kHz and panned hard left).
Then, automate volume curves with different shapes to create a wide, cinematic swirl before your drums re-enter.
This is one of those gated reverb tricks that sounds super advanced but is actually easy to pull off, and it adds a massive, pro-level feel to your track without cluttering the mix.
Bitcrushing or Distorting the Gated Reverb Return
Running your gated reverb through a bitcrusher at around 8-bit depth and 12kHz sample rate gives it that crunchy, digital texture that can make snare tails and one-shots sound completely unique.
I personally love using D16 Decimort 2 or Ableton’s Redux for this, but it’s dealer’s choice.
A great trick is to set the mix control to about 30% wet, so you keep the clarity of the dry reverb sound while adding some aliasing grit that gives it more attitude.
You can also hit the reverb return with a soft-clip distortion, like Soundtoys Decapitator on “TUBE” mode at Drive 4 and Tone 6.
This will make the tail feel warmer, fatter, and more “analog.”
PRO TIP: Try distorting after the gate so the clipping only affects the reverb tail and not the source channel 一 this keeps your drums clean while making the gated reverb effect stand out in the overall mix.
Multi-Band Gated Reverb for Precision
Using multi-band gated reverb lets you apply gating only to certain frequency zones.
For example, slap a multiband split on your reverb return channel using something like FabFilter Pro-MB and isolate the midrange (700Hz–2.5kHz) where your snare or claps live.
You can then place a gate just on that band, setting the:
- Threshold at -32dB
- Hold at 280ms
- A release of 75ms
This will successfully tighten just that part of the reverb tail without affecting the low-end or high-frequency air.
This technique is perfect when you’re working in a very live room or using room mics with a ton of bleed.
So, if you’re layering with drum machines, overhead mics, or even vocals that need some extra space but not a full wash of gated reverb, it’s ideal.
PRO TIP: You can automate the threshold per band to shift how much gating you apply over time, making it super dynamic and responsive to your overall mix and song energy.
Sidechaining the Gate to a Ghost Trigger
Sidechaining your gate to a ghost trigger gives you total control over when the gated reverb activates 一 regardless of what’s happening on the actual audio channel.
To play around with this one, just duplicate your snare track, strip out everything but the main hits, and route that into the sidechain input of your gate.
In something like Ableton Live, this works perfectly using Gate > Sidechain > Audio From: Ghost Snare.
Then, set your threshold to -36dB so only those hits open the gate cleanly.
This is super powerful on vocals or one-shot FX, where the original microphone capture might not have enough punch to open the gate consistently.
PRO TIP: Sidechaining with a listen mic or control room bounce (from another take) can help you match the rhythm of older album recordings.
Think: those early Bruce Springsteen or Producer Steve Lillywhite sessions where the reverb needs to follow a different groove than the current drum sound.
Using LFOs to Animate Gated Reverb Parameters
Automating gated reverb parameters with LFOs takes static settings and makes them feel organic, so this one is definitely worth a try.
For example, you can assign an LFO to modulate the gate threshold between -30dB and -36dB every 2 bars with a smooth sine wave curve in Ableton’s AutoPan set to ‘Invert’ mode.
This subtle movement keeps the gated ambience shifting in intensity and adds life to repeated snare drum hits.
You can also automate a band-pass filter over your reverb return to sweep between 700Hz and 1.8kHz using an LFO synced to 1/8th notes.
This will give you a rhythmic pulse effect without touching the dry sound.
PRO TIP: Pair this with slow panning automation from center to ±30%, and layer it behind other instruments.
The result sounds like your gated reverb is breathing, shifting, and swirling inside the room without adding any new noise to the track.
Reverse Gated Reverb as a Vocal Pre-Effect
Reversed gated reverb is a killer pre-effect for vocals, especially when you want them to “suck in” before they hit.
What you can do to master this is:
- Bounce your reverb return
- Apply a tight gate with release at 90ms
- Reverse the clip
- Place it exactly 1 beat before the vocal transient
EQ the tail with a high-shelf cut at 6.5kHz and a narrow boost at 2kHz, then compress the reversed tail at 4:1 ratio, -12dB threshold to tame peaks before it hits.
The result sounds like a mix between a listen mic swell and a synthetic gasp 一 perfect for hooks, breakdowns, or leading into high-energy choruses.
For extra grit, drop in a bit of Redux at 12-bit, set the sample rate to 10kHz, and layer it behind the original snare to make it feel like it’s dragging the whole drum kit with it.
Compressing the Gated Verb Return for Sustain Punch
Throwing a compressor on your gated reverb return lets you shape the sound after it’s already been chopped.
This is absolutely huge for getting that clean-yet-punchy reverb tail without letting it spill all over your mix.
Set the attack to 25ms, release to 120ms, ratio 3:1, and bring the threshold down to about -18dB, then boost the output gain +4dB so you can blend the tail back into the track without losing presence.
This helps the reverb sit tighter in the overall mix, especially when layered with toms, cymbals, or dry one-shots that need extra texture but not more volume.
PRO TIP: Stack a second compressor with a slower release (around 300ms) after the first one to create this wave of movement in the tail.
It works wonders in solo album cuts or lo-fi music where you want the gated reverb effect to breathe a little more like a real room, just saying.
Pro Tip: How to Avoid Common Mistakes with Gated Reverb
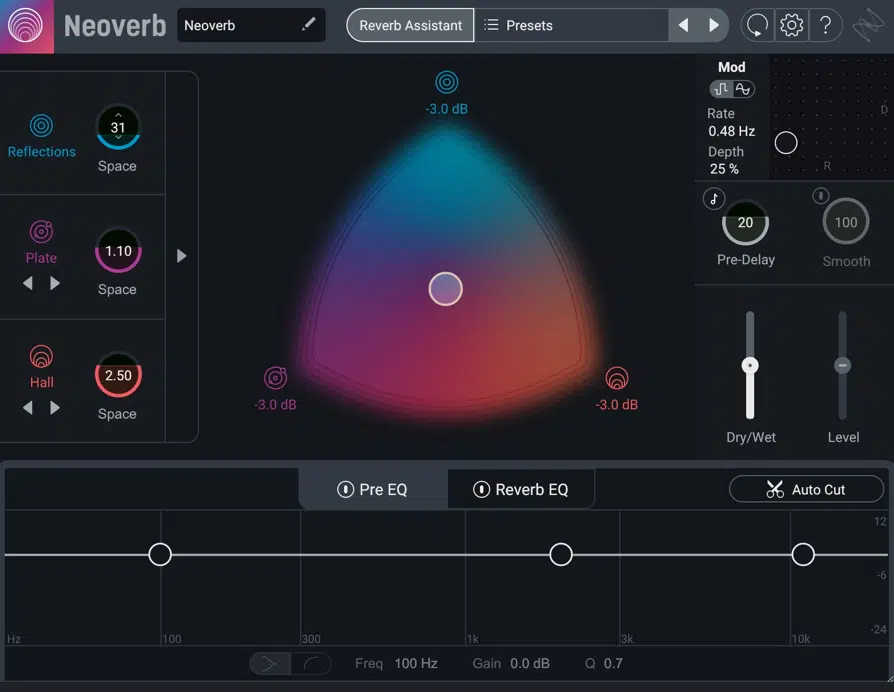
One of the biggest mistakes music producers/musicians make with gated reverb is overusing the gate, and you definitely don’t want to be one of them.
So, make sure to not set the threshold too high (like -20dB) because it will chop everything off too soon and kill the natural groove of the drums or vocals.
Another one is using the same sound for both the dry and gated return without EQing.
To combat this, always filter out low-end mud below 400Hz and tame harshness above 6.5kHz to keep the reverb feeling clean and intentional.
Also, don’t forget to gain-match the output on your FX channel…
Your gated reverb return should sit around -10dB to -14dB in most mixes to leave room for other elements while still being felt.
NOTE: Always listen to your gated reverb in solo and context because what sounds great alone might clash hard with room mic bleed, microphone phase issues, or masked transients in the overall mix.
Final Thoughts
And there you have it: everything you need to know about gated reverb and how absolutely epic it can help you make your tracks sound.
With this new information, tricks, and techniques, you’ll be able to lock in powerful snare tails, shape massive drum sounds, and carve out professional reverb effects all day.
Plus, you’ll never have to worry about your mixes sounding flat or your reverb tail cluttering up the groove ever again.
Just remember to always experiment with your gate settings, shape the reverb with precision, and tweak each move to the specific track you’re working on.
This way, every gated reverb effect you drop in feels intentional, controlled, and sonically on point like an absolute boss.
And as a special bonus, if you want to see gated reverb in action firsthand, you’ve absolutely got to check out these invaluable Free Project Files.
These 3 project files will show you exactly how to shape gated tails, automate FX returns, and stack reverb chains like a professional.
Plus, you can actually see how the gate, threshold, and EQ automation interact in real-time 一 talk about cheat codes.
Think of the possibilities when you’re layering kicks, vocals, or synths with that signature slap that can skyrocket your entire production career.
Bottom line, when it comes to gated reverb, just don’t forget to trust your ears and always tweak with intention.
This way, you can stay creative while keeping full control of your sound.
Your tracks will always hit hard, feel polished, and you’ll know how to use gated reverb like an absolute expert.
So make sure to always dial in those small details and resample your results when needed, because there’s nothing wrong with that at all.
Plus, don’t forget to play around with these techniques every day to enhance your skills and dominate the competition.
And never be afraid to think outside the box because that’s where the magic happens.
Until next time…


Leave a Reply
You must belogged in to post a comment.