Audio compression is a must-know technique in music production that involves controlling the dynamic range of an audio signal, balancing the loud and quiet parts.
It ensures that every element in a mix sits perfectly together.
As a music producer, learning about all the different types of audio compressors will help you create tighter mixes, add character to your tracks, and have control over your sound.
Plus, understanding how and when to use each type of compressor will give you the skills needed to enhance the overall quality of your beats.
That’s why we’re breaking down everything you need to know about audio compressors, like:
- The basics of audio compression (output gain, attack and release, etc.) ✓
- FET compressors and how to use them ✓
- The smooth, musical sound of Variable MU compressors ✓
- Adding a warm sound with tube compressors ✓
- The versatility of VCA compressors ✓
- The transparent control of optical compressors ✓
- The precision of digital compressors ✓
- How multiband compressors shape your mix ✓
- Advanced compression tips & techniques ✓
- Much more ✓
After reading this article, you’ll know everything about audio compression and the different types of audio compressors.
This way, you can successfully shape the dynamics of your tracks and ensure your mixes are always polished and professional.
So, let’s dive in…
Table of Contents
- What Is Audio Compression? Breaking it Down
- Understanding the Basics of Compression
- Different Types of Audio Compressors
- #1. FET Compressors
- #2. Variable MU Compressors
- #3. Tube Compressors
- #4. VCA Compressors
- #5. Optical Compressors
- #6. Digital Compressors
- #7. Multiband Compressors
- Bonus: Types of Audio Compression
- Compressors and Limiters: What’s the Difference?
- Bonus: Hardware vs. Software Compressors (Pros & Cons of these Audio Compressors)
- Audio Compressors: Final Thoughts
What Is Audio Compression? Breaking it Down
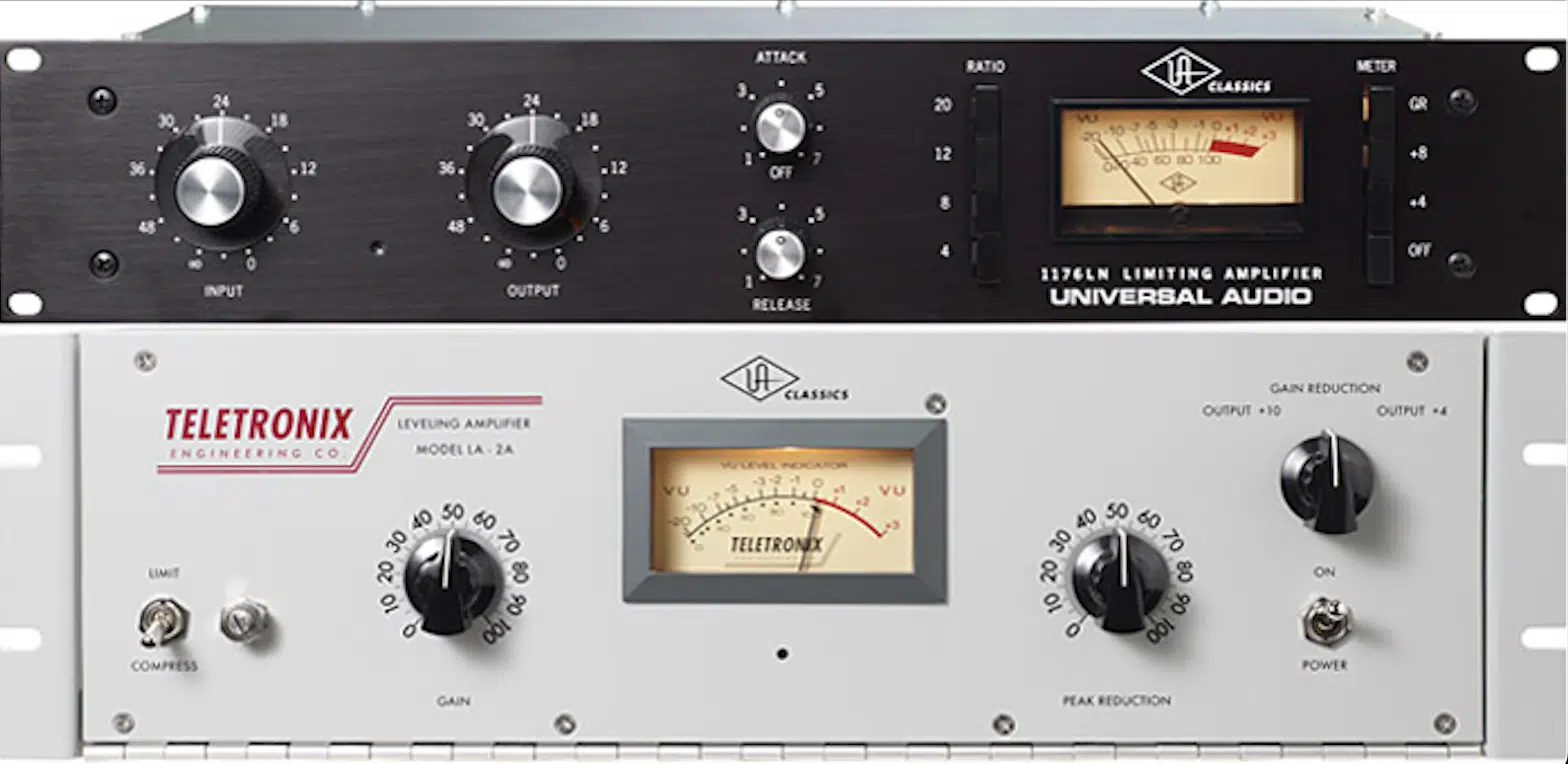
Audio compression is a key music production process that manages the dynamic range of an audio signal by:
- Reducing the volume of the loudest parts.
- Bringing up the quieter sections.
This helps to achieve a more balanced and cohesive sound 一 making it easier to perceive compressed signals within a mix.
A compressor works by detecting when an audio signal exceeds a certain threshold level and then reducing the volume according to a specified compression ratio.
How the compressor transitions from the uncompressed to the compressed state is key to maintaining the natural dynamics of the track.
NOTE: During this process, the output gain becomes important, as it compensates for the reduction in volume caused by the compression.
It ensures the overall loudness remains consistent.
Properly setting the output gain allows you to maintain unity gain, where the perceived volume of the track stays steady despite the compression applied.
Understanding these fundamentals of audio compression is super important for achieving controlled, polished mixes that sound professional.
Don’t worry, we’ll be breaking it all down in detail, so you get a really solid understanding.
Understanding the Basics of Compression
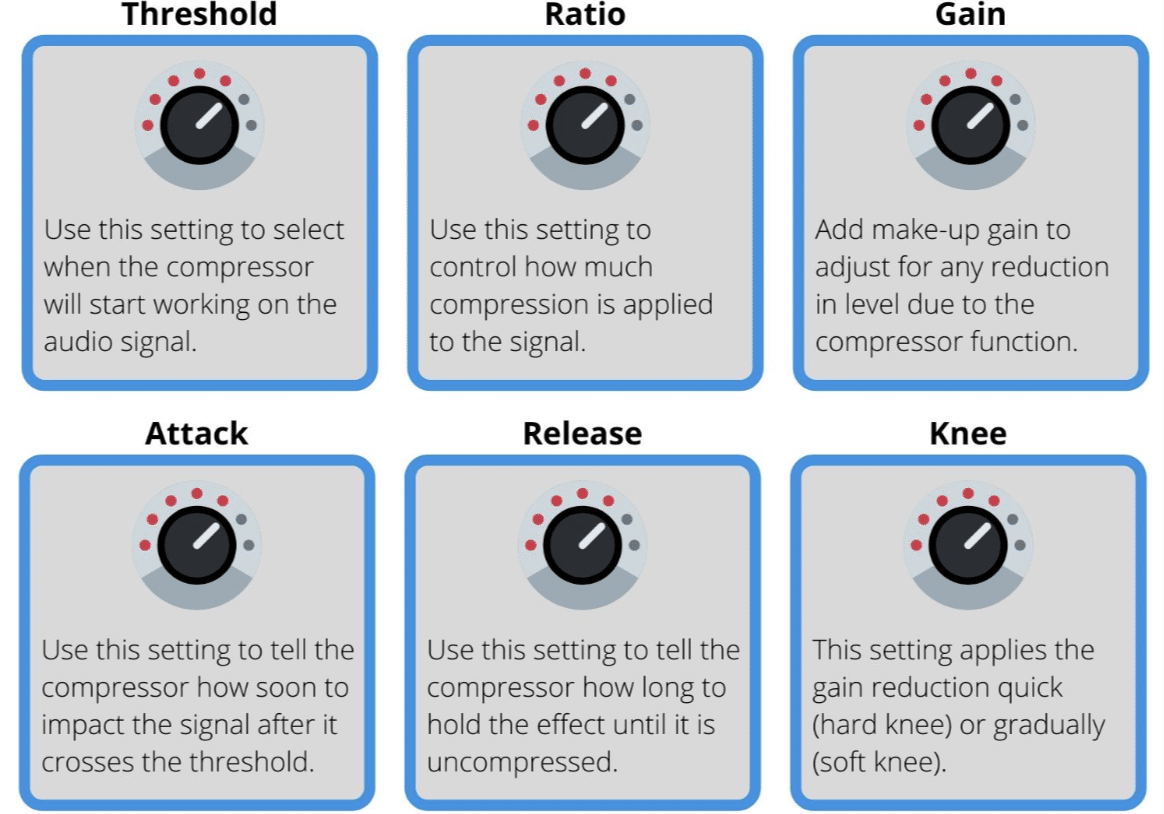
Audio compression, as we briefly covered, reduces the volume of an audio signal exceeding a set threshold, allowing the quieter parts to become more audible.
The main parameters to tweak include the attack and release times, which dictate:
- How quickly the compressor reacts to the signal.
- How long it takes to return to normal after compression.
Gain reduction, on the other hand, refers to the amount by which the signal is reduced, which is key for controlling dynamics without introducing excessive compression artifacts.
The ratio determines how much compression is applied once the threshold is crossed, with higher ratios leading to more dramatic compression.
Understanding these controls is essential for fine-tuning audio compression and achieving the desired effect you’re shooting for.
Plus, knowing when to apply gradual compression vs. a more aggressive approach can make all the difference in maintaining the natural dynamics of your mix.
-
Pro Tip
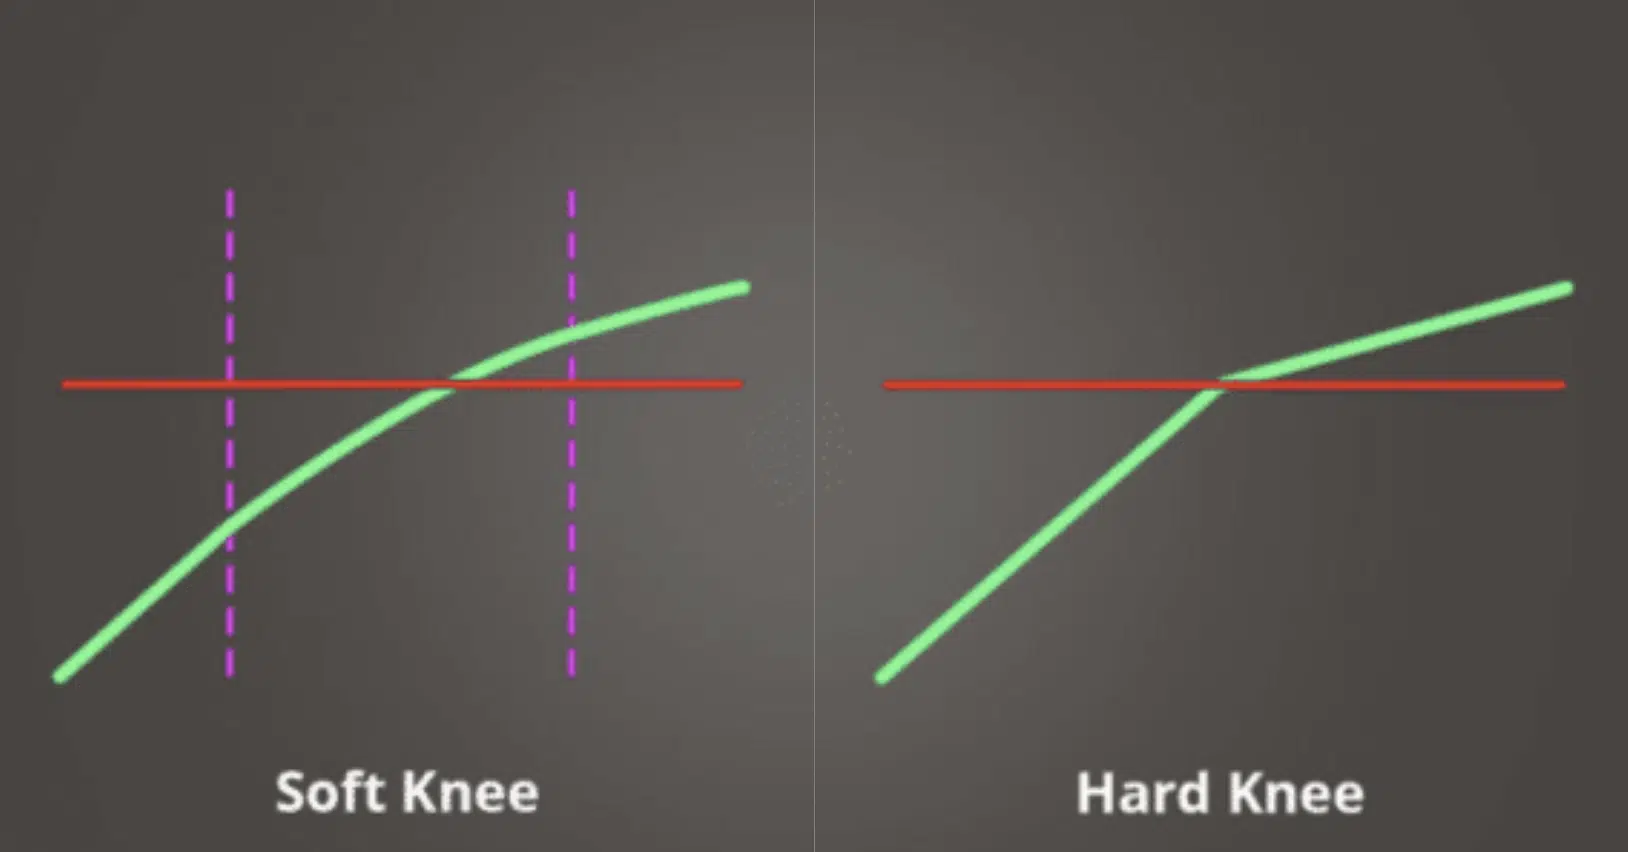
When dealing with audio compressors and compression as a whole, you’ll probably hear the terms “soft knee compression” and “hard knee compression” all the time.
So, I thought it’d be appropriate to break down the difference.
Soft knee compression is a more gradual form of compression where the transition into gain reduction starts smoothly as the audio signal approaches the threshold.
It gives you a more natural and subtle compression effect.
Hard knee compression, on the other hand, is more abrupt, where the compression kicks in immediately and fully once the signal exceeds the threshold.
This type gives you a more pronounced and aggressive control over dynamics.
When it comes to audio compressors and mastering compression in your production process, knowing these terms is key.
Different Types of Audio Compressors
When it comes to audio compressors, different types offer signature characteristics that can impact the sound of your mix. Understanding these compressor types will help you make better choices and use them like a boss in any context. So, now that you know what audio compression is, let’s break down the key types of audio compressors.
#1. FET Compressors

FET compressors, like the iconic 1176 (my fav), are known for their fast response times and ability to add a punchy, aggressive character to an audio signal.
These audio compressors use transistor circuits, which allow them to react quickly to signal peaks, making them ideal for controlling dynamic sources like drums and vocals.
Let’s say you were dealing with extra punchy drums… a FET compressor can quickly tame the transients without dulling the initial impact.
When it comes to vocals, it can keep the performance consistent 一 catching peaks instantly while preserving the natural tone.
The very first FET compressor set the standard for what would become a staple in many studios, thanks to its ability to add presence and edge.
Plus, it doesn’t sacrifice sound quality, which is obviously non-negotiable in a professional setting (and should be your standard as well!).
Whether you’re looking to add some snap to a snare drum or keep a vocal performance tight and in control, a FET compressor can be the perfect tool.
The fast attack and release times also make FET compressors great for scenarios where precise control over dynamics is needed, making sure the mix is on point.
-
Pro Tip: Getting the Most Out of a FET Compressor in Your Mix
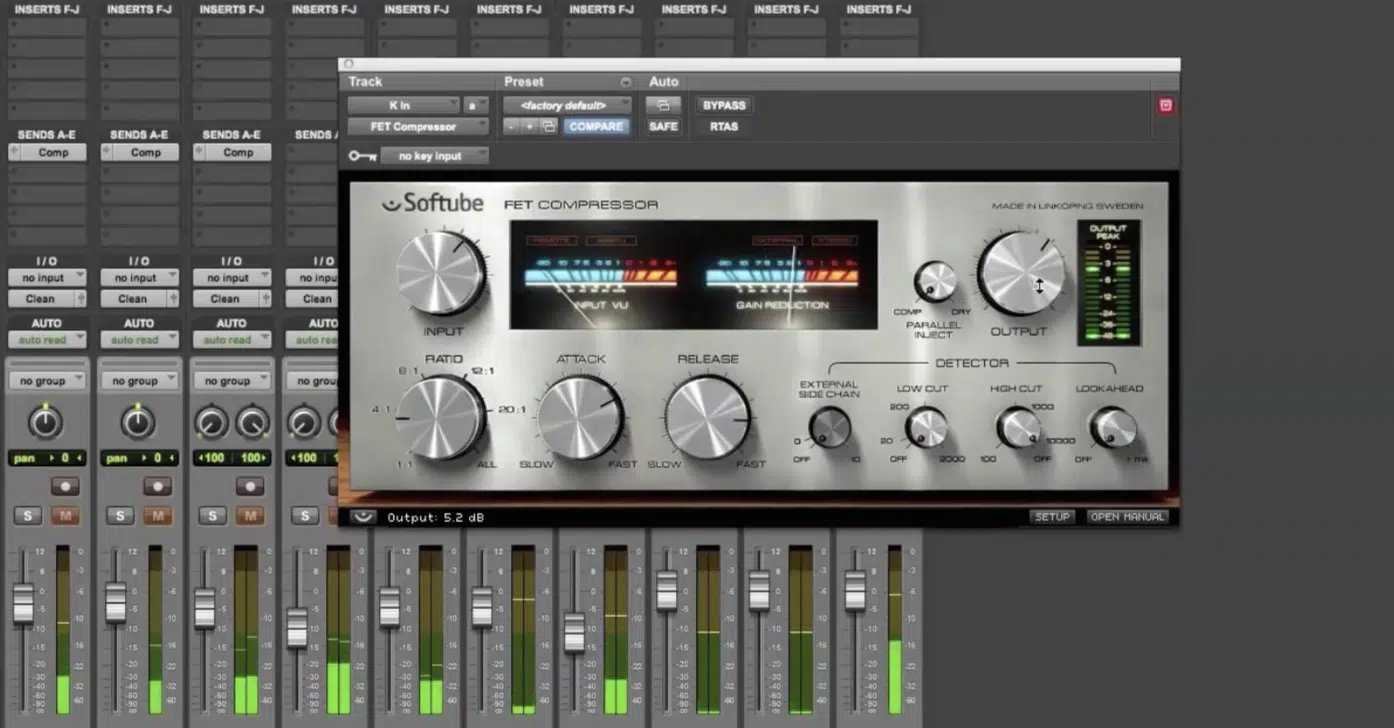
For even better results with a FET compressor, focus on using it for instruments that demand tight control, like drums and bass, where its fast attack can precisely manage peaks and maintain punch.
Use what’s considered ‘moderate compression,’ with a lower ratio to maintain the energy of the performance while controlling the dynamic range.
#2. Variable MU Compressors
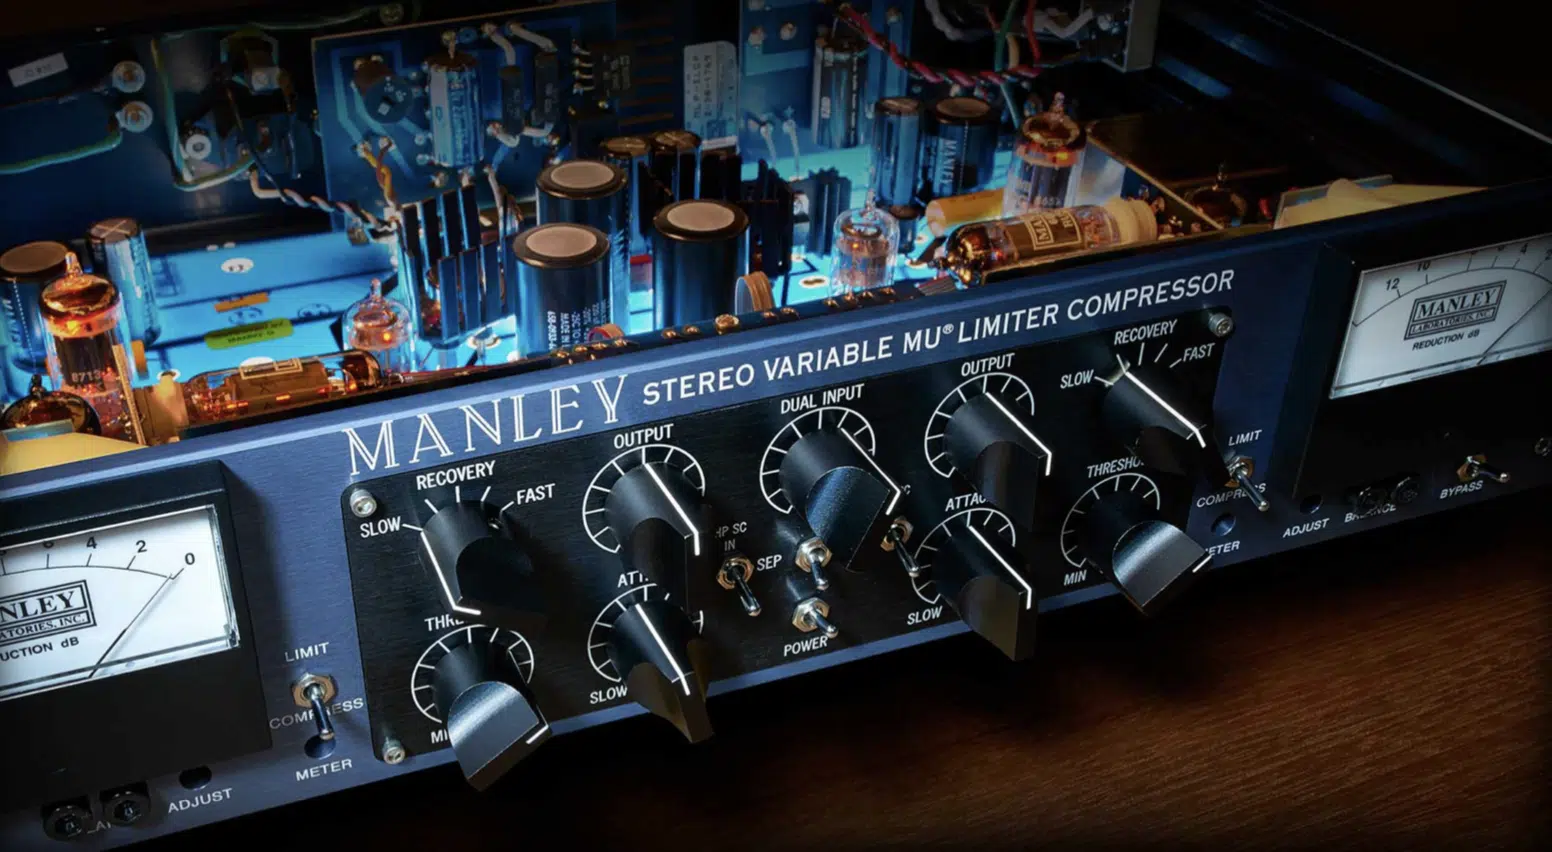
Variable MU compressors (used to describe a type of tube compressor) excel at delivering a smooth, musical compression that enhances the natural warmth of an audio signal.
They’re unique because they often feature a “soft knee” characteristic, which means the compression gradually increases as the input signal gets closer to the threshold.
See, that soft knee vs hard knee description came in handy already, huh?
These audio compressors use vacuum tubes to achieve gain reduction, which results in a softer, more rounded compression effect that’s perfect for:
- Vocals
- Bass
- Mix bus applications
The gradual compression provided by Variable MU compressors can help glue a mix together 一 making things super cohesive without introducing harshness.
This type of compressor shines when you need to add a warm sound and extra character to your tracks, so it’s a favorite for mastering engineers, naturally.
The tube sound it imparts can bring a sense of depth and richness that is difficult to replicate with other compressor types.
-
Pro Tip: When to Use Variable MU Compressors for Maximum Impact
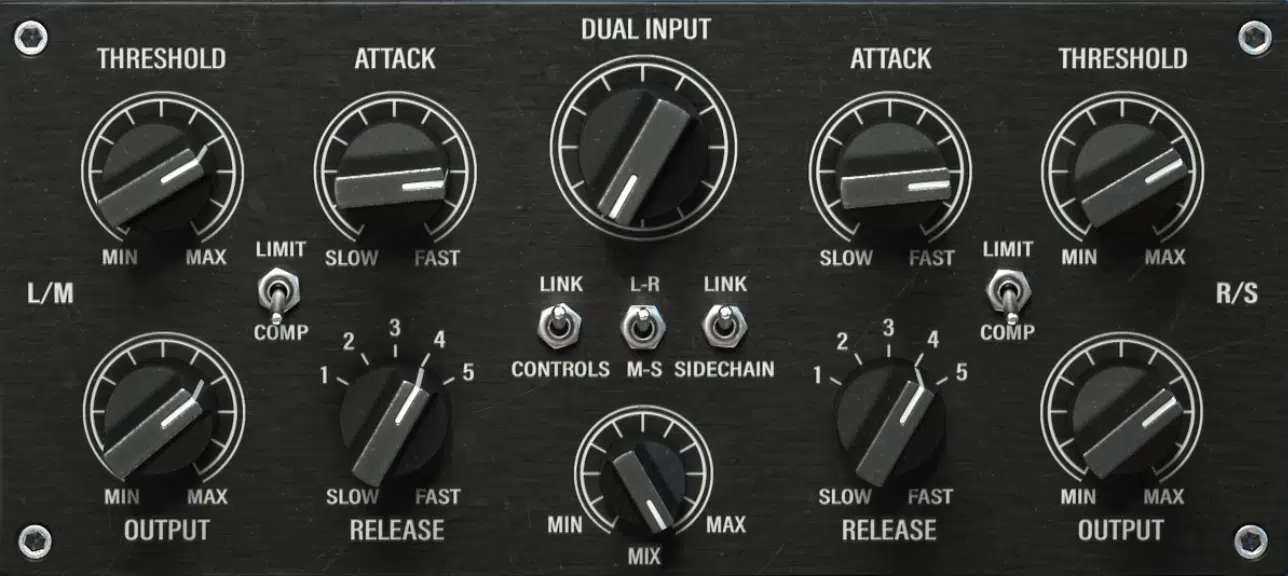
For maximum impact, use a Variable MU compressor on your mix bus to add a final touch of warmth and cohesion to your mix.
It’s also a great choice for smoothing out dynamic vocals or adding subtle glue to a complex arrangement.
Side note, if you want to learn all about mix bus processing, we got you covered.
#3. Tube Compressors
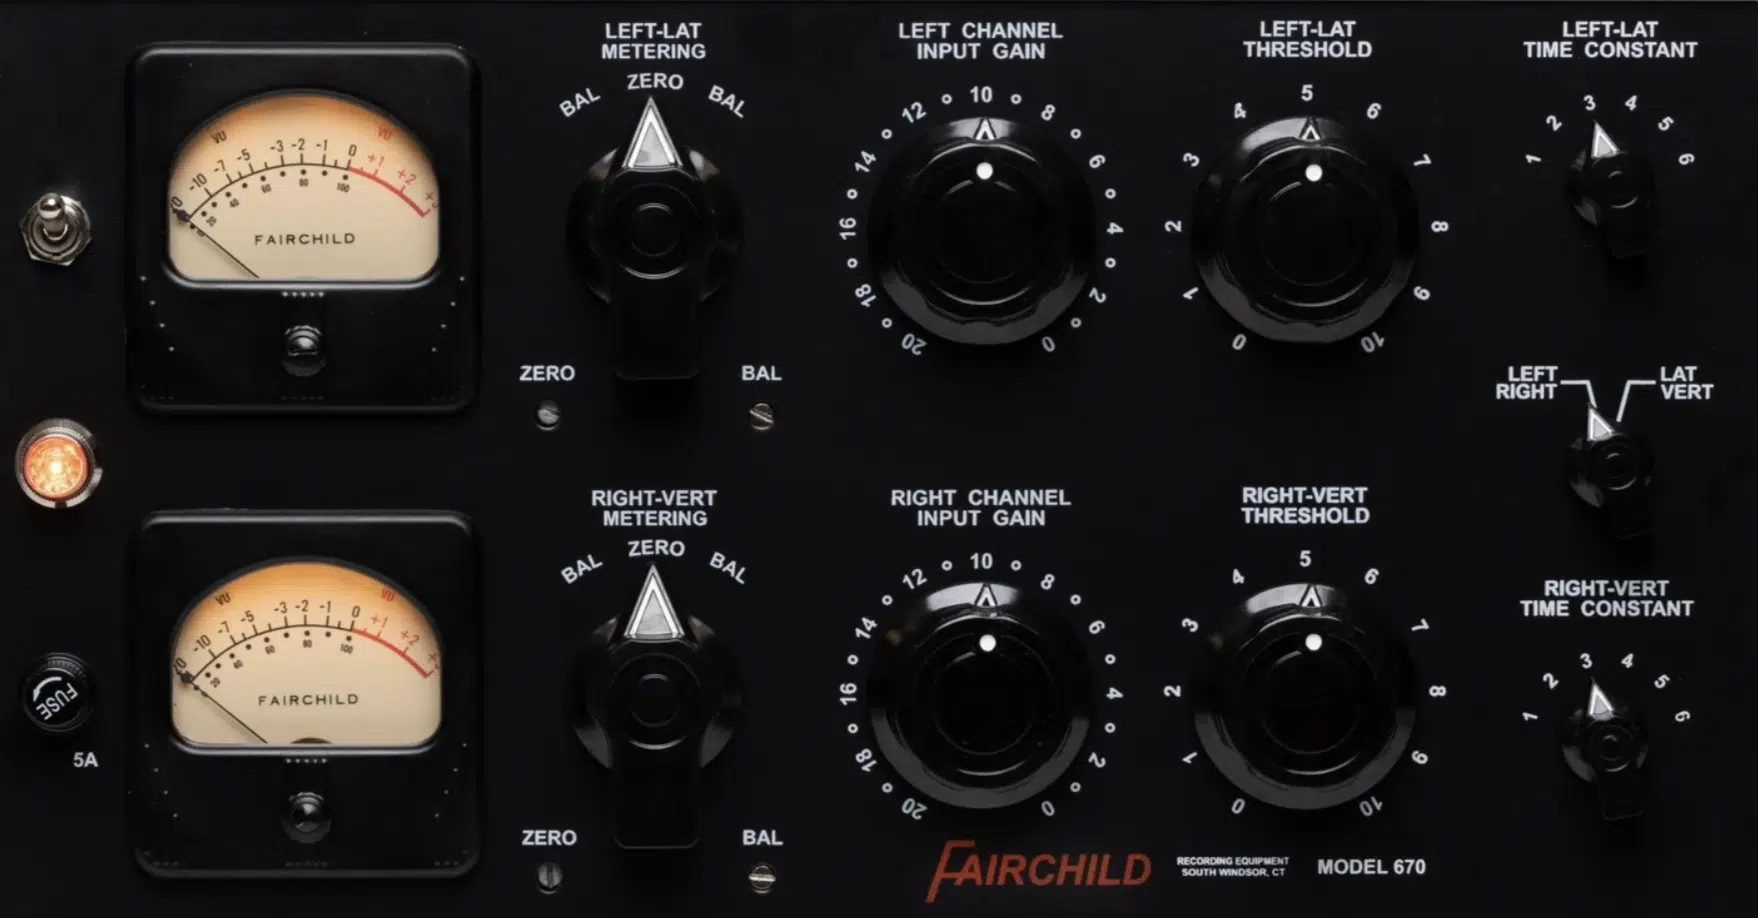
Tube compressors, like the legendary Fairchild 670, are famous for their ability to impart a warm, vintage character to audio signals that is almost magical.
The internal components (including vacuum tubes), create a smooth and pleasing compression effect that enhances the natural harmonics of the sound.
This type of audio compressor is ideal for adding color and richness to tracks 一 making them stand out in the mix.
Tube compressors are very effective on vocals, bass, and guitars, where their ability to compress softly while adding harmonic distortion can be truly epic.
When aiming for a classic, analogue sound with a bit of grit, tube compressors are often the go-to choice.
-
Pro Tip: Adding Vintage Warmth with Tube Compression
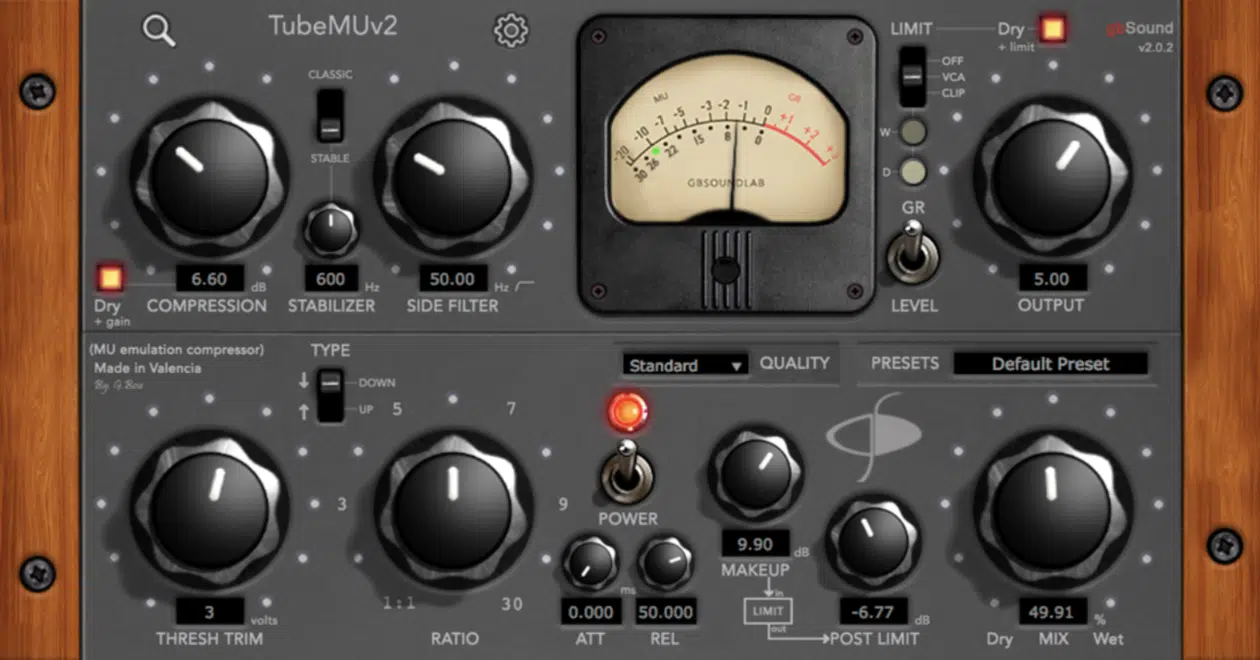
To add vintage warmth to a track, use a tube compressor with a slower attack and release time, allowing the tube’s natural compression to bring out the warmth and character in the audio signal.
Try using light compression on the mix bus or individual tracks to add subtle warmth without overwhelming the natural dynamics of the performance.
NOTE: Slower times generally range from 20 to 50 milliseconds for attack and 200 to 800 milliseconds for release, depending on the material and desired effect.
#4. VCA Compressors
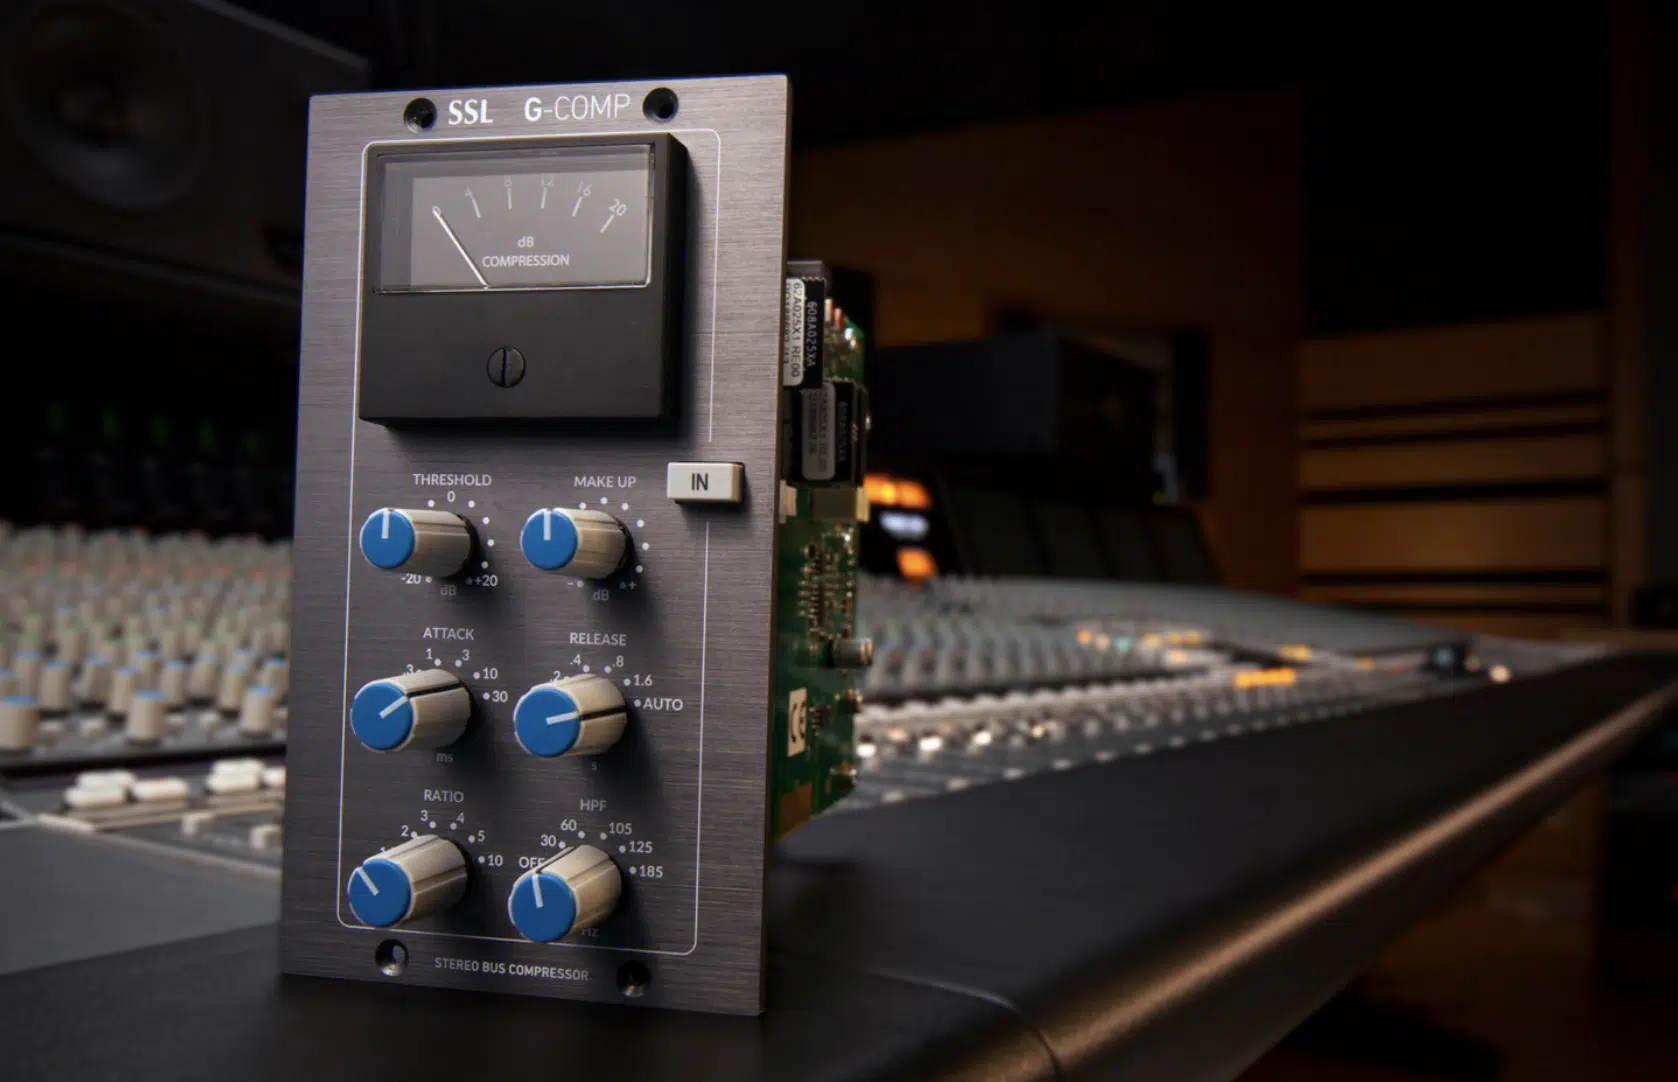
VCA compressors, such as the renowned SSL G-Series, are known for their versatility and reliability in controlling dynamics across a wide range of audio signals.
These audio compressors use a voltage-controlled amplifier (VCA) to achieve precise control over the compression process.
This makes them ideal for situations where transparent sound and consistent gain reduction are make-or-break.
NOTE: This can include things like the dynamics of a vocal track without altering its natural tone, or managing the peaks in a bass guitar performance while keeping the low-end tight.
VCA compressors are often used on mix buses and drum groups due to their ability to handle complex, dynamic material with ease, so just keep that in mind.
It guarantees that the audio signal remains controlled without losing its punch.
The punchy VCA compressors run on a fast attack and release, which makes them perfect for tightening up a mix and keeping everything in check.
When working on a dense mix with lots of elements, VCA compressors are a go-to choice for maintaining clarity and cohesion.
-
Pro Tip: Tight, Controlled Mixes with VCA Compression

To create a tight, controlled mix, use a VCA compressor on your drum bus to tame only signal peaks while preserving the energy of the performance.
Set a fast attack time to quickly catch these peaks without affecting the rest of the signal, and use a medium compression release time to allow the compressor to recover naturally between hits.
Also, try using a lower compression ratio (2:1 or 3:1) to maintain the natural dynamics while still controlling the overall output signal.
This way you won’t squash the hell out of anything.
#5. Optical Compressors

Optical compressors, like the classic LA-2A, are loved for their smooth and transparent compression.
They’re perfect for sources that require subtle dynamic control.
These audio compressors work by using a light-sensitive resistor to achieve gain reduction, which results in a gradual compression effect that’s less aggressive than other types of audio compressors.
The light element emits a softer response 一 making these audio compressors perfect for vocals and acoustic guitars.
As well as other instruments that where maintaining the natural sound quality is paramount, of course.
Optical compressors really shine when it comes to controlling dynamics without introducing noticeable compression artifacts; pretty solid audio equipment.
It’ll give you a transparent sound that enhances the audio signal without altering its overall character, which is exactly what you want.
Whether you’re working on a fragile vocal track or smoothing out a bassline, an optical compressor can provide the subtle control needed to achieve a polished sound.
-
Pro Tip: Creating Natural Dynamics with Optical Compression

For natural dynamics, use an optical compressor on vocals with a slower attack and release time.
This way, it lets the audio compressor gently control the peaks without losing the natural tone of the performance.
Start with an attack time of around 10-20 milliseconds and a release time between 200-500 milliseconds to let the compressor respond smoothly to the incoming signal.
#6. Digital Compressors
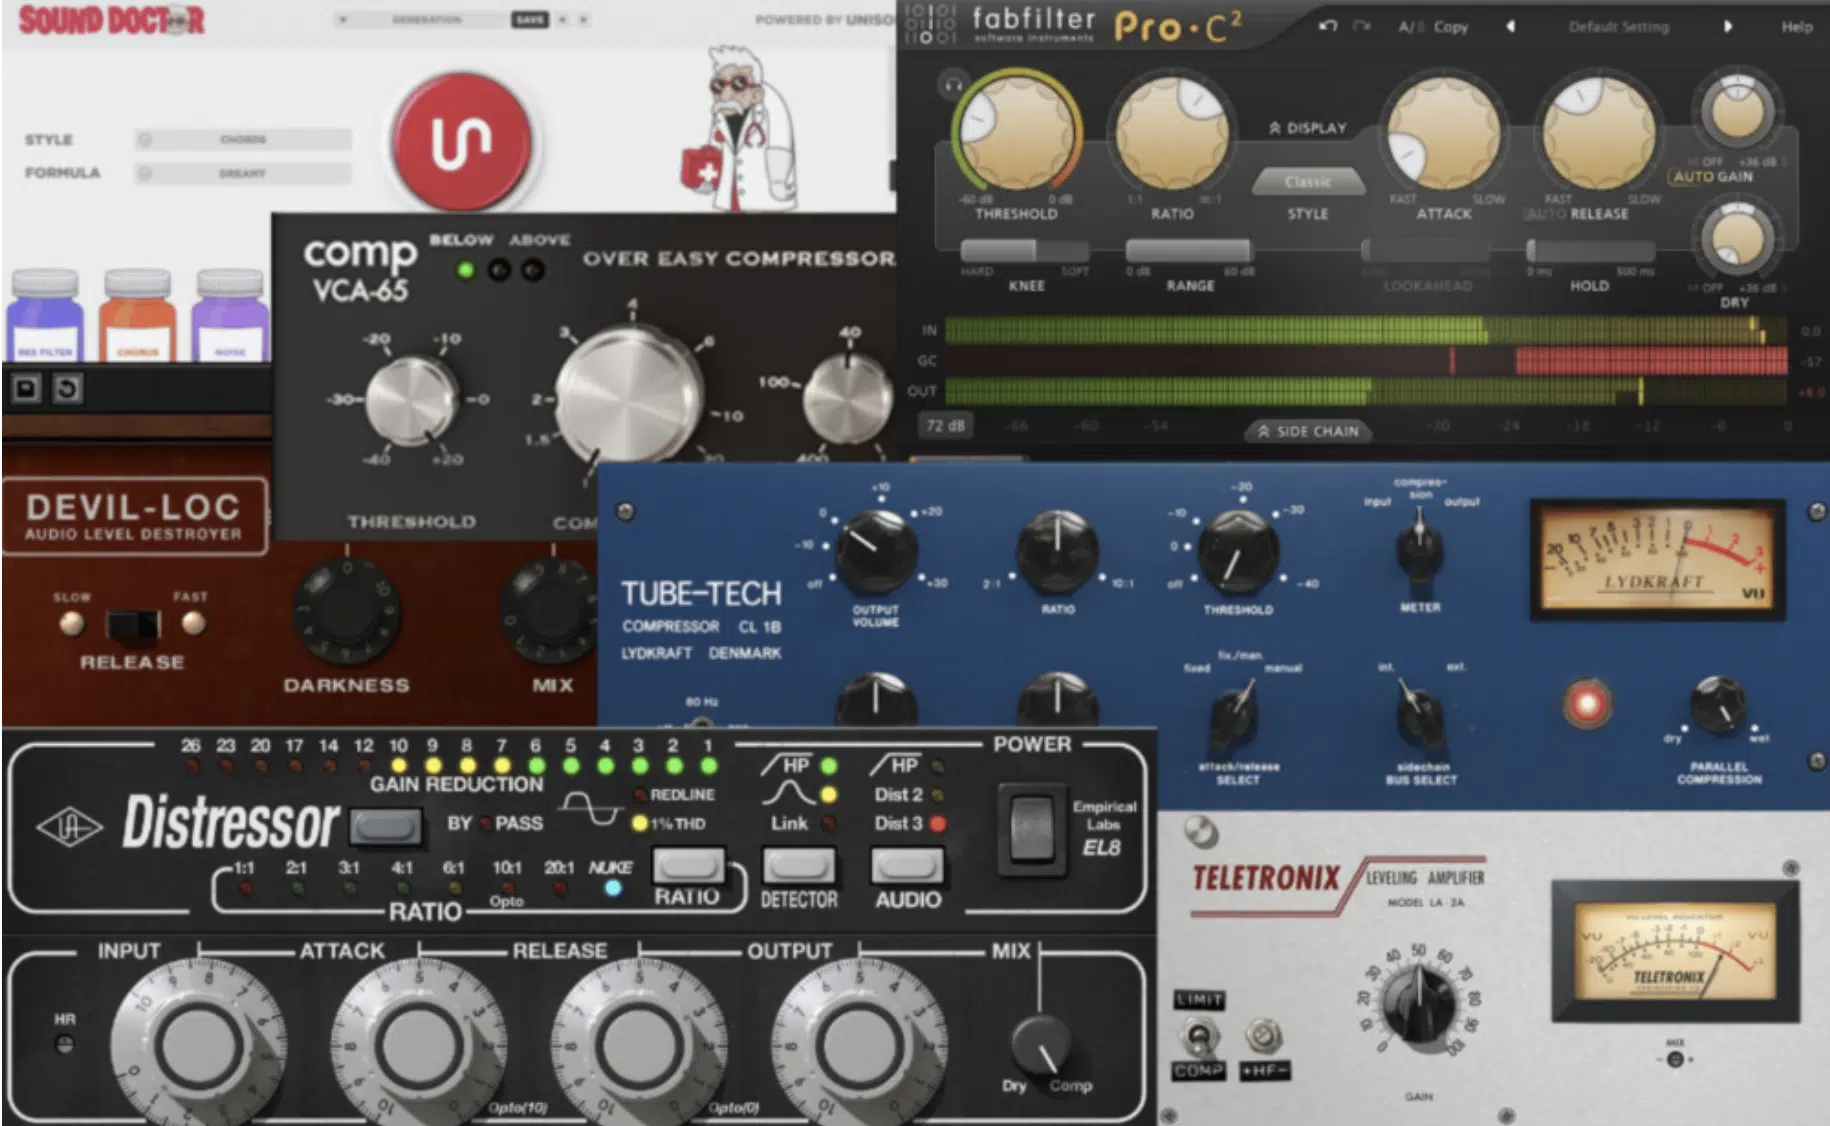
Digital compressors, often found in modern DAWs, offer unmatched precision and flexibility in controlling audio compression.
Unlike their analogue counterparts, digital compressors rely on algorithms to process the audio signal 一 allowing for a wide range of compression types and settings.
This flexibility makes digital compressors perfect for pretty much anything, from subtle dynamic control to dramatic compression effects and everything in between.
The ability to save presets and automate parameters adds to the convenience of using digital compressors, so you need them in your music production setup.
Whether you’re applying light compression to a vocal or using sidechain compression to duck a bassline, digital compressors are invaluable.
They’ll help you achieve professional results with precise control over every aspect of the audio signal if you know the correct compression settings, that is.
-
Pro Tip: Leveraging Digital Compression in Modern Tracks
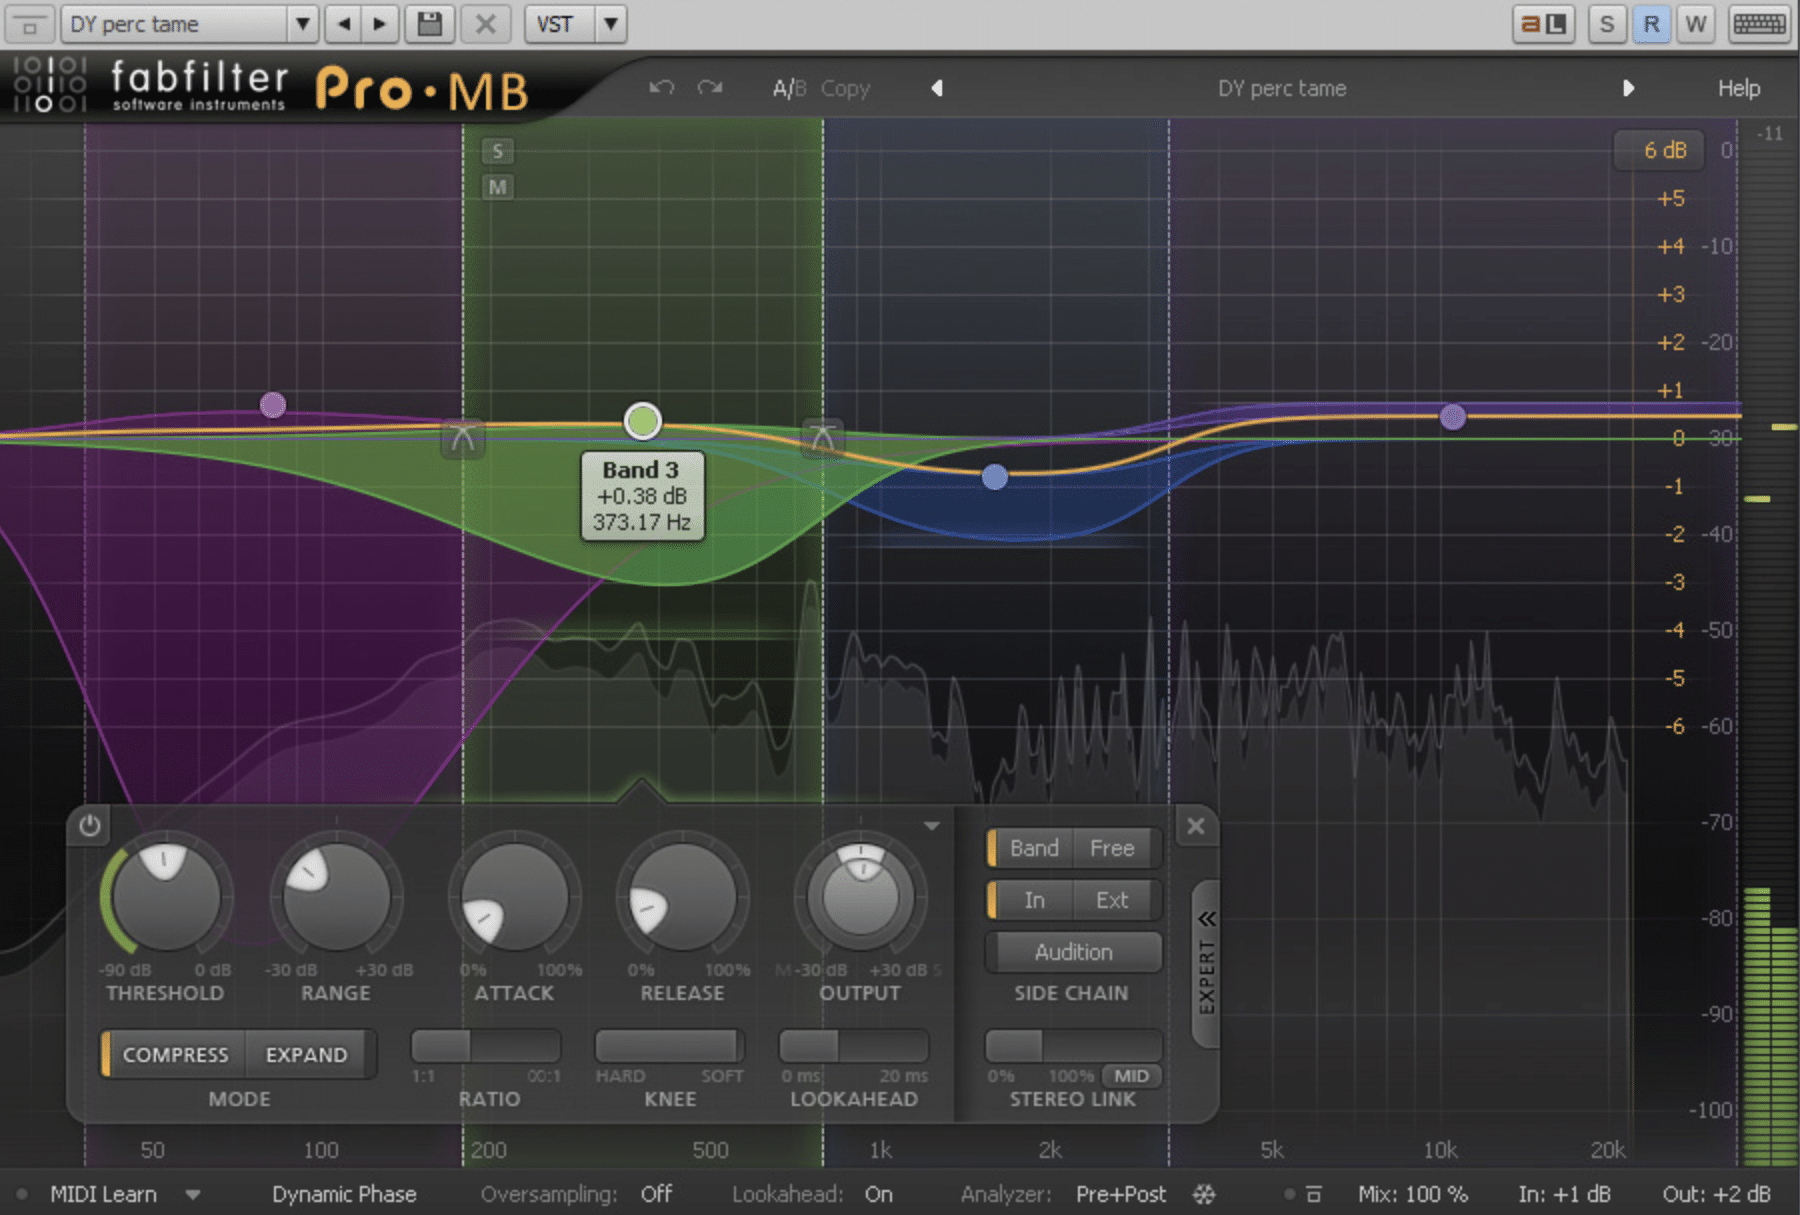
Dynamic Processing with Compression
When it comes to digital compressors, there’s everything from emulations of classic hardware units to unique, modern designs, so don’t be afraid to try out different models to see which one best fits the character of your audio signal (and vibe).
Use sidechain compression to create space in the mix or automate the attack and release times to achieve dynamic compressor transitions that enhance the overall sound.
#7. Multiband Compressors
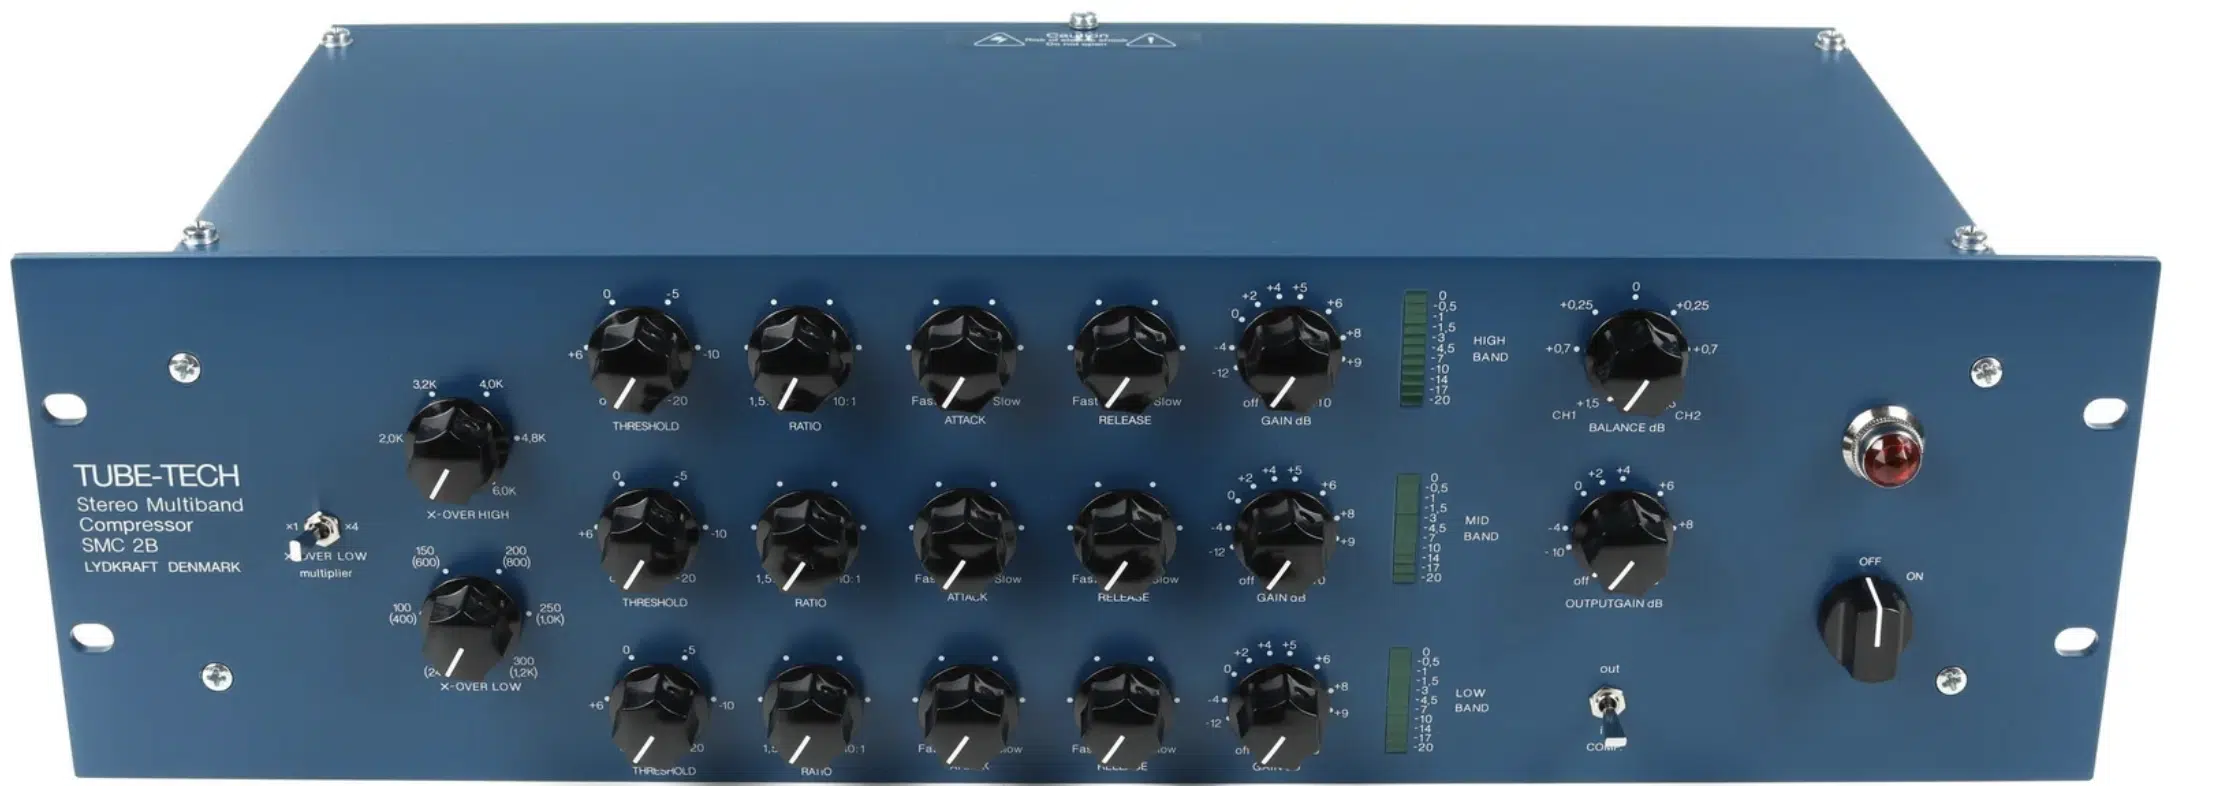
Multiband compressors apply compression to specific frequency bands within an audio signal, providing more precise dynamic control across the entire frequency spectrum.
Unlike standard audio compressors that affect the entire signal as a whole, multiband compressors split the audio signal into multiple bands:
- Low
- Mid
- High
Then, apply different compression settings to each unique band.
This capability makes them ideal for mastering, where you might need to tighten up the bass frequencies without affecting the clarity of the mids and highs.
By adjusting the compression ratios, attack and release times, and gain reduction for each band, multiband compressors offer unmatched flexibility.
So, when it comes to shaping the sound of a mix, they’re always on point.
Whether you’re working to control the dynamic range of a complex mix or enhancing the punch of specific elements like kick drums or vocals, multiband compression can help achieve a polished, balanced sound.
Bonus: Types of Audio Compression
Beyond the standard audio compressor types, understanding the various methods of audio compression can take your music production skills to the next level. The following advanced techniques allow for greater creative control over the dynamic range and tonal balance of your tracks, so let’s get into it.
-
Sidechain Compression
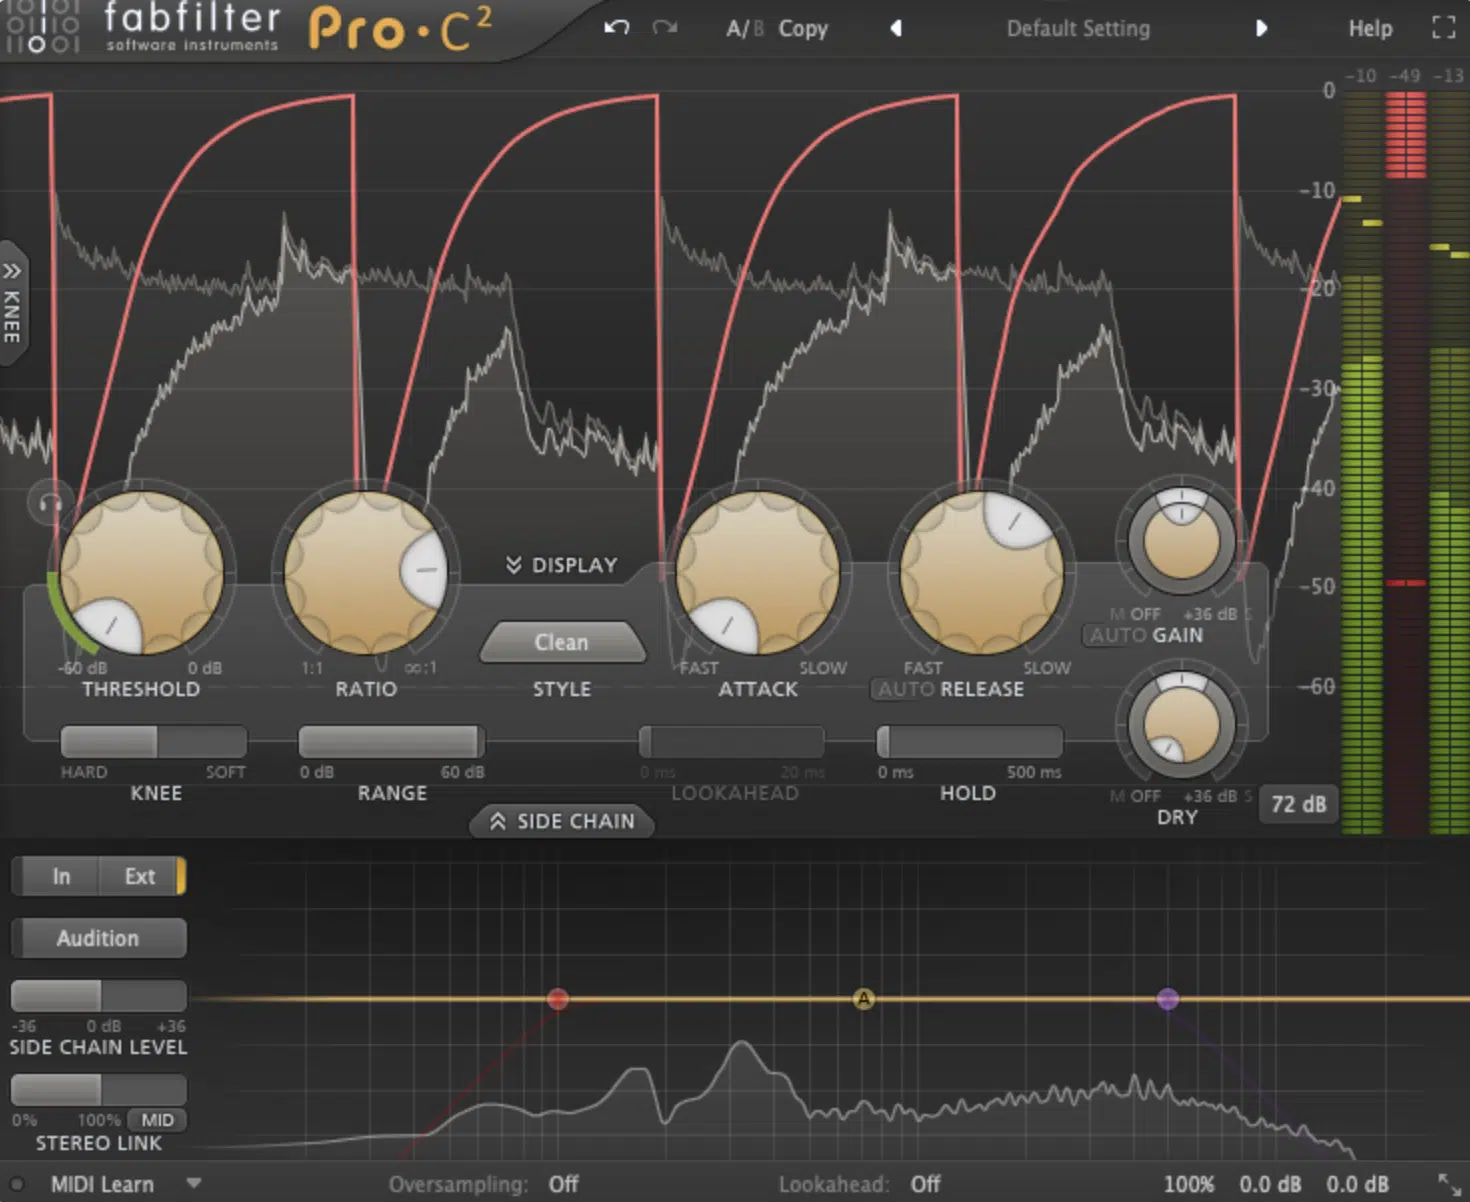
Sidechain compression is a popular technique in modern music production, super popular in genres like EDM, hip-hop, and pop, where it’s used to create rhythmic pumping effects that people go crazy for.
By routing an external signal (like a kick drum) to control the compression applied to another track (like a bassline), sidechain compression allows the bass to duck in volume every time the kick drum hits.
It creates space and clarity in the mix.
This technique is essential when it comes to preventing frequency clashes between elements and can be adjusted for either subtle or dramatic compression effects.
Whether you’re looking to create that iconic “pumping” sound or just need to make room for key elements to all vibe together, sidechain compression is invaluable.
Side note, if you want to want access to the best sidechaining plugins, we got you.
-
Parallel Compression
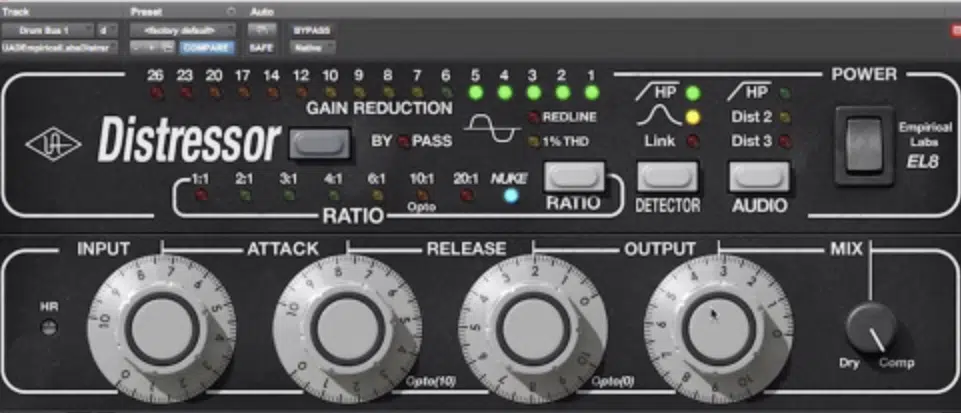
Parallel compression, (a.k.a New York compression) is a technique that involves blending a heavily compressed version of a track with its uncompressed or lightly compressed counterpart.
With it, you can add punch and presence to a mix without losing the natural dynamics…
For example, on drums, you can use aggressive compression on the parallel channel, with a high ratio (e.g., 10:1) and fast attack and release times, to crush the transients and bring up the room sound/sustain.
Then, mix this heavily compressed signal back in with the dry drum track to retain the snap and energy of the original hits while adding thickness and power.
By carefully balancing the wet and dry signals, parallel compression can add depth and intensity to your mix 一 resulting in a more powerful and dynamic sound.
So, whenever you want the drums or vocals to stand out without sacrificing any clarity or introducing artifacts, it’s perfect.
-
Multiband Compression
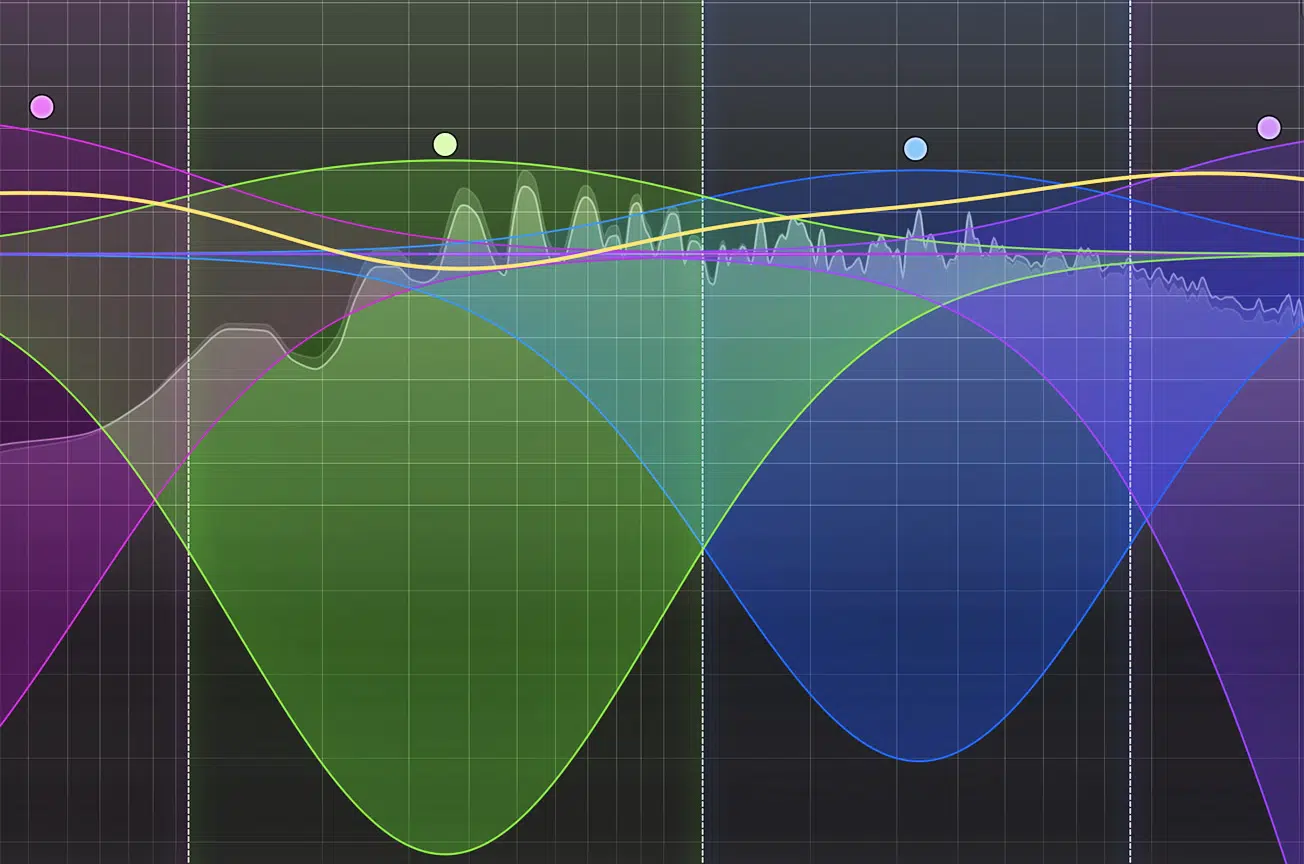
Multiband compression provides the ability to apply different compression settings across various frequency bands, as we touched upon earlier.
For example, you might apply a compression ratio of 4:1 to the low-end frequencies (20Hz-200Hz) with a fast attack time of 10ms to tighten up the bass and kick drum.
This will give them a punchy, controlled presence without muddying up the mix.
At the same time, you could use a gentler ratio of 2:1 on the midrange (200Hz-4kHz) with a slower attack of 50ms to maintain the natural warmth and clarity of instruments like guitars and vocals.
This way, they can breathe and sit naturally in the mix.
Remember, being able to tweak specific frequency issues within a mix without affecting the rest of the audio signal is what’s going to give your tracks that extra professional edge, so make sure to practice and play around.
With multiband compression, you can ensure that each element in your mix sits perfectly within the frequency spectrum, so your sound quality shines.
Compressors and Limiters: What’s the Difference?
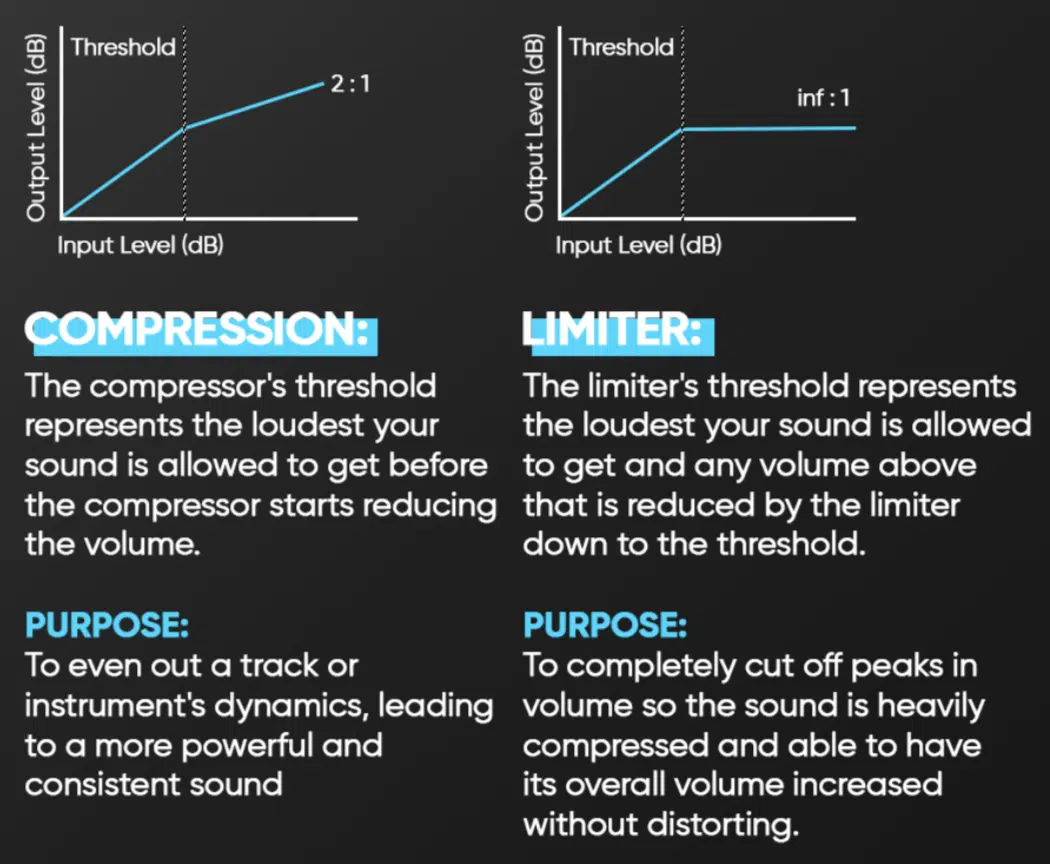
Limiting is a form of audio compression that applies a very high ratio to prevent any signal peaks from exceeding a set threshold.
Unlike traditional audio compressors that allow for a range of dynamic control, limiters are designed to catch and cap the loudest parts of an audio signal.
This makes them essential for protecting against clipping and distortion during the mixing and mastering processes.
For example, when mastering a track, setting a limiter with a threshold just below 0dB ensures that even the most aggressive peaks don’t clip (meaning = no distortion).
Or, let’s say you’re preparing a track for streaming platforms…
A limiter will help you to push the overall level of the track higher while keeping the peaks in check, creating a louder and more competitive final product.
NOTE: This aggressive form of compression is often used on the mix bus or during mastering to ensure that the final output signal remains within acceptable levels while maximizing loudness.
Bottom line, a well-set limiter can help achieve unity gain across your track 一 resulting in a loud, polished sound without sacrificing the integrity.
Side note, if you’re looking for the best FREE limiter plugins, look no further.
Bonus: Hardware vs. Software Compressors (Pros & Cons of these Audio Compressors)
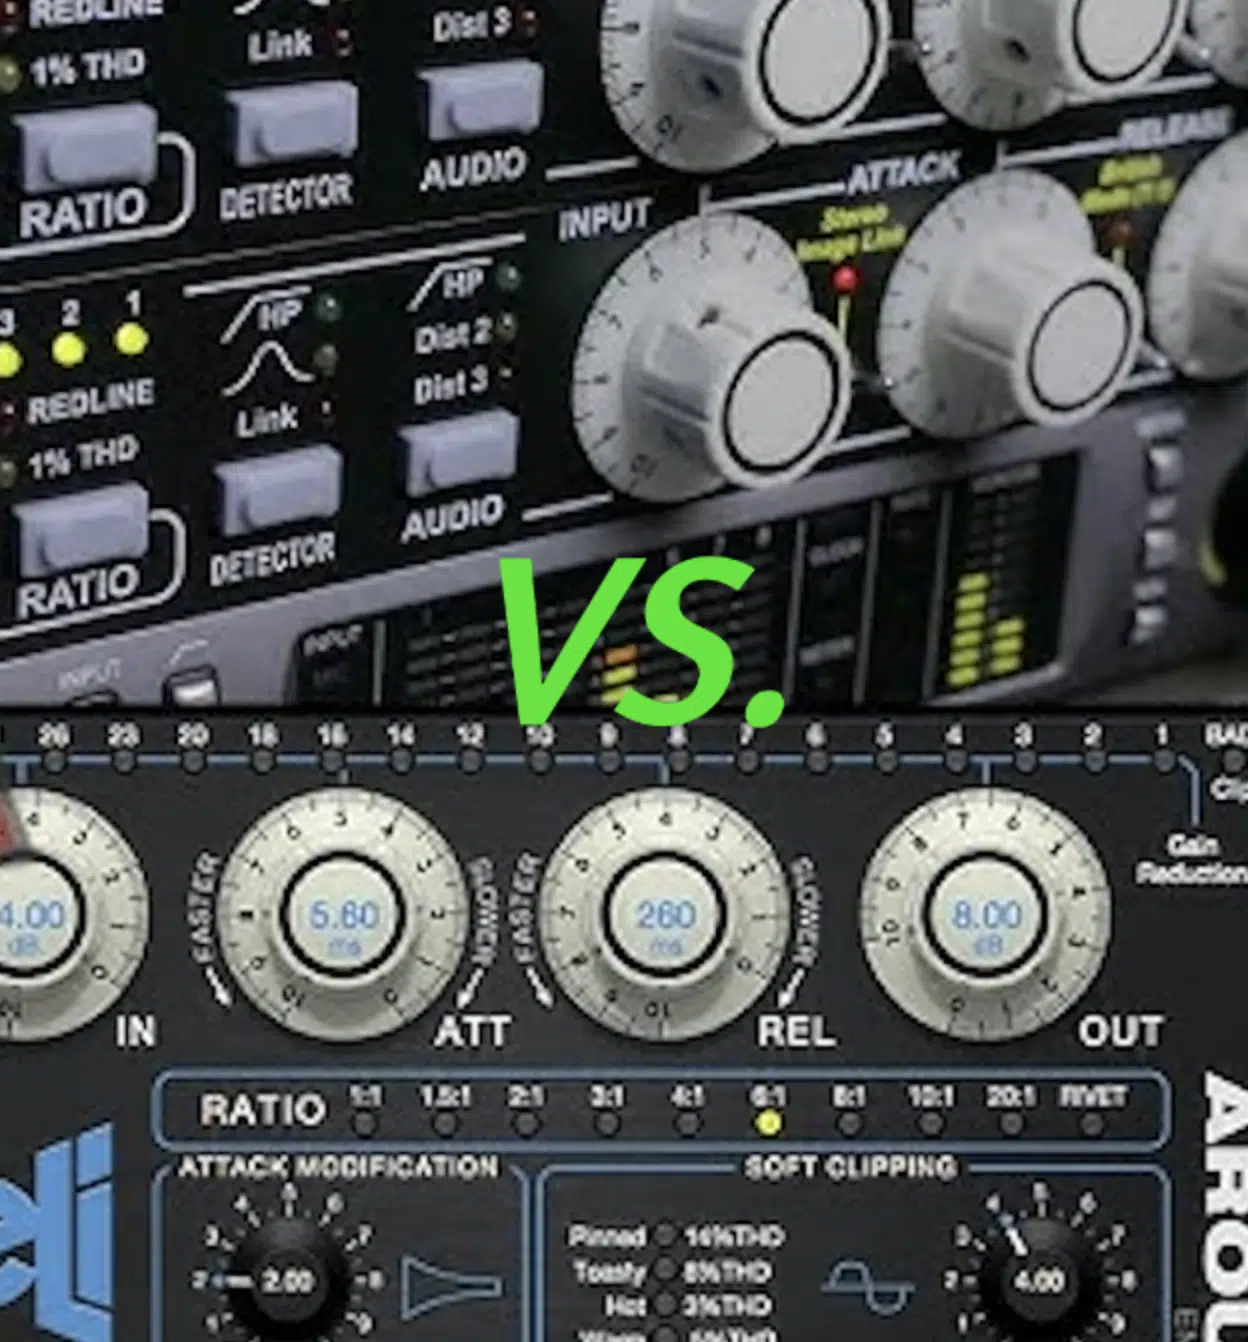
When it comes to choosing between hardware and software compressors, both have their pros and cons, of course.
So, understanding what exactly these differences are can help you make the right choice for your unique music production setup.
Hardware compressors, especially analogue compressors, are famous for their unique sound qualities, often adding warmth/character that’s difficult to replicate with software.
This warmth often comes from the inherent non-linearities in analog circuits, such as the use of transformers, tubes, or transistors
However, hardware compressors can be insanely expensive and way less flexible compared to their digital counterparts, which is really the big difference.
Software compressors, on the other hand, offer unparalleled flexibility 一 allowing for precise control over every parameter.
Plus, include features like automation, recall, sidechain filtering, mid/side processing, and detailed visual feedback, which makes them very, very convenient.
This level of control is impossible with hardware, unless you have multiple units on hand of course (think: super fancy studio).
Both hardware and software compressors have their place, so it all comes down to personal preference, money, and your specific project.
Whether you prefer the tactile feel and sound of a hardware compressor or the convenience and versatility of software, the choice is always yours.
Audio Compressors: Final Thoughts
Audio compressors are some of the most essential and versatile tools in the game.
Whether it’s analog or digital, they can help you shape your sound, control dynamics, and add the perfect amount of punch to your mix.
Plus, with the right knowledge and techniques, you’ll be able to enhance the clarity and balance of your tracks so they stand out with unmatched sound.
And now, using the techniques and information in this article, you can confidently use audio compressors like a true boss.
To take your skills even further, make sure to download the legendary Free Project Files pack, which includes 3 professional free project files (in Ableton, FL Studio, and Logic).
They’re the best way for you to see exactly how professional-quality tracks are made so you can know how to improve your own beats.
And yes, they cover every part of the compression process, from setting up audio compressors and adjusting attack and release times to tweaking gain reduction and sidechain compression.
With this invaluable breakdown, you’ll be able to apply what you’ve learned and really enhance the sound quality of your tracks.
These professional, perfectly processed project files are your ticket to mastering the art of audio compression, so don’t miss out.
Plus, there are countless other free packs/free MIDI packs that will completely change the game for you, guaranteed (for all genres and styles).
So, dive into these project files and apply the knowledge from this article so you can master audio compressors and really take things up a level.
You now have all the tools and techniques needed, so go put them to use!
Until next time…


Leave a Reply
You must belogged in to post a comment.