Everyone has a different music production workflow, that’s a fact 一 and, at one time or another, you probably want to know how to enhance yours a little bit.
It can help you get from idea to finished song faster, feel more inspired during your production process, and ultimately create better music.
Plus, it can unlock new ways to stay in the flow state, reduce setup time, and help you find clarity in both the technical aspects and the creative process.
That’s exactly why I’m breaking down how to enhance your music production workflow with things like:
- Using AI-powered tools ✓
- Upgrading your DAW templates ✓
- Smarter vocal recording setups ✓
- MIDI performance tricks ✓
- Building creative FX chains ✓
- Setting up better mix workflows ✓
- Sampling like a pro ✓
- Automating smart plugin moves ✓
- Creating arrangement reference lanes ✓
- Making music like a true professional ✓
- Much more about enhancing your music production workflow ✓
With all of these tips, tricks, and techniques I’m breaking down today, you’ll be able to tighten up your music production workflow like an absolute boss.
Plus, you’ll know exactly how to tap into more inspiration, bang out new ideas faster, and stay curious without burning out (or going crazy from beat-block).
This way, you’ll never have to worry about getting stuck halfway through a new project, or losing the vibe before a great song is done ever again.
Table of Contents
- How to Improve Your Music Production Workflow
- #1. Using Unison Audio’s Plugins
- #2. Using Unison Audio’s Sample Packs
- #3. Using Reference Tracks
- #4. Pro Vocal Chain Setup
- #5. Custom DAW Templates
- #6. MIDI Randomization Tricks
- #7. Parallel FX Chains
- #8. Smart Macro Mapping
- #9. Anchor Sound First Method
- #10. Resample First Workflow
- #11. Creative FX Routing
- #12. Multiband Envelope Control
- #13. Arrangement Shadow Tracks
- #14. Bonus: Prebuilt MIDI Kits
- Final Thoughts
How to Improve Your Music Production Workflow
So, let’s break it all down, one move at a time. These tips are designed to slot directly into your music production workflow, no matter your genre or DAW of choice.
#1. Using Unison Audio’s Plugins
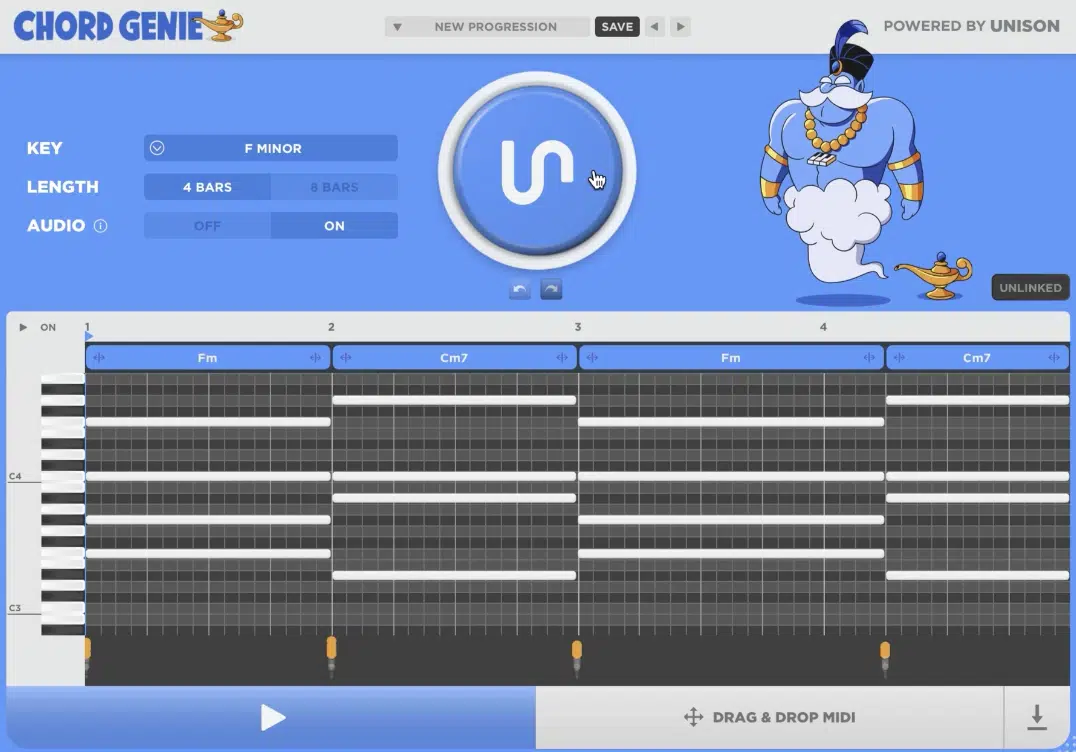
Unison Audio’s plugins can instantly shift your music production workflow into high gear by helping you create fire musical ideas before you ever touch your keyboard.
For example, Chord Genie lets you choose a key and emotion (like A minor – “emotional”), and then it instantly generates dozens of progression options.
And every progression you get will follow correct theory but still leave room for playing around with different variations.
Once you’ve picked a progression, you can load up Bass Dragon, which auto-generates a killer bassline that rhythmically and harmonically fits perfectly.
No manual tweaking required, just tweak the style (e.g. “bouncy,” “sustained”) and drop it in your track and you’re good to go.
Then with Drum Monkey, you can generate full drum patterns broken down by genre (like “Trap – 140BPM”) 一 complete with label-separated stems for kick, snare, hats, and percussion that all snap into your DAW and instantly get your beats/full songs moving.
Using all three plugins together creates a flawless workflow where any full idea can be built in under 10 minutes flat, no b.s. about it.
This will give you more creative time to shape the sound, and less time clicking through samples or trying to find “what works.”
And the best part is that you don’t have to take any music theory courses or anything to make pro-quality tracks regardless of style, genre, or vibe.
Download The Best Music Production Plugins In The Game
#2. Using Unison Audio’s Sample Packs
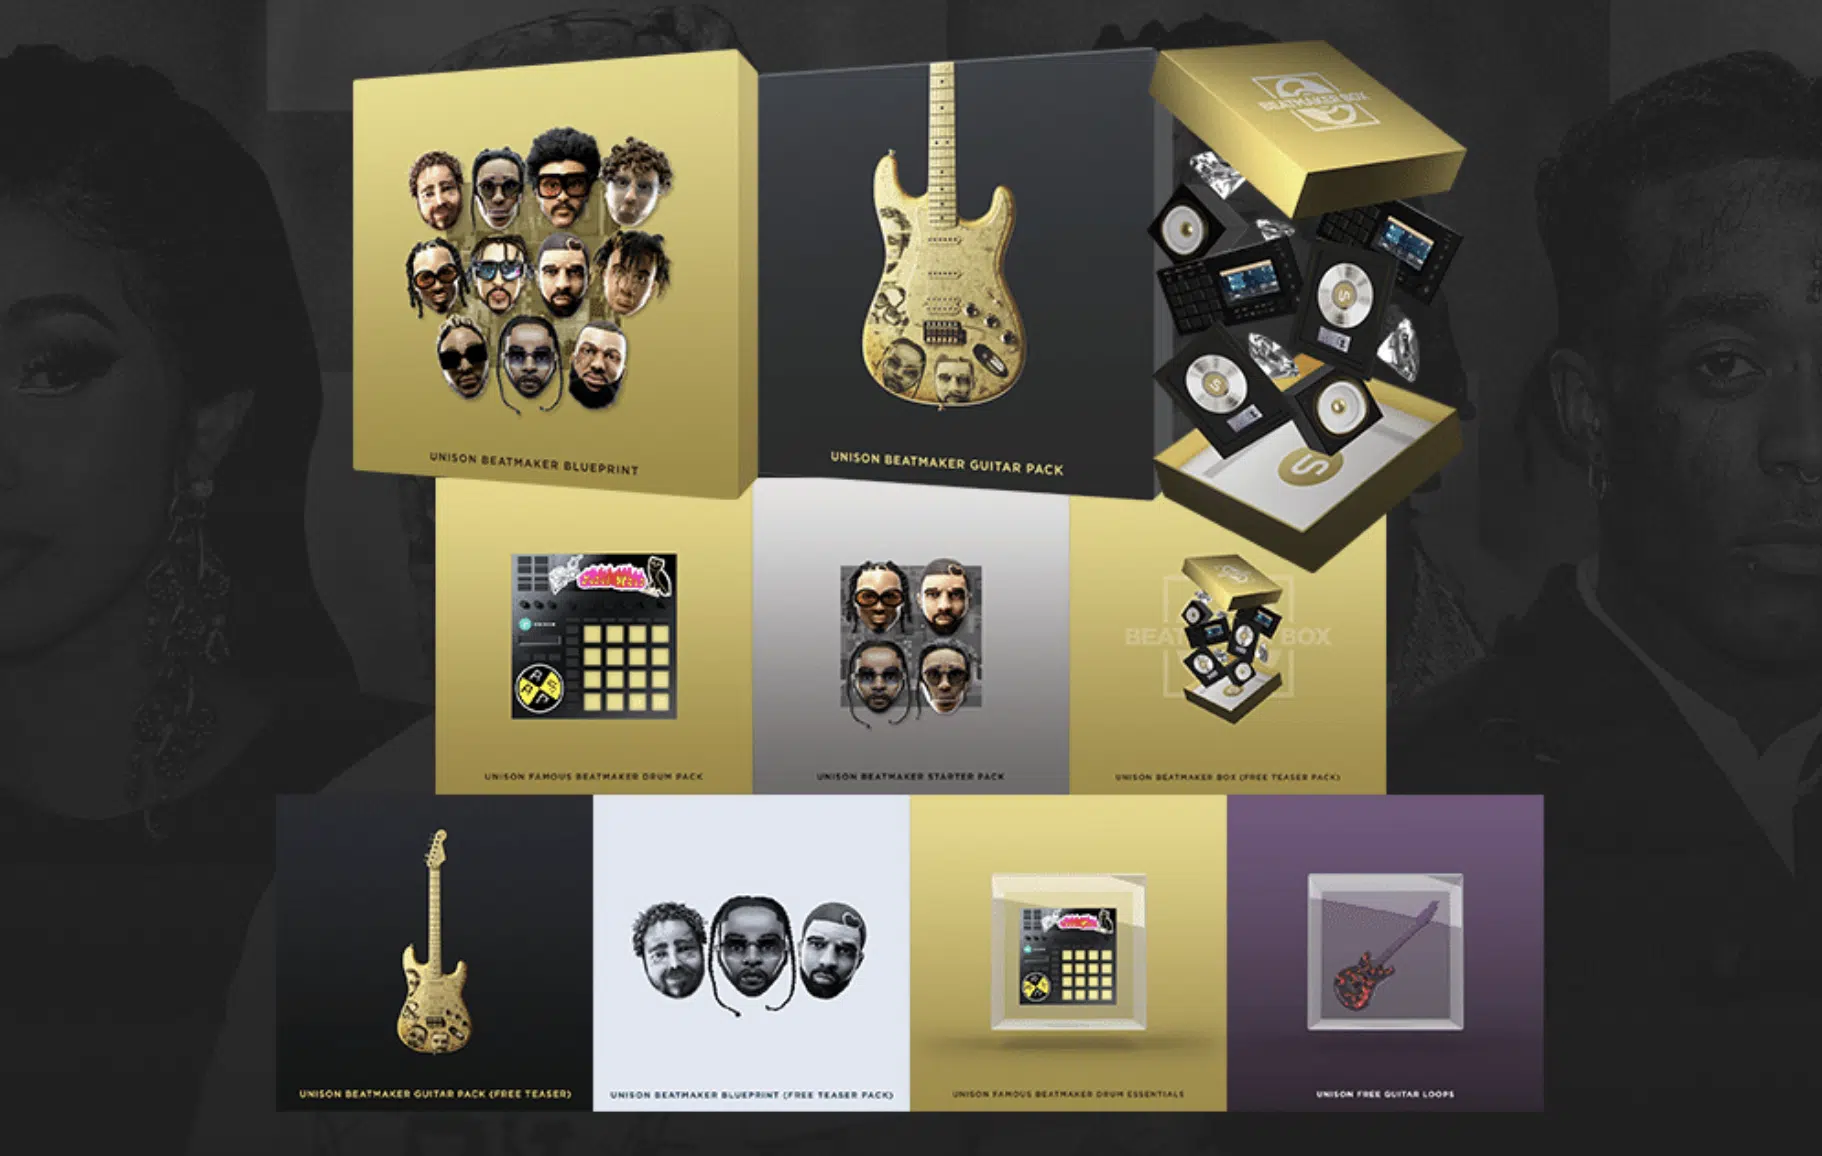
Unison’s world-renowned sample packs (both free and paid) are your golden ticket to insanely professional sounds every single time.
You’ll get access to everything from drum and bass loops to addicting melodies and everything in between.
And, each pack is structured with folders like “Kicks – Tuned,” “FX – Risers,” “Claps – Dry/Wet,” and includes key-labeled and BPM-tagged loops and one-shots.
This way, you can keep the flow going without any guesswork.
For example, if you’re building a high-energy electronic music track, you can grab a kick from the “Festival Kick” folder and pair it with a clap that hits right around 200Hz.
Then, layer it with a tonal hi-hat loop that sits perfectly between 4kHz–8kHz without needing to EQ it right away.
Everything you pick will be polished to perfection and will easily sit in the mix, and they were all created by the best music producers in the industry.
This means you’ll spend more time arranging and creating movement and less time fighting muddy sound layers or overcompressed loops.
When you’re working with this kind of efficiency, you open up more quality time to focus on creativity, inspiration, and pushing your production process forward without distractions or obstacles.
Download All The Best Sample Packs
#3. Using Reference Tracks
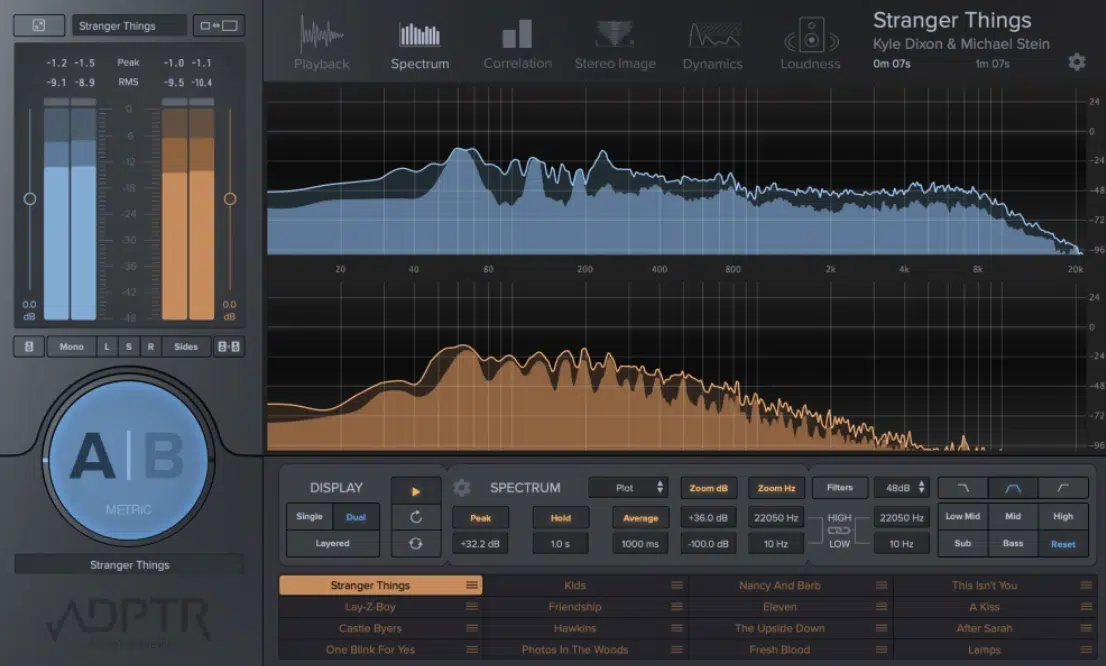
Using reference tracks at the right moments during your music production workflow helps you sharpen your ears and catch balance issues.
All before they become hard or frustrating to undo.
A good move is to choose one reference track that closely matches the song you’re producing in terms of vibe, genre, and energy.
For example, referencing a Bryson Tiller song for an ambient R&B mix or a Fred again.. track for modern dance clarity.
Drop the reference into your session on a muted track or load it into a plugin like ADPTR Metric AB, then level match it using a utility plugin so you’re not fooled by loudness.
Just make sure to listen for elements like:
- Mix balance
- Vocal presence
- Low-end weight
- Stereo width
- Transition energy
Then, compare your full track at multiple points (post-hook, during the drop, etc.) to make sure you’re not falling short/lacking in any area.
Bottom line, using references during arrangement, recording, and final tweaks can help you catch technical aspects you missed and keep the creative process on point every time.
#4. Pro Vocal Chain Setup
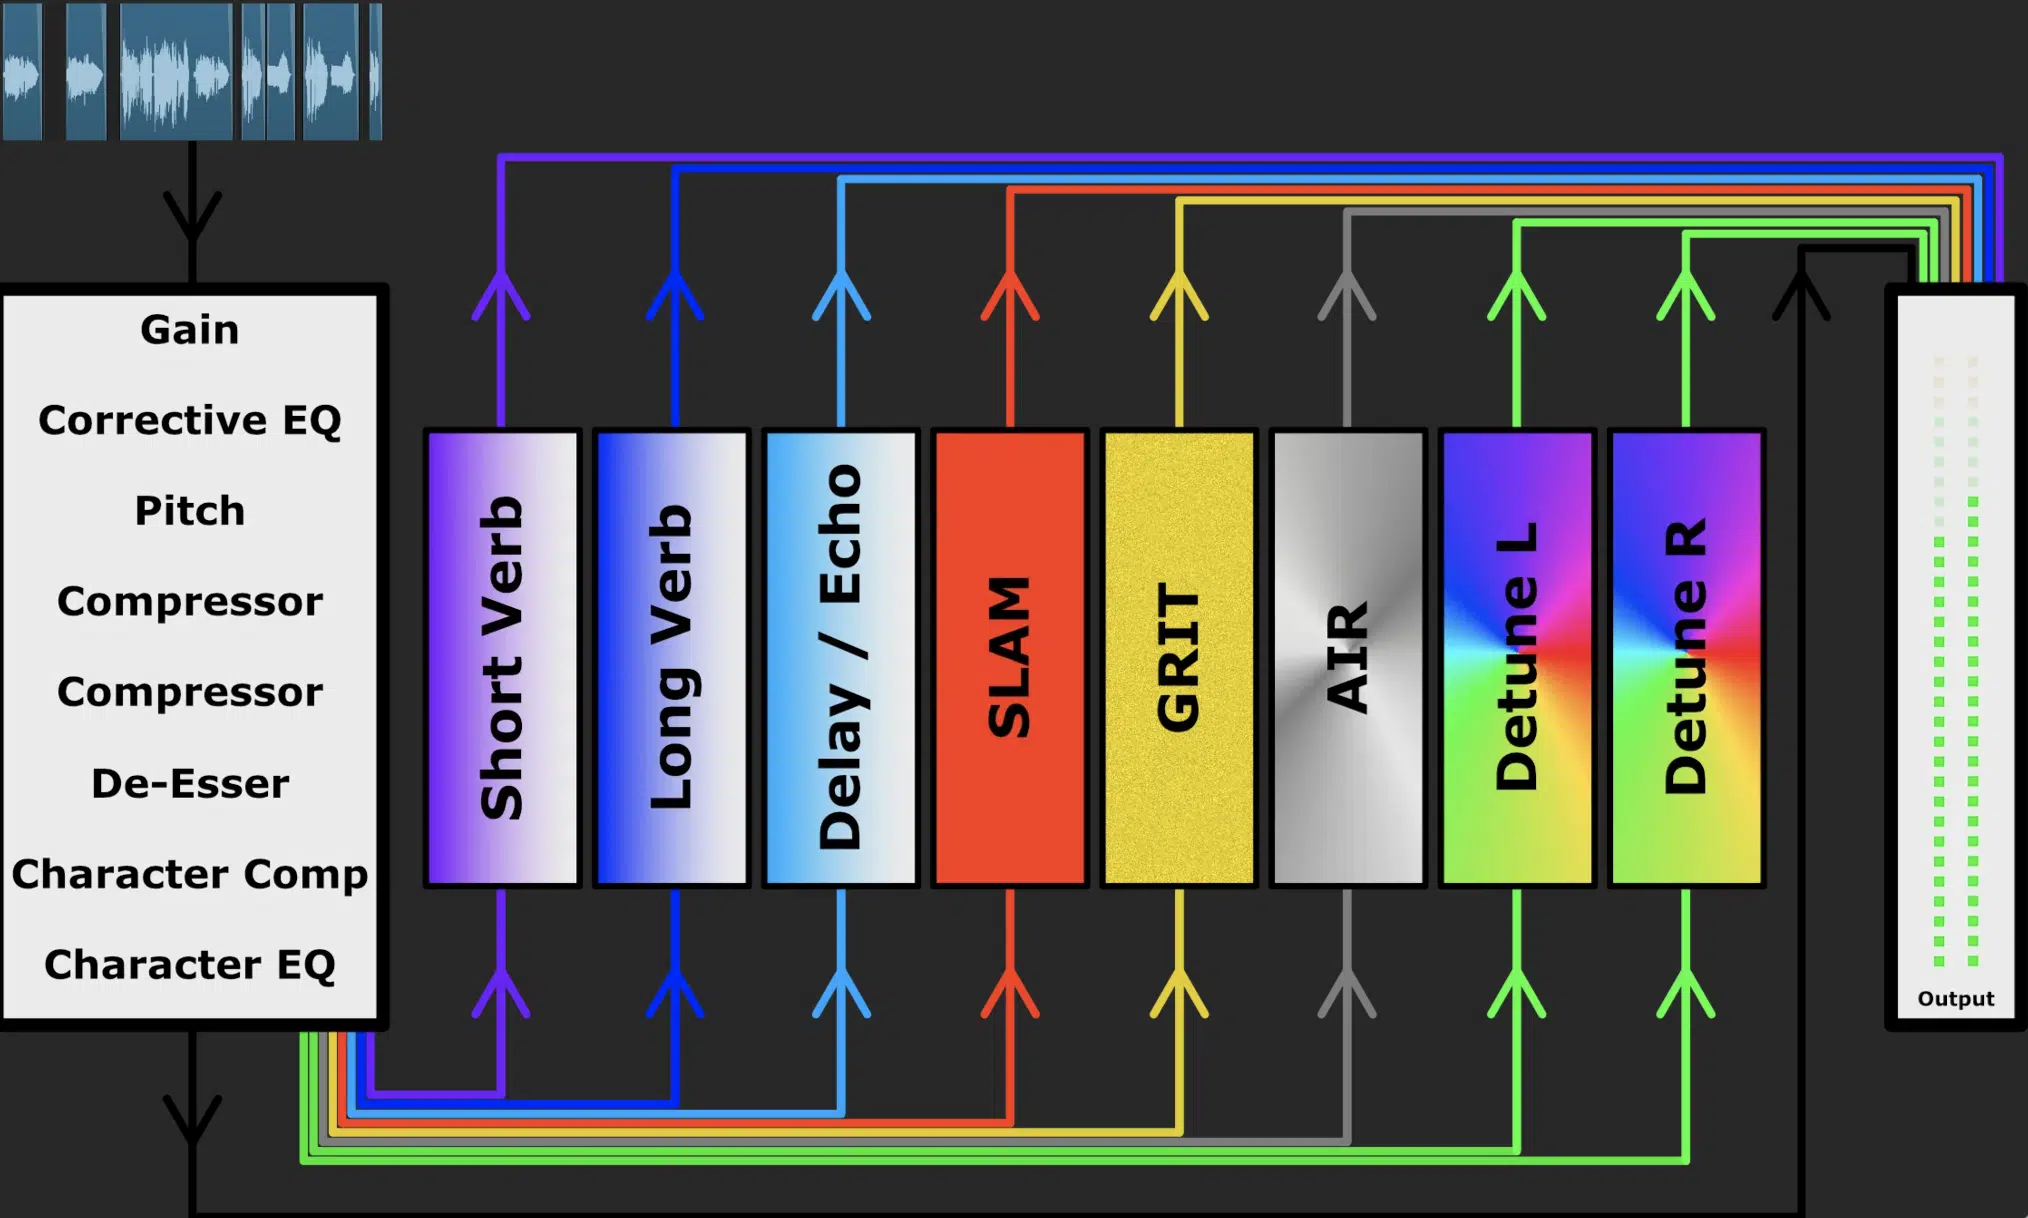
Setting up a solid vocal chain ahead of time is a major time-saver in any music production workflow (which is what it’s all about).
This is especially true when you’re bouncing between recording and production phases.
A smart chain starts with a high-pass filter around 80–100Hz to clear room for the kick and bass, followed by a fast compressor like RComp with a 3:1 ratio and 10ms attack.
It’ll help you smooth dynamics without crushing the vibe.
Next, you’ll want to place a de-esser targeting around 6.5kHz to control sibilance, then add a transparent EQ like FabFilter Pro-Q 4 (my fav) to carve out muddiness around 300 Hz and lift the air around 12kHz for clarity.
From there, you can split sends to a short plate reverb at 12% wet and a ping-pong delay synced to 1/8 notes.
Then, blend in a parallel saturation layer using Decapitator to bring subtle grit back to the vocals.
Saving this chain as a template or rack inside your DAW reduces setup time and keeps your mix on point, so definitely don’t overlook this one.
Plus it lets you stay focused on capturing a great song rather than constantly troubleshooting.
#5. Custom DAW Templates
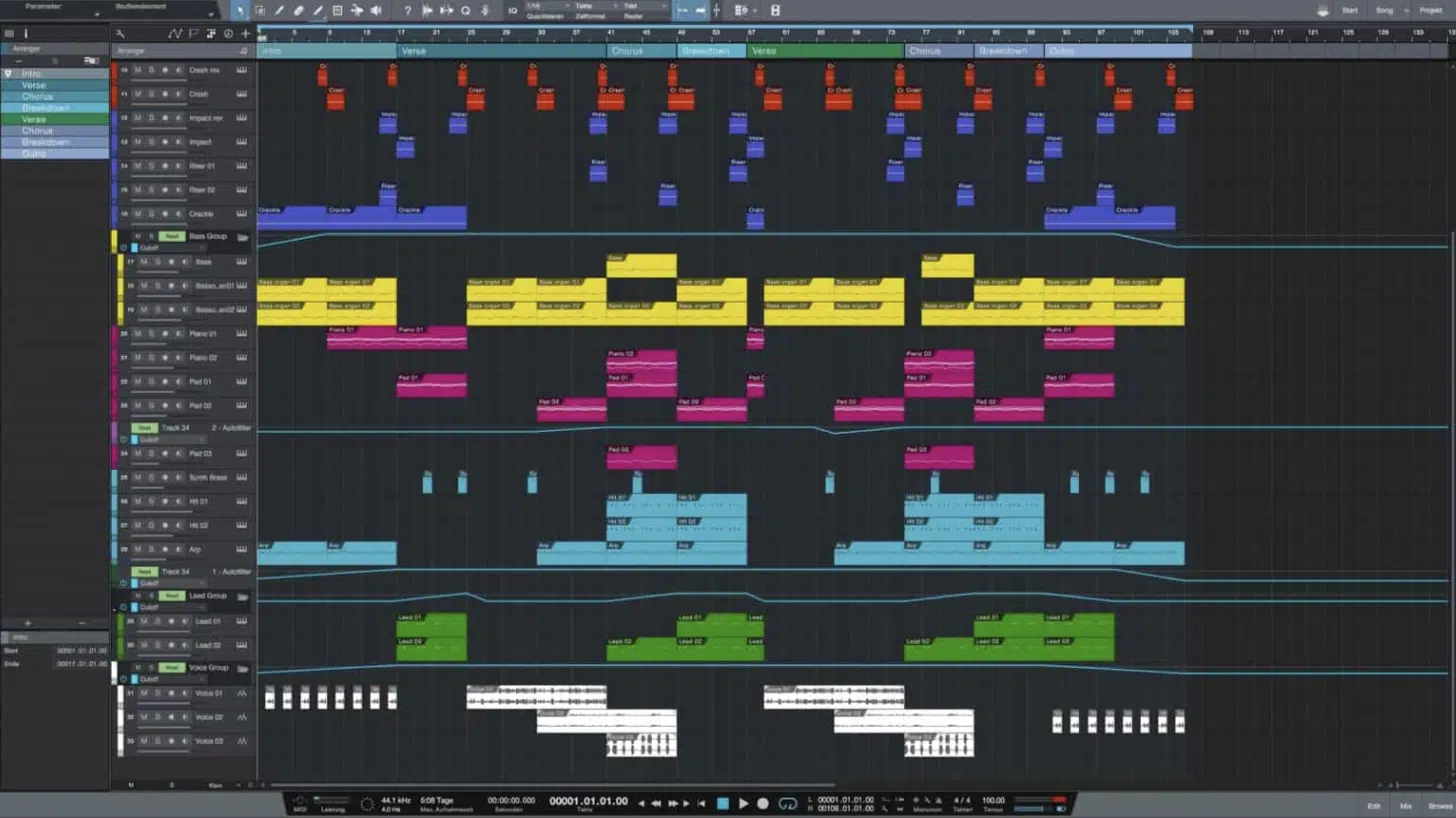
The more you set up in advance, the more freedom you’ll have later, and that’s exactly where DAW templates come in to level up your music production workflow.
For example, a solid starter template might include:
- Eight audio tracks for drums
- Three MIDI tracks for synths
- Busses already labeled for vocals, FX, and sidechain routing
And with go-to plugins like Serum 2, Decapitator, and Valhalla already loaded, of course.
Also, having color-coded tracks named “Claps,” “808s,” or “Vocal Hooks” lets you jump into a new project without slowing down to label or route anything manually.
And when your sends are already set up for reverb, delay, and parallel compression, you don’t have to think 一 you just reach for what you need and keep building the song.
All-in-all, DAW templates like this don’t just save time, they help lock you into a creative process where the focus stays on the music, not the menu bars.
Side note, if you want to learn all about how to choose a DAW or get access to the absolute best DAW template in the game, I got you.
#6. MIDI Randomization Tricks
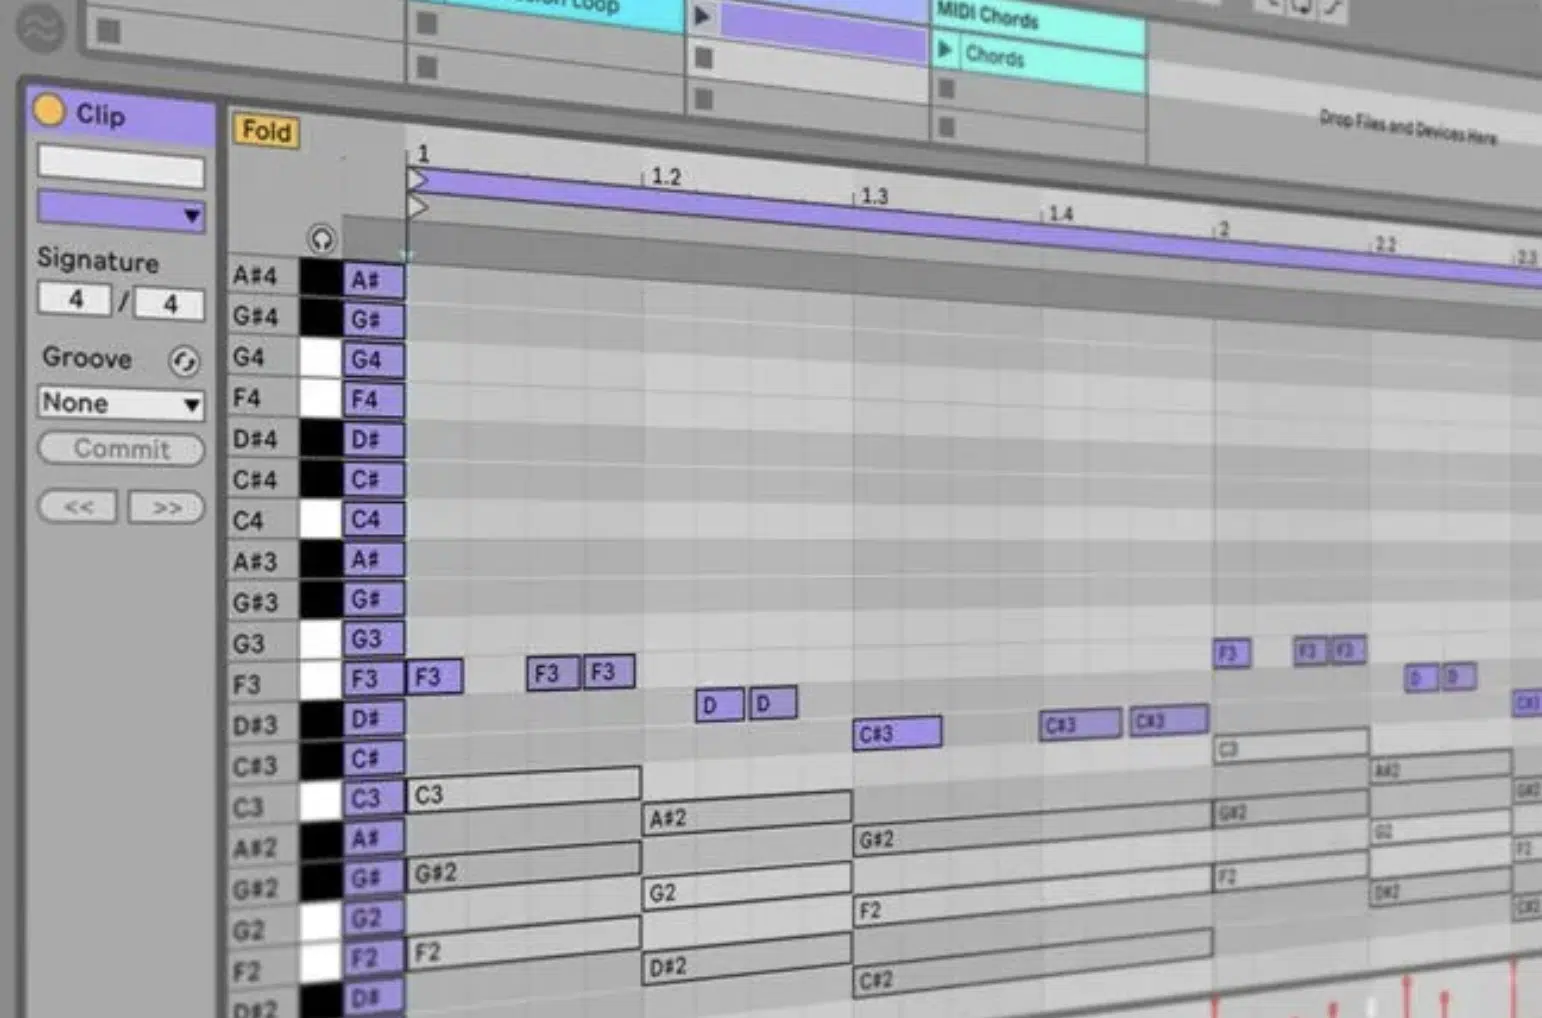
When a track starts sounding too robotic or stiff, tiny bits of MIDI randomization can bring it back to life and keep the music production workflow feeling fresh.
So, you can try shifting hi-hat velocities between 70–100 and nudging notes off the grid by 5–15 milliseconds to make everything groove more like a real drummer or player.
You can also randomize filter cutoff or pan position using tools like Ableton’s LFO or Max for Live modulators to make each bar feel slightly different than the last.
For example, randomly modulating the attack time on a pluck sound or throwing in slight note timing changes on a synth stab can inspire new ideas you wouldn’t get by locking everything to the grid.
Moves like this help keep the rhythm human, the vibe exciting, and the music production workflow constantly pushing forward instead of looping in circles.
#7. Parallel FX Chains
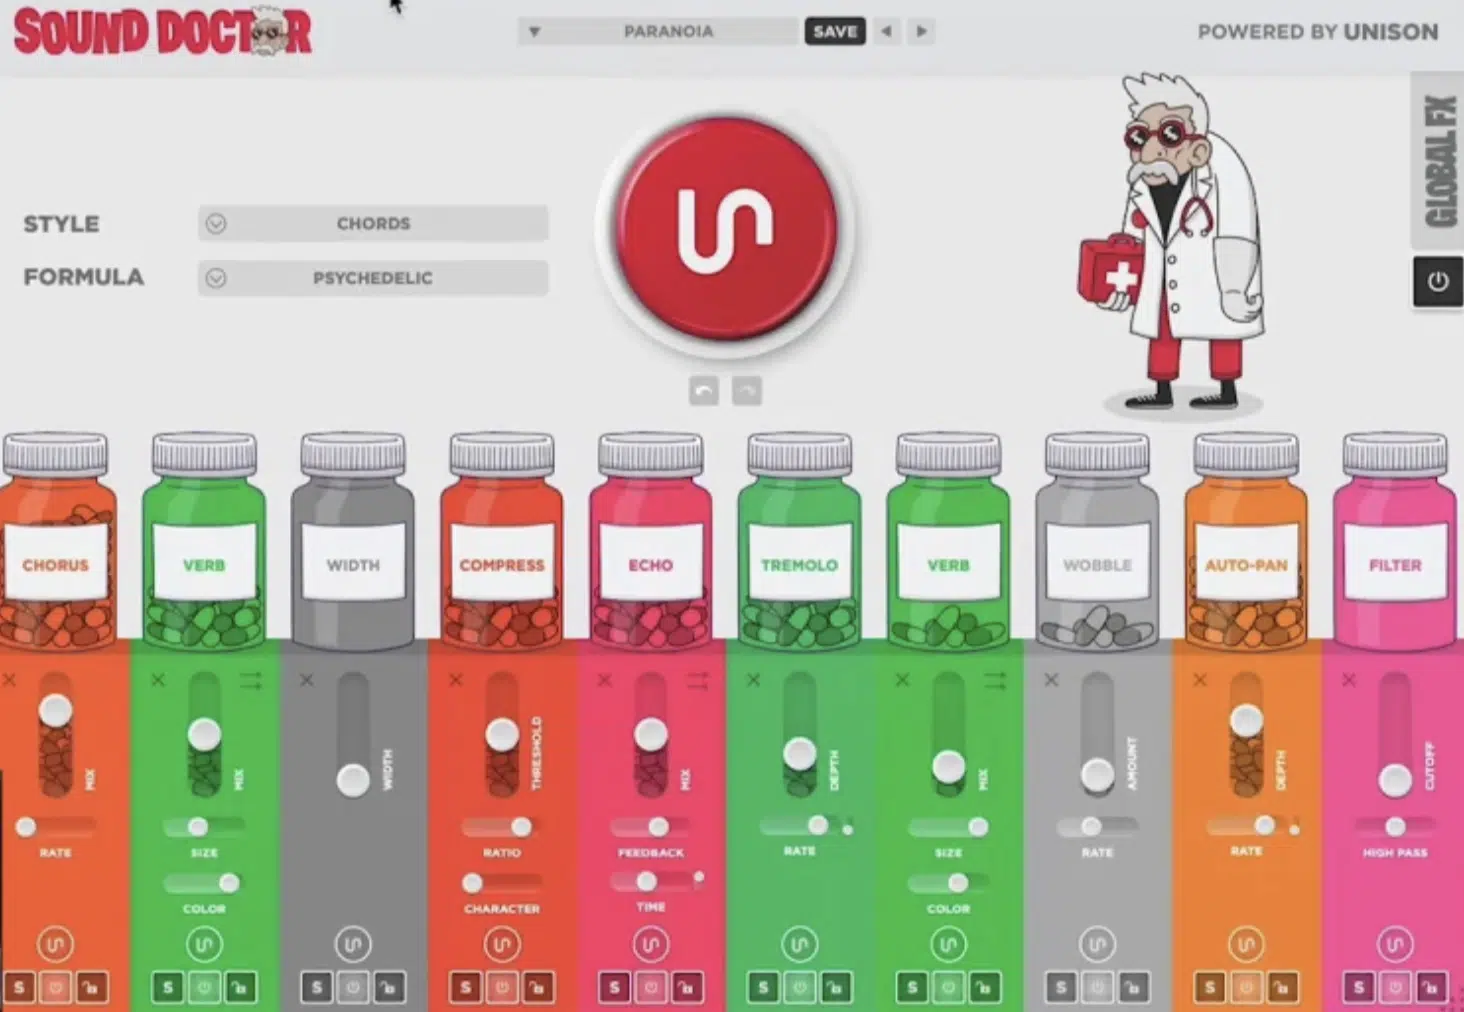
Building parallel FX chains into your music production workflow gives you a flexible way to add character, space, or grit without flattening the original sound.
For example, send your lead vocal to a bus with heavy saturation (like Decapitator at 60% drive), compress it with an 1176 clone, and blend it underneath the dry signal to keep clarity while thickening the tone.
You can also run drums through a parallel bus with OTT and CamelCrusher, then automate the blend to swell during transitions or drops for dynamic impact.
Another great move is using two reverbs in parallel (one short plate for snap and one long hall for width) then EQing each separately to avoid muddy overlaps in the mix.
This technique helps you keep the creative process intact while pushing the track forward, adding depth and aggression without compromising your finished song.
Side note, if you want the absolute best AI plugin for custom FX chains, Sound Doctor is the way to go every single time.
#8. Smart Macro Mapping
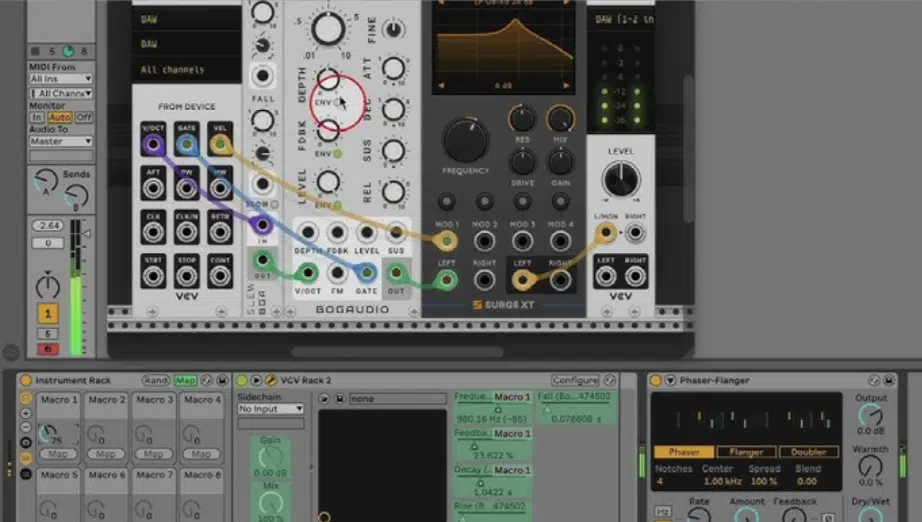
Macro mapping can be a secret weapon in your music production workflow, especially when working with layered synths or complex sound design techniques.
For example, mapping a single macro to control both filter cutoff on Serum 2 and reverb mix on Valhalla Room allows you to open up brightness and space together with one knob twist.
You can take it even further by assigning a second macro to adjust:
- Detune
- Chorus depth
- Delay feedback
It’s great for evolving leads or risers that shift throughout the track.
Most DAWs like Ableton Live let you name, color, and save macro controls, so you can recall them instantly when loading up a template.
Or when saving a preset for your next project.
Having smart macros ready like this means less time hunting for automation lanes, and more time locked into the music production workflow where creativity stays center stage (like it should be).
#9. Anchor Sound First Method

One way to speed up the music production workflow and avoid getting stuck early on is by starting every new project with a single “anchor sound” that sets the tone.
This could be something like a:
- Processed 808
- Dreamy pad
- Gritty vocal chop
- Any loop from a Unison pack
Anything that instantly inspires new ideas and gives the track direction from the jump.
From there, build around that sound using contrast (for example, if your anchor is a warm Rhodes loop, try sharp percussion or tight vocals to balance it).
That first sound becomes a reference point for mix choices, arrangement energy, and how other elements interact across the whole song structure.
Working this way cuts out second-guessing and keeps the creative process moving forward 一 helping you shape a full song that feels intentional/fluid from bar one.
#10. Resample First Workflow
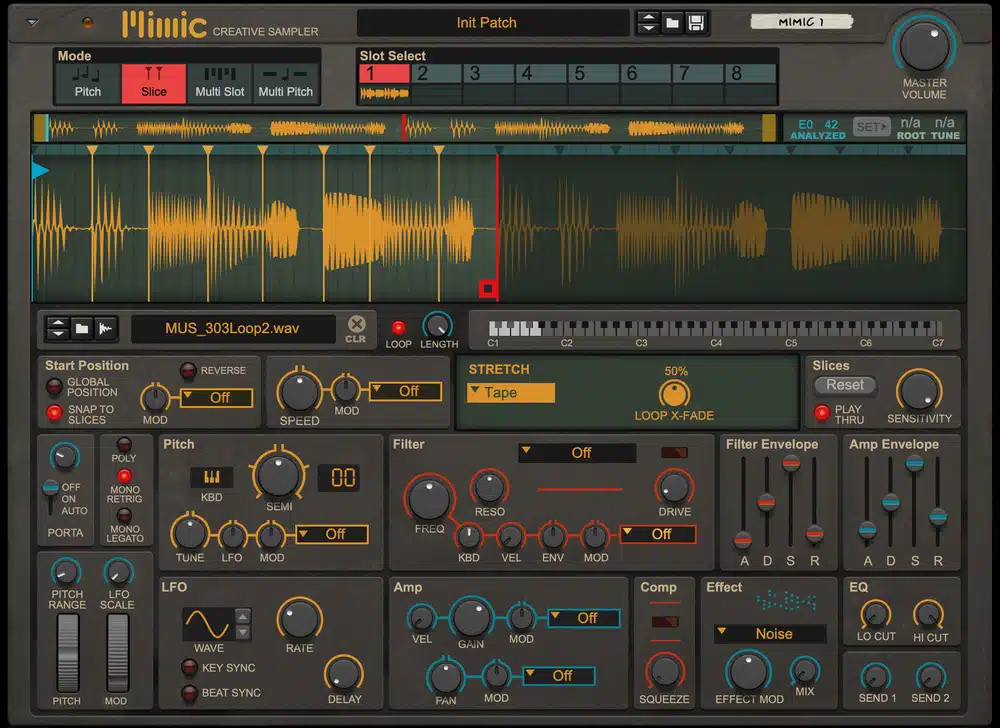
Resampling early in your music production workflow is one of the fastest ways to create textures, bounce ideas forward, and avoid getting caught in plugin chains.
For example, instead of stacking effects on a live Serum patch, bounce it to audio right after your core processing…
Then stretch it, pitch it, reverse it, or slice it into song pieces for a more experimental vibe (and, side note, never be afraid to think outside of the box).
You could resample a chord stack with OTT, reverb, and delay, then layer the resampled version under the dry take for added width without wrecking the mix balance.
Music producers working on electronic music often resample drum busses, then chop, distort, or sidechain them against basslines to keep things moving and unlock new ideas mid-project, so give that a go too if you want.
Building resampling into your regular music production workflow gives you more flexibility in the arrangement phase.
And, it also keeps your CPU lean so you can focus on the creative process instead of freezing every track, so that’s always a plus.
#11. Creative FX Routing
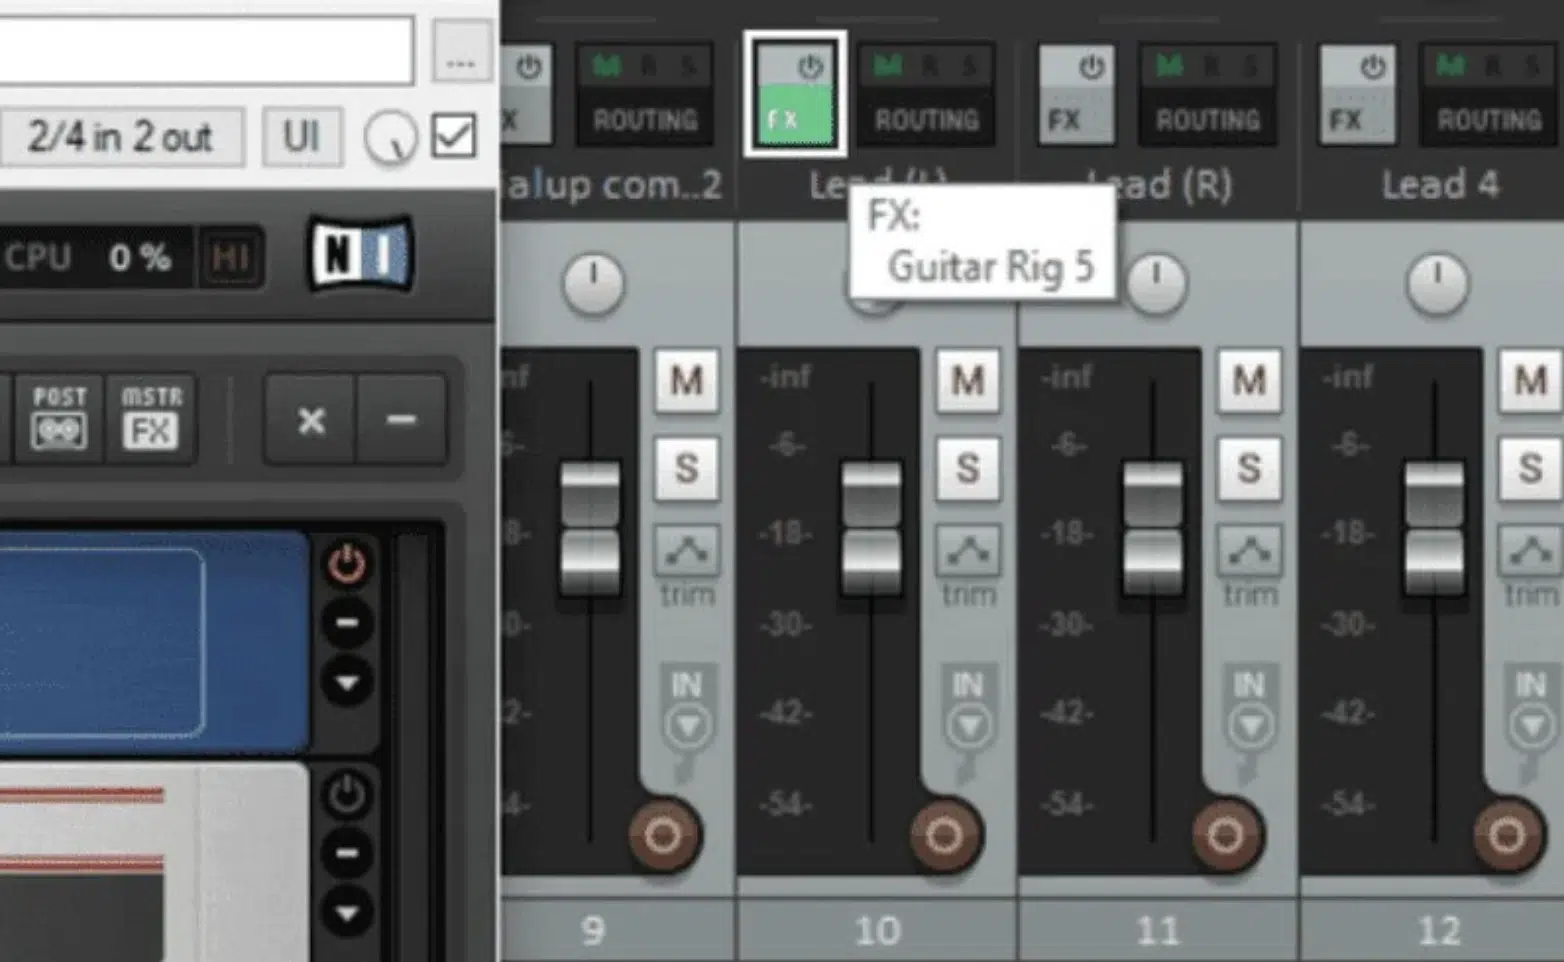
Creative FX routing can completely transform how a track feels in the mix, and it’s a powerful trick to use for more professional tracks.
Instead of stacking reverb and delay on one insert, try routing your vocals to three separate send channels:
- One for a 1/4-note delay with a filter sweep
- One for a long hall reverb sidechained to the dry vocal
- One for chorus or doubler FX for width
You can also create reverse reverb throw FX by sending the last word of a phrase to a reverb bus, resampling the return, and reversing it before the original line for an ambient swell effect.
This works great for transitions between song sections, which helps you create tension and release without throwing off the structure or overloading the stereo field.
Building FX routing into your project like this means less menu-diving later on and keeps the creative process focused on storytelling, not just tweaking parameters.
#12. Multiband Envelope Control
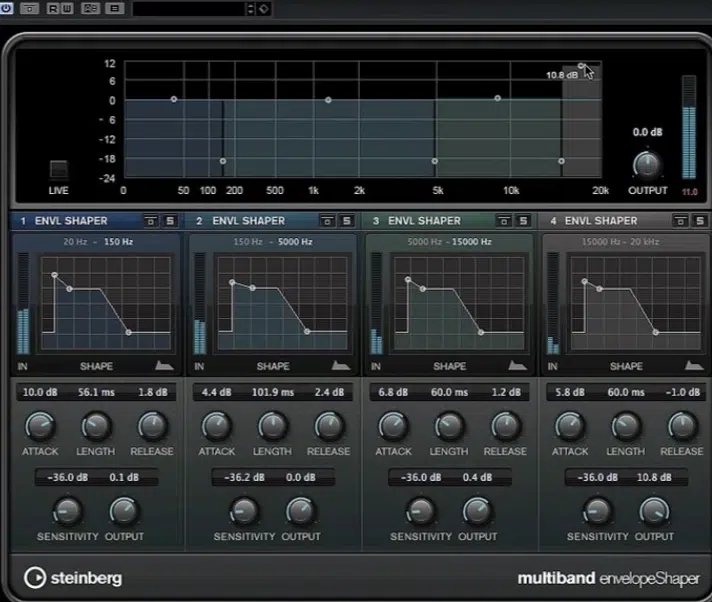
Using multiband envelope control inside your music production workflow opens up a whole new way to shape sounds based on energy, frequency, and movement.
For example, you can split a synth into three bands (low, mid, and high).
Then, apply volume envelopes to only the midband to tighten up that range while leaving the lows and highs untouched.
That trick works great when producing music like melodic techno or electronic music, where subtle dynamic shifts make a track breathe and evolve over time.
You could also automate attack and release settings on the highs to create rhythmic brightness that dances with your percussion.
If you’re building interest without overcrowding the mix, it’s perfect.
When used alongside tools like ShaperBox or the multiband mode in Pro-MB, these kinds of envelope moves keep your creative process responsive and on point, even deep into a complex project.
It’s this level of control that separates a decent song from a great song.
And, helps highlight areas where the sound design needs to improve or where weak points are dragging the energy down, which need to be tweaked asap.
#13. Arrangement Shadow Tracks
Arrangement shadow tracks are ghost layers inside your music production workflow that outline song structure and energy shifts before you even build your first loop.
The idea is basically to create an empty timeline of labeled clips, like “Drop (Big Synth + Hook),” “Verse (Minimal Percs),” or “Bridge (Breakdown Pad).”
These are going to act as placeholders and visual cues for your songwriting process.
This way, you’re not just guessing your way through a new project 一 you’re planning it with clear objectives like the professionals like myself do.
It’s a huge timesaver when you’re trying to write an entire album or finish a batch of beats.
You can also use shadow lanes to mirror reference tracks or song pieces from projects that are similar to other great albums you want your music to compete with.
That kind of high-level thinking not only saves quality time, it also reduces ear fatigue from loop-based trial and error, so you can actually enjoy the process of building a finished song.
The best part is, by organizing this upfront, you make room for creativity to flow freely when it’s time to create, because the direction is already locked in.
#14. Bonus: Prebuilt MIDI Kits
Having prebuilt MIDI kits loaded into your templates gives your music production workflow a massive head start and eliminates creative stalls before they even start.
For example, building a custom folder with your go-to chord progressions, snare fills, hi-hat rolls, and even guitars/melodies in MIDI lets you drag and drop whole sections while keeping full control over sound design.
You can sort these kits by vibe—like “Dark R&B,” “High-Energy Trap,” or “Lo-Fi Sketch” and customize each one with macro controls mapped to:
- Reverb
- Pitch bend
- Modulation
All tied to your MIDI keyboard, naturally.
This doesn’t just save time, it builds your skill set every time you modify or expand the ideas inside each kit, especially if you’re producing with the goal of finishing an album or multiple tracks in a tight window.
And by no means will you need access to a professional studio to pull this off…
Just a laptop, some instruments, and a smart folder structure can help make your tracks stand out over other producers/other musicians.
Once you’re deep into the production process, these kits keep the momentum going, helping you stay curious, listen critically, and never lose sight of your final goal 一 a truly original track that hits hard and feels human.
Final Thoughts
Improving your music production workflow is about making it easier to stay focused, creative, and consistent every time you sit down to produce.
Which, let’s be honest, is every single day of your life.
When everything flows (your tools, your sounds, and your ideas), you can spend less time fixing problems and more time actually making music.
You don’t need a massive setup or a long list of plugins, just a workflow that supports your style and gets you closer to finishing tracks.
Just make sure to always keep refining the small things, stay curious, and focus on what moves your music production workflow forward without slowing you down.
That’s how great songs come together 一 by making the process work with you, not against you.
Until next time…


Leave a Reply
You must belogged in to post a comment.