Pro Tools (as I’m sure you know) is a super powerful DAWs used by professionals all over the place for recording, editing, and mixing music with razor-sharp precision.
It’s all about handling massive sessions, integrating flawlessly with MIDI, and delivering unmatched sound quality all day.
As producers who use Pro Tools, it’s invaluable to know all the basic (and advanced) Pro Tools shortcuts.
They can save you some serious time and help you work smarter, not harder, which is why I’m breaking them all down, like:
- Creating and managing tracks quickly ✓
- Navigating between Mix and Edit Windows ✓
- Applying fades to smooth out audio clips ✓
- Adjusting track heights and views ✓
- Using nudge functions for precise editing ✓
- Toggling Grid and Slip Modes ✓
- Looping playback for flawless editing ✓
- Accessing the Automation Window ✓
- Working with memory locations and markers ✓
- Many more Pro Tools shortcuts ✓
By knowing all the top Pro Tools shortcuts, you’ll be able to cut down on repetitive tasks and focus on your creativity.
Plus, seriously speed up your workflow, stay organized, and make better use of your time like a boss.
This way, your tracks will always sound polished, and your production process will seriously level up 一 and there’s really nothing better than that, am I right?
Table of Contents
Pro Tools Shortcuts: Why They Are Important

Pro Tools shortcuts are an absolute game-changer for anyone who wants to save time and stay creative while working on a project.
Instead of fumbling around menus or dragging your cursor all over the screen (which sucks), you can execute commands in a few seconds with just a couple of keystrokes.
For example, knowing how to trigger key features like fading or navigating selected clips with shortcuts can help your workflow stay uninterrupted.
Trust me, once you get used to these Pro Tools shortcuts, it’s hard to imagine going back to manual navigation in Avid Pro Tools, trust me.
So, now that you know why they’re important, let’s get to the fun part: the actual best and most efficient Pro Tools shortcuts for all tasks.
Pro Tip: Enabling Keyboard Focus Mode & Customizing Keyboard Shortcuts
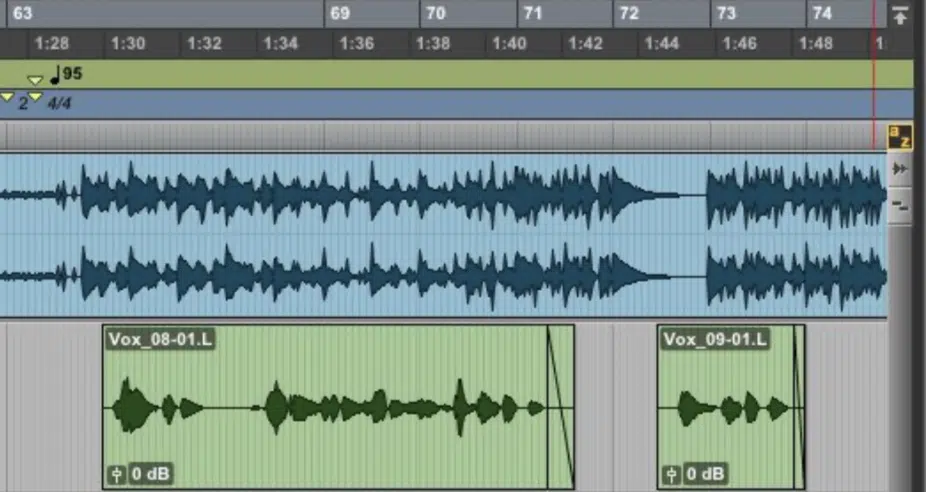
One of the first things you should do in Pro Tools is enable Keyboard Focus Mode.
This handy feature lets you execute some of the most common shortcuts with a single keystroke 一 saving you a few seconds on every task.
To do this, simply hit the “AZ” button in the top-right corner of the Edit window.
Don’t forget you can also customize shortcuts in the Workspace tab to tweak them to your workflow, which we’ll talk about in a minute.
This way, the commands you use most frequently are always at your fingertips.
Basic Key Editing Shortcuts
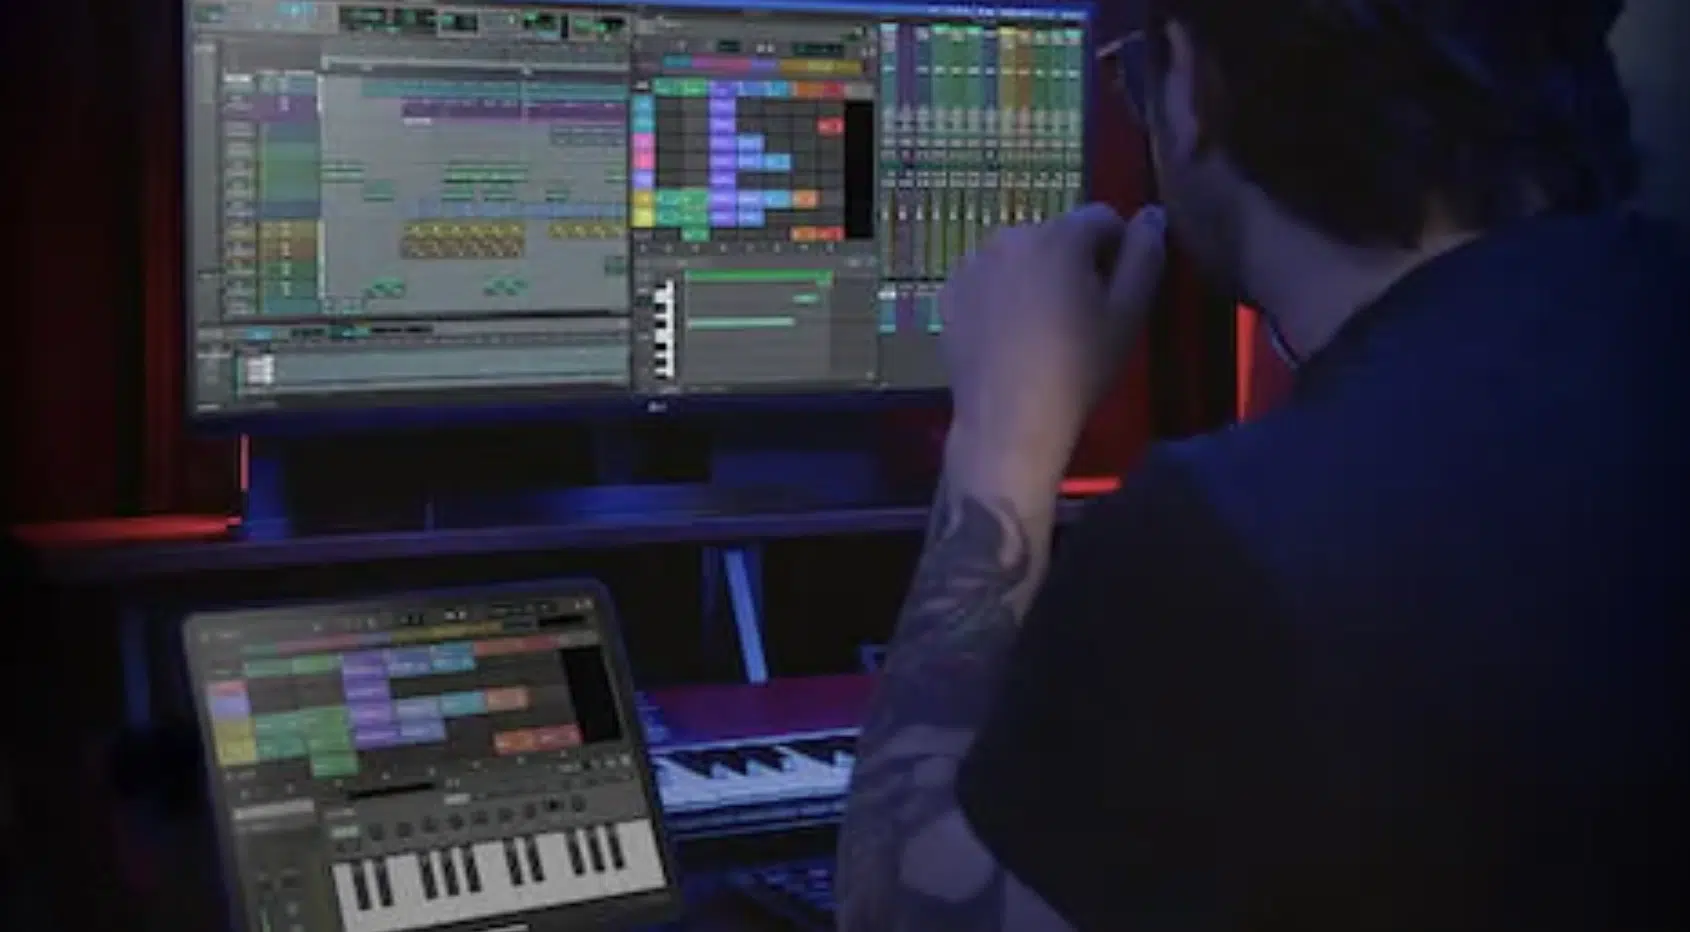
Editing in Pro Tools can be super easy if you know the right Pro Tools shortcuts. Let’s kick things off with these time-saving commands that can help you with navigating clips, adjusting your edit selection, and fine-tuning your audio projects in a few seconds.
-
Undo and Redo Actions
Mistakes happen, but with Pro Tools shortcuts, correcting them is quick and easy, and this includes the most basic commands as well.
Press Command + Z (Mac) or Control + Z (Windows) to undo your last action, whether you’ve moved a clip, adjusted your edit selection, or accidentally deleted a file.
If you need to redo an undone action, simply use Shift + Command + Z (Mac) or Shift + Control + Z (Windows) to restore it instantly.
Trust me, this little shortcut is an absolute lifesaver when you’re trying to maintain your creative flow, which I’m sure we can all agree is super fragile.
-
Copy, Cut, and Paste Functions
Basic editing tasks like copying, cutting, and pasting are faster with Pro Tools shortcuts, and if you already know these, just skip to the next section.
To copy a clip or audio segment, use Command + C (Mac) or Control + C (Windows), and to cut, press Command + X (Mac) or Control + X (Windows).
When you’re ready to paste, just hit Command + V (Mac) or Control + V (Windows).
These shortcuts are essential when working with selected clips because they let you reorganize your session in a few seconds without killing your focus.
-
Separating and Consolidating Clips
If you need to break a long audio region into smaller pieces, use Command + E (Mac) or Control + E (Windows) to separate a clip at the edit selection point.
On the flip side, consolidating multiple selected clips into one file is just as easy…
Simply select the clips you want to merge and press Shift + Option + 3 (Mac) or Shift + Alt + 3 (Windows).
These Pro Tools shortcuts are perfect for cleaning up your workspace and preparing audio for exports or some extra editing.
-
Applying Fades Like a Boss
Applying fades between clips is key if you want to create super smooth transitions and eliminate any pops or clicks in your audio.
Simply highlight the area where you want the fade and press Command + F (Mac) or Control + F (Windows) to open the fade dialog box.
This is where you can customize fade settings however you want.
If you need a quick fade, use Command + D (Mac) or Control + D (Windows) to apply a crossfade to your selected clips instantly.
This will make your project sound polished in just a few seconds.
OTHER PRO TOOLS BASIC KEY COMMANDS:
- Zoom: F5
- Trim: F6
- Selector: F7
- Graber: F8
- Scrub: F9
- Pencil: F10
- Smart Tool: F6+F7+F8
- Record: Cmd + space bar (F12) / Ctrl + space bar (F12)
- Stop recording: Space bar
- Stop recording and delete clip: Cmd + period (.) / Ctrl + period (.)
- Import audio: Cmd + Shift + I / Ctrl + Shift + I
- Create group: Cmd + G / Ctrl + G
- Strip silence: Command + U
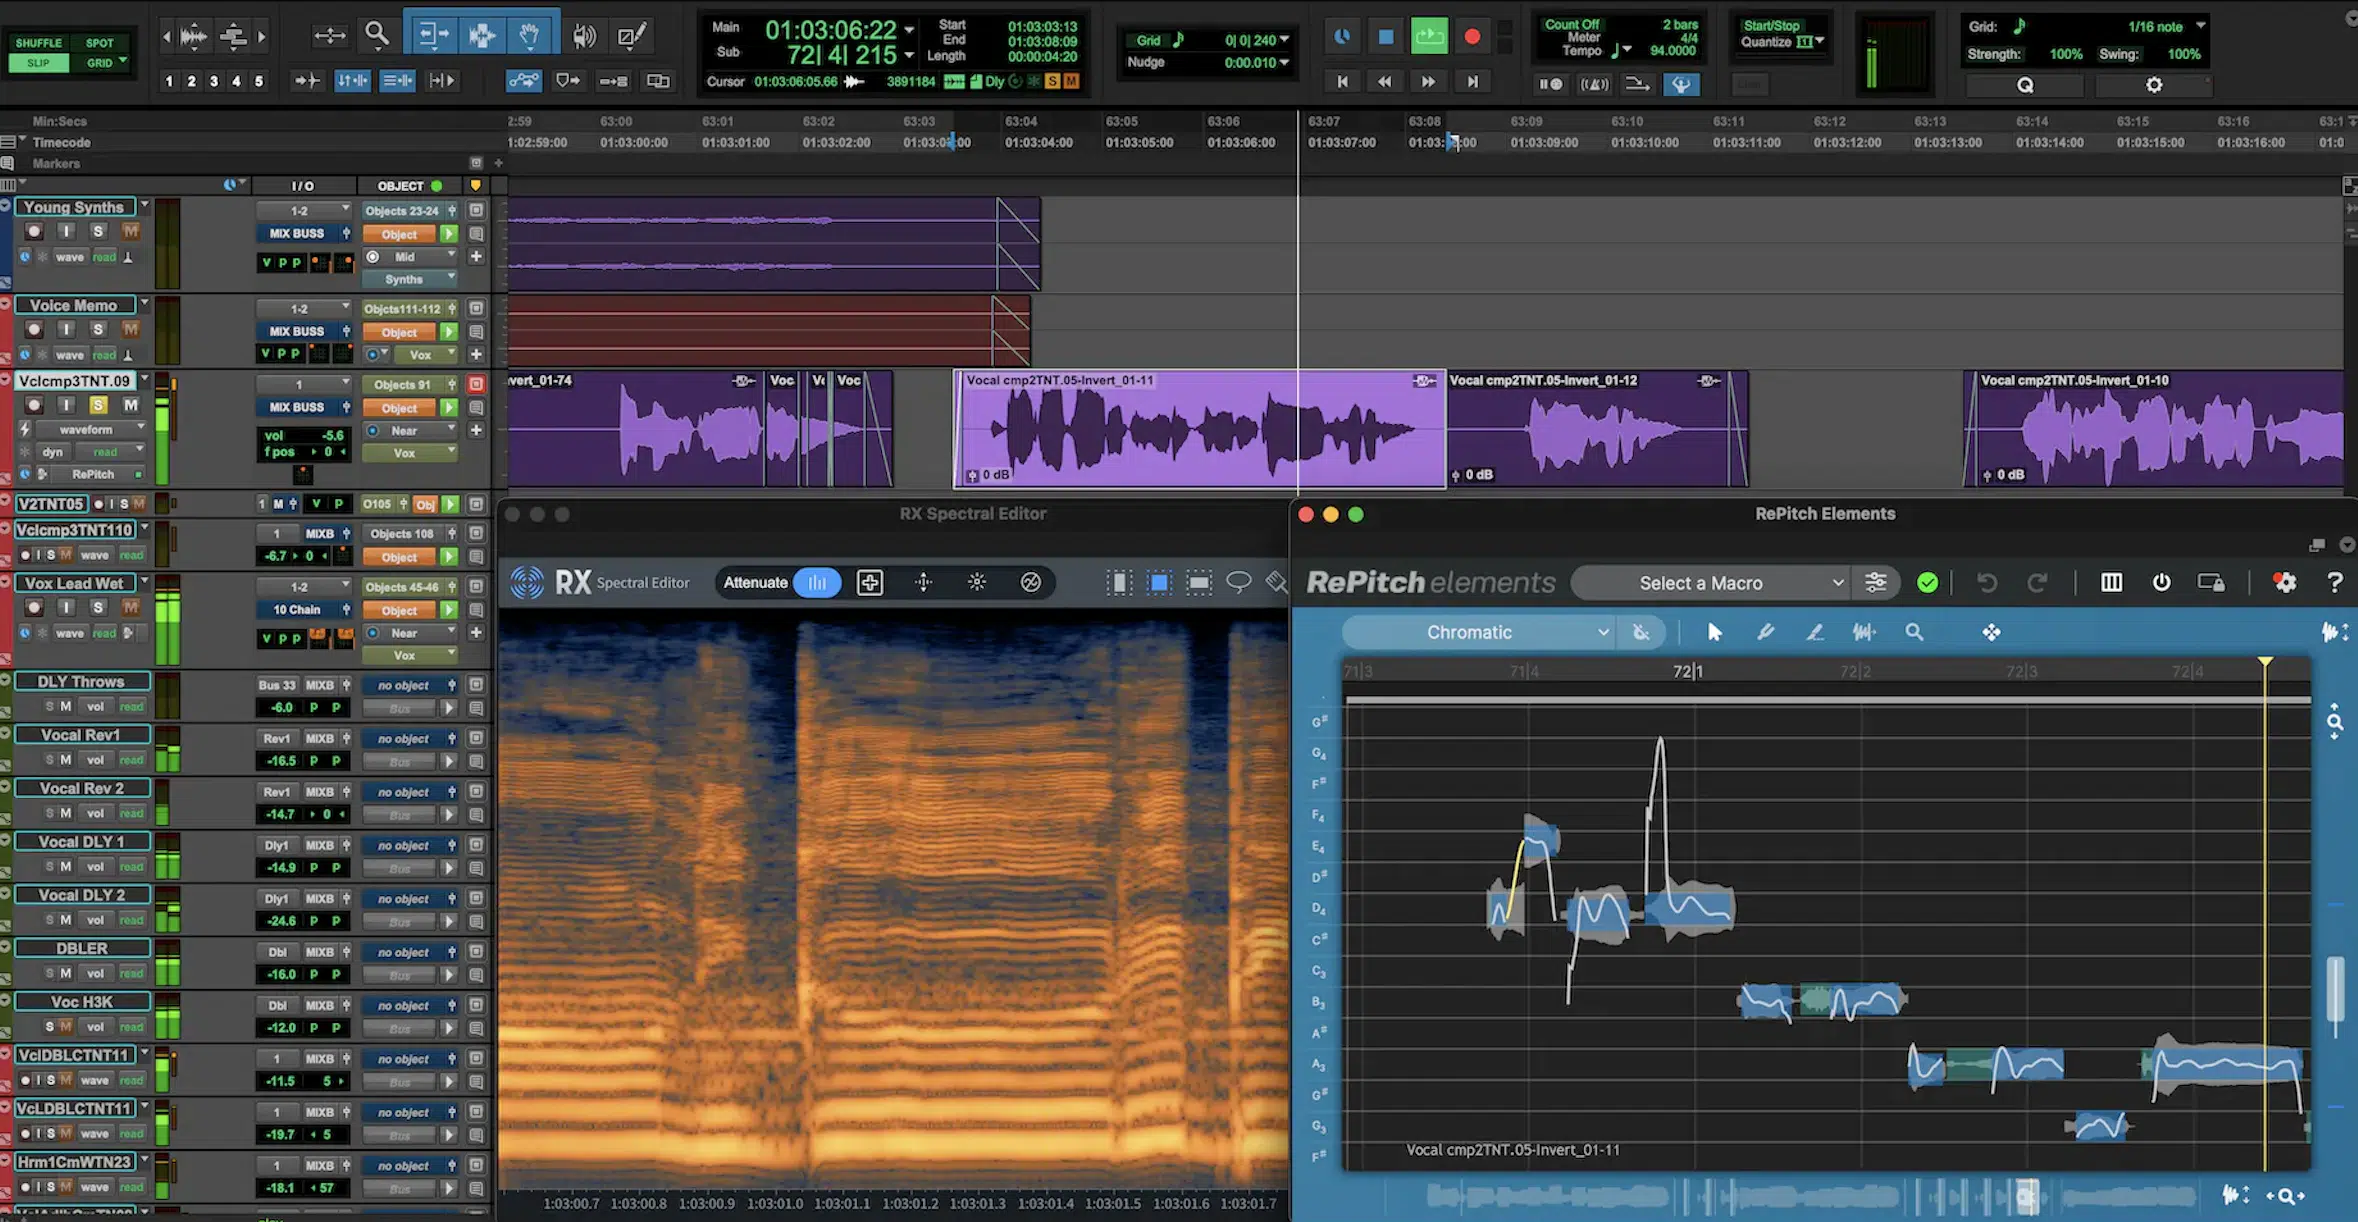
Now that we got all the simple, basic Pro Tools shortcuts out of the way, let’s talk about some that can help you when you’re working on larger sessions with multiple tracks and clips. The following Pro Tools shortcuts let you move flawlessly between windows, zoom in and out of audio, and use the Universe Window to maintain complete control over your workspace. Let’s get into it.
-
Switching Between Mix and Edit Windows
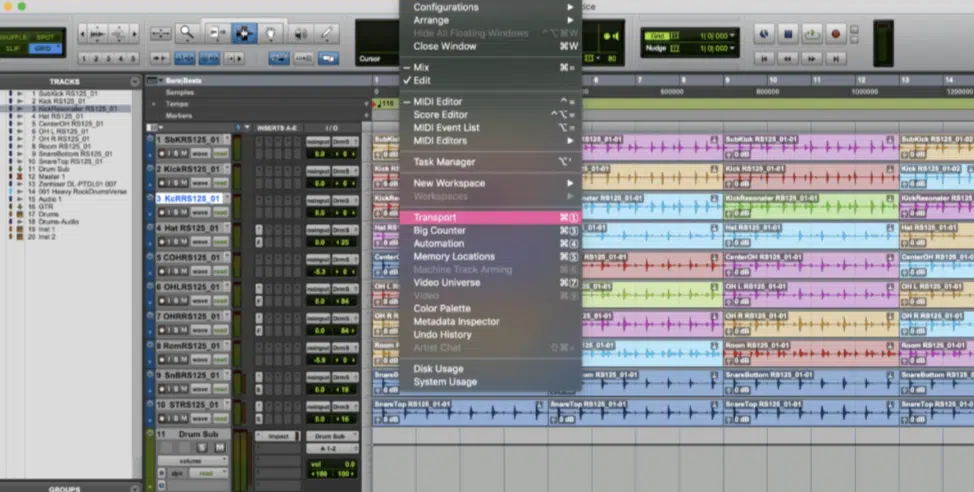
In Pro Tools, you’ll frequently switch between the Mix window for adjusting levels and effects and the Edit window for arranging clips and making any edits.
Instead of using your mouse, press Command + = (Mac) or Control + = (Windows) to toggle between the two instantly.
This shortcut is a huge time-saver, especially when fine-tuning effects in the Mix window and immediately returning to the Edit window to adjust the same clip or edit selection.
-
Horizontal and Vertical Zoom Controls
Zooming in and out is very important for editing finer details in your audio files or viewing the bigger picture all at once.
Use Command + [ or ] (Mac) or Control + [ or ] (Windows) to adjust horizontal zoom 一 focusing on specific regions of your track.
To zoom vertically and change the view of your tracks, press Option + Command + [ or ] (Mac) or Alt + Control + [ or ] (Windows).
Mastering these Pro Tools shortcuts can ensure you can quickly switch between detailed edits and broader views without losing that fire or inspiration.
The Universe Window is an incredibly useful tool for navigating large sessions in Pro Tools.
You’re going to activate it by going to View > Other Displays > Universe and clicking to jump to any part of your session.
For even faster access, use the Command + Option + U (Mac) or Control + Alt + U (Windows) shortcut to open or close the Universe Window.
This way you can maintain a clear view of your entire workspace while pinpointing areas of interest, so you can keep it moving.
Side note, if you want to discover the best laptops or desktops for production, we got you.
Playback and Recording Shortcuts
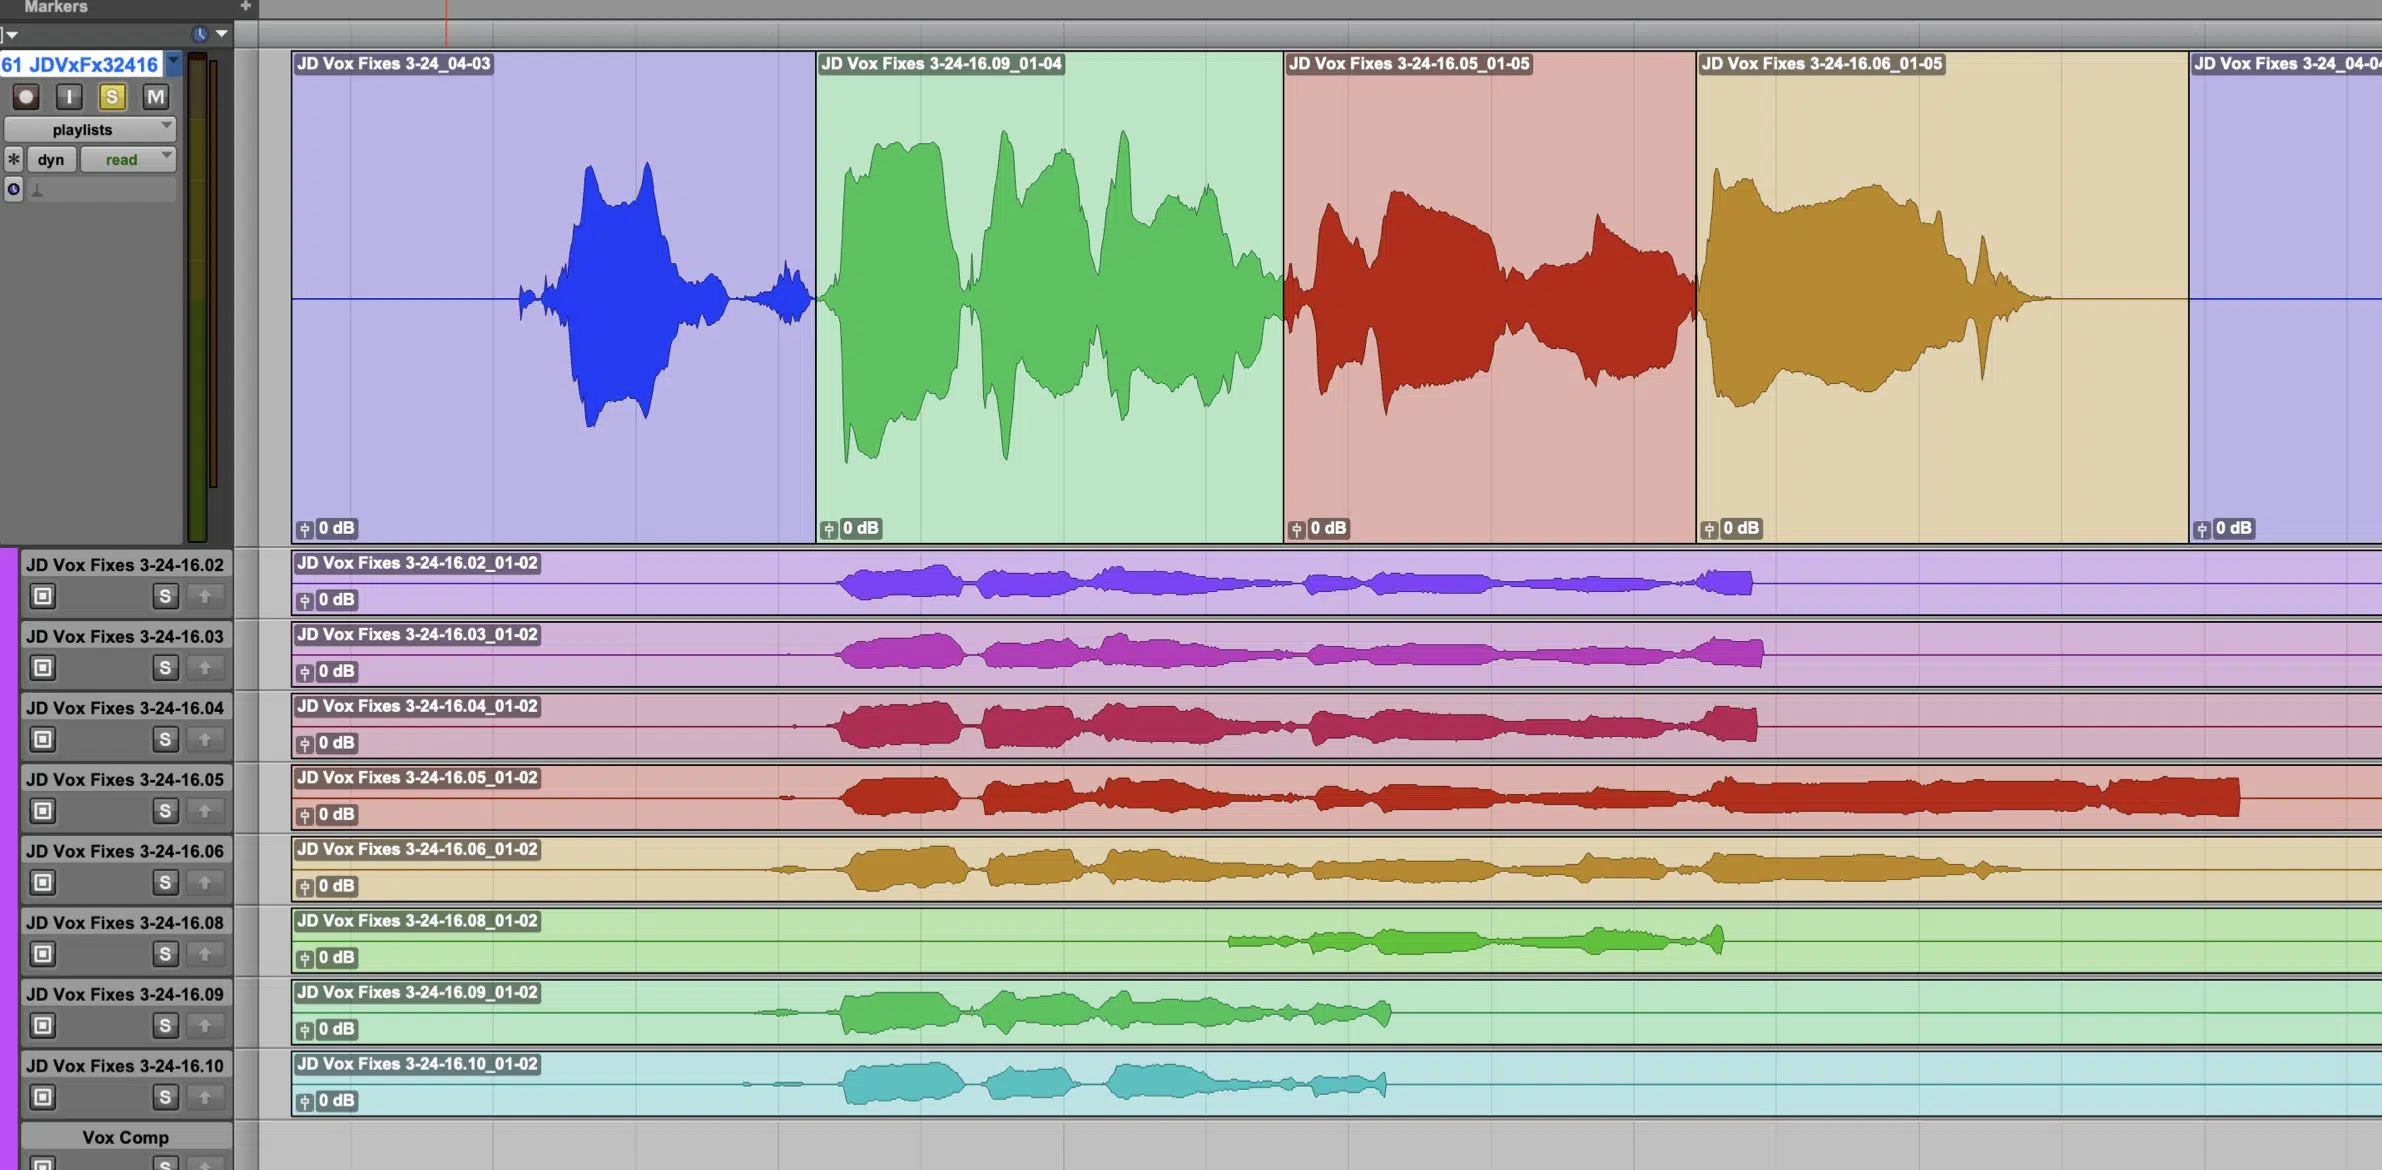
Getting playback and recording right is the backbone of any session in Pro Tools. And, with these next Pro Tools shortcuts, you’ll be able to control playback, loop sections, and initiate recordings with precision 一 keeping your creative fire alive.
-
Starting and Stopping Playback
Starting and stopping playback is one of the most frequently used commands in Pro Tools, so efficiency matters.
Press the Spacebar to toggle playback on and off… Yes, it’s literally that simple.
If you need to start playback from the current edit selection, simply use Option + Click (Mac) or Alt + Click (Windows) for pinpoint accuracy.
This way, you’re listening to exactly what you want without any B.S.
-
Initiating Recording Sessions
When you’re ready to record, press Command + Spacebar (Mac) or Control + Spacebar (Windows) to start recording from the current cursor position.
For quick punch-in recording of your artists, use Shift + Command + P (Mac) or Shift + Control + P (Windows) to flawlessly drop in and out of recording mode.
These Pro Tools shortcuts eliminate the need for manual button clicks 一 keeping your hands on the keyboard and your focus on the performance.
-
Loop Playback and Record Modes
Looping is everything when it comes to refining clips or layering ideas during a recording session that you really want to lay down.
Press Command + Shift + L (Mac) or Control + Shift + L (Windows) to toggle Loop Playback mode, which lets you listen to the same section repeatedly.
For loop recording, use Option + L (Mac) or Alt + L (Windows) to enable the mode and capture multiple takes so you don’t miss a single creative idea.
Track Management Shortcuts
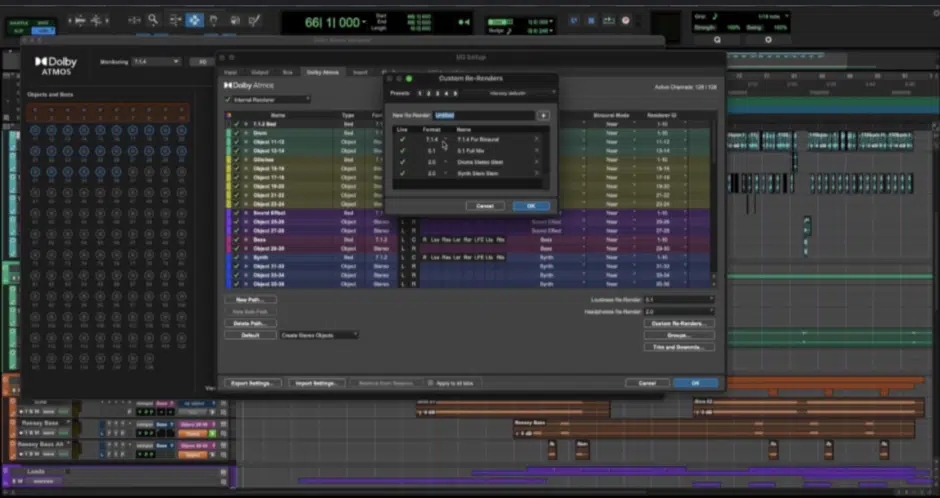
For this next section let’s talk about managing your tracks, which is obviously super important. The following Pro Tools shortcuts will help you add, duplicate, delete, and adjust tracks quickly to keep your workflow on point and organized. Trust me, these little basic Pro Tools shortcuts are insanely important.
-
Creating New Tracks Quickly
Adding new tracks in Pro Tools is one of the first things you’ll do when starting a session, that’s a given.
So, use Command + Shift + N (Mac) or Control + Shift + N (Windows) to bring up the New Tracks dialog box, where you can specify the:
- Type of track
- Number of tracks
- Format of the tracks you want to create
Whether you’re adding audio, MIDI, or auxiliary tracks, this shortcut saves a few precious seconds, every single time.
This way, you can get back to working on your project much faster.
-
Duplicating and Deleting Tracks
Sometimes you need an identical track to layer sounds or test out new ideas.
To duplicate a track, select it and use Command + D (Mac) or Control + D (Windows) 一 this copies all settings, inserts, and sends.
When you need to clean up unused or unwanted tracks, just select them and press Command + Option + Shift + Backspace (Mac).
Or, Control + Alt + Shift + Backspace (Windows) to delete them instantly, which is a must-knock trick for keeping your session organized.
-
Adjusting Track Heights and Views
Fine-tuning the visibility of your tracks can make messing around with your session much easier.
Use Command + Up/Down Arrow (Mac) or Control + Up/Down Arrow (Windows) to adjust track heights.
This will make smaller tracks for an overview or larger ones for detailed editing.
For even more control, try Option + A (Mac) or Alt + A (Windows) to zoom out fully so you can see all your tracks and easily see the area you want to focus on.
Mixing and Automation Shortcuts
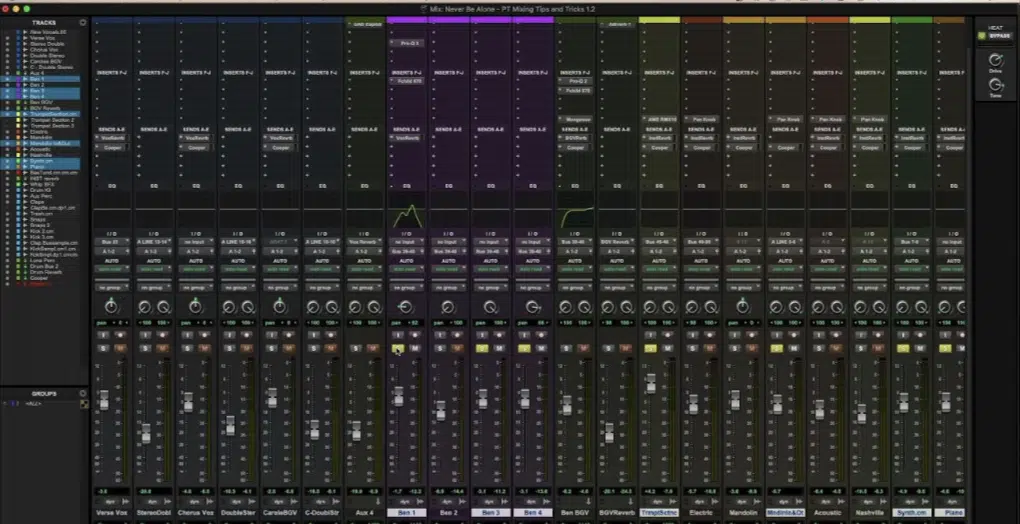
The Mix window in Pro Tools is where your track levels, panning, and automation all come together. So, for this next part we’re going to talk about Pro Tools shortcuts that will fast-track your ability to fine-tune mixes and add dynamic changes with automation 一 saving time while keeping your session tight.
-
Resetting Faders and Pan Controls
Balancing your mix usually requires starting fresh with certain settings.
So, to reset a fader or pan control to its default position, press Option + Click (Mac) or Alt + Click (Windows) on the fader or pan knob.
This shortcut is invaluable for maintaining consistency across your mix, especially if adjustments have gotten out of hand and you need to bring things back to square 1.
-
Bypassing Inserts and Sends
When testing how a plugin or send is affecting your audio, bypassing it temporarily can provide some clarity.
Use Command + Click (Mac) or Control + Click (Windows) on an insert or send to toggle it on or off.
This is one of those simple, yet great Pro Tools shortcuts for quickly A/B testing your mix (which you should always be doing, by the way).
By doing so, you can successfully hear the difference between processed and unprocessed audio in just a few seconds.
-
Accessing the Automation Window
Automation is a powerful tool for dynamic changes in your session (don’t forget to click that link to learn all about it), and Pro Tools makes it easy to access.
Press Command + 4 (Mac) or Control + 4 (Windows) on the numeric keypad to open the Automation Window.
From here, you can enable volume, pan, and plugin automation 一 letting you fine-tune every single aspect of your mix with razor-sharp precision.
Advanced Editing Techniques
Now that you have all the basic Pro Tools shortcuts, let’s break down some that can help you with complex editing tasks with precision and speed. With them, you can control everything from clip placement to timing adjustments, making sure your projects sound professional/clean. Let’s break it down.
-
Nudge Functions for Precise Editing
When you need to adjust the position of a clip by just a small amount, the nudge function is your go-to.
Use + or – on the numeric keypad to move a clip forward or backward by the specified nudge value (which can be set easily in the toolbar).
This is great for aligning audio elements perfectly within your edit selection, saving a few seconds every time.
-
Grid and Slip Mode Toggles
Switching between Grid and Slip modes allows for flexibility when positioning clips.
Press F4 to toggle Grid Mode, which aligns edits to the session’s timeline grid, or F2 for Slip Mode, which lets you place clips freely.
These shortcuts ensure smooth workflow transitions whether you’re working on a rhythmic pattern or freeform audio adjustments.
Memory Locations, Markers, and Numeric Keypad Modes
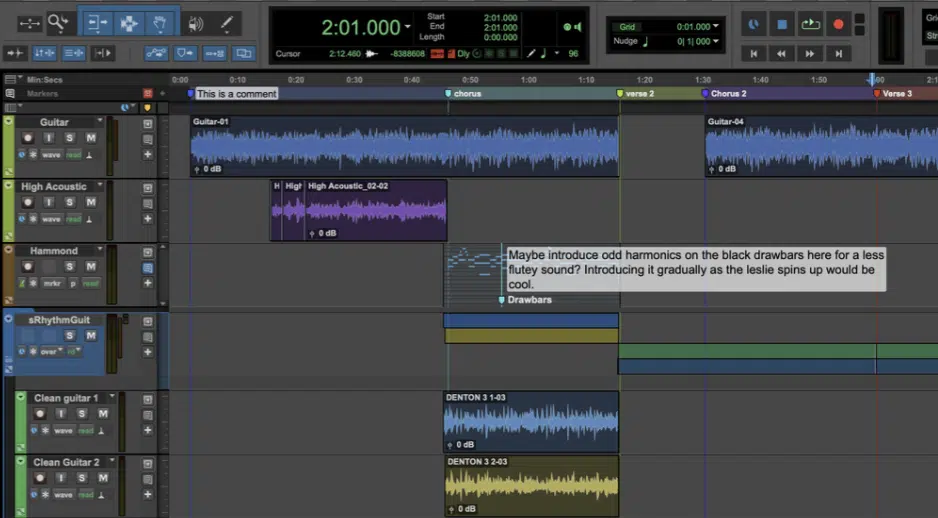
Memory Locations in Pro Tools are seriously great for navigating your session site properly and staying organized (which I can’t emphasize enough is so important).
To create a marker, press Enter while the play edit selection is active, and a marker will appear in the date column of your Memory Locations window.
This lets you establish a clear connection to specific points in your timeline, like key transitions or detailed edits so you can find them quickly without disruption.
If you’re stuck in verification successful waiting mode, trying to recall specific markers manually, the Search function within the Memory Locations window is your best friend.
Simply type in keywords to locate and refine your markers instantly.
For further precision, each marker is assigned a unique Ray ID 一 allowing you to manage even the most complex sessions like a boss.
With these Pro Tools shortcuts, your workflow becomes on the level of the professionals, and navigating your projects will feel effortless.
Bonus: Big Time-Saver
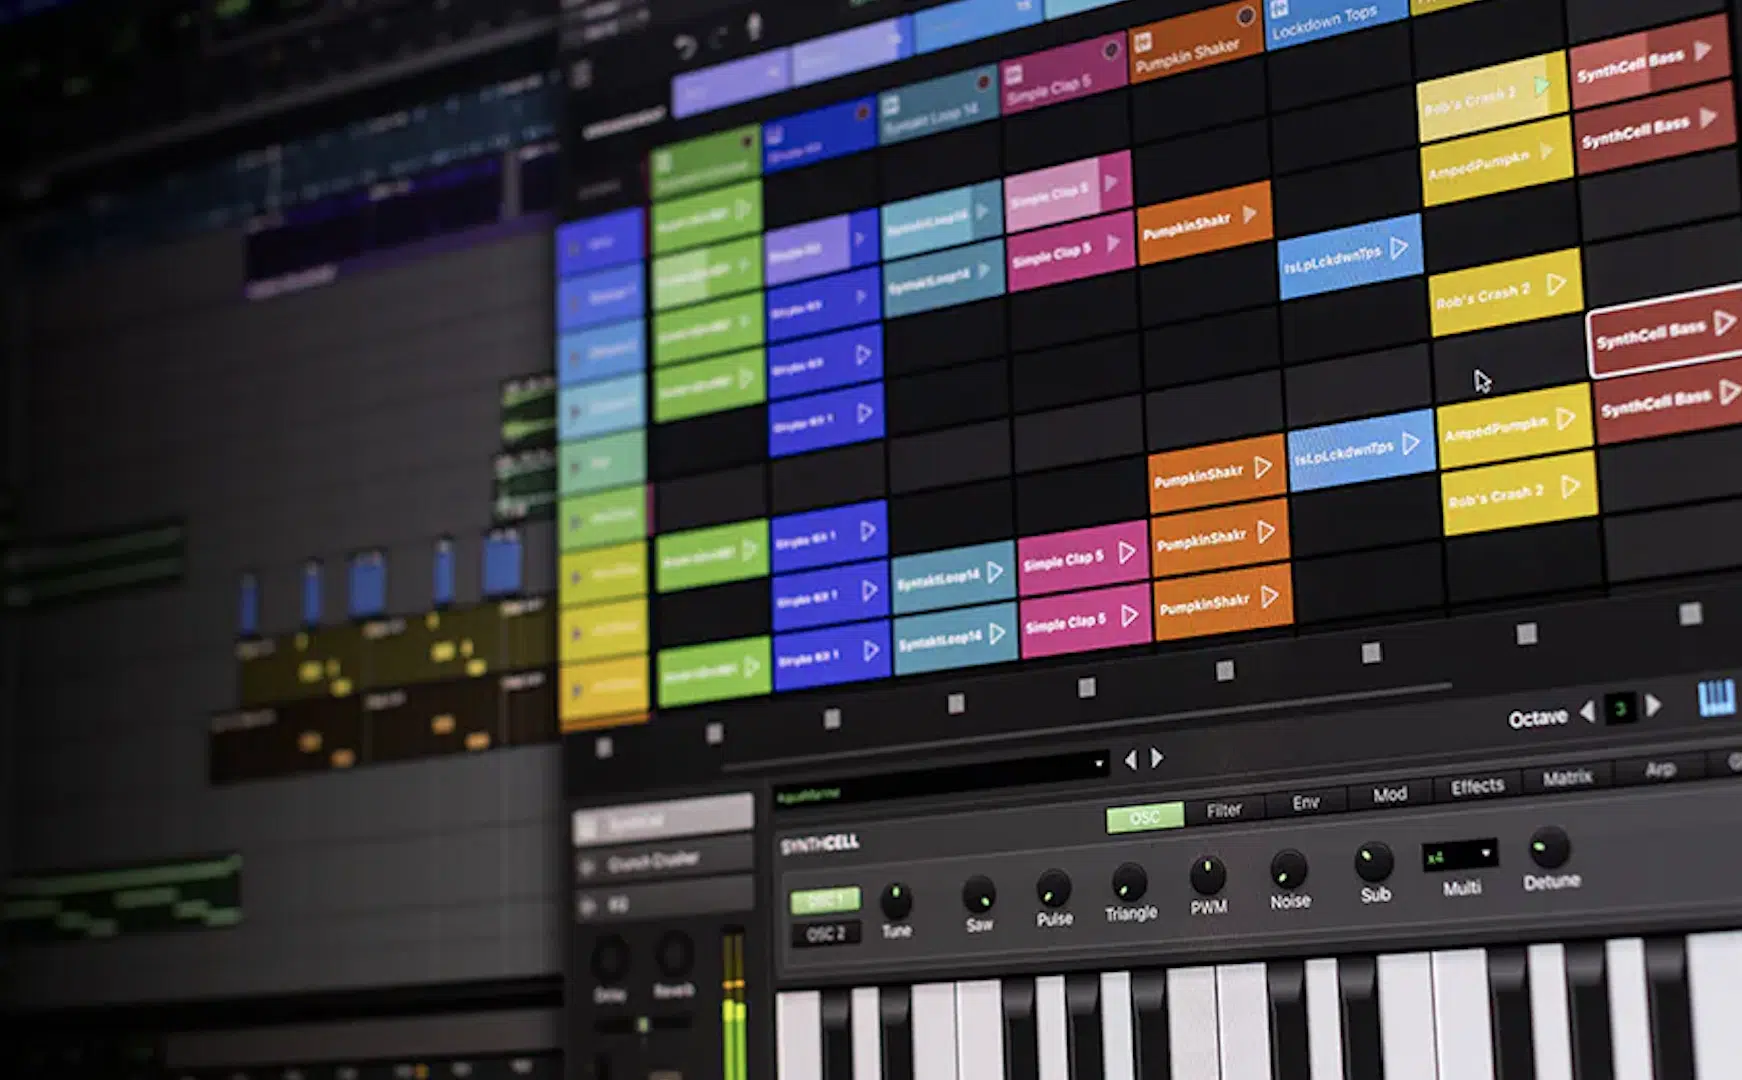
Like you now know, Pro Tools shortcuts can drastically improve your workflow, especially when working under tight deadlines.
Here are the last few Pro Tools shortcuts I’m leaving you with today (until the more advanced article comes out, of course).
Use Shift + Command + U (Mac) or Shift + Control + U (Windows) to select unused clips.
Then, press Shift + Command + B (Mac) or Shift + Control + B (Windows) to delete them, keeping your session tidy.
The Browser also plays a key role 一 press Command + ; (Mac) or Control + ; (Windows) to open it and quickly locate files or samples.
Don’t forget to also use Shift + S to solo tracks instantly, which lets you isolate and perfect all your audio elements in no time.
Now, as a special bonus, you’ve got to check out this legendary Free Project Files pack, which includes 3 invaluable project files.
They show you exactly how to create a beat from start to finish, including effects, mixing, sound design, arranging, and everything else you want to know.
If you’re looking to become the next big producer, you do NOT want to miss out on this one (it’s like having all the cheat codes).
And now that you know all the Pro Tools shortcuts, you can get super creative with them even faster.
Just don’t forget to keep learning, improving your skills, and never stop hustling.
Until next time…


Leave a Reply
You must belogged in to post a comment.