Sound design is one of the most important (and insanely powerful) skills in the industry. It’s all about creating, shaping, and transforming sounds from scratch.
Whether you’re working with a synth, a sampler, or an old resampled vocal, it’s key.
Plus, it’s much more than simply knowing how to tweak oscillators, dial in filters, shape envelopes, route modulators, and stack FX (believe it or not).
As producers, knowing the best advanced sound design techniques will seriously enhance your skills and open the door to limitless creative control.
That’s exactly why I’ll be breaking down everything you’ll need to know to bring things to the next level, like:
- Oscillators, filters, modulators & FX ✓
- How to shape envelopes for precision ✓
- Advanced sound design techniques using spectral morphing ✓
- Creating unpredictable movement with randomization ✓
- Wavetable warping tricks that add crazy energy ✓
- Audio-rate modulation for aggressive textures ✓
- Granular resynthesis for ambient & glitchy sounds ✓
- Building massive width using phase-accurate processing ✓
- Modulating FX over time for movement ✓
- Many more advanced sound design techniques ✓
By knowing all the best advanced sound design techniques, you’ll never have to worry about your sound being stale or copying someone else’s vibe ever again.
This way, your tracks will seriously stand out and sound like they’re crafted by a true pro.
Plus, you’ll be able to design anything (basses, pads, textures, risers, leads) like an absolute boss.
And, side note, I’ll be including pro tips all throughout the article, so you’ll be able to take things to the next level even more!
Table of Contents
- What is Sound Design? Understanding the Art Behind the Sound
- 13 Advanced Sound Design Techniques That Will BLOW Your Competition Away
- #1: Spectral Morphing for Sick Sonic Evolution
- #2: Granular Resynthesis for Epic Textural Manipulation
- #3: Modulating Audio Rate Parameters (Audio-Rate Modulation)
- #4: FM & PM Synthesis Layering (Frequency/Phase Modulation Hybrids)
- #5: Advanced Wavetable Warping Techniques
- #6: Creating Movement with Multi-LFO Routing
- #7: Sample & Hold Techniques for Super Interesting Unpredictability
- #8: Custom Formant Filtering & Vocal Form Shaping
- #9: Re-sampling with Time-Stretched FX Chains
- #10: Unison Spread with Randomized Phase Offsets
- #11: Dynamic Spectral Imprinting (Using Sidechain EQ Curves)
- #12: Advanced Noise Shaping for Hyper-Real Textures
- #13: Modulating FX Parameters Over Time (Phaser Depth, Delay Rate, Etc.)
- Bonus: Things to Remember When Getting into Advanced Sound Design
- Final Thoughts
What is Sound Design? Understanding the Art Behind the Sound
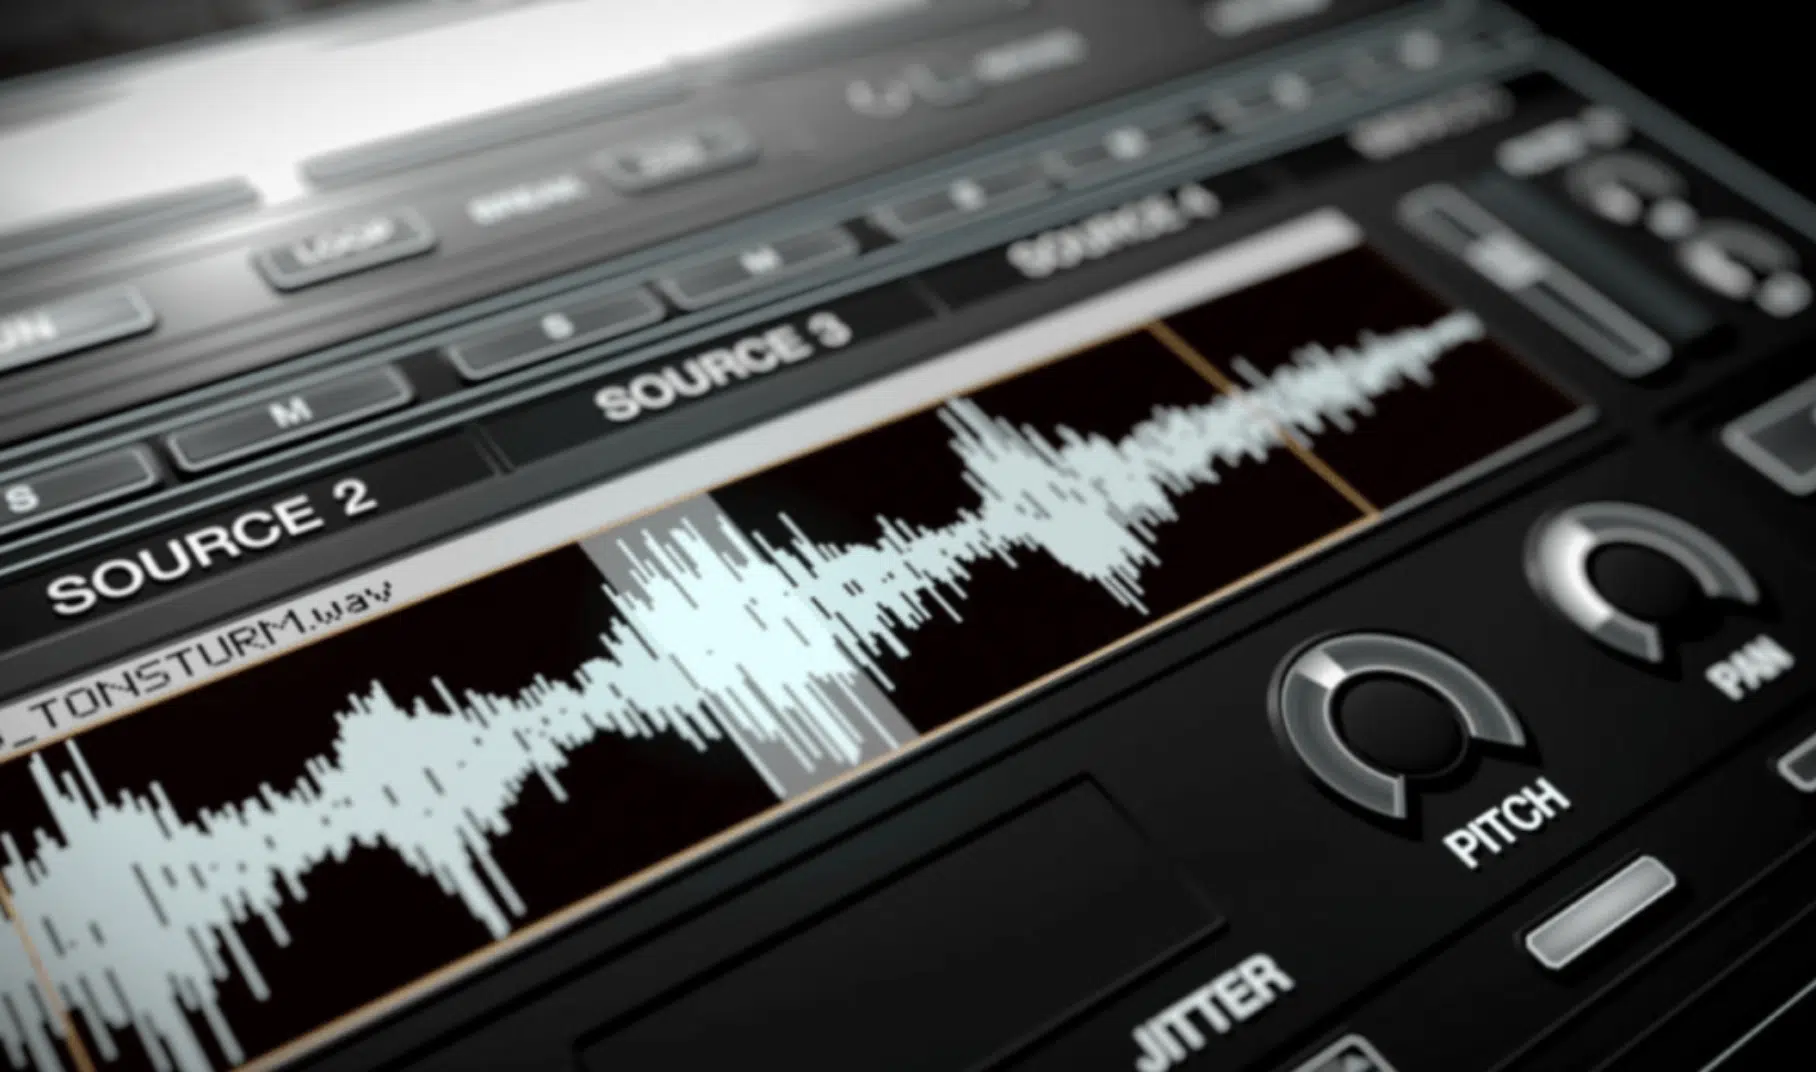
Sound design is basically how you create the actual sounds in your track from scratch, instead of just dragging in a preset or a pre-made loops/instruments and calling it a day.
It’s all about using tools like:
- Oscillators (which generate raw waveforms)
- Filters (to shape brightness and tone)
- Envelopes (to control how sounds move over time)
- Modulators (like LFOs or step sequencers)
But, like I just said, it’s much more than that, which I’ll be breaking down for you today; you’ll be able to dial in your own signature sounds like never before.
By the end, you’ll be able to tweak every little element, whether it’s the bite of a bass, the space of a pad, or the shimmer on a top layer, to get it sounding exactly how you want it.
You’ll be working inside synths like Serum 2, Phase Plant, Pigments, or samplers like Kontakt or Granulator II, depending on what vibe you’re going for.
And once you’ve shaped that foundation, you can throw on FX like chorus, distortion, bitcrushing, multi-band compression, or reverb to take things even further.
Most of the time, it’s not just one thing doing the heavy lifting…
It’s the combo of routing envelopes to filters, blending parallel distortion, or automating FX over time that makes your sound feel alive.
The coolest part is, you’re not just laying down a melody 一 you’re building the actual instrument in real time, which is so much doper.
Don’t worry if it sounds a little overwhelming right now, because by the end, you’ll have a super solid understanding of everything you want to know.
13 Advanced Sound Design Techniques That Will BLOW Your Competition Away
Alright, now that you know what sound design is all about, let’s dive into the deep end. So, here are my 13 favorite advanced sound design techniques that’ll help you stand out from the crowd and make sounds nobody else has. Talk about standing out.
#1: Spectral Morphing for Sick Sonic Evolution
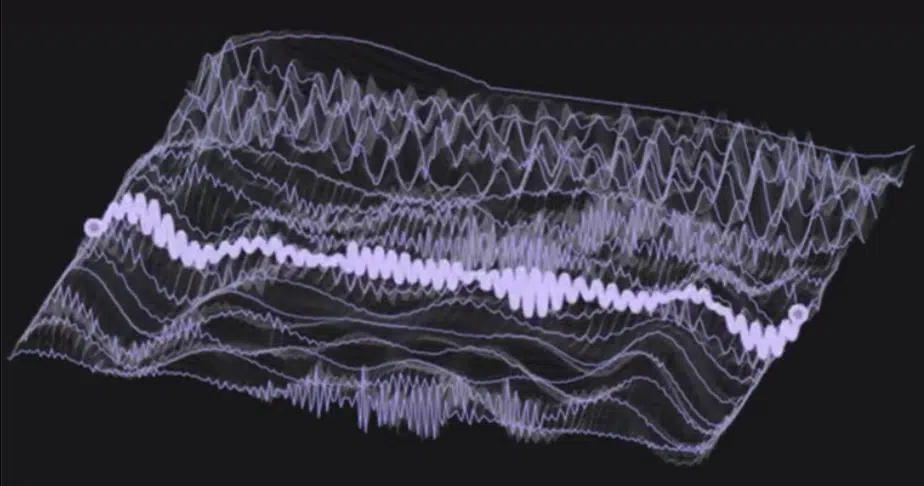
Spectral morphing is one of those advanced sound design techniques that completely changes how a sound evolves over time.
It does this by blending its frequency content with something entirely different.
For example, you could start with a reese-style bass that’s heavy in the midrange, then slowly shift its spectral content to mimic the top-end shimmer of a white noise riser.
To make it work, you’re going to automate a morphing curve over 16 bars while using a spectral balance control to gently raise the energy above 10kHz by 3–4 dB.
And if the source sound has harmonic movement in the low mids around 200–300Hz, use a smoothing setting of 50% to avoid harsh phasing artifacts during the transition.
When done right, the sound mutates without ever feeling like it switched to something new; it glides.
One of the best ways to make it feel alive is by assigning velocity-sensitive envelopes to the morph amount (so harder hits bring out more of the second spectral imprint).
Another trick is layering a second signal with a phase-inverted low-end.
This will help you clean up mud during the transition and lets the midrange movement come through clearer, which is what you always want.
Modulating the morph speed with a slow LFO at 0.1 Hz can also add subtle breathing 一 especially for pads and risers, so definitely give that a go as well.
PRO TIP: Try freezing the spectrum of a drum break and blending it into a synth stab to give your one-shots a dynamic, almost percussive texture.
That kind of hybrid motion gives your sounds a character that’s impossible to get with just EQ or filter sweeps alone, so you definitely don’t want to overlook it.
#2: Granular Resynthesis for Epic Textural Manipulation
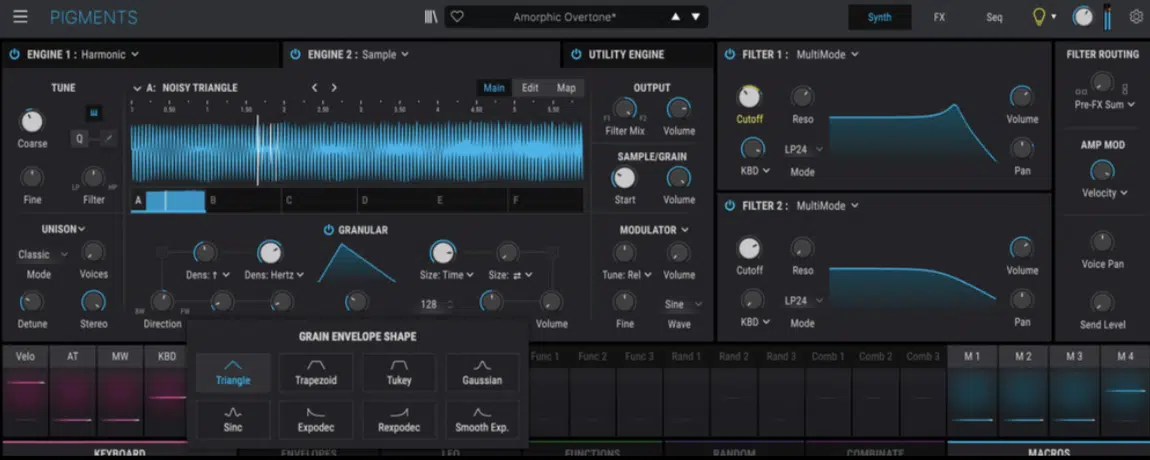
Granular resynthesis takes a single audio source and explodes it into microscopic slices (or grains) in various shapes and sizes, typically between 10 and 50 milliseconds.
When it comes to those fragments, it lets you successfully:
- Rearrange
- Stretch
- Smear
And not just basic, boring tweaks, but you’ll be able to tweak things so it feels completely detached from the original, which is awesome.
What you’re going to do is start with a simple one-shot, like a snare tail or breathy vocal, and chop it into grains using a density setting of 12 grains per second, a random pitch spread of ±3 semitones, and a grain size of 25ms.
That alone turns any short sound into an evolving pad or ambient bed.
Keep in mind that increasing the spray/jitter by 40–60% adds instability 一 making it feel way more organic and on point.
This is because you’re essentially randomizing the position in the given audio source/file the grain is taken from.
And if you automate the grain position to scan slowly through the original waveform over 8 bars, you’ll get this sick, constantly shifting (never-repeating) texture.
It works perfectly behind synth leads or transitions.
Also, adding stereo width by offsetting grain pan positions ±30% left and right instantly stereoizes the results and makes the sound feel bigger without needing extra FX.
For even more motion, route a triangle LFO at 0.25 Hz to modulate the pitch depth of individual grains, keeping it subtle (no more than ±5 semitones) to avoid harsh artifacts.
Unless that’s what you’re going for of course, I never want to hold you back.
You can also layer two granular versions of the same sound with slightly offset positions, parameter settings, and a detuned grain pitch to create chorus-style movement from pure audio.
PRO TIP: Take a short burst of white noise (or any other, more obscure noise types for a really original result) and granulate it with a randomized start time and 100% jitter.
Then you’re going to low-pass it at 4kHz.
That gives you a smooth, airy layer that sits perfectly under percs or plucks, which gives them space and depth without cluttering your mix.
It’s even great for countless other effects, depending on the specific noise type you use (brown, red, blue; a synth like Pigments offers various different types).
You can even make a preset that sounds great and totally different depending on the noise source you feed it.
#3: Modulating Audio Rate Parameters (Audio-Rate Modulation)
Audio rate modulation is one of the most aggressive and raw advanced sound design techniques out there.
And, when used right, it can completely transform any patch into something intense, metallic, or straight-up alien (which is mind-melding).
Instead of using a traditional LFO or envelope to modulate pitch, filter cutoff, or amplitude, you’re using another oscillator running at full audio rates.
Usually anywhere between 20Hz to 20kHz is good, which is actually fast enough to generate sound itself… Pretty cool, right?
Think about how a filter can self-resonate if its resonance is high enough; like that.
For example, assigning an audio-rate sine wave to modulate the cutoff of a low-pass filter at 3.5kHz with 80% depth produces a gnarly, buzzing texture with controlled harmonics.
If the modulator is tuned to an interval above the carrier (like a 7th or a 9th), you get strong enharmonic tones that push it into FM territory.
But, without actually doing FM synthesis, although the concept/sound theory is somewhat related, actually.
Keep in mind that you may need to do some math if converting Hz/speed values to harmonic ratios… Yes, it can and should be done!
Dialing in the modulation depth is key here.
60–70% tends to add grit without making it collapse into noise, but if you’re going for something harsher, don’t be afraid to push past 90%.
You can also modulate pan position at audio rates to create aggressive stereo movement.
I recommend something like ±100% with a saw wave running at 8kHz can feel like the sound is ripping through the speakers.
And for rhythmic textures, you can use a square wave modulator to create on/off bursts at audio speeds, then run that through distortion or clipping for percussive effects.
If the target parameter is pitch, keep your depth range tight (±2-3 semitones) or it’ll get unstable real fast.
PRO TIP: Modulate a flanger’s delay time with an audio-rate saw wave, set to around 2kHz, and automate the feedback to rise over time.
That creates an industrial screech that sounds like a machine winding up 一 perfect for transitions, FX hits, or experimental builds.
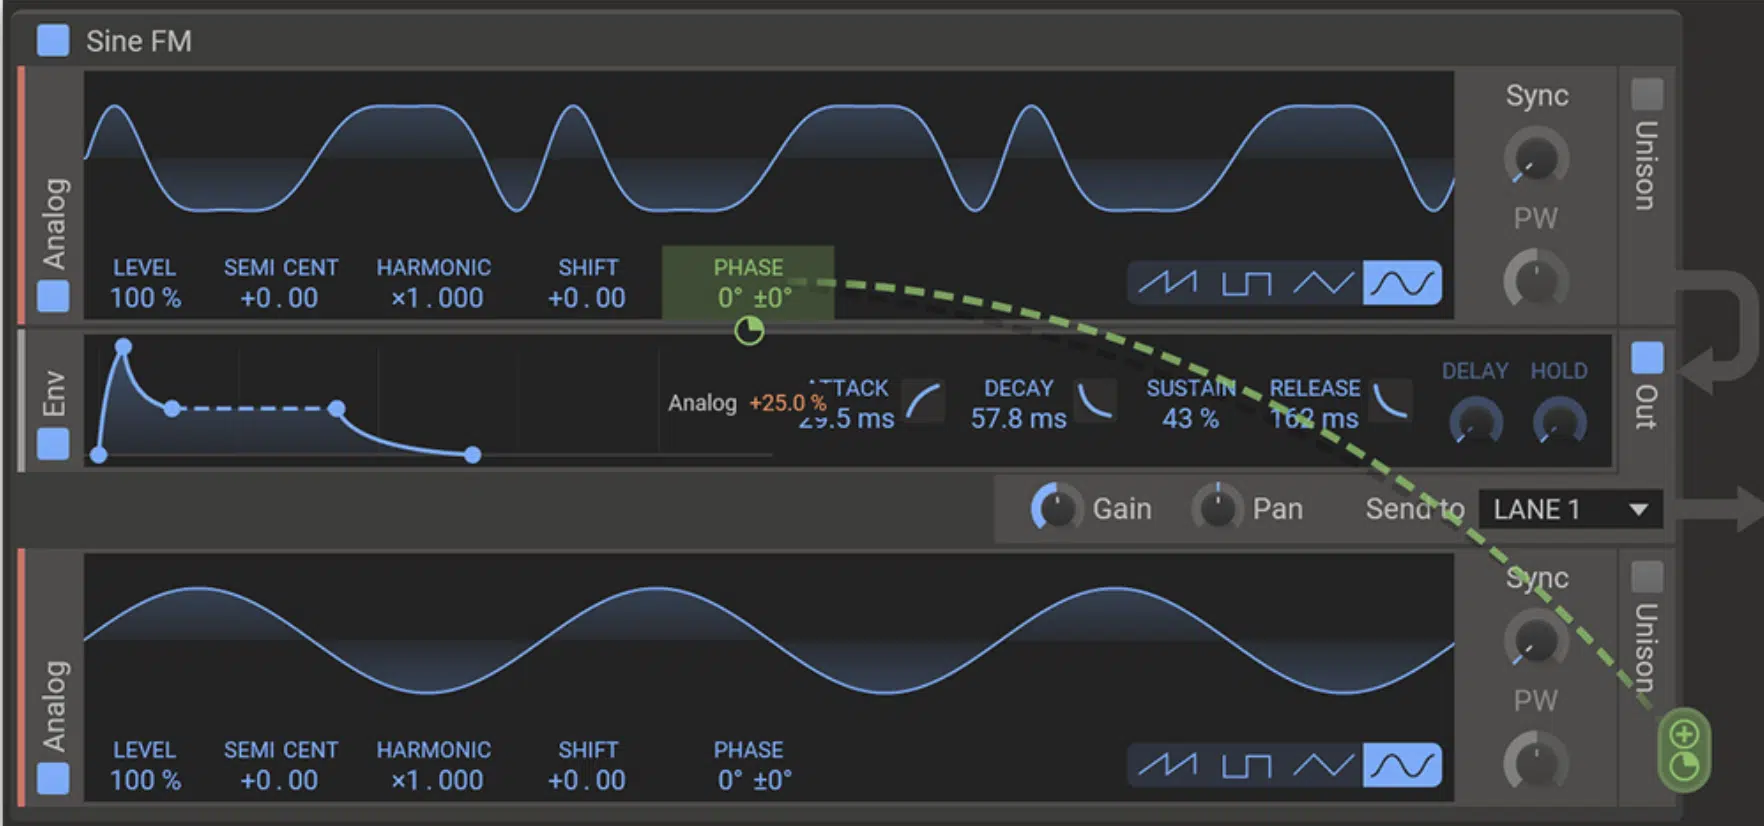
#4: FM & PM Synthesis Layering (Frequency/Phase Modulation Hybrids)
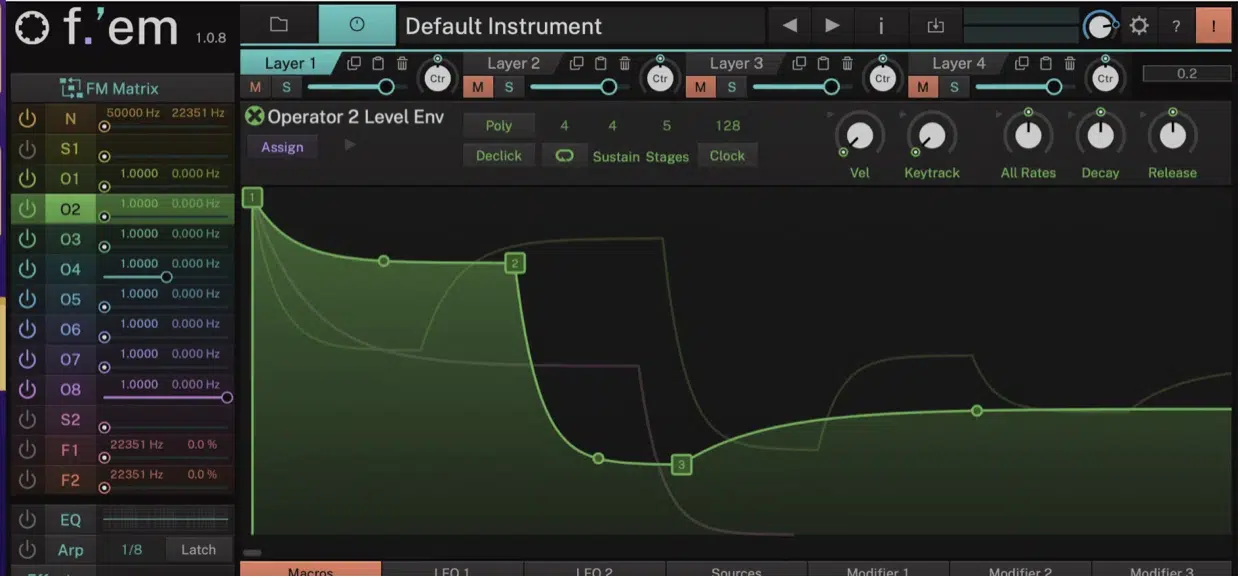
FM and the lesser-known/heard variant PM synthesis layering is one of the most underrated advanced sound design techniques.
But I really don’t know why it is because, when it comes to creating rich, harmonically dense sounds with total control over edge and texture, it’s a freakin’ beast.
You can start by layering a standard subtractive patch 一 maybe a saw or square wave with a low-pass filter set around 2.2kHz.
Then, blend in an FM carrier running at a 2:1 or 3:1 ratio to introduce that cool metallic grit and harmonic tension.
But when you route a third oscillator to modulate the modulator itself, that’s where things really get interesting.
Especially if you tune it in semitone intervals and automate the modulation depth from 30% up to 80% over time, that is.
Phase modulation gives you even tighter control, with sometimes a more user-friendly approach to programming, which is perfect for sharper attacks and bell-like tones.
Just make sure to use a short decay envelope (something like A: 0ms, D: 400ms, S: 0%, R: 120ms) on the modulation index.
This will successfully hype up the transient, then back it up with a filtered layer at around 150 Hz for body, which is what you want.
You’ll be able to create textures that hit hard in the high mids while still sitting clean in the mix.
When layering these sounds, it’s smart to low-cut anything below 90 Hz on the FM element to keep the low-end from folding.
You can even stack a noise layer or a subtle sine bass underneath just to round things out. Remember, when it comes to sound design, absolutely nothing is forbidden.
PRO TIP: Try automating the FM ratio itself (moving from 1:1 to 4:1) on a pad or riser while also modulating filter resonance from 10% to 40%.
That combo can turn a static pad into a wild, evolving lead texture that cuts like a laser but feels smooth and professional all day.
#5: Advanced Wavetable Warping Techniques
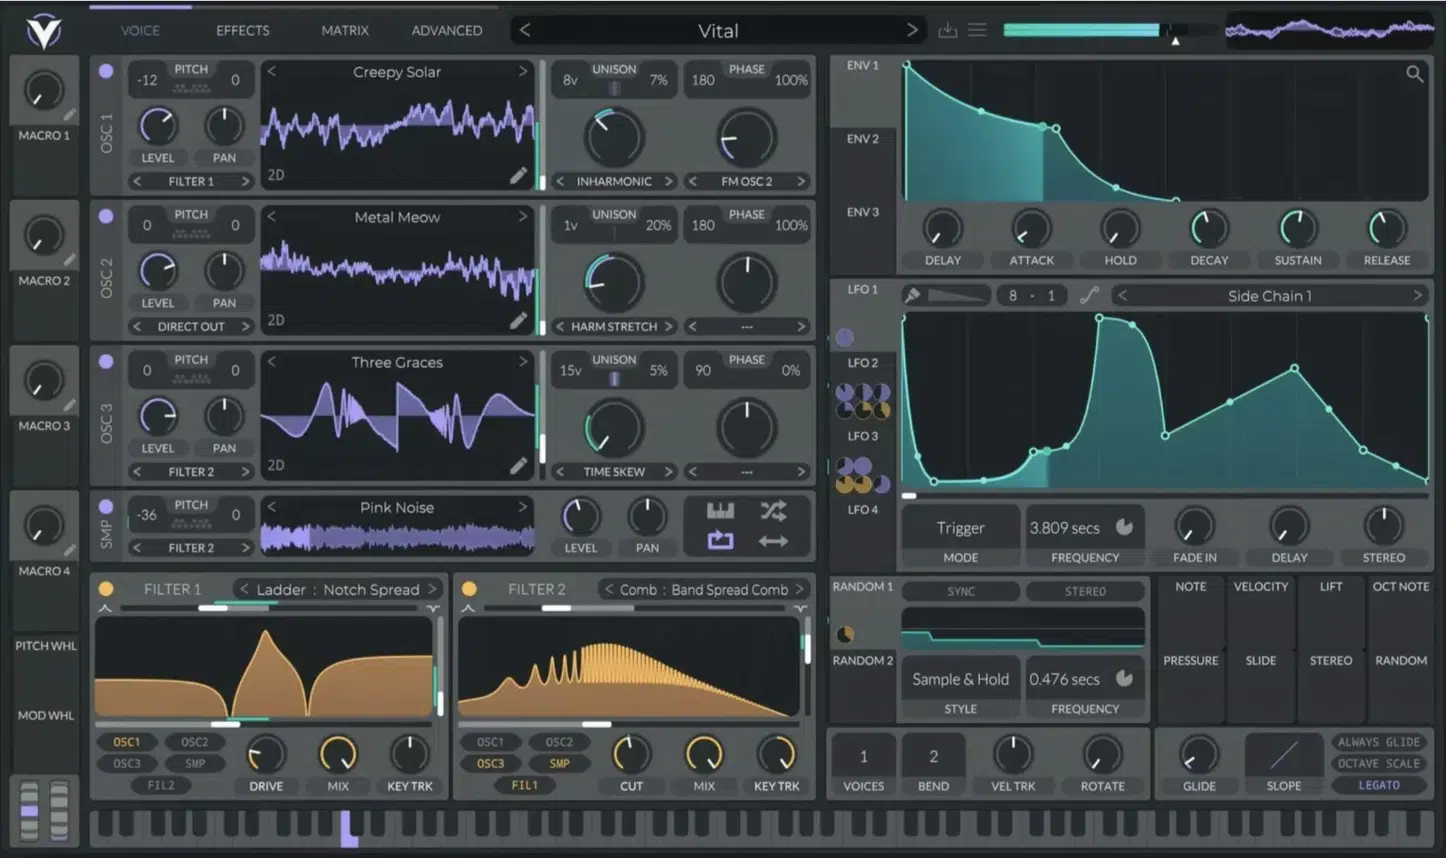
Wavetable warping is one of the most flexible advanced sound design techniques for pulling out movement, grit, and personality from what would otherwise be a flat sound.
What you’re going to do is start with a dynamic wavetable…
Something that includes both simple and complex waveforms (preferably that builds in complexity linearly as you move the WT position) is perfect.
Then, and apply a Bend+ warp mode with a mod depth of around 55–65% 一 that’ll stretch the harmonic spacing in a way that gives you those hollow, phasey textures.
Now, if you sweep the wavetable position from 0 to 75% over a 4-bar loop using a slow ramp envelope, the tone gradually opens up in a really satisfying way, especially if you automate your filter cutoff in sync.
This could be like low-passig at 1.6kHz, rising to 4.8kHz over 8 bars.
You can also layer (and even modulate) warping types like starting with Sync and routing an LFO at 1/8 rate to your Sync depth while automating the wavetable index independently.
That setup lets you blend robotic tonal shifts with smoother harmonic transitions.
I also recommend that you try combining that with phase randomization at 20–30% so the start point feels slightly different each time you trigger it.
This makes a huge difference on plucks or fast sequences, trust me.
Another trick is assigning velocity to the warp amount, so lighter hits sound smoother while heavier ones rip harder (or even vice versa if you prefer).
And if you layer in white noise or soft sub underneath (low-passed at 100Hz, -9dB), you’ll get a super full-bodied sound that’s wide but still held down properly.
PRO TIP: Reverse the envelope movement on the warp depth while moving the wavetable position forward.
That push-pull motion gives your patch more dimension and energy, especially for bass stabs or cinematic plucks.
#6: Creating Movement with Multi-LFO Routing
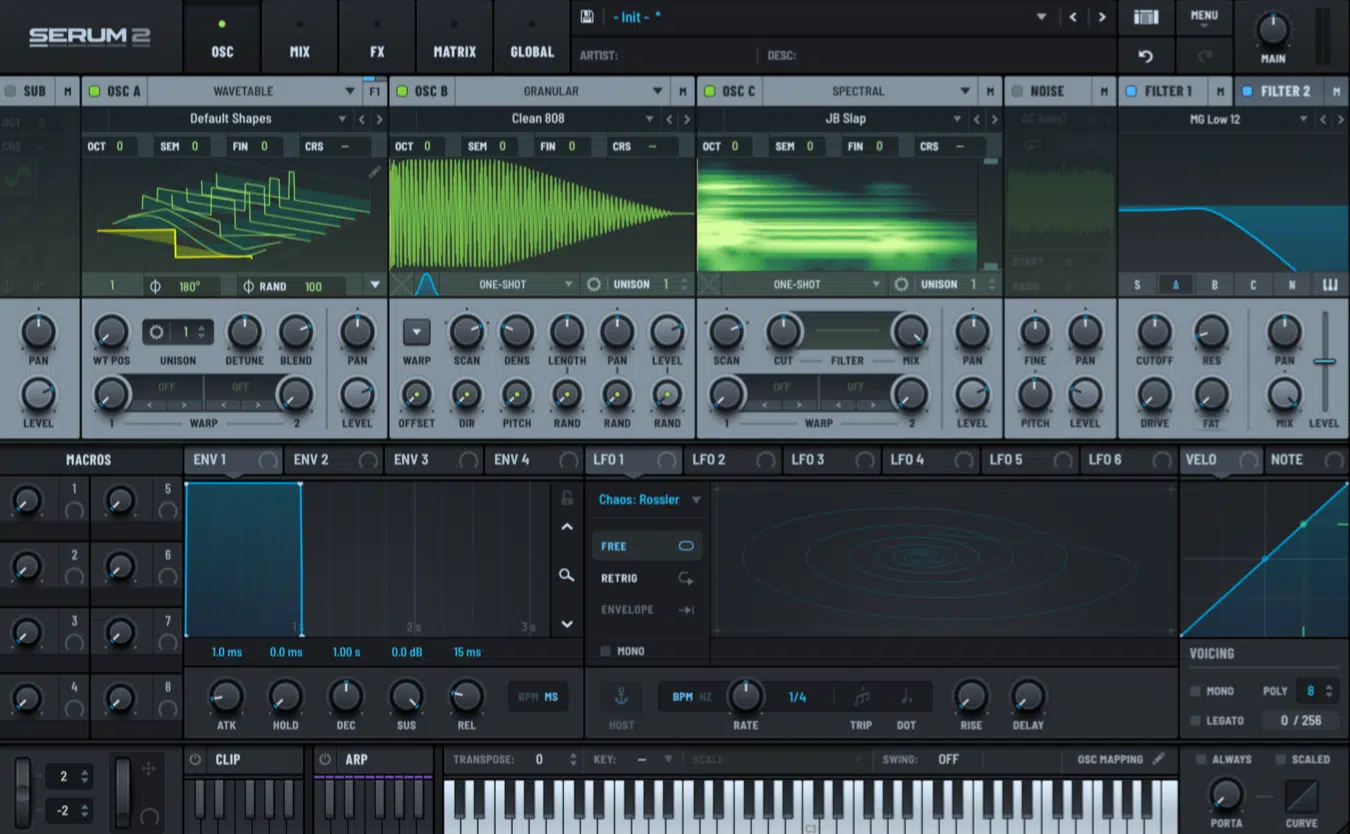
Creating real-deal movement with multiple LFOs is one of those advanced sound design techniques that makes your sounds feel alive, dynamic, and unpredictably evolving.
This is especially true when you’re routing different LFO shapes (and/or modulating between them) and rates to key parameters at once.
For example, you can start with a triangle LFO at 1/2 bar synced to the filter cutoff (like sweeping between 800Hz and 3.2kHz), while a slower sine LFO (4 bars) controls panning from left to right.
Now stack a third LFO (something faster, like a saw wave at 1/16 rate) and assign it to the warp or FM amount at about 25% modulation depth.
And, boom: just like that, your static sound now has rhythmic filter motion, stereo spread, and subtle harmonic variation all working in sync.
Using different LFO shapes on each route is super important here:
- Square waves add rhythmic snap.
- Random or S&H shapes introduce a more chaotic vibe.
You’ll want to keep the depths carefully balanced 一 filter sweeps around 50–70%, pan spread at 100%, and FM or warp modulation around 15–30% to avoid overkill.
One solid technique is using phase offset between LFOs.
For this, you’re going to set one to 0°, another to 90°, and the third to 180° so they never, ever all peak at the same time.
That kind of staggered motion keeps things interesting without overwhelming people.
You can also route velocity to control LFO depth so harder hits push the modulation further while softer ones feel more stable, just saying.
PRO TIP: Add a fourth LFO (slow sine at 16 bars) to modulate the speed of one of your existing LFOs, which gives you a self-modulating system where movement changes over time.
This is great for long pads, risers, or evolving drones that never repeat the same way twice, so definitely give it a go.
#7: Sample & Hold Techniques for Super Interesting Unpredictability
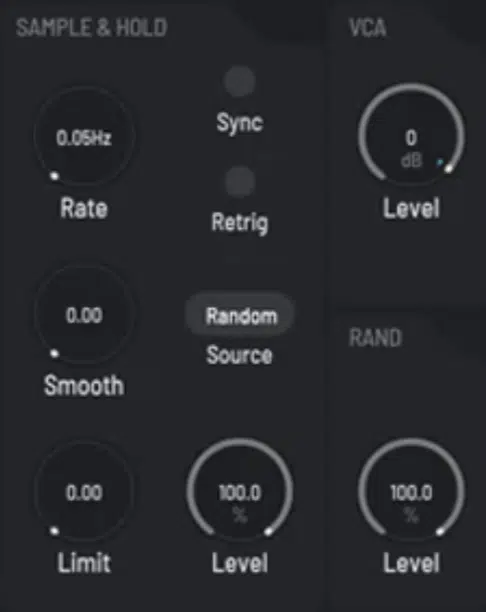
Sample & Hold (S&H) is one of the most slept-on advanced sound design techniques for injecting organic motion into your patches, period.
Instead of cycling smoothly like an LFO, S&H grabs a random value at a set interval and holds it until the next trigger.
You can assign this to anything from filter cutoff to pitch to pan to give your sound a controlled, glitchy edge.
For example, routing S&H to a filter cutoff with a clock rate of 1/16 note and a modulation depth of ±1.2kHz can give you rhythmic, stepped tonal shifts without even needing automation (pretty cool, right?).
Crank the resonance up to around 55% and suddenly that randomness becomes even more pronounced.
You can also use S&H to modulate stereo width by assigning it to pan or mid/side balance; a fast rate like 1/32 with narrow depth (±20%) keeps it subtle but interesting.
Try assigning another S&H to the pitch of a noise oscillator, limited to ±2-3 semitones, and it’ll give your top layers a random flutter that sounds gritty without going off key.
You’ll be able to keep the timing locked by syncing the S&H clock to your DAW, or keep it unsynced for more chaotic, analog-style wobble; dealer’s choice.
PRO TIP: Layer two S&H modulators on the same parameter 一 one running fast at 1/64 with low depth, and another running slow at 1 bar with higher depth.
The fast one is going to handle micro movement, while the slow one will keep evolving the tone behind the scenes, putting in work.
This is great for percussion, glitch FX, or really anything that needs subtle but non-repetitive modulation baked right into the patch.
With a small range, it is the absolute perfect modulation option for giving any parameter or effect true analog-style randomization when trying to emulate something like a vintage synth’s pitch instability.
As well as the small non-linear variations of your envelopes, modulators, and filter parameters for recreating the true subtleties of analog on digital synths/processors.
#8: Custom Formant Filtering & Vocal Form Shaping
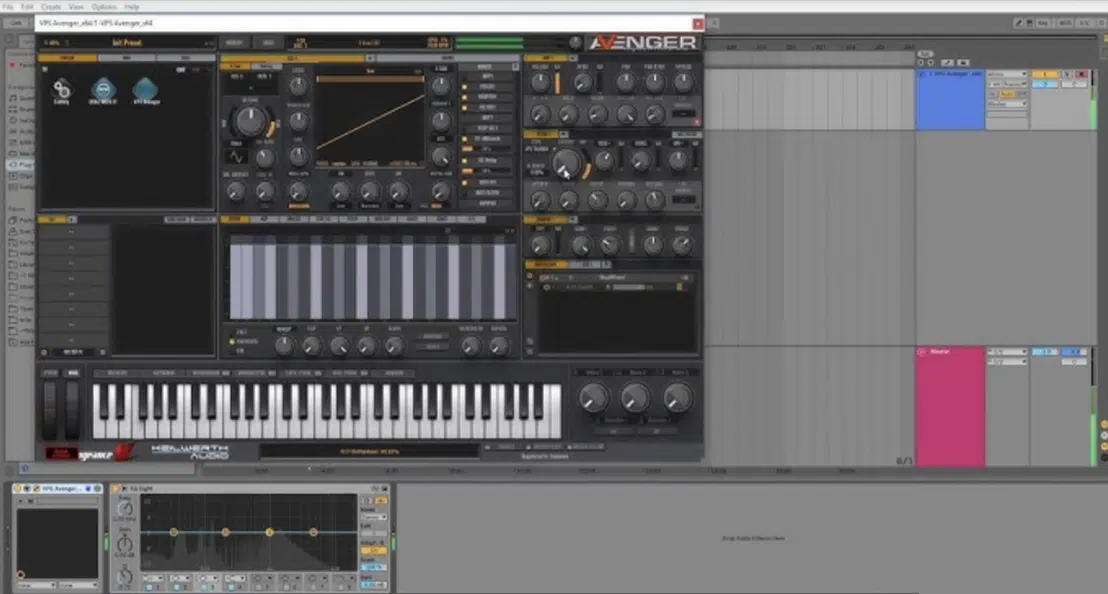
Formant filtering and vocal shaping are next-level advanced sound design techniques that let you give your sounds human-like character, especially in the mids and upper mids.
When you apply formant filters, you’re mimicking the resonant frequencies of the vocal tract which are usually focused around 500Hz, 1.5kHz, 2.8kHz, and 4kHz.
You can either:
- Sculpt these peaks manually using multiple narrow EQ bands (Q values of 12–18)
- Use a dedicated formant filter module with A-E-I-O-U vowel presets
Regardless of which one you decide to go with, you should try sweeping between A and E vowels over 8 bars using a slow sine LFO.
It makes pads and leads breathe like a voice, even if they don’t resemble one at first.
To give your bass patches throat-like texture, set up a low-pass at 3.5kHz, then layer in two bell boosts: one at 700 Hz and another around 2.4kHz.
Each are going to be boosted by about 3–4 dB.
Then, modulate their gain or frequency with a triangle LFO set at 1/2 bar to simulate shifting vowel tones.
If you’re working with plucks or stabs, use a short envelope with A 一 5ms, D: 90ms, S: 0%, R: 70ms to trigger the formant movement right at the start, so it bites/then fades.
You’ll be able to push the realism further by modulating multiple formants at once.
Try assigning two synced LFOs at different phases to each formant band for a layered, almost talkbox-style texture.
PRO TIP: Pitch the whole patch up 7 semitones, apply formant shifts downward by 20%, and you’ll get a unique contrast between pitch and vowel shape.
It’s absolutely perfect for vocal-style leads or futuristic FX sounds that feel alive.
#9: Re-sampling with Time-Stretched FX Chains
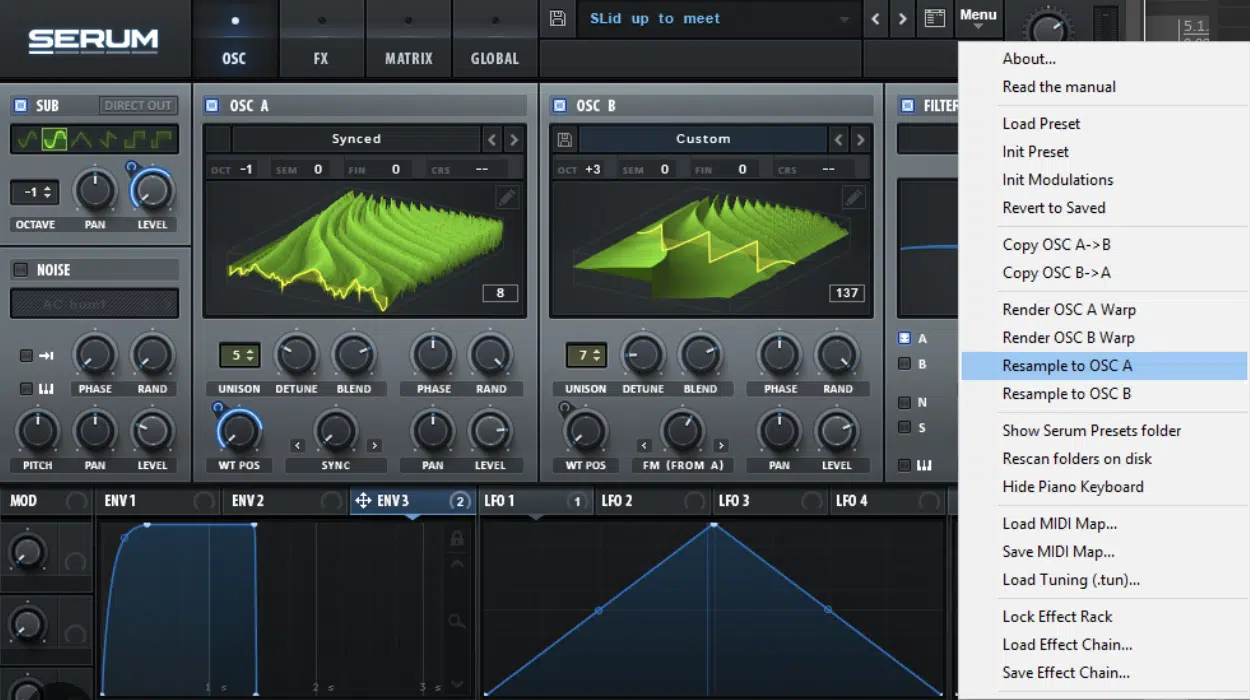
Re-sampling with time-stretched FX chains is one of my fav advanced sound design techniques because it completely flips a sound’s identity.
And gives you new layers to work with, which I’m all about, and the workflow is pretty simple in my opinion as well:
- Bounce your processed sound to audio
- Time-stretch it (usually by 200% to 800%, depending on the vibe)
- Then run that through a second, custom FX chain
For example, stretch a percussive synth hit 400%, low-pass it at 2kHz, and drop it into a second chain with granular delay, reverse reverb, and pitch automation from +5 to -3 semitones over 8 bars.
Don’t forget to test the different stretch algorithms on offer (usually you’ll have at least a few options), as each one can affect the result greatly.
And, each one is highly context-dependent, so you never know what you’re going to get.
Sometimes, you may get incredible results just by using one of the algorithms to time-stretch it, bounce the result, and use another to stretch it back to its original speed.
You may be blown away by what you’re left with, especially if you need the audio’s timing/speed to remain the same but want to impart a “stretched texture” to the source material without actually doing so.
You can also create cinematic textures this way by freezing modulation and reintroducing movement with fresh automation.
One of the best ways to build tension is to stretch a noisy riser, then automate distortion drive from 5% to 60%, reverb decay from 2s to 9s, and filter cutoff from 6kHz down to 800Hz.
This transforms the sound into a swirling atmosphere or eerie drone that still feels grounded in rhythm.
You’ll also want to experiment with layering, too…
Duplicate the stretched audio, pitch one layer up an octave, and low-pass the other at 1.5kHz with high resonance to create a filtered interplay.
And to keep things super musical, make sure to snap the warp markers to beat divisions so transient info stays in time.
You can automate formant shifting during playback to add pitch illusion without altering the musical key, so don’t even worry about it.
PRO TIP: Try resampling a full FX chain, stretch it by 500%, reverse it, then filter-sweep into it with a long volume ramp.
That’ll give you a haunting transition or intro element that doesn’t sound like anything pre-made, and it adds serious originality to your track, which is another perk.
#10: Unison Spread with Randomized Phase Offsets
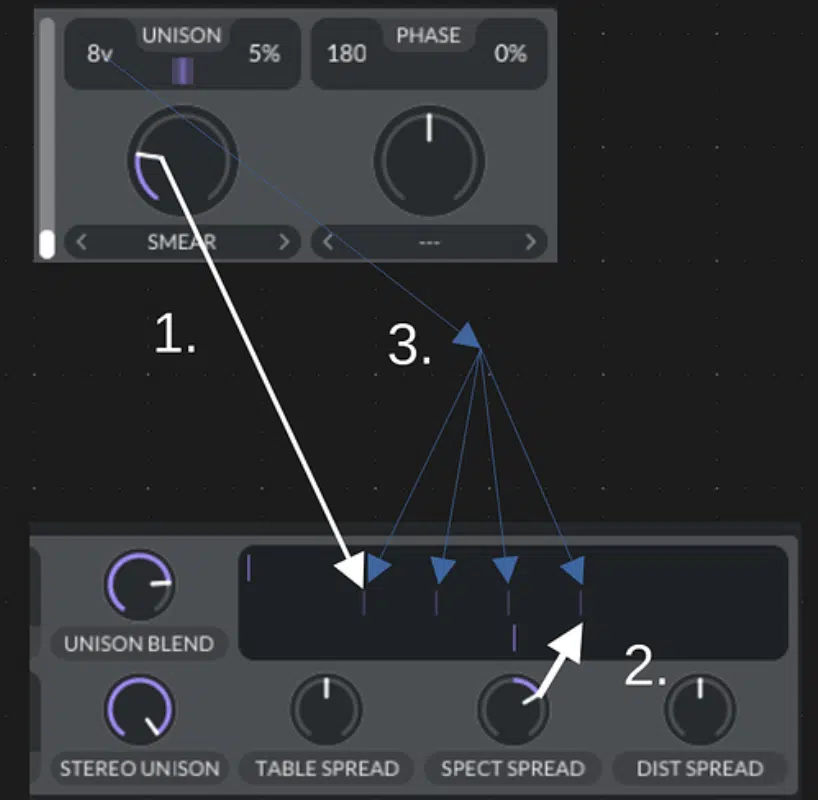
Unison spread with randomized phase offsets gives you those thick, wide, chorus-like tones that still feel punchy and controlled.
And, when done right, it’ll make your sounds feel professionally layered, even if they’re coming from a single oscillator.
Start by enabling 4–8 unison voices and detune them anywhere between 8% and 25%, depending on how thick you want it.
That will give you a stereo spread, but the real magic comes from adjusting the phase start positions in my opinion.
Make sure to set them randomly between 0° and 360°, or if your synth allows it, enable a “random phase per note” option.
This prevents phase cancellation and stops your transient from sounding flat.
You’ll be able to maintain punch by setting the unison pan width to 70–90%, and controlling the stereo image with a mid-side balance utility.
For bass sounds, it’s usually best to keep 2–3 unison voices with a much lower detune value (around 3–6%) and lock the phase at 0° so your sub stays mono-compatible.
But for pads, risers, or leads, letting each voice start at a different phase creates that lush movement producers chase.
You can even automate the detune amount with a slow sine LFO at 0.15Hz to introduce subtle drift across a longer phrase.
It’s perfect for sounds that need to evolve naturally without sounding robotic.
And to push it into even deeper sonic territory, do the same thing on a 2-osc unison patch to the phase position/rotate parameter for the unison voices of each osc. 一 using the same slow LFO but with the modulation applied in opposite directions.
So, while one sweeps in one direction, the other sweeps in the opposite for some controlled stereo movement on your unison patches.
PRO TIP: Pair randomized phase with light velocity sensitivity on attack time (e.g., 5–20ms range) and you’ll get a slightly different response every time you hit a note, just like analog synths.
That extra layer of variability makes a huge difference in keeping things human and musical.
#11: Dynamic Spectral Imprinting (Using Sidechain EQ Curves)
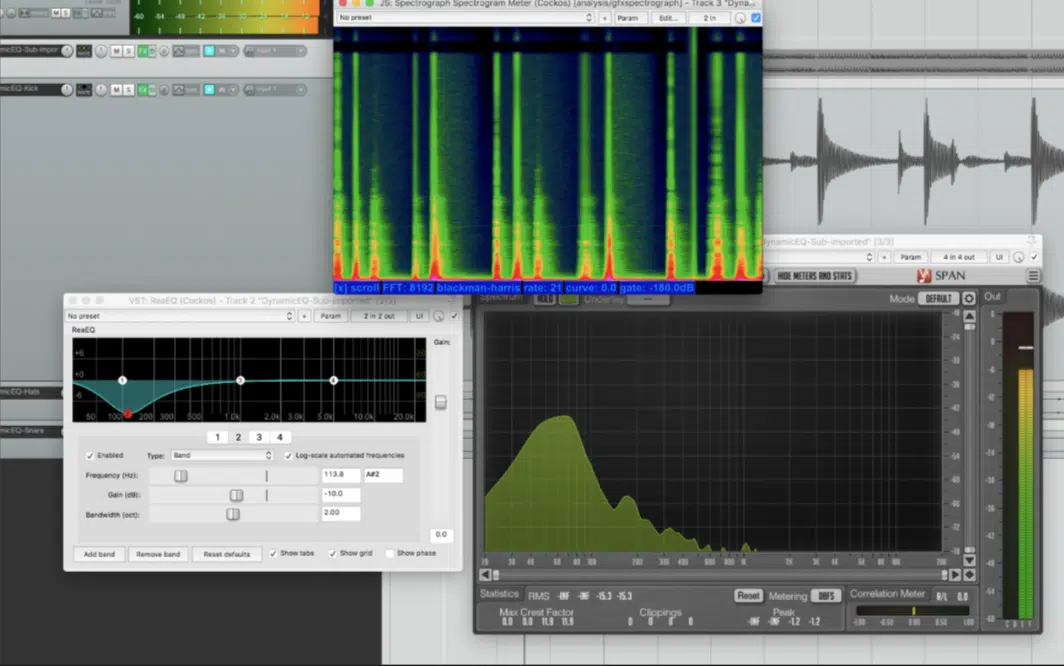
Dynamic spectral imprinting is one of the most surgical advanced sound design techniques you can use, no doubt about it.
And when you dial it in right, it allows two sounds to breathe together without clashing at all.
Instead of basic volume ducking, you’re dynamically reshaping the EQ curve of one sound based on another.
To try this out, set up a sidechain EQ with 4–6 bands targeting key frequencies, like 200Hz, 500Hz, 1.2kHz, 2.5kHz, and 5kHz.
Then, set each to dynamic cut mode, triggered by the incoming signal of the second source.
For example, if your lead and chord stack are fighting in the mids, cut -3.5dB at 1.2kHz only when the lead is active, using a threshold of -30dB with a medium Q of 1.8.
You’ll be able to get transparency by keeping the attack around 40ms and release at 220ms, so the EQ movement sounds natural and professional.
This technique is perfect for vocal layering too 一 just imprint the vocal’s energy onto the backing pad so the pad shifts around it dynamically without losing its weight.
It also works on percussive layers, like ducking 300Hz and 5kHz on hi-hats when snares hit, keeping the top-end clean without having to manually EQ each hit.
For a much less temperamental option than doing the same thing using traditional sidechain multiband compression, no matter how precise, it’s a beast.
PRO TIP: If you use a dynamic EQ with spectrum matching features, load a short loop of your main instrument as a reference, and apply light imprinting (30–40% strength) to another layer.
That’ll automatically scoop out clashing zones (even in real time), so you don’t have to chase frequencies manually.
Just make sure to solo and A/B often, and don’t overdo it because spectral imprinting works best when it’s felt more than heard, honestly.
#12: Advanced Noise Shaping for Hyper-Real Textures
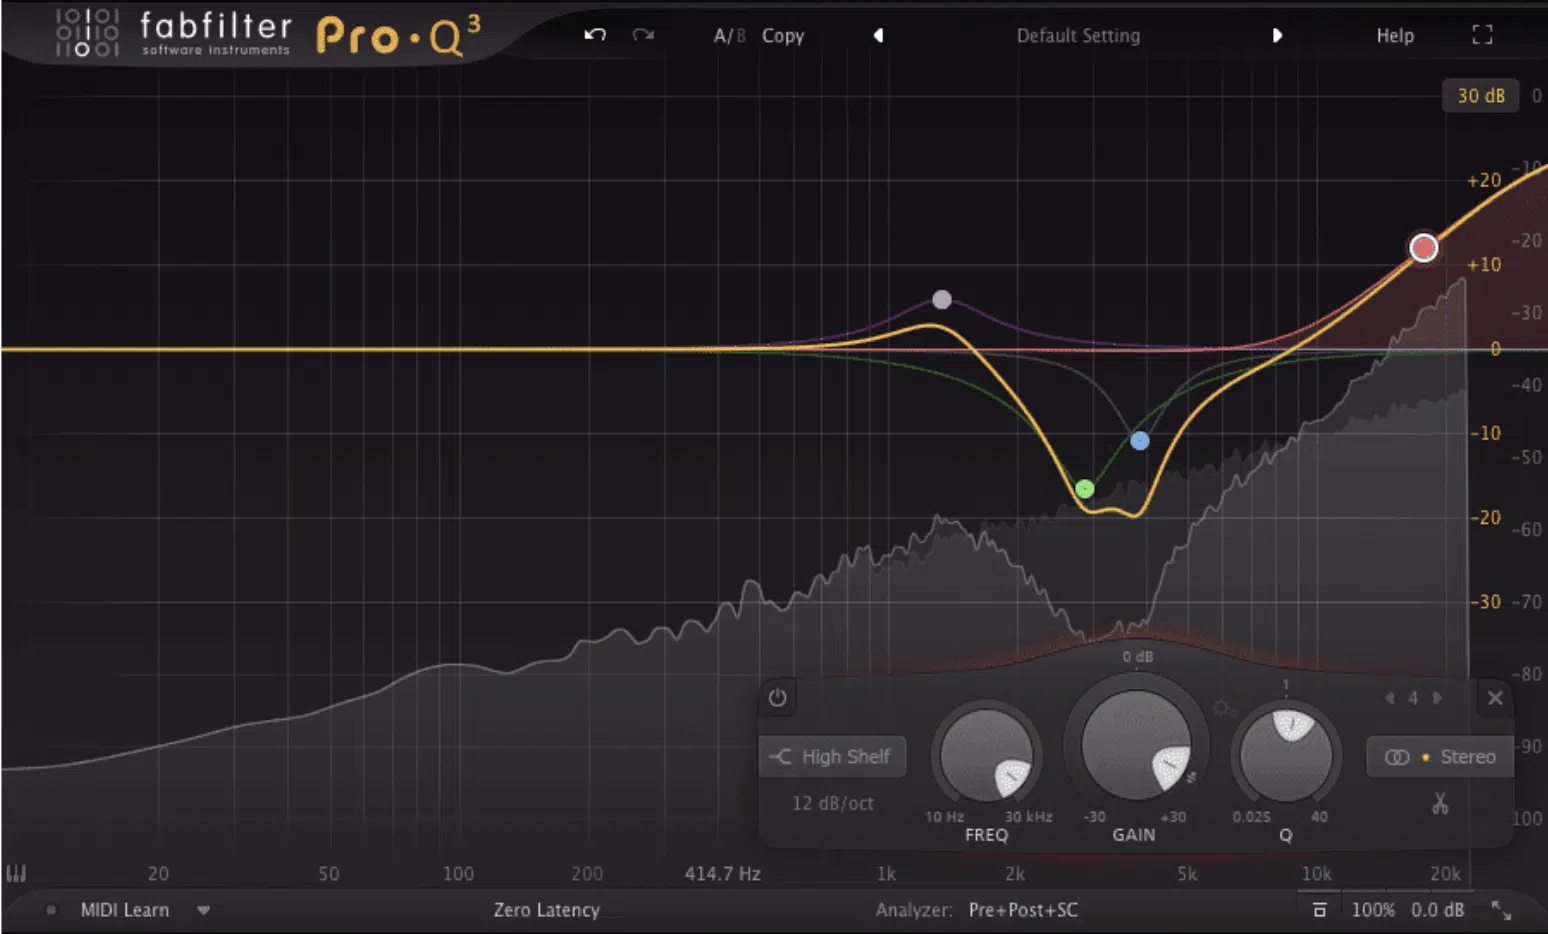
Advanced noise shaping lets you inject subtle air, grit, or even human breath-like character into your sounds without taking up unnecessary space.
It may seem like just noise, but to a sound designer like myself, simple noise is the designer’s preferred Swiss Army knife that can universally be used in virtually any and every situation if need be.
From injecting more ‘oomph’ and layering flimsy sound sources to an ideal modulation source that can be sculpted into virtually any shape and form.
It can even be pitched into any tone in the frequency spectrum, occupying as little or as much space as desired.
You can start by layering a custom noise oscillator…
Not just white or pink, but something like band-passed brown noise with a low-pass at 6kHz and high-pass at 800Hz.
That range keeps it focused in the mid-airy zone where textures shine, especially behind plucks or pads.
And if you modulate its level using a short envelope (A: 10ms, D: 120ms, S: 0%, R: 90ms), you’ll get a soft, natural decay that mimics the feel of physical instrument noise.
Another technique is routing the noise through a formant filter or even a resonator set to a specific pitch, like G3 (196 Hz), and blending that with your synth layer at around -18dB to give it vocal-like realism.
This way, you’ll be able to successfully make leads more expressive, and percs feel like they were mic’d in a room.
Don’t forget to use velocity to drive the noise level, so softer hits feel clean, and harder hits sound grittier and more intriguing.
Then, apply a gentle high-shelf boost of +2dB at 4.5kHz to open it up without pushing it forward in the mix.
PRO TIP: Shape your reverb send after the noise layer instead of before.
Set pre-delay around 40ms, decay time at 3.2s, and low-cut at 400Hz, and it’ll give you a cloudy halo of texture behind the main sound, which is perfect for ambient plucks, risers, or transitional FX.
Use subtle pitch modulation (±2 cents) to introduce fluctuation that mimics analog imperfection 一 that’s how you make something static feel alive.
#13: Modulating FX Parameters Over Time (Phaser Depth, Delay Rate, Etc.)
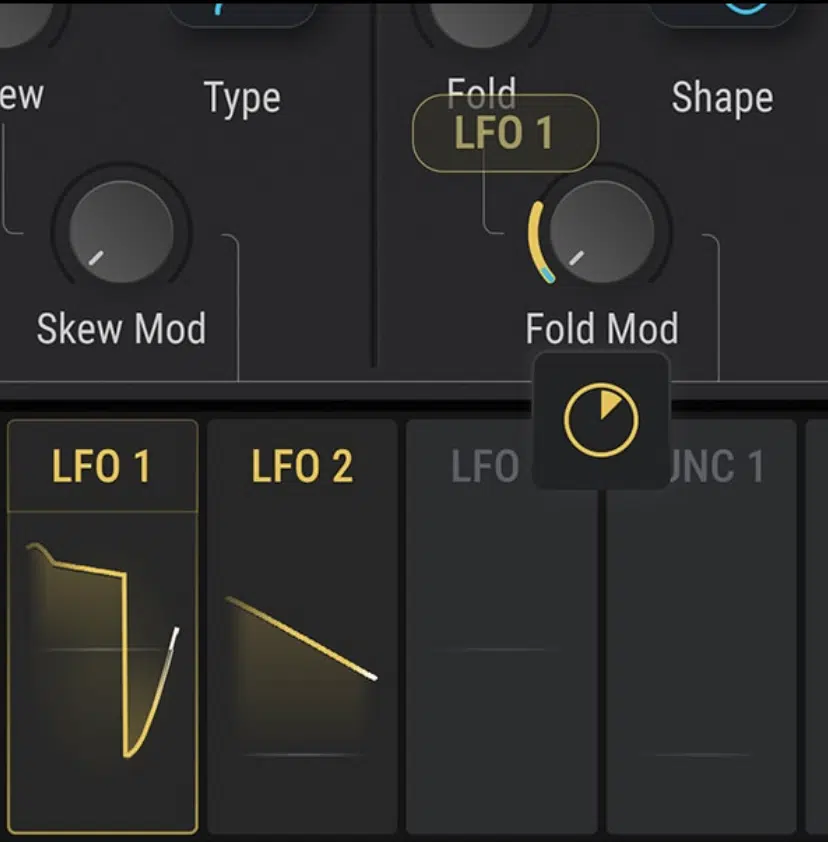
Modulating FX parameters over time can turn any basic patch into a constantly evolving performance element (one of the most expressive advanced sound design techniques).
Instead of just dialing in a delay or reverb and leaving it alone, you’ll be actively shaping its response by modulating its internal settings, like:
- Delay rate
- Feedback amount
- Reverb size
- Phaser depth
All using LFOs, envelopes, or automation, and it’s also a way to turn any stagnant, basic processor into a sound design powerhouse.
For example, if you apply a triangle LFO at 0.25Hz to a phaser’s depth parameter, and automate feedback from 20% to 60% over 16 bars, you’ll build subtle tension that never loops exactly the same way.
You can even assign an envelope follower to drive delay time, so the harder your sound hits, the faster or shorter the delay gets.
Just make sure to set the base delay at 1/8D, with a dynamic range that pushes it down to 1/32 when triggered.
That’s super useful for glitchy percussion or syncopated stabs.
Modulating pitch shift in reverb or pitch delay units (±3 semitones) with slow sine LFOs (0.1–0.2Hz) adds a subtle detuned shimmer, especially when layered behind melodic content.
You’ll also be able to link macro controls to multiple FX parameters, like tying reverb size, decay, and wet/dry all to a single macro with a curve that opens up slowly.
This lets you get some super smooth transitions between dry and atmospheric layers.
PRO TIP: Route a slow-rising envelope (Attack: 4 bars) to flanger feedback or comb filter frequency.
That’ll create a movement arc that breathes with your arrangement, which is absolutely perfect for intros, drops, or evolving FX layers.
This kind of modulation is what separates presets from true, dynamic sound design!
Bonus: Things to Remember When Getting into Advanced Sound Design
Now that you have the absolute sickest advanced sound design techniques at your disposal, there are a few things I’d like to leave you with.
You’ll want to get comfortable using modulation in layers: combine envelopes for punch, LFOs for groove, and audio-rate mod for grit — all at once, not just individually.
So, start simple by designing a single oscillator patch, then adding one new modulation at a time, like routing a sine LFO to:
- Pitch (±3 semitones)
- Filter cutoff (1.2kHz to 5.6kHz)
- Pan spread (±80%)
That’s how you stay in control while still letting the sound evolve, which is what you want.
And remember to keep your gain staging clean as well.
When you’re stacking saturation, distortion, and FX chains, clip gain between stages to -12dB RMS, then push the final layer up to taste.
This avoids overcooked results and gives you headroom for parallel processing or mastering later on.
Just keep in mind, you’ll also want to start thinking in terms of frequency zones and assign each texture its own pocket 一 sub (30–80Hz), body (100–300Hz), presence (2–4kHz), air (8–12kHz).
That’s how your advanced textures won’t end up masking each other.
Also, make sure to spend time listening to your modulation disconnected from your main sound.
You’ll want to always solo the LFOs, envelopes, or reverb tails so you can really hear what’s happening underneath.
It’ll help you fine-tune the feel and adjust what’s needed without the clutter.
And if you really want to level up, keep a “modulation cheat sheet” in your project file…
List out what modulates what, like LFO1 → Warp, Envelope2 → Pan — and what ranges you’re using (it’ll save you massive time/guesswork later on).
You’ll usually be able to find this basic info hidden behind some panel within your DAW, synth, or processor.
But, it’s usually just indicated as CC values and gives little to no context into what’s actually going on behind the panel.
In the end, the deeper you go with advanced sound design, the more you’ll realize it’s about subtlety stacked on subtlety, not chaos.
Control equals creativity, so always remember that.
Final Thoughts
And there you have it: the absolute best advanced sound design techniques that have literally shaped my career as a sound designer.
With this information, you’ll be able to create truly original sounds, push past all creative blocks, and build textures, movements, and layers that actually stand out.
Plus, you’ll successfully sculpt detail, energy, and character into your patches like never before (and, not to mention, blow your competition out the water).
Just remember that it’s all about precision and experimentation.
Otherwise, you’re going to end up stacking random effects, chasing messy results, and nobody has time for that.
Trust me, using these advanced sound design techniques will seriously upgrade your workflow, sharpen your creative instincts, and make your sound design feel effortless.
And remember, when it comes to sound design, never be afraid to think outside of the box or try new things… because there is NO LIMIT.
Until next time…


Leave a Reply
You must belogged in to post a comment.