Pitch modulation is all about shaping the movement of pitch over time and giving your sounds more life, depth, and expression.
As producers, you have to know all about pitch modulation because it can help you create emotion in leads, add character to vocals, and make your synths feel more alive.
Plus, it lets you successfully control pitch movement, design complex modulated FX, and absolutely nail stereo width (all with a few strategic settings, of course).
Luckily, I’m breaking down everything you need to know about pitch modulation, like:
- Pitch modulation vs. pitch shifting ✓
- How pitch shifters actually work ✓
- LFOs and envelope-driven modulation ✓
- Using pitch modulation in synth leads ✓
- Pitch movement in pads and complex textures ✓
- Pitch modulation for vocal FX ✓
- Stereo imaging with pitch changes ✓
- How to enhance your skills & creativity ✓
- Pro tips and advanced modulation layers ✓
- Advanced techniques and key parameters ✓
- Much more about pitch modulation ✓
By the end, you’ll know all about how to build, control, and shape your sounds using pitch modulation like a boss.
Your tracks will move better, feel more dynamic, and really hit emotionally 一 this way, you never have to worry about lifeless patches or boring vocal FX ever again.
Table of Contents
- What is Pitch Modulation?
- The Key Elements
- 5 Types of Pitch Modulation Every Producer Should Know
- Modulation Sources That Can Alter Pitch
- How to Use It in Your Tracks (Music Production Musts)
- Using Pitch Modulation for Stereo Imaging
- Sound Design Techniques
- Bonus: Parameters You Need to Master
- Final Thoughts
What is Pitch Modulation?
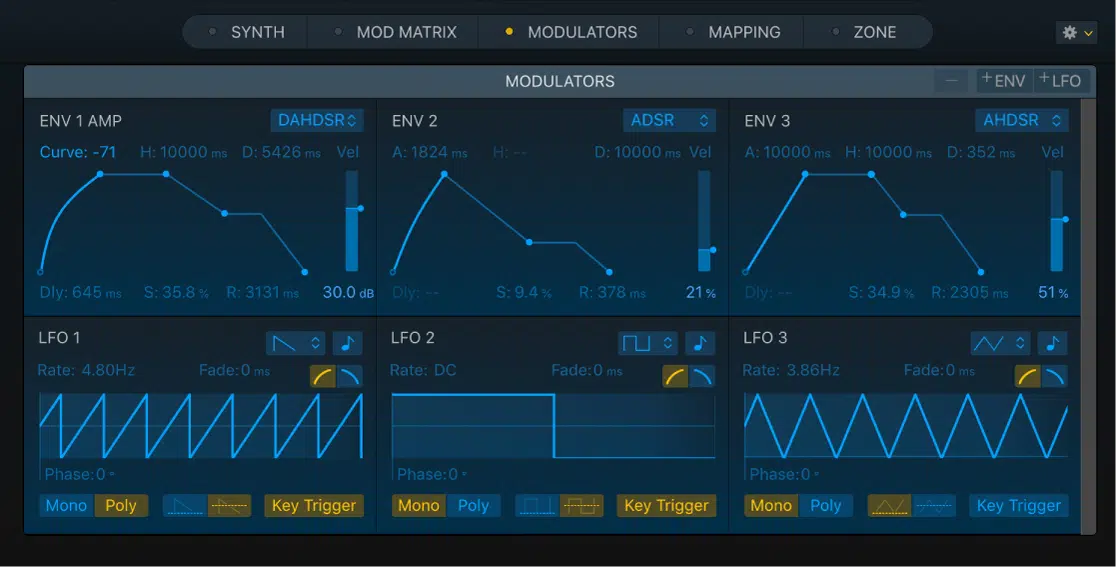
Pitch modulation is the process of continuously changing a sound’s pitch over time.
It’s usually done using a modulation source like an LFO or envelope to create movement and expression in a sound, instead of it staying locked on a static pitch.
This technique can, for example:
- Make a synthesizer feel alive
- Help pads evolve across time
- Turn robotic vocals into emotional lead lines
Whether you’re trying to imitate vibrato, widen your stereo image, or get experimental with textures, pitch modulation is the key.
It gives you the freedom to add subtle or extreme changes that completely transform your sound and really get people to stop and listen.
Bottom line, it’s one of those essential techniques that, once mastered, opens up endless creative possibilities in both mixing and sound design.
-
Pitch Modulation vs. Pitch Shifting
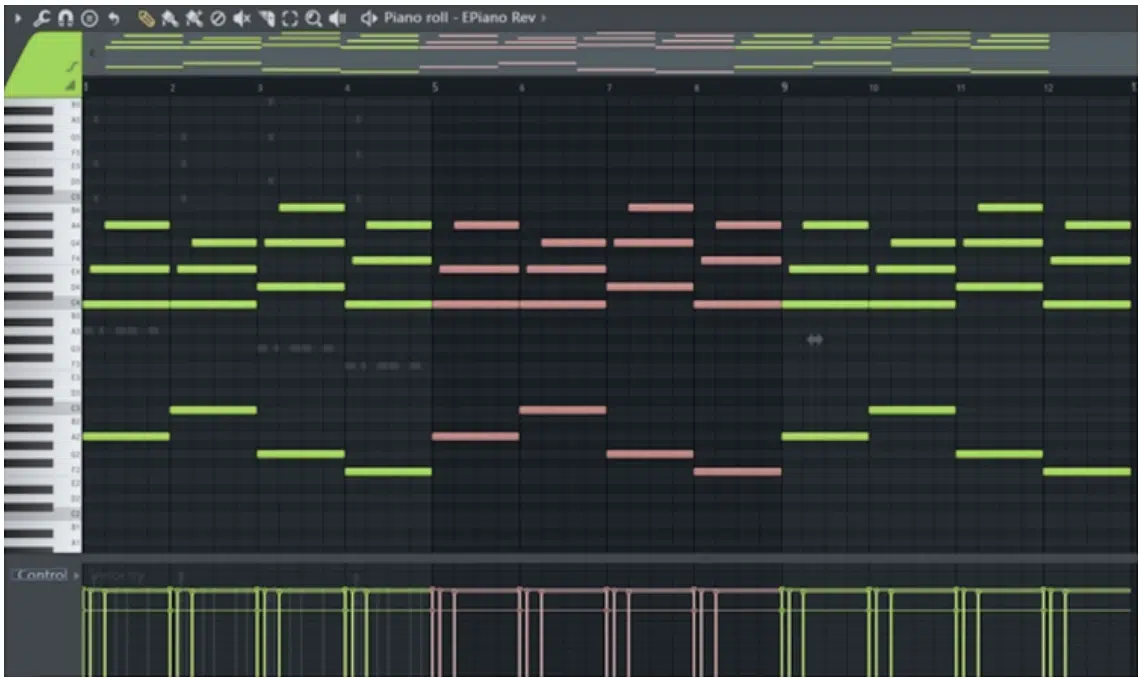
Pitch shifting changes the pitch of an entire sound by a fixed amount (usually in semitones or cents) without any real movement or variation over time.
You’ll use a pitch shifter to quickly transpose a vocal, shift a snare up for energy, or drop an 808 down an octave for more weight.
And this is all while keeping the original timing and delivery intact.
Pitch modulation, on the flip side, involves continuous pitch movement 一 adding vibrato, wobble, drift, or expressive curves that evolve throughout the sound.
A super common use of pitch shifting is pitch correction, where a vocal is nudged or locked into key, whereas pitch modulation is used more creatively.
It’s all about adding vibe, tension, or depth.
While a pitch shifter gives you a static, locked-in result, pitch modulation is fluid and typically driven by LFOs, envelopes, or randomized modulation sources.
Just keep in mind that both affect pitch, but one’s about precise control and tuning, and the other’s about movement, feel, and expression.
Side note, if you want to discover all of the best pitch correction plugins in the game, I got you for sure.
The Key Elements
Pitch modulation isn’t just about turning knobs or adding movement randomly 一 it all comes down to how your signal is being generated and what’s modulating it. So, let’s break down the key components that make pitch modulation possible in the first place.
-
Oscillators, Waveforms, and Frequency Movement
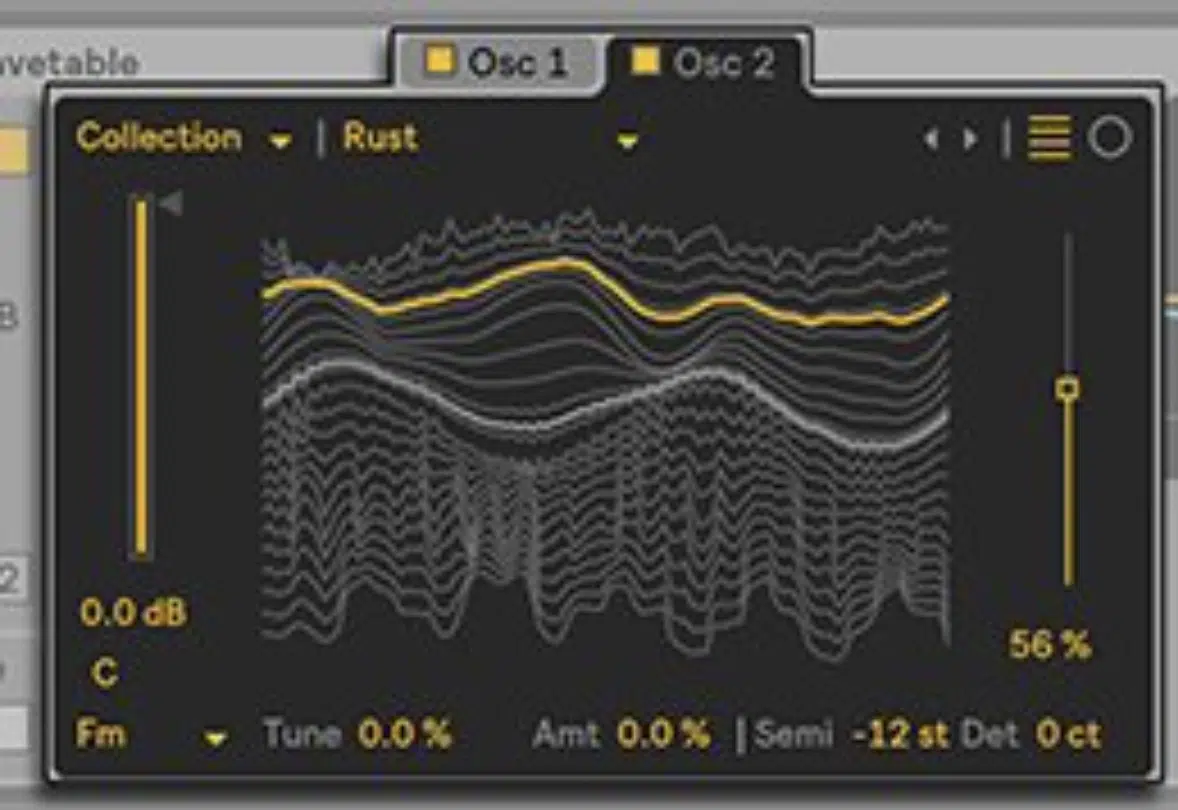
An oscillator is the source of a sound in synthesis, and it creates a waveform (like sine, square, saw, or triangle) that repeats at a certain frequency, which determines the pitch.
When you modulate pitch, you’re actually making that frequency rise and fall over time — creating dynamic movement instead of a locked, static note.
For example, modulating a sine wave oscillator’s pitch with a subtle sine LFO creates a natural-sounding vibrato.
Using a random waveform for modulation, on the other hand adds unpredictable, glitchy fluctuations.
This kind of pitch movement is what brings synthetic sounds to life and makes them feel expressive and evolving all day.
-
How Low Frequency Oscillators (LFOs) Shape Pitch Changes
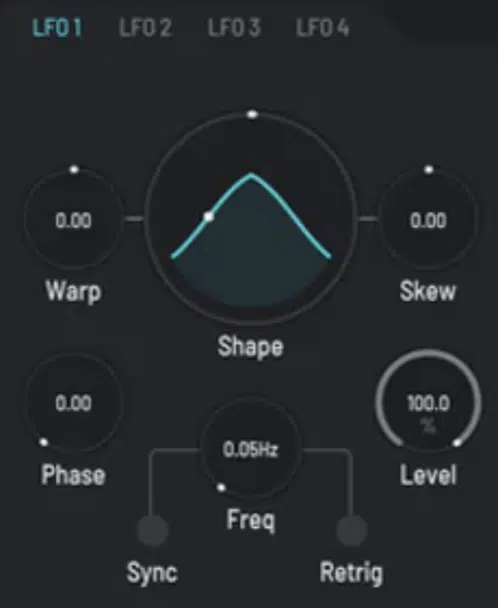
A Low Frequency Oscillator (LFO) produces waveforms at slow, sub-audio rates, typically below 20 Hz.
They’re perfect for automating parameters like pitch without generating an audible tone of their own.
When an LFO is routed to pitch, it causes the pitch to move rhythmically or continuously based on its specific waveform phase.
- Triangle LFO gives smooth rises and falls.
- Square LFO gives jumpy, stepped pitch movement.
For example, setting an LFO to modulate pitch at around 5 Hz with a shallow depth can instantly create a classic vibrato effect that sounds natural and expressive.
It’s one of the most common and reliable ways to add life, emotion, and subtle movement to an otherwise static sound.
5 Types of Pitch Modulation Every Producer Should Know
Now, there are a handful of go-to pitch modulation types that pop up constantly in modern music production, so knowing how each one works will give you way more control over your sound. For this next section, let’s breakdown the five most important ones, what they do, and how to use them in your own tracks.
#1. Vibrato
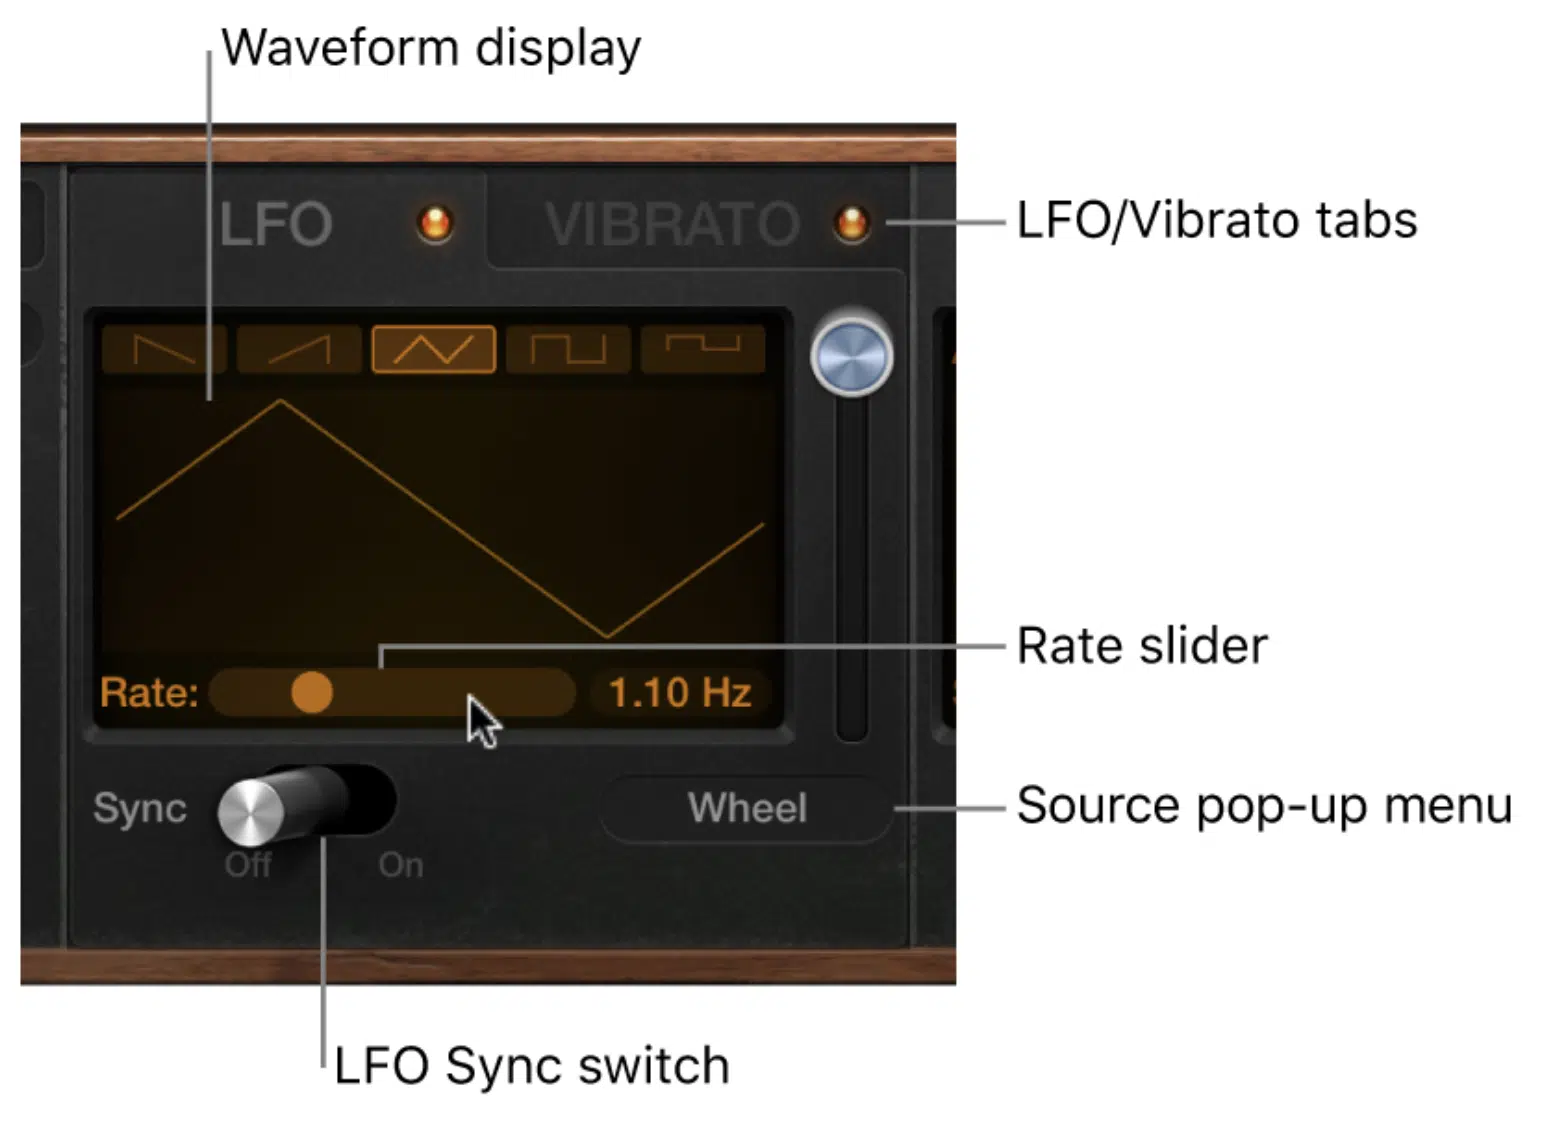
Vibrato is a classic pitch modulation technique where the pitch of a note oscillates slightly up and down at a consistent rate, usually controlled by an LFO.
For example, setting an LFO to modulate pitch at around 5–7 Hz with a small depth (about 20–50 cents) adds a smooth, expressive motion.
It naturally mimics the natural pitch variation in a vocalist or string player.
You’ll hear vibrato used on lead synths, pads, and vocals to add emotional movement and prevent a sound from feeling too robotic or static.
#2. Tremolo vs. Vibrato (Quick Clarification)

Tremolo and vibrato are confused all the time, trust me, but they affect totally different things and you need to understand them to become a professional producer.
So, to put it super simple:
- Vibrato modulates pitch.
- Tremolo modulates volume.
If you’re using an LFO to change how loud a sound is over time, like with a pulsing pad or rhythmic synth, that’s tremolo 一 not vibrato.
For example, a slow sine wave modulating amplitude gives you a classic tremolo effect (like on a Fender amp).
But, modulating pitch instead gives you that expressive wobble that people absolutely love we call vibrato.
Getting these two right is super important, because mixing them up can lead to the wrong kind of movement in your track or just a sound that feels off.
So, just make sure to double-check what your modulation source is actually controlling, whether it’s pitch or amplitude, before dialing in the effect.
#3. Formant Shifting
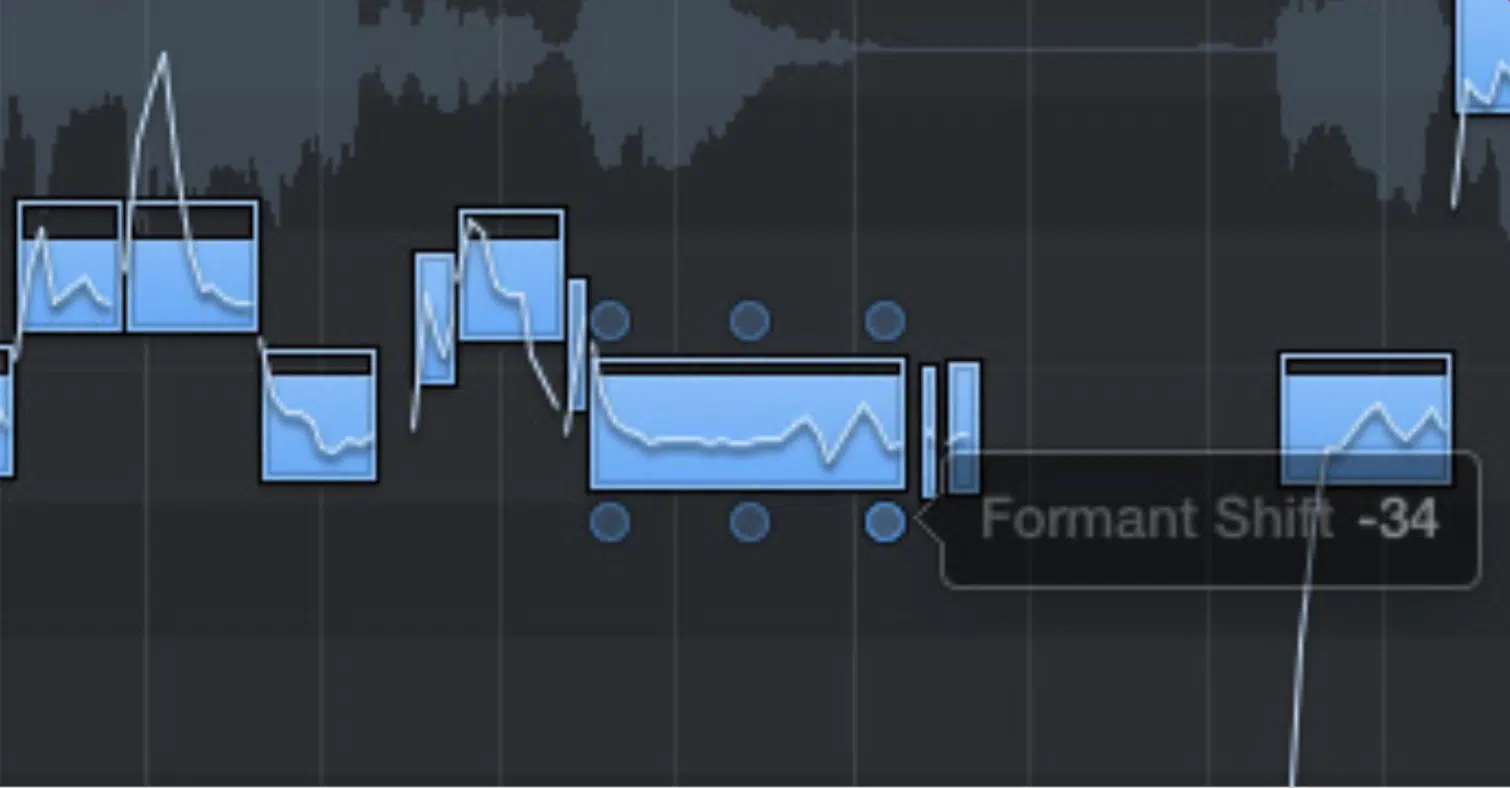
Formant shifting changes the resonant frequency shapes of a sound without changing its actual pitch, which makes it perfect for vocal manipulation.
It’s how you can take a vocal and make it sound older, younger, robotic, or alien without simply pitch shifting it up or down.
For example, pitch shifter plugins like Little AlterBoy or VocalSynth 2 can shift formants up to add a chipmunk-like tone to your song.
Or shift them down to make a voice sound darker and more ominous 一 all without having to manipulate the note/scale itself.
#4. Manual Pitch Bending
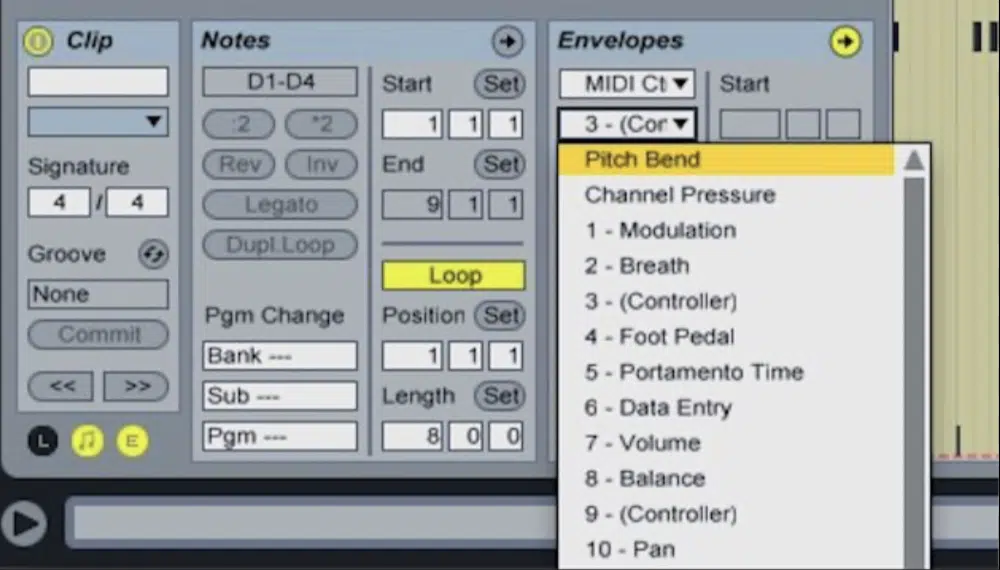
Manual pitch bending is when you physically or digitally bend the pitch of a note in real time, usually with a pitch wheel, modulation controller, or automation lane.
It’s a staple in genres like trap, dubstep, and melodic bass music where pitch bends add drama, tension, or glide between notes.
A good example would be pitching an 808 down 12 semitones with automation just before it drops, or using your MIDI controller’s pitch wheel to bend a synth lead into the next phrase like a guitarist sliding into a note with their physical instruments.
#5. Algorithmic Pitch Modulation
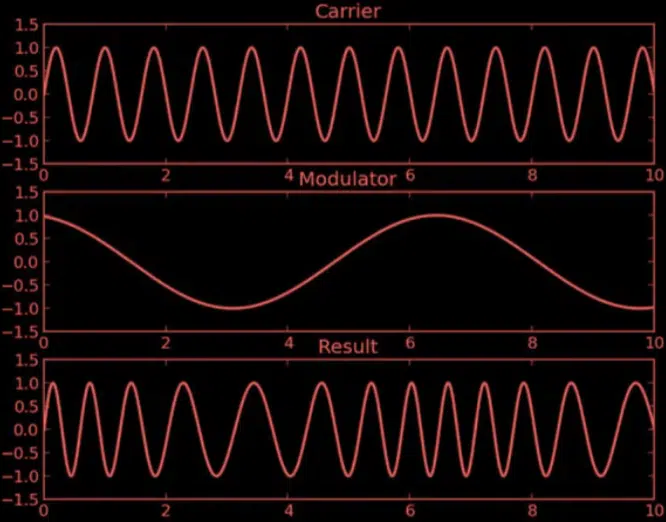
Algorithmic pitch modulation involves using computer-based or math-driven processes to control pitch movement in more complex, evolving, or even randomized ways.
Instead of a traditional LFO or envelope, you’re working with formulas, generative algorithms, or randomizers.
It can help you create unique pitch curves that don’t repeat or follow typical cycles.
For example, in synths like Phase Plant or Pigments, you can modulate pitch with chaos generators, step morphers, or random sample-and-hold shapes to get glitchy, unpredictable textures perfect for IDM, experimental hip-hop, or ambient work.
-
Pro Tip: Amplitude Modulation vs. Pitch Modulation
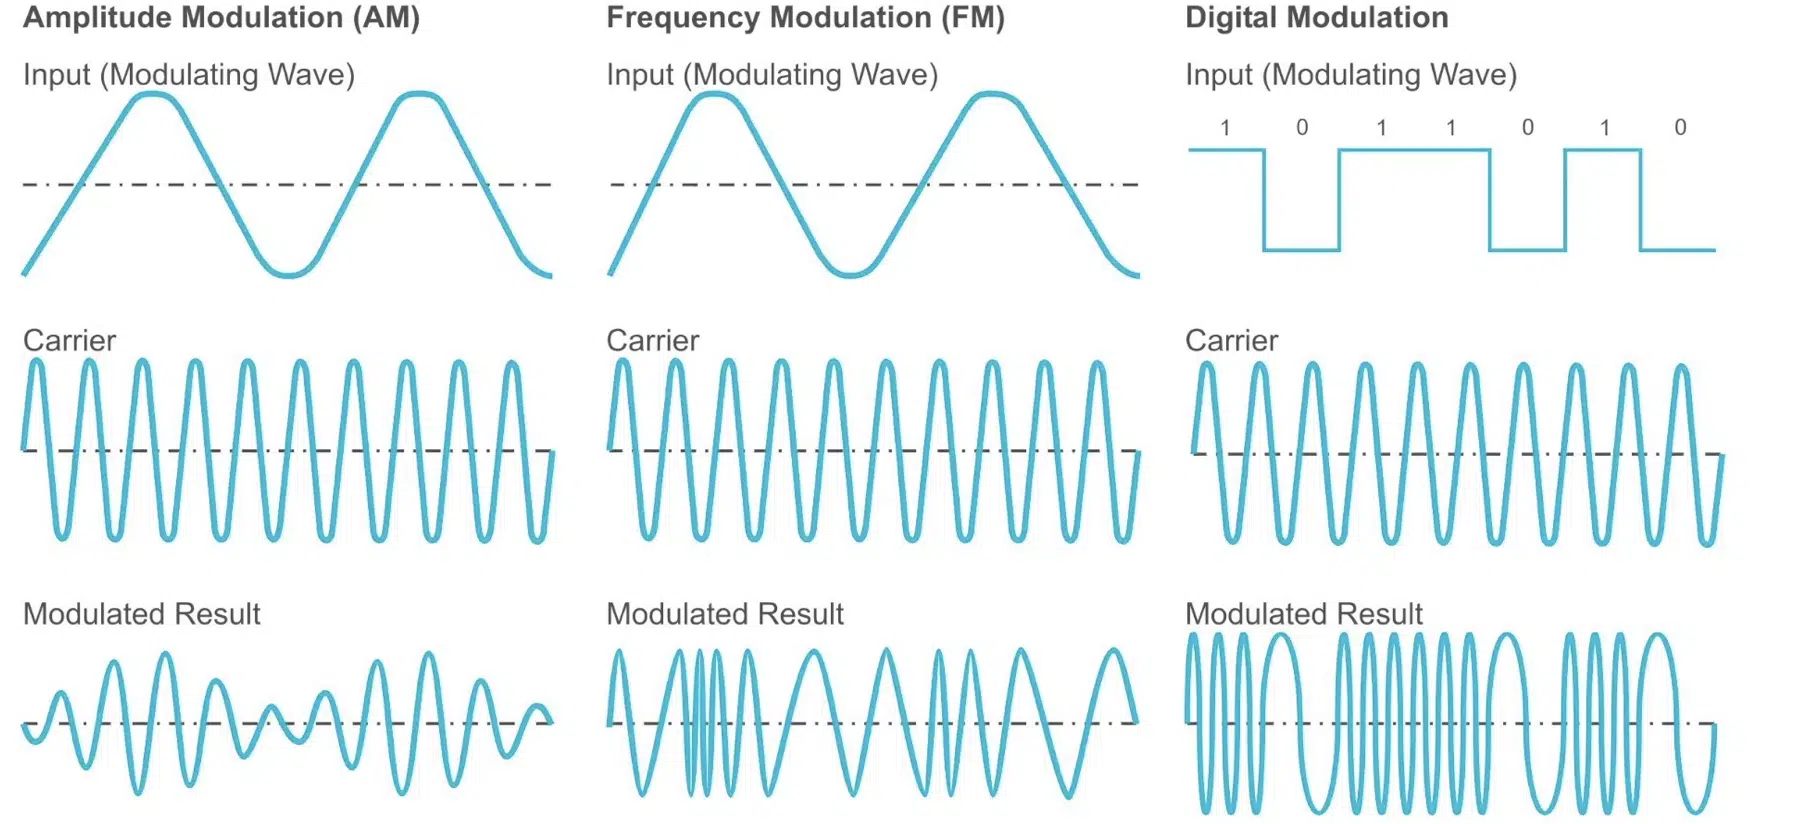
I thought I’d give you a quick breakdown between Amplitude modulation and pitch modulation because a lot of producers actually mix them up, especially when dealing with LFOs and modulation routings.
Amplitude Modulation (AM) is when you modulate the volume of a signal over time, not the pitch, so obviously it’s important not to confuse the two.
While pitch modulation moves the frequency of the waveform (changing the note), amplitude modulation changes the loudness at different rates and shapes.
This creates tremolo effects, rhythmic pulsing, or harsh metallic textures at audio rates.
For example, in sound design, using a sine wave to modulate another oscillator’s amplitude at low rates gives you tremolo.
On the flip side, pushing the modulator into audio-rate speeds can produce AM synthesis for super edgy tones.
Those that are similar to FM synthesis but more focused on volume-based harmonic shaping, basically.
Modulation Sources That Can Alter Pitch
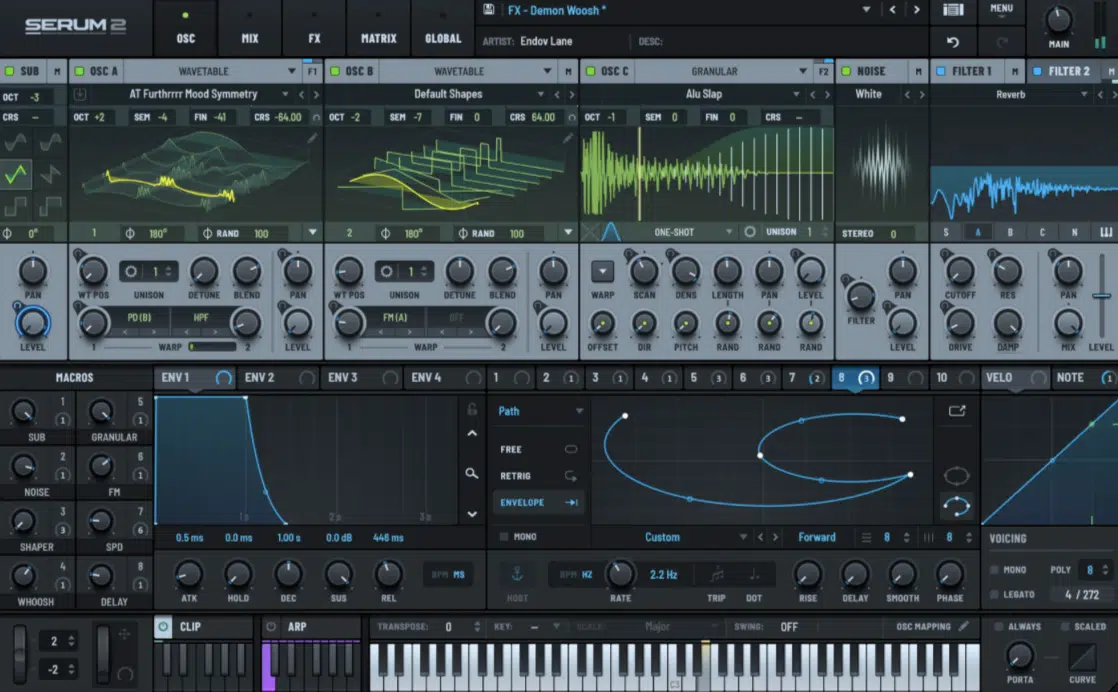
To get pitch modulation working, you need something to actually modulate the pitch — and there are tons of ways to do it beyond just the LFO. Below are some of the most common modulation sources you’ll come across when working with pitch movement.
-
Envelopes
An envelope is a modulation source that reacts to note events, like pressing a key, and follows a shape defined by ADSR (Attack, Decay, Sustain, Release).
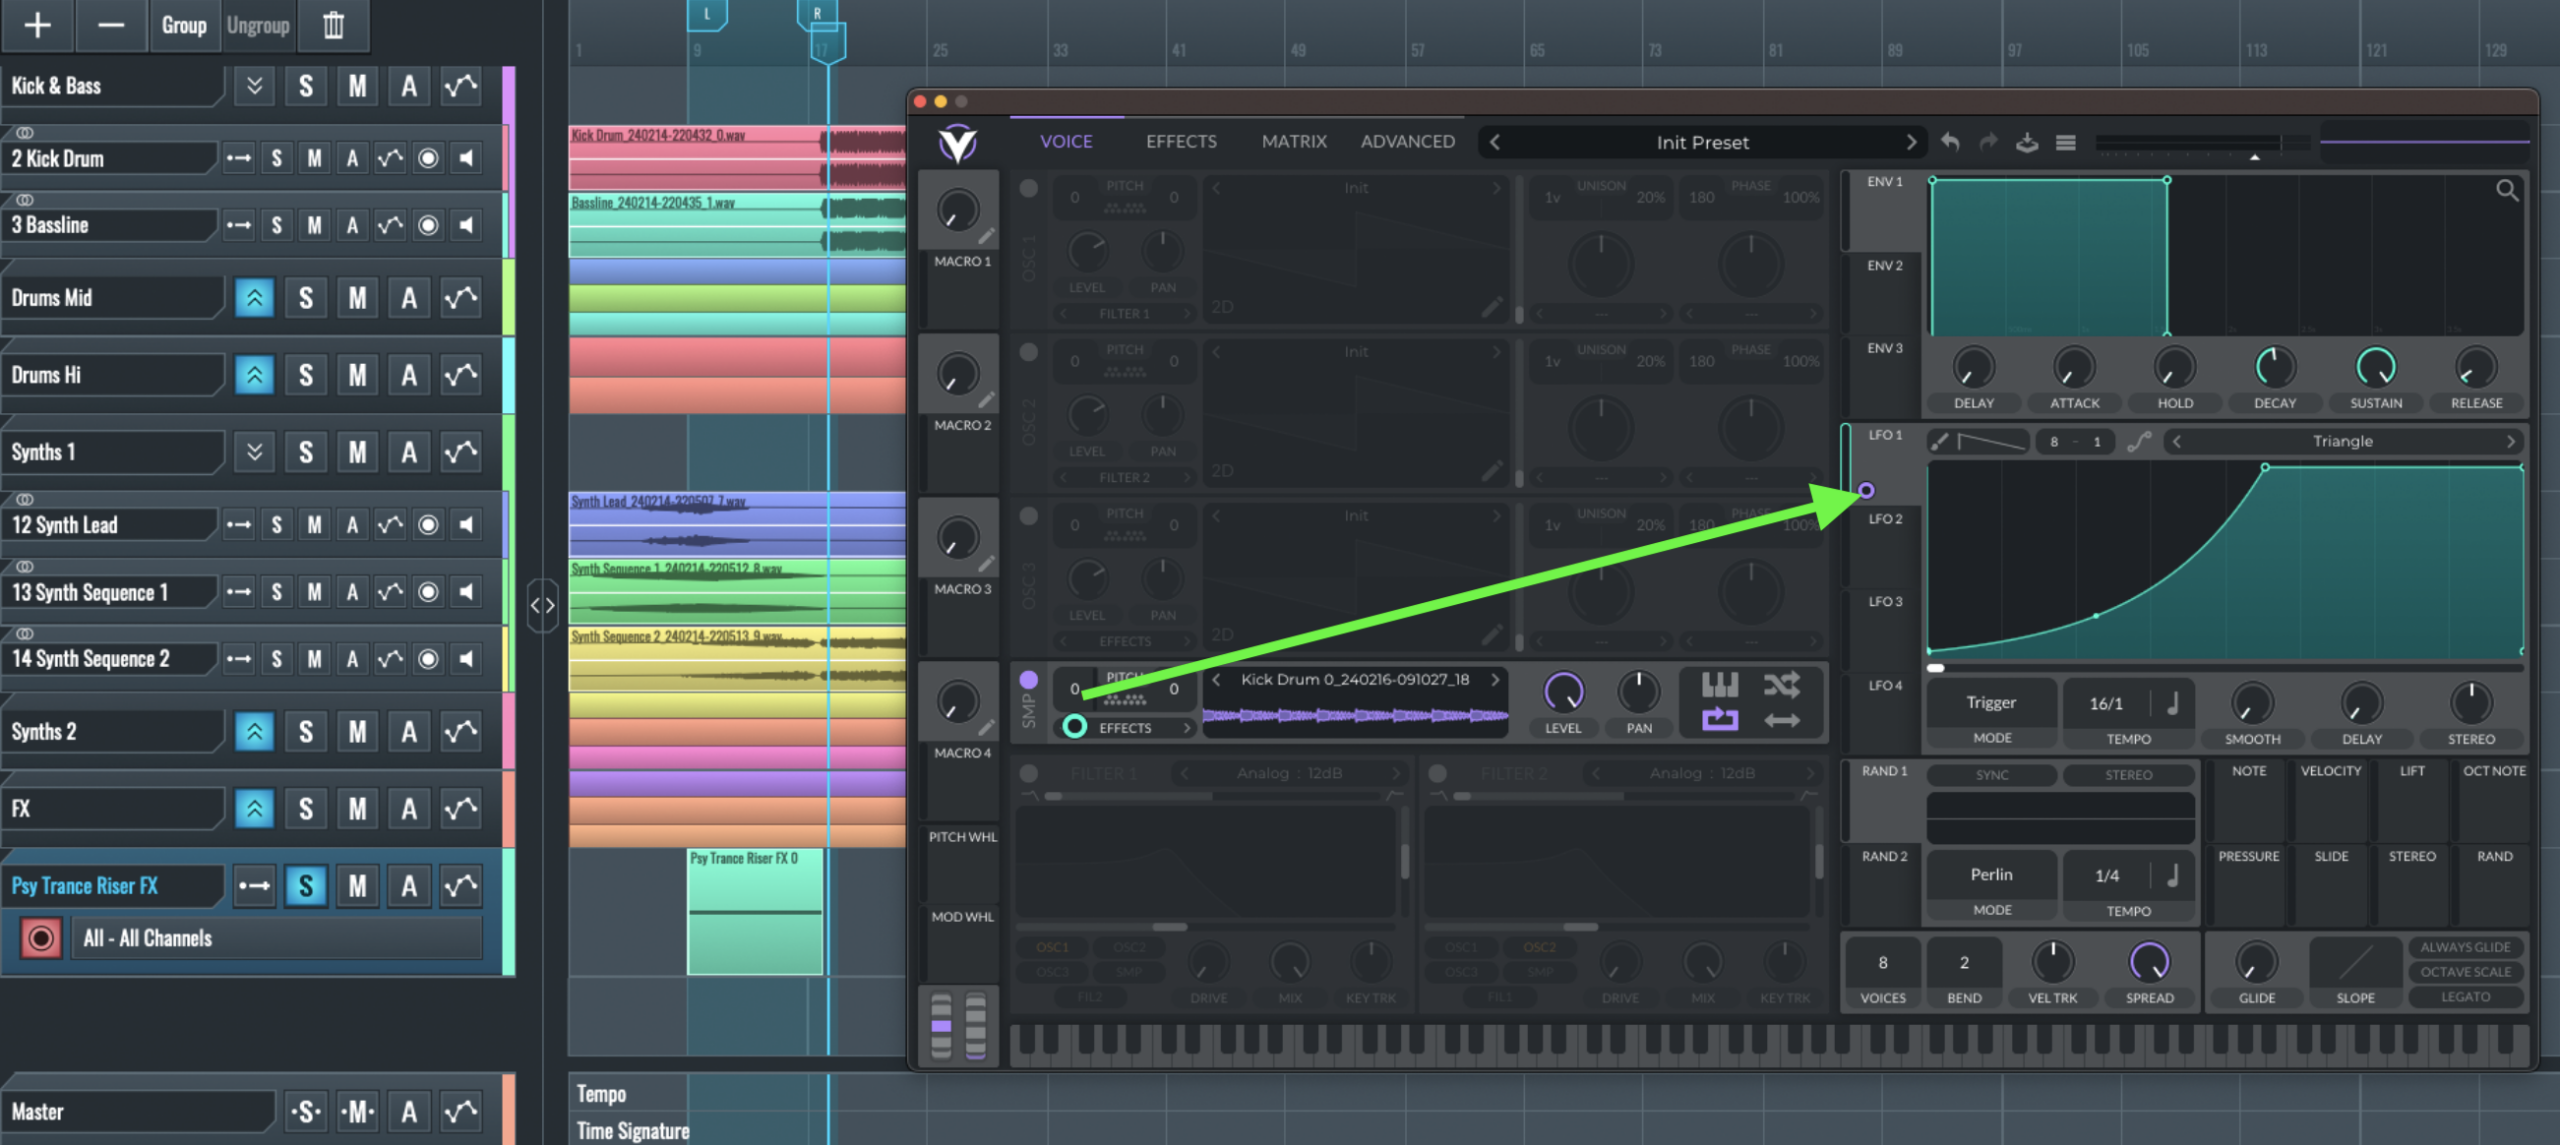
When you assign an envelope to pitch, you can create pitch sweeps, laser-like zaps, or short pitch drops that happen every time a note is triggered.
For example, assigning a short pitch envelope to a kick drum sample can give it that classic analog “thump” or 808-style punch.
It does so by quickly dropping the pitch at the beginning of the hit.
-
LFOs
As we covered earlier, an LFO (Low Frequency Oscillator) continuously moves parameters over time and is probably the most popular way to modulate pitch.
You can sync the LFO to your DAW’s tempo for rhythmic effects or leave it free-running for more organic movement.
A good example is assigning a triangle wave LFO to modulate the pitch of a pad at 4 Hz with subtle depth to add warmth and liveliness without overpowering the sound.
-
Step Sequencers
A step sequencer is a modulation source that lets you assign specific pitch values to individual steps across a rhythmic grid (usually 8, 16, or 32 steps).
This makes it perfect for locked, repeatable pitch movement, especially when you want sharp, deliberate changes like:
- Robotic pitch jumps
- Choppy, stuttered movement
- Melodic pitch patterns and arps
For example you could program a 16-step sequence to modulate pitch in half-step intervals on a bassline.
It’ll give you a chiptune-style arpeggio effect or a rhythmic, pitched percussion groove.
It’s one of the best ways to create pitch sequences that feel intentional and locked to tempo, without needing to draw complex automation curves.
-
Audio Rate Modulators
Audio rate modulation is when you use an oscillator running at audible frequencies (above 20 Hz) to modulate the pitch of another oscillator.
This often results in harsh, metallic, or harmonically rich tones.
This technique is a key part of FM (frequency modulation) synthesis, where one oscillator modulates another to generate complex waveforms.
For example, using a sine wave at 440 Hz to modulate the pitch of another sine wave can create bell-like tones or even aggressive growls.
Depending on the modulation depth and ratio between the two frequencies, of course.
NOTE: This method is a lot less common in standard digital music production workflows, but it’s incredibly powerful when you’re after bold, synthetic tones or layered sound design that pushes into experimental territory.
-
Note-Based Modulation
Note-based modulation means pitch movement is directly tied to the notes you’re playing, which allows for more musical or expressive pitch shifts across the keyboard.
Some synths and samplers let you modulate pitch differently depending on the MIDI note value, velocity, or aftertouch input.
For example, you could map higher velocity hits to trigger a deeper pitch modulation on a snare sample, or use key tracking to slightly increase pitch modulation depth as you move up the keyboard for leads and arps.
How to Use It in Your Tracks (Music Production Musts)
Pitch modulation isn’t just for wild effects… It can be used musically and creatively in every layer of a track.
On lead synths, try adding a subtle vibrato around 4–6 Hz with 30 cents of depth to make melodies feel more human and emotional.
For basslines, pitch envelopes with a quick drop at the beginning (around 50ms decay) can give them a powerful thump, especially for genres like trap or UK drill.
When working with pads and textures, set up two LFOs:
- One slow triangle at 0.1 Hz
- Another faster sine around 5 Hz
This will help you create layered pitch movement that feels alive and evolving.
On vocals, use pitch modulation for FX 一 for example, automating pitch over time with a pitch shifter to create alien-style drops or reversed pitch ramps.
You can also use formant + pitch modulation together to create harmonies that feel natural but otherworldly, with a lot of dimension.
Pro tip: Try offsetting pitch LFOs slightly left and right (e.g., 10 cents on the left, -10 cents on the right) to widen stereo leads without using reverb or delay.
It’s a clean way to add depth without mud.
Using Pitch Modulation for Stereo Imaging
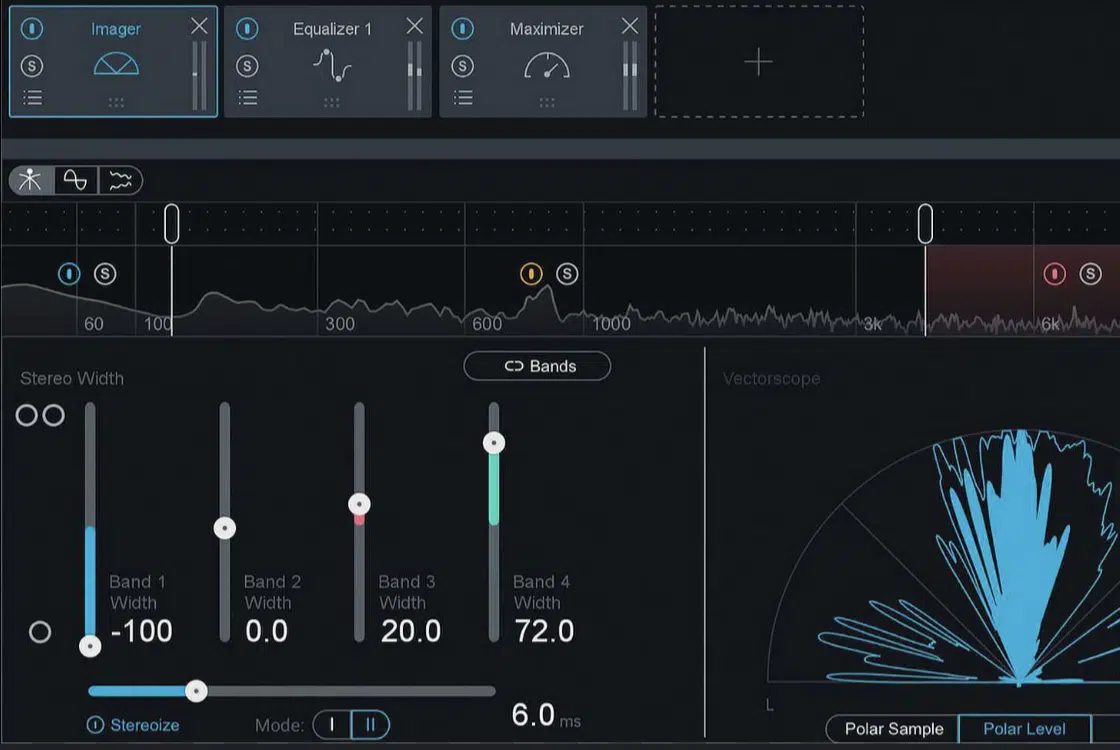
One of the slickest ways to widen your mix without relying on reverb, chorus, or stereo enhancers is by applying slightly different pitch modulation settings to the left and right channels.
For example, setting one LFO to modulate pitch at +10 cents on the left and -10 cents on the right gives you a subtle but super effective stereo spread.
Kind of like a micro-detune effect that creates width without messing with phase too much.
Another solid technique is using the same triangle LFO shape on both sides but offsetting their phase by 180°.
This keeps everything centered in terms of frequency balance, but makes the pitch movement feel like it’s “breathing” across the stereo field.
It’s perfect for pads, ambient layers, or even slow-moving synth leads.
And you can even take it a step further by modulating both channels asymmetrically.
For example, using a slower, deeper modulation on one side and a faster, shallower one on the other to give you an evolving stereo image that doesn’t feel too mechanical.
This kind of pitch-based stereo imaging works best on sounds that don’t need to be perfectly mono-compatible, like background textures, ear candy, or wide stereo plucks.
NOTE: If you’re layering multiple elements with pitch modulation, it’s a good idea to check the mid/side balance using a plugin like Ozone Imager 2 or bx_solo.
Just to make sure your mix still folds down cleanly to mono when needed.
Sound Design Techniques
Pitch modulation is one of the fastest ways to make your sound design feel more alive, especially when knocking out complex textures that evolve and shift over time.
To create complex movement, layer multiple LFOs with different rates (like 0.2 Hz and 5 Hz) on the pitch of a pad or riser.
The slow one gives a drifting feel, while the fast one adds shimmering motion.
For subtle breath-like modulation, try using a super slow triangle LFO on ambient synths at 0.05 Hz with just 10–20 cents of modulation depth.
It’ll give that gentle inhale/exhale feeling that’s perfect for ambient or cinematic music.
When working in experimental genres, go further with random waveforms, step sequencers, or sample-and-hold modulators on pitch to get glitchy, unstable, or chaotic behavior that keeps things interesting.
PRO TIP: Automate the LFO rate itself over time. For example, start slow (0.1 Hz), then speed up to 8 Hz to build intensity in intros, transitions, or breakdowns.
Bonus: Parameters You Need to Master
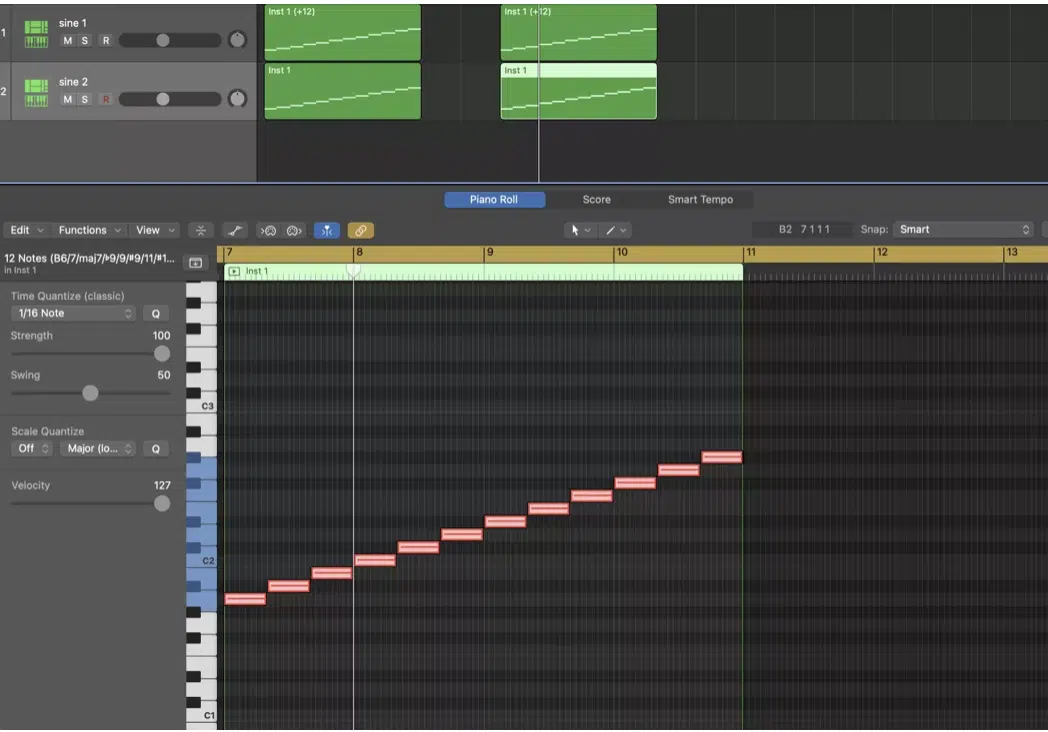
Understanding depth is key for any of the techniques we talked about today.
It’s basically the amount of pitch movement happening in either direction from the original note.
This controls how far the pitch swings, and in most plugins you’ll find it measured in cents or semitones.
For example, around 30 cents gives you a light, natural-sounding vibrato, while 12 semitones can create wild FX, risers, or drops.
Rate defines how fast that pitch movement happens.
If you sync it to tempo (say 1/8 or 1/16 note LFOs) you’ll get pitch modulation that bounces in time with your track, great for stuttery leads or rhythmic FX.
Setting it to free mode, on the other hand, breaks it away from the grid completely and makes the movement feel more human, loose, and evolving.
It’s perfect for ambient textures or cinematic swells.
The shape parameter determines the waveform controlling the modulation.
- A sine wave gives smooth, natural movement
- Square waves create jumpy, robotic steps
- Sample-and-hold adds unpredictable randomness that’s great for glitchy or experimental sounds
Offset lets you shift the starting phase of the modulation — super useful for controlling the stereo spread when you apply different offset values to the left and right channels.
A pro move when working with tempo-synced pitch modulation is to experiment with note divisions like dotted or triplet values (e.g., 1/8T).
This gives your modulation a swing or shuffle feel that grooves better with drums and rhythmic synths.
It might seem like a small detail, but getting your depth, rate, and shape settings dialed in just right is what separates a modulated sound that feels glued to the track from one that feels off or distracting.
Final Thoughts
And there you go: absolutely everything you need to know about pitch modulation.
With all this new information (and the techniques we broke down), you’ll be able to successfully bring movement, emotion, and pro-level depth to every part of your track.
Plus, you’ll be able to knock out evolving pads, expressive leads, modulated vocals, and ultra-creative FX that really cut through the mix.
This way, you’ll be shaping sound with precision, clarity, and vibe like an absolute pro.
And, as a special bonus, you’ve got to check out these legendary Free Vocal Samples, including 20 professional-quality vocal loops, chops, and one-shots.
They’re all created by the best vocalists and producers in the business and all properly processed, polished to perfection.
And yes, cleared for both personal and commercial use, so you can drop them straight into your projects.
They’re perfect for layering pitch modulation effects like vibrato, formant shifts, or tempo-synced pitch movement to give your vocals extra life, energy, and uniqueness.
Bottom line, when it comes to pitch modulation, you have to seriously understand how each parameter shapes the end result.
Trust me, small changes can make a huge difference.
You’ll never have to worry about stale synths or lifeless melodies ever again.
Just don’t forget to really take advantage of all the things we talked about today and never be afraid to think outside the box because that’s where the magic really lies.
Until next time…


Leave a Reply
You must belogged in to post a comment.