Before arps (arpeggiators) took the synthesis world by storm, they all started off pretty basic.
You would simply determine the direction you wanted the arpeggiator to play (up, down, both, random) as it circled through the triggered notes and their corresponding octave/note ranges.
Then, you would simply specify the time division (interval) so it matched the tempo.
Fast forward half a century, and you can now customize the arp’s output in super unique ways.
Most modern (software) arps even offer a Swing or Shuffle function in order to add some humanization to the arps rhythmic (and quantized) output.
As well as parameters that deal with Amplitude; either on a per-note/step basis, with broad strokes or applied randomly.
The possibilities are endless.
Gone are the days where the same 3 notes play in succession and then go up/down an octave each time it cycles.
So, today’s article is not going to explain how to use an arpeggiator, but rather how to creatively implement it in order to turn your melodic foundation into something new and addicting.
Plus, we’ve included the coolest way to create hi-hat fills!
You’ll definitely get peoples’ attention if you use any of the following techniques, and have a ton of fun in the process.
Your music will instantly stand out, no doubts about it.
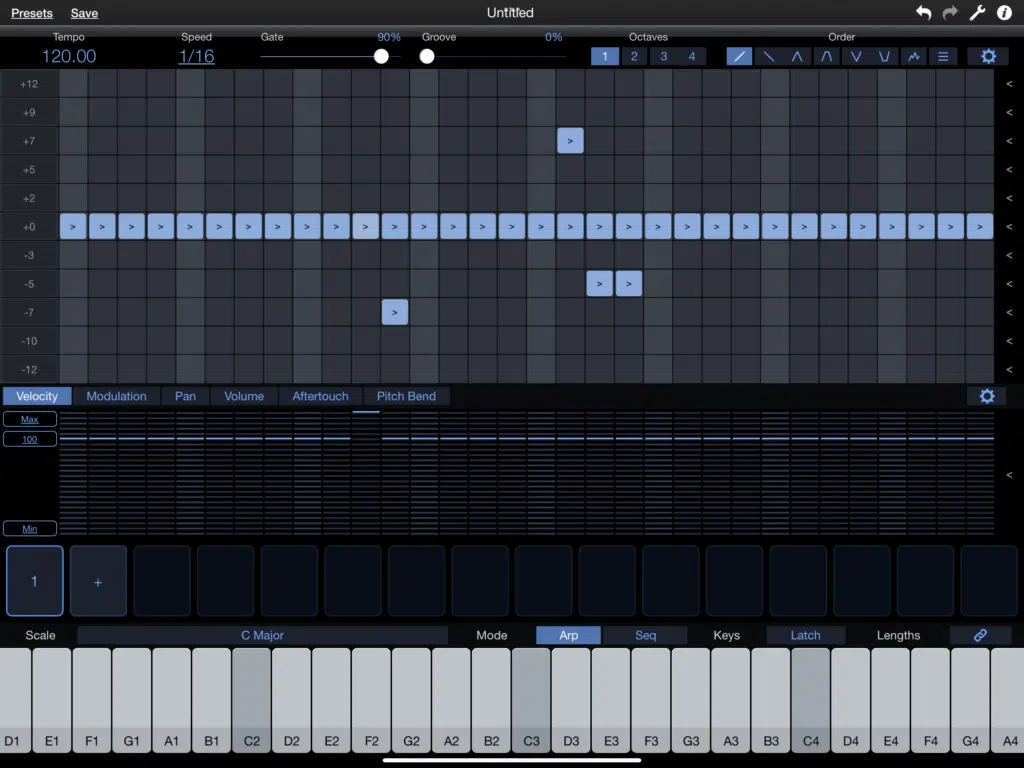
NOTE: Depending on your DAW and the arp you’re using, you may need to have the Transport running (Play enabled). Some rely on that for its clock source.
Let’s dive in…
Table of Contents
#1: USE YOUR ARP AS A SEQUENCER
Depending on the arpeggiator you’re using, it can simply output octave-multiples of the notes being played, or can border on the line of a full-blown sequencer.
Most arps, at least those found within standard software synths, have the ability to double as a sequencer (or at least have sequencing features).
When you’re having trouble coming up with a melody, your arpeggiator can create at least the basis of it.
That is, after you’ve already composed, or determined the chord progression.
You can also take the chord progression and omit the original; using only the arped version of the chords for the main melodic elements.
This will turn your existing progression into a true melody hybrid. The melodies will be based on the given chord’s harmonic intervals.
It’s not only a quick and easy solution to beat-block, but this technique can even be heard regularly within the music and television world.
Stranger Things, anyone?
Whenever you hear a melodic section that contains a single, or handful of notes that keep repeating by intervals of an octave (in any direction), an arp was used to generate it.
Consider it to be an ‘arpeggiated pattern.’
This can be as simple, or as complex as you’d like.
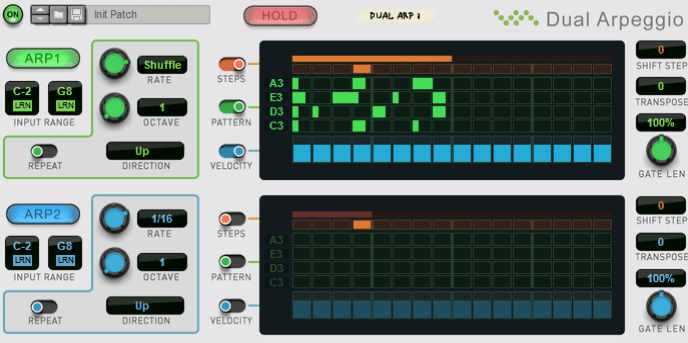
Above, is Reason’s Dual Arpeggiator.
It is arguably the most powerful stock arps, matching the power of some of the most complex sequencers in existence.
The unmatched power it holds gives you the ability to output 2 distinct, independent arp patterns (polyrhythms).
Plus the flexibility to set up each individual pattern to a different synth/instrument.
Its note-manipulation capabilities are unparalleled as well.
Also, you can implement syncopated polyrhythms in a seemingly endless variety of ways.
Stack as many as you can handle in Reason’s Combinator, and trigger as many instruments as your CPU can handle.
Not willing to part ways with your DAW? No problem. Reason is now a plugin.
TO TURN YOUR CHORD PROGRESSION INTO YOUR MAIN MELODY:
For this technique, we will show you how to flip and manipulate your chord progression in order to send it through the arpeggiator and generate a melodic rhythmic element (melody).
This does not mean you have to replace it completely.
Once you’ve tried, and are familiar with this method, you’ll quickly see just how well the arp’s output blends together with your progression and, in turn, the rest of your piece.
STEP 1 一 Take your progression and copy/paste it onto a designated MIDI track that’s inserted into, or connected to your arpeggiator.
In this case it’s a Reason device, but the more modern arps typically come as MIDI FX plugins; which offer benefits that we’ll break down later.
STEP 2 一 Adjust the arps settings as you see fit. You could keep it simple, make it extremely complex, or randomize it completely.
Given the fact that your arpeggiator will normally output quantized note-values by default, you won’t lose your footing while recording MIDI, even with complex layering.
STEP 3 一 Once the MIDI is programmed using a duplicate of the original progression so it’s layered with the existing progression, you’re good to go.
However, things may not sound so hot, harmonically speaking.
This is because the melody now contains only notes from each chord progression (simultaneously).
The solution may be as simple as making sure only 1 note is triggered at a time, as opposed to the entire chord.
But, sometimes you’ll need a little more modulation.
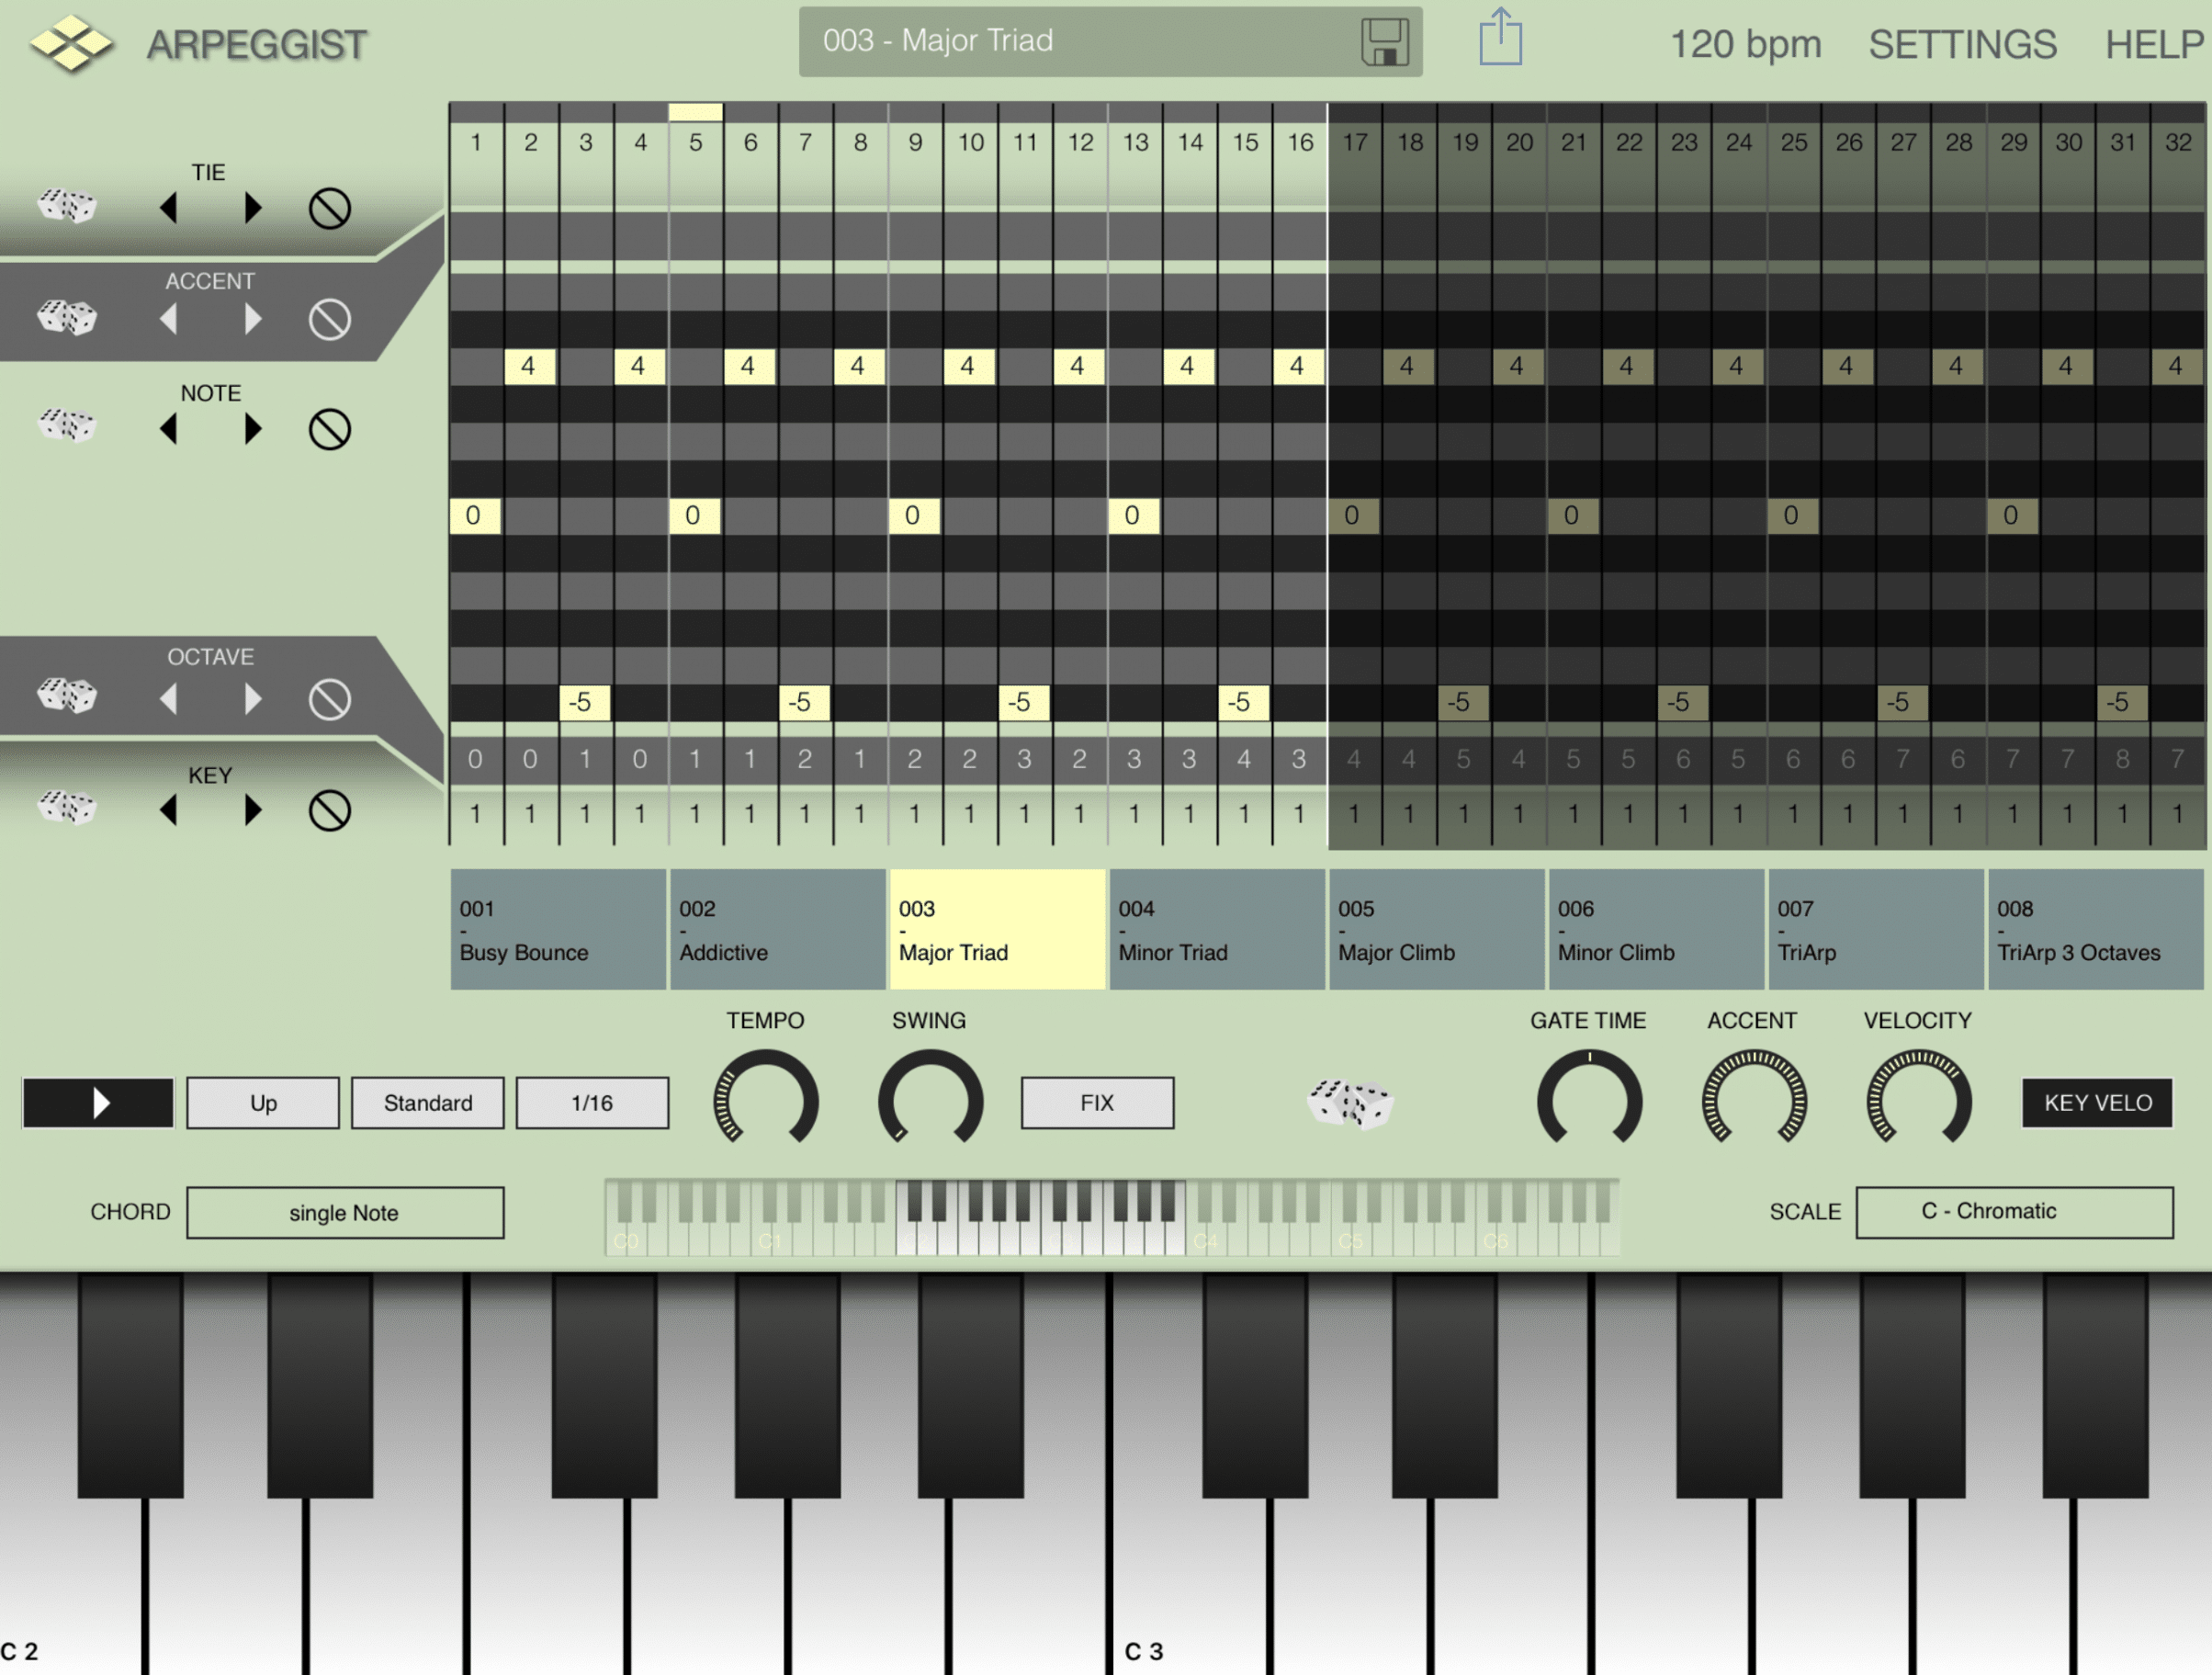
3 OPTIONS TO SPICE IT UP FROM HERE:
(A) Take the existing arpeggiator that runs parallel to your progression, and slice it up for each bar (or duration of the given chords). Then, reorder it.
Now, even though both parts feature the same notes, they are no longer triggered at the same time.
For instance, instead of using the arpeggiator’s output (C Major and D Minor simultaneously), you’re going to swap the separate parts.
Meaning, the arpeggiator would then play the D Minor part during the C Major, and vice versa.
(B) Take the entire arpeggiator part as a whole, and transpose the notes.
This way, they are still within the scale and playing at the same harmonic intervals as the progression, just with a different set of note values.
To ensure this falls in line with the current scale, a quick go-to is raising/lowering the entire part by a fifth (7 semitones or -5 semitones).
NOTE: A few notes may be out of place, so simply tweak them and continue on with your masterpiece.
(C) Implement a little bit of both (A) & (B).
This can be done randomly or semi-randomly, or even sporadically/intermittently whenever you feel like it could use some variation.
#2: PRINT YOUR ARP TO MIDI
By printing your arpeggiator’s note-outputs to MIDI, you’ll be able to manipulate things with ultimate control.
You’ll be able to implement edits otherwise impossible if it was on its own, while staying within the bounds and feature-set of the arp you’re using.
This means you’ll be able to generate your own patterns and melodies without any limitations.
Your options within the piano roll will be unlimited.
Essentially, you’re creating your own MIDI files and sampling yourself.
If that’s not your thing, make sure to grab the Unison Essential MIDI Melodies.
This can be accomplished in various ways, but the simplest, most efficient way is using an arpeggiator that comes as a MIDI FX plugin.
This fairly new category of plugins should always be your top choice when it comes to arps/devices that alter note-values (algorithmically, pre-programmed, or by hand).
If it’s not a MIDI FX and/or doesn’t come stock with your DAW, you’ll have to end up routing the arpeggiator’s output to the MIDI input of the desired instrument.
These come available as both an instrument or Effects plugin (sometimes both); it really just depends on the developer.
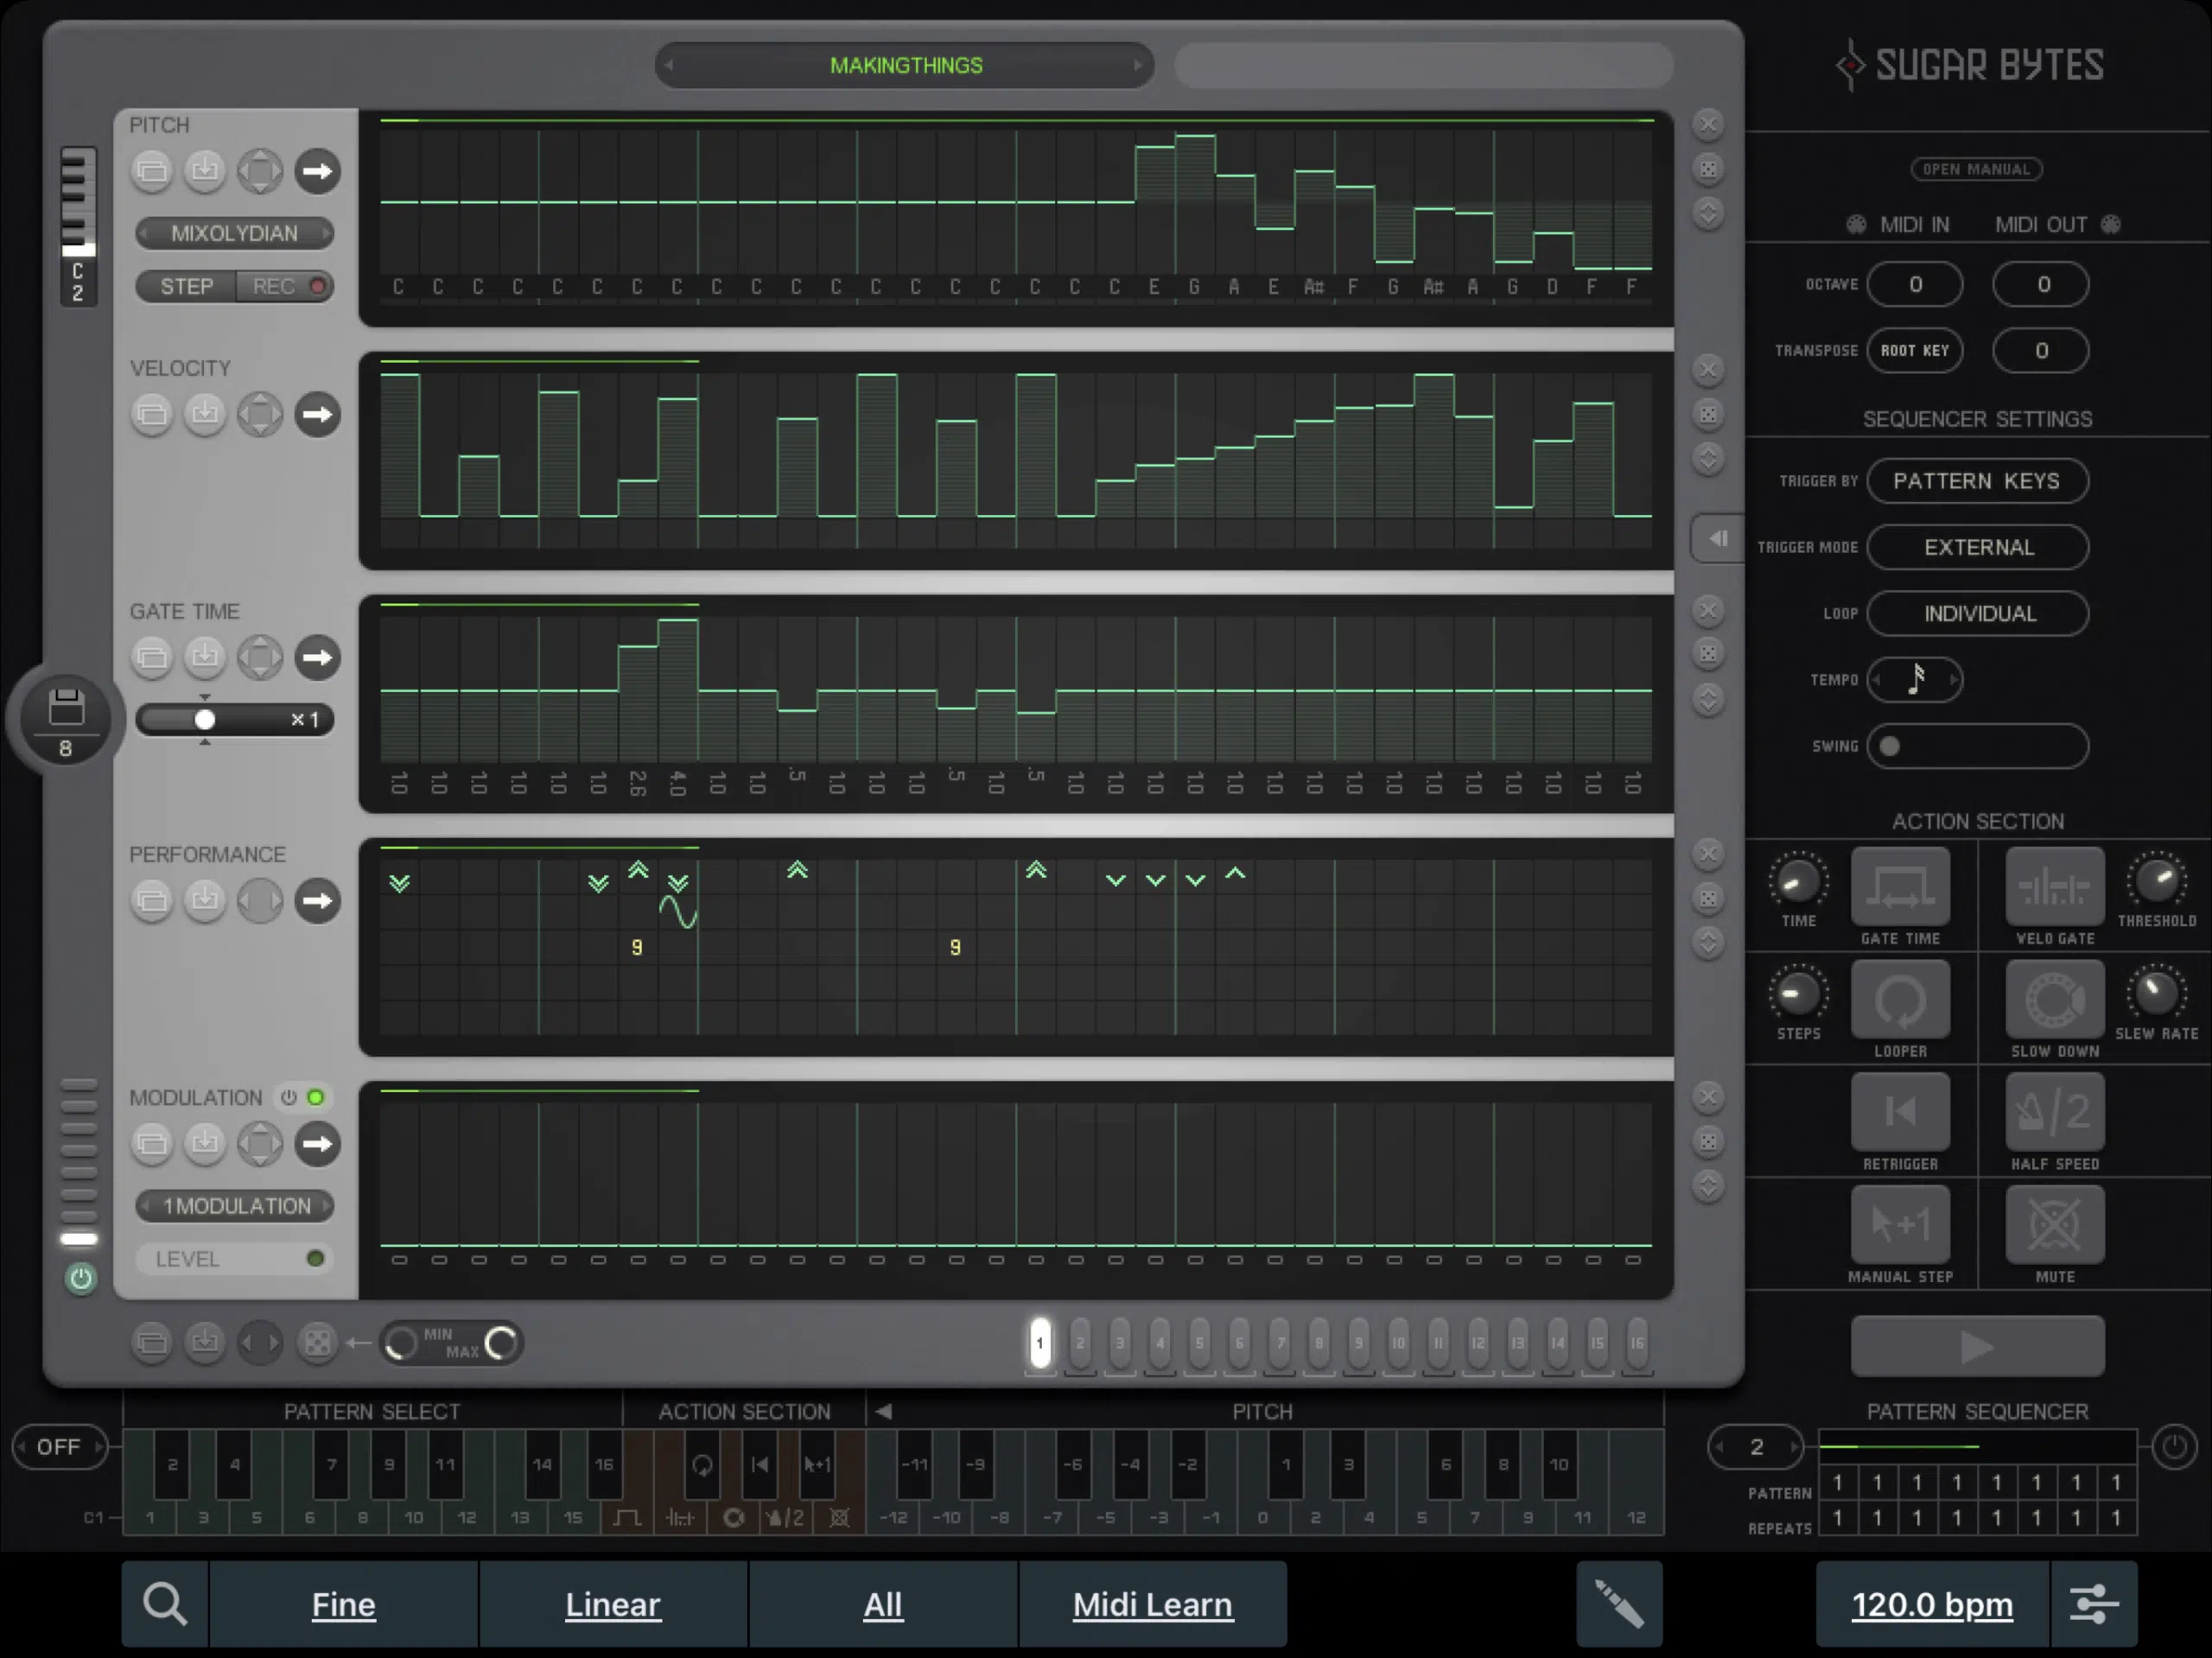
STEP 1 一 Load the MIDI FX plugin, as well as your chord progression onto the same track.
STEP 2 一 Route A copy of the track’s MIDI Output (or Input) to a different, independent MIDI track.
This will be where you’re sending the MIDI data that’s taken from the arpeggiator itself to.
This is because the MIDI FX is changing the actual note date itself before hitting the destination.
You’re sampling the arpeggiators output itself, not the MIDI clip’s original Input (the chord progression).
STEP 3 一 Arm the track to enable ‘Recording’ and do your thing.
Now, you will be able to see a MIDI-clip containing all the notes/moves that the arpeggiator outputted.
STEP 4 一 From here, the possibilities are endless. Try picking it apart to create something brand new.
Don’t forget to save it for later use.
THIS WAY, YOU’LL BE ABLE TO:
- Transpose based on your future sessions’ scale
- Alter the note parameters in the piano roll
- Use another MIDI FX plugin (or even daisy chain multiple arpeggiators) for ultimate manipulation.
You may feel like you’ve discovered hidden treasure that’s been right under your nose.
… and you wouldn’t be wrong.
#3: STRAIGHT OUT THE GATE
For this one you’re going to creatively ‘gate’ or ‘filter’ your arpeggiator for rhythmic performance-oriented (real-time) effects from just 1, or a few notes
Melodic and harmonic elements are super important to any song.
It’s characteristics make up the ultimate vibe and overall identity of your track.
With that said, in the modern production era, there’s 1 thing that holds just as much, if not more weight…
Our obsession with effects and modulation!
Paired with their easy accessibility and lack of limitations, unlike with hardware.
Using them to manipulate any signal can make you stand out from the crowd and help you obtain unique, intriguing results.
Even if you’re using the same drum loop that’s been circulating for years.
With the FREE Unison Essential Drum Loops, you can be sure that you’re getting exclusive, professional-quality drum patterns that will instantly blow the minds of anyone who hears them.
STEP 1 一 Enable ‘Latch’ mode within your arpeggiator (sometimes labeled ‘Hold’).
This will ensure that you can hit any note, and it will play until you trigger another one, without the need to sustain it (hold it down).
Your hands will be free to manipulate multiple settings in real time.
STEP 2 一 Input the notes through the MIDI/piano that you’d like the arpeggiator to be based off of, for the length you plan on manipulating its settings.
You’re not recording the audio, and the arpeggiator’s output won’t be displayed in MIDI.
The point of doing this is to lay down the foundation (initial instructions) so the arpeggiator knows what to play.
You’re doing this first so you’re able to apply your manipulation in different, methodical layers.
If you’re into live performing, you can do the following steps all at once.
STEP 3 一 Assign your MIDI CC’s to any effect parameter you’re going to alter in real time.
This can include, but is not limited to:
- The filter cutoff
- Resonance
- Pitch
- A vibrato or tremolo induced on the signal (or any effect-type, really)
The most ear-catching is when you change the Time value on an analog-style delay (in real time) for some DJ-like pitch bend effects.
Let your creativity run wild for this part; the sky isn’t even the limit.
Additionally, you can assign to a MIDI CC or simply automate the arpeggiator settings.
Mainly it’s going to be Time values, so even though it’s not a static arpeggiator, the Swing/Shuffle parameters are excellent candidates (at times).
STEP 4 一 Do a few passes of recording the automation for the parameters you assigned, until you get the results you want; containing all the effects you set up.
Be sure to Enable Loop Recording (or your DAWs equivalent), so it layers the automation that you input for each pass, as opposed to replacing it.
Don’t count out the option to switch directions, note-order, or octave-values.
Altering these settings during the course of the arpeggiator, will have people question if it’s even really an arpeggiator they’re hearing (in the best way).
STEP 5 一 Add an additional rhythmic element (aside from the note-values outputted by the arpeggiator) to make it even more interesting.
This can be done using a creative Gate or Rhythmic Volume Envelope plugin.
The old school, and preferred method is to draw-in Volume Level automation.
Add some subtle movement, if desired, but I like to do some extreme maneuvers so it operates as a Rhythmic Gate (an ON/OFF switch, essentially).
It will either be at 0% or 100%, nothing else.
Some DAWs like Studio One enable you to draw-in custom, predefined shapes so it’s precise and not free-hand.
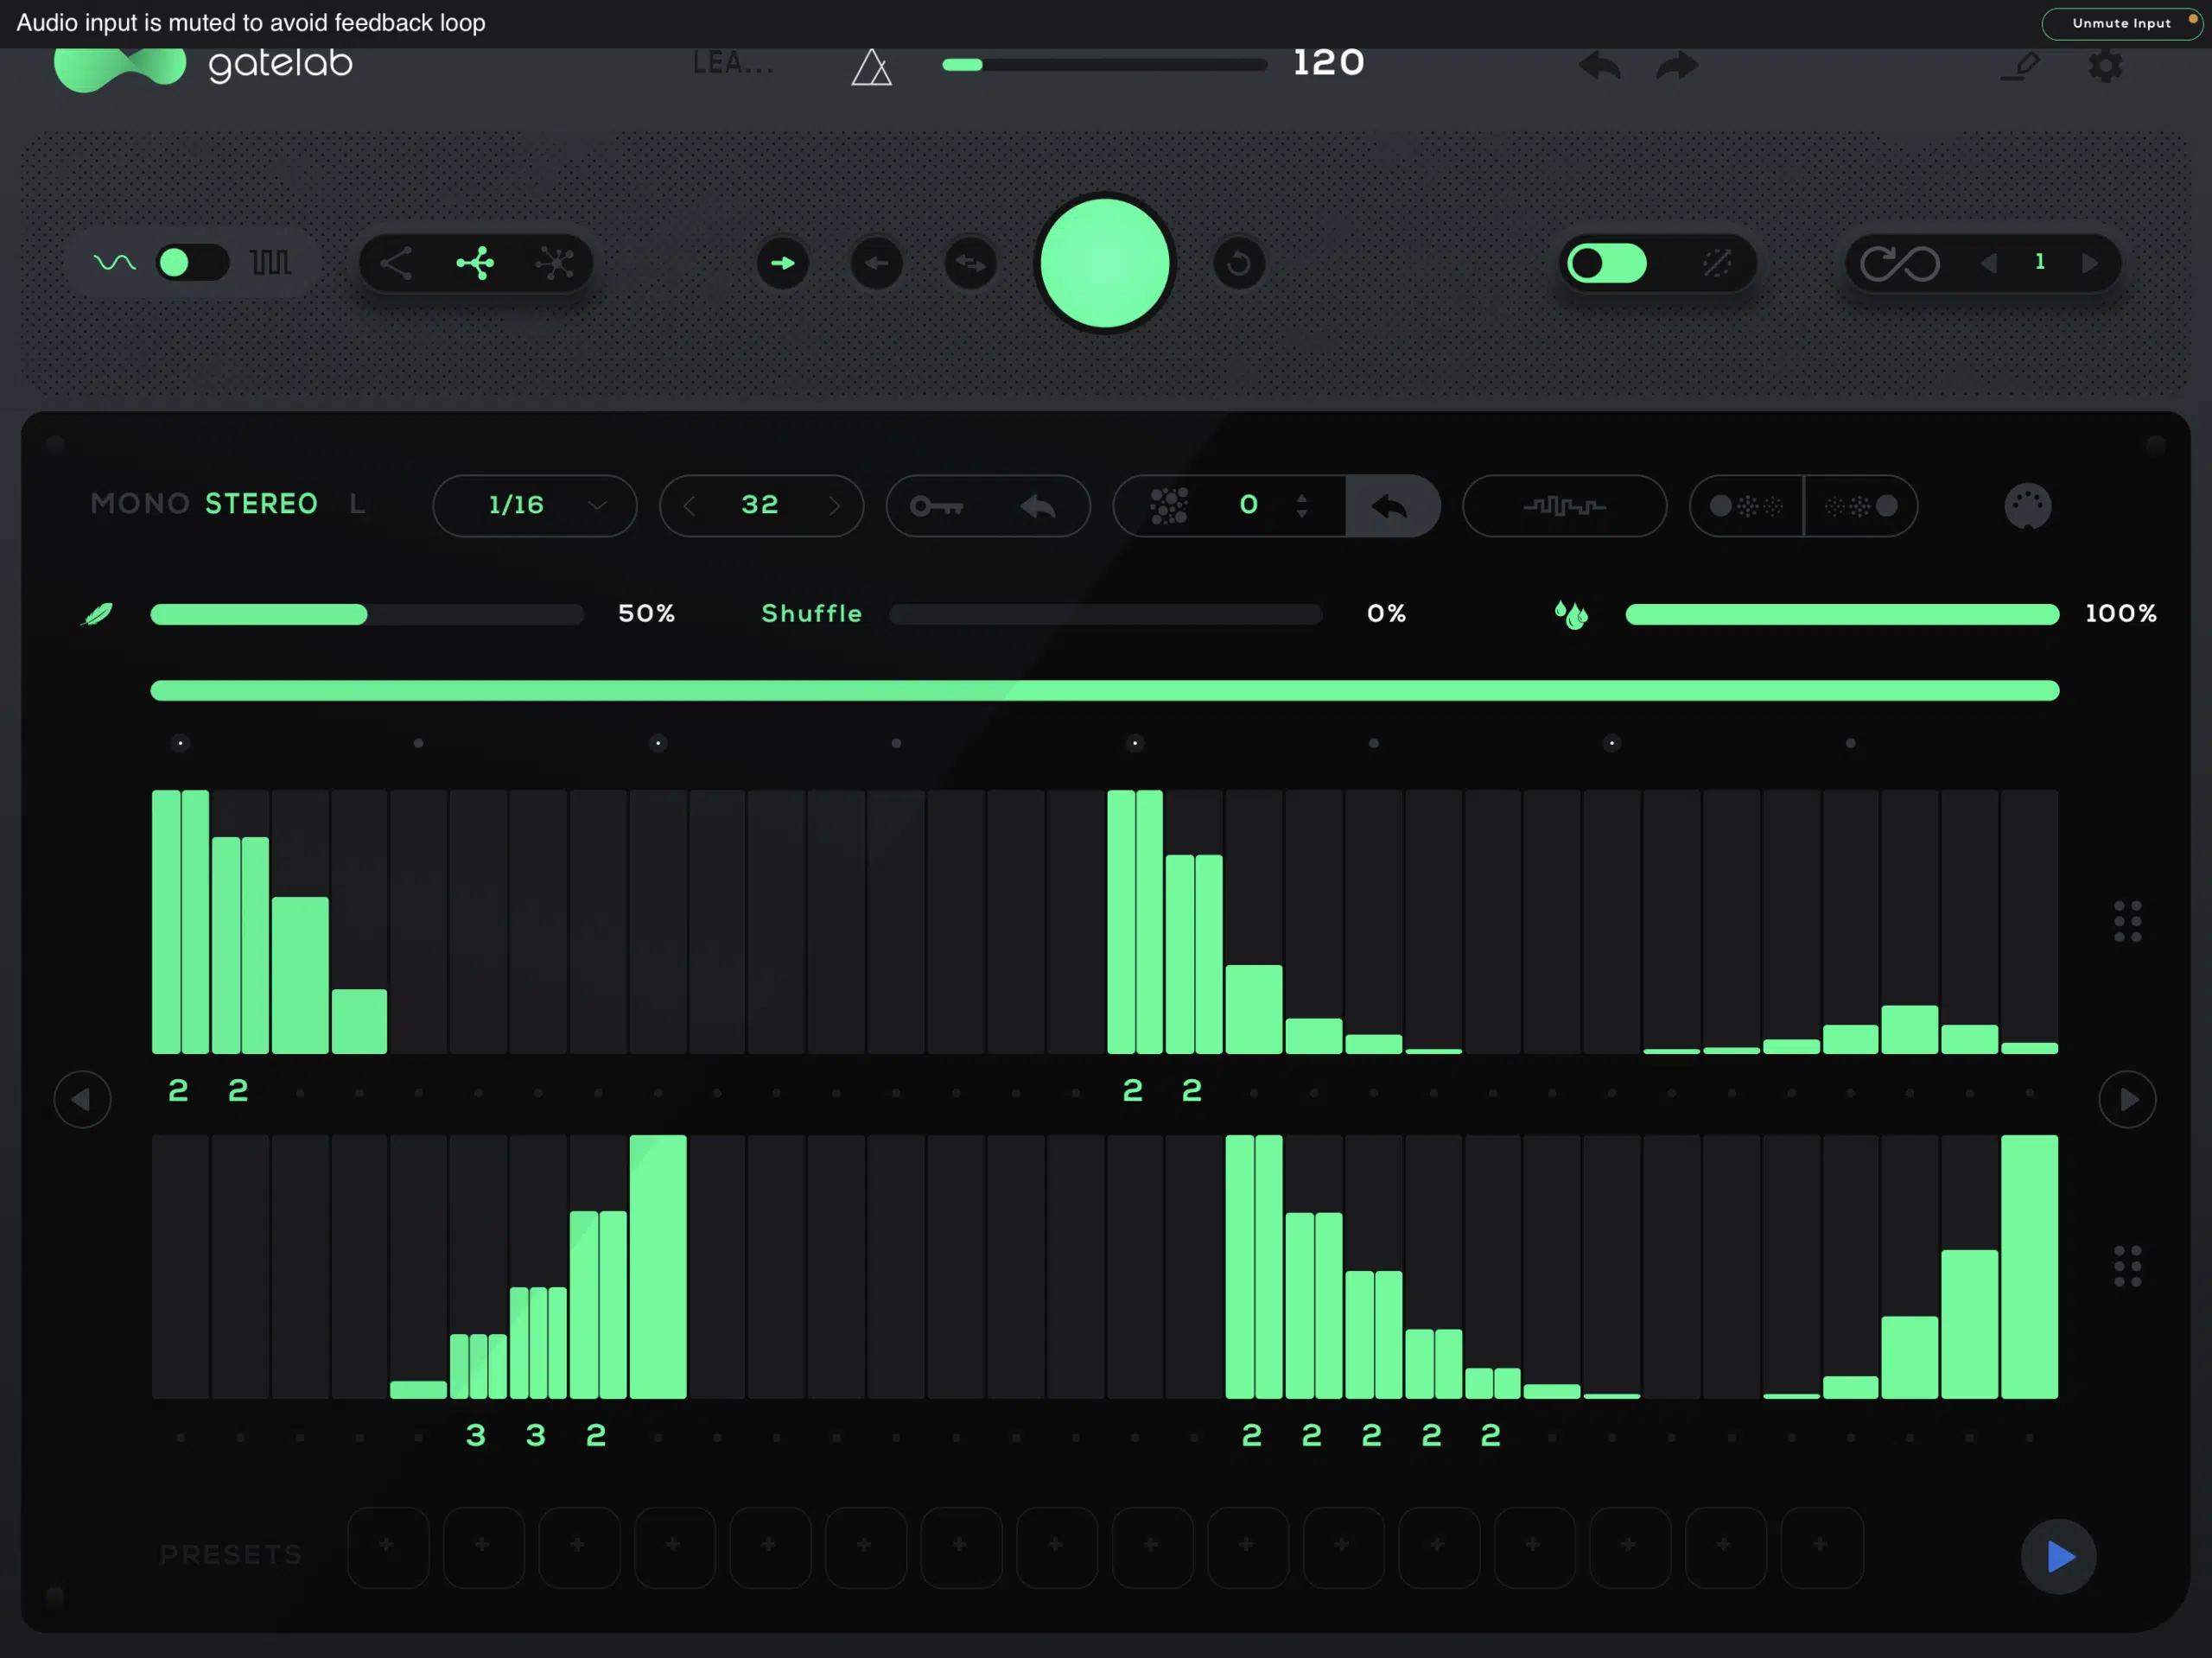
Shown above, you can see a basic square ON/OFF shape.
Make sure SNAP is enabled.
Depending on the rhythm, superimpose the signal and switch the SNAP TO GRID Time Values accordingly.
You may even find that, although you just started the melodic side of things, it’s practically done already!
#4: HIT OR MISS
This method is more on the experimental side of things, and can be very hit or miss…
But when you hit, there is nothing like it.
You’re going to send a copy of the arpeggiated MIDI data to multiple instruments, and then subtract from each clip; making sure only 1 instance is triggered at a time (monophonically)
This will make it sound as if each note is triggering a different plugin, and may even leave the most seasons vets speechless.
This may even leave the most seasoned vets speechless.
STEP 1 一 Create a MIDI clip and draw-in the note(s) you’d like the arpeggiator to be based off of.
STEP 2 一 Use the method from number 2 so you’re able to ‘print’ the arps output to MIDI.
This is key because, without doing so, you’re doing yourself a huge disservice.
You’ll be left with an incoherent mess, and the whole point of this technique is to make it sound cutting edge and professional.
STEP 3 一 Sound selection. Or, sound design if you’re building your song from the ground up. This is the most critical step.
Open up as many Synths and/or Samplers as you’d like.
To keep it from getting too out of hand, it’s smart to stick to just 3-4 tops.
Make sure each sound is in the same ballpark as one another; like all basses or leads. Not identical, but all related.
This way, when the notes and synths are interacting (being swapped or exchanging MIDI data from the same MIDI clip), it won’t sound completely random.
Although, a little randomness is never a bad thing.
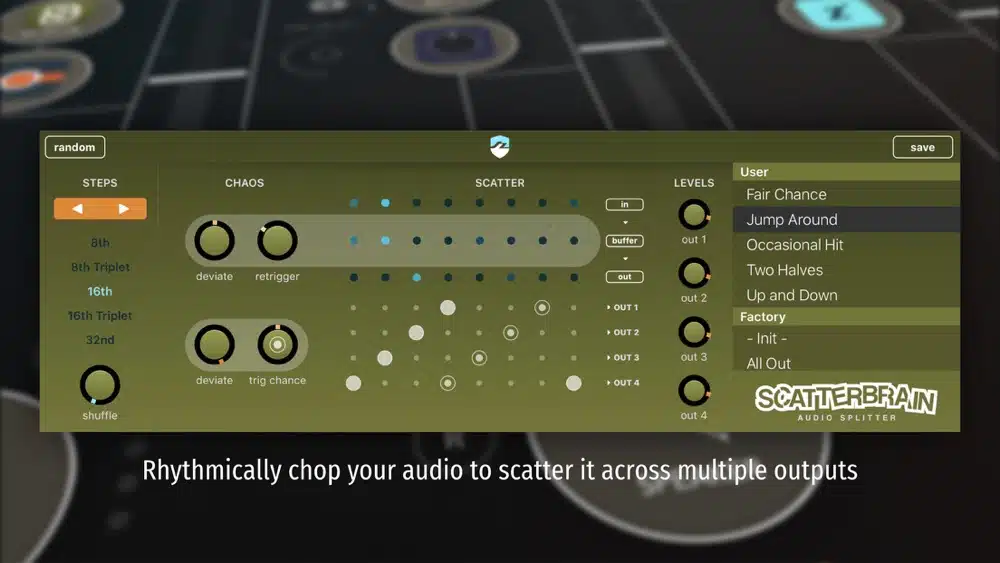
STEP 4 一 Copy and paste the arpeggiators output to each synths’ track, but only have 1 playing at a time while they’re interchanging, being swapped out, etc. This can be done a few different ways:
- Take your MIDI clip and copy it across each individual instrument-track and start deleting notes so there’s only one instance playing at a time.
- Bounce each track containing your arp-pattern, and methodically slice and match together the desired clips so the synths are being exchanged in a designated, predetermined way.
This can be done on a note-to-note, bar-by-bar or beat-by-beat.
However, to get the full (insane) effect, sometimes it’s best to have the synths cycle through for each retrigger.
Whereas it’s a little time-consuming, it will leave the listener absolutely speechless.
They won’t even be able to figure out how you did it!
#5: HI-HAT AND DRUM (PERCUSSIVE) ROLLS & FILLS.
The ways in which you can manipulate hi-hat rolls/fills with just the 3 basic elements of MIDI (Time, Pitch, and Velocity) is virtually endless.
However, this process can be very tedious, and oftentimes, as a producer/artist, you won’t have the luxury of taking your time.
That’s why finding a way to do so with speed and efficiency is key… and with the help of your arpeggiator, it’s not only possible, but encouraged.
You’ll have the ability to consistently trigger the hi-hat in any given division, or ‘beat’ you wish (i.e., 1/4th).
Enabling you to change it in real time, simply by altering the arpeggiator’s Rate with a MIDI CC.
This is done with the use of automation, or any controller you choose to link it to. It’s that simple!
STEP 1 一 Open up your arpeggiator of choice in your session.
Depending on the plugin you’re using, either:
- Load it up with your hi-hat sample.
- Have it loaded in a sampler for the arpeggiator to trigger.
STEP 2 一 Add fills in addition to the standard hi-hat pattern.
Be sure to load a different sample, distinctively panned, so you’re able to tell it apart from the main hi-hat.
Rhythmically alternating for each new Time Value.
It’s also best to ensure it’s detuned slightly from the original, by default, but not by much; even if it’s only a handful of cents, at first.
STEP 3 一 Set the Division/Rate Value relatively high.
16th notes if it’s in double-time, 8th notes if you’re using the standard tempo.
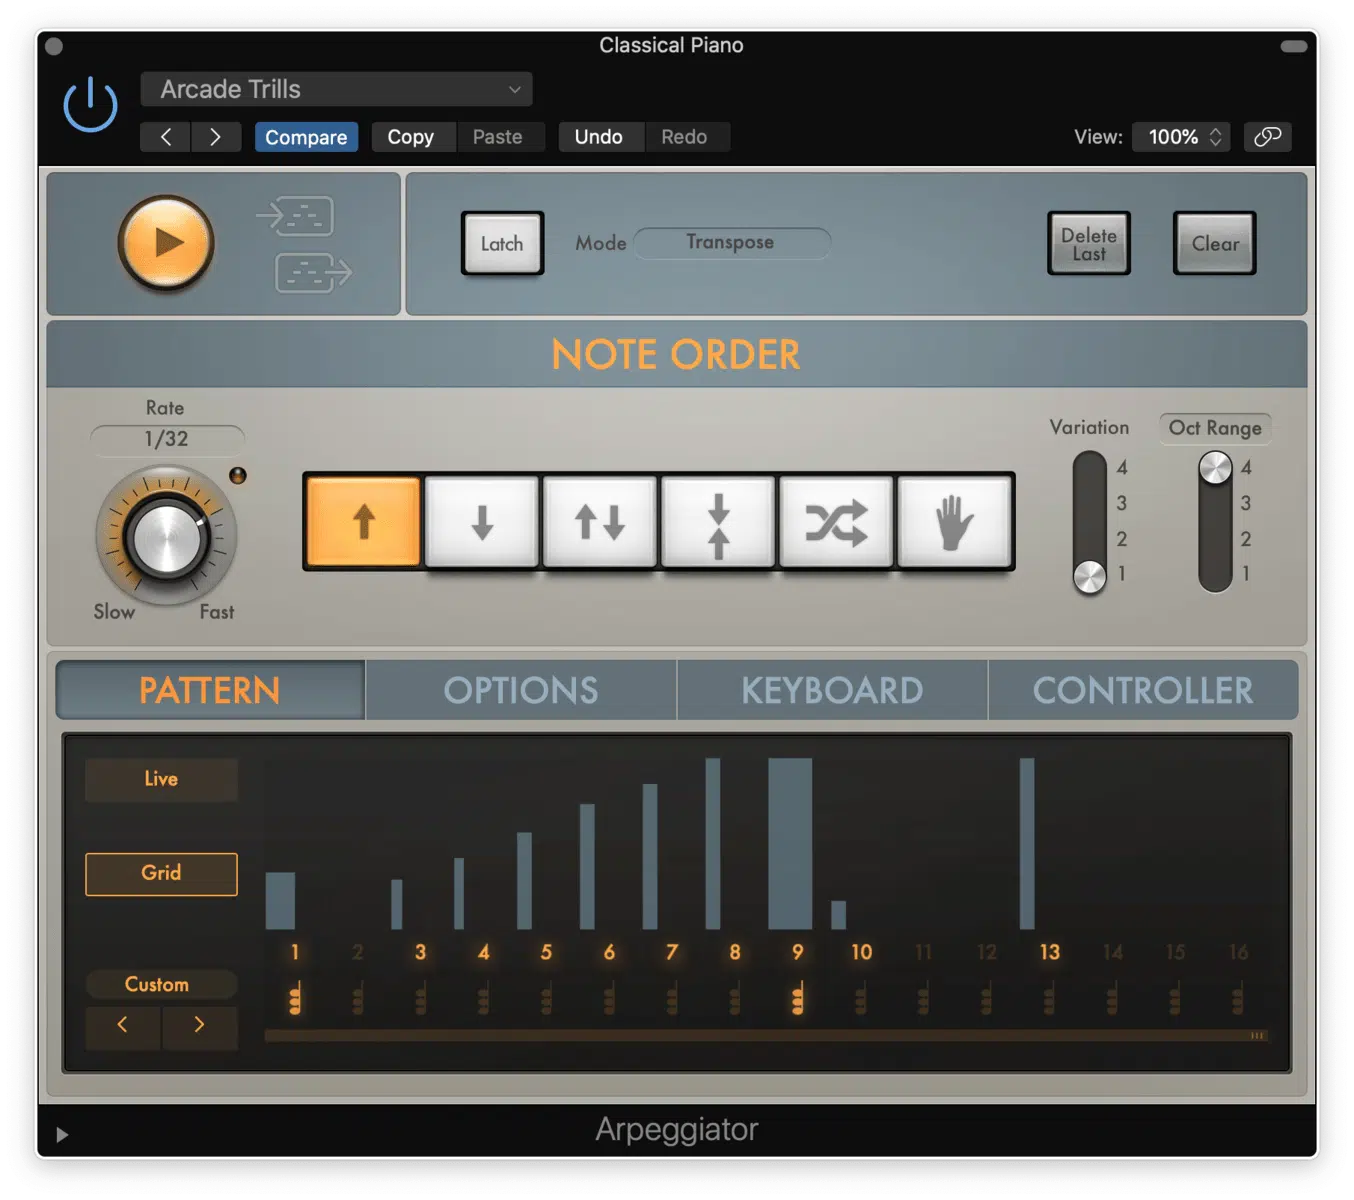
STEP 4 一 Record some fills at 1 Time Division. It doesn’t need to sound perfect at first.
It will most likely sound fairly basic at this point… but that’s about to change!
STEP 5 一 Go into the arpeggiator and add automation to the Rate/Time division parameter.
Or, if you prefer, route a MIDI CC to it.
STEP 6 一 Loop each section where you want to add fills so you’re able to hear it. Experiment with different values while you draw-in the automation or alter the assigned MIDI CC.
This can be done continuously in the process of a single roll.
Or, they can be broken down into a few notes which will represent sets that differ in Division values (i.e., over a course of a bar, or even a few beats).
You’ll hear this in at least every other track on the radio, if not more.
And, as we mentioned, each note/set is usually panned as well (alternating from ear-to-ear; left-to-right).
STEP 7 一 Change the pitch.
You can do this within the arpeggiator itself, but for more targeted results it’s best to simply transpose the MIDI input data in the piano roll instead.
- Transpose the note down a few semitones when the Time Division is set faster/higher.
- Transpose the note up a few semitones for slower values.
This is something not heard as often, and guaranteed to make your tracks truly shine.
It’s sort of like reverse psychology, as a traditional Sampler will do the opposite (pitch down for slower loops, higher when things are sped up).
NOTE: Don’t limit yourself to using just one arpeggiator at once.
Use multiple instances and have them feed off each other throughout.
Also, try automating their levels so they only come in at designated times; like at the end of a 2-4 bar loop, for example.
Get crazy and always experiment. You never know what you will discover.
FINAL THOUGHTS:
Arpeggiators first started out as a convenient way to showcase the power of synths, with as little as one note.
Today, it has evolved into a complex beast, arguably more powerful than any typical sequencer.
It can add layers of intrigue that will leave your listeners speechless.
Not taking advantage of all that they have to offer will limit your potential greatly.
Use any of the aforementioned techniques to make your music skyrocket to number one on the charts.
Speaking of making music chart-worthy, an arps potential is only as good as its source-material…
While stock arpeggiators are always a good option, stock presets aren’t.
If you haven’t already, download the FREE Unison Serum Essentials to ensure you have clean, polished, professional-quality presets.
Every preset inside is fully loaded with macros and flexible parameters, enabling you to tweak, customize, and truly make each sound your own!
Sound design, anyone?
Until next time…


