As producers, knowing all about layering drums can be a complete game-changer for your tracks (and skills), no doubt about it.
It can help you bring way more punch, presence, and clarity to your drum track, and give every drum sound its own unique weight and texture.
Plus, layering drums lets you sculpt the exact vibe you’re after (e.g., aggressive, clean, organic, or super experimental), which can seriously set your sound apart.
That’s exactly why I’m breaking down everything you need to know about layering drums, including:
- Kicks, snares, hi-hats & more ✓
- How to prep your drum samples for layering ✓
- Avoiding phase issues/clashes in the frequency spectrum ✓
- The best transient tricks that really work ✓
- How to get pro-level groove and swing ✓
- How to layer drum samples and drum racks ✓
- Creative tricks using field recordings and FX ✓
- Pro tips for resampling and reprocessing layers ✓
- Bussing & gluing your drum track ✓
- How to make every layer hit clean ✓
- Advanced drum layering techniques ✓
- Much more about layering drums like an expert ✓
By knowing all about layering drums, you’ll never have to worry about weak-sounding drum kits or thin drum loops ever again.
This way, your track will always hit hard in the right places and sit clean in the mix, and you’ll know all about layering samples/different sounds all day.
And you’ll really dial in your overall sound and take your music production to a whole new level like an absolute boss.
Table of Contents
- What Is Layering Drums All About? (And Why It’s a Game-Changer)
- Key Elements You Should Be Layering
- Prepping Your Samples for Super Clean Layering
- Ways to Avoid Frequency Clashing
- The Role of Transients When Layering Drums: Breaking it Down
- Layering With Velocity, Swing & Groove in Mind
- Layering Drum Samples Using FX, Resampling, and Sound Design
- Creative Drum Layering Tricks You’ve Probably Never Tried
- Bonus: Drum Bussing, Glue & Processing After Layering Drums
- Final Thoughts
What Is Layering Drums All About? (And Why It’s a Game-Changer)
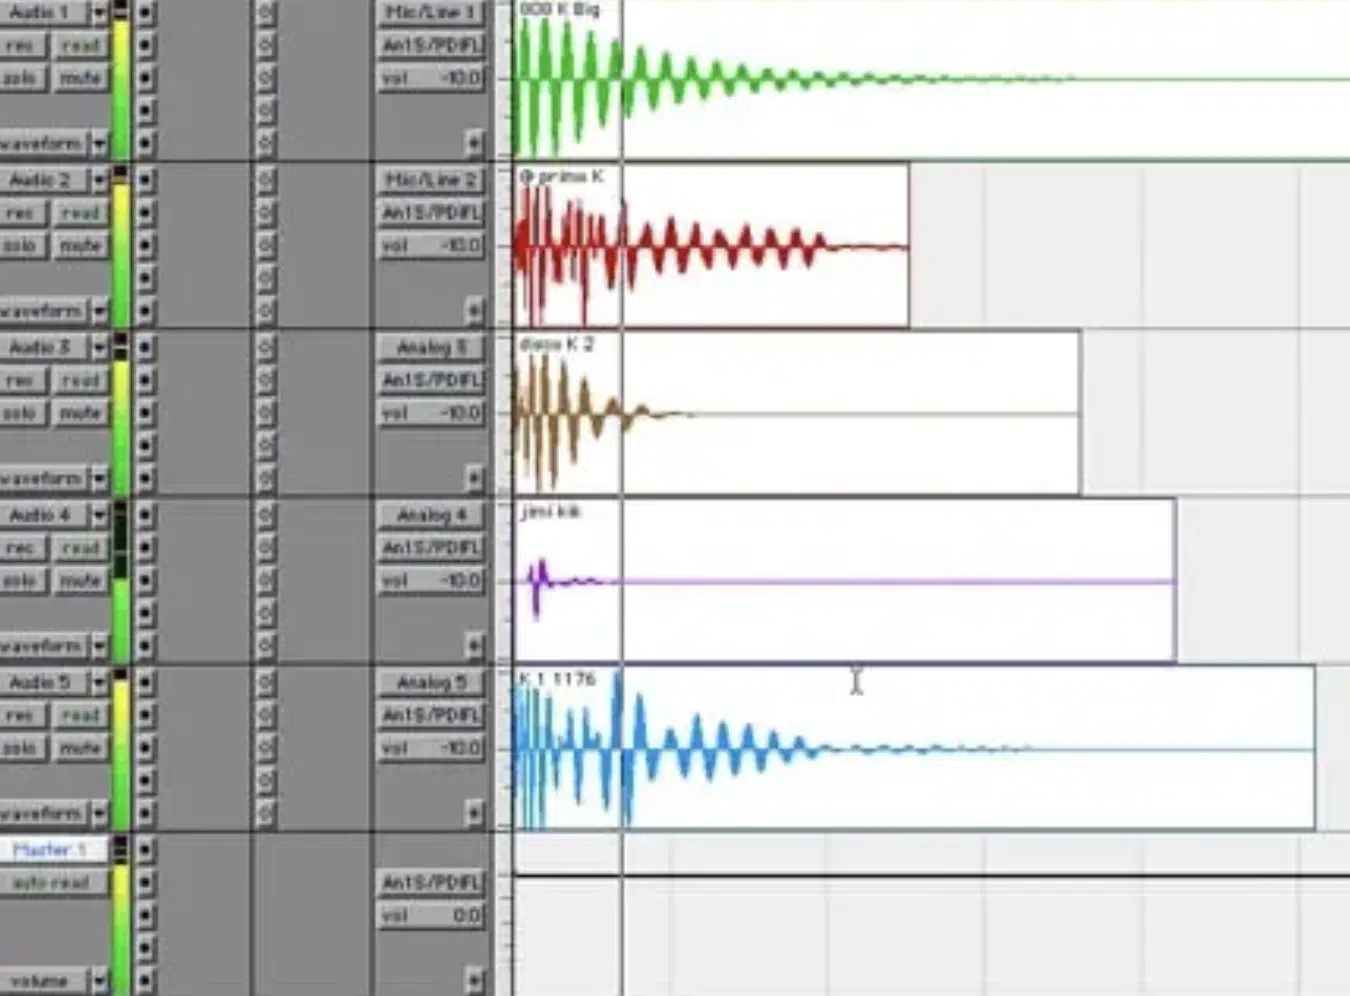
Layering drums is the process of combining two or more drum samples together to form one powerful, full-bodied drum sound.
This is where kick drums, snares, and other key parts of your drum track shine.
Instead of relying on a single sample that may sound flat or thin, you can layer different elements like transient clicks, warm low-end, crispy tops, and unique textures.
By doing so, you’ll make something way more punchy and undeniably interesting.
For example, when layering drums, you can take a clean, subby kick sample that holds down the low-end and layer it with a mid-range beater kick for the attack 一 plus a bright clicky layer up top around 5kHz–8kHz to help it cut through the mix.
That’s three layers, with each serving a purpose across the frequency spectrum.
It’s important because different drum hits contribute different things.
One might bring body, another might add groove, and another might just add a dirty texture that makes it feel human.
And when you get all these layers balanced properly, you’re working with a sound that’s not just louder (it’s more dimensional and professional as hell).
Bottom line, drum layering gives us full control over how our drums hit and how they translate in the stereo field, the mix, and across different playback systems.
So whether you’re using plug-ins, resampling, or even field recordings, the point of layering drums is to make every part of your track slam.
And sound like it belongs on the biggest stage possible, which is awesome.
Key Elements You Should Be Layering
Once you understand why layering drums actually matters, it’s time to break down the main drum sounds you should be focusing on. Each element in your drum track can be layered for a specific reason, whether it’s to add snap, weight, or texture, so let’s break them down one by one.
Kick Drums (Body, Click & Thump Layers)
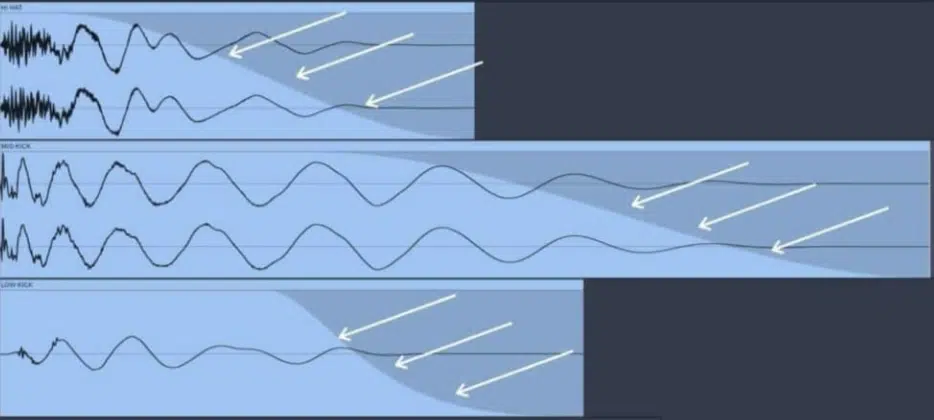
When layering kicks, you’ll usually want three distinct layers that all do something different and unique in the frequency spectrum.
These 3 layers are:
- The body
- The click
- The thump
For the body, grab a clean subby kick sample that hits between 45Hz and 60Hz.
Then, trim the start to hit instantly and apply an envelope with 0ms attack, 60ms decay, 0% sustain, and 50ms release.
And if the low-end still isn’t clean enough, run it through a 24dB/oct HPF and set the slope to cut everything below 30Hz.
The click layer gives the kick that snap and punch you need to cut through a dense mix.
So, I suggest you layer a short rimshot, hat click, or even a percussive drum hit, then high-pass it above 2kHz and boost around 4.5kHz with +3dB to bring the attack forward.
You can even use a transient shaper (set the attack to +50% and the sustain to -15%) to push the click to the front of your drum sound.
The thump sits in the mid-range and gives your kick character 一 choose a punchy acoustic kick sample or layered tom with content around 110Hz–140Hz.
Also, use a bell EQ boost of +2.5dB at 125Hz and roll off anything below 80Hz with a HPF to keep it from clashing with your sub layer.
Pan this layer ±10% left/right to add subtle width without pulling the punch out of center.
And don’t forget to use your spectrum analyzer to check if your layers are fighting each other, looking for phase cancellations around 60Hz–120Hz.
If they are, try nudging one sample back by 3ms or flipping the polarity of the click layer to lock everything in, and you’ll be good to go.
Snares (Snap, Crack & Tail Layers)
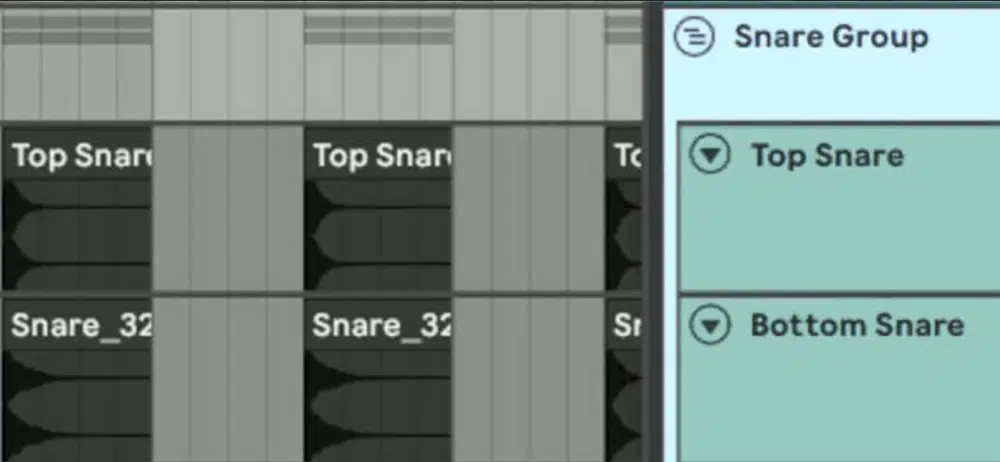
For snares, your goal when layering drums is to create something that hits clean, feels big, and fills out the stereo space perfectly.
Therefore you’ll usually split it into snap, crack, and tail layers (the snap layer is all about the tight transient in this case).
Start with a sharp snare hit or rimshot that peaks around 2kHz, trim it to 80–100ms total length, and then use a transient shaper with +60% attack.
This will give it that forward punch/impact you’re looking for.
The crack sits up in the high-end (6kHz to 9kHz is your sweet spot) 一 a clap, vinyl noise burst, or short blip of filtered white noise all work well here.
High-pass it above 4kHz, then add a soft clipper and set the ceiling to -1.0dB for extra crunch.
This layer should be mixed slightly lower than your snap, around -6dB relative to it, so it adds sparkle without overpowering anything.
Then you’ve got your tail layer, which brings size and space.
Try using a snare with a long natural decay or send a noise sample to a reverb with 1.4s decay and 35% wet.
Pan it ±25% in the stereo field, and consider adding a 1/4 note delay set to 20% feedback and 15% mix for added depth.
Just make sure to high-pass this tail above 300 Hz so it doesn’t cloud up your low-end.
PRO TIP: If your snare layering sounds too thin, layer in a pitched-down kick sample with the attack removed and low-passed at 300 Hz.
This can subtly reinforce the body of the snare without making it sound OD boomy.
Hi-Hats & Percs (Tonality, Texture & Timing)
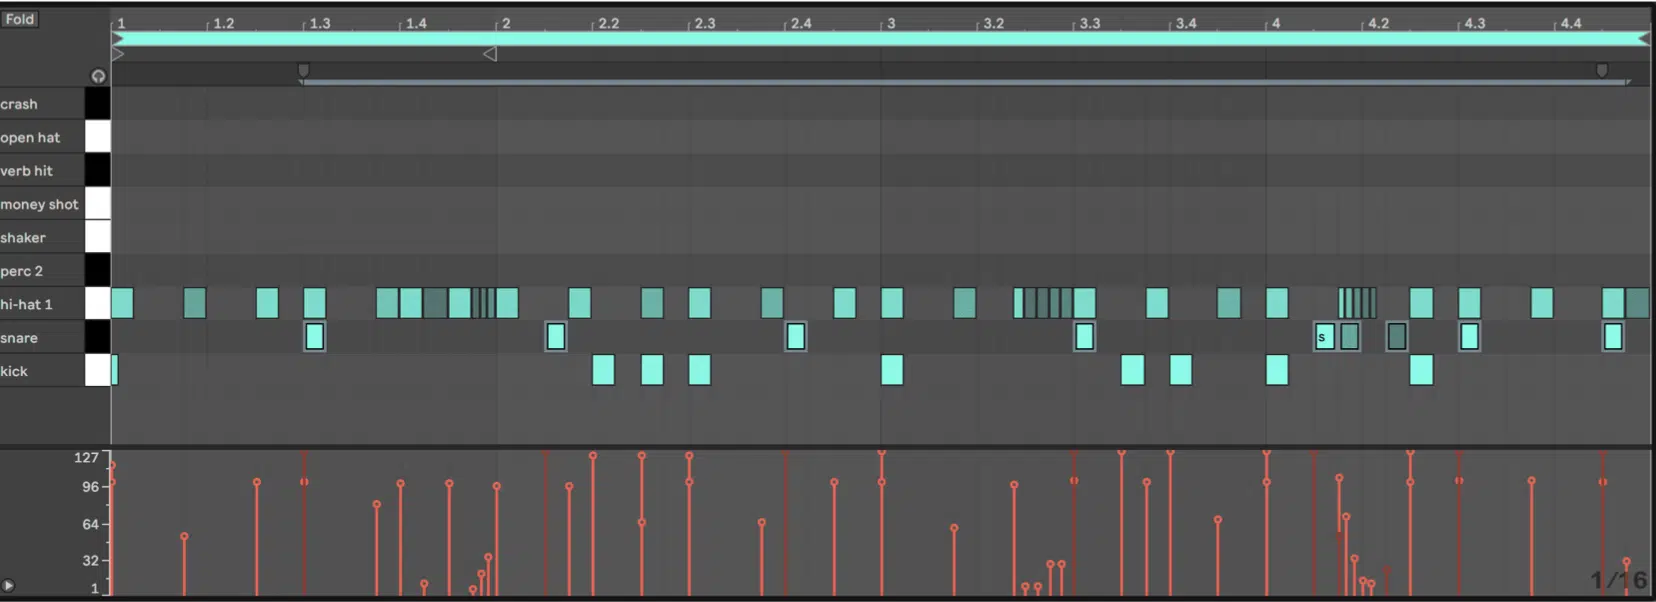
Hi-hats and percussion are all about rhythm and color, so when you’re layering drums, make sure you break things into 3 focused sections:
- Tonal hi-hats
- Textured layers
- Time-shifting techniques
For tonality, choose a clean closed hat and boost around 7.5kHz with +2dB using a shelf EQ to bring out that signature sizzle.
Just make sure to keep the envelope super tight (0ms attack, 40ms decay, 0% sustain, 50ms release) and adjust the volume so it peaks around -12dB in the mix.
Then layer a textural sample like a shaker, paper crinkle, or filtered field recording 一 high-passed at 500 Hz and panned hard left/right at ±30%.
You’re not just using this for punch; you’re using it for feel.
And if you want even more grit, you can apply saturation at 5–6% drive and dial in a bit of stereo width with a Haas delay set at 15ms offset in one channel.
To dial in timing, shift your offbeat hats back 5–10ms to create groove, using ghost notes at 20–40% velocity and randomize hit placement ±3ms for human feel.
If you’re working with trips, try placing soft percs or bells on the second and third triplet with a different sample from your main hat to keep things interesting.
PRO TIP: Always layer two different hi-hat sounds (one super crisp and one dull) and automate which one plays at different parts of your track.
It’ll keep the vibe evolving while helping the drum track breathe with the arrangement.
Prepping Your Samples for Super Clean Layering
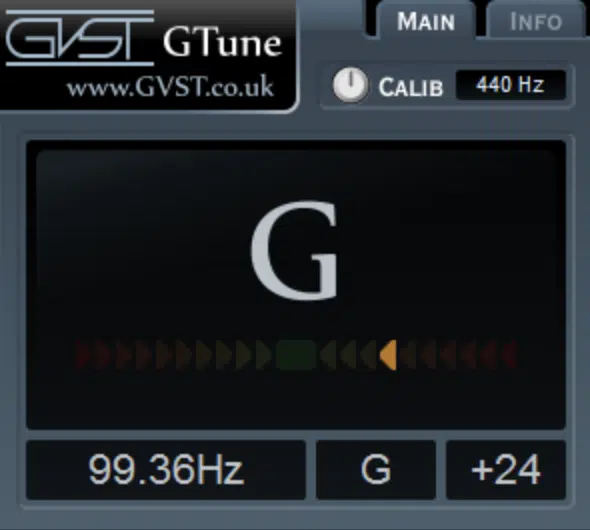
Before you start layering drums, you’ve got to prep every drum sample like you’re prepping a vocal for mixing: clean, tuned, and surgically controlled.
First up is tuning…
So, you’re going to use a tuner like GTune (or your personal go-to) to read the fundamental pitch of your kick drum or tonal snare.
Then, pitch it up or down until it’s within ±1 semitone of your track’s key.
For example, if your song is in F# minor, aim for a fundamental around 46 Hz for the kick (don’t worry, it’ll become super easy once you practice this).
Next, check for phase alignment across your layers.
If two samples are stacked with identical peaks but opposite polarity, they’ll cancel out and kill your drum sound.
Use a polarity inverter or favorite utility tool to flip phase on one layer, then use a spectrum analyzer to make sure low frequencies (especially 50Hz–120Hz) aren’t dipping when both samples are played together.
Visually, if the peaks align but the sound is hollow, flip the polarity and listen again.
Then go into envelope shaping 一 for kicks, set a fast attack (0ms), decay around 70ms, and release under 100ms to keep it tight and right.
For snares, use an attack around 10ms and a longer decay of 200–300 ms if you want to let the tail breathe.
These settings help make sure your drum layering stays clean and doesn’t smudge across transient zones, because you definitely don’t want that.
And don’t forget to trim your drum samples down to size as well.
Cut dead space before and after the hit to reduce delay compensation and eliminate timing flubs in your MIDI pattern.
Also, remember to keep your start points tight; drag the transient to exactly beat 1 or quantize to 1/64th note for clean triggering across all layers.
PRO TIP: Normalize all additional samples before layering to -1dB peak, then you’ll want to balance manually.
This gives you full control over dynamics without relying on invisible gain differences between drum kits, especially when you’re combining sounds from different sources.
Ways to Avoid Frequency Clashing
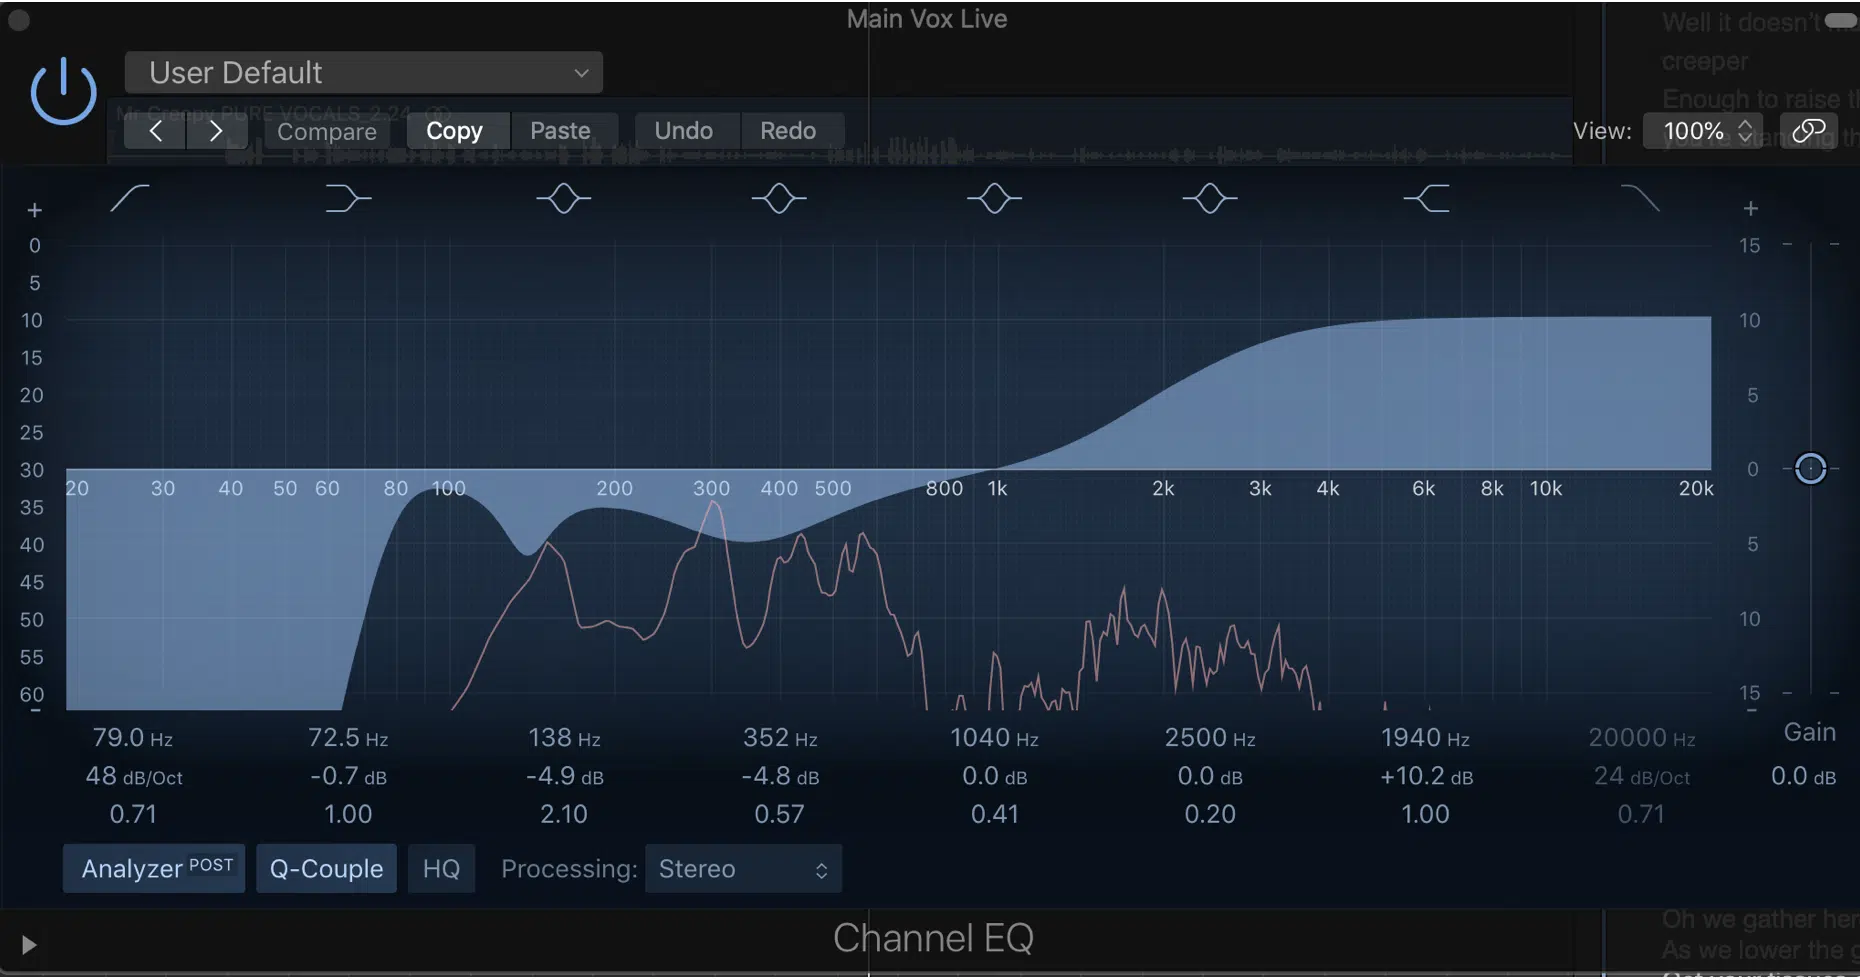
If your layers are stepping all over each other, your drum track will end up muddy, messy, and flat, so preventing frequency clashes is an absolute must when layering drums.
And the place where you’re going to start is with EQ carving.
For example, if you’re stacking two snares (one for snap and one for body) use a parametric EQ to cut 1–2dB at 200Hz on the top layer and boost 2–3dB there on the lower one.
This expertly carves space so each sample shines in its own frequency spectrum zone.
Next, try band-splitting your layers using a multi-band plugin like iZotope Neutron 5 or Ableton’s Multiband FX rack to split the drum sound into separate ranges:
- Low (0–150Hz)
- Mid (150Hz–4kHz)
- High (4kHz–20kHz)
From there, you’re going to assign different layers to each band.
For example, use one kick drum just for sub, one for knock, and one for click 一 adjusting the levels independently to balance the mix.
You should also be using mid/side EQ. When your layers start crowding the stereo field, drop FabFilter Pro-Q 4 or Ozone 11 EQ onto the channel, and switch to M/S mode.
Then, for layers that are only meant to fill out the center, dip the high-mids and highs in the side channel by 2–3dB around 6kHz–10kHz.
This keeps the sparkle focused without spreading it too wide.
Don’t forget about HPF/LPF either…
High-pass filters can clean up low-end junk from snare tails (try a 12dB/octave slope at 150Hz), and low-pass filters can remove harsh highs from mid kick layers (roll off above 3.5kHz).
These help your individual layers sit better without competing, and you definitely need both, so make sure to play around with each.
PRO TIP: Always solo combinations of two layers at a time while looking at your spectrum analyzer.
This helps you find overlapping areas before they hit the full mix, so you can fix any issues while layering drums, not after.
The Role of Transients When Layering Drums: Breaking it Down
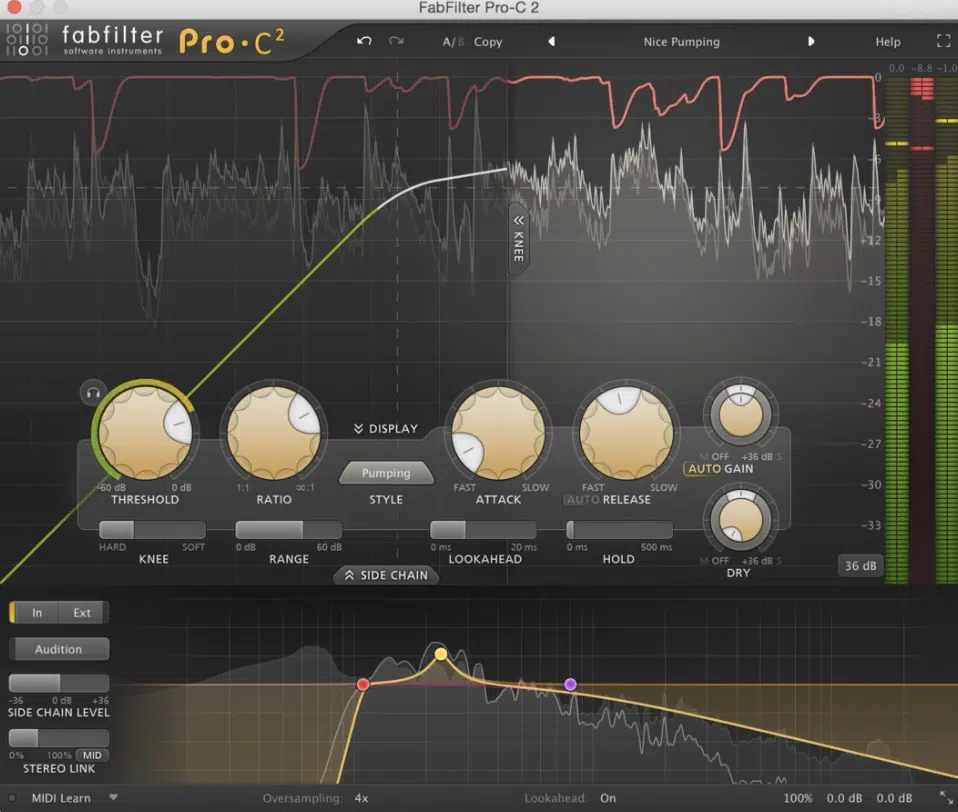
Transients are everything when you’re layering drums because they shape how punchy, crisp, and present your drum hits sound right out the gate.
The first 10–30ms of each sample defines its impact, so you need to pay attention to how your layers stack during that short window.
If two samples have strong transients that hit at the exact same time and frequency, you might end up with phase issues or weird cancellation (no good!).
So, to make sure everything is on point, you can start by analyzing the transients visually.
Plugins like Transient Shaper, FabFilter Pro-C2, or Logic’s Enveloper give you an envelope graph that makes things obvious.
If two kicks both spike hard in the 1kHz–3kHz range, try shifting one’s start time back by 3–5ms or use a 30% transient softening curve to tame it.
This helps avoid stacking too much energy in the same area.
You can also tweak transients manually in your DAW’s MIDI editor…
For example, in Ableton, you can use the Simpler’s envelope controls to trim or fade in the transient of one layer, which lets the other poke through first.
A transient delay of even 2–3ms can create separation without losing groove, and if you need more punch, just isolate the transient layer and run it through a clipper like KClip 3.
Set the ceiling at -0.3dB and drive it until the transients are sitting right below that line, which will give your drum sound that pro-level snap that cuts through any mix.
PRO TIP: Always leave a slight transient gap between layers when possible.
A 2–6ms offset between top and bottom layers adds depth, movement, and stops your drum track from sounding like just one sound smashed together.
Layering With Velocity, Swing & Groove in Mind
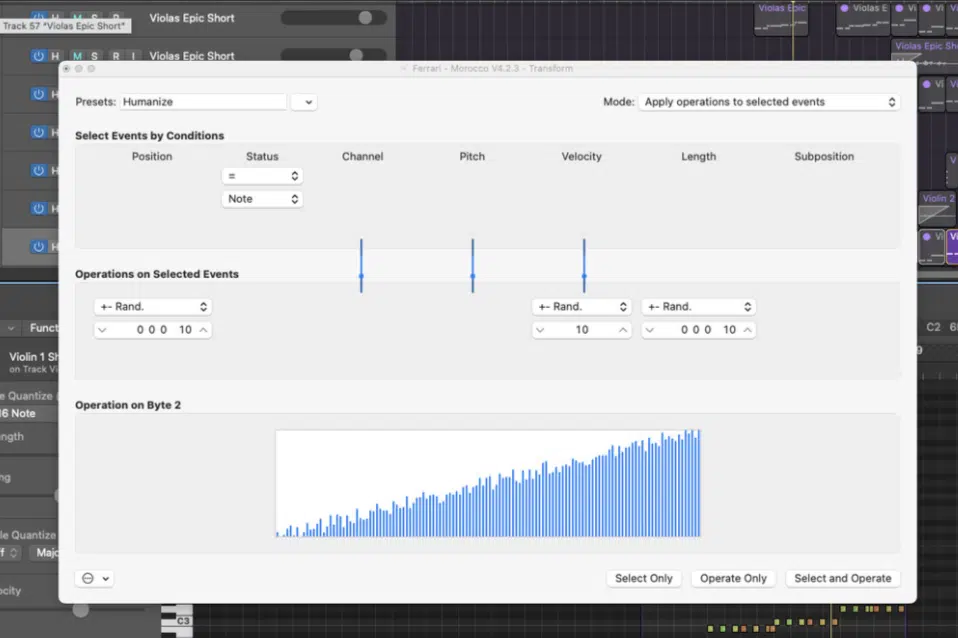
When you’re layering drums, getting the dynamics right is just as important as the sounds themselves, trust me.
And one of the biggest mistakes producers make is stacking drum samples that sound robotic because all the velocities are maxed out or locked in rigid timing.
Instead, start by matching your layer velocities across the board.
For example, if your main snare is hitting at 95 velocity, your top-end transient layer could be at 100, while the body or tail layer might sit at 85–88.
This makes the drum hit feel unified and more human.
Next, use ghost notes to add subtle movement 一 try layering a soft rimshot or shaker at 35–50 velocity, in between your main drum hits, especially on the “e” or “a” of the beat.
These small layered samples build groove without taking up too much space in the mix, and they let your drum pattern feel alive rather than looped.
When it comes to groove templates, drag in a groove from a real drummer or swing-heavy loop and apply it globally.
Ableton has built-in templates like MPC 16 Swing or Logic’s Humanize function.
Apply 50% timing and 25% velocity to your MIDI pattern, then manually tweak individual hits ±5ms using your MIDI editor for some extra feel.
You’ll be pleasantly surprised how a tiny 7–10ms shift can make your entire drum loop go from stiff to bumpin’ in like seconds.
For microtiming, try delaying certain hi-hat layers by 2–4ms to create slight drag, or pushing your kick drum’s transient back by 3ms if your 808 is overpowering it.
These kinds of small adjustments add bounce (especially in hip-hop or lo-fi).
NOTE: Don’t just copy and paste your layering drums setup from section to section — instead, automate your velocities across different song parts.
For example, in a second drum track, you can lower velocities by 10–15% in the verses to create tension, then bring them back up in the chorus for extra impact.
Pro Tip: Sound Selection Strategies That Actually Work For Your Drum Track
One of the most overlooked parts of layering drums is picking the right drum samples from the jump (and the trick is to layer for contrast, not redundancy).
For example, instead of stacking two full-bodied snares, try one dry rimshot for attack, paired with a reverb-heavy clap for tail.
This way, each layer fills a different job in the frequency spectrum and stereo image.
You can also use texture-driven percs 一 things like dusty vinyl cracks, processed foley clicks, or short metallic clinks around 4kHz–7kHz.
Layer them at -12dB to -18dB relative to your main snare to add movement and sound without cluttering the main impact.
Just make sure to high-pass them above 300 Hz to keep your low-end clean.
And most importantly, make sure to avoid overlapping sounds that fight for the same stereo field because if two samples are both wide and reverb-heavy, you’ll get smearing.
Instead, keep your transient or main sample mono, and pan your tail or texture layers ±15–25% to the sides for width and separation.
Layering Drum Samples Using FX, Resampling, and Sound Design
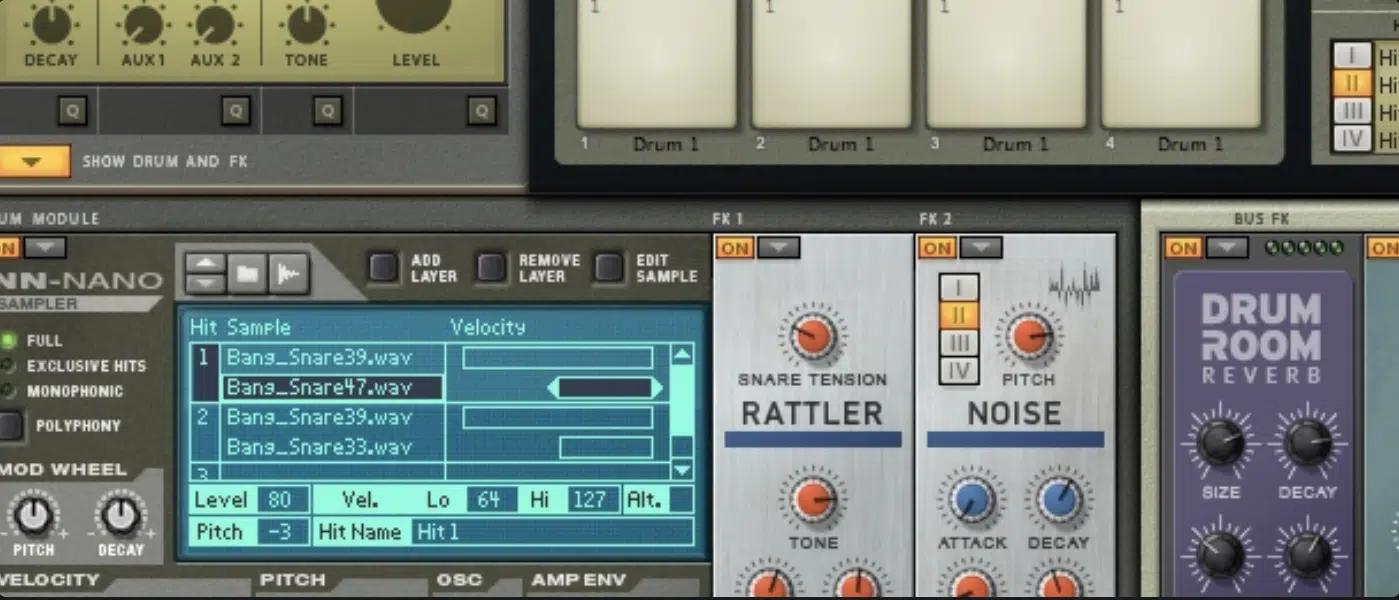
When it comes to layering drums, FX and resampling can take your drum track from basic and boring as hell to absolutely next-level.
Start with parallel saturation by:
- Duplicating your snare group
- Running it through a tape saturator like Softube Tape or Decapitator
- Dialing the drive to 4–5 and mix at 40%
- Blending that gritty texture back into the clean signal
This gives you harmonic weight without muddying the original samples.
Next, try parallel compression on your kick or drum loop 一 set your compressor to a 4:1 ratio, 10ms attack, 100ms release, and squash it down to -10dB gain reduction.
Then blend that smashed version in at -18dB to bring out all the low-level detail in your layers (especially if you’re working with softer body layers).
Resampling is where things get creative, and I’m all about that.
After you’ve layered everything, bounce your full drum sound to audio, then chop it up into new slices using transient markers.
Then, reverse one of the slices, pitch it up +7 semitones, and use it as a fill or riser before the next section of your track.
This not only gives you new sounds but lets you rework your own drum kits into something fresh.
For panning, you’re going to start by keeping your punchiest drum hits mono and placing your stereo FX layers around ±20–30%.
You can also automate pan position using LFO tools or DAW automation lanes to move textures left and right every 2–4 bars.
This creates epic subtle motion without disrupting the groove.
And don’t forget pitch shifting either, detuning a transient layer -2 semitones and pitching a noise layer up +3 semitones to avoid stacking identical harmonics.
That little spread makes your layering drums stack sound way more dimensional.
PRO TIP: Create “FX-only layers.” Meaning reversed cymbals, delayed rimshots, or even washed-out foley, and automate their volume throughout the arrangement.
These layers aren’t there for punch but to create dynamic flow between sections of your drum track.
Creative Drum Layering Tricks You’ve Probably Never Tried

Once you’ve got the basics locked down, there’s a whole world of layering drums techniques most producers don’t even mess with, but they make a massive difference. These aren’t gimmicks; they’re just slept-on tricks that help you build drum sounds that are totally original and hard to copy. So let’s break down a few next-level tricks that can help you push your drum layering game way past the basics.
Randomizing Layers for Human Feel
One of the best ways to make your drum patterns feel natural is to use randomization on your layers, especially when you’re layering drums for a looser, more human vibe.
Start by adjusting velocity values in your MIDI editor between 65–95 for each repeated drum hit, even when using the same sample.
This slight variation helps avoid that robotic, static feel that kills bounce and realism.
You can also randomize timing by shifting hits ±4ms using manual delay in the clip settings or a groove pool.
For example, delaying a hi-hat layer by 6ms and slightly advancing a percussive layer by 3ms creates more bounce in your drum loop without screwing up the groove.
It’s subtle, but your ears will hear the difference right away.
Another technique is to set your sampler to randomize sample selection, for example, cycling between 3 different snare hits or rimshots at each note trigger.
And most DAWs and drum machines have some form of round-robin triggering or random mode, so you should be good.
Just make sure to set the instance variation between 10–15% to start and play around with more from there.
PRO TIP: Layer a single hit over three different channels with slightly different EQ, pan, and gain settings, and assign them to alternate randomly.
This gives you the feel of real drumming while keeping your drum track sonically rich and ever-evolving.
Cross-Layering with Foley/Field Recordings/Found Sounds
To give your drums a truly unique sound, start layering drums with unconventional sources like:
- Field recordings
- Foley elements
- Found sounds
Think of layering a distant train brake over a kick drum, or a paper rustle over a snare transient…
These sounds occupy different parts of the frequency spectrum, especially in the high frequencies, and add texture you won’t get from typical drum kits.
Try layering the “tail” of your main sample with a reversed foley sample, high-passed at 700 Hz and spread ±30% in the stereo field.
This creates spatial contrast without cluttering your low-end.
You can even automate the tail’s pan position from left to right across a 4-bar MIDI pattern 一 giving your track a sense of movement.
For percussive found sounds, take something like a snapped twig or pen click, run it through a distortion plug-in (drive around 4.5dB), and layer it under your rim or clap to add attack.
Set the level around -18dB to sit it beneath the primary transient and blend naturally.
Just don’t forget to trim, tune, and adjust these recordings so they match the tone and tempo of your track.
Even a sine wave layered under a pitched-down vinyl pop can be turned into a subtle percussive element with enough EQ and shaping.
PRO TIP: Create your own mini drum kits by collecting 10–15 household samples and layering them over standard drum sounds.
Bounce the results and build a custom folder of new sounds you can always go back to when your layering drums ideas start feeling stale.
Side note, if you want access to the sickest foley sounds in the game, I got you.
Using Granular Layers to Build High-Frequency Texture
Granular layering is one of those layering drums techniques that a lot of producers skip, but it can completely transform the high-end of your drum track.
Start with a sample that has rich texture (like vinyl noise, a shaker loop, or even water dripping) and load it into a granular synth or plug-in like Granulator II or Portal.
Set your grain size to 10–30ms, and density between 4x–8x per second.
Then filter the output with a high-pass EQ at 3kHz so it lives entirely in the high frequencies, and compress lightly with a ratio of 2:1 to tame any peaks.
This layer sits above your normal drum sounds and adds a shimmering energy across the top end without making things harsh.
You can also tweak the pitch of the granular layer by ±5 semitones to create variation.
Modulating the pitch or pan with a slow sine LFO (0.1Hz) makes the layer subtly shift across the stereo field, which adds motion that’s felt more than heard, so go for it.
Also, try placing this granular texture only during choruses or drops 一 it doesn’t need to run constantly, regardless of what you might’ve heard.
Automate its volume from -∞ to -12dB at the start of the hook for a gradual energy rise that boosts the overall sound without needing to add more drums.
PRO TIP: Use your spectrum analyzer to carve out a little space for the granular layer.
If you see a peak at 6kHz clashing with your snare, EQ one or the other by 2–3dB so both sit clean in the mix.
Bonus: Drum Bussing, Glue & Processing After Layering Drums

Once you’re done layering drums, it’s time to bring it all together with drum bussing and final processing, and you don’t want to slack here.
This is where everything gets glued up and polished to sound professional.
So you can begin by grouping all your drum channels into a dedicated bus or aux track, and insert a bus compressor with a:
- 2:1 ratio
- 30ms attack
- 100ms release
- Aim for 2–4dB of gain reduction
This keeps your individual layers tight without killing the dynamics.
Next, apply soft saturation 一 try a tape plug-in like Kramer Tape or UAD Studer A800 and push the input gain by +3dB.
This adds harmonic content to the drum hits, especially in the 100Hz–300Hz range, which helps your body layers feel more weighted and rounded.
Then look at stereo imaging (keep your kick drum and main snare mono, but use stereo widening tools on percs and textures).
For example, use a stereo imager to boost side signal above 6kHz by 25% to open up the stereo field on your high-end layers.
Don’t go too far though because too much width causes phase issues when collapsed to mono; a lot of producers fail here, and you don’t want to be one of them.
A great trick that I use all the time is to use a tilt EQ, one that boosts highs while cutting lows, or vice versa, to adjust tonal balance across the entire drum track.
Set the pivot at 500Hz, boost highs by +1.5dB and cut lows by -1.5dB to make your drums brighter without harshness.
Finally, try duplicating your entire drum track, distort it with a bitcrusher (e.g., 12-bit, 25% wet), low-pass filter it at 3kHz.
Then, compress and layer it subtly underneath the original at -24dB to bring some extra grit/presence to the table without affecting your main sample or new sounds.
PRO TIP: Always bounce your final drum track stem with and without processing.
This gives you a backup in case you want to swap drum kits, compare versions, or build a second drum track for alternate song sections later.
Final Thoughts
And there you have it: everything you need to know about layering drums like an absolute boss.
With this information, you’ll be able to stack, sculpt, and shape your drum sounds with confidence.
This way, every single drum track you mess around with will slap harder, hit cleaner, and sound way more unique.
You’ll never have to worry about clashing frequencies, muddy mixes, or flat-sounding drum kits ever again.
Just remember to always prep your samples, shape your layers, and focus on dynamics and movement.
This way, you’ll create drum sounds that not only hit in all the right places but also stand out from everything else out there.
And, as a special bonus, since we talked about drum kits so much, I’d like to give you access to the sickest Free Hip Hop Drum Kit in the game.
In this unique, world-renowned pack, you’ll get 50+ free drum samples including loops and matching audio and MIDI stems.
With them, you’ll be able to build new grooves from scratch, swap layers with ease, and fully customize your drum patterns with creative combinations.
Every element is perfect for layering drums the right way 一 giving you full control over tone, texture, and impact.
Bottom line, when it comes to layering drums, just don’t forget to focus on contrast or balance your frequency spectrum.
And, always tweak your layers for timing, phase, and punch, of course.
This way, you can bring power, clarity, and originality into each drum track you create.
Your tracks will always cut through the mix, your ideas will translate with razor-sharp precision, and you’ll know how to layer drums like a real expert.
So make sure to practice constantly, play around with all the techniques I broke down for you today, and remember, not even the sky is the limit, so go crazy!
Until next time…


Leave a Reply
You must belogged in to post a comment.