Recreating your favorite sounds is super exciting and one of the best ways to improve your music production skills in the process (win-win).
However, it can get a little complicated if you don’t know the key elements, tools, or step-by-step process.
As producers, knowing how to recreate your favorite sounds is all about understanding synthesis, dialing in the right parameters, and layering sounds like a boss.
Plus, making sure your sounds match in tone, texture, and feel with the original, of course.
That’s exactly why I’m breaking down everything you should learn, like:
- The key elements of sound recreation ✓
- Tools like synthesizers and effects plugins ✓
- Using synth patches to speed up your workflow ✓
- The process of analyzing original sounds ✓
- Understanding synthesis types (subtractive, FM, wavetable) ✓
- Fine-tuning settings like filters, envelopes, and LFOs ✓
- Using effects like reverb, delay, and saturation ✓
- How to make sure everything will sound good ✓
- Creative techniques for layering and resampling ✓
- Pro tips for automation, stereo imaging & other key things ✓
- Much more about how to recreate your favorite sounds ✓
By knowing exactly how to recreate your favorite sounds from start to finish, you can completely change the game and continue to learn and grow.
This way, you can sharpen your sound design skills and even develop your own unique sonic signature in the process.
Plus, you’ll be able to produce tracks with depth, clarity, and precision like a true professional.
And don’t forget, when it comes to sound recreation, nothing is off-limits 一 you can certainly add your own spin to make every sound uniquely yours.
NOTE: This is going to have a part 2, so just keep in mind this is all the basics.
Table of Contents
Understanding Sound Recreation & Key Elements
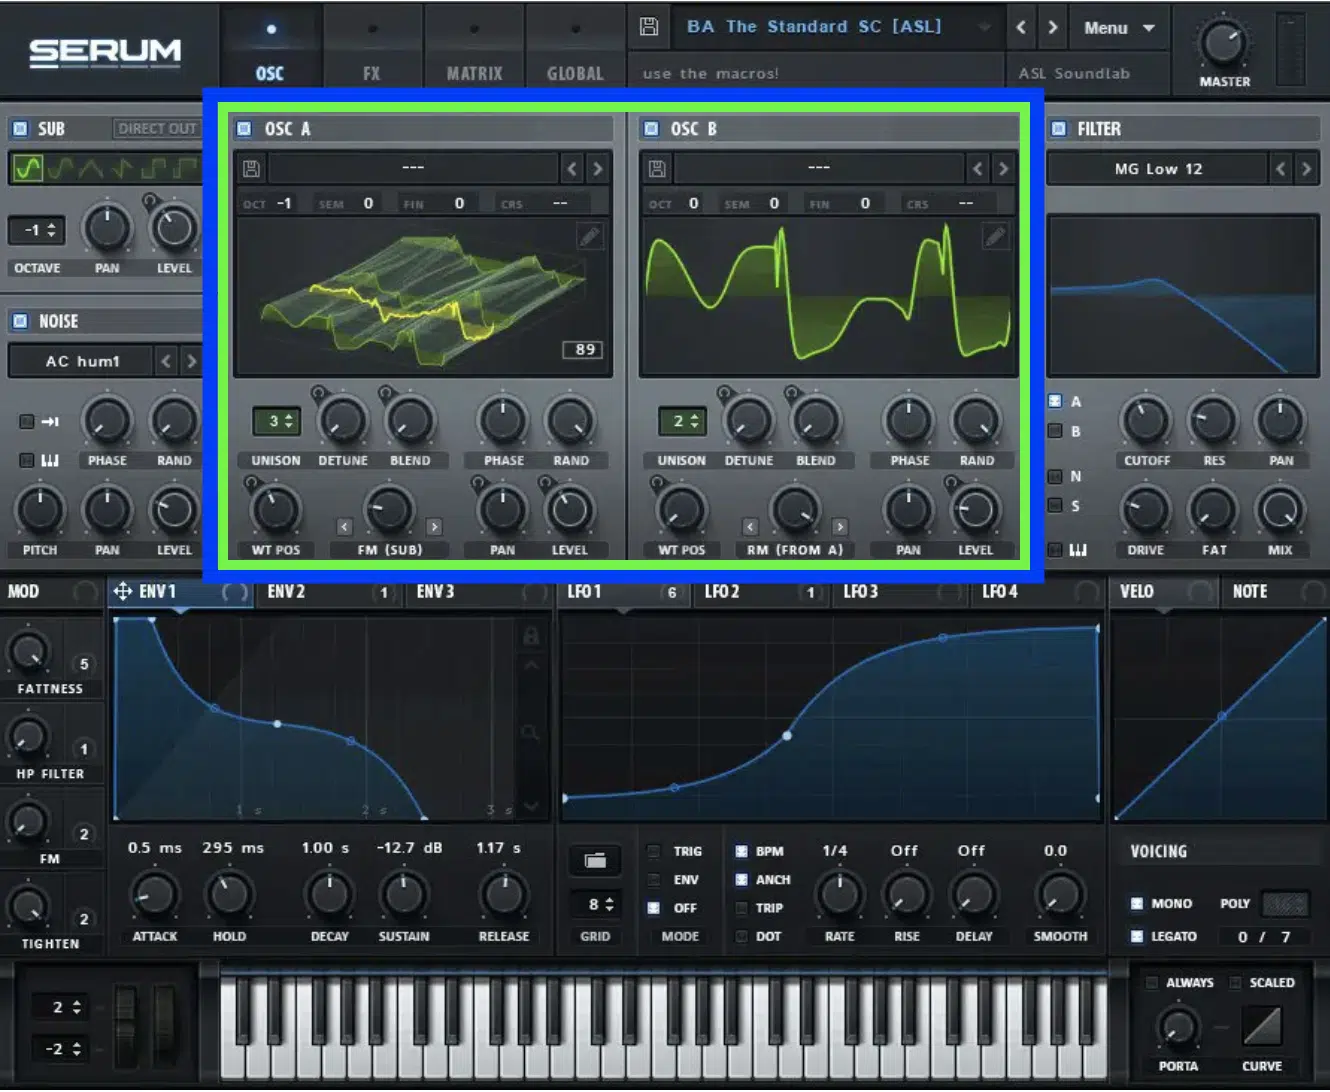
Sound recreation is the process of analyzing and rebuilding sounds using their key audio elements, like:
- Oscillators (above)
- Filters
- Envelopes
- Effects
The first step is to break down the oscillator type, which is the foundation of any synth sound you can imagine.
Oscillators generate the basic waveforms (sine, square, saw, triangle) that define the initial texture of a sound.
For example, a soft, pure tone likely uses a sine wave, while a harsher sound like a lead or bass might use a saw wave or square wave.
You’ll want to start by listening closely and matching the waveform to the texture you hear.
Use a spectrum analyzer (e.g., SPAN by Voxengo) to confirm your choice visually and look for a clean spectrum for sine waves or rich harmonics for saw waves.
The next step is working with filters, which shape the frequency spectrum of a sound; they sculpt the tone by removing unwanted frequencies or enhancing specific ones.
A low-pass filter with a cutoff around 800 Hz can create warm, dark tones often used in pads, while a high-pass filter with a cutoff above 3 kHz is better suited for sharp leads.
For example, let’s say you wanted to recreate an atmospheric pad…
You would set the filter cutoff to 800 Hz, boost the resonance to 3 dB for subtle character, and automate the filter to open up slowly over 8 bars.
When it comes to brighter sounds, a high-pass filter with a cutoff above 3 kHz works well.
For instance, on a sharp lead sound, set the filter cutoff to 3.5 kHz and add a slight resonance boost to enhance the clarity of the upper frequencies.
Just make sure to adjust resonance carefully 一 set it between 2-4 dB to add character without overpowering the sound.
Envelope settings (attack, decay, sustain, and release) determine how a sound evolves over time, from its initial hit to its fade-out.
For plucky sounds like bass stabs or arpeggios, use short attack (0 ms) and decay (150 ms) with no sustain.
For smoother, evolving sounds like pads, try longer attack (500 ms) and release (1.5 seconds) to create a swelling effect.
These parameters ensure the sound matches the dynamic behavior of your reference.
Next up would be modulation, which is key for creating motion and depth, so you’ll want to use an LFO to modulate parameters like pitch or filter cutoff.
For instance, to recreate a wobbling bass, set your LFO rate to 1 Hz with a medium depth to modulate the filter cutoff.
For faster effects like tremolo on a lead, increase the LFO rate to 6 Hz and apply it to amplitude instead.
Lastly, effects like reverb, delay, and distortion bring everything together.
Use reverb with a pre-delay of 20 ms and a decay of 2 seconds for pads, or add a touch of saturation with 3 dB of drive to add warmth to digital sounds.
Understanding these elements will help you learn exactly how to recreate your favorite sound, and we’ll break it all down in detail throughout the article, so don’t worry.
Tools You’ll Need for Recreating Sounds (E.g., Synthesizers)
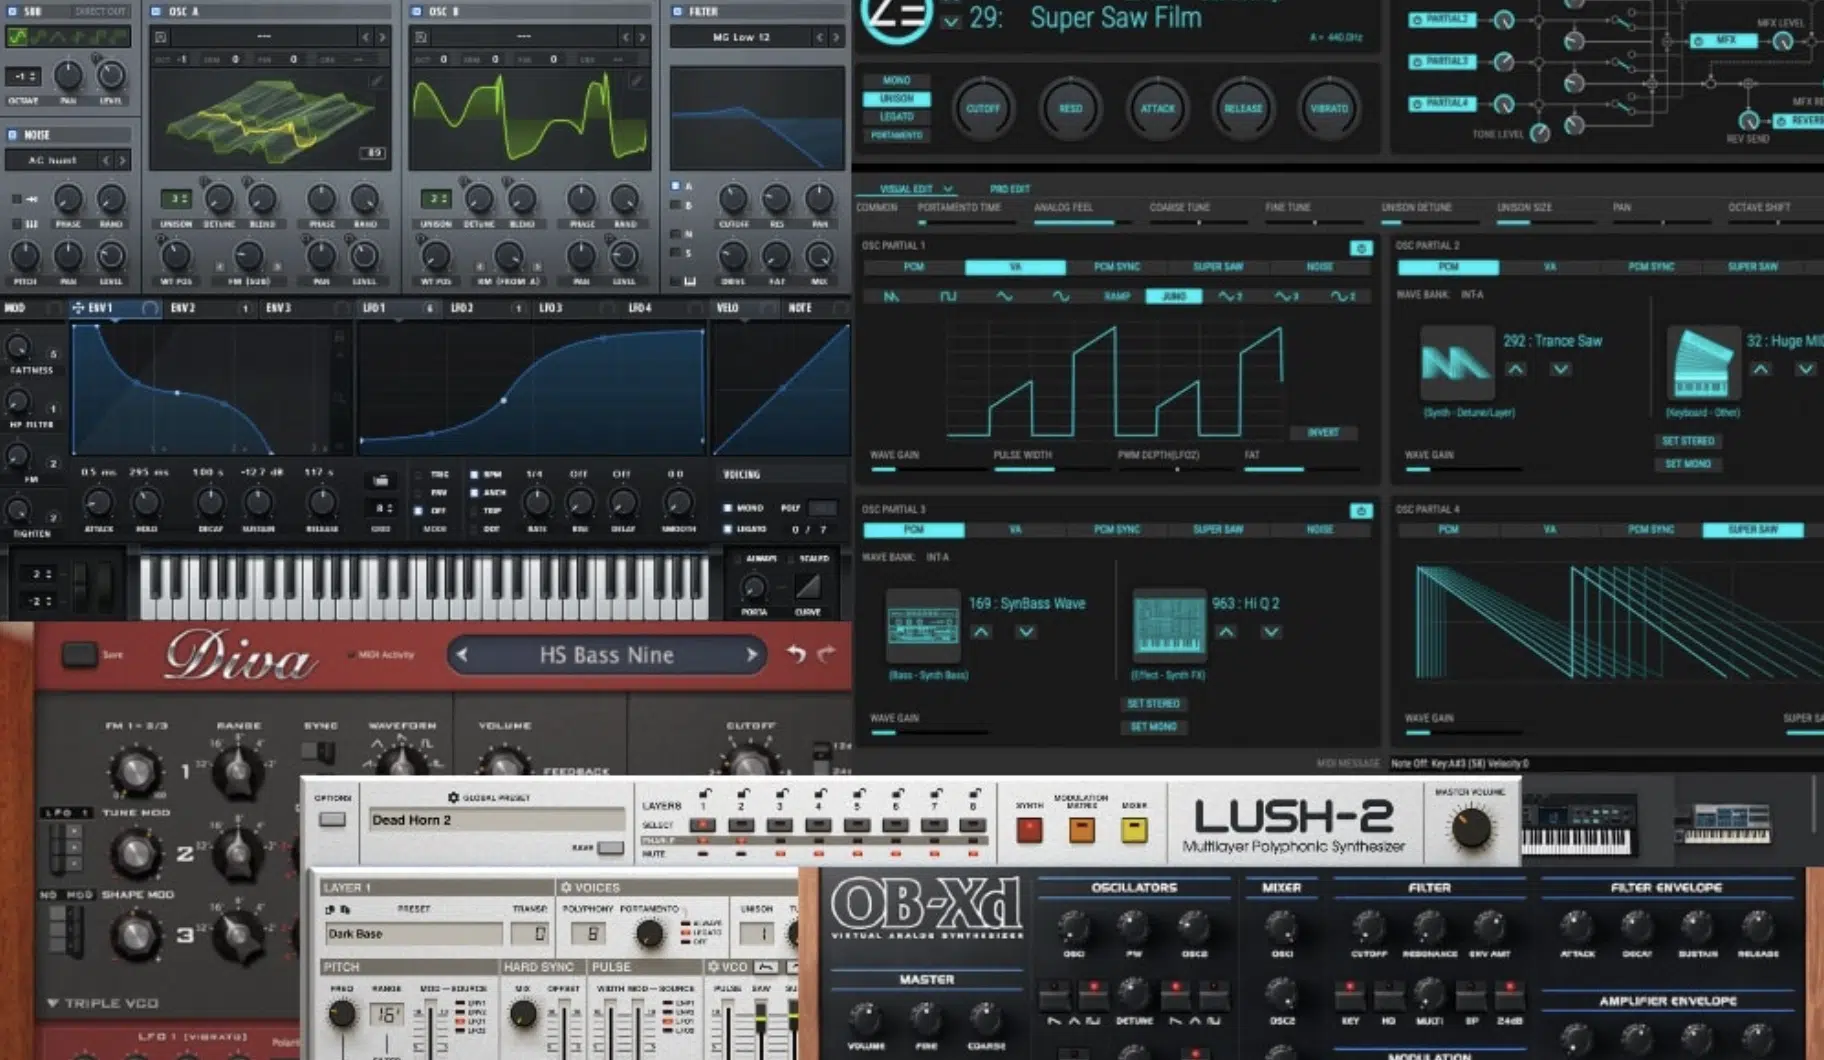
Next up let’s talk about what tools you’re going to need when it comes to recreating your favorite sounds properly.
Start with a versatile synthesizer like Serum or Massive.
For a clean, digital sound, Serum’s wavetable synthesis excels, which lets you modulate waveforms with razor-sharp precision.
For example, automate the wavetable position over four bars for evolving leads.
If you need analog-style warmth, Arturia’s Pigments or hardware synths like the Korg Minilogue are excellent choices in my opinion, but it’s dealer’s choice.
You’ll also need a digital audio workstation (DAW) with strong sound design capabilities, such as Ableton Live or Bitwig (or whatever you like with a built-in synth).
A spectral analyzer, like Voxengo’s SPAN, is another must-have like we touched upon in the last section.
Remember, It lets you see the frequency spectrum and identify where key elements of the sound sit, which is super important of course.
High-quality monitoring tools are also key…
Use studio headphones like the Audio-Technica ATH-M50x or flat-response monitors like the Yamaha HS5 so you can hear every single detail.
This could be anything from subtle distortion to the impact of reverb tails, which is all super important when you’re learning how to create your favorite sounds.
Preset libraries can also save time, naturally, and many synths come with pre-made synth patches that are close to the sound you want.
For example, if you’re recreating a pluck sound, find a similar preset, and tweak parameters like envelope settings or filter cutoff to match your reference.
Don’t forget about effects plugins 一 ValhallaRoom is an excellent reverb for creating space, while Soundtoys EchoBoy is perfect for rhythmic delay effects.
And, add a saturator like FabFilter Saturn to introduce harmonics (try setting the drive to 5 dB for subtle warmth).
Finally, stay organized by saving your recreated sounds with clear labels like “Pad_Lush_Lead_2024” in your DAW which saves a bunch of time in the long run.
When you’re learning how to recreate your favorite sounds, all of these tools will come together to make sure all of your sounds are polished and professional.
How to Recreate Your Favorite Sounds: Step-by-Step
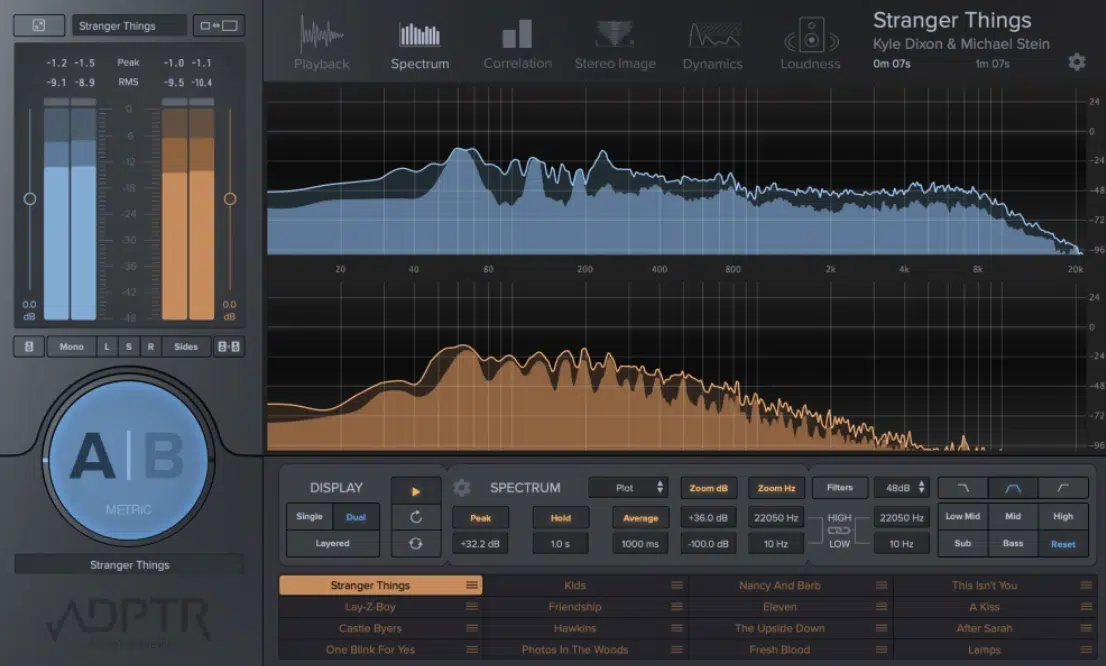
Now that you know all the foundational aspects, let’s get to the fun stuff: how to recreate your favorite sounds (a step-by-step approach).
#1. The first step is going to be careful listening and analysis, which might seem basic, but it’s very important, so don’t overlook it.
You’ll want to ask yourself questions like:
- What’s the texture?
- Is it smooth or harsh?
- Does it have movement, or is it static?
This is where reference tracks come in, or even isolated videos; whatever shows you exactly what’s going on so you can compare.
#2. Once you’ve nailed down the sound’s character, start with the oscillator 一 choose the right waveform (sine, square, saw, or triangle) based on what you hear.
For example, a warm synth bass usually uses a saw wave, while a bell-like sound leans toward a sine wave.
#3. Next, dial in the filter settings… For a dark sound, use a low-pass filter around 800 Hz with a slight resonance boost.
If the sound is brighter, use a high-pass filter with the cutoff at 2 kHz or higher.
#4. Don’t forget to tweak the filter envelope to add motion; think a quick attack and decay for a percussive sound or a slower release for pads.
#5. And, when you’re learning how to recreate your favorite sounds, layering is going to be your best friend for real.
Many sounds, especially in modern music production, are actually combinations of multiple synth patches.
For instance, a powerful lead might combine a saw wave for bite and a sine wave for warmth, so what you’ll do is use separate layers in your DAW.
Then, blend them with EQ to avoid frequency clashes.
#6. Remember to focus on the envelope settings (ADSR) 一 If you’re working on a plucky sound, set the attack to 0 ms, decay to 150 ms, and sustain to 0.
For smoother sounds, like pads, try a slower attack of 500 ms and a long release of 1 second.
#7. Adding effects is the final step, and like we said to use reverb to create space, delay for rhythmic repetition, and chorus to thicken the sound.
If the original sound has a shimmer, add a high-frequency boost with EQ or a harmonic exciter and for more punch, compress the layers lightly.
You can do this with a ratio of 3:1 and a threshold just below the peaks.
NOTE: Throughout the process, A/B compare your sound with the original. Play them side by side and make fine adjustments as needed. Use a spectral analyzer to check frequency balance and make sure the recreated sound sits where it should.
Finally, save your recreated synth patch or project.
Label it clearly so you can find it easily later, and share it with others, which is a great way to build a community and get feedback.
Sound Design Madness (Synthesis Musts to Remember)
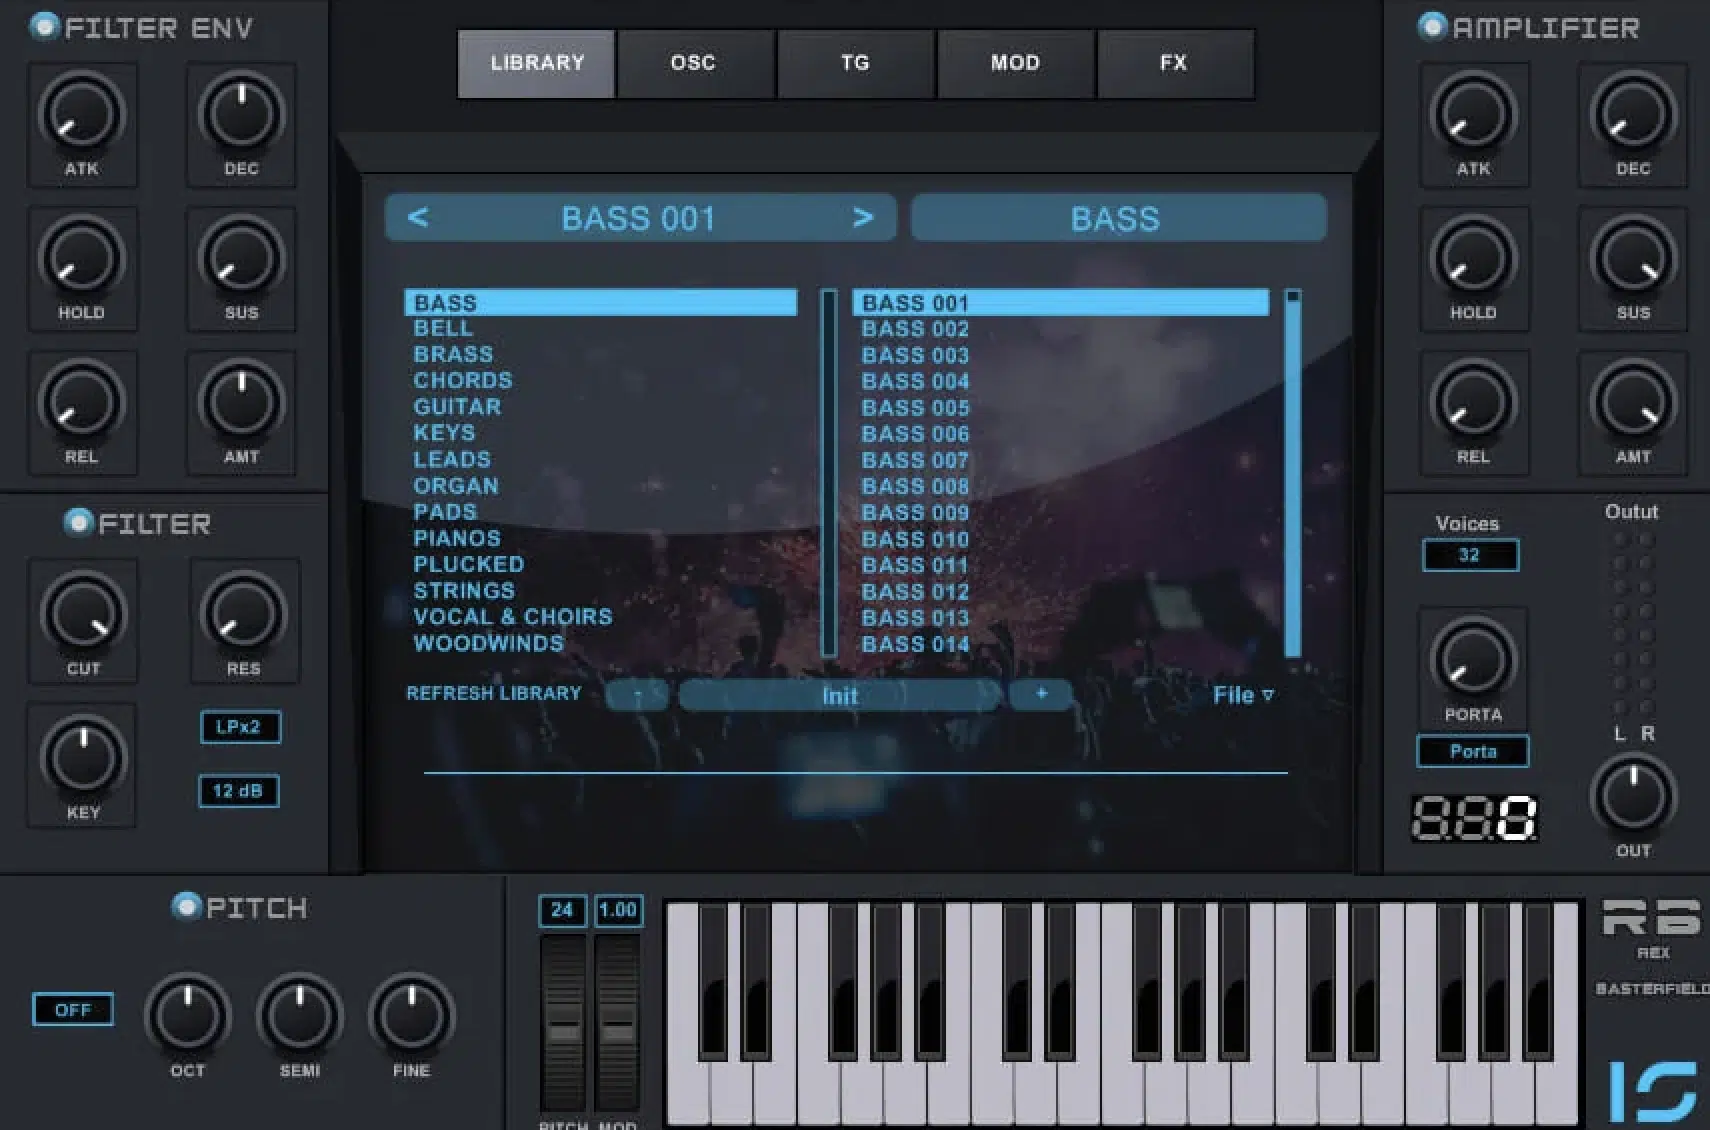
Sound design is all about creating and transforming ideas by manipulating different synthesis types, so I thought I’d break it down for you real quick.
You’ll need to know all about it when learning how to recreate your favorite sounds.
Subtractive synthesis removes frequencies from a rich waveform using filters, which makes it perfect for creating smooth pads or plucky basses.
For instance, to recreate a soft pad, start with a saw wave oscillator and apply a low-pass filter with a cutoff frequency at 1 kHz.
Boost the resonance by around 3 dB to emphasize the cutoff point, which adds a warm, rounded tone.
Adding two or three unison voices with slight detuning (around 8-10 cents) can make the sound feel lush and wide.
FM synthesis, on the other hand, involves using one waveform (the modulator) to modulate the frequency of another (the carrier).
This creates complex harmonic textures, often metallic or bell-like.
For a classic FM bell sound, set the carrier waveform to a sine wave and the modulator’s frequency ratio to 2:1.
Adjust the modulation index (the depth of modulation) to around 50% for a smooth bell tone, or increase it for sharper, more metallic results.
Wavetable synthesis, as found in tools like Serum or Massive X, lets you morph between multiple waveforms within a single oscillator.
This is perfect for creating evolving, modern sounds like crazy fire, growling basses or shimmering leads.
To recreate a dynamic bass sound, for example, start with a wavetable that includes complex harmonics, like “Modern Talking” in Serum.
Then, automate the wavetable position to sweep from a sine wave at the start to a saw wave at the end over 4 bars.
This motion adds dynamics, making the sound feel way more alive.
Resampling is a powerful technique you’ll use all the time when learning how to recreate your favorite sounds, so let’s talk about that for a second too.
For example, you can bounce a sound to audio, then process it with granular effects, like a shimmer reverb set to 20% wet.
Then, automate the grain size to create evolving textures (which works great for pads, leads, or experimental layers).
Modulation is another essential technique you’ll need to be familiar with.
Using an LFO to modulate a filter cutoff is a great starting point 一 set the LFO rate to 0.5 Hz for slow, sweeping movement or 8 Hz for rapid oscillation.
My advice would be to pair this with a depth setting of around 50% for noticeable but not overpowering modulation.
Parallel processing is a must for creating depth and character.
Split your sound into three frequency bands: keep the lows clean with no processing to retain clarity, distort the mids using a saturation plugin with 4-5 dB of drive, and add a high-pass reverb to the highs to give the sound an airy, spacious feel.
Use a multiband dynamics plugin like FabFilter Pro-MB to control each band and blend them seamlessly.
Finally, push boundaries by layering unconventional effects.
You can combine a vocoder with a pitch shifter, setting the vocoder’s format to +3 semitones for a brighter tone, and blend it with a dry signal for clarity.
Add a bitcrusher at 12-bit depth and set the downsampling to 2x for subtle grit that doesn’t overpower the sound.
Experiment with unique combinations of effects, like using a phaser with a feedback of 50% for movement in the mids, or automate a tape stop effect during transitions.
Bottom line, with sound design, experimentation is the best way to create something truly unique, so make sure to go crazy!
NOTE: If you want to learn absolutely everything about all of the different synthesis types, then we got you covered.
Final Thoughts
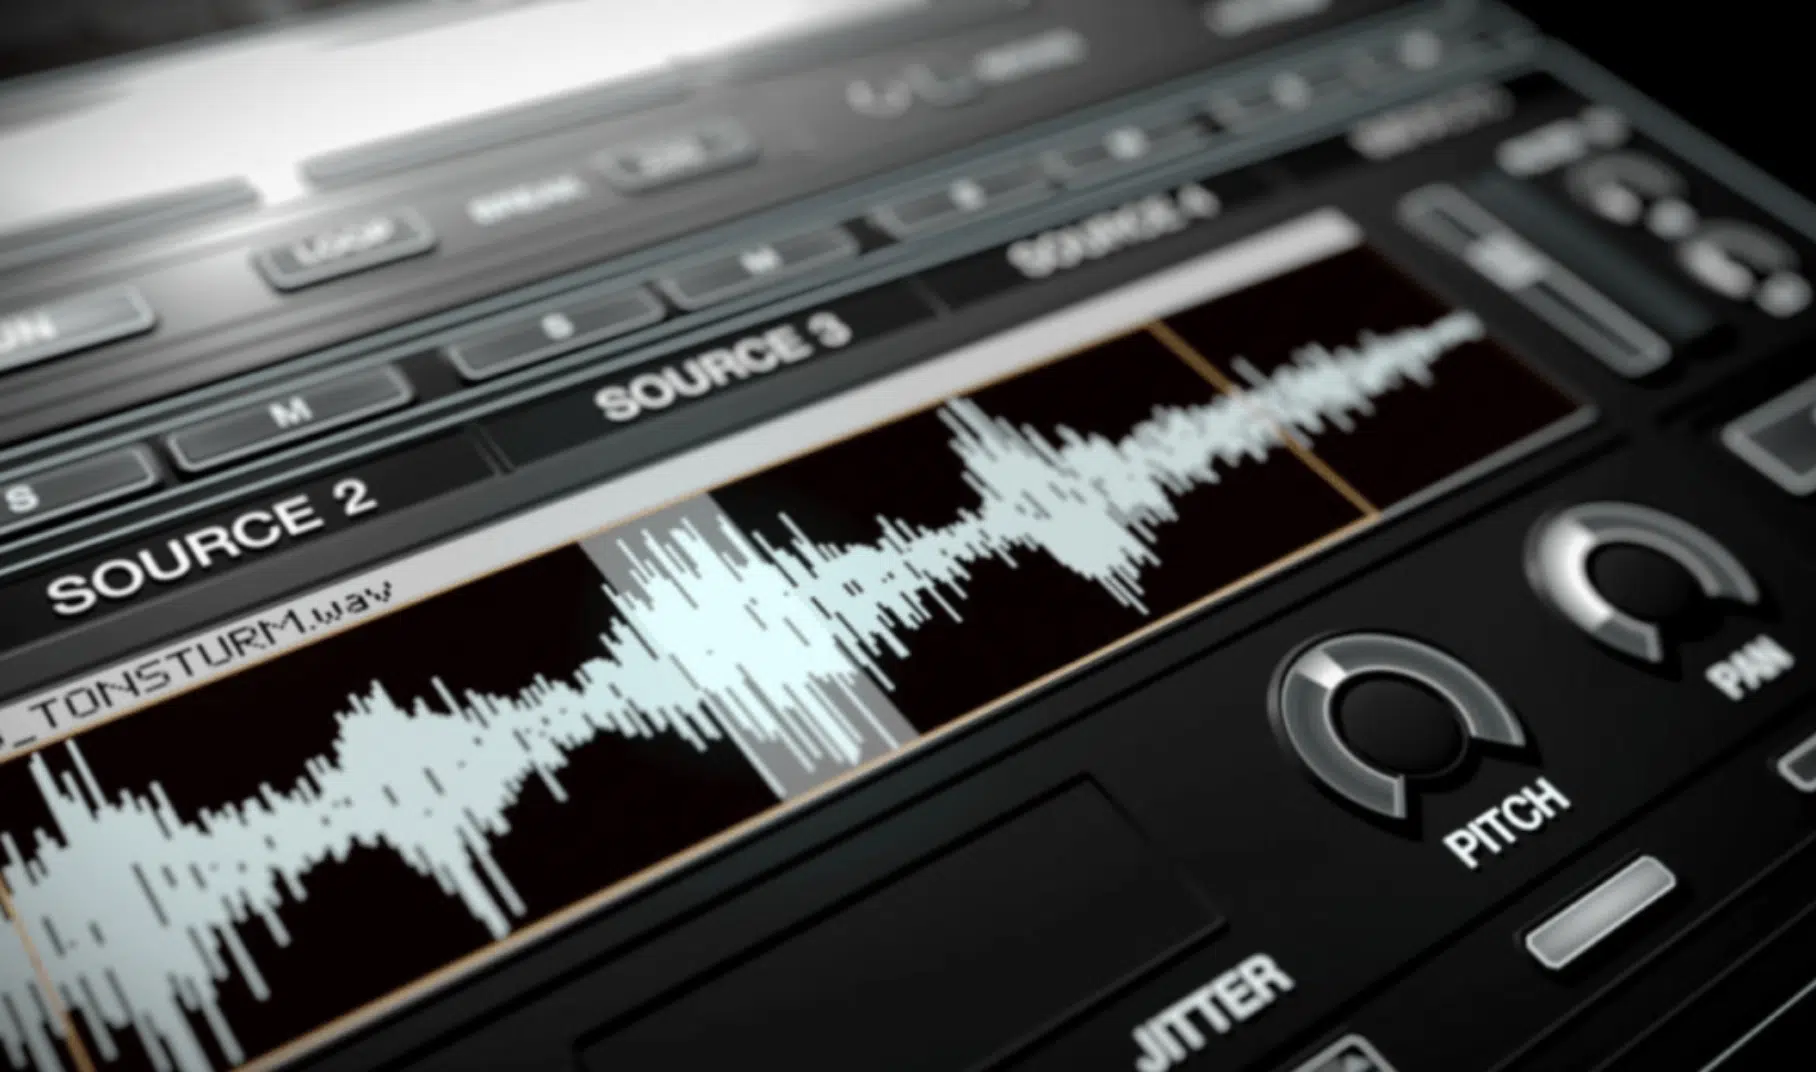
Remember, when you’re learning how to recreate your favorite sounds, it’s all about breaking down the core elements and understanding synthesis types.
Plus, using modulation and effects to fine-tune every detail.
And remember, focusing on techniques like layering, parallel processing, and automation will help you get even closer to the sounds you love.
Just remember to not rush the process, take the time to really listen, and make sure to add your own unique touch to make the sound yours.
As a special bonus, you’ve got to check out these 3 legendary Free Project Files.
They’ll show you exactly how to recreate effects, sound layers, and processing chains you never thought possible.
This way, you can learn how the pros create their sounds and put into action everything we talked about today.
These files were created by some of the best producers and sound designers in the world, so you’re getting top-tier inspiration and guidance.
Regardless of genre or style, these files can help take your tracks to the next level.
Bottom line, when it comes to recreating your favorite sounds, you have to focus on details, experiment with techniques, and always keep growing/learning.
Plus, never be afraid to push boundaries, add unexpected elements, and play around with new tools as well.
Until next time…


Leave a Reply
You must belogged in to post a comment.