Sample-based synthesis is one of the most powerful, flexible, and creative forms of audio synthesis in music production today, hands down.
It’s all about taking actual samples (real recordings, chopped sounds, or sliced instruments) and then shaping them into playable, expressive instruments or textures.
Plus, it blends together the realness of acoustic instrument layers with the editing possibilities and precision of digital tools.
And when we combine sample-based synthesis with the right pitch-shifting techniques, modulation options, and pitch detection algorithms.
We’re talking about total sound design freedom here.
As modern-day producers and sound designers, knowing all about sample-based synthesis can completely change the way we build tracks and come up with ideas.
That’s why I’m breaking down everything you need to know, like:
- Turning samples into full instruments ✓
- Editing the attack transient with envelopes ✓
- Stretching sampled sounds in different keys ✓
- Pitch detection and pitch shifting techniques ✓
- How to set your loop points for smooth loops ✓
- Advanced use of software samplers ✓
- Comparing ROMplers vs. samplers ✓
- Using multiple samples across the key range ✓
- The role of bit depth, sample resolution, and sampling rate ✓
- Much more about sample-based synthesis/other methods ✓
By the end, you’ll know exactly how to use a sample-based synthesizer like a pro.
Whether you’re triggering real instruments, synthetic waveforms, or completely random sounds, you’ll have it in the bag.
And your knowledge of sample-based synthesis will help you seriously speed up your workflow and find your signature tone.
Plus get cleaner, more expressive results that would take regular people a few years minimum, no joke.
This way, your tracks can have that next-level polish and emotional impact that people go crazy for (trust me, it will seriously up your game).
Table of Contents
What Is Sample-Based Synthesis?
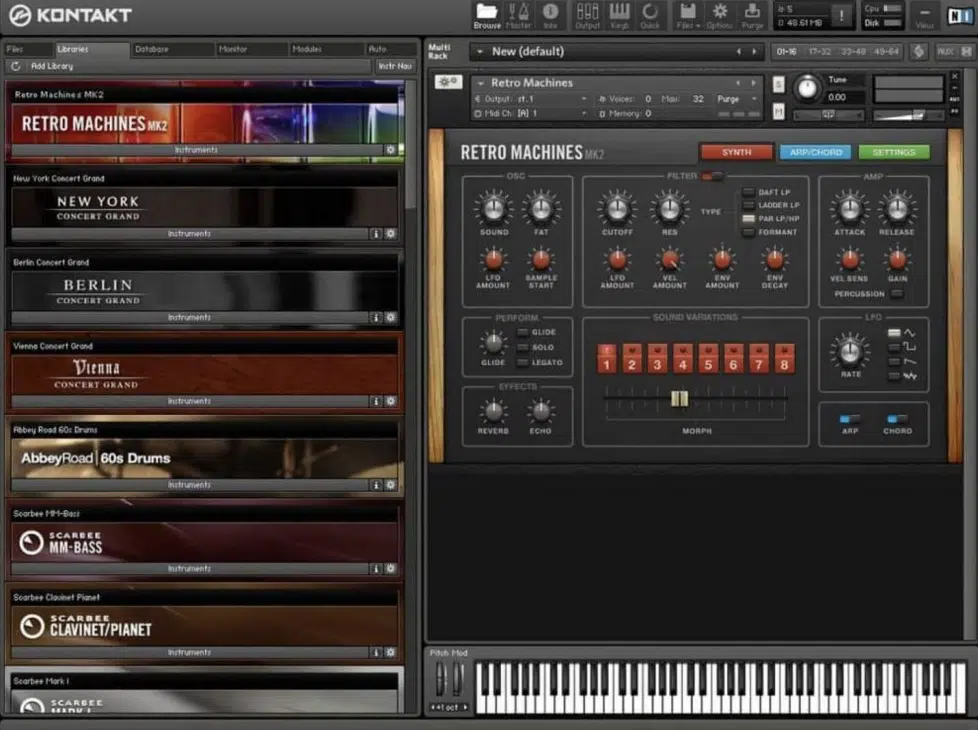
Sample-based synthesis is a form of sound synthesis that lets you trigger and shape real recordings instead of only relying on oscillators generating pure tones.
Instead of starting with fundamental waveforms like sine, saw, or square waves, you’ll actually start with audio synthesis snapshots.
These are actual samples, pulled from drum machines, analog tape decks, acoustic instruments, or even your own field recordings (which we’ll talk about later).
This method absolutely exploded in the late ’70s and ’80s, thanks to early samplers like the Fairlight CMI and E-mu Emulator.
It lets producers load actual samples into memory and then manipulate them across different keys, which was a huge deal back then, believe it or not.
That alone opened the door to sound design that felt both musical and real.
It wasn’t just synthetic tones anymore 一 it was sampled-based layering, looping, and playback of actual performances (aka playback sampled sounds).
From there, sample-based synthesis started working hand-in-hand with more powerful samplers for artists to build entire compositions using nothing but sampled sounds.
The goal was no longer just to imitate instruments but to transform them into new hybrid textures, mixing realism with sound design flexibility.
That’s what made sample-based synthesis such a big shift; it took the precision of synthesis and fused it with the soul of recorded audio.
NOTE: Don’t worry if it sounds a little confusing right now, because I’ll be breaking down everything you need to know about sample-based synthesis in the modern world so you really get a solid understanding and be able to use it firsthand.
Key Concepts/Components of Sample-Based Synthesis
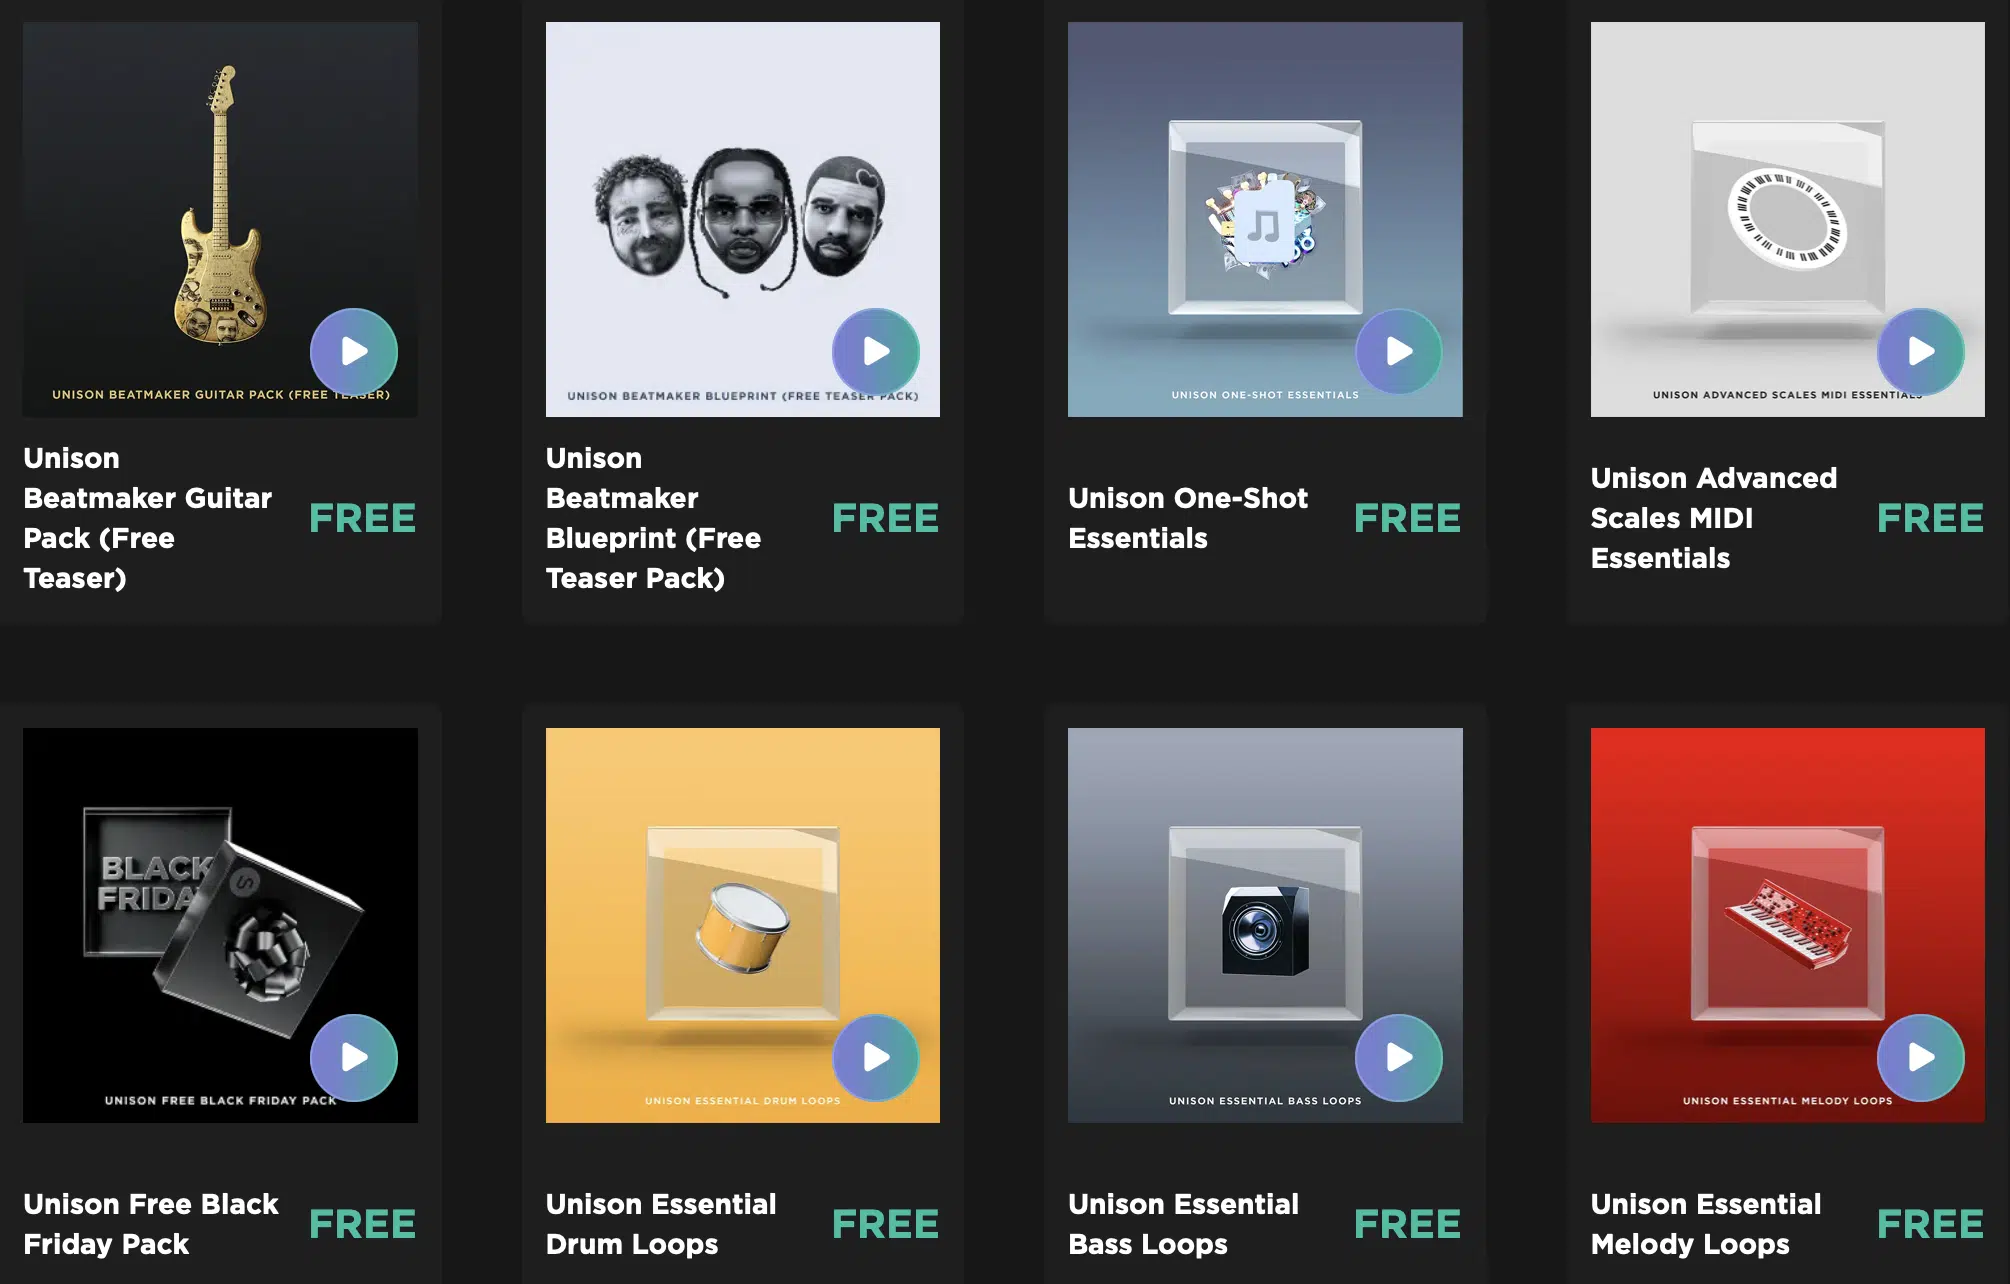
To really use sample-based synthesis the right way, you’ve got to understand what’s going on under the hood…
A sample-based synthesizer typically includes:
- A sample library (where the actual samples are stored)
- Envelopes for sculpting dynamics (especially the attack transient)
- Filter sections to shape tone
- Modulation sources to animate the sound over time
For example, when you’re playing around with a sample-based instrument, you’ll often be tweaking envelope settings all day.
This could be like a 10ms attack for plucks, or a long 400ms release for pads, stuff like that.
That’s what controls how the sampled sounds played evolve over time, which is super useful when you’re turning short one-shots into lush pads or evolving textures.
Then you’ve got filters (like low-pass or band-pass) that let you carve out unwanted frequencies from your sampled-based content.
And then there’s modulation sources, like LFOs, that can be assigned to things like filter cutoff, pitch, or even loop points to create subtle movement or rhythmic effects.
And if you’re using multiple samples mapped across different keys, you can set up key ranges, velocity layers, and even round robins to make things sound way more human.
Modern sample-based synthesis also deals with sample resolution, bit depth, and sample rate, which affect how accurate and clean your playback is.
A sample recorded at 24-bit/48kHz has way more detail and headroom than a 16-bit/44.1kHz sample, so your sound will retain more clarity when stretched/pitched up.
NOTE: In more complex setups, pitch-shifting will use a pitch detection algorithm to perform pitch shifting in a way that doesn’t introduce artifacts, even when you’re playing sample-based instruments 5–6 semitones above the original note played.
The pitch data from the fundamental pitch period is analyzed to maintain realistic tone, while still letting you stretch the sample creatively.
There’s also the concept of loop points 一 small sections within a sample that repeat indefinitely to sustain the sound.
Knowing how to edit your loop points properly can make the difference between smooth loops and glitchy, unnatural artifacts.
Basically it’s about knowing your sound source, how your sampler memory is interpreting it, and how you can play around with all those components.
Once you lock that done, you’ll always be able to get the specific tone you’re after.
-
Pro Tip: ROMplers vs. Samplers (Understanding the Difference)
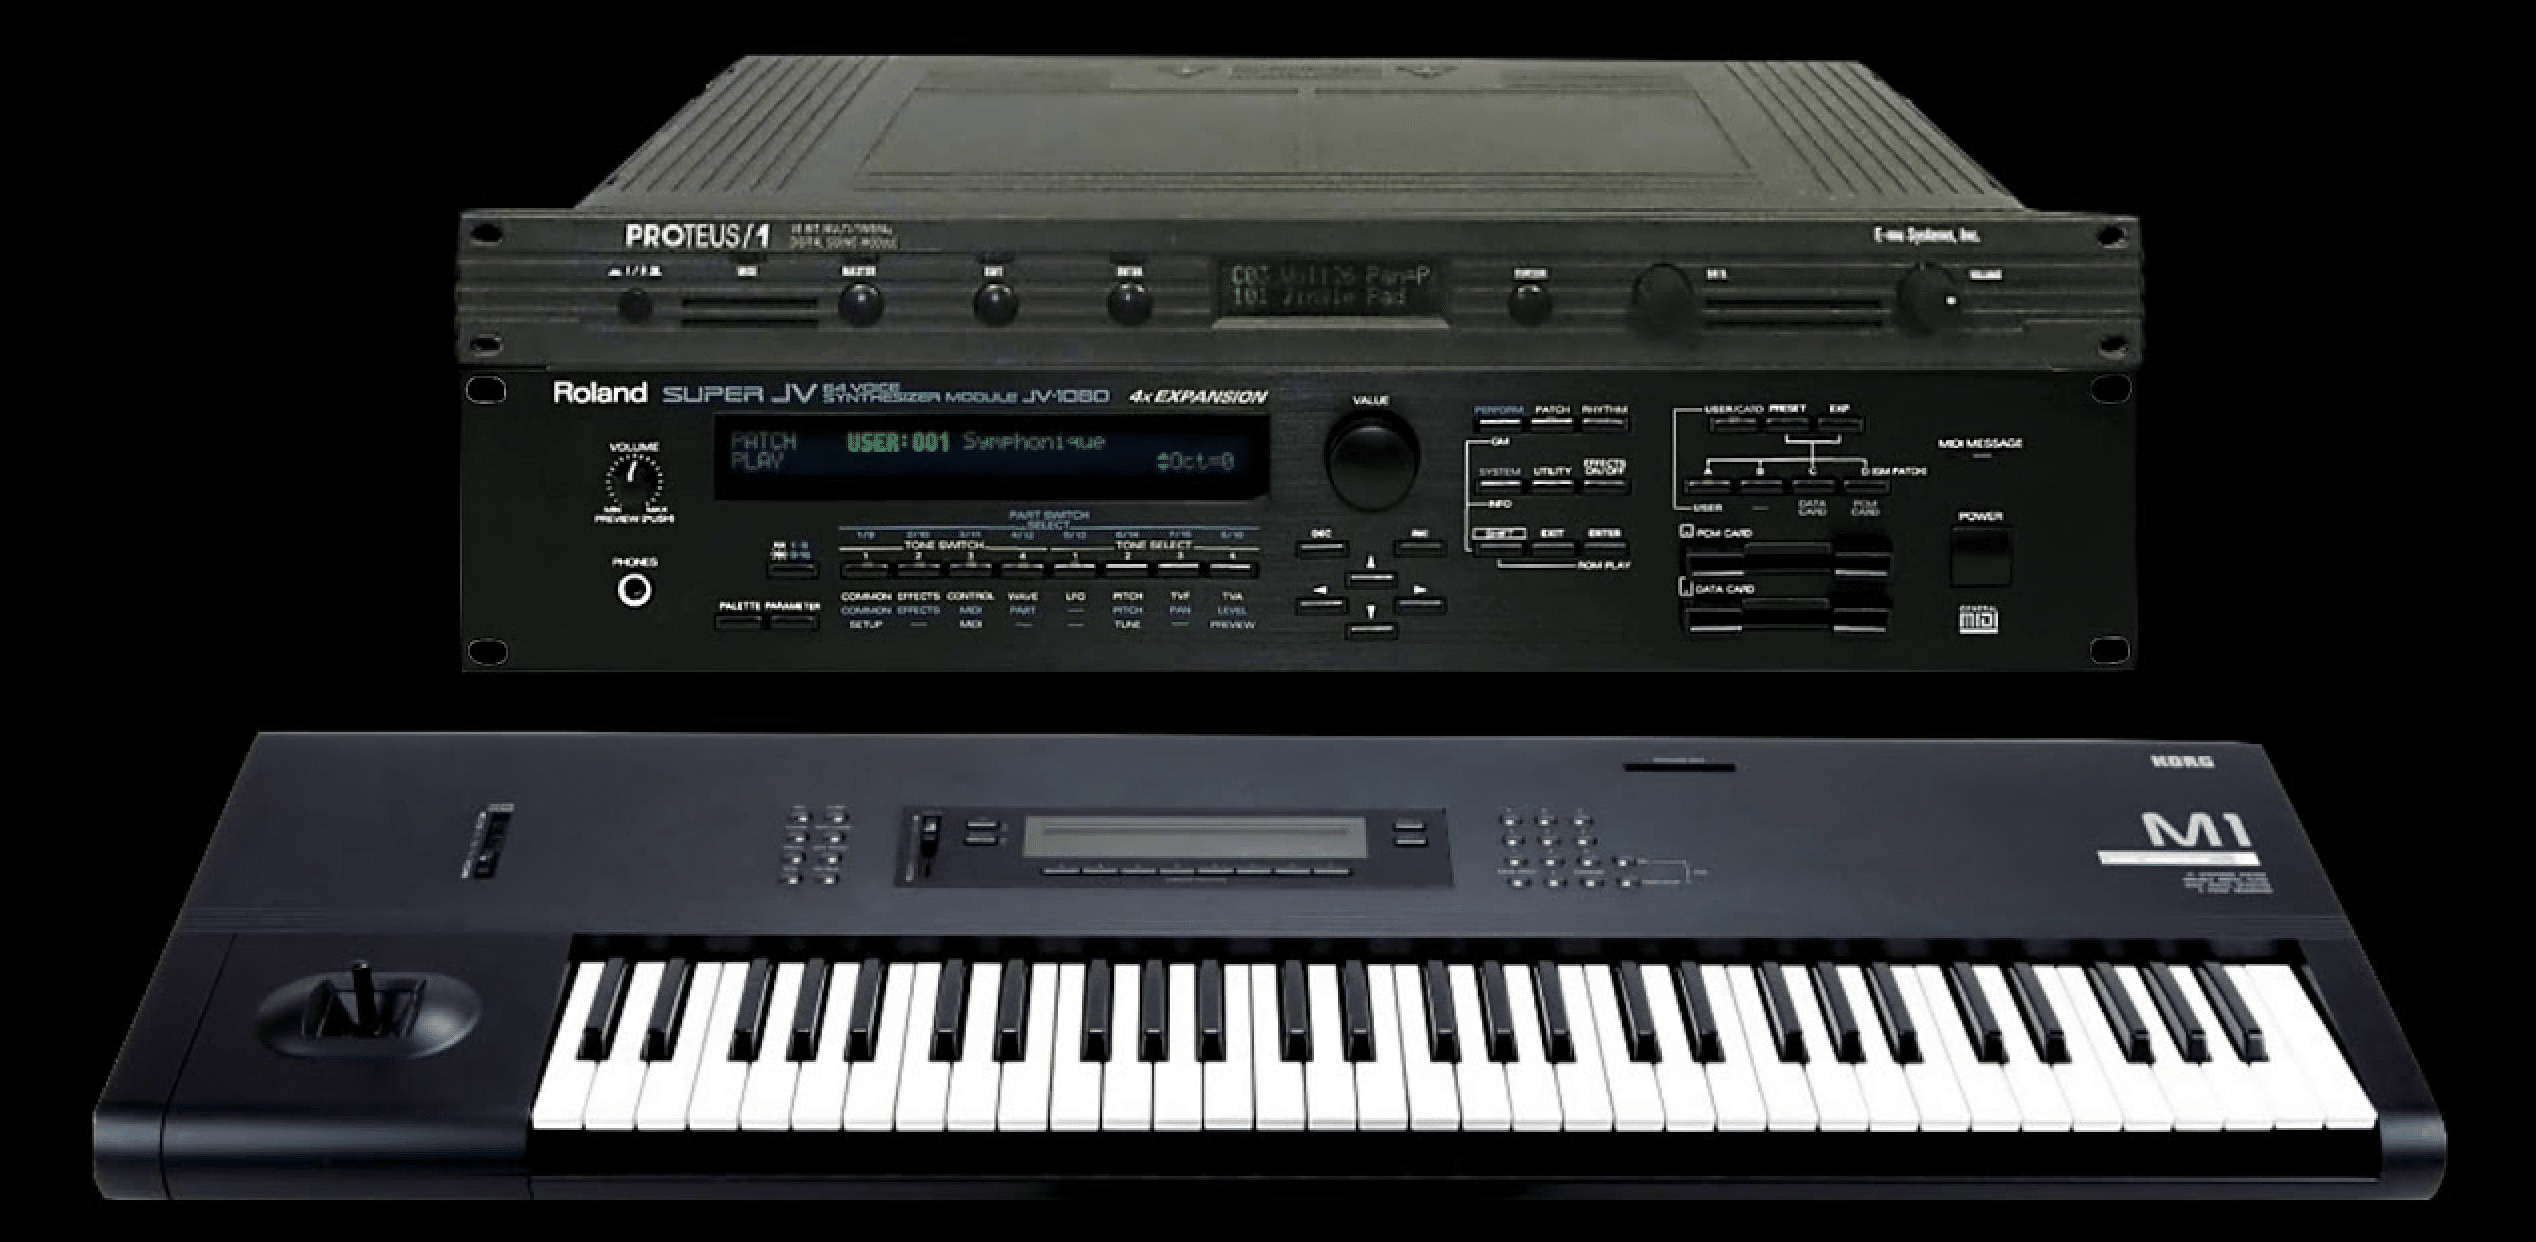
I’ve got the question, ‘what is the difference between a ROMpler and sampler?’ all the times actually, and I figured I’d just break it down for you guys real quick…
A ROMpler is basically a read-only sample player.
It comes loaded with pre-designed sample libraries, but you can’t import your own samples or edit them much.
A true sampler, on the other hand, gives you full control because you’re able to:
- Record new sampled sounds
- Slice them
- Set your own loop points
- Perform pitch detection or real-time pitch shifting
While ROMplers are easier to use out of the box because the core idea is always there, sample-based synthesis is way more powerful.
Especially when you’re using full-on samplers with deep editing possibilities.
Just remember that a sampler suggests creative freedom, which is something we can all agree is invaluable in the music production/sound design world.
You’re not just stuck with stock sample-based instruments — you’re building your own from scratch, and you can get as crazy as you want.
Just keep in mind that software samplers like Kontakt 8 from Native Instruments, or hardware ones like the MPC series, offer both ROMpler-style browsing and deep sample manipulation if you want it, and in my opinion that’s the best.
Sound Design Techniques
Once you’ve got the core components of sample-based synthesis down, the next step is knowing how to actually use them to cook up sounds that hit the way you want. So, now let’s break down some of the sickest sound design techniques that’ll let you get the most out of any sample, whether you’re building full sample-based instruments or tweaking one-shots for max impact.
-
Layering & Velocity Switching
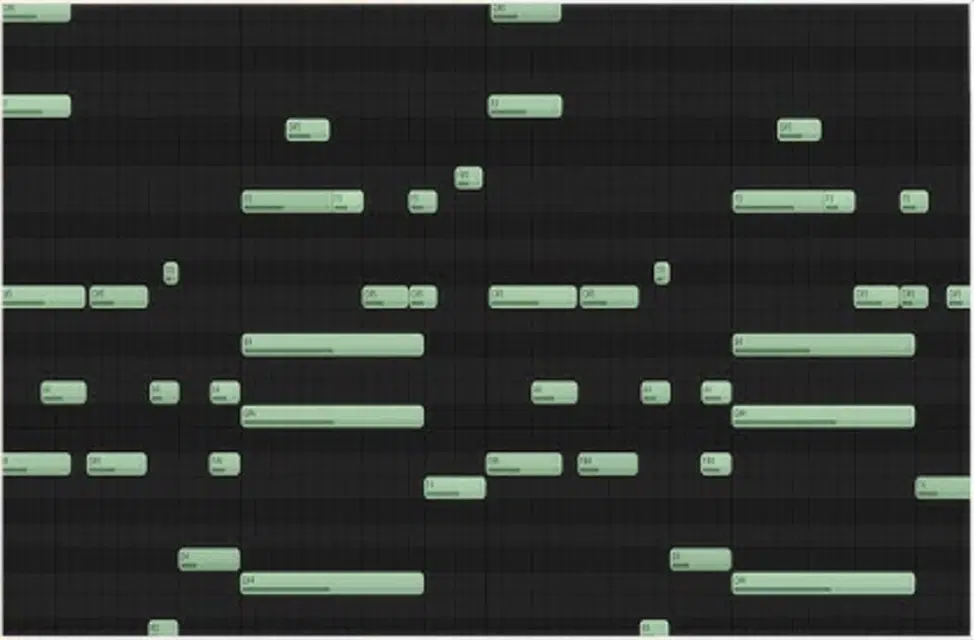
Layering samples gives you a chance to build fuller, more expressive sampled-based instruments by stacking different recordings together.
This could be like mixing a clean piano tone with a noisy mechanical layer recorded from an old analog tape deck, and stuff like that.
And, to kick things up a notch, you can use velocity switching to trigger different sampled sounds depending on how hard the key is hit, which I definitely recommend.
For example, a soft layer from 0–60 velocity, a gritty mid layer from 61–100, and a punchy attack-focused layer from 101–127.
Try setting up three layers in your software sampler and assigning each one its own filter cutoff and amp envelope.
GIve the lower-velocity layer a longer release (around 800ms), while the top layer has a short 5ms attack and no release for tight response.
The more detailed your velocity mapping is, the more lifelike the sample-based synthesizer feels, especially when using real instruments like snares, kicks, or even brass sections.
Don’t just layer for volume…
Play around with panning, stereo width, and transient shaping so each sample has its own space in the mix without stacking over itself.
Trust me, this little thing makes a huge difference in the professionalism and cleaness you’ll bring to your track by doing this.
-
Time-Stretching & Pitch-Shifting
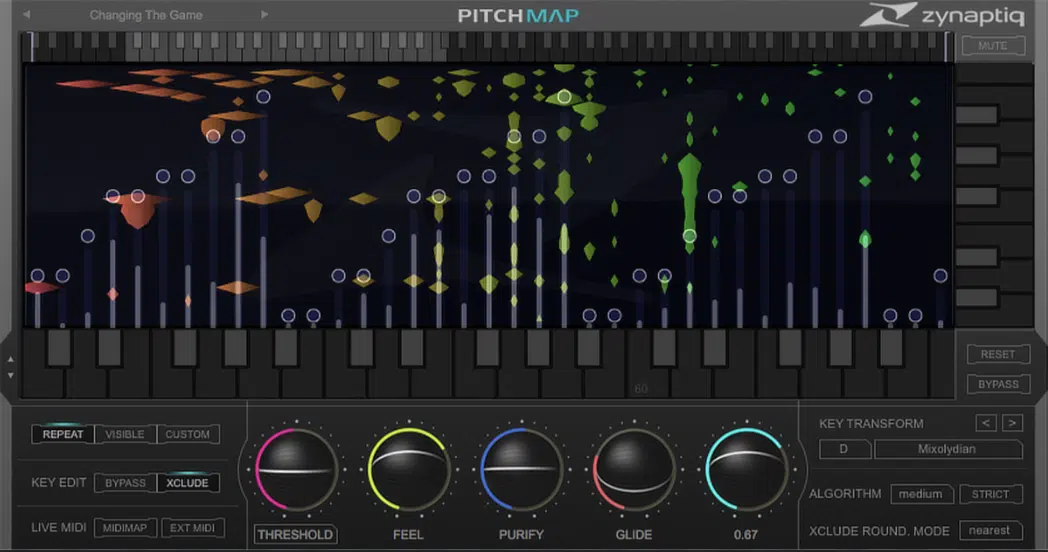
Now, you can’t talk about sample-based synthesis and not mention time-stretching and pitch-shifting, so let’s talk about that for a sec.
Time-stretching lets you take any sample, like a vocal chop or a hi-hat loop, and stretch it to a different length without messing up its pitch.
It’s super helpful when syncing sampled-based elements to your track’s tempo.
In most software samplers, you’ll find options like “Pro,” “Formant,” or “Tonal” modes, and each one uses a different pitch detection algorithm to keep the sample sounding natural when stretched.
Start with a 120 BPM sample and stretch it to 150 BPM to hear the difference.
Pitch shifting, on the other hand, lets you go a few different directions based on the overall vibe you’re aiming for.
The classic semitone transpose (+3 or -4, for example), or using cents (try +25 cents to give something a slight lift), which is perfect for building microtuned layers.
One advanced move is to play around with formant correction when you’re pitch-shifting vocals because it can really switch things up.
A +3 semitone shift with formant correction ON keeps the tone natural, but with it OFF, you get that chipmunk/alien sound that’s great for breakdowns and builds.
You’ll also want to experiment with creating chords using a single sample…
By assigning different pitch shifts across a keyboard, you can make one sample sound like a full playable synth, especially when set up across different keys with looping on.
Side note, try pitching a sustained string sample down 5 semitones and layer it with one pitched up 7 semitones.
Then, automate the balance between them to create movement while keeping the root tone locked in.
This will give your sound a wider harmonic spread, more emotional tension, and a richer stereo image that blends perfectly with both acoustic instrument layers and more synthetic elements.
Just don’t forget to always check your digital sampling rate when stretching or pitching.
Higher rates (like 96kHz) give you more flexibility with fewer digital artifacts, which becomes noticeable when pitching a sample more than 6–8 semitones.
-
Granular Synthesis
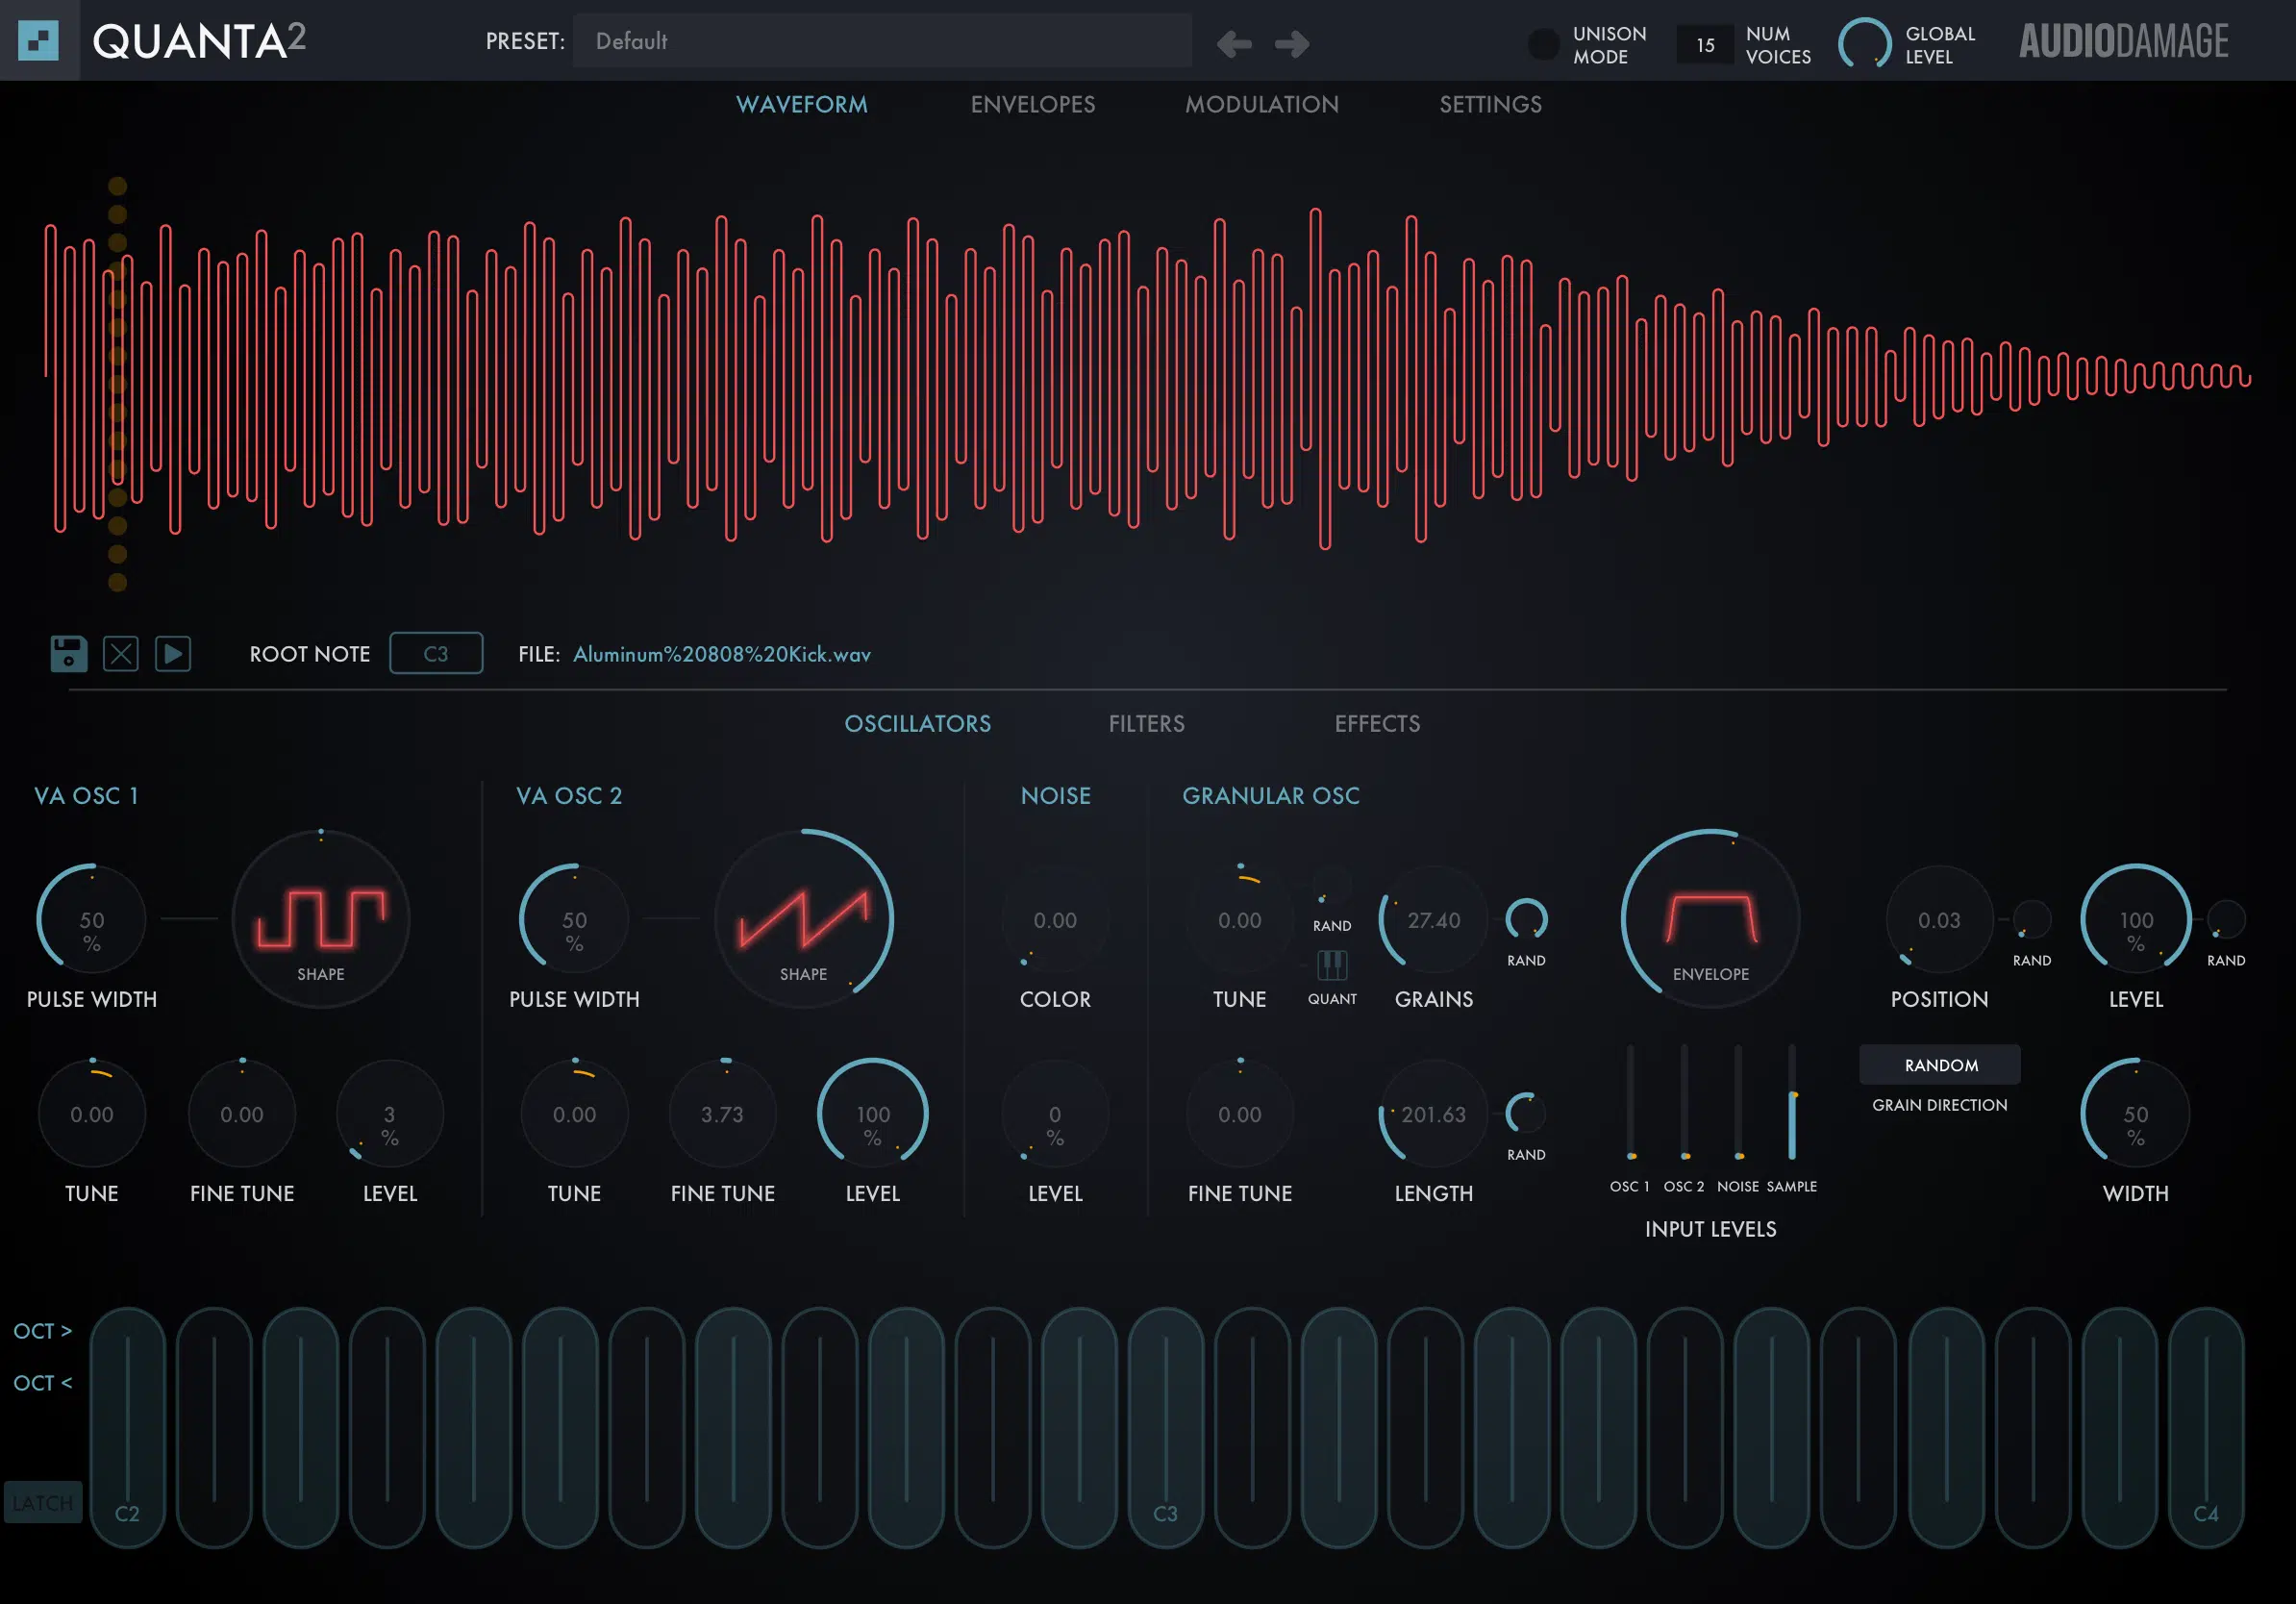
Granular synthesis is a wild but powerful way to flip sample-based synthesis on its head by breaking a sample into tiny bits called grains (usually between 10–100ms in length), and playing them back in rapid bursts to create totally new textures.
For example, you can set your grain size to 40ms with a 20ms overlap and use a triangle windowing function to keep transitions smooth.
This is perfect for turning a short vocal sample into a cloudy ambient pad.
One dope technique is to freeze a sample in time by setting the position modulation to 0% and scanning manually with an LFO.
This will help you create shimmering, evolving drones from even the most percussive sound sources.
Also, try combining this with random pitch modulation (±3 semitones) and 50% stereo spread to get a wider, more organic sound that moves across the stereo field without sounding repetitive.
PRO TIP: When setting up loop points inside granular engines, avoid sharp attack transients unless you’re aiming for glitchy, percussive chaos.
Keep in mind, smoother grains usually lead to cleaner, more atmospheric results.
-
Spectral & Additive Resynthesis
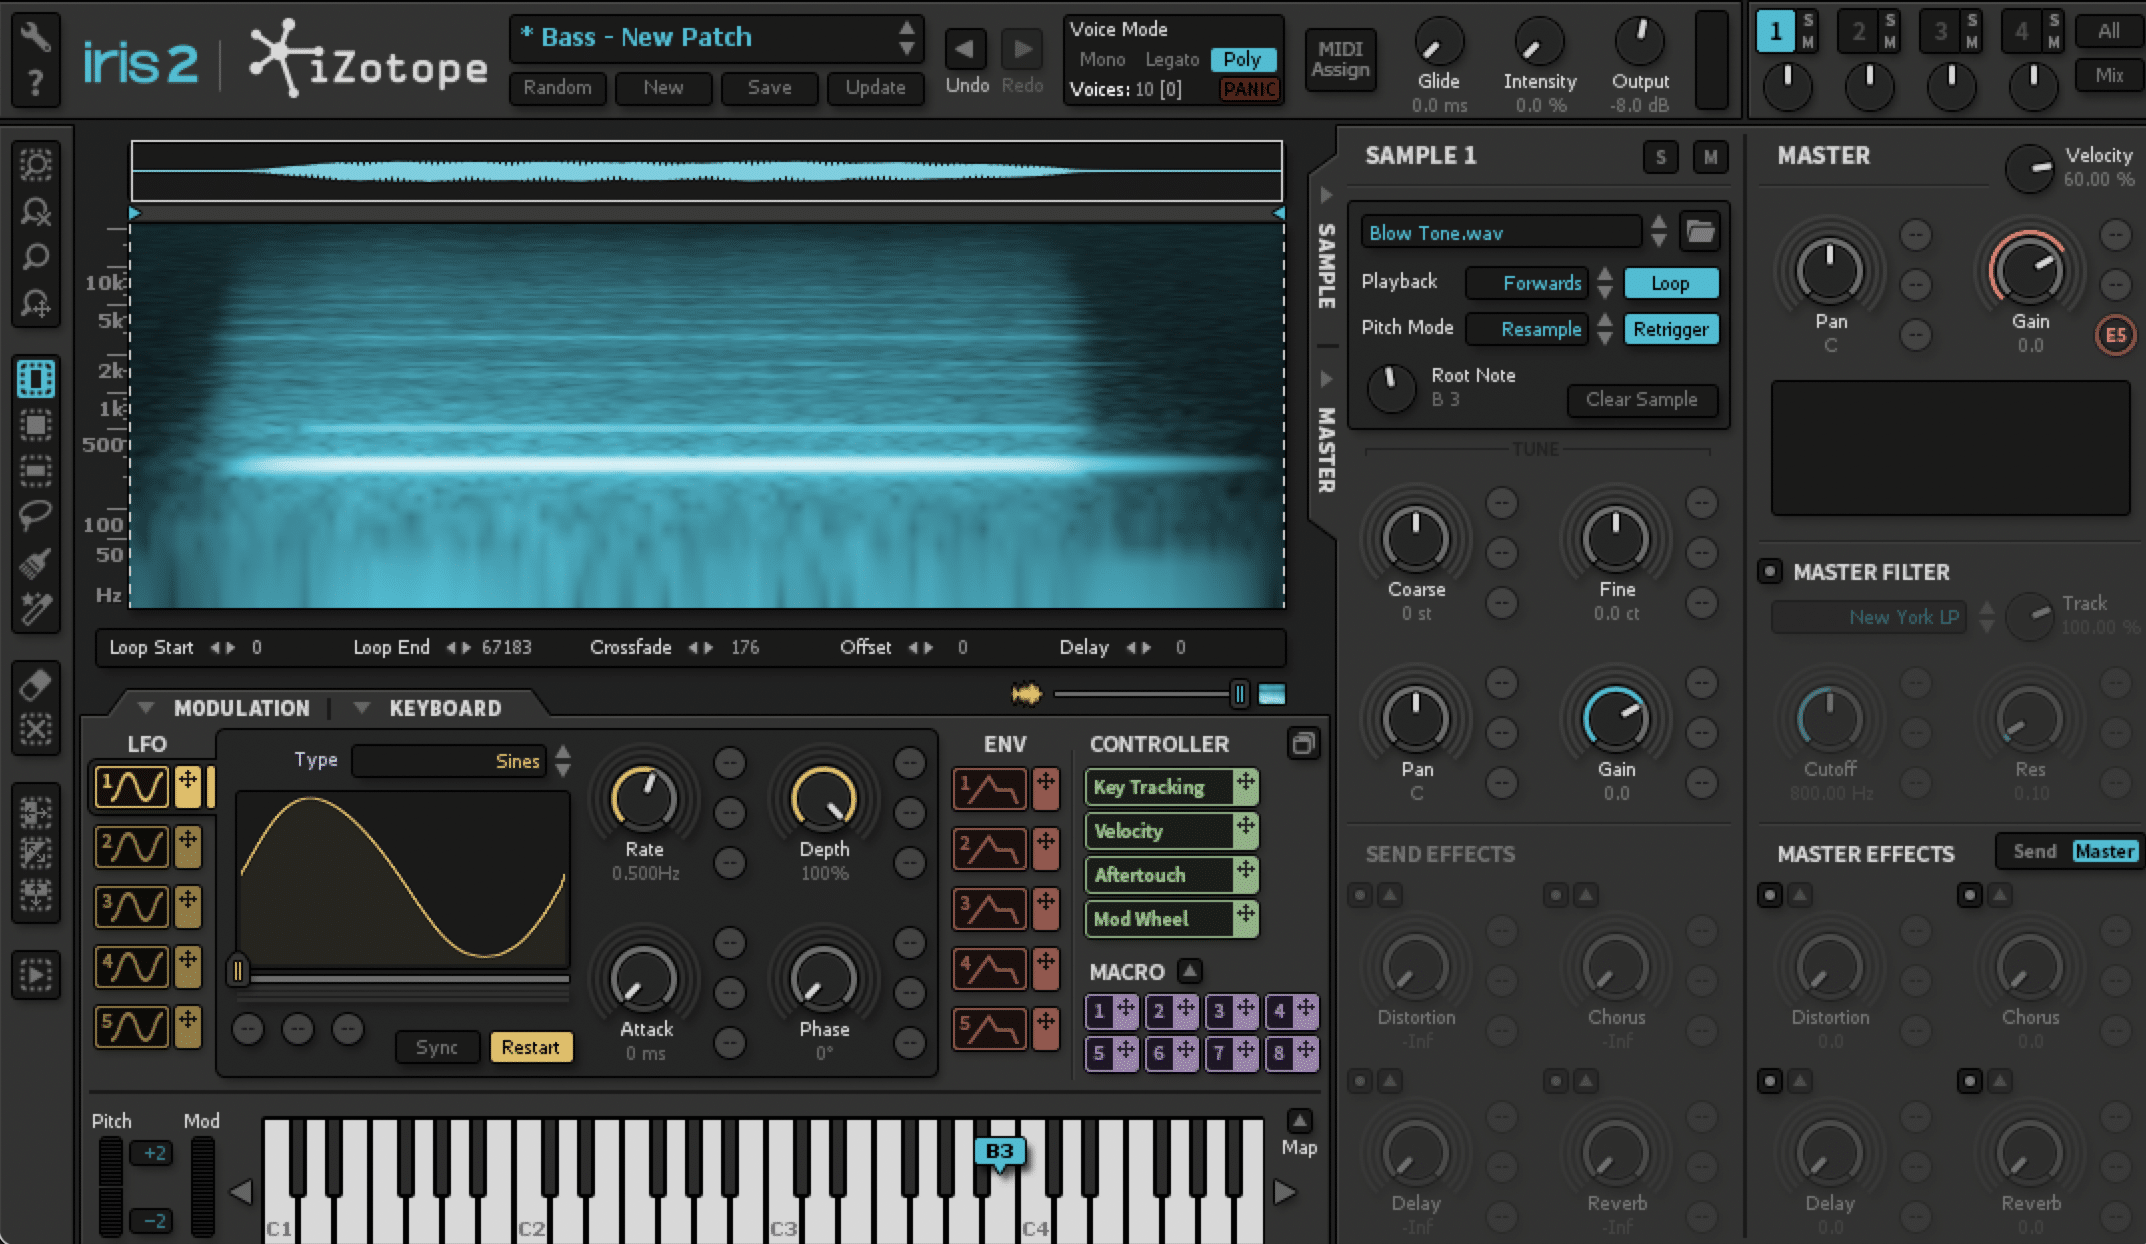
Spectral resynthesis analyzes the sound spectrum of a sample and rebuilds it using hundreds of sine waves, which lets you:
- Isolate specific partials
- Strip out noise
- Exaggerate formants
This just depends on your pitch detection settings and harmonic resolution, of course.
For example, if you’re using something like Harmor or Sumu, you can import a vocal sample, and then resynthesize just the formant movement while ignoring the fundamental.
It’ll give you a breathy, robotic tone with zero pitch variation.
Additive resynthesis works in a similar fashion but lets you rebuild a sample by layering fundamental waveforms (like sine, triangle, or saw) with precise amplitude and pitch data pulled from the original sampled sound.
With it, you can set up multiple partials with individual envelopes and LFOs.
Then, assign velocity to partial amplitude to mimic real instruments with tons of expressive movement across different keys.
One slick trick I’ll give you is to resynthesize a flute sample using 16 sine partials, apply vibrato to the top 4 only, and then blend it with the original.
It’s perfect if you want control over the tone and to keep that human airiness.
-
Pro Tip: AI and Machine Learning in Sample-Based Synthesis
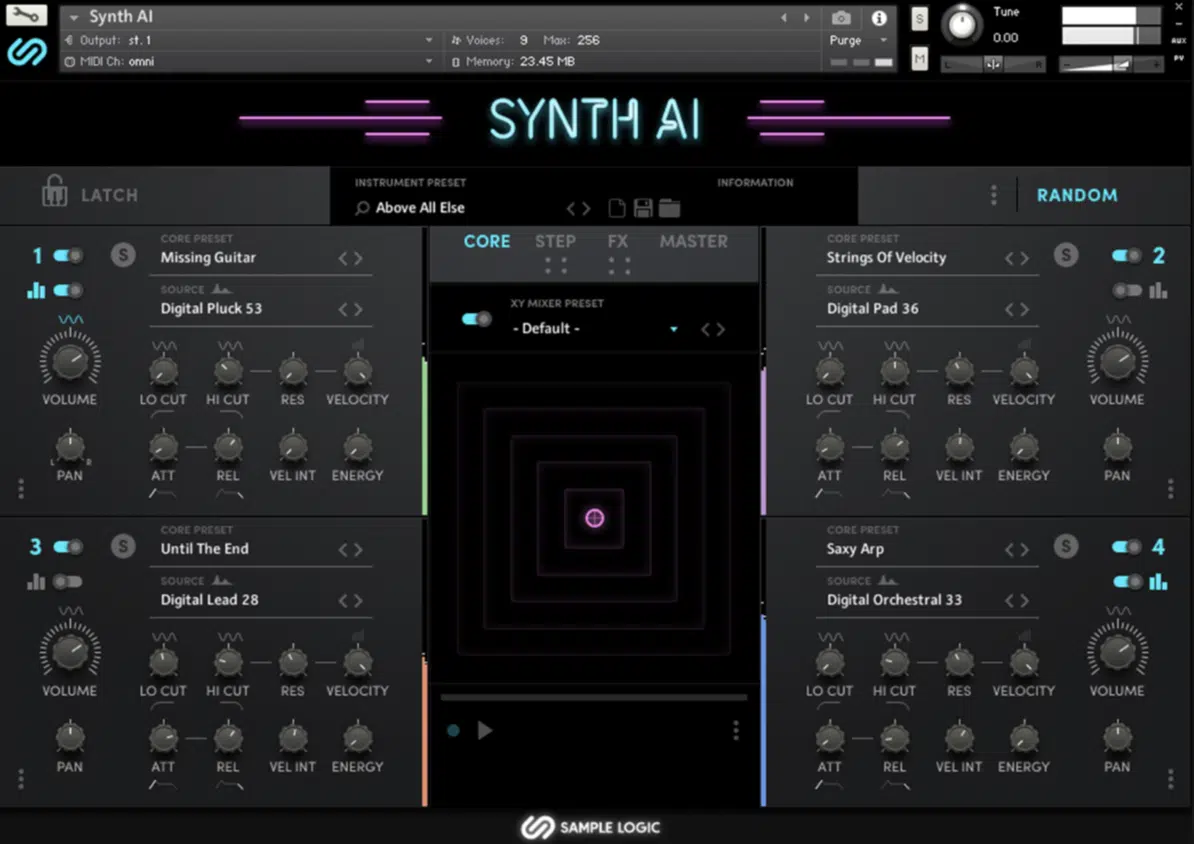
AI tools are starting to reshape sample-based synthesis by using machine learning to automatically detect:
- Attack transients
- Loop points
- The fundamental pitch period of any sample
This can save you some serious time and help you enhance your sound design skills in a major way, trust me.
It also means you don’t have to rely solely on your ear or manual editing to get clean, playable results from raw sampled sounds.
For example, Neutron 5 or Sonible’s smart EQs use trained models to recognize instrument types and apply optimized pitch shifting and dynamic adjustments automatically.
This lets you focus on performance and vibe.
That kind of instant precision would’ve taken hours to dial in manually with older synthesis methods or traditional samplers.
Also, AI-based samplers can now perform pitch detection in real time, re-pitch to scale, and even auto-map samples to different keys using spectral fingerprinting.
This means faster workflow, tighter arrangements, and more expressive sample-based instruments built in seconds.
It’s perfect for creating playable sample-based instruments without doing the tedious setup work, especially when you’re layering multiple sounds or tweaking fine details like loop points, pitch curves, or dynamic response.
Moving forward, I can guarantee we’re going to see even more sample-based synthesizer tools powered by AI.
And you better believe they’ll be able to morph actual samples into completely new instruments based on your input style and target genre.
When that happens, it’ll take sample-based synthesis from powerful to almost limitless (human creativity + machine learning precision = perfection).
Bonus Synthesis Methods (Advanced)
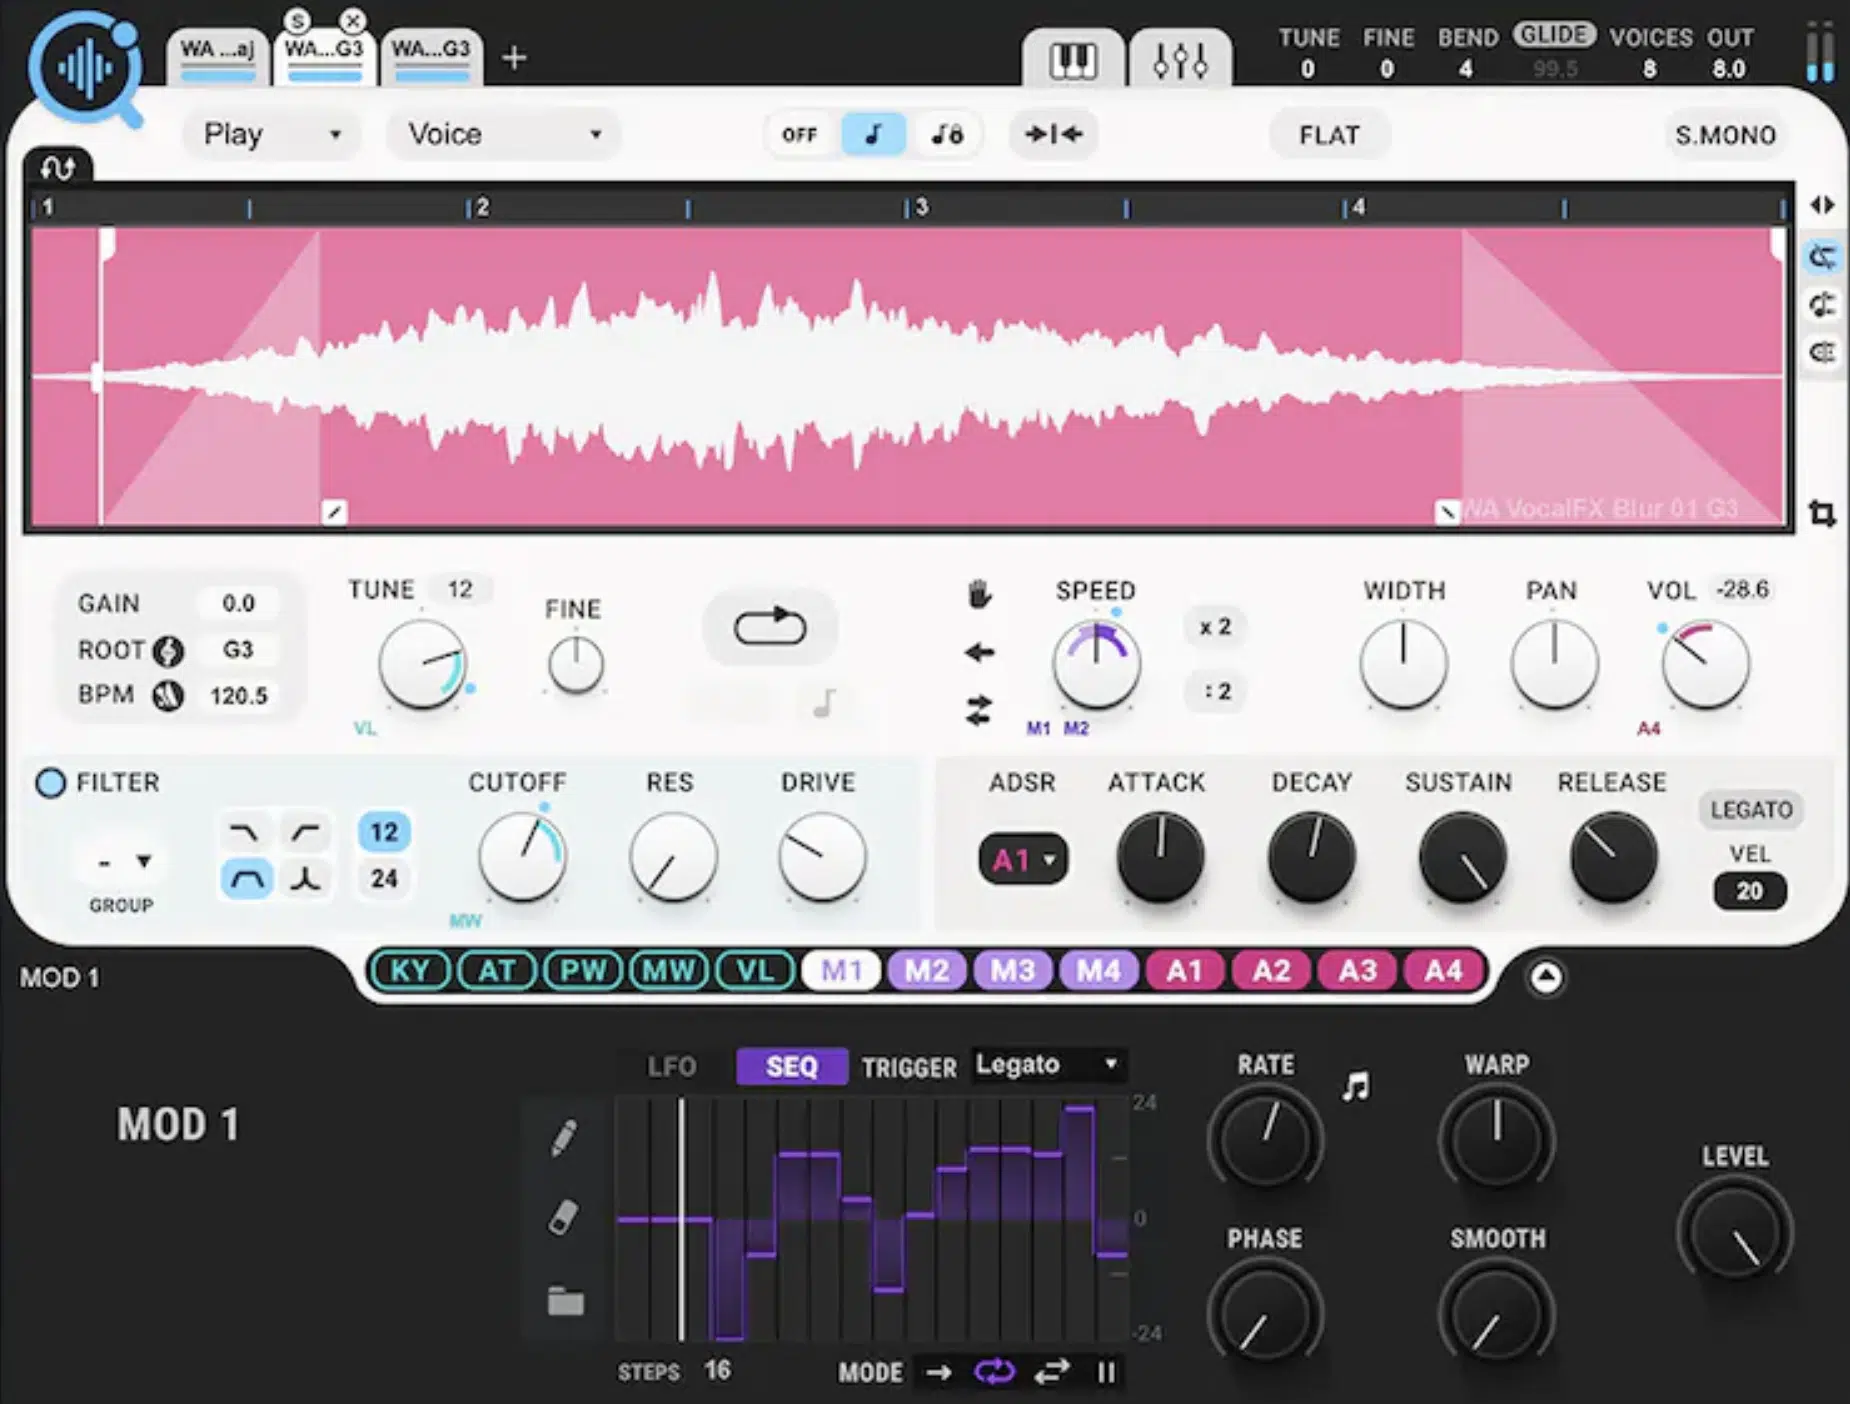
To close things out I thought I’d leave you with some of my favorite sample-based synthesis methods so you can crush the competition.
These are a little more experimental, but they’re the kind of tricks that give your productions that edge no one else can replicate.
One of the most underrated ways to push your sample-based synthesis further is by recording your own field recordings, like traffic noise, crowd ambiance, or metallic hits.
These types of sound sources give your palette more character than generic libraries, especially when used creatively.
Then what you’ll want to do is layer them with sampled sounds using granular techniques or assigning them as randomized loop points for more organic textures.
This works great for ambient intros, cinematic risers, or even percussive layers that evolve over time and break the looped feel.
You can also dive into circuit bending or hacking old hardware samplers (like broken toys or outdated rack units) to capture completely unpredictable sound sources that give your sample-based instruments an edge no plugin can fake…
Think glitchy attack transients, unstable pitch curves, or distorted harmonics that can’t be recreated digitally.
Just make sure you check the clock frequency and memory capacity of those older machines before trying to store multiple samples at once.
Older gear has limits, and trying to push too much sample resolution through weak hardware can clip, glitch, or corrupt your session entirely.
If you’re working in a DAW like Ableton or using something from Native Instruments, make sure to play around with:
- Assigning pitch periods
- Adjusting bit depth (try reducing to 12-bit)
- Automating pitch changes in real-time using an LFO mapped to your sample resolution or complex waveforms to create movement across the note played
Each of these will give your sample-based synthesis that subtle motion and color that helps it sit better in your mix.
It’s not just about technical tricks 一 it’s about adding intentional imperfections that give the sound life.
You can also get clever with data reduction like truncating a long sample to just the attack transient and applying a pitch-shifting technique.
This keeps your tone punchy, cuts out dead space, and makes room for layering other elements without stacking too many frequencies.
Or even building a full melodic instrument by recalling actual samples for just the tail, which keeps your sound clean while minimizing processing power usage.
When you’re building keys, pads, or leads using sampled sounds across a wide key range, it’s super helpful.
Also, don’t sleep on stacking layers with LA synthesis (linear arithmetic synthesis), blending in real instruments, balancing editing possibilities with live performance, and using smooth loops across different keys.
This combo gives you that expressive, playable feel that most one-shot sample packs just can’t deliver.
It’s how you go from generic to signature, and this form of sample-based synthesis will always give you the kind of texture that analog synthesizers, other methods (many others, really), or basic synthesis methods just can’t touch.
Once you start experimenting like this, your sound design becomes limitless, and the only real boundary left is how deep you’re willing to play around with the process.
Final Thoughts
And there you have it: everything you need to know about sample-based synthesis.
From layering and velocity switching, to pitch-shifting, granular tricks, and AI-powered tools, you now know it all.
Just remember that it’s all about choosing the right sample, shaping it with precision, and playing around with techniques that bring your sound to life.
By using all the sample-based synthesis techniques we talked about today, you’ll be able to build full instruments from scratch, create movement and emotion in your tracks, and add that human feel to each and every sound you’re working with.
As well as save time, unlock pro-level control, and push past generic sounds into something signature, too.
Trust me, it’ll help you dominate the competition and help your tracks sound super professional/polished like never before.
And since we’re talking about sample-based synthesis, it’s important that you play around with the best samples in the game, right?
Well, luckily I have access to the Best Sample Packs in the entire industry (and believe me, these aren’t just your average packs, either).
They’re all created by some of the most talented producers and sound designers in the world 一 designed for all genres and styles, from hip-hop and EDM to lo-fi and pop.
Every sample is 100% royalty-free, professionally mixed, and ready to drop straight into your session with no hassle.
They’re optimized for clean looping, consistent sample resolution, and mapped for easy use in software samplers, so your workflow stays smooth and inspired all day.
So if you’re serious about leveling up your sample-based synthesis, make sure you’re building from the best sonic material possible.
Keep experimenting, stay curious, and trust your ear because the next big sound you create might come from just one perfect sample or one sample-based synthesis trick.
Until next time…


Leave a Reply
You must belogged in to post a comment.