Drum reverb can completely transform your drum sound.
It can add depth, space, and a sense of dimension to your mix so your drums feel more alive and connected to the rest of your track.
Plus, it helps create a sense of space, add character to your drum elements, and make them sit naturally in the context of the mix.
As producers, learning how to apply reverb to your drums is a must.
It can give your drum tracks that professional polish and make sure your drums don’t sound dry or detached.
That’s why we’re breaking down everything you need to know, like:
- Types of reverb and how they affect drum sounds ✓
- Key reverb parameters you need to understand ✓
- The right reverb settings for each part of your drum kit ✓
- Advanced techniques like gated reverb and sidechaining reverb ✓
- How to avoid common drum reverb mistakes ✓
- EQing and filtering your reverb sends ✓
- Using multiple reverbs in your mix ✓
- How to make sure your drums stand out ✓
- Pro tips for mixing drum reverb like a boss ✓
- Creating dynamic and unique reverb effects ✓
- Much more about drum reverb ✓
After this article, you’ll know all about drum reverb, the types available, and how to dial in different settings for any drum situation.
Plus, you’ll be able to choose the perfect reverb type, play around with more advanced techniques, and knock out a clean, spacious drum sound like a professional.
This way, your drums will always hit with clarity, and your tracks will always have that polished, studio-ready finish.
So, let’s dive…
Table of Contents
What is Drum Reverb: Breaking it Down
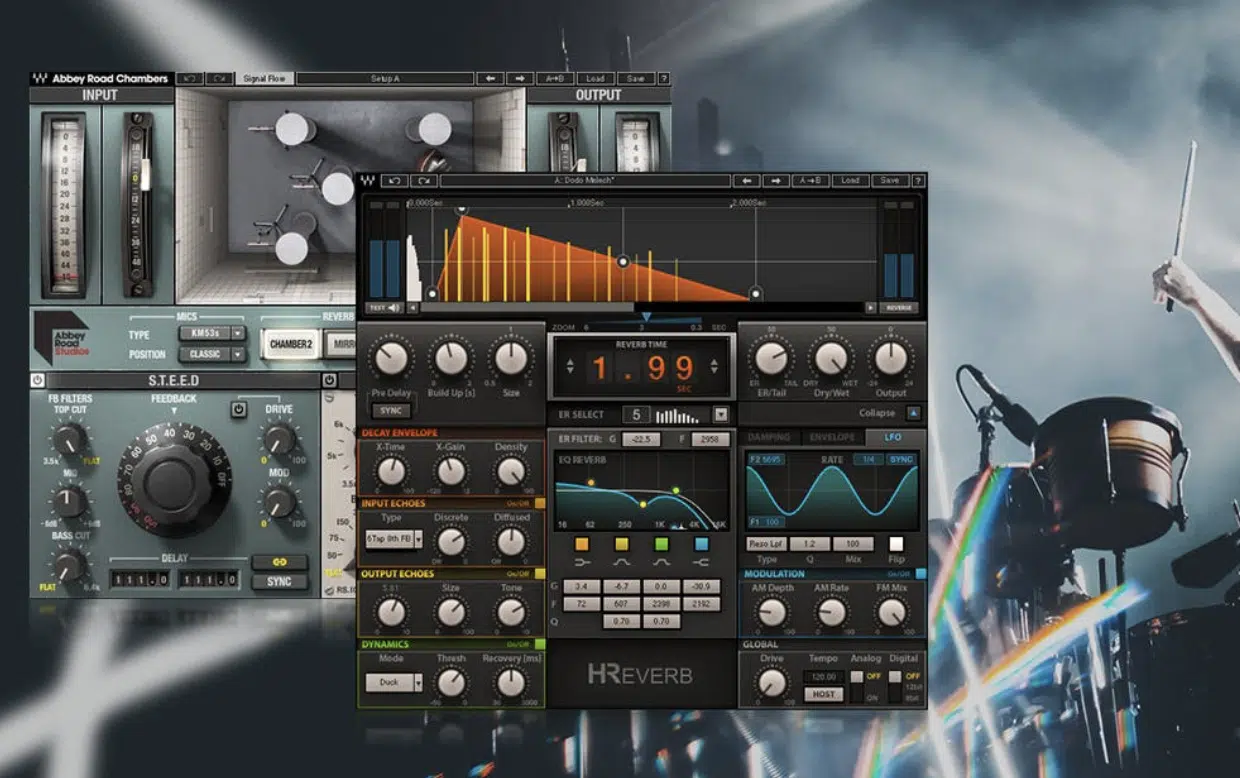
Drum reverb is what gives your drum sounds that epic, immersive space that helps them blend naturally into a mix.
Whether you’re working with an acoustic drum kit or using samples, adding the right reverb effect can transform how the drums sit within your track.
Without reverb, your drums can sound too dry, basic, and detached from the rest of the mix 一 making the whole track feel flat (and nobody wants that).
Using drum reverb helps create a sense of space, adding depth and atmosphere that feels cohesive with the other elements in your production.
We’ll be breaking down everything you need to know (in detail) throughout the article.
Types of Reverb for Drum Sounds
Choosing the right reverb type can make a huge difference in how your drum kit sits in the mix. Each reverb style has a unique character that suits different kinds of drum tracks and genres.
-
Room Reverb: Creating a Natural Space
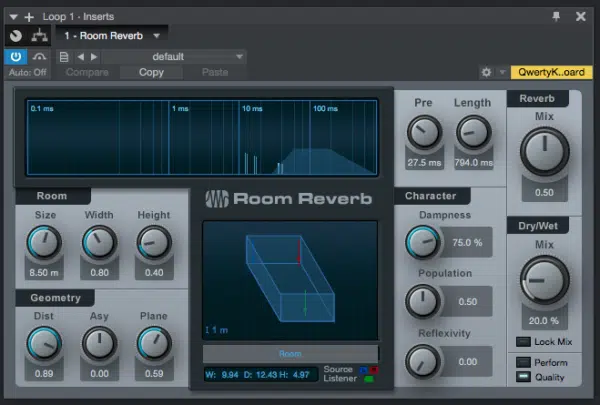
Room reverb is designed to mimic the sound of a smaller, enclosed space, like a studio or practice room.
It adds a subtle, natural ambiance to your drum sound 一 making the drums feel like they’re being played in a real environment, which is what you want.
For snare drums and toms, room reverb works wonders because it provides just enough space to give them air while keeping the sound tight and punchy.
This reverb type is perfect for genres like rock or pop, where you want your drum kit to sit naturally in the mix without overwhelming all the other elements.
If you’re looking for reverb sounds that add dimension without making the sound feel distant or washy, room reverb is your go-to option for sure.
-
Hall Reverb: Expansive, Open Sound
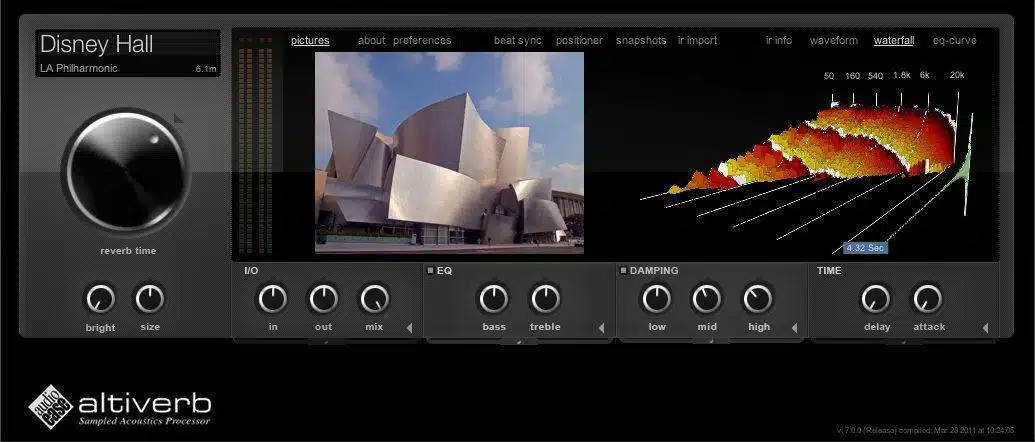
Hall reverb simulates the acoustics of a large concert hall to create a massive, open space around your drum sound (think: super grand).
It’s perfect for genres like ballads or orchestral tracks, where you want your drums to carry a lot of weight and sustain in the mix.
If you’re a fan of NF, you’re very familiar with this sound.
This type of reverb is perfect for snare drums and cymbals because they provide long, lush tails that fill up the space while still allowing the drum hit to cut through.
NOTE: Be cautious when using hall reverb on lower elements like kick drums, as the extended reverb tail can muddy up the low end of your mix.
If you want to learn all the other vital mixing mistakes as well, we got you covered.
-
Plate Reverb: Dense, Metallic Vibe for Drum Hits
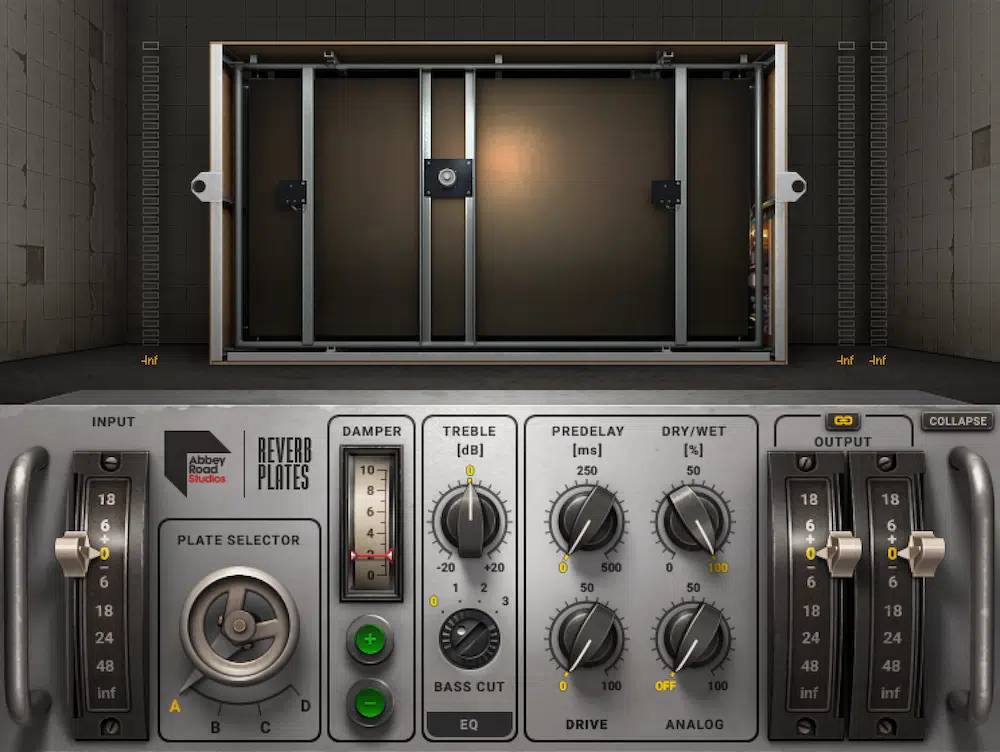
Plate reverb is a unique type of reverb originally created using large metal plates to produce the effect 一 giving it a bright, dense character.
It adds a rich, metallic sheen to drum hits, especially snare drums, which gives them a sharp, defined tail that enhances their presence in the mix.
If you’re looking to add a classic, vintage feel to your drum sound, plate reverb delivers a distinctive, thick tone that’s often used in rock and pop tracks.
NOTE: Since it’s quite bright reverb, you may want to use EQ to tame the high frequencies when applying it to elements like cymbals or kick drums.
-
Spring Reverb: Retro and Textured Feel
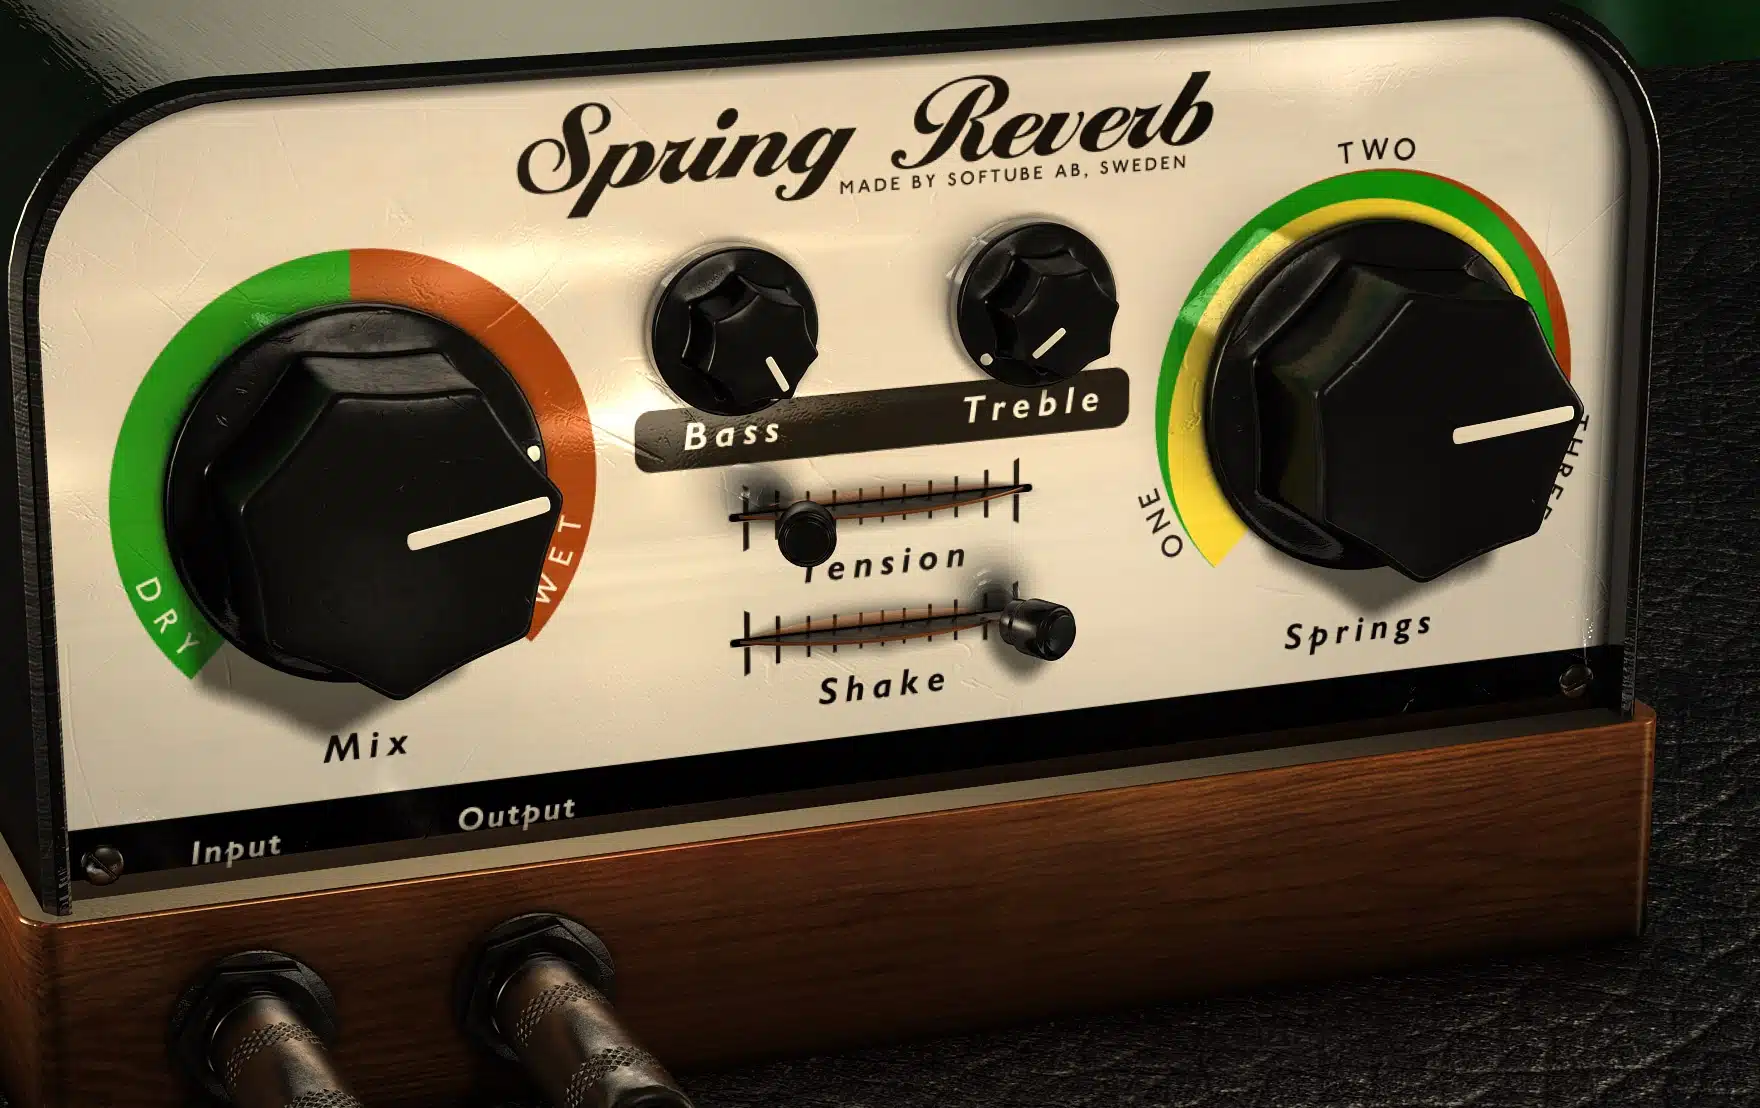
Spring reverb uses coiled metal springs to create a bouncing, somewhat gritty reverb effect that’s an OG in genres like surf rock and reggae.
It adds a textured, almost retro vibe to your drum sound, so it’s an interesting choice for snare drums or toms when you want to add a bit of character.
While spring reverb doesn’t provide the same natural space as room reverb, its unique tone can be perfect for experimental tracks.
Or, when you want your drums to stand out with a bit of vintage flavor.
Just be aware that it can add a certain “twang” to the sound, which works best in more ‘niche’ genres or creative production styles.
Understanding Key Reverb Parameters
To really dial in your drum reverb and make it fit seamlessly into your drum tracks, you need to understand the main parameters that shape the reverb effect. Each of these drum reverb settings play a role in defining how your drums interact with the reverb and the overall mix.
-
Decay Time: How Long Should the Reverb Last?
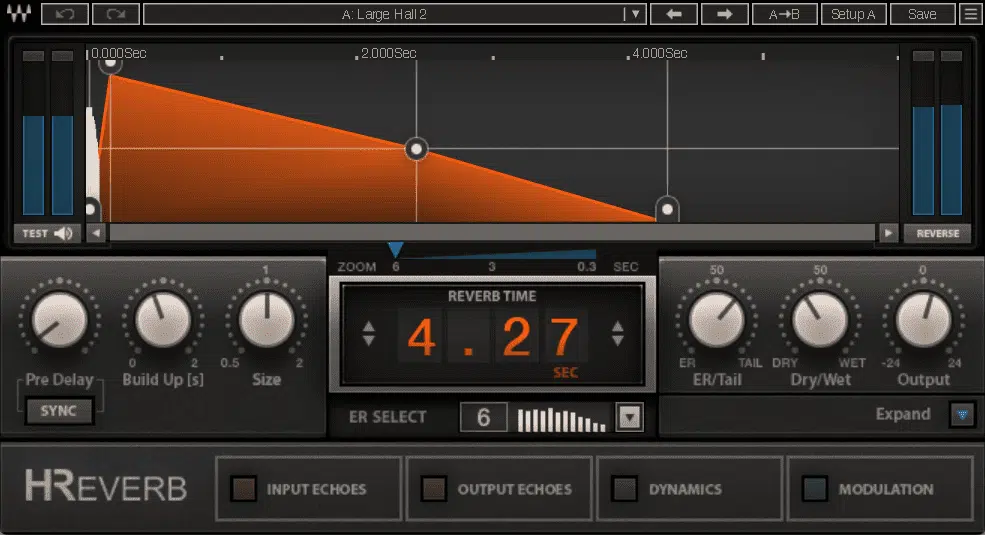
Decay time determines how long the reverb tail lingers after a drum hit, and this directly impacts how your drum sound fits in the context of the mix.
For a long decay (typically anything over 2.5 to 3 seconds) your snare drum will feel like it’s echoing in a large space. It’s perfect for those cinematic tracks where you want that expansive, airy feel.
A short decay, around 0.5 to 1.5 seconds, keeps the reverb effect tight and controlled, ideal for faster genres like hip-hop or EDM where you want the drum sound to remain punchy without getting lost in a wash of reverb.
For example, when producing a fast-paced trap beat, you might set the decay time on your snare reverb to under 1 second to ensure clarity and rhythm precision.
On the other hand, for a slower rock track, you could push the decay time to around 2 seconds on the snare to create more depth and emotional impact.
Always be mindful of how the reverb tail interacts with the other elements in your full mix… You don’t want the drums to bleed too much into the next hit.
-
Pre-Delay: Adding Clarity to Your Drum Hits
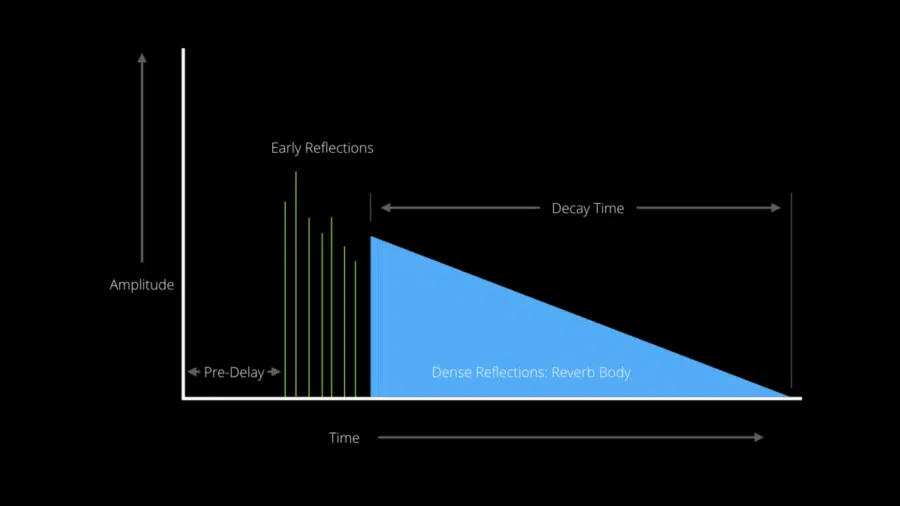
Pre-delay refers to the time between the initial drum hit and when the reverb kicks in, which can make a huge difference in how clear your drum sound remains.
A pre-delay of around 10-30 milliseconds gives your snare drummore definition, allowing the dry hit to cut through before the reverb tail starts.
If you’re working with kick drums, setting a longer pre-delay (around 40-60 milliseconds) can prevent the low frequencies from becoming muddy.
For a more natural, room-like feel on your drum kit, try a pre-delay between 15-20 milliseconds to simulate the early reflections you’d get from real spaces.
NOTE: Make sure to play around with different pre-delay settings depending on the speed of your track 一 a faster track may require shorter delays, while a slower one can handle a longer pre-delay without losing clarity.
-
Wet/Dry Mix: Balancing Reverb with Original Sound
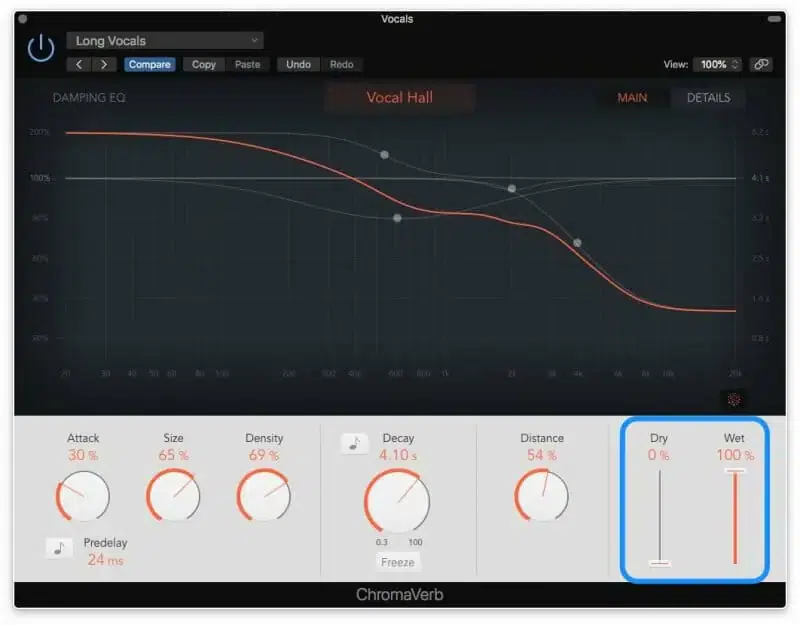
To put it simply, the wet/dry mix parameter determines the balance between:
- The processed reverb sound.
- The dry signal of the original drum hit.
A higher wet mix (around 60-70%) is useful when you want your drums to chill and sit back in a large space, like in ambient or cinematic productions.
On the other hand, a lower wet mix (around 20-30%) works better for genres like hip-hop, where the dry drums need to stay super punchy and very present.
For example, you might dial in a 50/50 wet/dry mixon your snare reverb to add depth while still maintaining the ‘crack’ of the original hit in the drum track.
Just make sure to always test the balance in the context of the mix…
You don’t want to drown out your original sound, but you also don’t want the reverb effect to be too subtle to notice; it’s a delicate balance, but you’ll get there.
And that’s why most decide to use a send instead of an insert to get the best of both worlds.
-
Using Reverb Sends to Blend Wet and Dry Signals
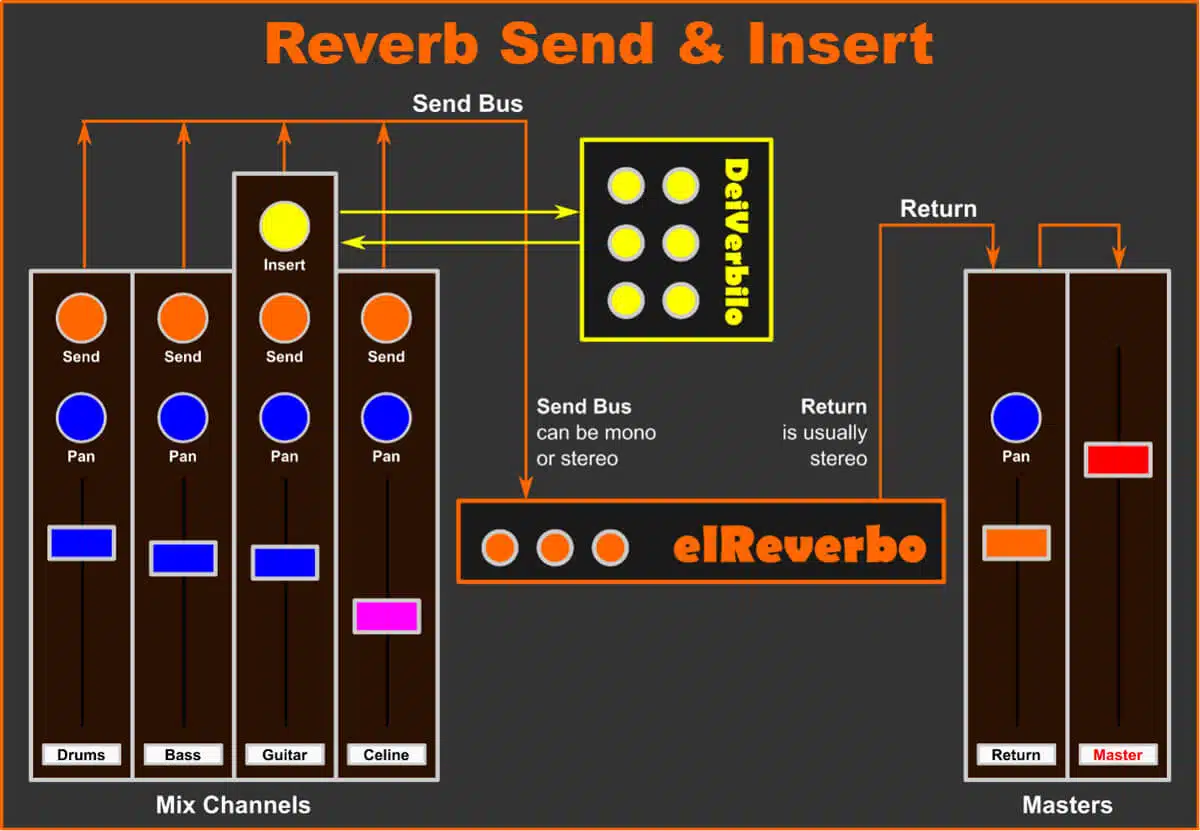
Parallel reverb is a great way to maintain the punch of the dry signal while adding space with reverb (aka ‘Reverb Send’).
Instead of using the reverb directly on the drum track, you send the dry drums to a separate aux track with reverb, then blend the two signals.
This allows you to dial in just the right amount of reverb without losing the attack and clarity of the drums (win-win).
For example, if you’re mixing a kick drum, use a parallel reverb with a short decay time and a high pre-delay.
It keeps the dry punch while adding a subtle room feel to the tail.
-
High and Low Cut Filters: Controlling Frequency Ranges
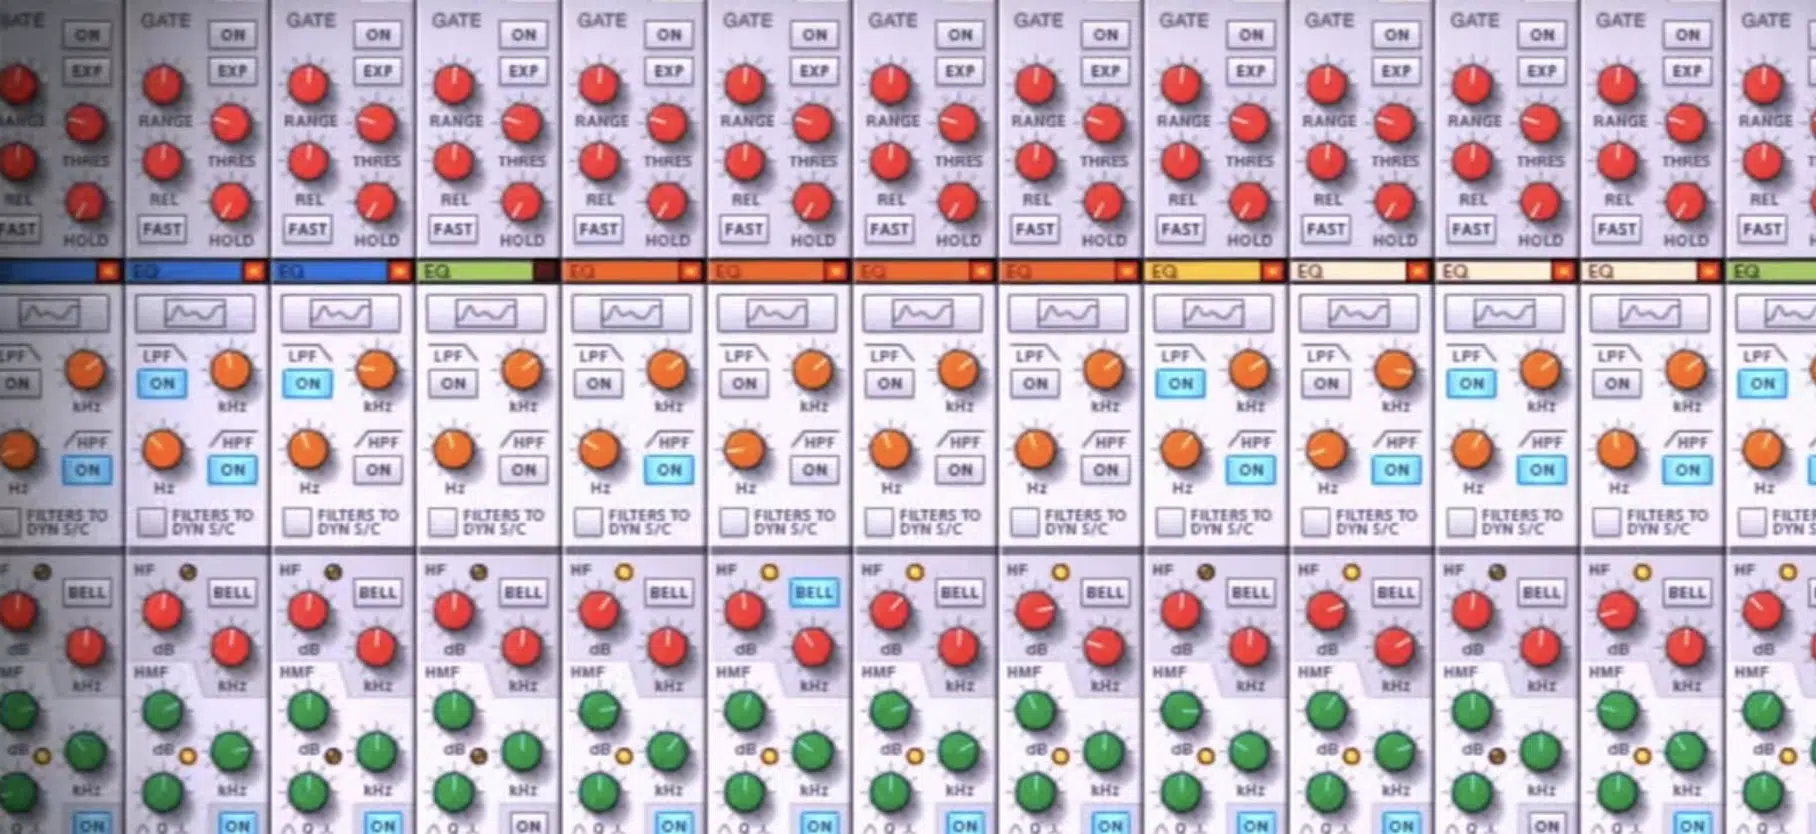
Applying high-pass and low-pass filters to your drum reverb can seriously clean up your mix and ensure all the drums don’t clash with other elements.
Use a high-pass filter on your reverb sends to cut out unwanted low-end rumble, especially on kick drums and snare drums that can easily muddy up the full mix.
For example, you might set the high-pass filter to around 200 Hz for your snare reverb 一 removing the lower frequencies that don’t need to be reverberated.
On the same note, apply a low-pass filter to remove high-end sizzle, which is useful for cymbals or if you want a darker, more controlled reverb sound.
When working with drum reverbs, remember that filtering out excess frequencies keeps the reverb effect focused and avoids frequency buildup in the mix.
Choosing the Right Reverb for Different Drum Elements
Not all drum elements respond the same way to reverb, that’s what you need to know when it comes to drum reverb. So knowing how to tweak your reverb settings to each is key for a polished drum track. Let’s break down how to choose the right reverb for different parts of your drum kit. It’ll help you master drum reverb even quicker.
-
Snare Reverb: Creating Depth and Space
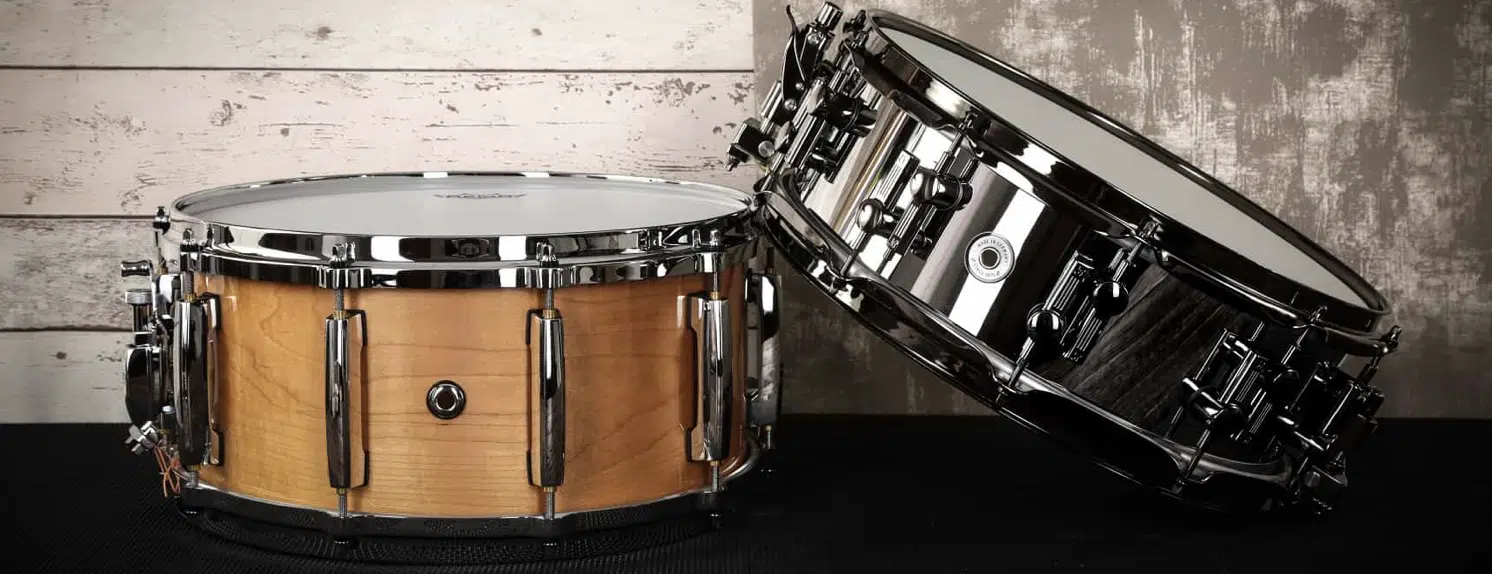
When it comes to snare reverb, the goal is to create a spacious, yet controlled sound that helps the snare feel full without washing out the mix.
A short reverb time (around 1-1.5 seconds) gives your snare drum enough tail to add depth while keeping it tight and present in the mix.
For a more dramatic effect, try experimenting with longer reverb times (around 2 seconds) combined with a subtle pre-delay to keep the initial hit clear.
Always EQ the reverb, I can’t emphasize this enough…
Cutting out some low frequencies around 150 Hz helps prevent the snare reverb from muddying the overall drum sound.
-
Kick Drum Reverb: When and How to Use It
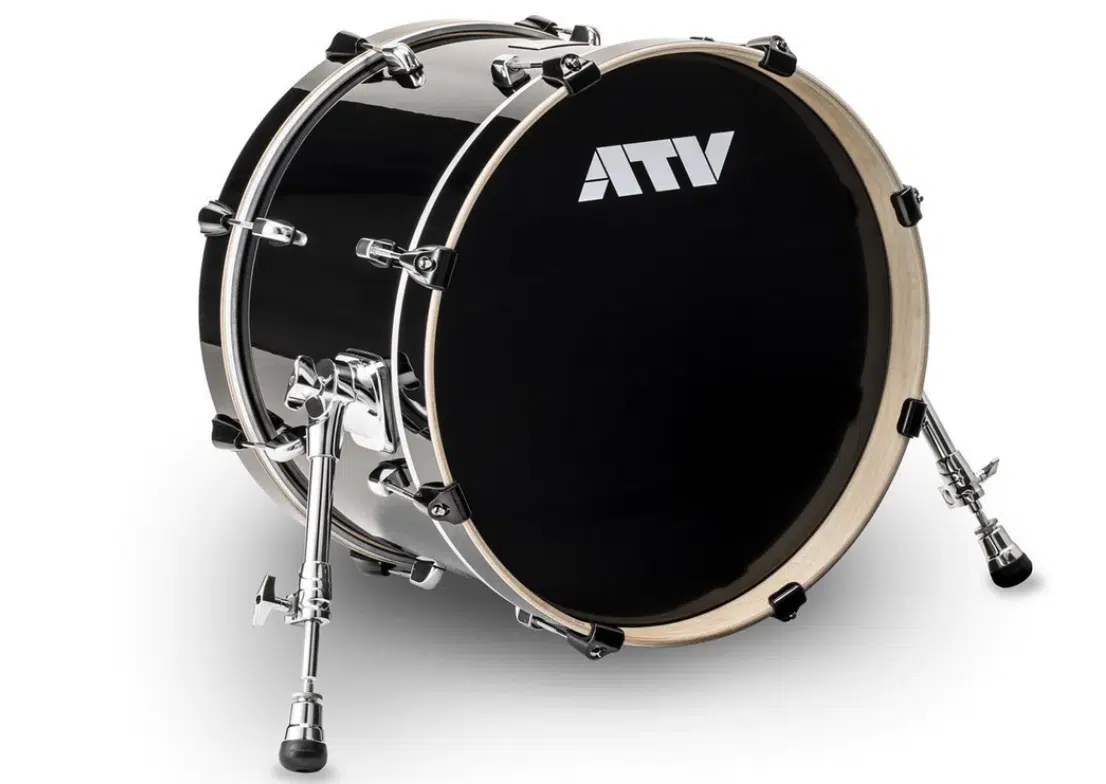
Reverb on the kick drum is a little tricky since the low frequencies of the kick can easily get lost or become muddy.
A good rule of thumb is to use a short reverb (around 0.5 to 1 second) just to add a bit of space without drowning the punch of the kick drum.
For electronic genres like EDM, DnB, or House, you might want to add a subtle room reverb with a pre-delay of around 20 milliseconds to maintain the kick’s clarity while still providing some ambiance.
Always use a high-pass filter on the reverb send for the kick.
It’ll cut out anything below 100 Hz to avoid interfering with the fundamental low-end punch that the kick drum needs to drive the track.
-
Toms and Cymbals: Filling the Mix with Reverb
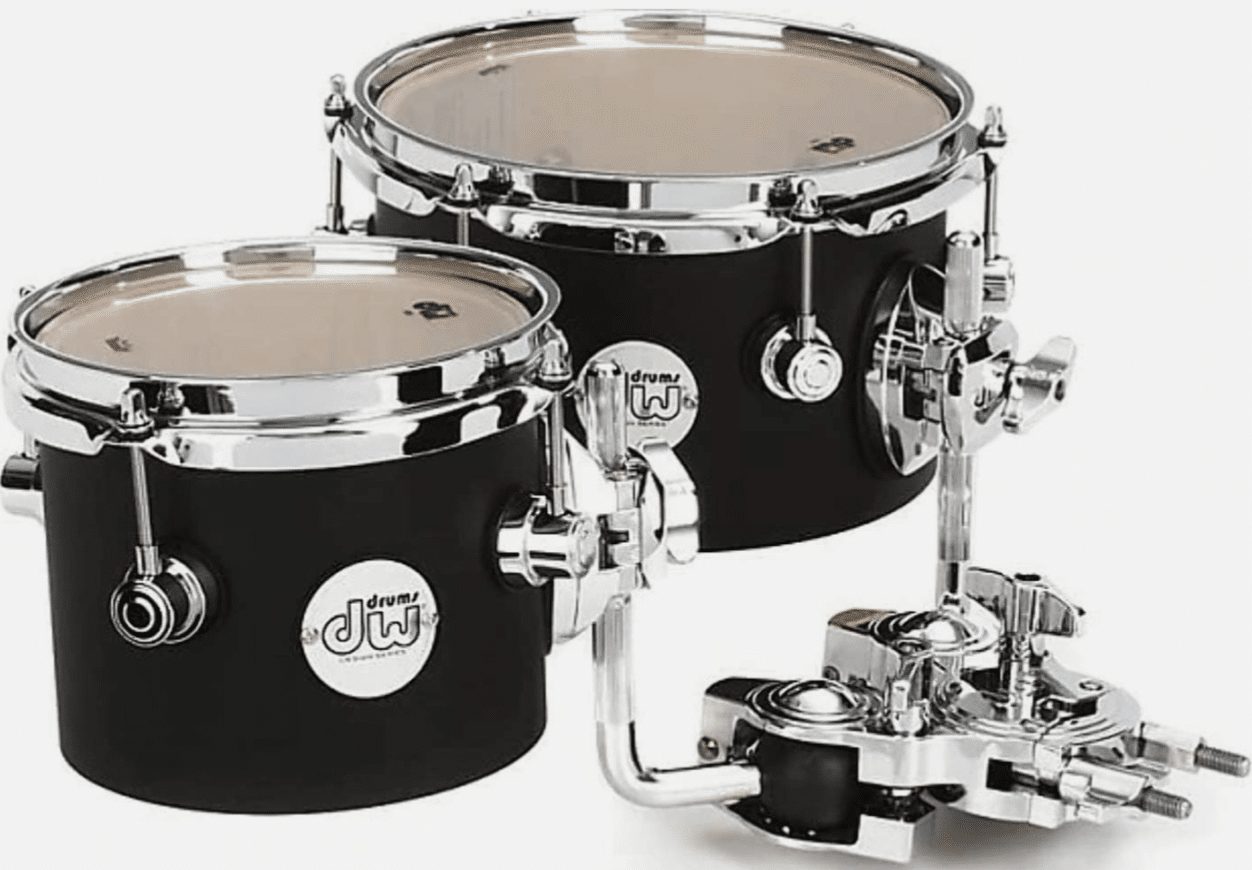
Toms and cymbals benefit from a different kind of reverb effect compared to kick and snare drums.
For toms, a hall reverb with a decay time of about 2 to 2.5 seconds can give them a deep, thunderous quality, perfect for rock/metal tracks where you want to create a large space.
For cymbals, shorter reverbs like room reverb (about 0.8 to 1 second) can add just the right amount of air and shimmer without overwhelming the high end of the mix.
Be cautious with cymbals, though, because using too much reverb can cause the top end to sound gross and washed out 一 making it super hard to define the rhythm.
-
Hi-Hat Reverb: Subtle Techniques for Adding Air
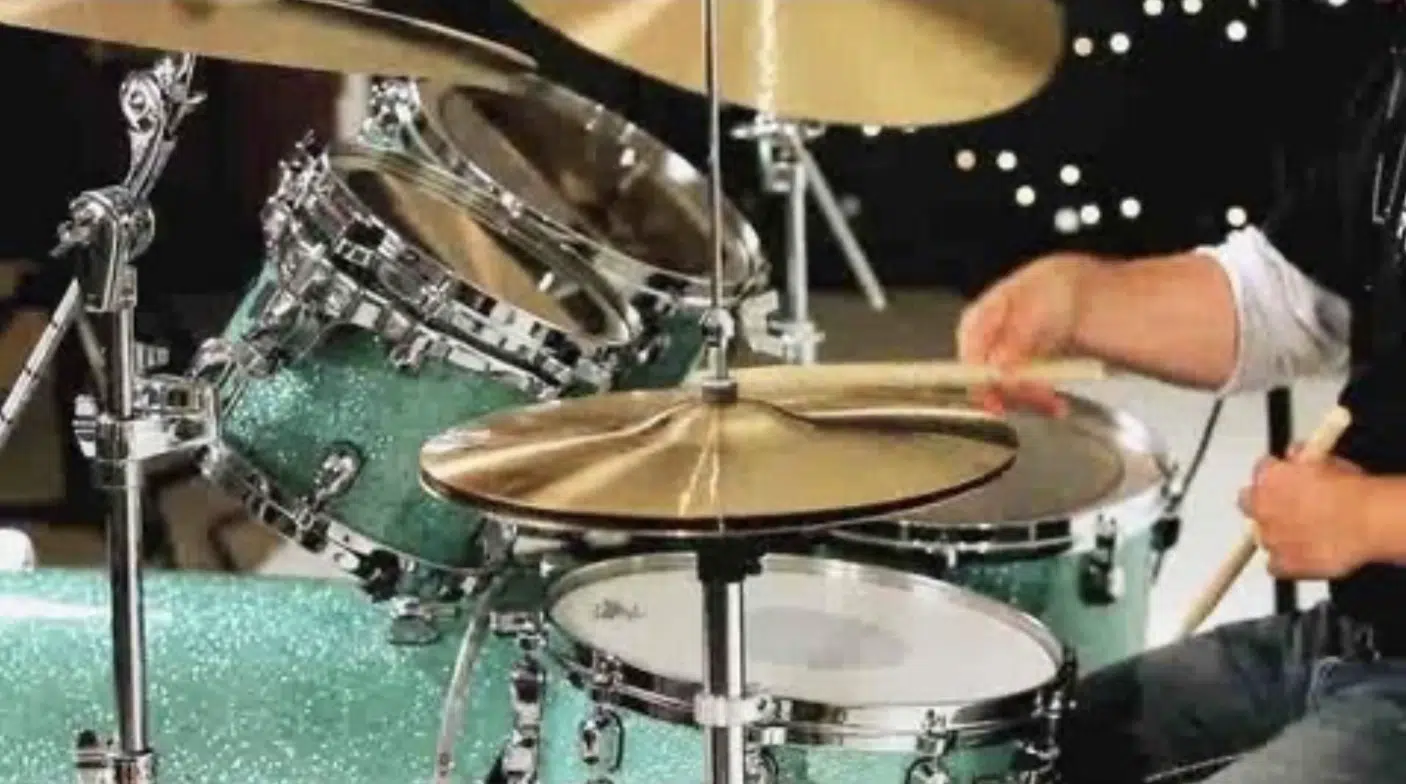
Reverb on hi-hats should be subtle and carefully controlled, period.
A very short reverb time (around 0.3 to 0.6 seconds) can add a sense of space without taking away the tightness of the drum sound.
When mixing hi-hats, try using a room reverb with a low wet/dry mix (around 15-20%) to prevent the hi-hats from sounding too dry while keeping the original sound clear.
This is super useful in genres like trap or hip-hop, where the rhythm relies heavily on precise, sharp hi-hats, and adding just a touch of reverb can give them a natural feel.
While maintaining their sharpness too, of course.
Advanced Drum Reverb Techniques for Professionals
Once you’ve mastered the basics of drum reverb, there are more advanced techniques you can use to push your drum sound even further. These methods can help you craft unique reverb effects that stand out in your production.
-
Gated Reverb: Creating That Iconic 80s Drum Sound
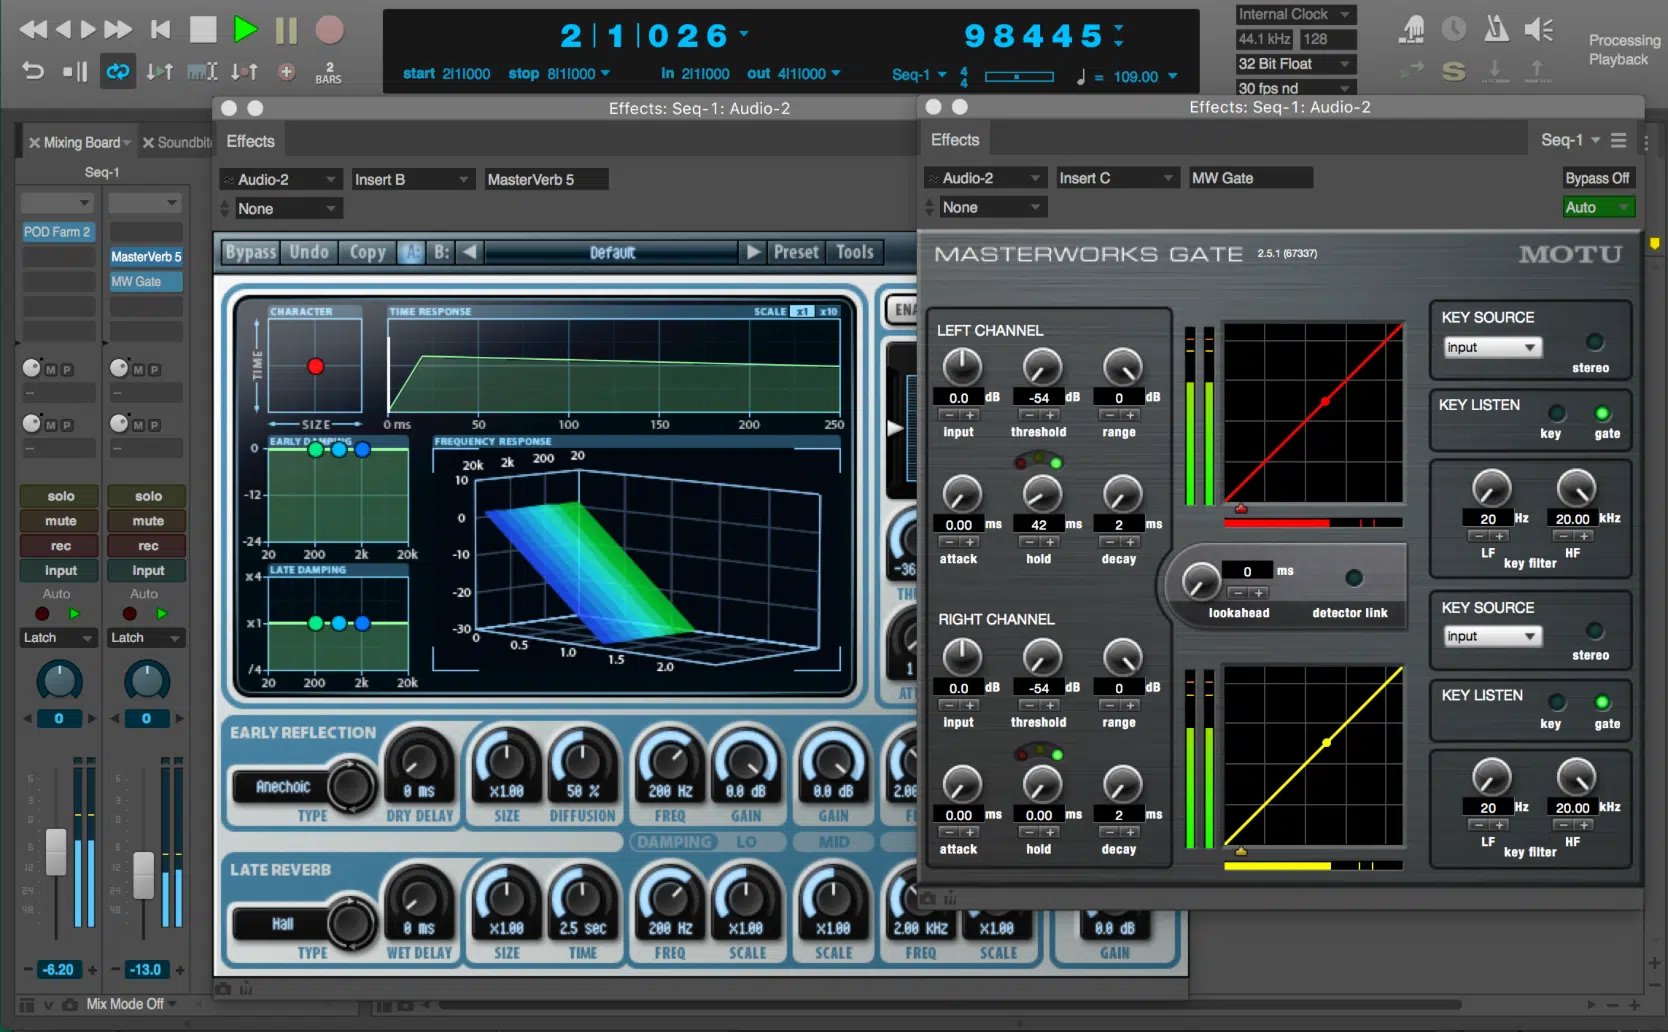
Gated reverb is one of the most famous reverb effects, known for creating that explosive yet controlled drum sound from the 80s (you certainly know
The idea is to use a long reverb tail, around 2 to 3 seconds, but apply a noise gate that cuts off the reverb abruptly 一 giving the drums a huge impact without the wash.
This technique works especially well on the snare drum, where the gated reverb adds power and perceived size while keeping the snare track tight.
To set it up, use a reverb plugin with a dedicated gate, or sidechain a noise gate to the reverb send, adjusting the threshold so the reverb cuts off clean and smooth.
It’s an excellent choice for genres like synthwave, where retro vibes meet modern production techniques for the ultimate sound.
Side note, if you want to know all about using reverb plugins, we got you covered right here.
-
Sidechaining Reverb: Dynamic Space for Drum Hits
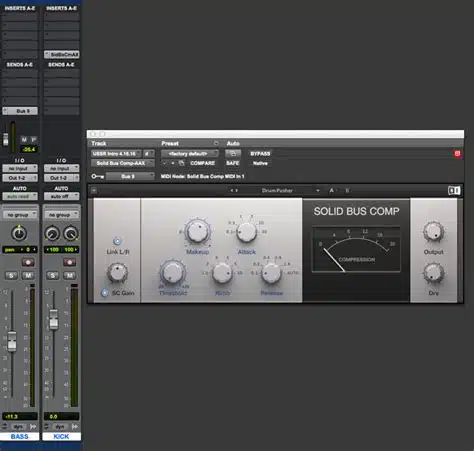
Sidechaining reverb is all about preserving the clarity of your drum hits while still enjoying the spaciousness that reverb is famous for.
By sidechaining the reverb send to the dry signal of your snare drum, you can set a compressor to duck the reverb during the initial hit.
Then, swell back up as the reverb tail extends.
For example, on a snare drum, setting the compressor’s threshold at around -20 dB and a release time of 150-200 milliseconds ensures the reverb returns smoothly after the dry hit.
When you want your snare to hit hard but still feel almost enveloped in space, this is great.
NOTE: You can also apply sidechaining reverb to your kick drum to maintain its punch without letting the reverb effect muddy the low end. Try a longer pre-delay (around 50 milliseconds) to give the kick space before the reverb kicks in.
Another advanced use is applying sidechain compression to a reverb that has been pitch-shifted which creates dynamic shifts in pitch and space around the drum sound.
Experimenting with different reverb types can also enhance this effect, as a gated or hall reverb may respond differently to sidechaining than a room reverb.
-
Reverse Reverb: Unique and Creative Soundscapes
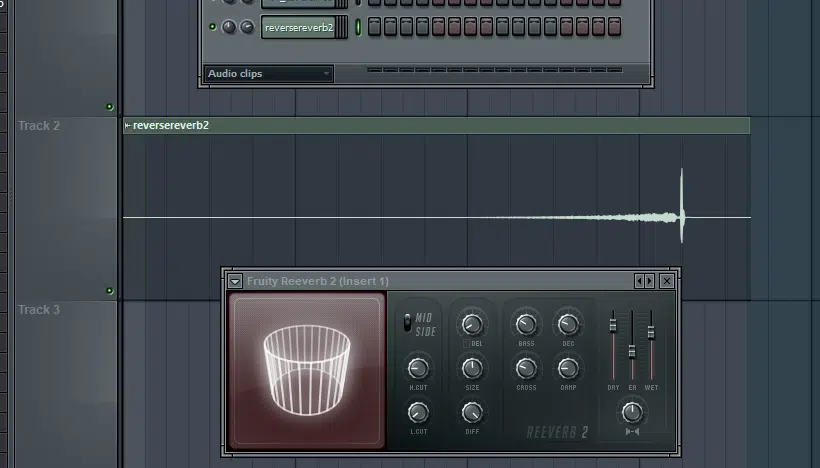
Reverse reverb is a creative technique that flips the reverb tail so it swells before the drum hit, creating a rising, eerie effect that adds a lot of tension.
You’ll often hear this used in intros or breakdowns to create a sense of anticipation before a major hit because it’s epic right there.
To do this, simple:
- Render out the snare drum or kick drum with a long reverb tail
- Reverse the audio file
- Place it just before the drum hit
It’s simple, but super effective to reel people in and instantly capture their attention.
You can also, of course, use whatever reverb effects to achieve this dramatic rise effect without having to render.
It’s a great way to add depth and uniqueness to your drum tracks so definitely try it out.
Bonus: Pro Tips for Mixing Drum Reverb
As a bonus, let’s finish things off with some more advanced tips to help you mix drum reverb like a pro and take things to the next level.
-
Using Multiple Reverbs: Layering for Depth and Texture
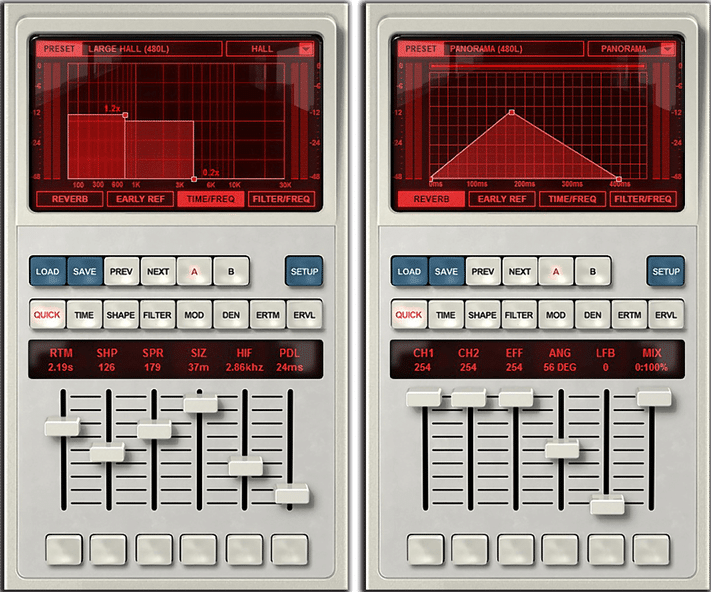
Using multiple reverbs in your drum tracks allows you to create a more complex, layered sound by blending different types of reverb for space, texture, and overall dopeness.
For example, applying a short room reverb (around 0.8 to 1.2 seconds) to your snare drum gives it a natural sense of space, while layering a longer plate reverb (2 to 2.5 seconds) on your toms can add depth and sustain without overwhelming the mix.
When you want different parts of the drum kit to occupy their own unique spaces, this is an awesome technique.
You can also experiment with adding a subtle spring reverb to your cymbals for a more retro, textured feel that contrasts with the tighter reverb used on the rest of the drums.
Just be sure to balance the wet/dry mix for each reverb…
You want to keep the kick drum at a lower reverb level and the snare drum slightly wetter can help retain clarity in the full mix.
Try setting the wet mix for room reverb at around 20-30% and the plate reverb around 50% for a balanced, spacious indistinct sound.
Pro Drum Reverb Tip
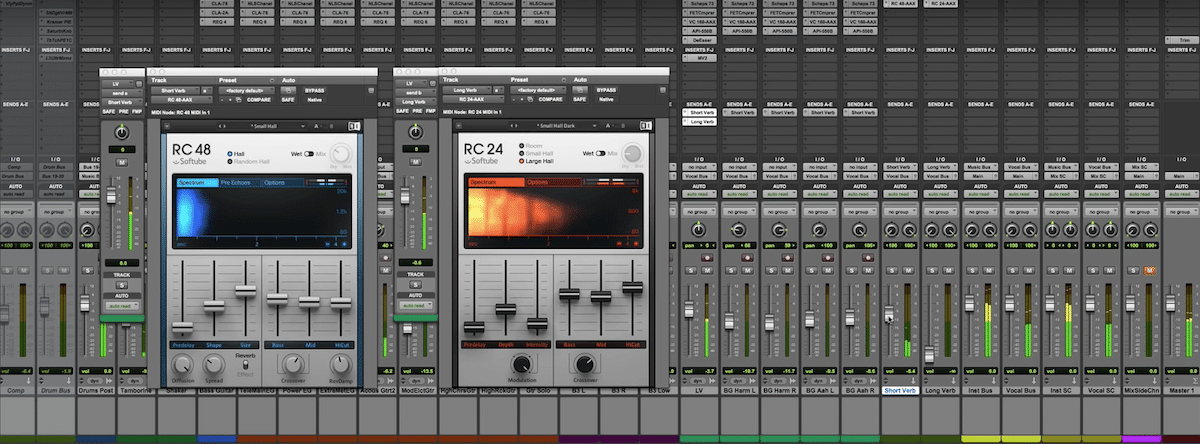
Sticking to the same type of reverb when layering is a solid starting point, no doubt about it, but once you’ve mastered blending two similar reverbs you should definitely try mixing different types.
This could be like combining a room and a hall or a plate and a spring.
It can really take your sound to the next level, creating an atmosphere that pulls listeners into a space that feels otherworldly.
It’s something you wouldn’t typically find in the real world, so it really sticks out on a whole other level.
-
Pitch-Shifting Your Reverb for Unique Drum Effects

Pitch-shifting your reverb is an advanced technique that can add an entirely new dimension to your drum sound by altering the pitch of the reverb tail.
By applying pitch-shifting to one reverb on elements like your original snare drum, you can create rising/falling effects that add movement and intrigue to your track.
This is ideal when using room mics in a live drum recording, as it can enhance the natural reflections while keeping the overall mix tight.
Try blending a pitch-shifted reverb with a dry signal to create depth and texture without losing the core of your drum sound.
Drum Reverb: Final Thoughts
Drum reverb is one of the best ways to create depth, space, and character in your drum sound, completely changing how your drums sit in the mix and how they interact with other elements in your track.
Plus, as you now know, different types of reverb can seriously impact the vibe, from tight and controlled room reverb to expansive hall reverb.
Using the drum reverb tips, tricks, and techniques we talked about today, you can now fine-tune your reverb settings and layer multiple reverbs for added texture.
As well as sidechain reverb for clarity and play around with advanced effects like reverse reverb.
And, as a special bonus, you’ve got to check out all these legendary Free Sample Packs with drums of all kinds, styles, and with different reverb effects already applied.
The Free Project Files pack even breaks down exactly how to apply reverse reverb to your drums from start to finish, plus every other effect (including every drum reverb type) you can think of.
By mastering drum reverb, you’ll ensure your drums always hit with precision, and your tracks will have the clarity and professional polish they deserve.
So keep experimenting, stay super creative, and let drum reverb take your music to new heights.
Until next time…


Leave a Reply
You must belogged in to post a comment.