Spring reverb is a super intriguing and foundational effect in the music production world that’s capable of adding epic depth and atmosphere to your tracks.
It can enhance instruments with a warm, vintage vibe and help transform your mixes from boring and basic to magically immersive.
So, as a music producer, it’s beneficial to know all about spring reverb to fully harness its potential and elevate your soundscapes.
As well as give your tracks that sought-after, real-deal character that sets professional recordings apart.
In today’s article, we’ll be breaking down:
- The mechanics of spring reverb ✓
- What makes it special/unique ✓
- Differences between spring reverbs & other reverb types ✓
- Creating that unique reverb sound with spring reverb ✓
- Tweaking reverb plugins for optimal effect ✓
- Creative applications for guitars, vocals, and more ✓
- Advanced mixing and modulation techniques ✓
- The charm of analog spring reverb ✓
- Expert tips for dynamic track enhancement ✓
- Much more ✓
After this article, you’ll be able to creatively use spring reverb in your tracks to seriously up your production skills and make your tracks pop.
You’ll understand how to expertly infuse this classic effect into your workflow and manipulate settings for maximum impact.
This way, your tracks will have that intriguing depth, warmth, and professionalism only spring reverb can help bring.
So, let’s dive in…
Table of Contents
- What is Spring Reverb & How Does it Work?
- Spring Reverb vs Other Reverbs (Plate, Room, Convolution)
- Creative Ways to Apply A Spring Reverb Effect (Guitars, Vocals & Other Instruments)
- Mixing with Spring Reverb
- Spring Reverb Settings: Breaking it Down
- Bonus: Analog Spring Reverb (Where it All Began)
- Spring Reverbs: Final Thoughts
What is Spring Reverb & How Does it Work?
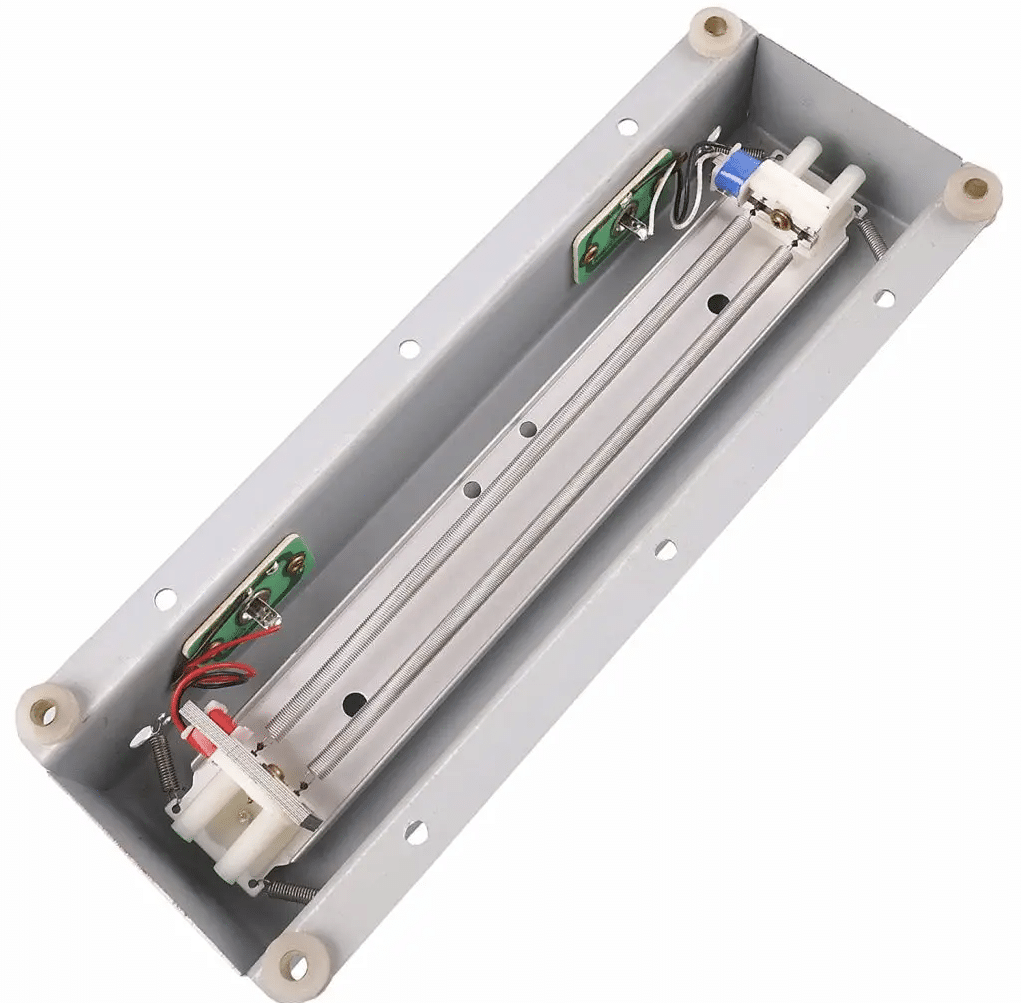
Spring reverb is a classic effect that’s known for its ability to add depth and atmosphere to any sound.
This effect is created using a physical mechanism where an audio signal is sent through springs contained in a metal box, known as a reverb tank.
The movement of the signal through the springs generates a series of echoes, which blend together to produce a rich, textured sound.
This process, unique to spring reverb, results in characteristic sounds that are warm and resonant 一 making it a favorite among top producers for its distinctive vibe.
In digital music production, spring reverb is emulated through software, which lets you bring its unique sound into your mixes without the need for physical hardware.
Digital plugins simulate the acoustic properties of the springs, offering you control over various aspects of the effect right from your home studio.
This includes adjusting the decay time of the reverb to change how long the sound lingers or tweaking the tone to make the reverb brighter or darker.
By understanding how spring reverb works, you can more effectively use it to enhance your tracks, which is exactly what we’re breaking down today.
Spring Reverb vs Other Reverbs (Plate, Room, Convolution)
Let’s quickly compare spring reverbs to other types of reverb, such as plate, room, and convolution, so you can understand the distinctive qualities each can bring to a mix.
Plate reverb, for example, generates reverb through vibrations in a large metal plate, offering a smooth decay that’s particularly well-suited for vocals.
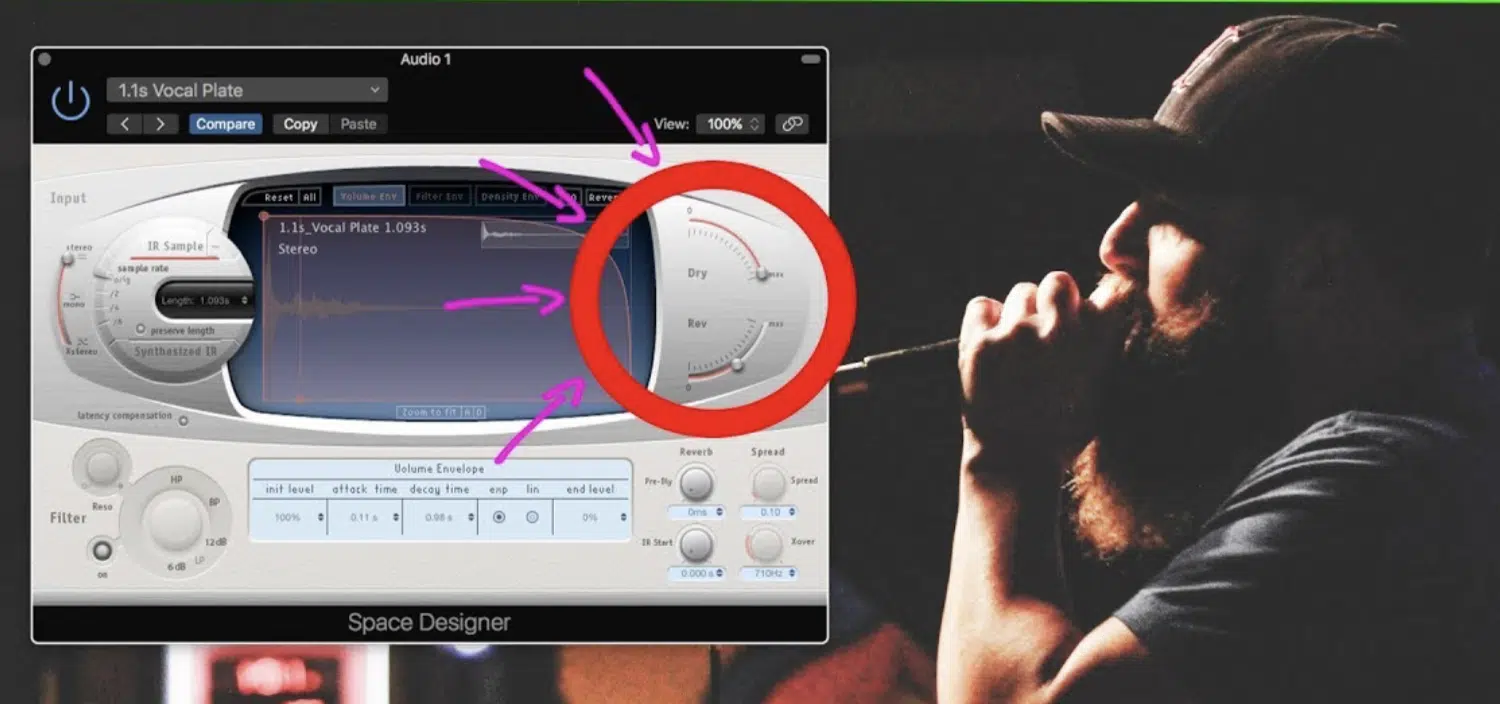
Room reverb simulates the acoustic properties of real spaces, from small rooms to large halls 一 providing a more natural ambiance.
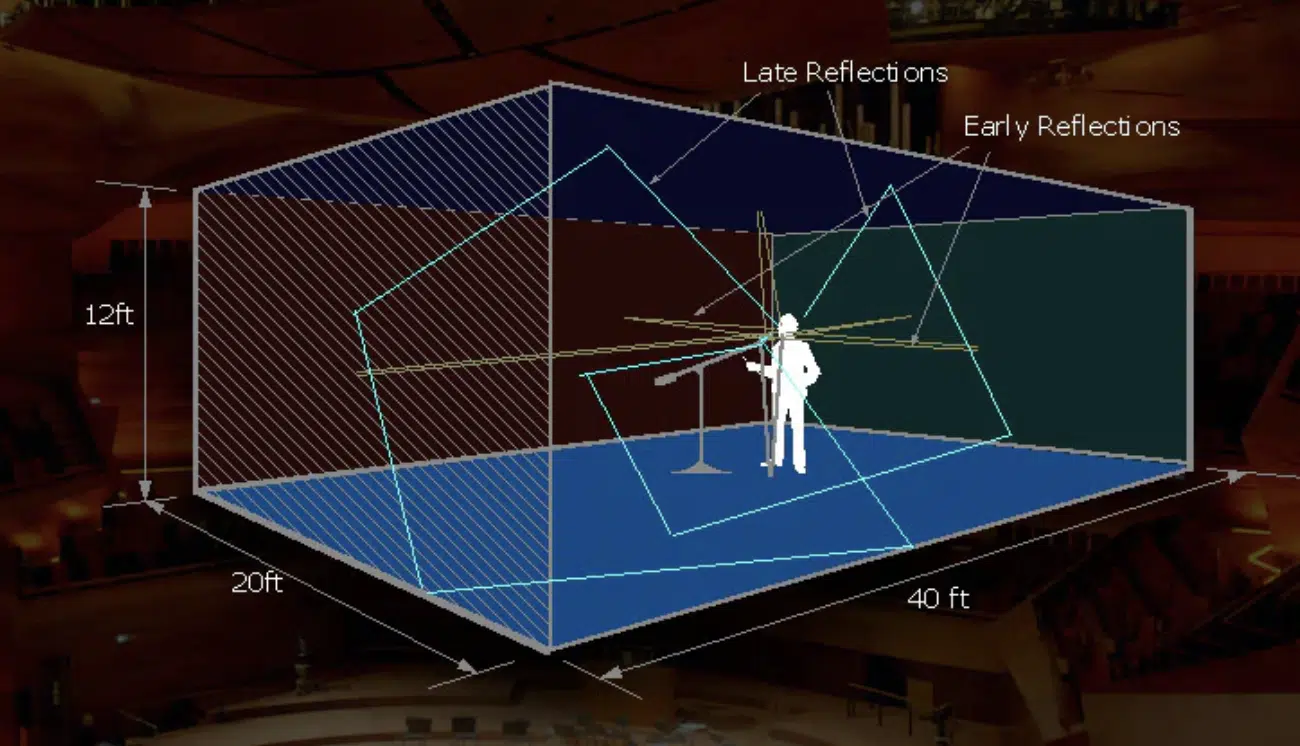
Convolution reverb uses digital samples of real spaces (impulse responses) to create highly realistic reverb effects that are super pleasing to the ears.

Spring reverberation stands apart for its unique sound, characterized by a metallic timbre and a lively bounce that can enhance instruments like guitars and snare drums with a vintage vibe.
This distinct sound, rooted in the physical movement of springs, gives any track a retro, classic character that’s super popular.
While other reverbs aim to recreate natural room spaces or offer smooth, fine, ambient textures, spring reverbs offers a rare color and personality.
One that can make any mix more engaging and dynamic (if done correctly, that is).
Creative Ways to Apply A Spring Reverb Effect (Guitars, Vocals & Other Instruments)
For guitars, spring reverb can be transformative, adding depth and dimension that elevates your instrument’s presence in the mix.
Think of clean electric guitar tracks, where a moderate amount of spring reverberation can recreate the lush, spacious sound (characteristic of surf rock and blues).
NOTE: Adjusting the mix to a higher wet signal can also simulate the effect of playing in a larger, more resonant space, ideal for solo parts or atmospheric backing chords.
Vocals and spring reverb are also like a match made in heaven…
By applying a light to moderate reverb effect, you can enhance the warmth and body of your vocals, which makes them more prominent in the mix.
It’s super popular in genres like vintage pop or rock, where it can add a layer of retro authenticity that people totally love hearing.
Adjusting the decay and tone settings allows you to match the reverb character with the vocalist’s timbre.
It basically ensures that the effect supports the vocal performance rather than overwhelm it or muddy things up.
Other instruments, such as snare drums and keyboards, can also enjoy the versatile texture that spring reverberation brings to the table.
A short, punchy reverb on a snare can add a lively character to the beat, especially in genres like rock and funk (guitarists are super crazy about this one).
Keyboards, on the other hand, can be enveloped in a longer, more diffuse spring reverb to create a spacious, cinematic feel 一 perfect for ambient or electronic tracks.
Experimenting with different settings on various instruments can unlock new dimensions in your music.
So, never feel limited or when it comes to your spring reverb sounds, either when recording or mixing, because that’s how magic is discovered.
-
Experimenting with Signal Path & Effects Chains
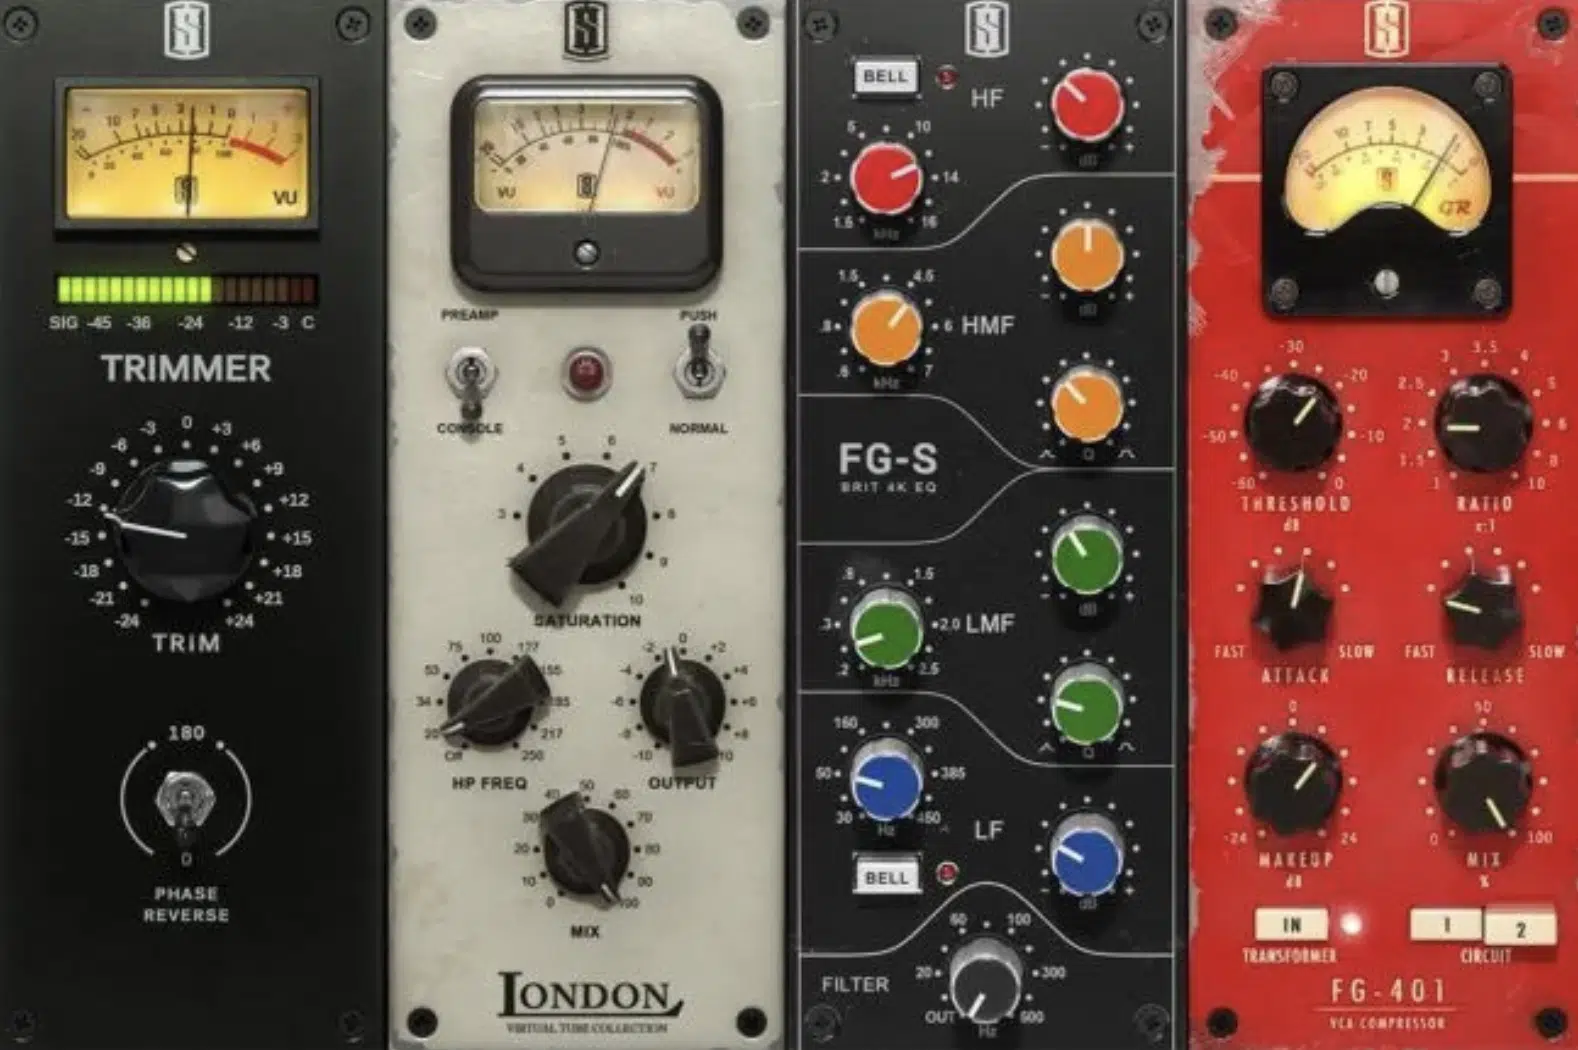
The placement of spring reverb in your signal chain can drastically alter its effect on your sounds.
Placing it early in the chain, before other effects like distortion or modulation, can create a more integrated reverb sound.
This is because the following effects process both the dry signal and the reverb together.
This can be particularly effective for creating lush, atmospheric textures on synthesizers or electric guitars.
Conversely, placing spring reverb towards the end of the chain allows the reverb to envelop all previous effects.
This maintains the character of the reverb and adding a super fluid ambiance to the overall sound.
It works extra good with vocals or lead instruments, where clarity is key, and you want the reverb to unify the sound rather than blend into it.
By changing the order of effects, you can discover new and unexpected sounds that enhance your music’s emotional impact and sonic quality (so always experiment!).
Mixing with Spring Reverb

Mixing with spring reverb requires a careful balance between enhancing the track and maintaining clarity.
In a busy mix, using spring reverb selectively on lead instruments or vocals can help them stand out without cluttering the overall sound.
For example:
- A tight, bright reverb on a lead guitar 一 Can emphasize its melodic lines.
- A subtle, darker reverb on background vocals 一 Can add depth without overpowering the main vocal.
Automation also plays a key role in mixing with spring reverb.
Automating the reverb mix or decay settings can create dynamic changes throughout your track and instantly capture ears; all with good feedback, I can guarantee.
For instance, gradually increasing the reverb decay during a bridge can heighten the emotional impact, leading to a more powerful chorus.
Similarly, automating the mix level of the reverb on snare hits can add variation and interest, which can make each section of your song distinct.
-
Pro Tip
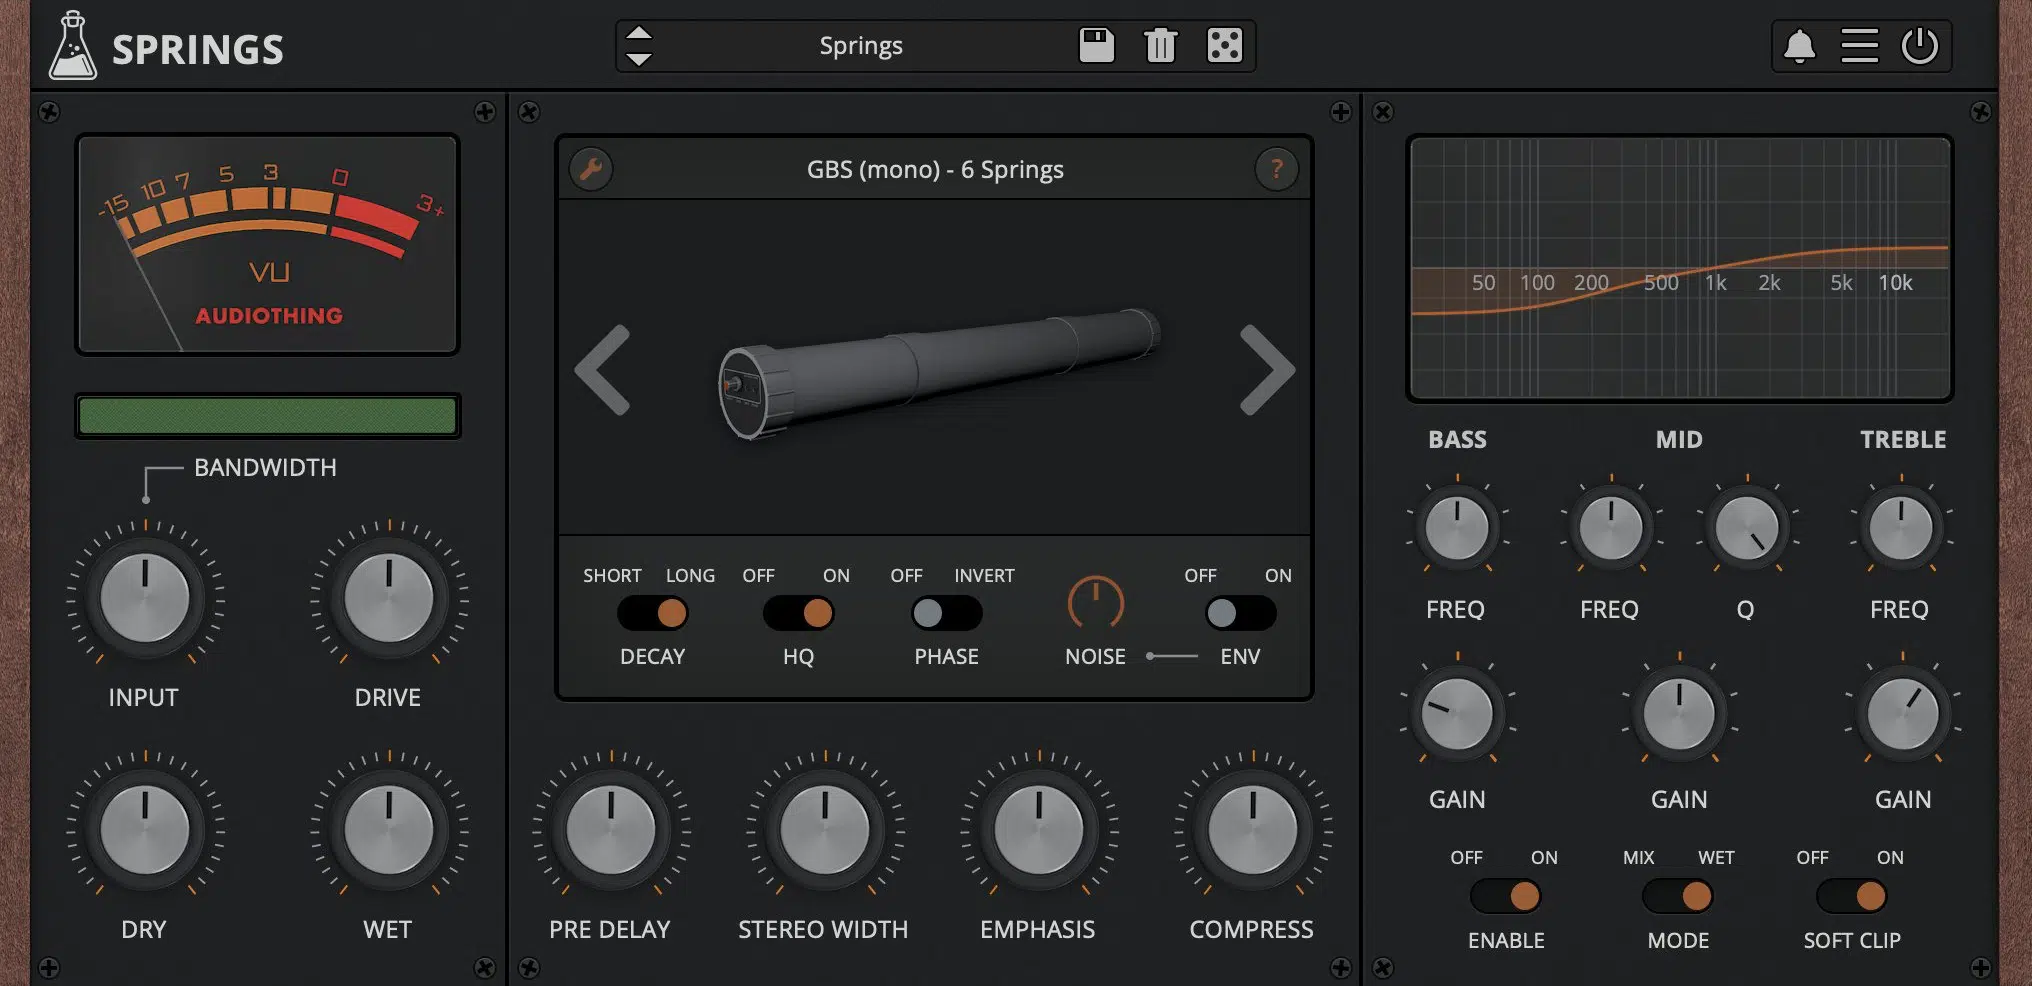
When it comes to the entire mix, the real thing about it is you’ve got to be aware of the cumulative effect of reverb on all elements!
Too much reverb can lead to a wash-out effect, where individual instruments lose their definition.
To fight against this like a champ, use EQ to sculpt the reverb’s frequency response.
For example:
- Rolling off the low-end of the reverb applied to bass and kick drums can prevent muddiness.
- Cutting the highs on the reverb for cymbals and hi-hats can reduce harshness.
It ensures that the spring reverberation enhances your mix without messing around with the sound quality.
Spring Reverb Settings: Breaking it Down
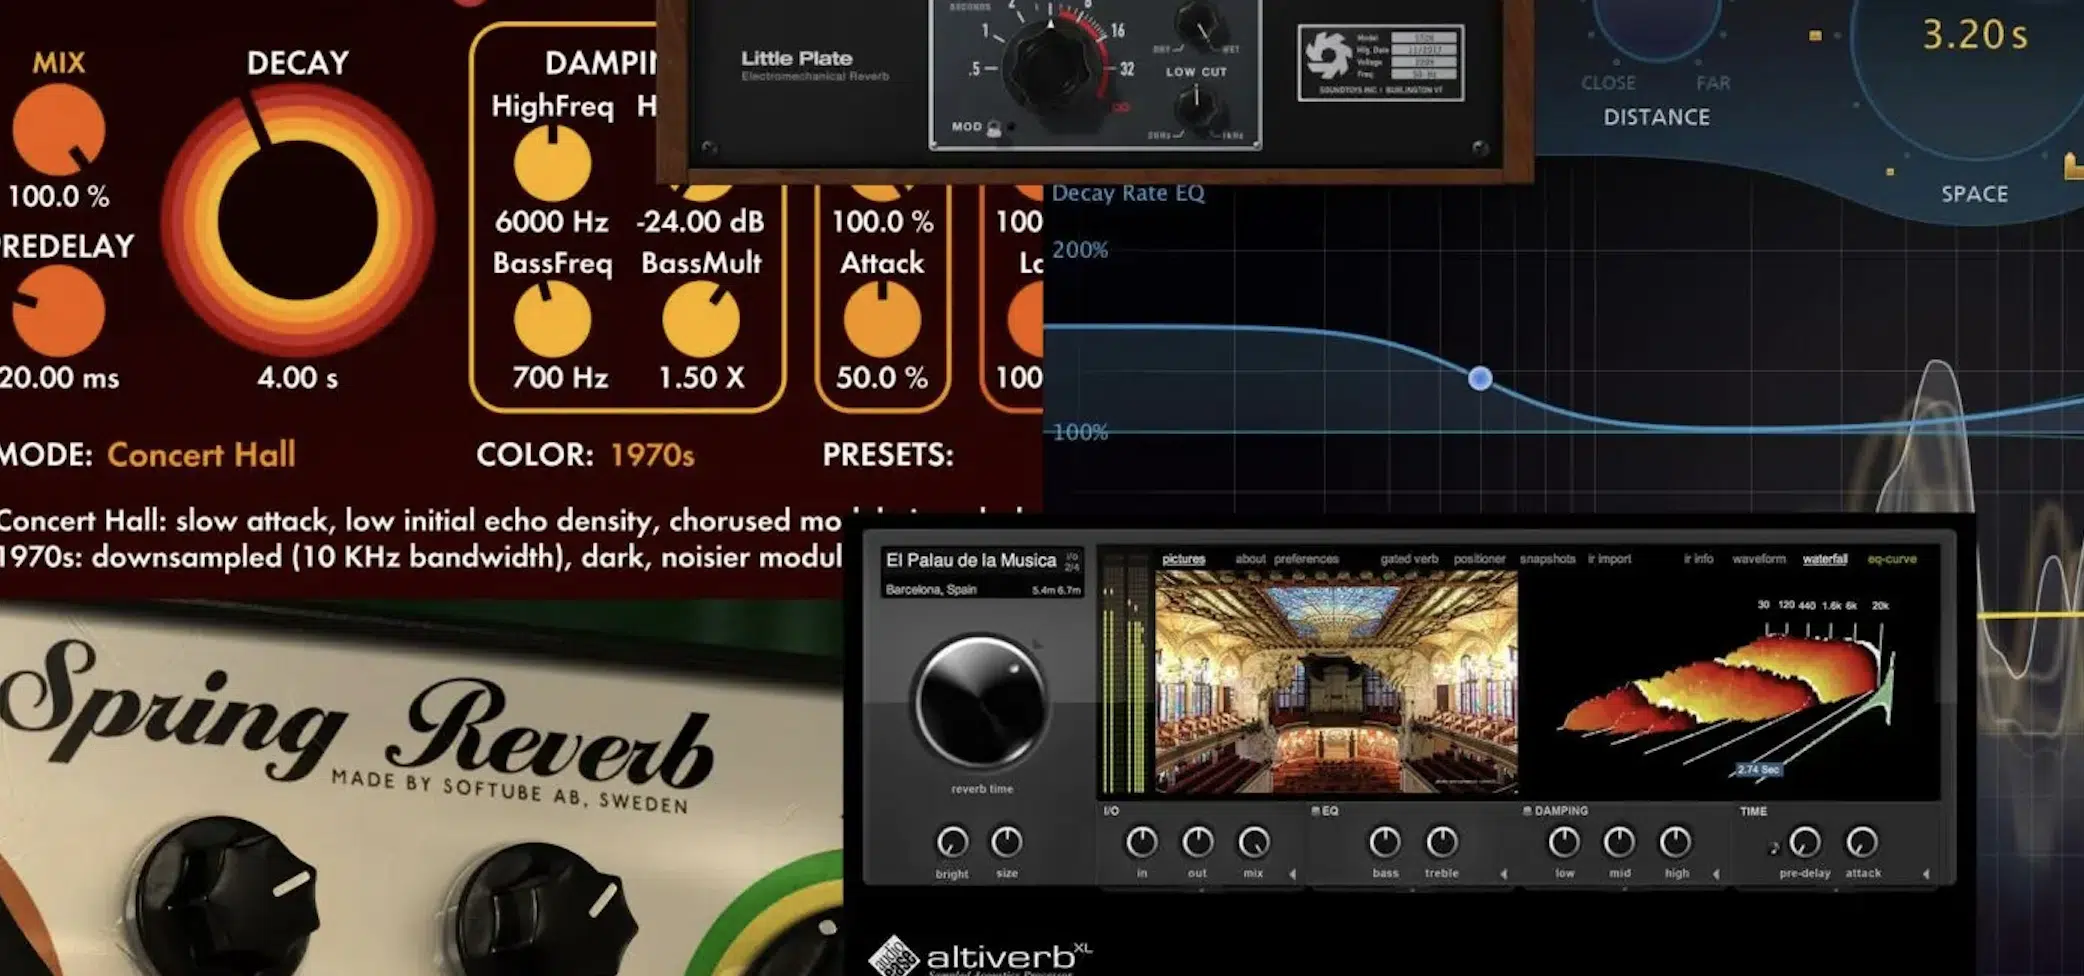
Understanding how to manipulate your spring reverb plugins/settings is going to help you use this effect in your mix with precision and innovation.
Start with the basics: the decay parameter controls the duration (length) of the reverb effect, which allows you to determine how long the sound will linger.
The mix parameter, on the other hand, lets you balance the dry and wet signals 一 helping you to blend the effect smoothly with the original sound.
For example, when working on a vocal track, adjusting the mix parameter to favor a more dry signal can preserve the clarity and presence of the vocals.
While, successfully adding just enough fine reverb to give a sense of space like the real thing.
On the other hand, increasing the wet signal on a lead guitar part recording can immerse it in a lush, expansive reverb.
This creates that dreamy, atmospheric quality that polishes your mix even further.
Many spring reverb plugins also offer advanced features that can further shape your sounds and save them for later to add even more layers of depth.
For example, modulation controls can add movement to the reverb, which creates a more complex, evolving sound.
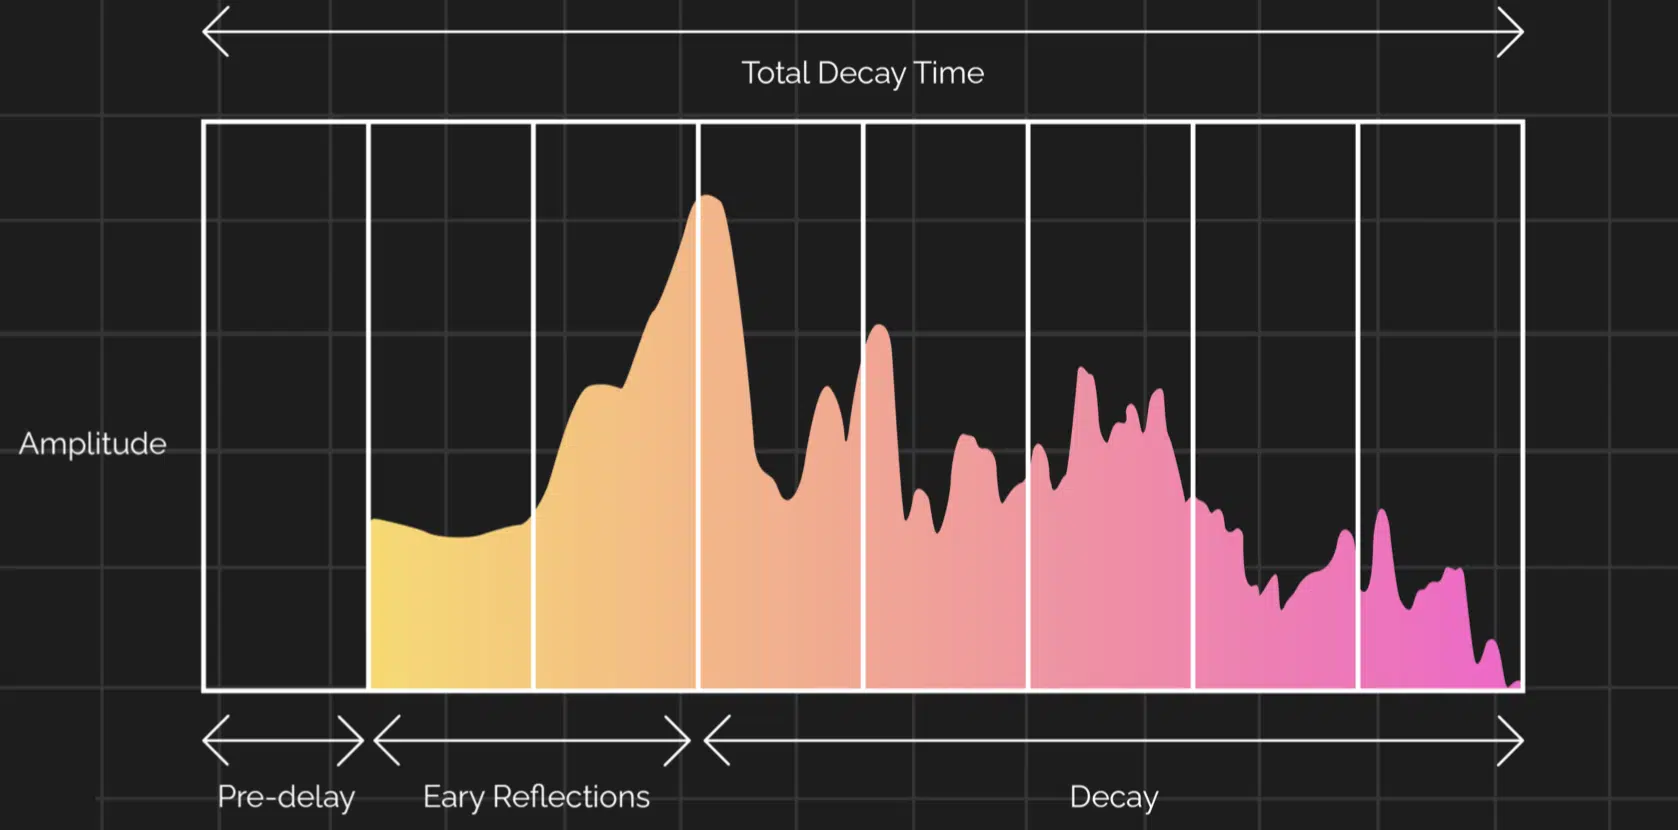
Pre-delay settings allow you to specify a delay before the reverb effect begins, which can help separate the original signal from the reverberation.
It enhances clarity, especially when it comes to vocals and lead instruments.
NOTE: Adjusting the output level of your spring reverb plugin not only affects the overall volume of the effect in your mix but also allows you to control the output dynamics.
Meaning, it ensures that the reverb doesn’t overpower the original signal or get lost in the mix, which is something you’d never want.
Bonus: Analog Spring Reverb (Where it All Began)
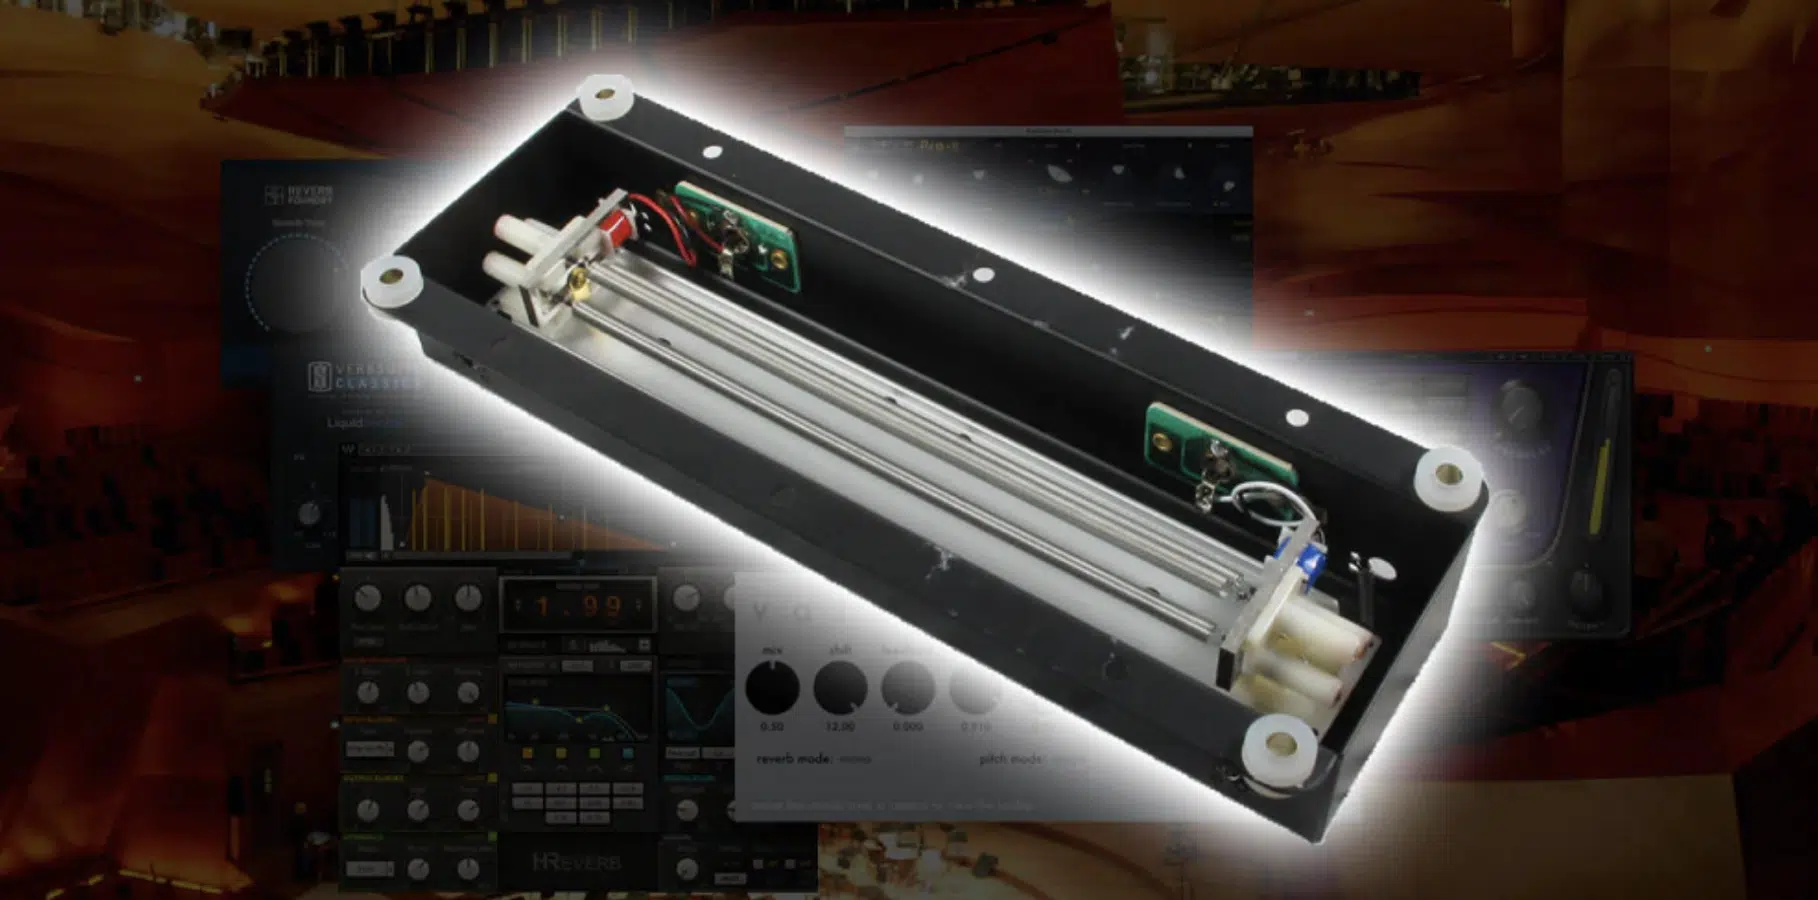
Tracing back to the inception of the analog spring reverb, its journey began with the first Accusonics tank, a device that revolutionized the way reverb was used.
This innovation allowed for the replication of the acoustic phenomenon of reverberation through a compact, mechanical format, making it accessible for modern integration.
Leo Fender was among the OGs who embraced this technology and actually embedded it into any guitar amp you can think of.
This produced the lush, resonant sounds that became emblematic of the surf rock genre and totally changed the game.
The main mechanism (where sound waves are sent through springs, creating a complex series of echoes that emulate natural reverberation) has remained pretty much unchanged.
Essentially, it’s a testament to the original design’s ingenuity and effectiveness.
-
Analog Charm
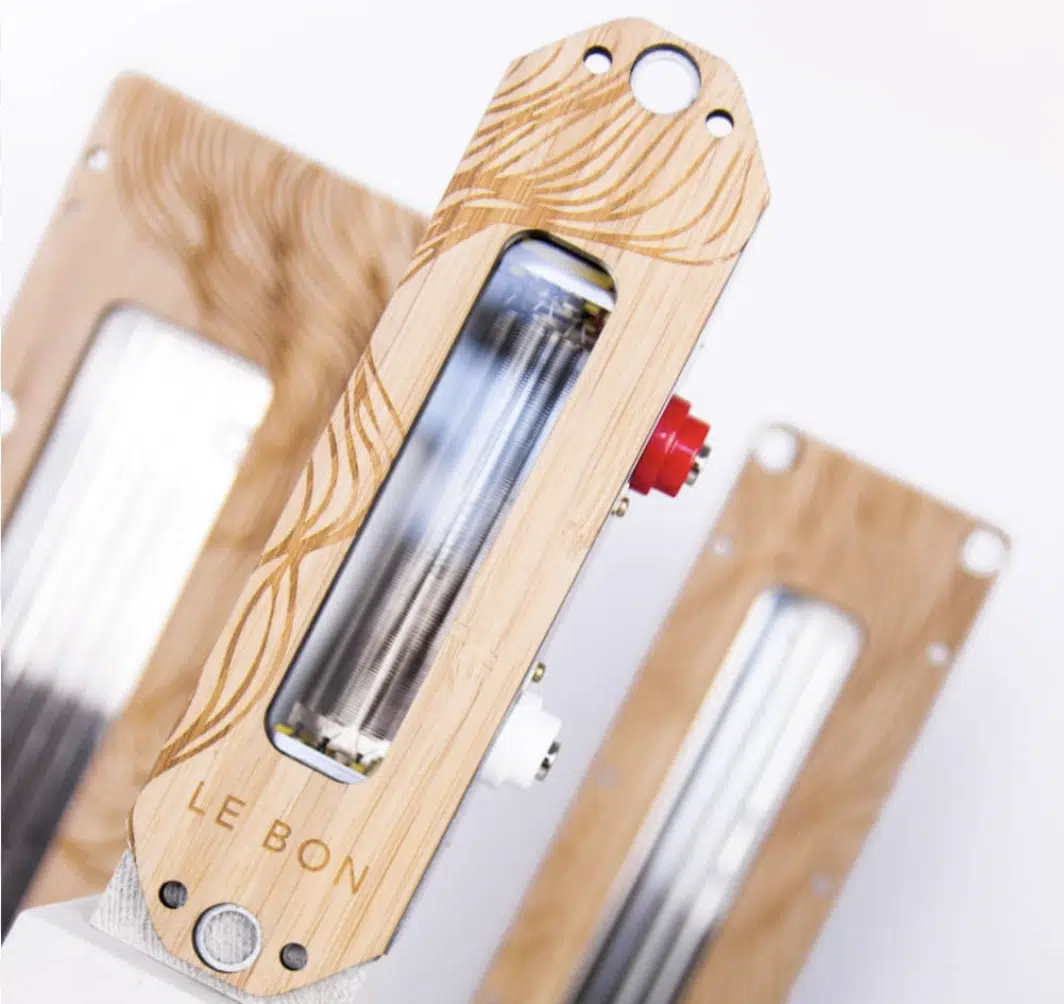
The charm of analog spring reverberation lies not just in its warm, organic sound, but also in its unique response to dynamics and tonal variations.
Unlike a digital reverb, the physical interaction between the amp, the springs, and the metal box housing them introduces subtle nuances hard to pin down.
Plus, a degree of unpredictability that can significantly enrich a recording, of course.
This acoustic complexity lends a character to music that digital emulations strive to achieve (some better than others).
It’s rooted in the interaction between:
- The springs and the transducer at one end 一 Converting electrical energy into mechanical wave energy.
- A pickup at the other end 一 Capturing these vibrations and converting them back into an electrical signal.
The fascination with analog spring reverberation continues because of nostalgia, no doubt (and much respect to the original spring reverb sound).
But, also due to its unparalleled ability to add depth, texture, and atmosphere to music/sounds; so always make sure to play around and experiment.
Spring Reverbs: Final Thoughts
Spring reverb can open up a world of sonic possibilities for you as a music producer.
It can help you to infuse your music with depth, warmth, and the kind of atmospheric textures that breathe life into every track.
You can transform ordinary sounds into lush landscapes and bring vintage vibes into modern productions.
Plus, with the knowledge you’ve learned today, you’ll be able to navigate the nuances of spring reverb and customize its parameters how you see fit.
Plus, creatively apply it across various elements of your mix for enhanced musical expression (which is always super encouraged).
To get a better grasp of spring reverb and enhance your production skills altogether, you’ve got to check out the Free Project Files.
This invaluable resource contains three professional project files 一 each breaking down exactly how professional tracks are made, from start to finish.
And, by swapping out whatever reverb you’ve been using for spring reverb in these projects, you can explore firsthand how this classic effect can elevate your tracks.
You’ll be able to see the richness and character spring reverb offers that’s hard to achieve with any other effect.
This hands-on experience will also allow you to experiment with spring reverb in different musical contexts for added emotional impact and sonic depth.
So, go use the knowledge you’ve learned today to play around with spring reverb to create intriguing and captivating music for the world.
Until next time…


Leave a Reply
You must belogged in to post a comment.