Producing without a DAW can be seriously fun 一 plus it’s very popular right now.
It’s all about using hardware/gear like drum machines, synthesizers, and sequencers to produce music, all without needing a computer.
A DAWless production setup can seriously help you get creative, stay focused, and connect more with your music (if you do it right, of course).
Plus, it’s perfect if you’re trying to avoid endless screen time or just want a more hands-on way to bang out some new tracks.
That’s exactly why I’m breaking down everything you need to know about DAWless production, like:
- The benefits of going fully DAWless ✓
- The gear you’ll need (from grooveboxes to analog synths) ✓
- How to build your workflow with MIDI tracks & sequencers ✓
- Tips for sequencing & arranging without a digital audio workstation ✓
- Designing your sounds with synths and samplers ✓
- Recording and mixing directly on hardware ✓
- How to use standalone workstations for next-level production ✓
- Advanced beatmaking techniques to step up your game ✓
- Tackling challenges like syncing gear & managing space ✓
- Much more about DAWless production ✓
By knowing all about DAWless music production, you can destroy beatblock, and make your own music in a way that feels right to you.
You’ll be able to get things done quickly, get the most out of your gear, and design your own sounds.
Plus, produce tracks without having to be locked down with a computer.
This way, no matter what kind or genre of music you’re making, you’ll be able to dominate every part of the production process and make tracks like a boss.
Table of Contents
Benefits of DAWless Production
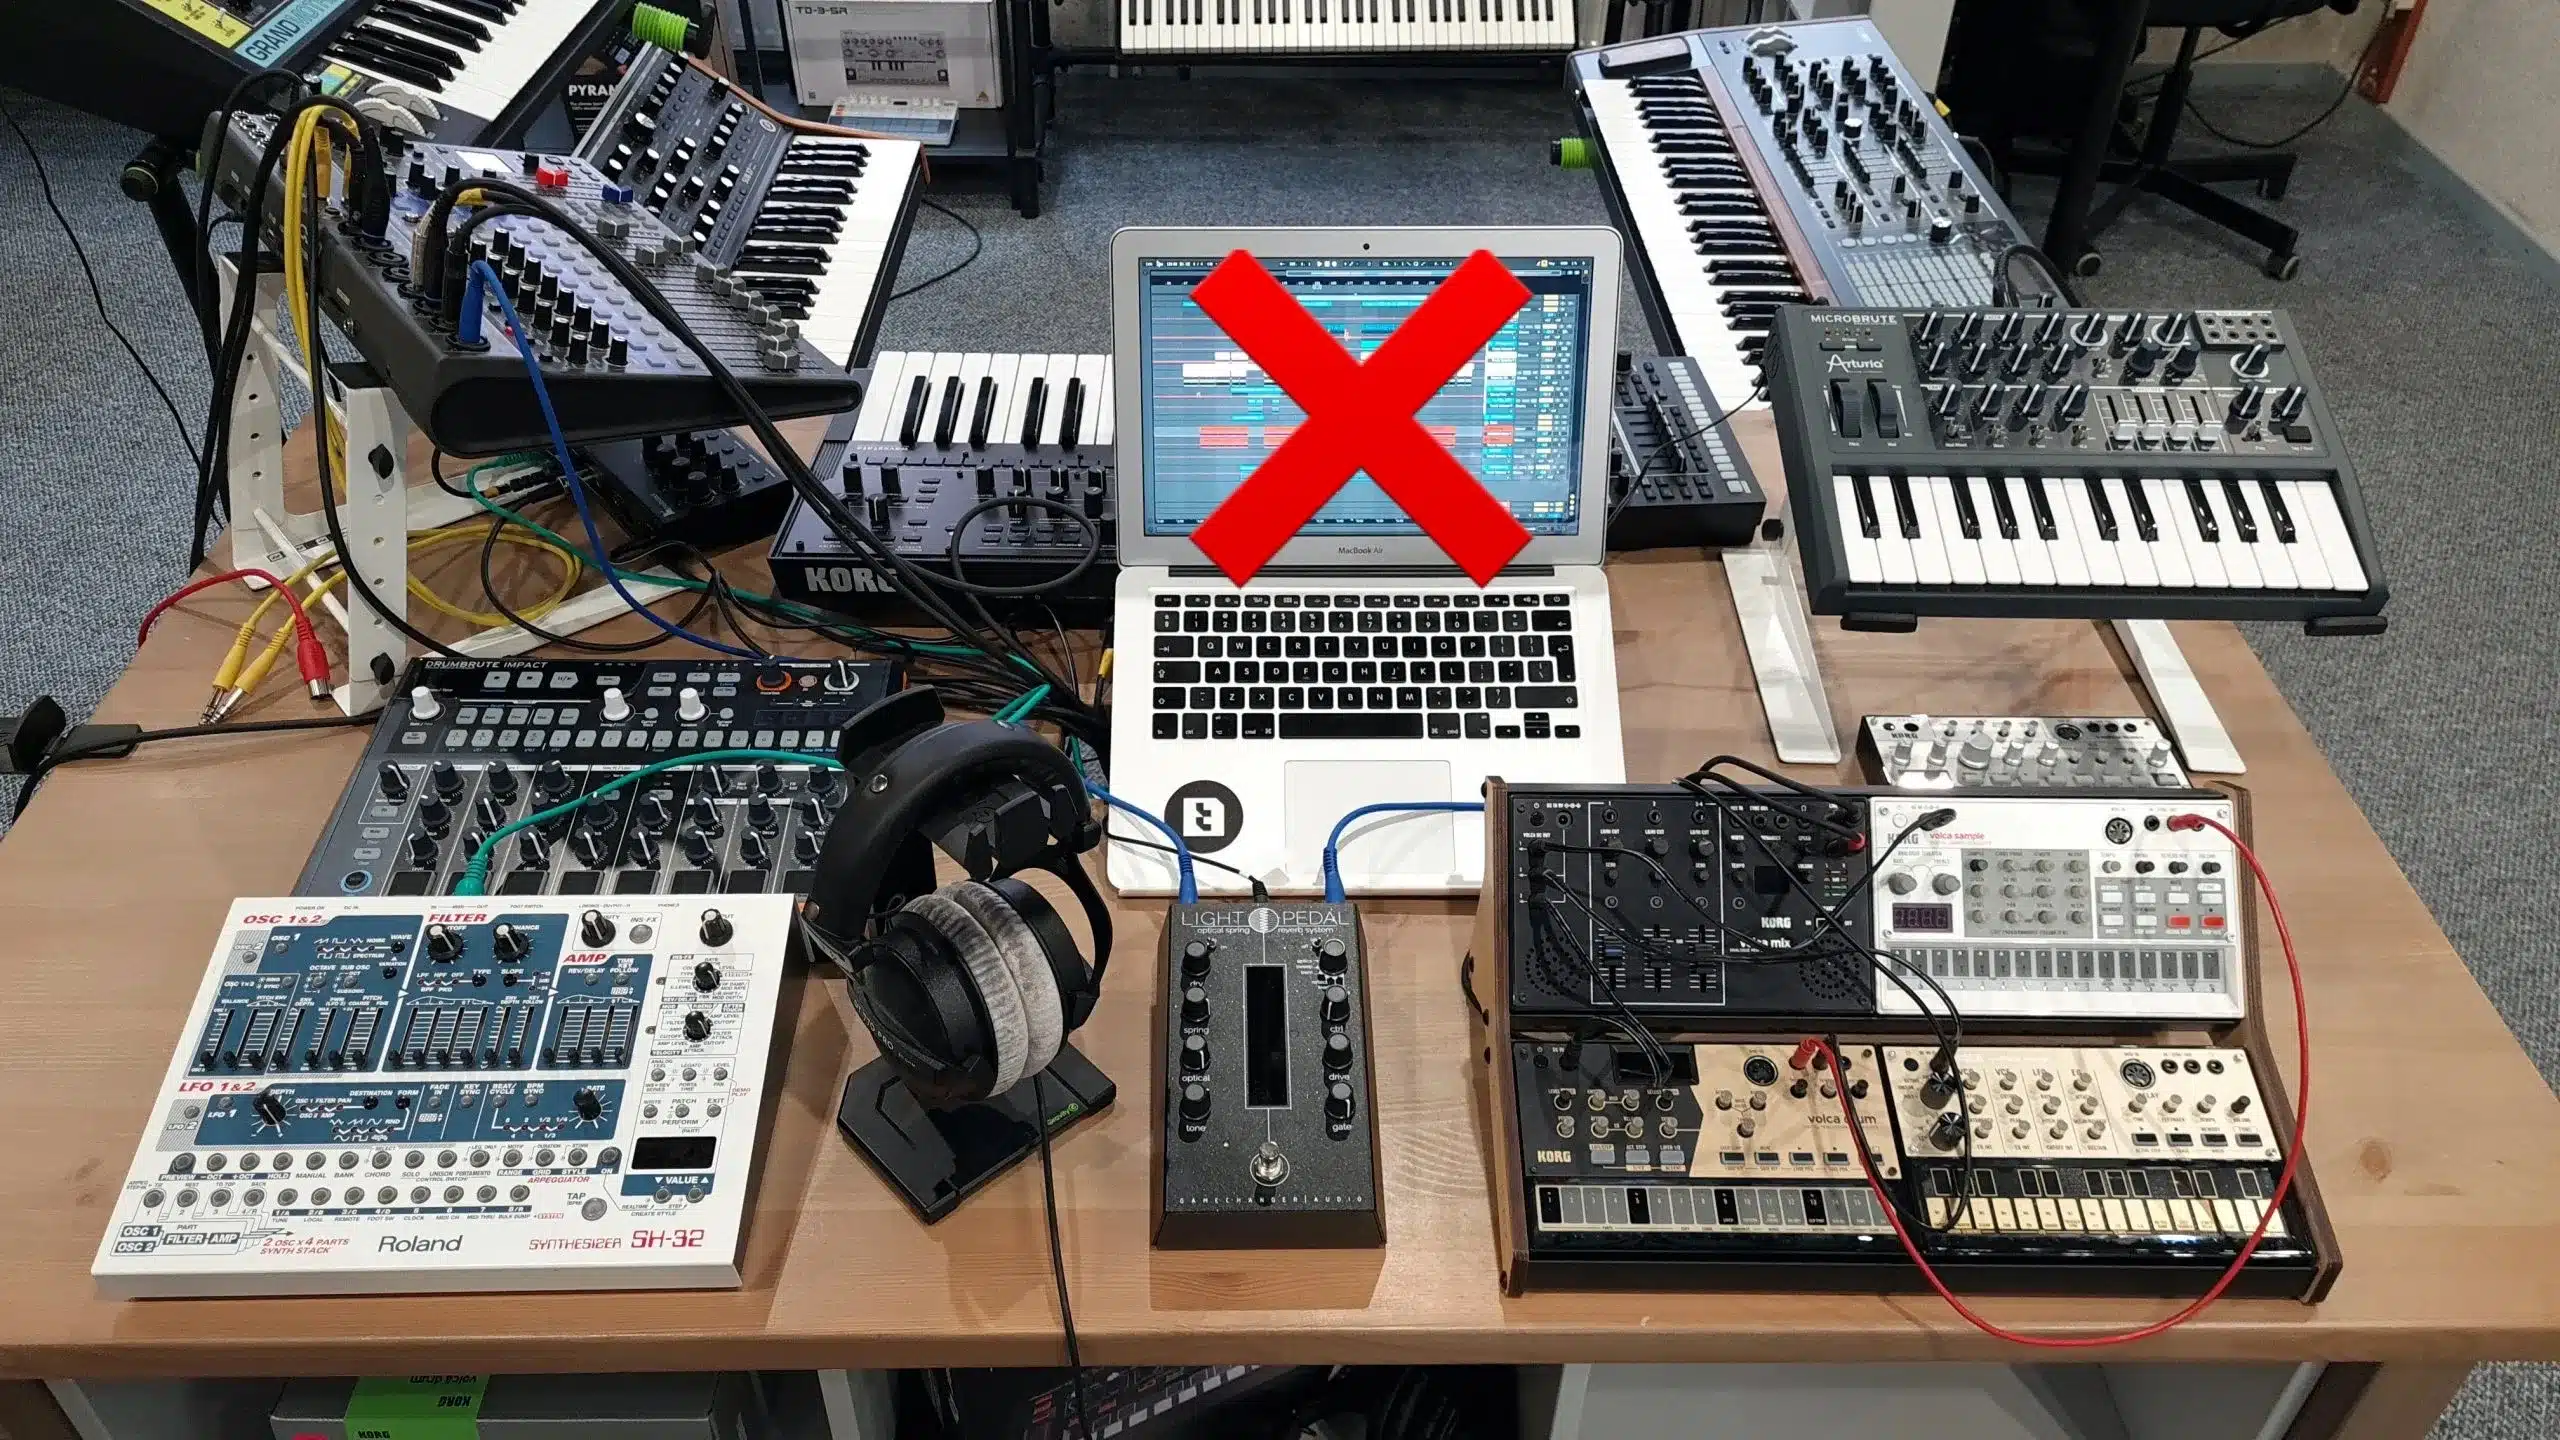
DAWless production refers to producing without a DAW… Doesn’t get much more straightforward than that.
It offers creative freedom that’s sometimes missing when you’re forced to work entirely on a computer all day long, especially in one spot.
By using certain hardware devices, you can focus on the music-making process without being distracted by screens or endless plugin options.
This could be things like:
- Drum machines
- Synthesizers
- Grooveboxes
It not only reduces screen time but also enhances your tactile connection with the music 一 making every adjustment feel on point and precise.
And trust me, even though it might take a little time to get used to, once you’re not tied to a DAW anymore, it can change everything (in a good way).
Don’t worry, we’ll break down everything you need to know about how to produce music in a DAWless setup.
Essential Equipment for DAWless Setups
To get into DAWless music production, you’ll need a mix of hardware tools that allow you to sequence, arrange, and create sounds independently of a computer. So, let’s break down some of the key gear you’ll need when you’re going DAWless.
-
Grooveboxes and All-in-One Workstations
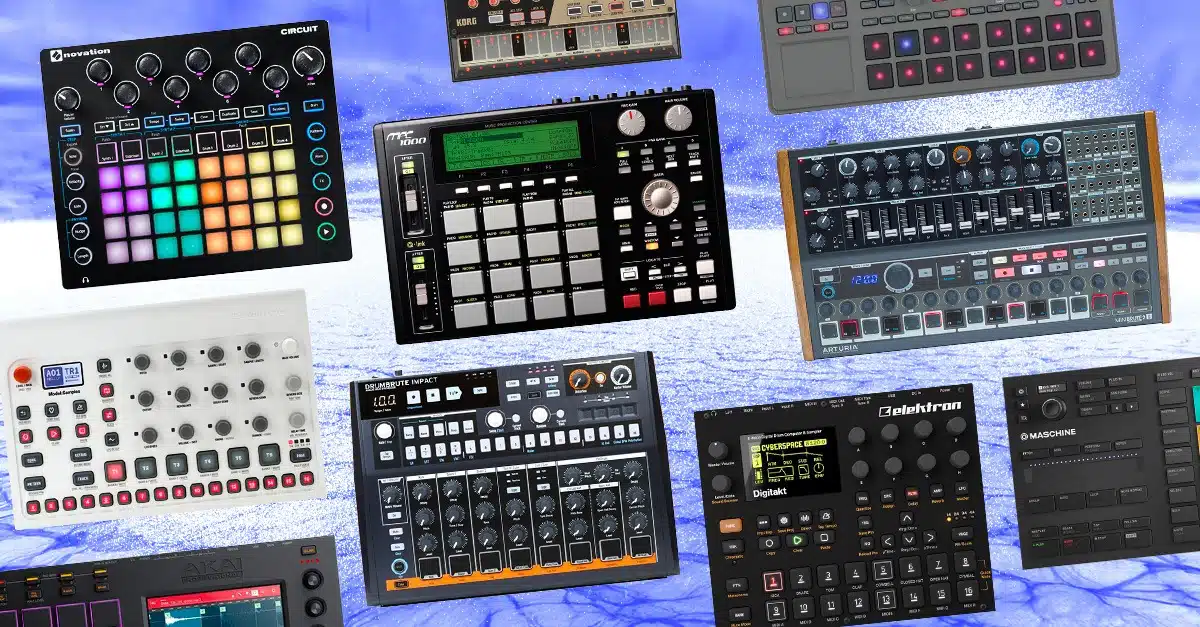
Grooveboxes are the ultimate gateway into DAWless music because they combine:
- Sequencing
- Sound generation
- Even mixing
With their built-in speakers (mostly) and portability, grooveboxes are a great starting point for producers looking to explore DAWless production.
The Novation Circuit Tracks, for example, comes packed with two polyphonic synth tracks, four drum tracks, and a sick step-sequencer.
And yes, the step sequencer is intuitive, yet deep enough for advanced beat-making.
When using grooveboxes, focus on using their MIDI tracks to sync other hardware devices (or even your DAW if you really want) to create a more fluid workflow.
NOTE: If you’re on a budget, check the used market for older models like the Roland MC-101, which still packs a punch for DAWless setups.
-
Drum Machines & Samplers
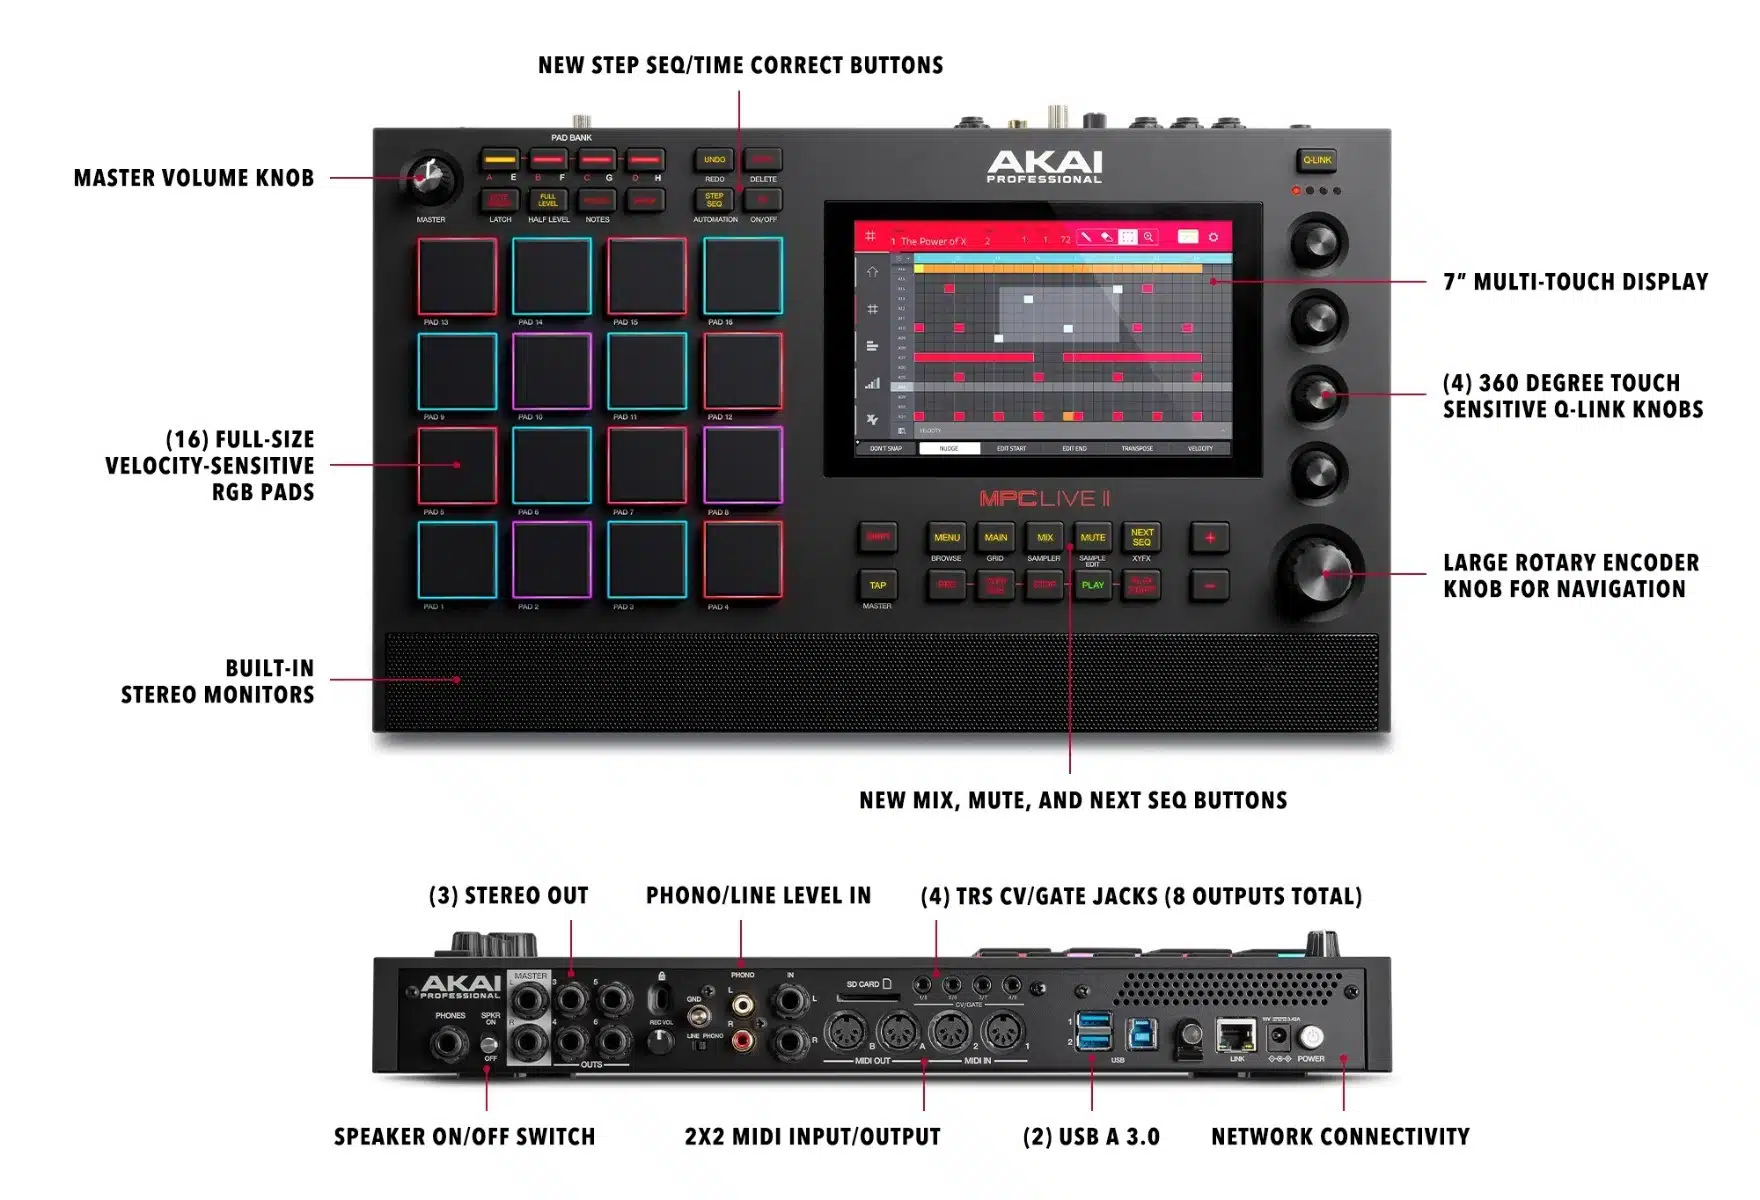
Drum machines like the Roland TR-8S and samplers like Native Instruments Maschine+ are essential tools for knocking out dynamic rhythms and beats like a boss.
The TR-8S, for example, lets you layer analog drum sounds with samples, so you’ll have all the flexibility you’ll need.
It’s perfect if you’re making electronic music or working with acoustic drum textures.
And, by using a step sequencer on these devices, you can program complex drum patterns without needing a computer screen, keeping your creative process fluid.
Many drum machines now come with built-in effects (like delay and reverb), which can take your drum sounds to the next level without relying on external hardware.
PRO TIP: Experiment with routing one of the same MIDI outputs (trigger signal) to two separate device MIDI inputs.
Then, use each device’s audio output routed to two separate tracks on your sampler.
This lets you capture live elements and add more organic layers to your drum tracks every single time, which will really kick things up a notch.
So, whether you’re creating hip-hop beats or playing around with EDM, drum machines and samplers are perfect for any DAWless system.
If you want a portable DAWless system, try combining a small drum machine like the Korg Volca Beats with other compact devices…
This could be like a small synth or even any module from the Volca Series.
The Volca Series is designed to be small, budget-friendly hardware devices, with some being digital-based and others analog (and it’s official, trust me).
These devices are even intended to route and combine together for a self-contained Volca setup, and they even have a 4-track mixer for the job.
-
Synthesizers
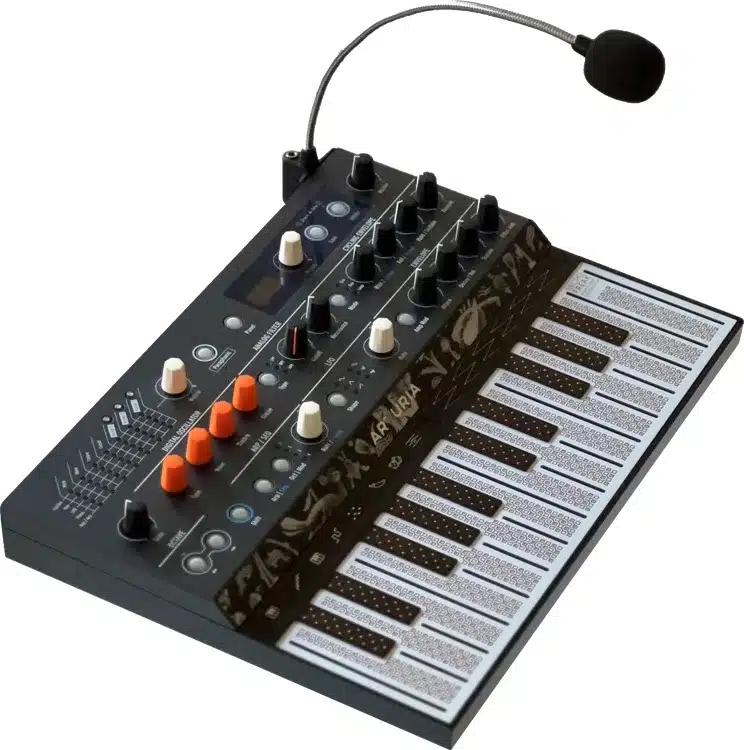
Synthesizers are at the heart of DAWless music production because, when it comes to sound design and melodic creativity, it doesn’t get much better.
Analog synths like the Moog Subsequent 37 or the Korg Minilogue bring edgy, warm tones to your own music that are impossible to replicate fully with virtual instruments.
For electronic music producers looking to add intricate textures, a polyphonic synth like the Sequential Prophet Rev2 can handle epic chords and evolving pads flawlessly.
Many synths also include very advanced and unique built-in sequencers, such as the MiniFreak and MicroFreak, so keep that in mind as well.
It lets you program MIDI notes directly on the hardware for added flexibility in your DAWless setup.
When it comes to Arturia’s synths, these sequencers even introduce a generative workflow to expand your creative options.
To balance sound generation across multiple synths, make sure your MIDI controller is set up to manage several devices at the same time.
This is where having multiple inputs on your MIDI interface comes in handy.
This setup includes synths with built-in keyboards, as most can function on multiple channels and even independently from the synth’s internal architecture altogether.
If portability is your focus, try out compact options like the Roland Boutique Series 一 perfect for live performance and integrate easily with other hardware.
When you’re going DAWless, especially with older synths or all-in-ones like those from the Akai MPC Live/Studio series, always keep a high-quality blank SD card on hand.
Some of these devices include an SD card slot for saving custom:
- Patches
- Presets
- Projects
And this my friends, is a lifesaver when experimenting with modular synthesis setups if your device includes the slot.
Other, more modern setups, aside from all-in-ones, usually store this data on the hardware’s internal memory, just sayin’, but it was still important to mention.
In these cases, and even with SD cards, make sure to back up your data somewhere secure, as this slightly older technology can sometimes become finicky.
And, let’s be honest, less reliable with heavy use.
-
Sequencers
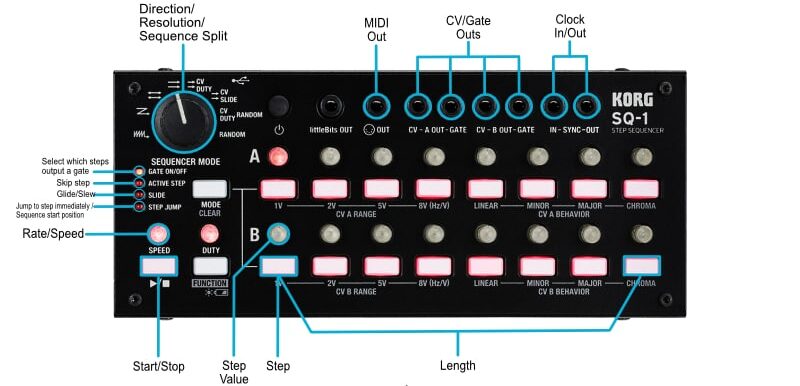
A quality sequencer is another must if you’re looking to work with a DAWless system because it controls everything from MIDI notes to drum patterns.
And, all the MIDI CC and CV data associated with it too, of course.
Devices like the Elektron Octatrack allow for real-time step sequencing and even step-recording, which will really help you out.
It gives you the freedom to modify patterns on the fly while keeping your hands off the computer screen.
These devices also let you input data at your own pace if the tempo is too fast or your playing skills are not up to speed.
For producers who prefer tactile control, the Arturia Keystep Pro combines traditional piano roll editing with hands-on sequencing.
It’s great for creating complex arrangements.
It’s one of the few controllers that also outputs CV (Control Voltage) signals, so when it comes to DAWless setups, it’s perfect.
Especially when it comes to modular rigs that don’t accept traditional, more modern MIDI CC.
Sequencers also feature tools for live performance, such as loop recording or trigger modes 一 letting you create dynamic changes during a session.
If you’re working with multiple synths and drum machines, make sure to look for sequencers with multiple inputs and outputs to streamline your hardware setup.
PRO TIP: Sequence two MIDI tracks at the same time to layer melodies or harmonies without cluttering your workflow.
Always experiment with your sequencer’s clock settings (swing, shuffle, and polyrhythmic options) to breathe life into your electronic instruments and drum machines.
-
External FX and FX Pedals
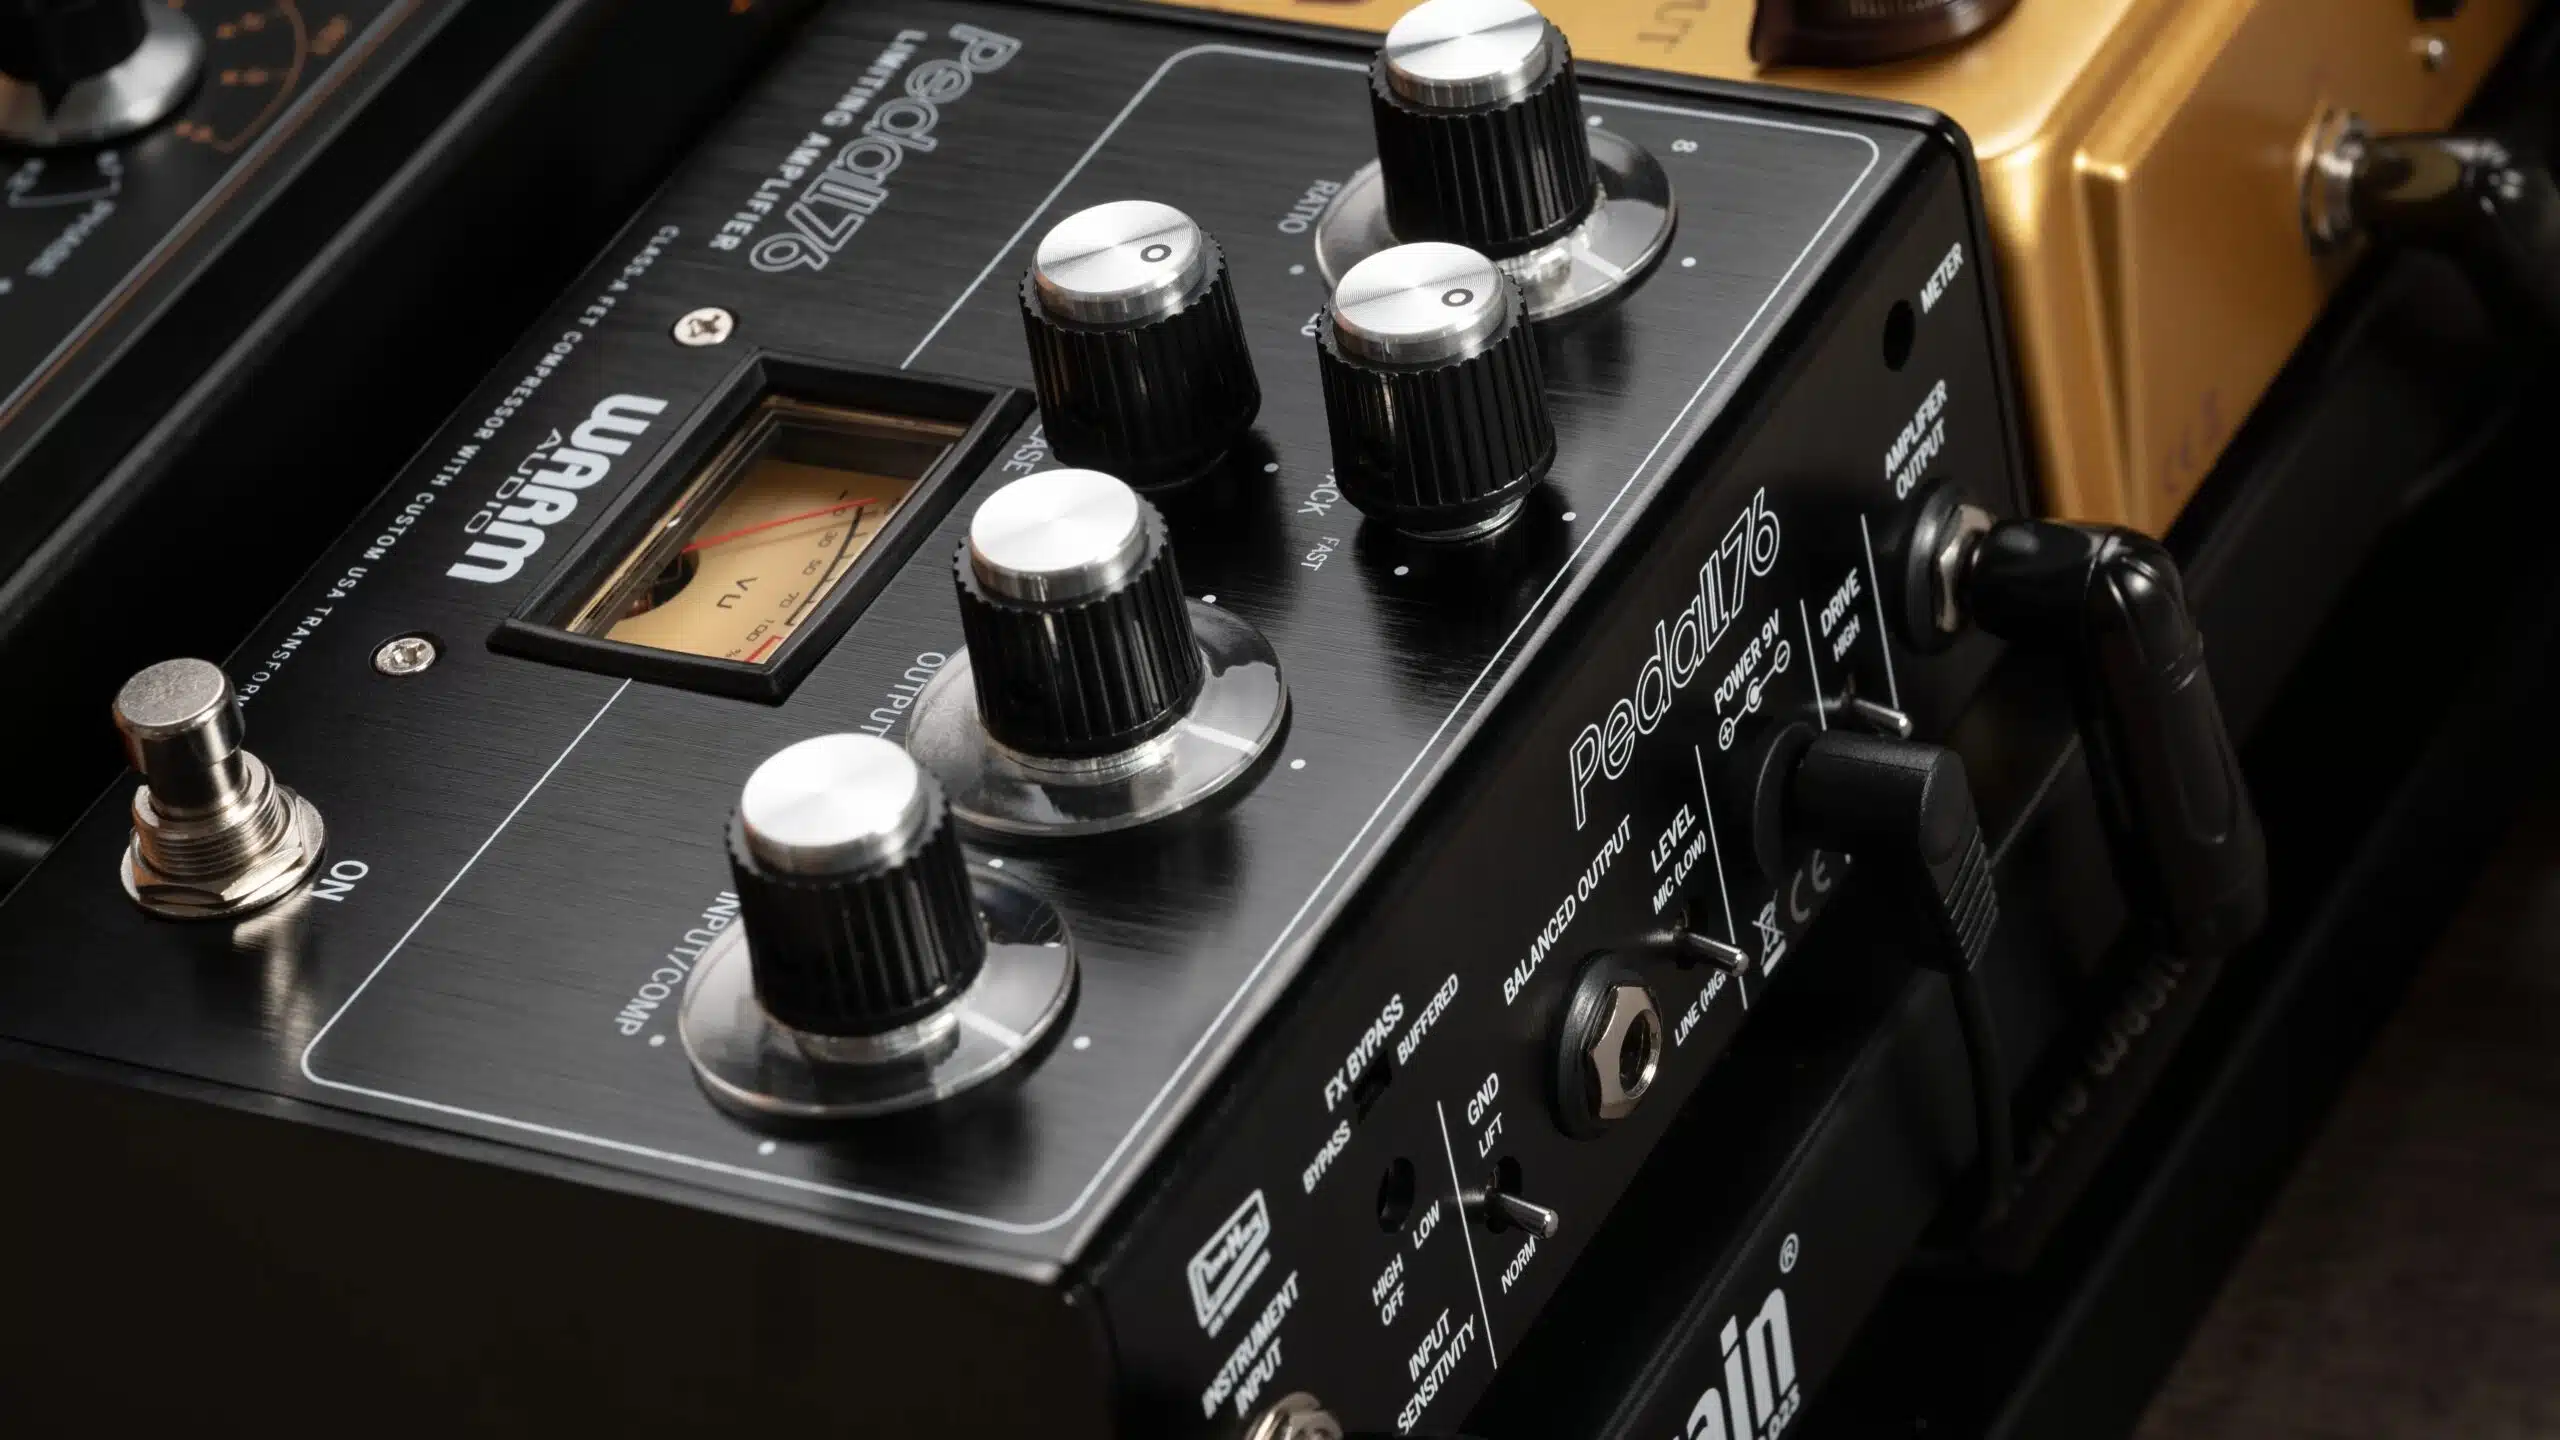
External FX and FX pedals can take your DAWless production to a whole new level by adding unique character and depth to your sounds.
Pedals like the Strymon BigSky for reverb or the Electro-Harmonix Canyon for delay can transform simple synth or drum patterns into lush, evolving textures.
To get the best results, use a mixer with aux sends (and included FX), like the Allen & Heath ZED-10FX.
This allows you to route specific tracks through your pedals without permanently altering the signal.
I suggest you pair distortion pedals, such as the Pro Co RAT, with basslines to give them more grit, or use a chorus pedal, like the Boss CE-2W, to widen melodic parts.
If you’re using modular gear, effects processors like the Eventide H9 can interface directly with your rack to add dynamic effects to evolving patches.
And don’t forget, pedals are also made as dynamic effects, such as the superb Pedal76, an analog FET compressor by Warm Audio, carefully modeled after the classic 1176.
When tested head-to-head, it’s comparable to Warm Audio’s full rack version of their 1176 compressor.
Always pay attention to gain staging and impedance when adding FX pedals to your setup to avoid signal loss or unwanted noise.
-
Mixers and Audio Interfaces
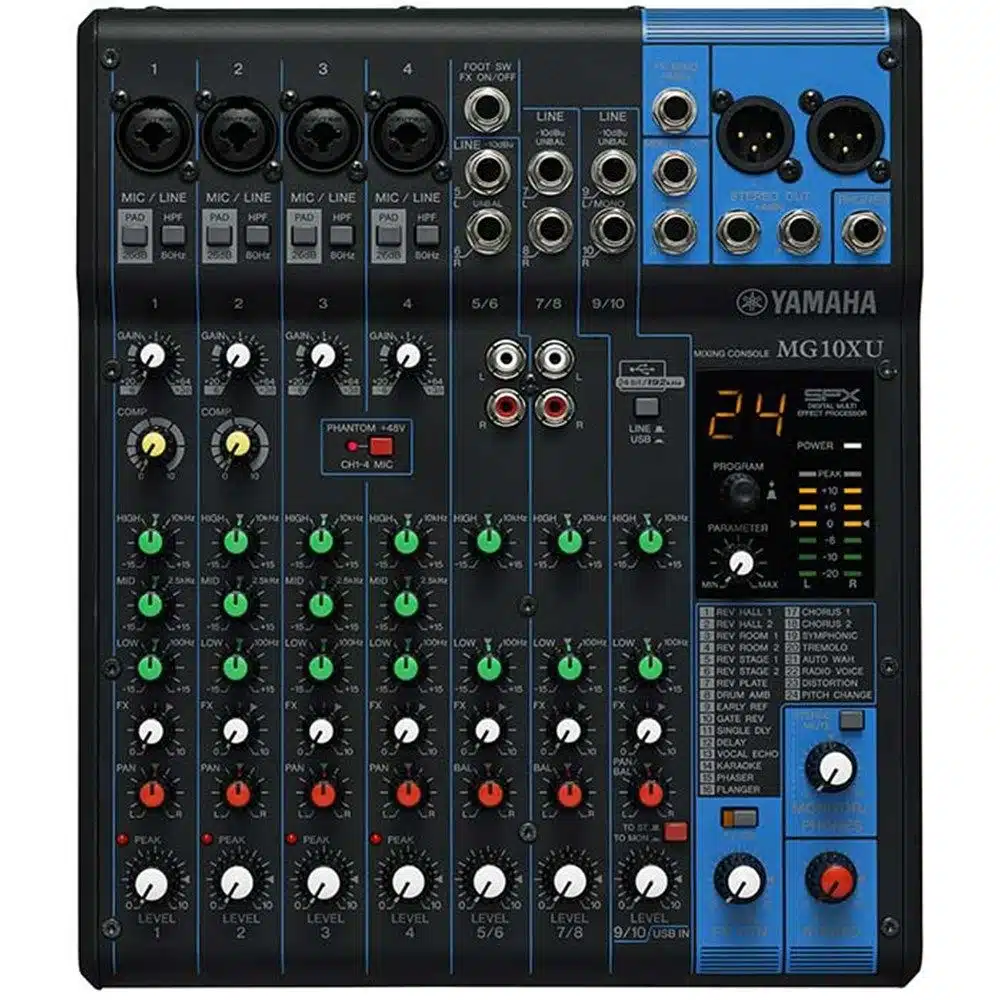
A reliable mixer is also super important for balancing the various elements in your DAWless production setup and achieving professional sound quality.
Compact mixers like the Yamaha MG10XU offer:
- Multiple inputs
- Onboard effects
- Even USB connectivity for hybrid workflows
If you decide to record straight into your studio, that is.
For a more portable DAWless system, mixers like the Soundcraft Notepad-8FX provide the essentials, including EQ (and seven other essential/standard effects).
And built-in speakers for quick monitoring as well.
If you need a solid audio interface, the Focusrite Scarlett 18i20 pairs perfectly with DAWless setups because they’re all about low-latency recording and integration with hardware synths and drum machines.
NOTE: For DAWless setups, my preference is the Arturia AudioRig 16, as it picks up the slack for tasks that usually only a computer can handle.
This makes it a great choice for setting you up for success, as it’s specifically designed for the DAWless workflow.
When working without a computer, pay close attention to gain staging so your levels are always consistent across all your gear to avoid distortion or unwanted noise.
Some more advanced hardware is even starting to include auto-gain functions, but at this point, it can be pricey since it’s still relatively new technology in the hardware world.
Mixers with dedicated AUX sends are ideal, and rather essential for routing external effects like delay or reverb, which can elevate your sounds during live performance.
This setup fully frees you from a DAW and eliminates the need to finish your DAWless project in a DAW (although for the final mix, it’s often a good idea to do this regardless).
Remember, the DAWless workflow is intended for creating, not finalizing…
When arranging your setup, place your mixer at the center for easy access, as this becomes your control hub.
Finally, consider mixers with SD card slots for direct recording because they can save time and simplify your creative process.
Plus, help you easily transfer your project files from hardware to music production software.
Setting Up Your DAWless Workflow
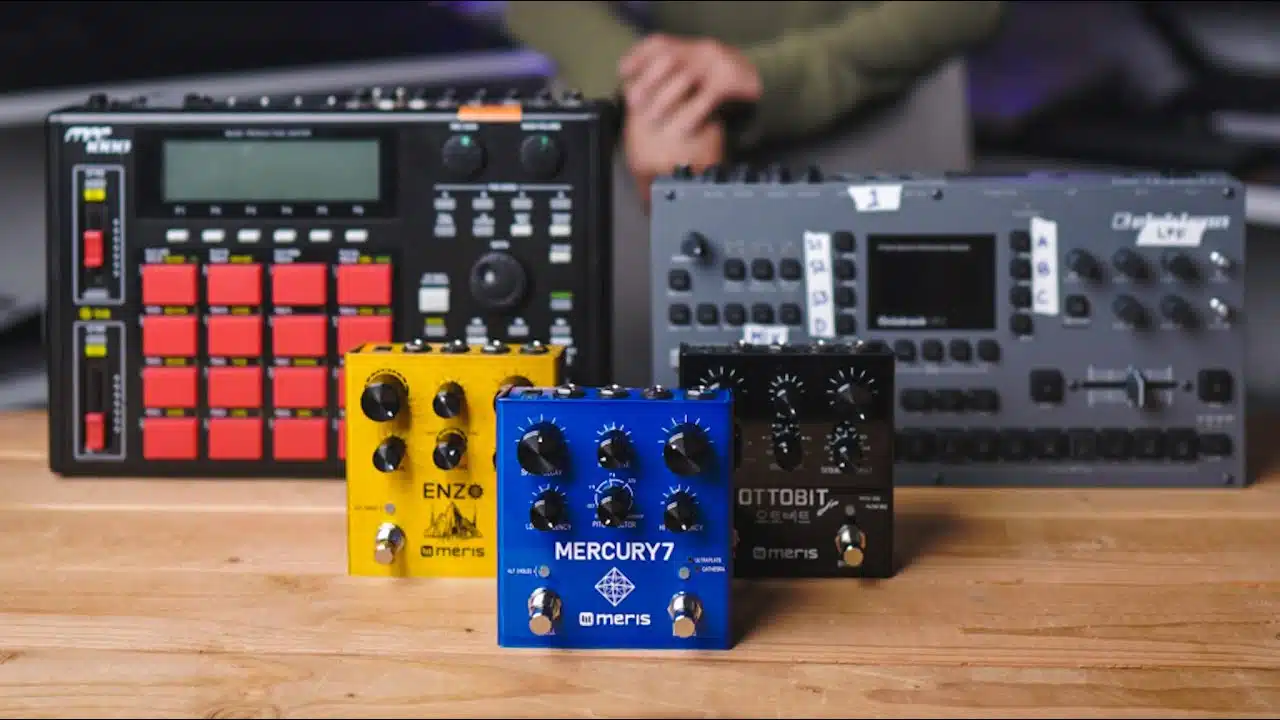
Building a solid DAWless production workflow starts with connecting your gear in a way that feels intuitive and keeps you focused on making music like a pro.
Start by identifying your central piece of hardware…
This could be a Novation Circuit Tracks, which can sequence multiple synths and drum machines, or a MPC Live II, which acts as a sampler, sequencer, and recorder all in one.
Just make sure to use a reliable MIDI interface like the iConnectivity mioXL if you’re managing several devices.
This way, you’ll have perfect communication between your:
- MIDI controller
- Drum machines
- Synths
Remember, these devices are exclusive to MIDI signals and don’t carry any audio, but you can find all-in-one interfaces that may be fine.
Audio interfaces are increasingly adding more MIDI ports specifically to complement this workflow, which is rapidly gaining popularity, so you should be fine.
As we navigate the age of plugin overload, many producers (myself included) are experiencing what we like to call plugin paralysis…
This is beat block caused by having too many options sitting dormant in our plugin folders, no matter how dope they might be.
So, make sure to pay attention to your signal flow…
For example, run your primary audio outputs into a mixer like the Yamaha MG10XU to balance levels and EQ before sending them to monitors or a recorder.
NOTE: If you’re incorporating modular gear, use a CV-to-MIDI converter to sync it with your sequencers and make sure to layer your DAWless production setup up right.
Place the devices you tweak the most, like synths or sequencers, within easy reach to maintain creative momentum during sessions.
If you’re using a device such as Akai’s MPC Live/Studio series (among others), you can even set up each device in your hardware setup to be controlled by the MPC.
This configuration allows the MPC to act as a central hub for tweaking, further manipulation, and overall control of your entire system.
-
Sequencing and Arranging Without a DAW
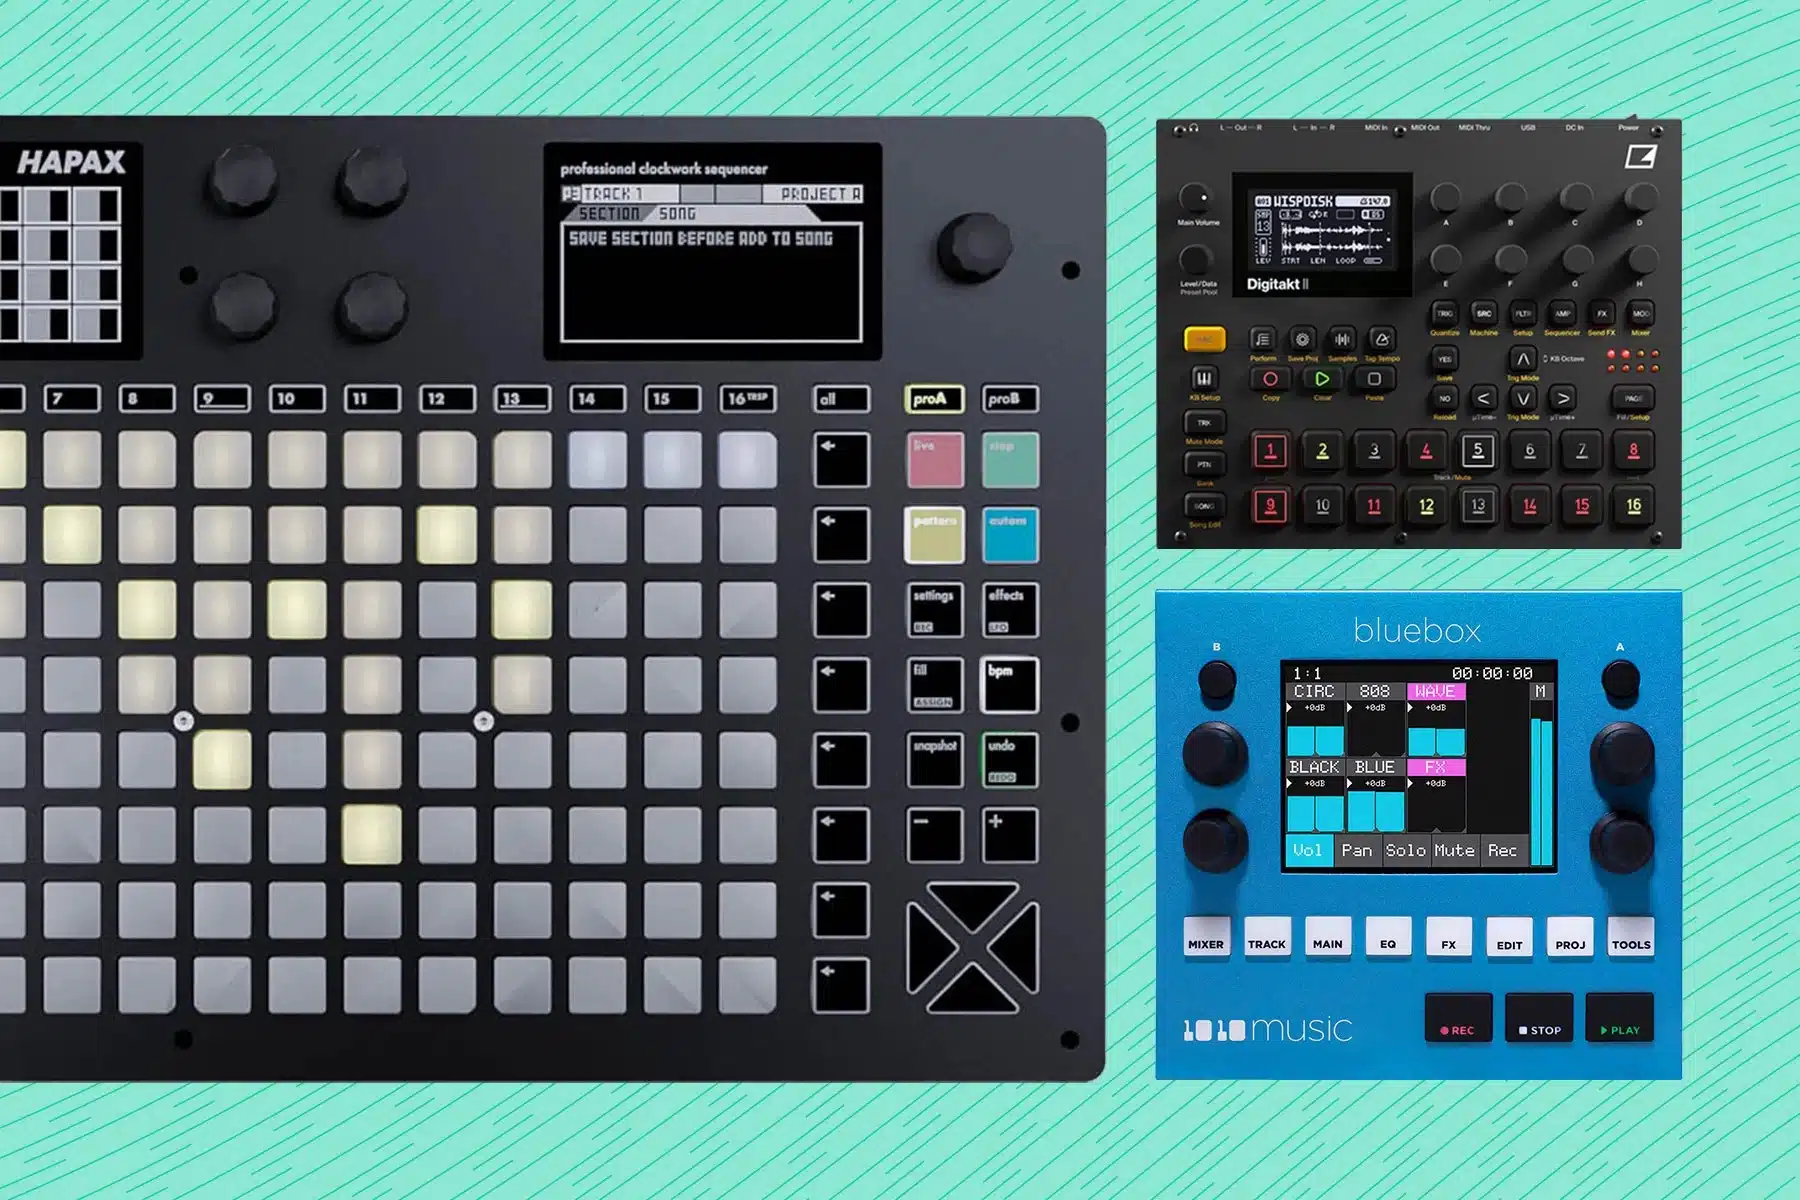
Sequencing and arranging without a DAW (digital audio workstation) can feel freeing, for sure, but it does require a clear plan for your gear.
In fact, for me, it took many months to get used to this workflow, and that’s after learning and memorizing how each device’s functions work fluently.
This is because once you work in such a sick environment like a DAWless setup, you’ll realize there are many workarounds you’ll need to figure out and create.
This way you can accomplish tasks you’ve already learned to do simply, sometimes by just enabling a function in your DAW.
However, the reward in the long term is worth the frustrating “burn-in” or “break-in” phase, believe me.
It helps to use a device like the Elektron Octatrack, as it is a powerhouse 一 letting you sequence MIDI notes for up to eight tracks.
Each with its own unique timing and swing settings.
Devices like this require less heavy lifting to perform the simple tasks we’re so used to doing effortlessly in our DAWs of choice.
Start simple… Use a step sequencer to program a 16-step loop for your drums, then layer in basslines or synth melodies by assigning tracks to different MIDI inputs.
For more complexity, a sequencer like the Squarp Pyramid allows you to arrange patterns into full songs, complete with tempo changes and time signature shifts.
When arranging, think in terms of sections: use pattern chaining to build intros, verses, and choruses without stopping the flow of your session.
Live performance tweaks (like muting tracks or adjusting step probabilities) can add spontaneity and keep your arrangements dynamic.
A helpful technique is to sequence two MIDI tracks for layered melodies, such as pairing a lead synth with a pad for better textures.
-
Sound Design in a DAWless Environment
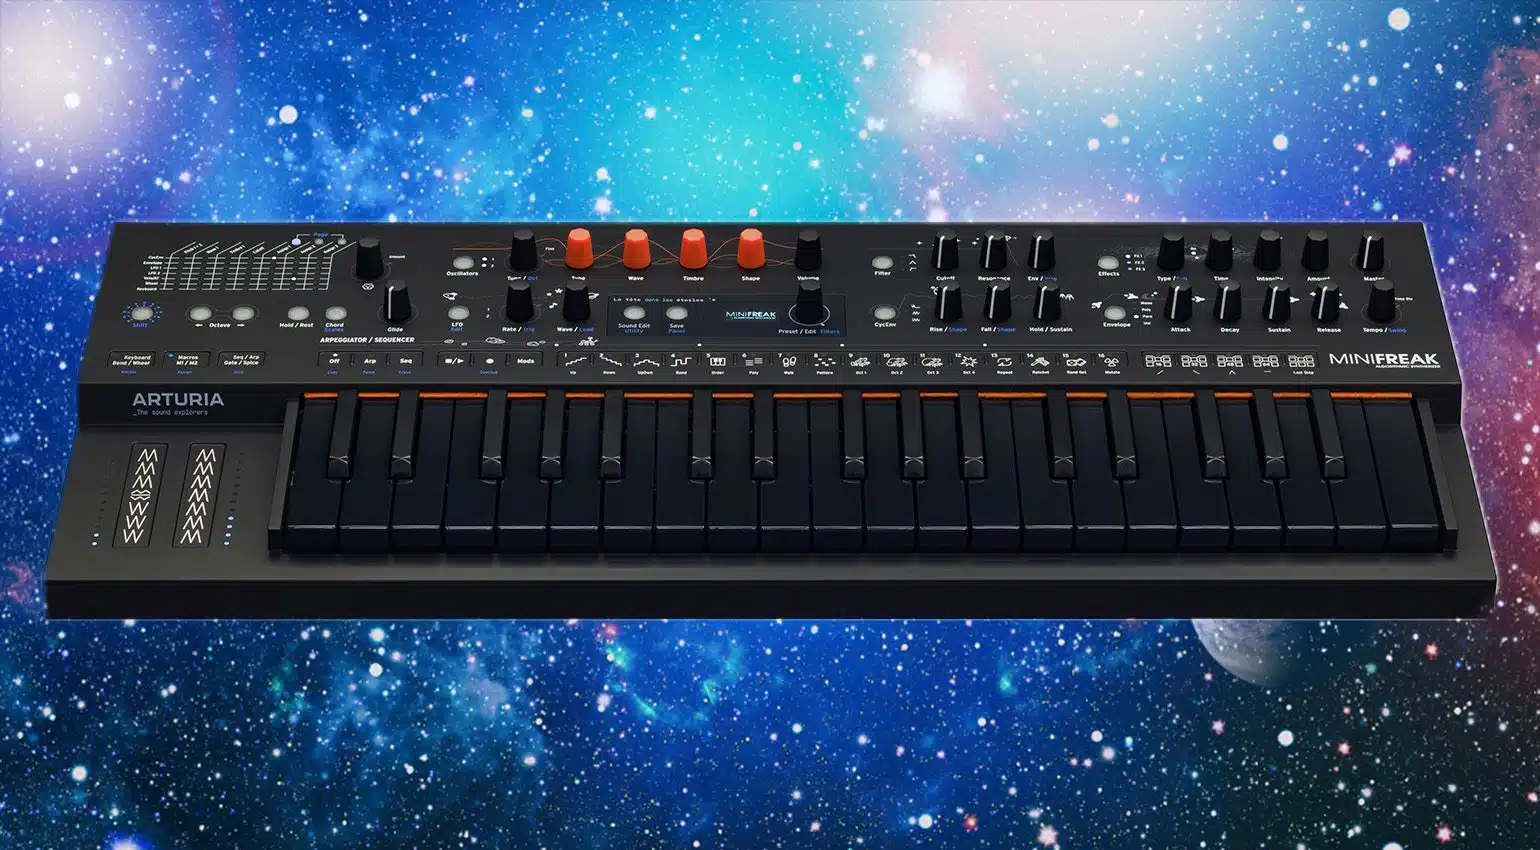
Sound design in a DAWless setup, without any music production software, is all about knowing your hardware and pushing it to its limits.
Start by shaping your tones with a versatile synth like the Korg Minilogue XD, which offers analog warmth combined with digital oscillators for added flexibility.
Use its onboard effects (like delay or reverb) to add depth before routing it through a pedal like the Eventide Space for more experimental textures.
If you’re using a drum machine like the Roland TR-8S, don’t just stick to the presets…
But, there’s nothing wrong with using them as a starting point and a tool for reverse-engineering what the preset is accomplishing.
Just make sure to tweak parameters like pitch, decay, and filter settings to create unique percussion and really stand out over the competition.
For further layering, sample your synth or drum sounds into an Elektron Digitakt, where you can manipulate pitch, reverse, and slice settings for something completely fresh.
Also, play around with noise generators or LFOs to modulate unexpected parameters, like pan or resonance, for movement in your sound.
NOTE: Always save your patches and presets, especially when working on standalone gear with limited memory; it’ll save time and preserve your best ideas.
-
Recording and Mixing Without a DAW
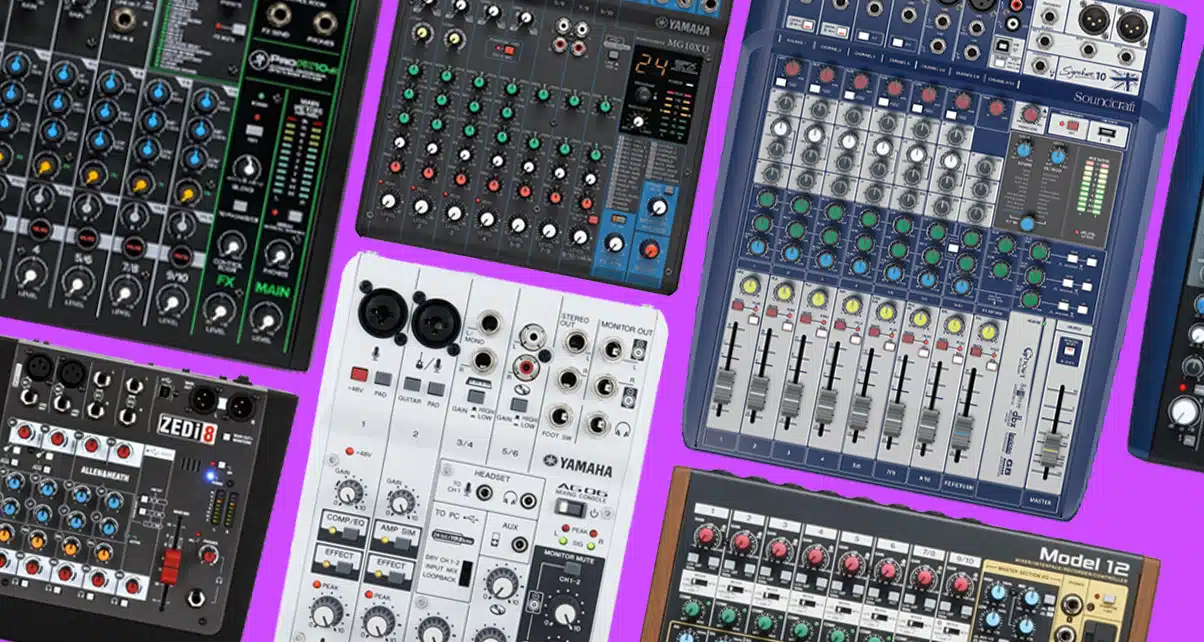
Recording and mixing in a DAWless setup is all about careful planning and the right gear, as it’s a rather advanced, technical, and, at times, outdated process.
Depending on your hardware, of course.
This is because many of these mixers don’t contain an onboard recording mechanism, which can be compared to how a MIDI controller makes no sound itself but is still essential to the creation of it.
With that said, many mixers do include onboard recording capabilities, so be sure to do your research and understand what you’re buying beforehand.
If you don’t, you’re almost guaranteed to face some unintended disappointments at some point in the process.
Start by routing your hardware devices into a mixer like the Allen & Heath ZED-10FX, which has multiple inputs and incredible onboard effects for sound shaping.
For direct recording, choose an audio recorder like the Zoom H6 so you can record straight from your mixer without needing a computer.
To get optimal sound quality, focus on gain staging, like we talked about before to avoid any clipping or distortion.
Incorporating a portable DAWless system with built-in speakers can help you monitor your mix without relying on your studio monitors.
Use the EQ controls on your mixer to carve out space for each element in your track 一 for example, cut low frequencies on synths to make room for the bass.
When finalizing your mix, use a hardware compressor to glue the track together for a more balanced and professional sound.
By handling recording and mixing directly on your DAWless production system, you can focus entirely on making music without the distractions of a computer screen.
Challenges and Considerations in DAWless Production
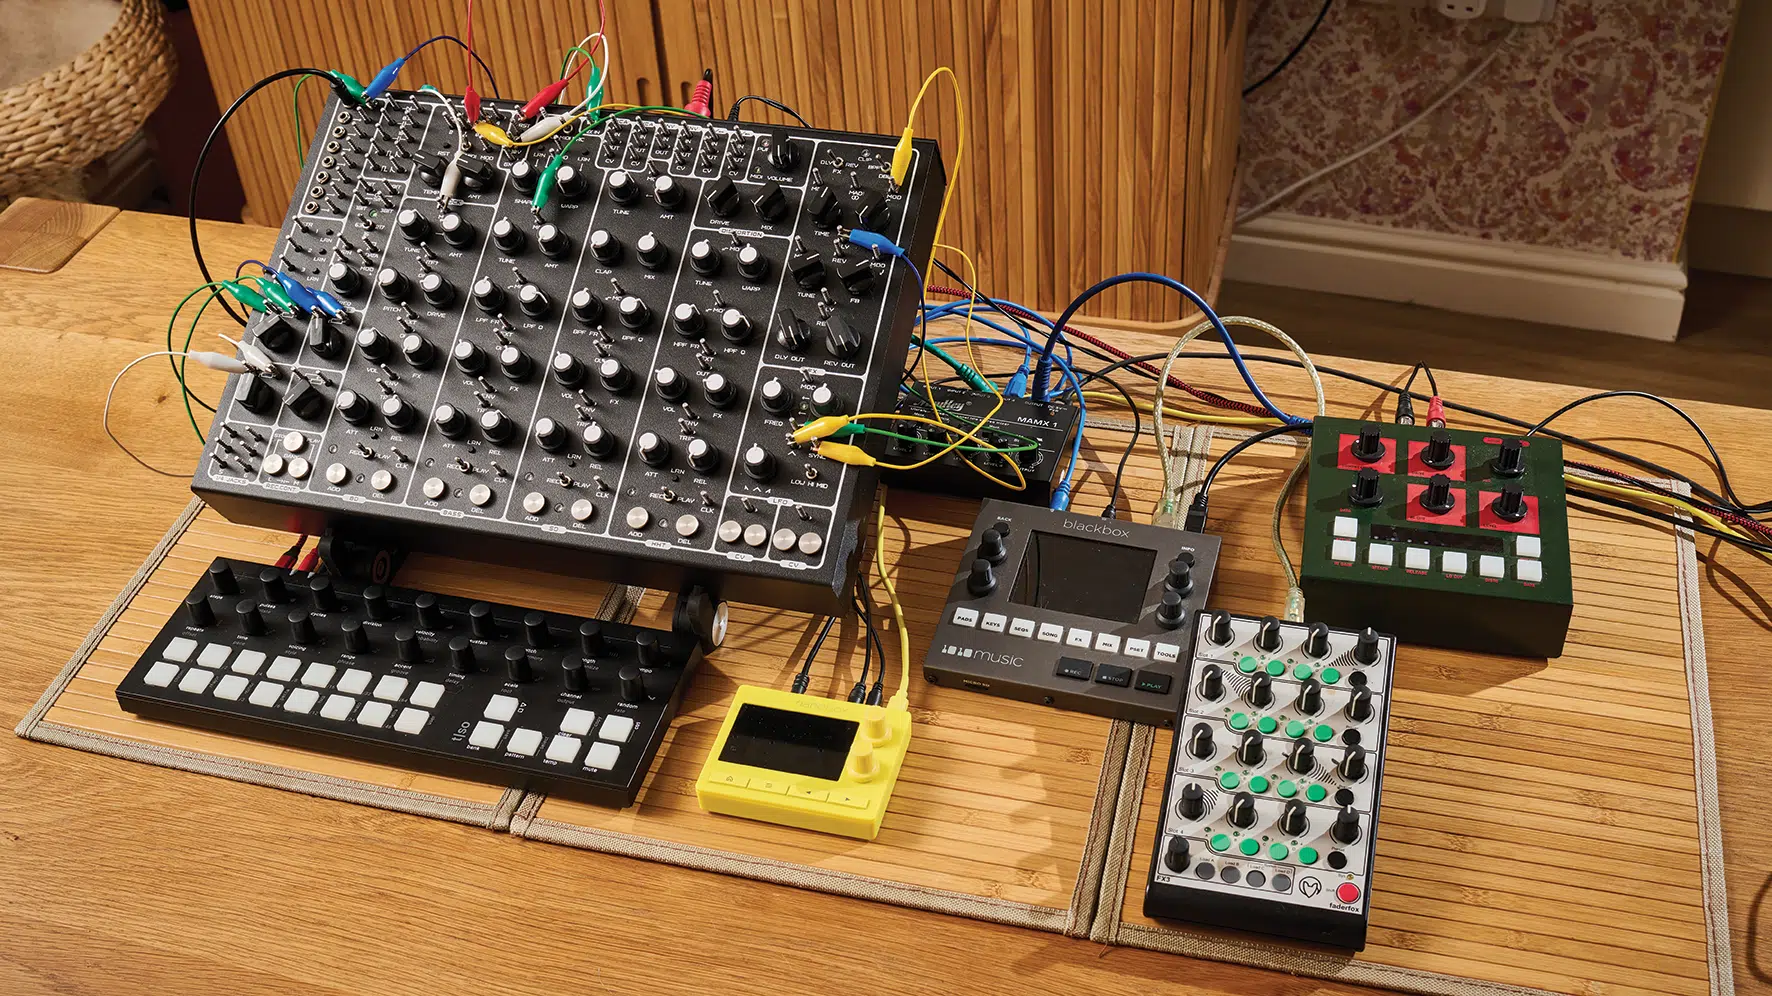
Now, you’re not going to have the perfect DAWless production setup right away, especially if you don’t take a few things into consideration.
You’ll just end up with a huge headache and a lot of anger.
#1. Synchronization is a big one…
While devices like the Novation Circuit Tracks have built-in clocks to sync your gear, older hardware might require a dedicated MIDI clock like the E-RM Multiclock.
#2. Managing multiple inputs and outputs can be tricky if you’re combining newer synths with vintage drum machines.
A mixer like the Allen & Heath ZED-10FX offers both flexibility and onboard effects to keep your signal clean and organized, so go for that.
#3. Space can quickly become an issue.
If you’re working in a small studio, use vertical racks or tiered stands to maximize your layout without sacrificing accessibility.
#4. Finally, when buying from the used market, always test gear thoroughly for things like the all-too-common crackling (parameter) pots, worn keys, or missing functionality.
It’ll save you time and money in the long run, trust me.
-
Playing Around with Standalone Hardware Workstations (My Top Picks)
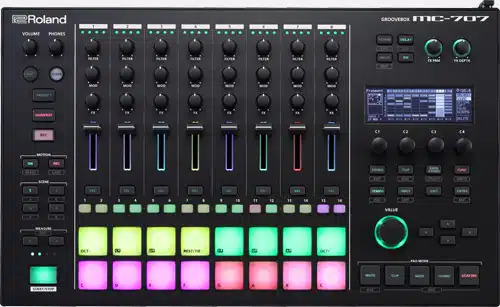
Standalone hardware workstations make DAWless production so much easier by combining everything you need into one easy unit.
The Roland MC-707 has a step sequencer, onboard effects, and built-in speakers, so it’s great for quick ideas or even full tracks.
If portability is a priority, the Akai MPC Live II gives you a battery-powered option with solid sampling capabilities and an SD card slot for saving everything.
For more creative control, the Elektron Digitone II mixes polyphonic synthesis with a flexible sequencer, letting you arrange tracks directly on the hardware.
Pairing these devices with a MIDI controller makes adding synths or drum machines simple as pie 一 giving you more options for music-making.
These all-in-one devices can handle the heavy lifting for things like arranging to live performance and everything in between.
By focusing on the gear in front of you instead of a computer screen, you’ll stay more connected to the creative process and beat-making journey.
Advanced Techniques in DAWless Beatmaking
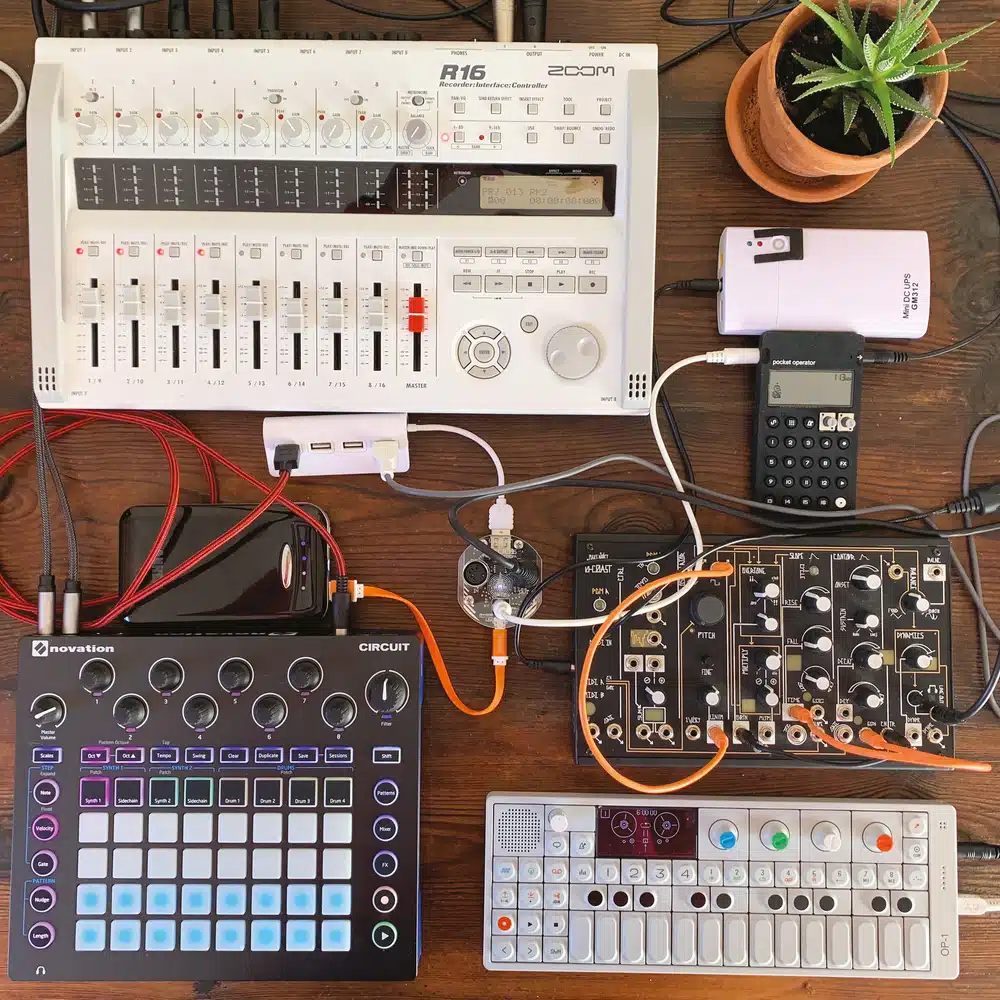
Once you’ve got the basics down, beatmaking in a DAWless setup is all about pushing your gear to do things that feel fresh and may seem impossible/
That being said, the limitations are not always so straightforward…
This is why workarounds are everything, and figuring them out will be key to your process, regardless of how many hours they may take to figure out properly.
But, don’t worry, almost anything can be fixed, it just might have to be done in a very different way than you’re used to or even expecting.
Start with a sampler like the Elektron Octatrack to layer drum sounds while tweaking MIDI notes for precision.
A polyphonic synth like the Korg Wavestate adds depth to your tracks, whether you’re building pads, leads, or basslines.
Step sequencers, like the Arturia’s Keystep Pro, make it easy to experiment with polyrhythms or create drum grooves that hit differently.
You can even take it to the next level by blending in acoustic instruments 一 routing them through a mixer like the Yamaha MG10XU keeps your workflow simple.
NOTE: AUX sends are perfect for external effects like delay and reverb so you can polish your beats without overloading your hardware.
Again, always save your progress on an SD card or internal memory because it’s easy to lose a killer idea if you’re moving fast.
Mixing through built-in speakers is fine for rough balances, but use proper monitors or headphones for your final tweaks.
With a little effort, you can create beats that sound as polished as any DAW-based music production, that’s a guarantee.
-
PRO TIP
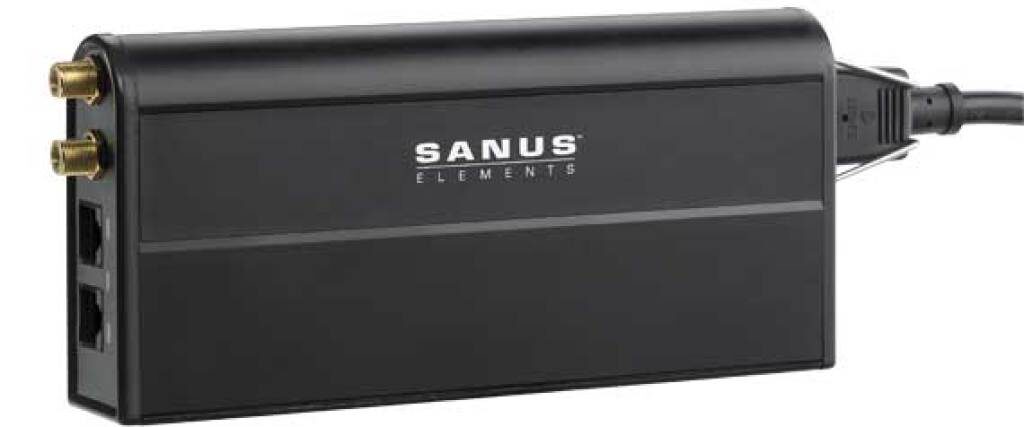
Always be sure to power your setup properly…
Meaning, always have your devices connected to some type of surge protection to prevent hardware damage.
In terms of ensuring you never lose your work due to a power-related complication, take extra precautions (I promise you, you do not want to overlook that).
I always make sure to use a surge protector with an included battery backup.
Even if it only provides an extra 30 seconds to a minute of power, it’s enough time to quickly save your work and perform a proper shutdown.
Bonus: Creating Unique Textures with Modular Synths
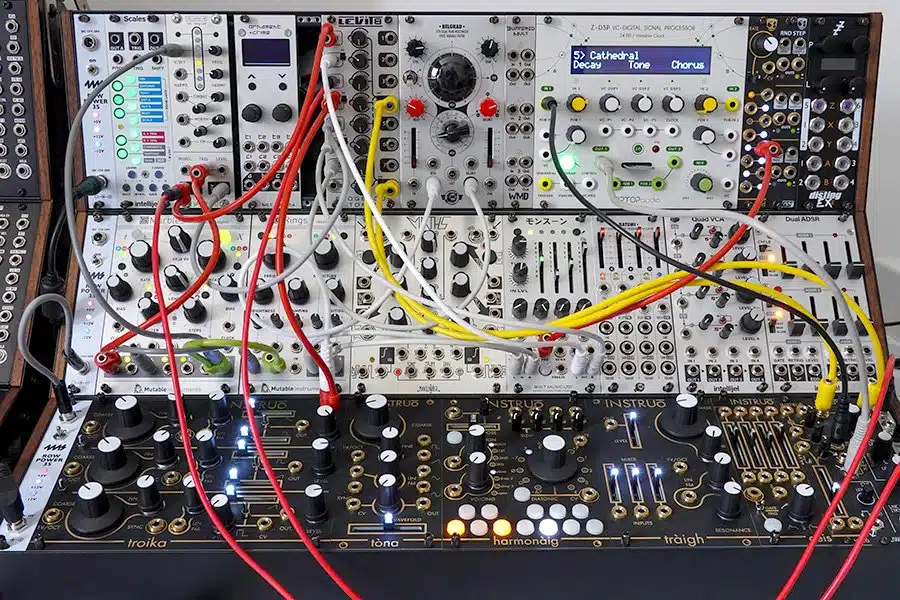
Modular synths are where things get wild in DAWless production.
A module like Mutable Instruments Plaits (although discontinued, many are available second-hand) is super versatile.
It lets you create anything from sharp percussion to massive bass sounds.
Pair it with Make Noise Maths for modulating everything… filters, envelopes, pitch, you name it, and you’ll have access to it.
The Korg SQ-1 sequencer makes handling multiple inputs simple, so you can control several patches at once without breaking a sweat, so definitely check that out.
Also, try using an LFO to adjust the filter cutoff or resonance because it’s an easy way to add movement and keep things extra interesting.
Granular processors and/or wavefolders, such as the new, affordable, and proprietary wavefolder found in the Moog Mavis (a first from Moog), are game changers.
With them, you can turn simple sounds into something completely out of this world.
NOTE: Save every session directly onto your hardware (if available) or an SD card, as well as a continuously running recording, because modular setups can lead to moments you’ll never recreate.
When you’re performing live, modular systems give you total freedom to tweak and evolve your tracks in real time.
With some planning and a little creativity, you can build textures and layers that really stand out in your own music.
Just remember, when it comes to making music (DAWless music, I should say) it’s all about thinking outside the box and finding what works best for you, period.
Final Thoughts
And there you have it: everything you need to know about being successful with DAWless production.
With all this new information, tips, and tricks, your setup will be on point, and you don’t ever have to look at a computer again (if that’s what you want).
This way, you can focus entirely on your hardware, create unique tracks that stand out, and enjoy the creative freedom of a hands-on approach.
Plus, you’ll refine your workflow, master your gear, and unlock a whole new level of creativity that you never even knew about.
And, as a bonus, you have to check out the absolute Best Free Sample Packs in the entire music industry.
It offers an incredible range of free sample packs so you have access to everything from drum loops and melodic elements to MIDI files and full instrument samples.
They’re designed to match all types of music styles and production needs, whether you’re into electronic, trap, pop, or something entirely experimental.
By using them in your new DAWless production setup, you’ll be unstoppable, all without spending one single dime.
With DAWless production, you’re not just producing music 一 you’re completely redefining how you connect with your art.
Just make sure to stick with it, stay curious, and keep pushing boundaries because you have no idea what you can produce.
Until next time…


Leave a Reply
You must belogged in to post a comment.