Synth pads provide a sonic backdrop that can enhance the overall atmosphere of your track, making them an essential production tool.
They offer extra texture, depth, and emotional weight that can help your song seem more immersive (and professional, of course).
No, they’re not the stars of the show 一 but when they’re not there, people notice.
So, as a music producer, knowing all about synth pads can help you enhance your tracks like never before, taking them to a whole new level.
That’s why, in today’s article, we’ll be breaking down:
- What synth pads are ✓
- Selecting the right synths ✓
- The role of oscillators and waveforms ✓
- ADSR envelope settings/knobs ✓
- Expert techniques for layering & texturing ✓
- Managing the frequency spectrum with filters ✓
- EQ tips for clear pad sounds ✓
- Sound design essentials ✓
- Using reverb and delay effectively ✓
- Adding depth with modulation effects ✓
- Mixing pads into your music ✓
- Creative strategies for unique pad sounds ✓
- Advanced production tips ✓
- Much more
You’ll have a solid understanding of synth pads and how to expertly create and manipulate them to enhance your production skills.
Remember, it’s all about those little details that separate the good from the great.
So, let’s dive in…
Table of Contents
What Are Synth Pads?
Synth pads are sustained notes or chords that extend over long periods, giving your tracks that signature texture and depth (the atmosphere).
Unlike leads or basslines that demand the listener’s direct attention, synth pads work in the shadows to shape the mood without overtaking the main elements of the song.
Their ethereal synth sound can evoke a wide range of emotions (from tranquility to unsettling tension), which makes them invaluable in helping your listeners connect.
In order to create professional synth pads, you need to understand both synthesis and sound design.
It’s not just about selecting the right preset 一 it’s about sculpting a sound that complements the track’s emotional direction and overall vibe.
Whether it’s a lush, sweeping pad that fills the stereo field or a subtle, pulsating texture that adds rhythmic interest, great synth pads can transform your tracks.
And, with the right techniques, like the ones we’re covering today, they can even be your secret weapon to help add complexity to your music without overwhelming the mix.
Yes, we’re breaking all of that down today, so don’t worry.
The Basics: Choosing the Right Synth
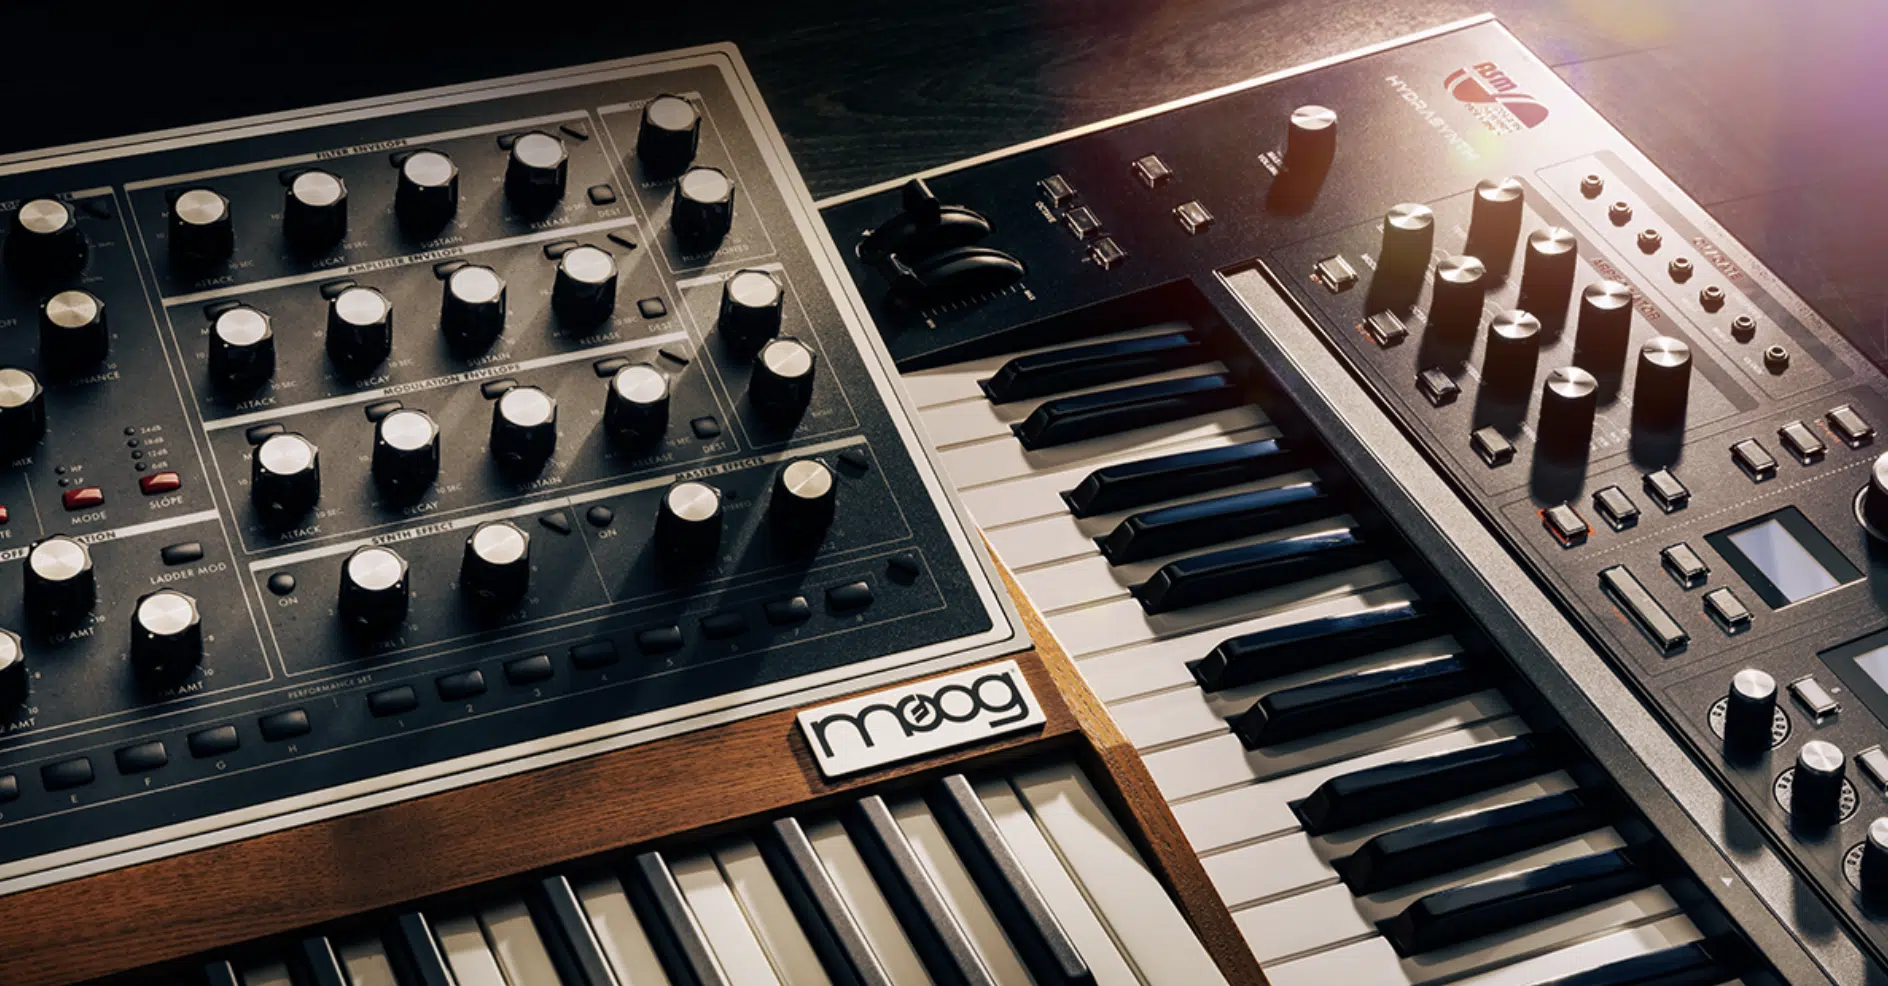
Creating mesmerizing synth pads starts with selecting the right synthesizer.
Analog synths are renowned for their warm, organic sounds, making them ideal for lush, atmospheric pads.
Digital synths offer more flexibility and precision which gives you a wider range of textures and timbres to work with.
A good starting point would be to determine which synth aligns best with the overall sonic character you aim to achieve in your track.
For instance, if you’re producing ambient music, an analog synth might provide the warmth and depth you’re looking for.
On the other hand, digital synths can be perfect for more intricate, evolving pad sounds in electronic music 一 it’s all about context.
However, the decision doesn’t stop at the analog vs. digital debate…
Within these categories, there are countless synth models, each with its unique features and sound-shaping capabilities.
Soft synths (software synthesizers) have also become incredibly powerful, offering unprecedented control and versatility.
They allow you to play around with multiple synthesis methods, from subtractive to wavetable, without the need for physical hardware.
Pro Tip: When choosing a synth, consider the types of waveforms it can generate, its filter types, modulation options, and if it supports polyphony, which is essential for chordal/chord pads.
Understanding Oscillators and Waveforms
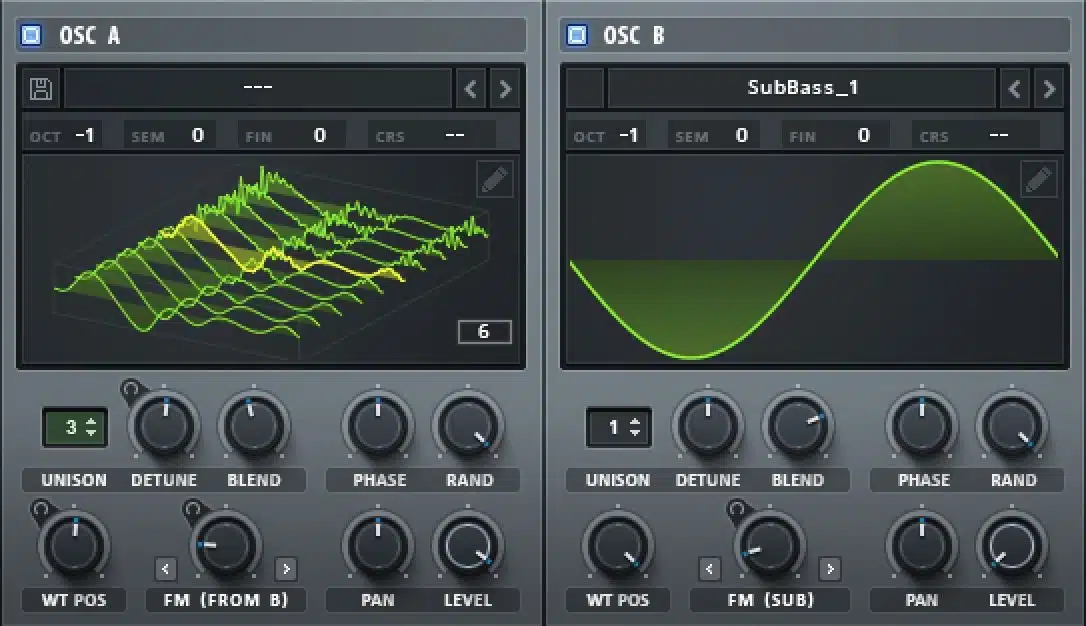
At the heart of every synth pad is the oscillator, the source of all sound in synthesis.
Oscillators generate waveforms (the basic shapes of sound), which can range from simple sine waves to complex sawtooth or square waves.
Each waveform has its characteristic timbre that influences the pad’s overall tone.
- Sine waves 一 Smooth and pure, perfect for soft, ambient pads.
- Sawtooth waves 一 Brighter, edgier sound for dramatic/cinematic pads.
The choice of waveform is just the beginning.
By layering different waveforms and manipulating their parameters, you can create a rich tapestry of sound.
For instance, detuning two oscillators slightly apart can add a dope chorus effect to your pads; making them feel wider and more alive.
Additionally, many synths allow you to modulate waveform parameters in real-time which will help you add movement and evolution to the pad sound over time.
This can be achieved with LFOs (Low-Frequency Oscillators) that modulate pitch, amplitude, or filter cutoff, adding interest and depth to the sound.
Understanding the role of oscillators and waveforms in creating synth pads is super important for innovative sound design.
Remember, it’s not just about selecting a waveform 一 it’s about shaping and controlling the sound to fit the context of your track.
We’ll break this down in more detail throughout the article.
The Importance of The Envelope
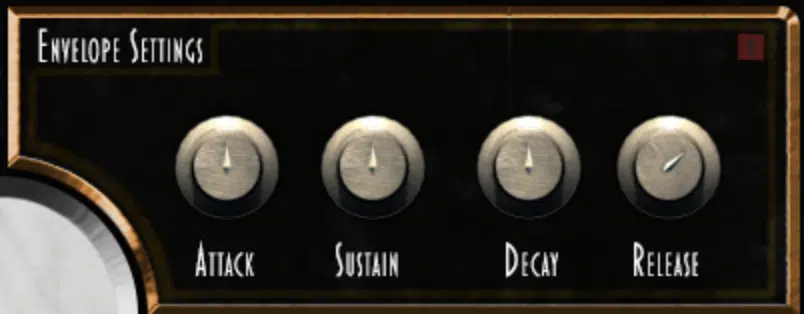
The amplitude envelope (most commonly the ADSR) is a fundamental aspect of sound design that shapes the dynamic characteristics of your synth pads.
ADSR stands for:
- Attack
- Decay
- Sustain
- Release
Each represents a phase in your sound’s evolution, from silence to its peak and back.
The attack phase determines how quickly the sound reaches its full volume after being played. A slow attack creates a gentle onset, perfect for ambient pads that blend seamlessly into the mix.
The decay phase controls the time it takes for the sound to fall from its peak to the sustain level, influencing the pad’s perceived brightness and urgency.
The sustain level then dictates the volume at which the sound remains as long as the note is held, which helps maintain the body of your pad sound in a mix.
The release phase determines how long the sound takes to fade to silence after the note is released 一 adding to the tail and the overall vibe of the pad.
By adjusting these parameters, you can create pads that swell slowly, adding tension and release, or pads that quickly fill the space and then disappear.
This would create a more rhythmic texture.
Adjusting the ADSR envelope allows you to match the dynamic contour of your pad to the emotional flow of your track as well.
For example, a pad with a fast attack and short release can provide a staccato backdrop to an EDM track, while a pad with a slow attack and long release can add a dreamy, lingering quality to slower, more introspective music.
It’s this versatility that makes the ADSR envelope such a powerful sound design ally.
Frequency Spectrum and Filters
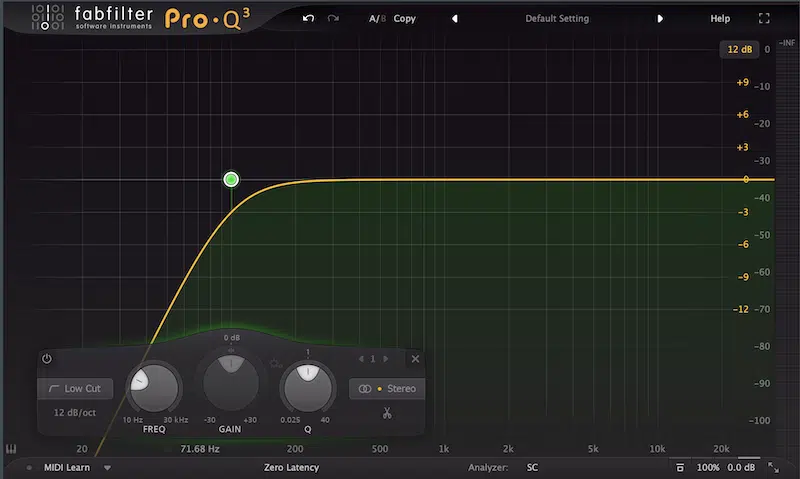
The frequency spectrum is another key aspect of creating great synth pads as they dictate how your pads fit within the mix and interact with other elements.
A well-designed pad should occupy its own space in the frequency spectrum 一 complementing but not overcrowding the frequencies of your other instruments.
This is where filters come into play.
Filters allow you to sculpt the frequency content of your pad sounds, removing unnecessary lows with a high-pass filter or softening the highs with a low-pass filter to ensure they sit perfectly in the mix.
High-pass filters are particularly useful for cleaning up the low-end of your pad sounds, ensuring they don’t muddy the mix or interfere with the bass and kick.
By carefully setting the filter frequency, you can remove the sub frequencies that might clutter the mix while retaining the warmth and body of your pad.
A low-pass filter (the complete opposite of a high-pass filter) can help tame harsh higher frequencies, making your sound smoother and more cohesive with the track.
You’ll notice that the key is to find the right balance.
It allows your pads to create atmosphere without overwhelming the other elements of your music, which is what it’s all about.
-
Pro Tip
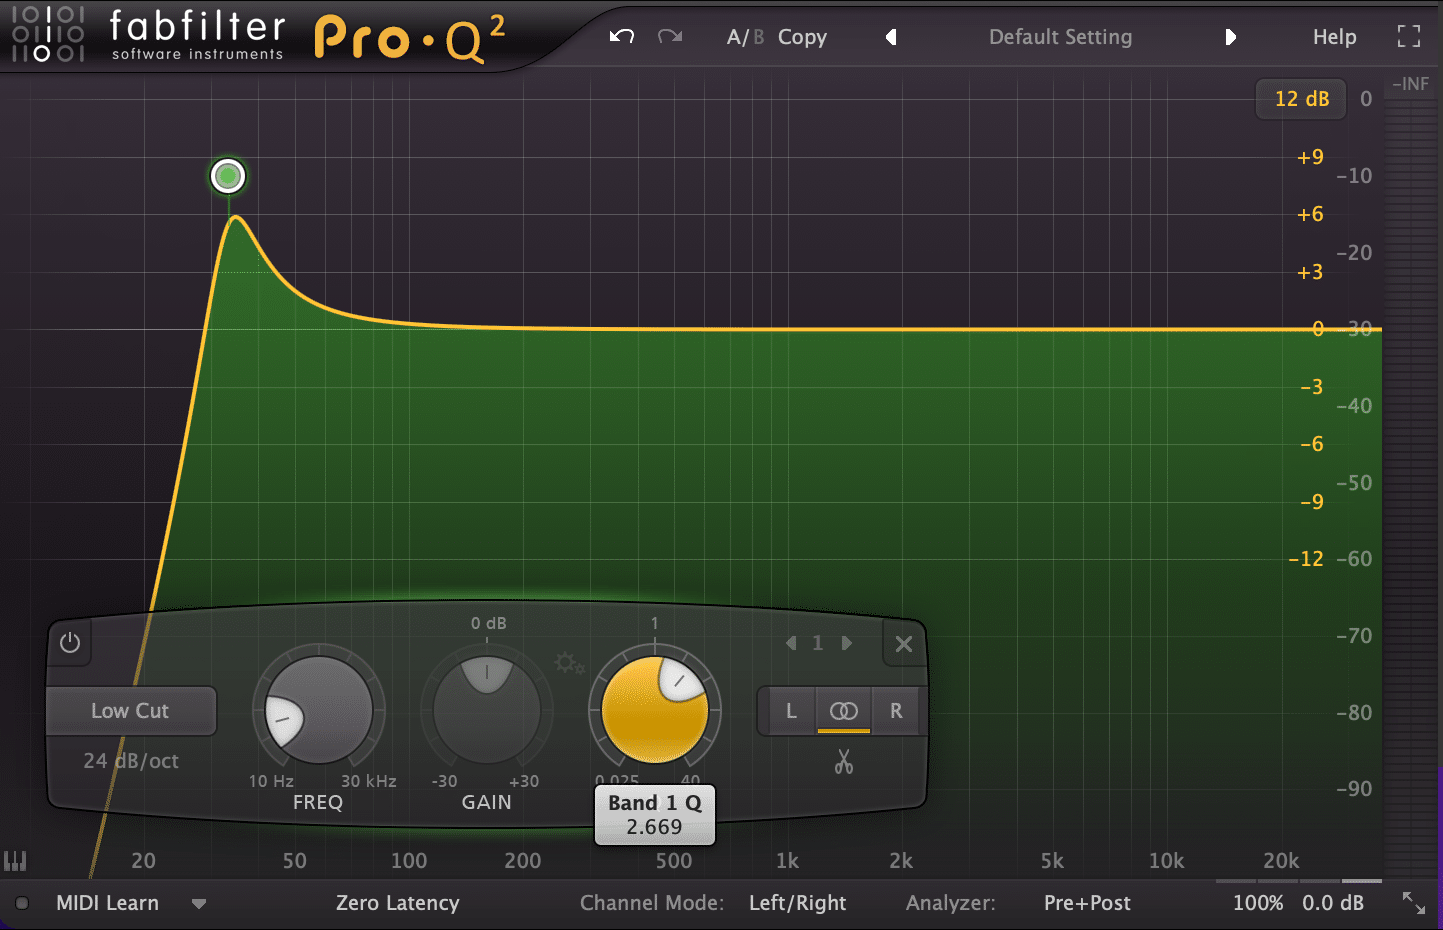
The use of resonance with filters can add a distinctive character to your synth pads.
It emphasizes certain frequencies to create a more pronounced effect when it hits the ears (which people love).
For example, adding a slight resonance peak just before the cutoff frequency of a low-pass filter can make the pad sound more vibrant and present, even while it remains in the background of the mix.
NOTE: Experimenting with different filter types and settings is essential for achieving the desired emotional impact of your pad sounds.
Whether you’re aiming for a subtle background texture or a more pronounced atmospheric effect, understanding how to manipulate the frequency spectrum and filters will significantly enhance your sound design skills.
Creating Great Pad Sounds
With a solid understanding of the basics, let’s dive into how you can create compelling pad sounds of your own. Remember, the goal is to create synth pads that not only fill space but also enrich your track with texture and emotion.
-
Layering and Texture
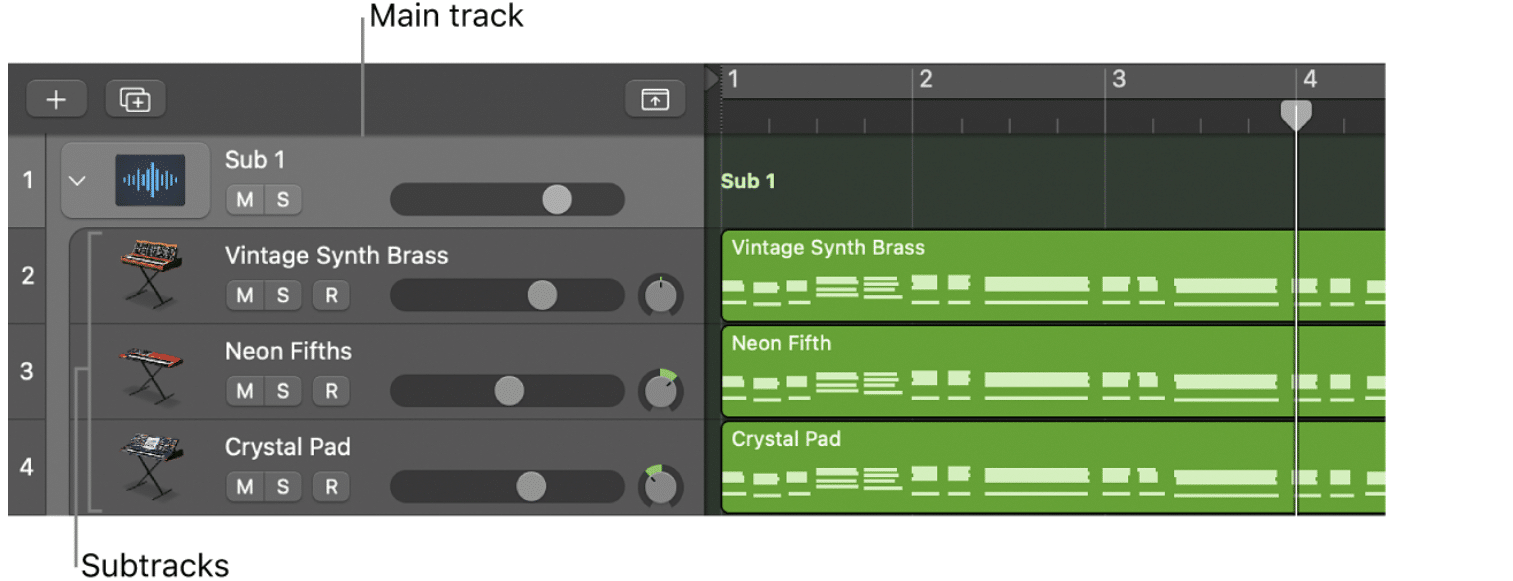
Layering is a great technique for adding depth and complexity to your pad sounds.
By combining multiple sound sources, you can create captivating audio that is more engaging and dynamic.
For example, layering a smooth, sine-wave-based pad with a subtly detuned sawtooth pad can add warmth and movement.
This will create a sound that is both complex and cohesive.
The key is to select sounds that complement each other 一 ensuring they blend well without causing frequency clashes or muddiness in the mix.
Texture plays a huge role in making your pads stand out and rise above the rest.
Beyond the basic waveforms, try incorporating:
It will add some seriously unique, irresistible characteristics to your synth pads.
These elements can introduce organic, unpredictable qualities that make your synth pads truly captivating.
For instance, a soft layer of rain or vinyl crackle can give your pad a tactile quality that engages the listener on a more subconscious level.
It’s these subtle touches that elevate a good pad sound to a great one, adding layers of emotion and atmosphere to your tracks.
-
Using Multiple Oscillators
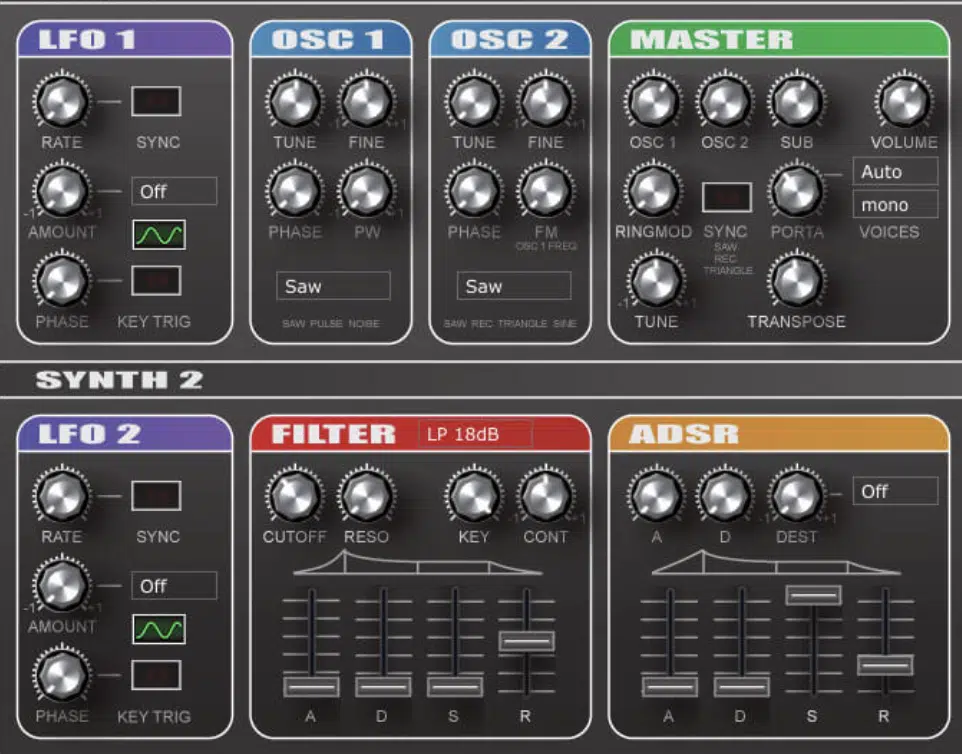
Employing multiple oscillators in your synth pad design allows for an intriguing, more complex sound.
When oscillators are used in conjunction, their waveforms interact in ways that can produce a fuller sound with increased harmonics.
By detuning oscillators slightly, you create a chorus-like effect that adds width and life to your pad sounds.
This production technique is particularly effective in synths that offer a unison mode.
NOTE: Unison Mode simulates the effect of multiple oscillators running in parallel (each slightly detuned from the others) to create a massive, enveloping sound.
Using oscillators set to different octaves can enhance the frequency range of your pad 一 ensuring it fills out the spectrum effectively.
An oscillator set an octave higher adds clarity and brightness, while one set lower can give your pad a solid foundation in the low-end.
It not only enriches the harmonics of your pads but also ensures they have a presence across the entire frequency spectrum.
This will make them more impactful in your mix.
Fine-Tuning Your Pads
Now that you have a lush, textured pad, it’s time to fine-tune it to perfection (my favorite part, personally). Attention to detail in this stage can seriously enhance the emotional impact of your pads, so pay close attention.
-
Frequency Range and EQing
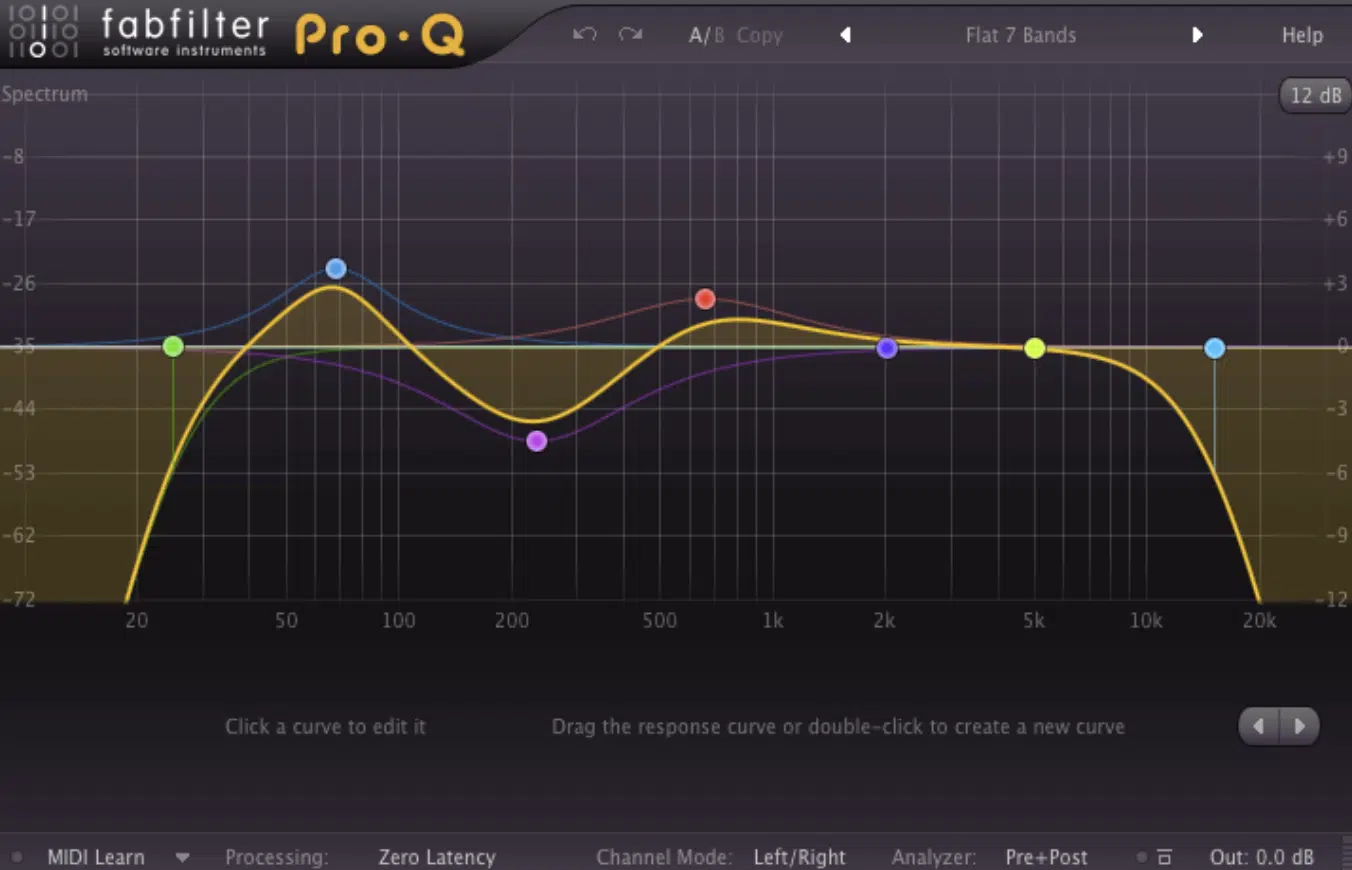
The frequency range your synth pad occupies can affect its role in your track big time, and EQ is a powerful tool for carving out the perfect space for your pads in the mix.
A high-pass filter (as we touched upon) is the most efficient way to prevent low-frequency buildup, especially when layering multiple pad sounds.
They ensure your pads add to the track’s atmosphere without muddying the mix’s show-stopping low-end.
Additionally, gentle cuts in the mid-range can help prevent your pads from clashing with vocals or lead instruments 一 maintaining clarity and focus in your mix.
On the flip side, subtle boosts in the high frequencies can add air and presence to your pads, making them feel more alive.
However, it’s important to be careful with EQ adjustments to avoid making your pads too harsh or overwhelming…
The goal is to enhance the pad’s texture and depth without detracting from the overall balance of your track.
Yes, I’m going to say it a million times, but you’ve got to remember that fact.
Using EQ in a targeted, thoughtful manner allows you to shape your synth pads so they complement the mix.
It provides support and emotion without ruining the vibe.
-
The Role of Reverb and Delay
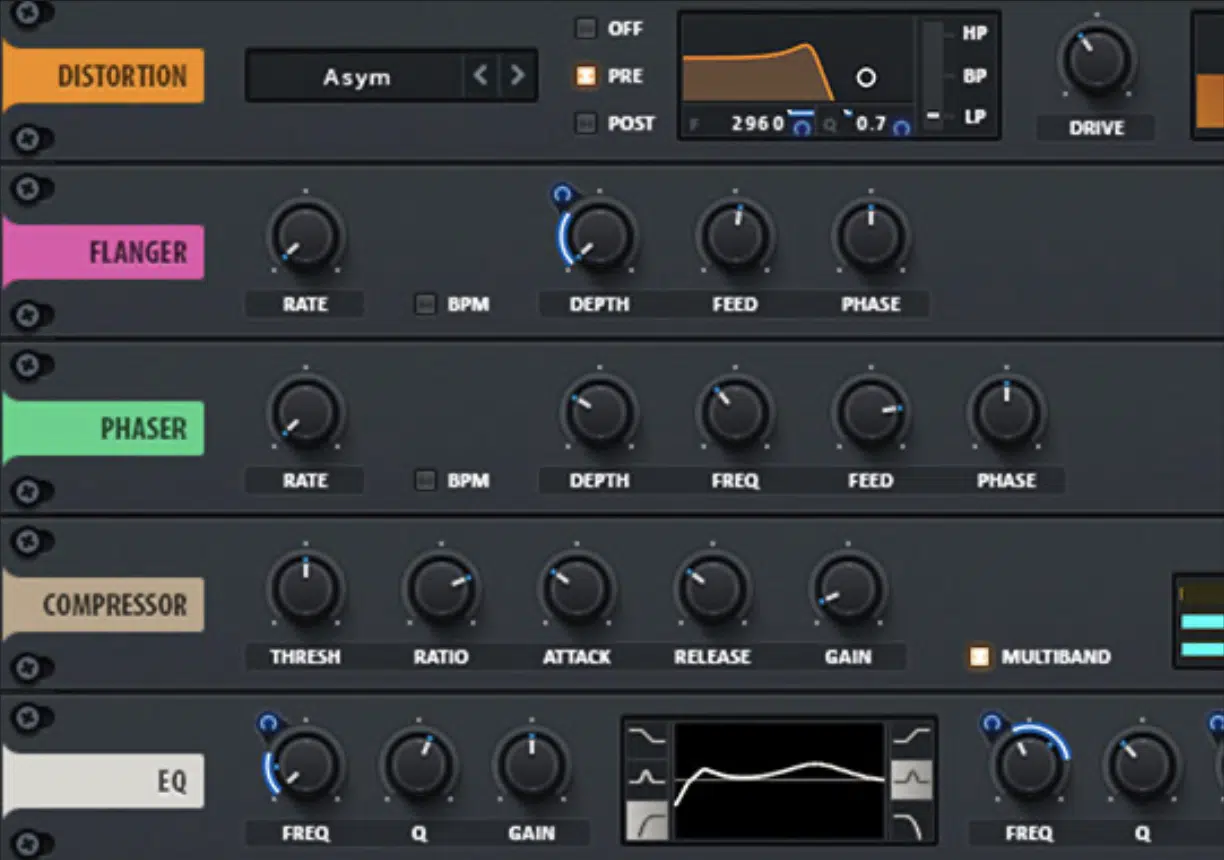
Reverb and delay are ideal for adding dimension and space to your pad sounds.
Reverb can give your pads a sense of place, from intimate rooms to vast, open spaces, helping to situate them within the mix.
The key is to select a reverb type and settings that match the mood of your track.
For a dense, atmospheric pad, a long reverb tail with a high wet mix can create a dreamy, ethereal effect.
For a more subtle pad, a shorter reverb with a lower wet mix can add just enough space without washing out the sound.
Delay adds rhythm and depth 一 creating a sense of movement within your pads.
Syncing the delay time to your track’s tempo can help reinforce the song’s rhythm, while more experimental, unsynced delays can add a unique, textural element.
Combining reverb and delay can create an expansive sound that pad fills the stereo field, but it’s important to use these effects with care to avoid creating a muddy mix.
NOTE: Automating reverb and delay parameters can also introduce dynamic changes over time, adding to the evolving nature of your pads.
How to Add Depth & Create Movement
To elevate your pads beyond static textures you’ll need to add movement and depth, period. These elements can transform a basic synth pad into a living, breathing part of your track 一 giving it a dynamic quality that responds/evolves.
-
Modulation Effects and LFOs
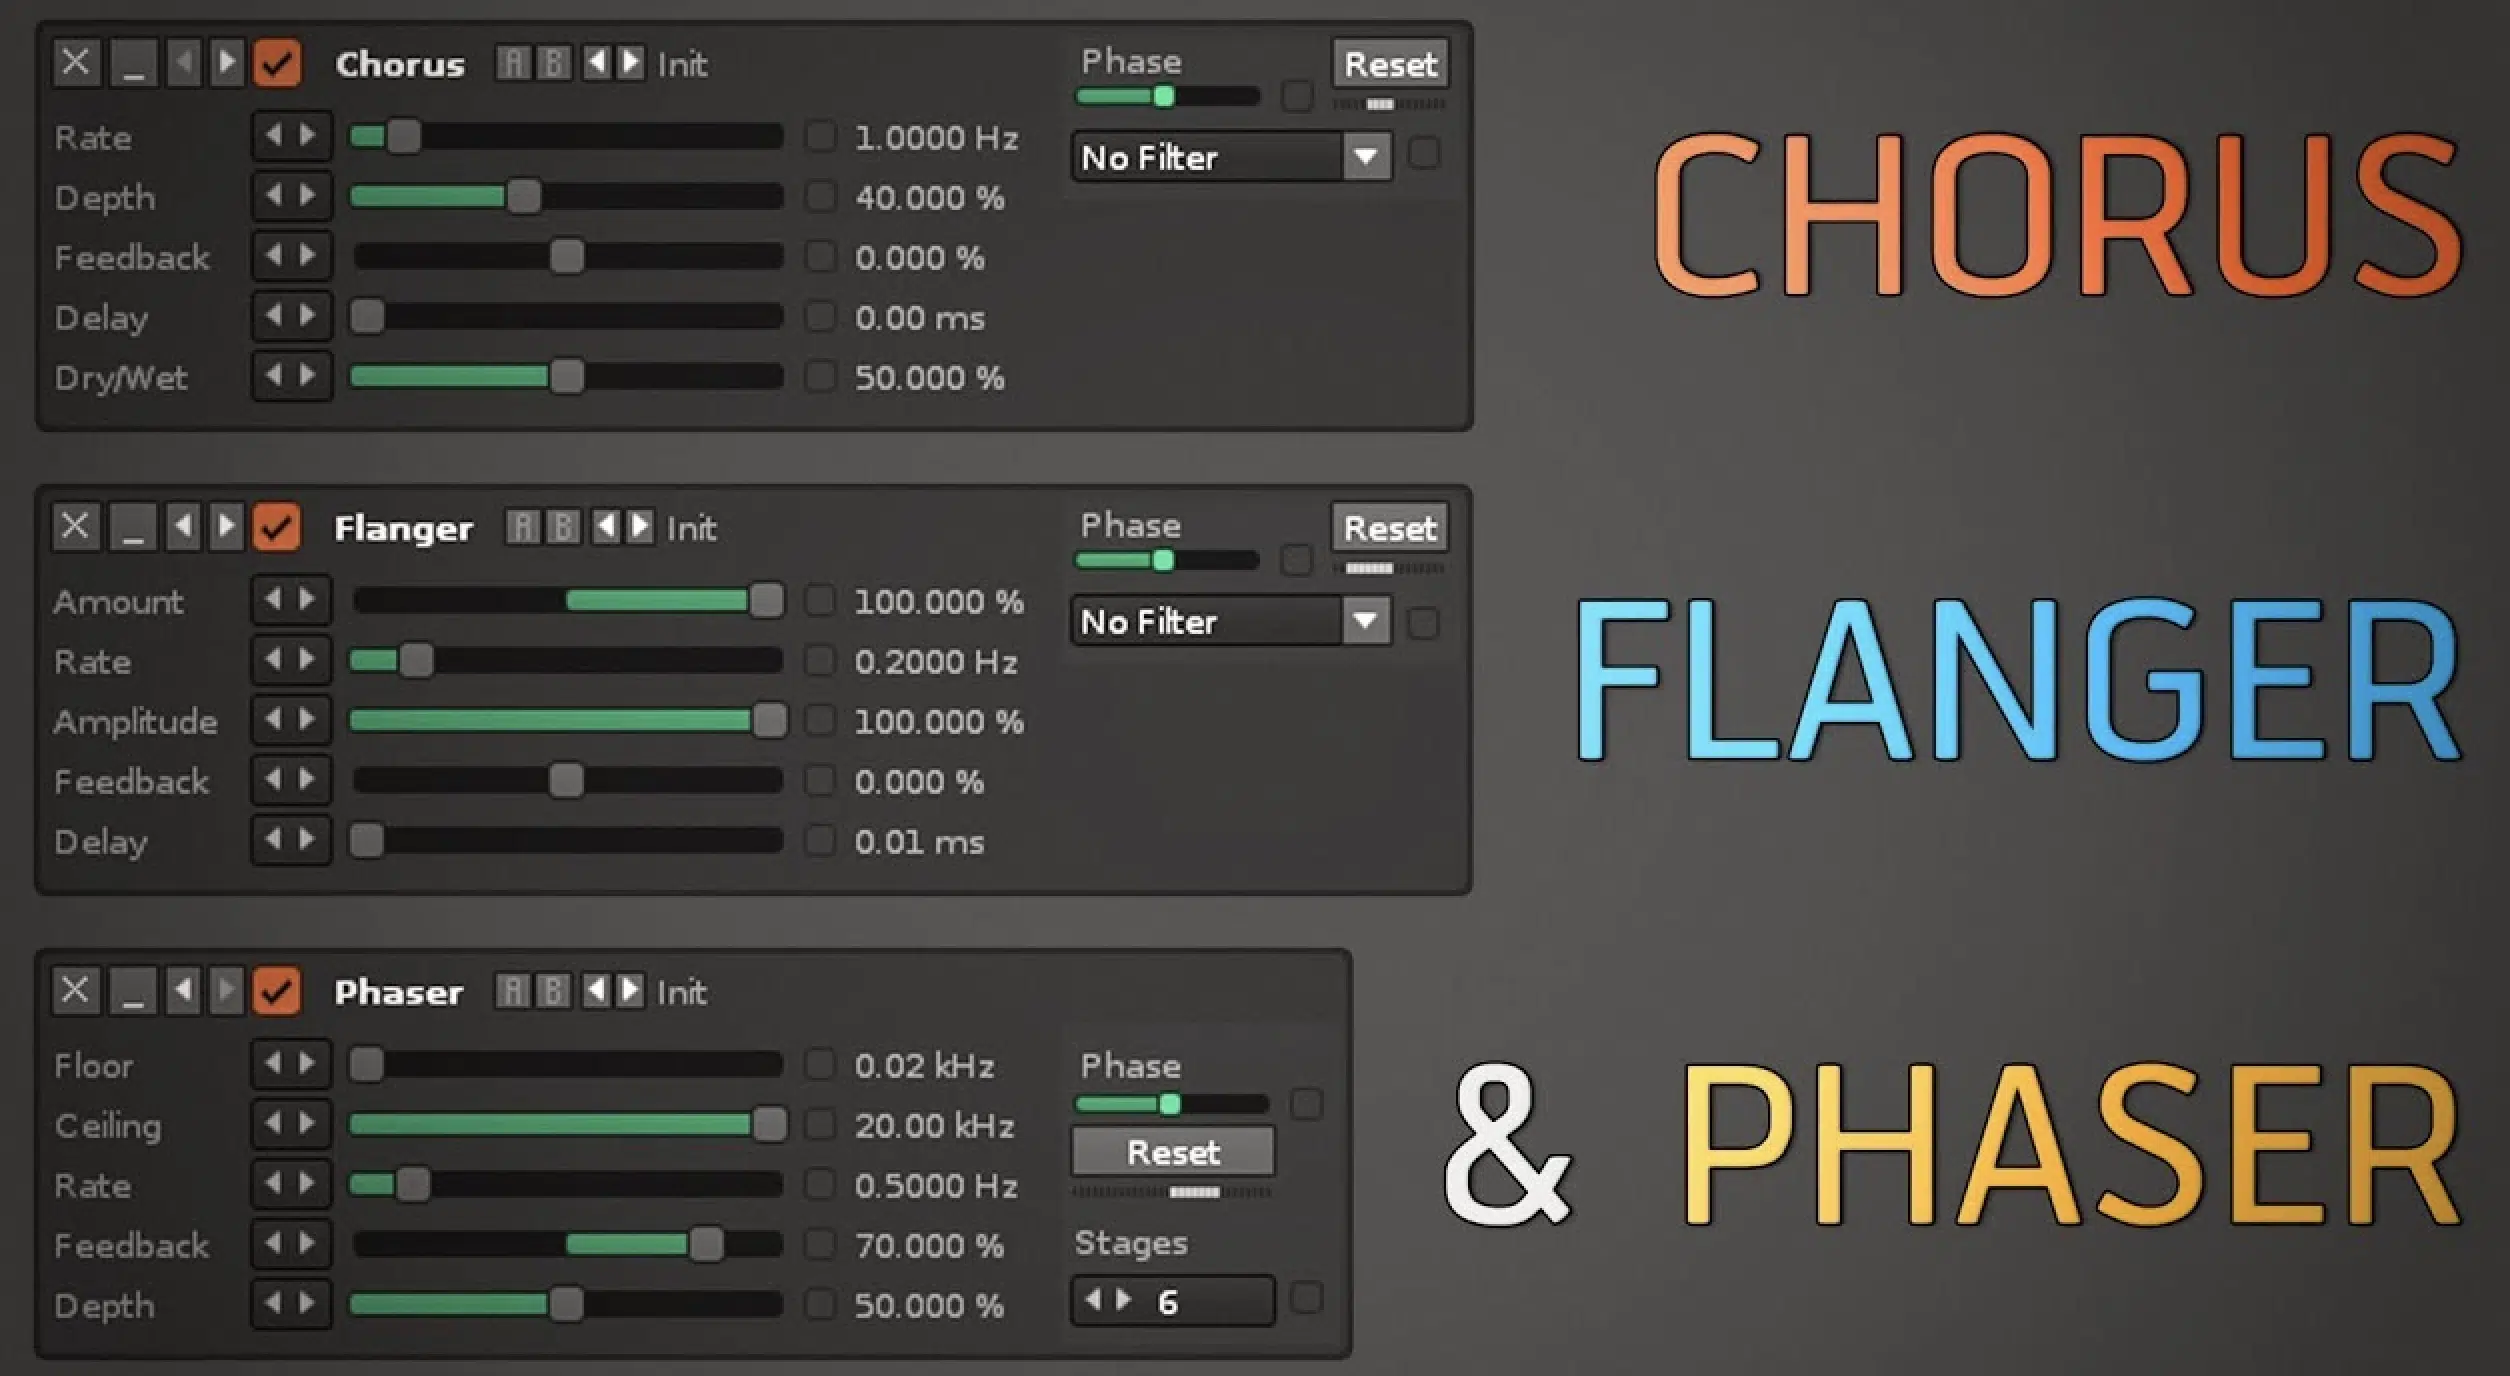
Effects such as phasers, choruses, and flangers and modulating parameters within the effects (and synth itself) is essential to create movement.
By subtly shifting frequencies or delaying the signal at varying intervals, these effects create a swirling, animated texture that can make your pads more engaging.
A slow-moving chorus effect, for example, can widen your pads and give them a shimmering quality that is both beautiful and haunting.
Flangers and phasers offer a more pronounced movement 一 creating a swirling effect that can add a psychedelic touch to your soundscapes.
The key is to apply these effects sparingly and adjust the rate and depth settings to complement the mood of your song without overwhelming the mix.
Low-Frequency Oscillators (LFOs) are another powerful tool for adding subtle movement to your pads, most commonly through some type of MOD matrix.
By modulating different parameters of your pad sound (such as pitch, filter cutoff, or volume) LFOs can create a pulsating effect that people really respond to.
For example:
- A slow LFO applied to the pitch can create a gentle, undulating sensation.
- An LFO modulating the filter cutoff can introduce a rhythmic breathing effect.
These subtle modulations can make your pads feel more organic and add a layer of complexity to your arrangements.
By changing the rate or depth of modulation over time, you can create mind-blowing textures that respond to the dynamics of your track.
It can turn a simple synth pad into a story-telling element of your song, evolving from a subtle background texture to a dramatic, sweeping force that propels your track forward.
Pro Tip: Keep in mind that LFOs are just Q of the many ‘sources’ or envelope types you can (and should) use to advance your sound further.
Creatively and systematically assigning types of MOD sources to various destinations is the key to intriguing sound design.
Automating the parameters of your effects and even your MOD sources (like assigning a random LFO to the Rate of your main modulating LFO) will help your pads have even more movement.
-
Automating Movement for Dynamic Textures
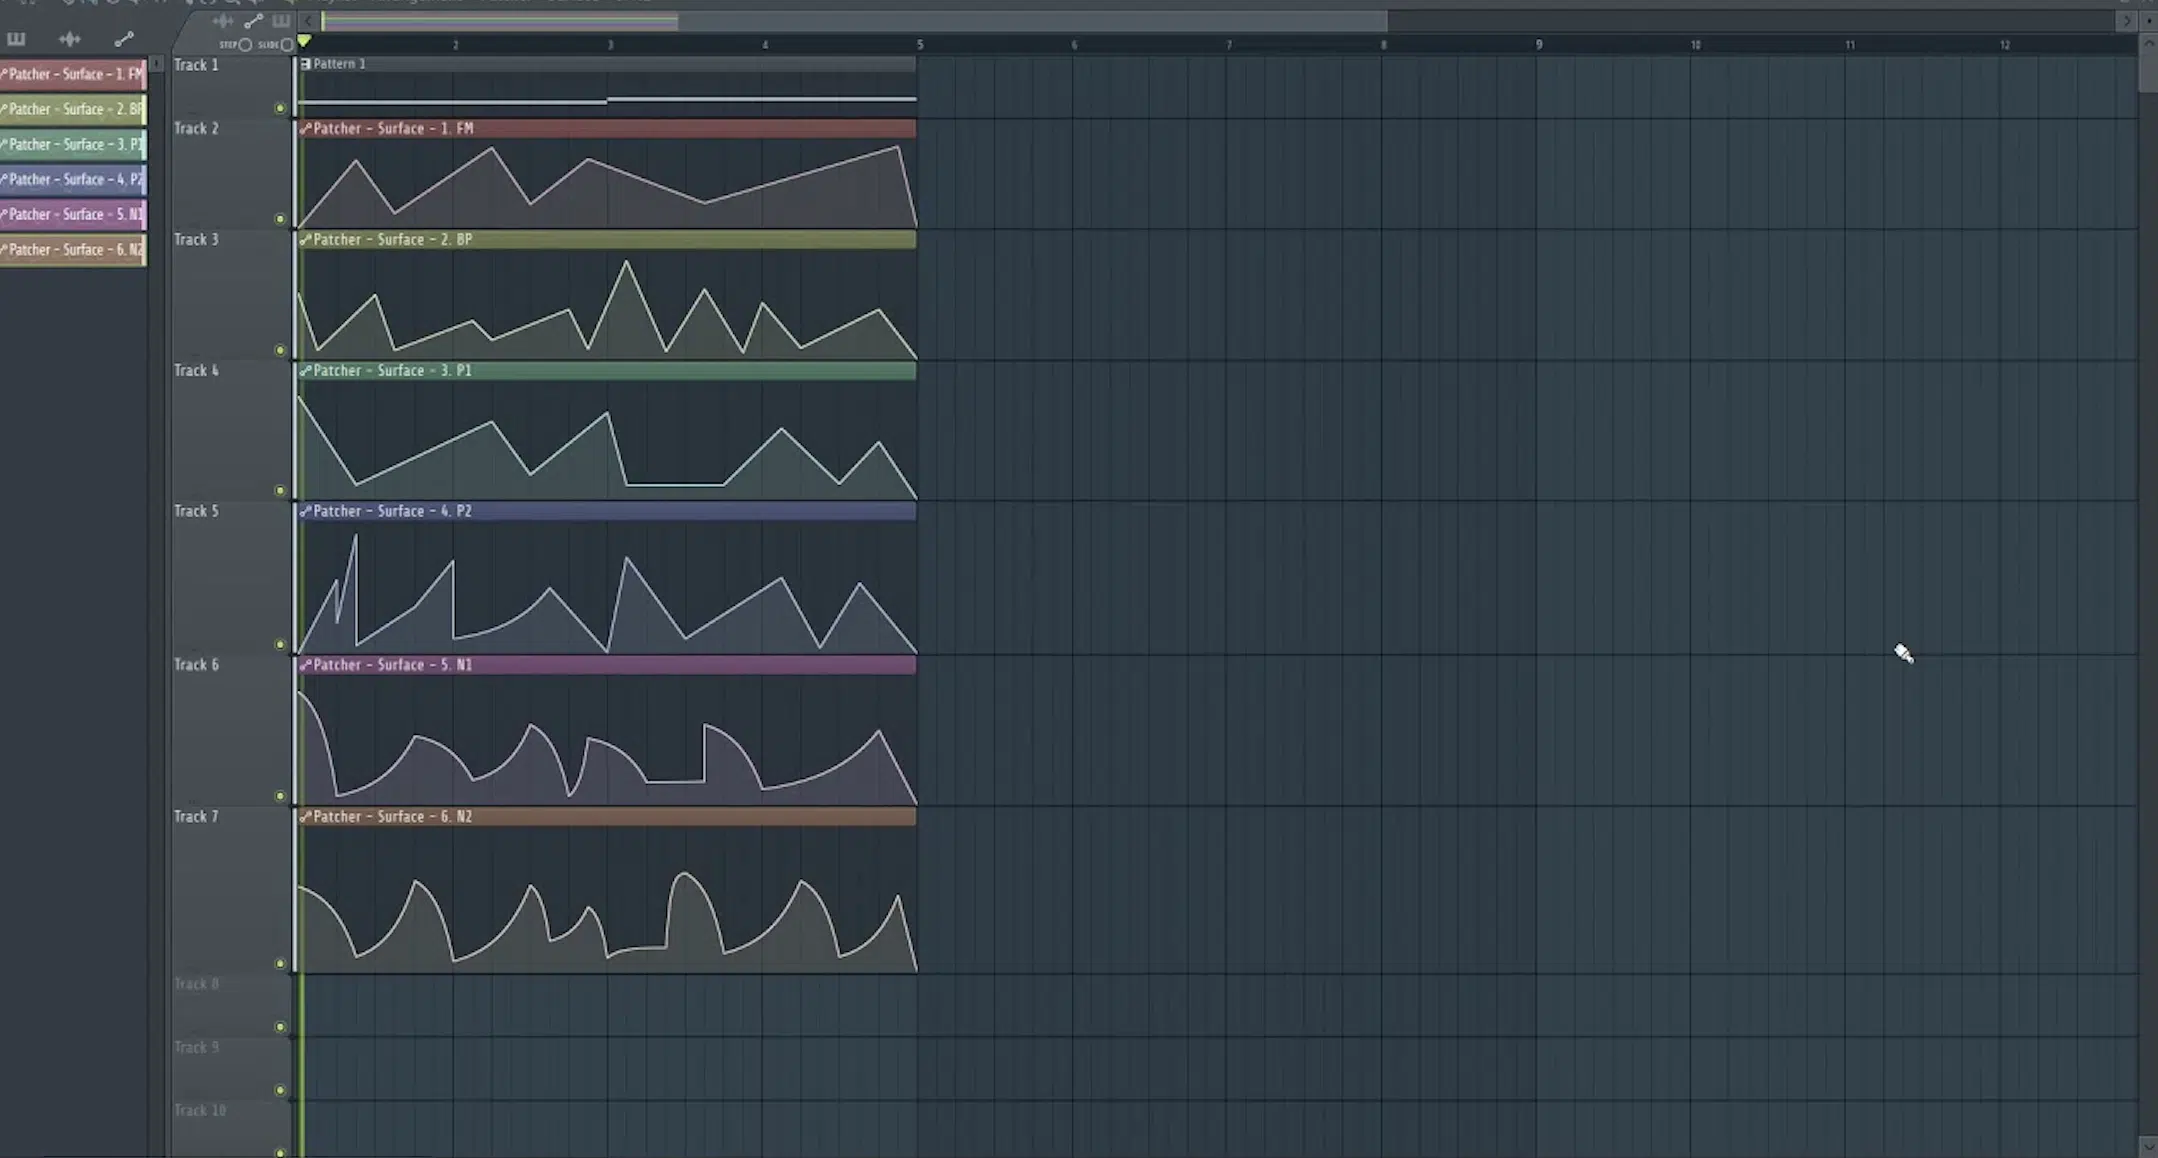
Automation is a game-changer when it comes to infusing your pads with dynamic movement they so desperately need.
By automating various parameters you can create pads that change over time, such as:
- The filter frequency
- Effect wet/dry mixes
- Oscillator detune
This technique can be especially impactful during transitions between song sections, where a gradual increase in the brightness or intensity of a pad can build anticipation.
Automation allows for precise control over these changes and helps you choreograph the movement of your pads to match the flow of your music
Pro Tip: In the modern DAW, we’re no longer restricted by a synths modulation capabilities. Meaning, if your synth doesn’t have a matrix, modulation still may be possible through automation.
Automating spatial effects like panning or stereo width can add an immersive quality to your pads 一 making them seem as if they’re moving around the listener.
This can be particularly effective in headphone mixes, where subtle shifts in the stereo field can create a captivating three-dimensional listening experience.
The key to successful automation is subtlety, even minor adjustments can have a super big impact.
It adds a layer of edge/detail to your pads that keeps the listener engaged.
-
Mixing Pads into Your Track: Volume & Stereo Image (Recap)
‘
With your synth pads now full of rich textures and dynamic movements, the final step is mixing pads into your track; let’s break down a few things you should remember.
#1. Mixing pads into your track involves careful balancing and EQing to ensure your pads support rather than overshadow the main elements.
#2. Volume balancing is key in ensuring your synth pads sit correctly in the mix.
#3. Pads are typically meant to support, not dominate, so their volume should be set to complement the lead elements.
#4. Using automation to adjust the pad’s volume throughout the track can help maintain this balance.
This allows the pads to swell in intensity during key moments without competing with your vocals or lead instruments.
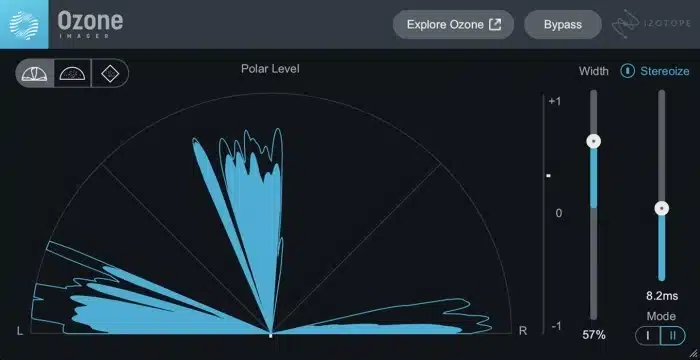
#5. Consider the stereo image of your synth pads.
Widening the stereo field can help your synth pads envelop the listener and add a sense of space, but too much widening can make them feel disconnected from your mix.
#6. Techniques such as mid/side EQ can help you achieve the perfect balance 一 ensuring your pads are both immersive and cohesive.
#7. EQ strategies for clarity are just as important. Pads often occupy a wide frequency range, which can lead to clashes with other track elements.
Careful EQing, particularly with a high-pass filter, can remove low-frequency content that muddies the mix.
Notching out specific frequencies where lead elements sit can also prevent masking and ensure every part of your track shines.
#8. Remember, the goal is to create a harmonious blend where pads enhance the emotional depth and atmosphere of your track without detracting from its overall clarity and impact.
Pro Tip
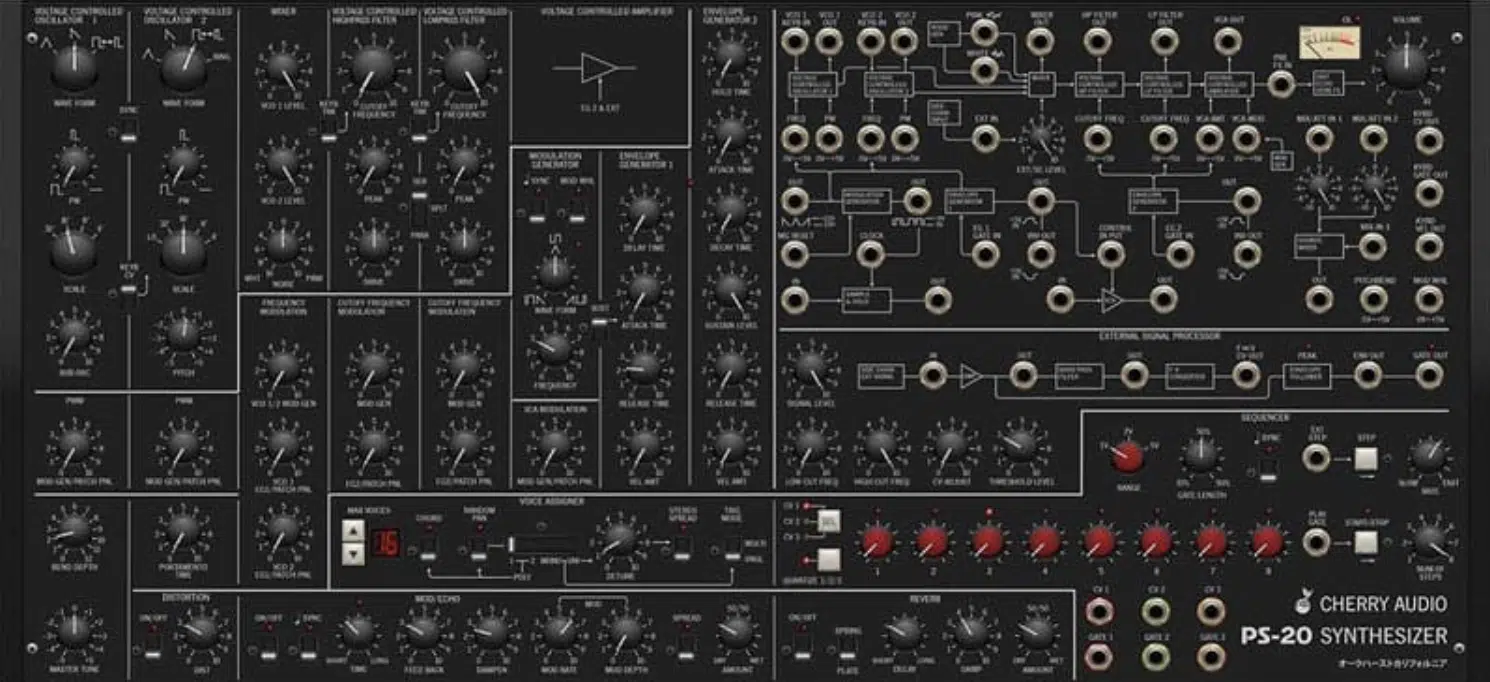
To take your synth pad sounds to the next level, try diving into modular synthesis, which gives you an unparalleled level of customization and experimentation.
By patching together different modules, you can explore unique signal paths that aren’t possible with traditional synthesizers.
This could involve routing multiple oscillators through a series of complex modulation sources and filters to create pads that are dynamic and constantly evolving.
Synth Pads: Final Thoughts
Synth pads are some of the most versatile and impactful tools to give your tracks depth, texture, and emotion.
Plus, if you use the techniques we’ve talked about today, you’ll be able to create pads that not only enhance your music but also resonate with your listeners on a deeper level.
To further elevate your production, you’ve got to check out the legendary Synthwave & Synth-Pop MIDI Chord Collection, containing over 1,800 Drag & Drop MIDI Files.
This collection is seriously invaluable if you’re looking to add epic chord progressions and melodies to your songs.
By pairing these MIDI files with your synth pads, you can add movement and complexity that make your tracks dynamic and engaging unlike ever before.
You’ll have an instant, perfect-sounding foundation for your tracks 一 allowing you to pump them out quicker.
So, take what you’ve learned today and go create epic synth pads that lift your music to new heights.
With the right approach and a bit of creativity, you’ll be able to produce tracks/synth pads that stand out and capture the imagination of your audience.
Until next time…


Leave a Reply
You must belogged in to post a comment.