Formant filters are all about shaping sound with resonance and precision.
They can make your vocals better, transform synth patches into vocal-like instruments, and add super unique textures to your tracks.
Plus, they’re perfect for creative effects, dynamic vowel shifts, and even mimicking the human voice (which is a great skill to know).
As producers, mastering formant filters and the different ways to use them is key, which is why I’m breaking down everything you need to know, like:
- What formant filters are ✓
- Breaking down formant frequencies ✓
- How to expertly simulate formant filtering ✓
- Key components of a formant filter ✓
- Creative vocal processing tricks ✓
- Using formant filters with synthesizers ✓
- Automation and modulation tips ✓
- Combining filters with other effects ✓
- Advanced formant shaping techniques ✓
- Much more about formant filters ✓
By knowing all about formant filters and how they interact with formant frequencies, harmonics, and resonance, you can easily elevate your sound design skills.
Plus, you’ll be able to create professional vocal effects, synth textures, and dynamic sounds all day long.
This way, your vocal tracks will always sound polished and unique.
Table of Contents
What Exactly Are Formant Filters?
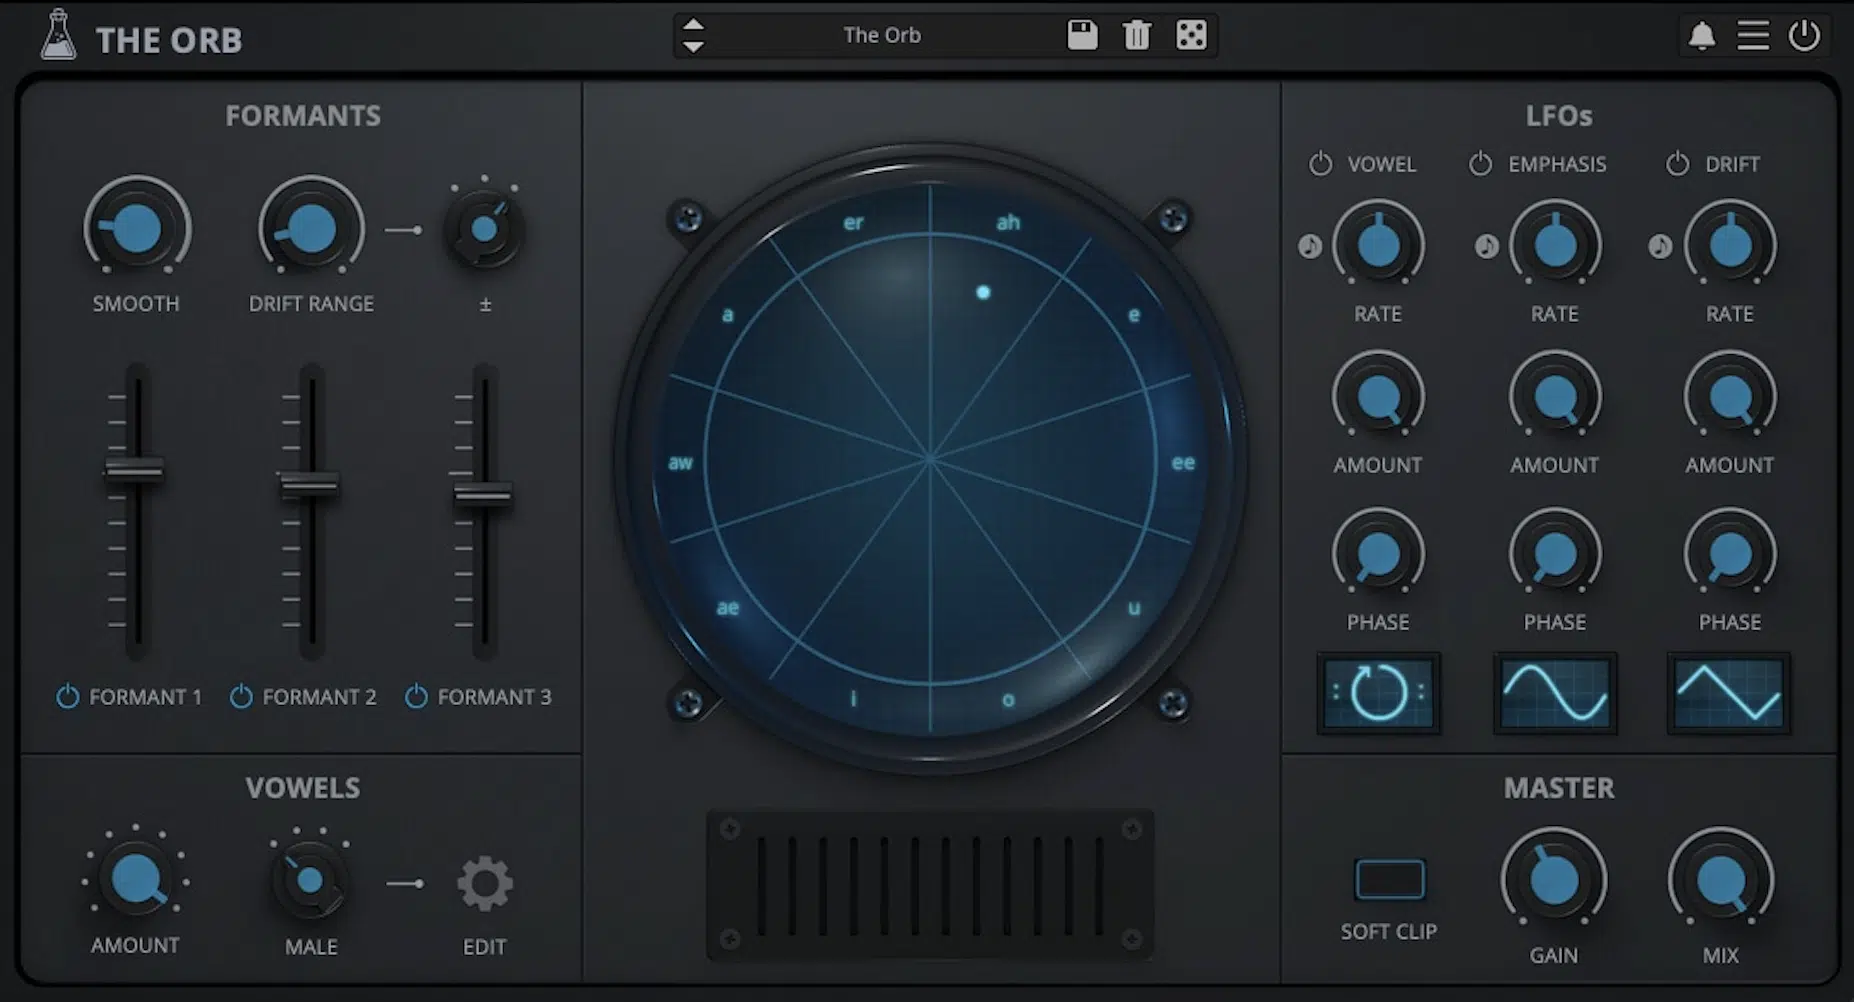
Formant filters are one of the coolest tools you can use to shape your sounds, especially when you’re working with vocals or synthesizers.
A ‘formant’ refers to the resonance frequency of the vocal tract 一 creating those distinctive frequency components we associate with vowels in human speech.
Formant filters are designed to simulate formant filtering by boosting or cutting specific frequencies using bandpass filters to target the first two formant frequencies.
For example, in a vocal track, you can hype up the vowel formant to make the sound more show-stopping or even alter it completely to create robotic or alien-like tones.
You can honestly get as subtle or as crazy as you want, which is the great part.
When adjusting formant filters, focusing on settings like bandwidth and frequency spectrum analysis is key to achieving the desired sound.
PRO TIP: Use a spectrum analyzer to identify the peaks of the frequencies you want to enhance or suppress (it’s a game-changer for precision).
-
Main Components of Formant Filters
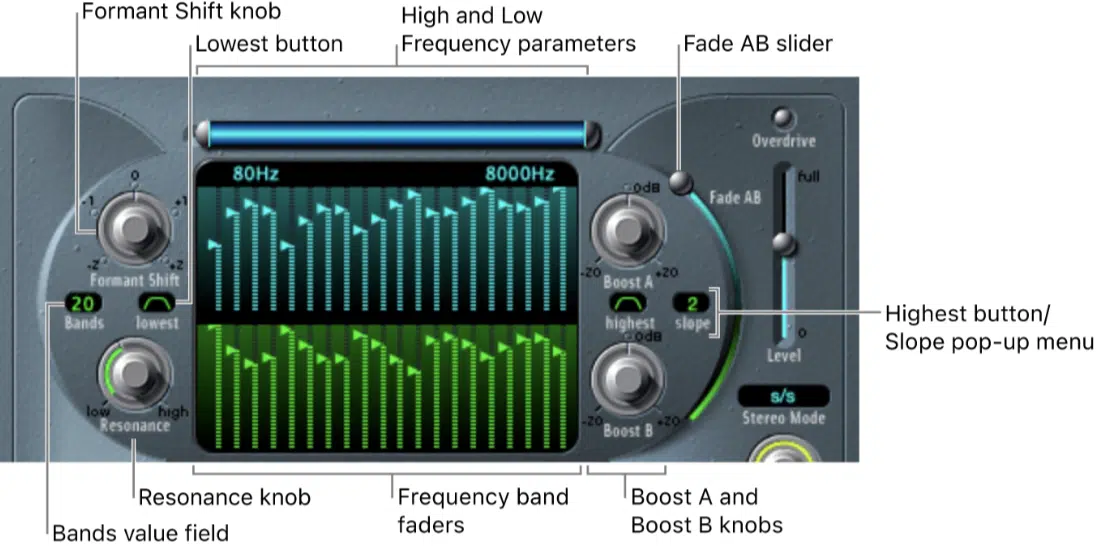
Logic’s Formant Filter (pic: Apple)
Formant filters are built on key components that shape how they affect your sound, with each playing a super important role to achieving the vibe you’re going for.
The filter type (primary element), often a bandpass filter, isolates specific/multiple vowel formants by focusing on narrow frequency ranges.
They typically range between: 300 Hz (hertz) and 3,000 Hz.
For example, to highlight the “oo” vowel, set your first bandpass filter around 300 Hz and the second at 800 Hz.
This will make sure each has a bandwidth of about 200 Hz for a more organic, natural resonance that sounds very professional and pristine.
The resonance control determines just how much emphasis is placed on the selected frequencies.
A higher resonance value, such as 8.0 on a plugin like FabFilter Volcano 3, creates more pronounced vowel characteristics.
Just be careful though because excessive resonance can lead to harsh peaks.
Modulation capabilities are another key feature, which lets you play around with dynamic changes over time.
For example, use an LFO with a 0.5 Hz rate to modulate the filter cutoff 一 creating vowel shifts that feel authentic and evolving.
Another key component is the bandwidth adjustment, which defines how wide or narrow the filtered range is.
For more subtle effects, start with a bandwidth of 150 Hz, and for dramatic, robotic tones, reduce it to around 50 Hz.
You can combine the formant filter with a low-pass filter set at 7 kHz to tame high-end harmonics, especially when processing synthetic vocals or speech sounds.
And yes I’m saying it again, you always want to use a spectrum analyzer to monitor how these settings impact the frequency spectrum.
This way, the desired frequencies are emphasized without introducing muddiness or unwanted artifacts, which you never want.
Key Uses of Formant Filters: Breaking it Down
Formant filters are versatile, so you’re able to get super creative when it comes to shaping your sounds. Whether you’re tweaking vocals, designing synthesizers, or diving into unique sound effects, formant filters let you create textures and tones that stand out in any mix. Let’s break it down.
-
Vocal Processing
If we’re talking vocal processing, formant filters can be your secret weapon for knocking out unique and polished tracks if you use them correctly.
By emphasizing or attenuating average vowel formants, you can make a vocal sit perfectly in the mix or give it a completely new character.
For example, if a lead vocal sounds too nasal, use a formant filter to reduce the resonance frequency near 1,000 Hz, which often corresponds to the “ah” vowel formant.
On the flip side, you can simulate formant filtering to make your vocal sound airy or ethereal by boosting higher formant frequencies in the 3,000 Hz range.
If you’re working with a plugin like FabFilter Pro-Q 3, use its spectrum analysis feature to visualize the vocal’s formant frequencies and scope out any problem peaks.
A good starting point is to target the first two formant frequencies, which are super important when it comes to maintaining the vocal’s intelligibility.
For example, the first formant (around 300 Hz to 800 Hz for most vowels) can give the vocal body, while the second formant (around 800 Hz to 2,000 Hz) adds clarity.
I suggest that you automate the filter’s frequency and bandwidth settings to create dynamic vowel shifts over time.
This technique is perfect for more modern vocal effects, like those used in EDM or pop tracks, where the vocal evolves throughout the song.
Another idea is to combine a single formant filter with a low-pass filter to remove harsh upper harmonics while preserving the human voice’s natural warmth.
This can make the vocal sit smoothly against a dense instrumental track.
-
Synthesizer Sound Design
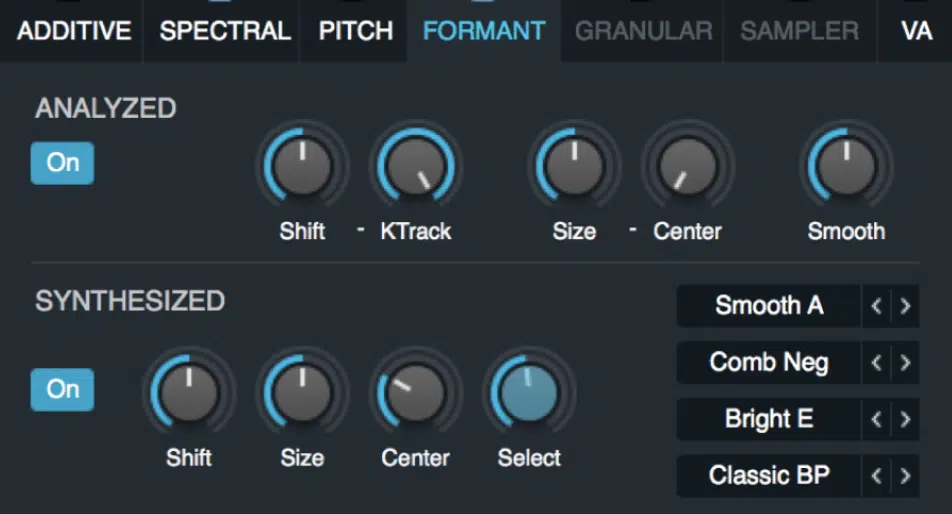
Formant filters really shine in synthesizer sound design because you have the ability to turn basic waveforms into mind-blowing, vocal-like instruments.
For example, applying a formant filter to a sawtooth wave can create vowel-like sounds that mimic speech or singing.
Start by using a plugin (let’s say Serum), which includes built-in formant filter options…
Then, play around with targeting the vowel formant frequencies around 300 Hz to 1,200 Hz for the first two formants.
To achieve richer harmonics, adjust the resonance of the filter to emphasize fixed frequencies without overwhelming the fundamental frequency.
For example, boost the resonance frequency slightly to make the vowel formant more prominent while ensuring clarity in the frequency spectrum.
PRO TIP: Modulate the formant filter cutoff with an LFO or envelope to create evolving sounds that change over time.
This technique works super well for pads or leads in EDM tracks.
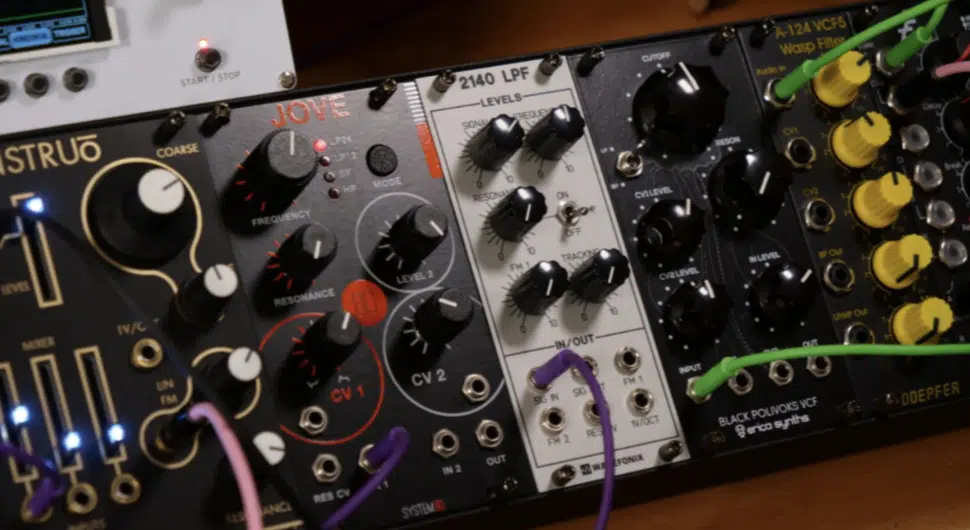
When layering synth patches, try blending bandpass filters with low-pass filters to control both the vowel-like characteristics and the overall tone.
You can also stack multiple band pass filters to simulate complex vowel shifts, which gives your synth patches a human voice-like quality that’s pretty cool.
And don’t forget about your spectrum analyzer here either, guys!
-
Creative Effects
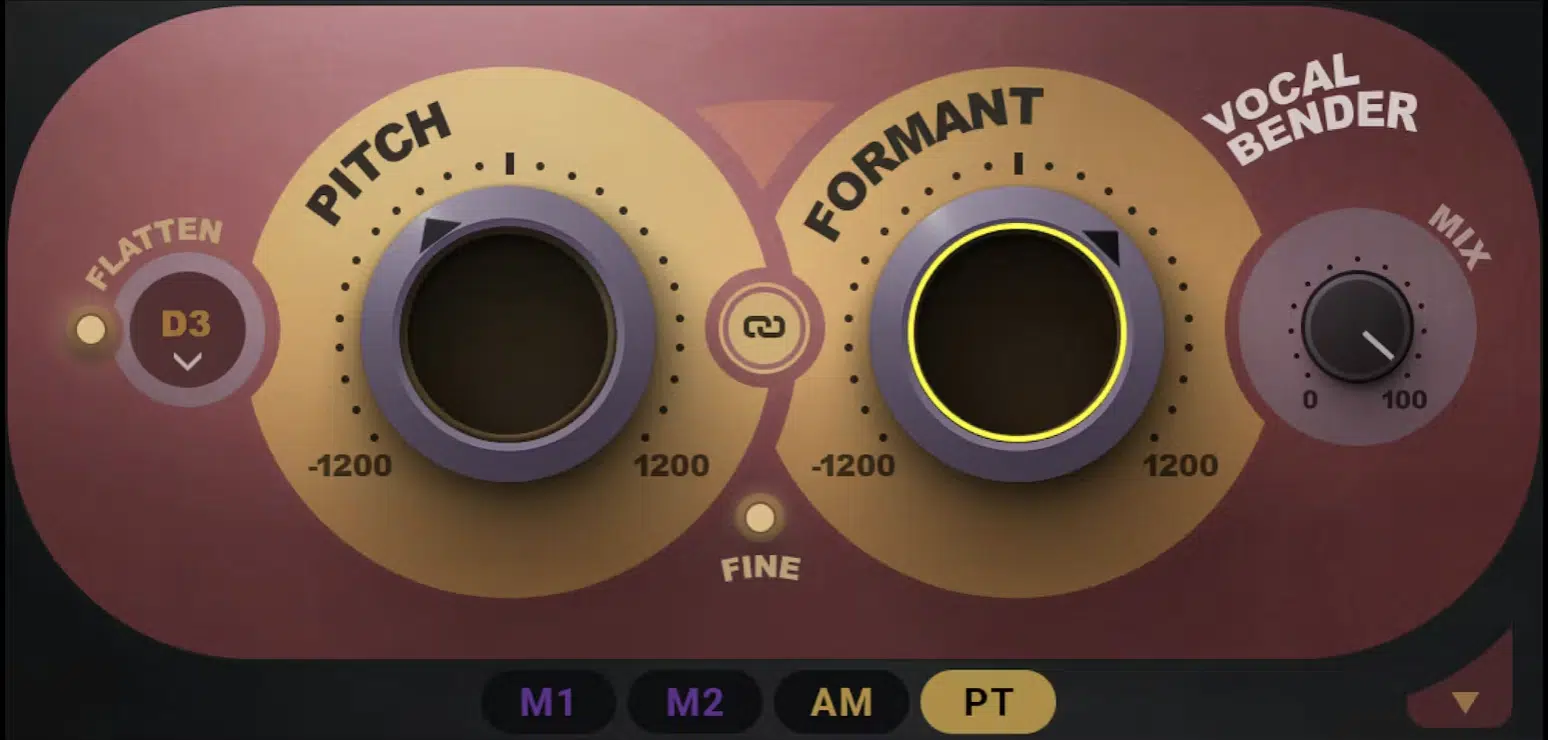
Formant filters are absolutely perfect for throwing in some creative effects that make your music stand out and dominate the competition.
For example, applying a formant filter to percussive sounds, like snares or hi-hats, can bring some sick subtle vowel tones to the table.
It will help you add some unique character to your rhythm section.
By targeting fixed formant frequencies (such as the lowest frequency ranges between 300 Hz and 800 Hz) you can create a “talking drum” effect.
Or, mimic robotic speech sounds if that’s what you’re going for; dealer’s choice.
For a truly otherworldly vibe that can really intrigue your listeners, try sweeping the formant filter across the frequency spectrum using automation.
This creates a dynamic shift that is perfect for experimental genres/soundtracks.
You can even combine formant filters with other effects, such as delay or distortion, for more layered and textured soundscapes which I personally love.
Another technique is to modulate the filter’s resonance to exaggerate specific peaks in the output.
For example, start with a resonance setting of around 0.7 to 1.0…
Then, automate the resonance knob to sweep between these values over the course of 8 bars, syncing the modulation to the tempo of your track.
This creates dynamic peaks that breathe life into static sounds and can transform even simple sounds into intricate, evolving textures.
To take it further, set your formant filter to emphasize vowel formants like “ah” (300 Hz and 1,000 Hz) or “ee” (500 Hz and 2,200 Hz).
Don’t forget to use an LFO at a rate of 0.5 Hz to modulate the filter’s cutoff frequency.
For even more depth, route the output of the formant filter into your favorite reverb plugin 一 try out Valhalla Shimmer if you haven’t before, it’s perfect for this.
Use a decay time of 3.5 seconds and set the mix level to 30% to create an expansive atmosphere (while maintaining the clarity of the formant peaks).
PRO TIP: Adjust the reverb’s pre-delay to around 50 ms to make sure the initial attack of the sound remains defined.
Automation & Modulation Techniques
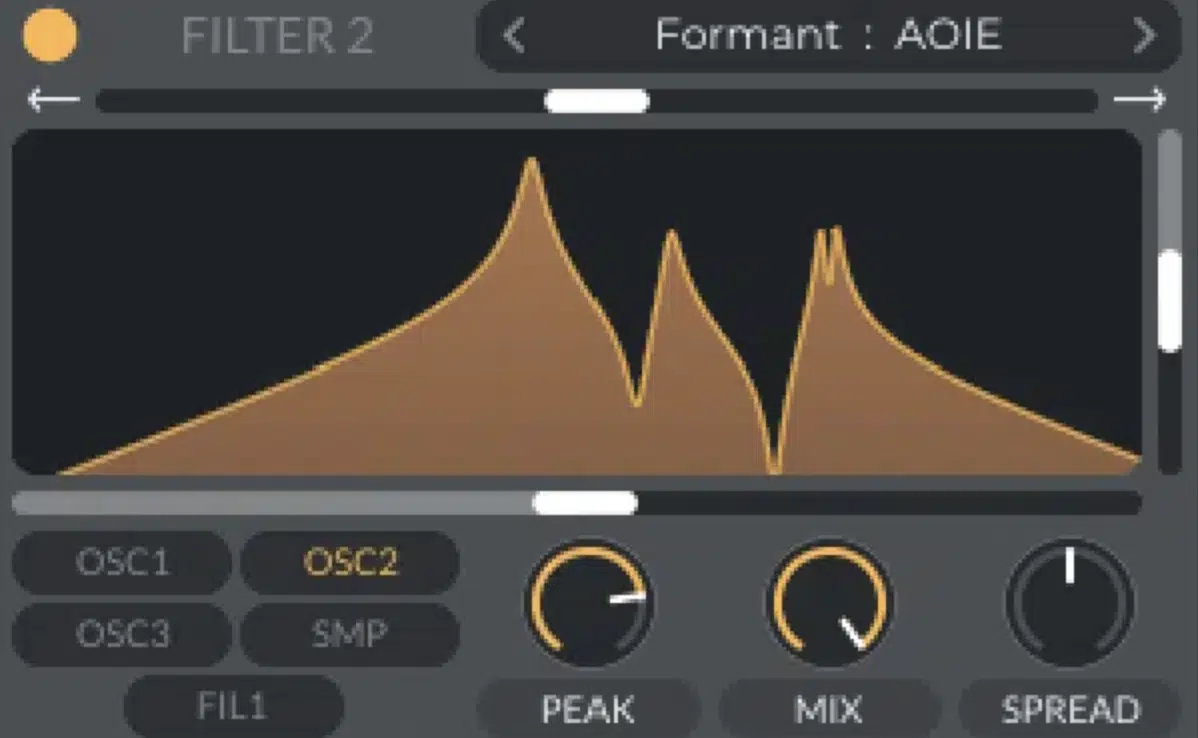
We’ve touched on it a little bit, but I really have to hype up automation and modulation when it comes to unlocking the full potential of formant filters.
By automating the formant frequency parameters, you can create epic vowel shifts that can add movement to basic sounds.
For example, in a vocal chop, automating the band pass filters to sweep through the first two formant frequencies can simulate formant filtering for a talking or singing effect.
If you’re a future bass or dubstep producer, this is perfect for you.
Use your DAW’s modulation tools (like Ableton Live’s Envelope Follower or Logic Pro’s LFO tools) to add rhythmic changes to the filter’s cutoff frequency or resonance.
For example, linking the filter’s modulation to your MIDI controller can let you manually manipulate vowel sounds during a live performance.
Don’t forget to play around with sidechain modulation by routing the formant filter’s parameters to follow the dynamics of a kick drum or other rhythmic element.
This will add that dope pulsing effect that syncs the vowel formant to the groove of your track (pretty common but super powerful).
For advanced sound design, combine automation of multiple bandpass filters with modulation of resonance and bandwidth settings.
PRO TIP: Save all your modulation patterns as presets to streamline your workflow and recall complex settings for future projects, it’s very beneficial.
-
Pro Tip: Combining Formant Filters With Other Effects
Combining formant filters with other effects can unlock unique soundscapes and elevate your tracks like never before.
For example, start with a formant filter set to emphasize the “ah” vowel by targeting frequencies around 300 Hz and 1,000 Hz using a bandpass filter.
Pair this with a low-pass filter set to 8 kHz with a gentle 12 dB/oct slope to remove harsh high-end harmonics and create a smoother overall tone.
For added texture, introduce a reverb effect like Valhalla VintageVerb 一 setting the decay time to 2.5 seconds and the mix level to around 20%.
This will add width/depth to the vowel resonance without destroying the original signal.
If you’re looking for more bite, add light distortion, such as Soundtoys Decapitator, with the drive set to 3 and the tone knob adjusted slightly towards “Bright.”
This will enhance the harmonics produced by the vowel formant frequencies.
To take it a step further, apply modulation using a chorus plugin (like Arturia’s Chorus JUN-6) with a rate of 1.2 Hz and a depth of 30%.
It will make things more alive and intriguing.
Automate the formant filter’s frequency to shift from “ee” (2,000 Hz and 2,500 Hz) to “oo” (300 Hz and 800 Hz) across four bars.
This keeps the sound evolving and is super effective for building tension or adding variety in all EDM genres.
NOTE: Always monitor the frequency spectrum with a plugin like iZotope Insight 2 to make sure your sound remains balanced while layering these effects.
Bonus: Advanced Formant Shaping with Multiple Filters

For advanced sound design, using multiple formant filters (in parallel) can create hyper-realistic vocal emulations or entirely new timbres.
Start by stacking bandpass filters tuned to the first two formant frequencies of the desired vowel…
For example, to mimic the “ee” vowel, set one filter around 300 Hz for the lowest frequency and another near 2,200 Hz for the second formant.
Then, adjust the bandwidth of each filter to emphasize the resonance frequency of the vocal tract without overlapping too much of the frequency spectrum.
To add brilliant depth, introduce modulation to each filter’s cutoff frequency.
For example, use an LFO to sweep the formant frequencies slightly, simulating the natural variability of human vocal folds.
PRO TIP: Incorporate a scale factor when modulating the filters.
This makes sure any subtle shifts that don’t overdo the effect 一 keeping the sound fully intelligible while adding movement.
Use automation to create transitions between vowels, like moving from an “ah” sound to an “oo,” to simulate realistic speech sounds.
For even more complexity, cascade the filters by feeding the output of one into the input of another (pretty straightforward).
This can create cool harmonic content that corresponds to multiple vowel formants.
Don’t forget about distortion and/or saturation in the chain to hype up the distinctive frequency components produced by the filters.
Don’t forget to check your frequency spectrum with a spectrum analyzer to ensure that the acoustic signal remains balanced and doesn’t muddy the mix.
I promise, that’s the last time I’m going to say it.
You can use this technique not only on vocals but also on any musical instruments you can think of, really.
It could be like synthesizers or even drum samples, for experimental results that make your tracks stand out from the rest.
Final Thoughts
Formant filters, as you now know, are all about reshaping sound and taking your productions to the next level.
Whether you’re using them to create killer vocal effects, designing synths that mimic the human voice, or layering them with other effects for that extra polish, they’re perfect.
If you use formant filters creatively (like we talked about), you’ll unlock new ways to make your tracks stand out.
And let’s be honest; when your tracks stand out, people notice.
Speaking of standing out, don’t miss this legendary Free Vocal Samples Pack that comes with 20 high-quality vocal loops, chops, and one-shots.
Every single one is polished and processed to perfection.
Whether you’re dialing in vowel formants, experimenting with resonance, or layering reverb on top of a lush vocal chop, this pack is invaluable, for real.
And the best part? 一 They’re 100% free and royalty-free, so you can use them in any project, no strings attached.
Bottom line, formant filters are one of the most creative tools in your arsenal.
When you master them, you’ll have the power to shape your sound in ways that feel fresh, exciting, and totally unique.
So fire up your DAW, load up a vocal sample, start playing around, and the results will speak for themselves (literally).
Until next time…


Leave a Reply
You must belogged in to post a comment.