Analog sound is, hands down, the holy grail of audio engineering because it brings unmatched warmth, depth, and harmonic richness to the table.
And let’s be honest, digital sounds just can’t touch that kind of saturation and dynamic range… Unless you have the right tools, techniques, and tricks, that is.
Luckily, I’m breaking down everything you need to know about how to emulate analog sound, like:
- Using tape emulation for natural tape saturation ✓
- Preamp emulation for added harmonic distortion ✓
- Console emulation to shape the audio signal ✓
- The best analog summing techniques ✓
- Recreating tape noise and subtle imperfections ✓
- Using saturation effects to bring warmth to tracks ✓
- The best digital emulations for all scenarios ✓
- Analog-style compression to enhance dynamic range ✓
- Vintage EQ and filtering to shape the frequency response ✓
- Tape delays, spring reverbs, and modulation effects ✓
- Much more about how to emulate analog sound ✓
By knowing how to emulate analog sound like a boss, you’ll be able to add warmth and enhance depth in every mix.
Plus, successfully use saturation, shape transients, and bring an organic feel to your tracks every single time.
This way, your audio signal will always be full of life and analog flavor, without ever sounding too clean or sterile.
Table of Contents
- How to Emulate Analog Sound: The Basics
- Tape Saturation Techniques (Tape Emulation 101)
- Analog Console Emulation & Amp Emulation
- The Importance of Harmonic Distortion: Breaking it Down
- Using Vintage EQ and Filtering
- Analog-Style Compression Strategies
- Adding Analog Noise and Imperfections
- Recreating Analog Signal Chains in Your DAW
- The Best Analog-Modeled Effects
- Synthesizer Techniques for Vintage Sounds
- Analog Summing and Mixing (Best Methods)
- Bonus: Mastering with Analog Emulation
- Final Thoughts
How to Emulate Analog Sound: The Basics
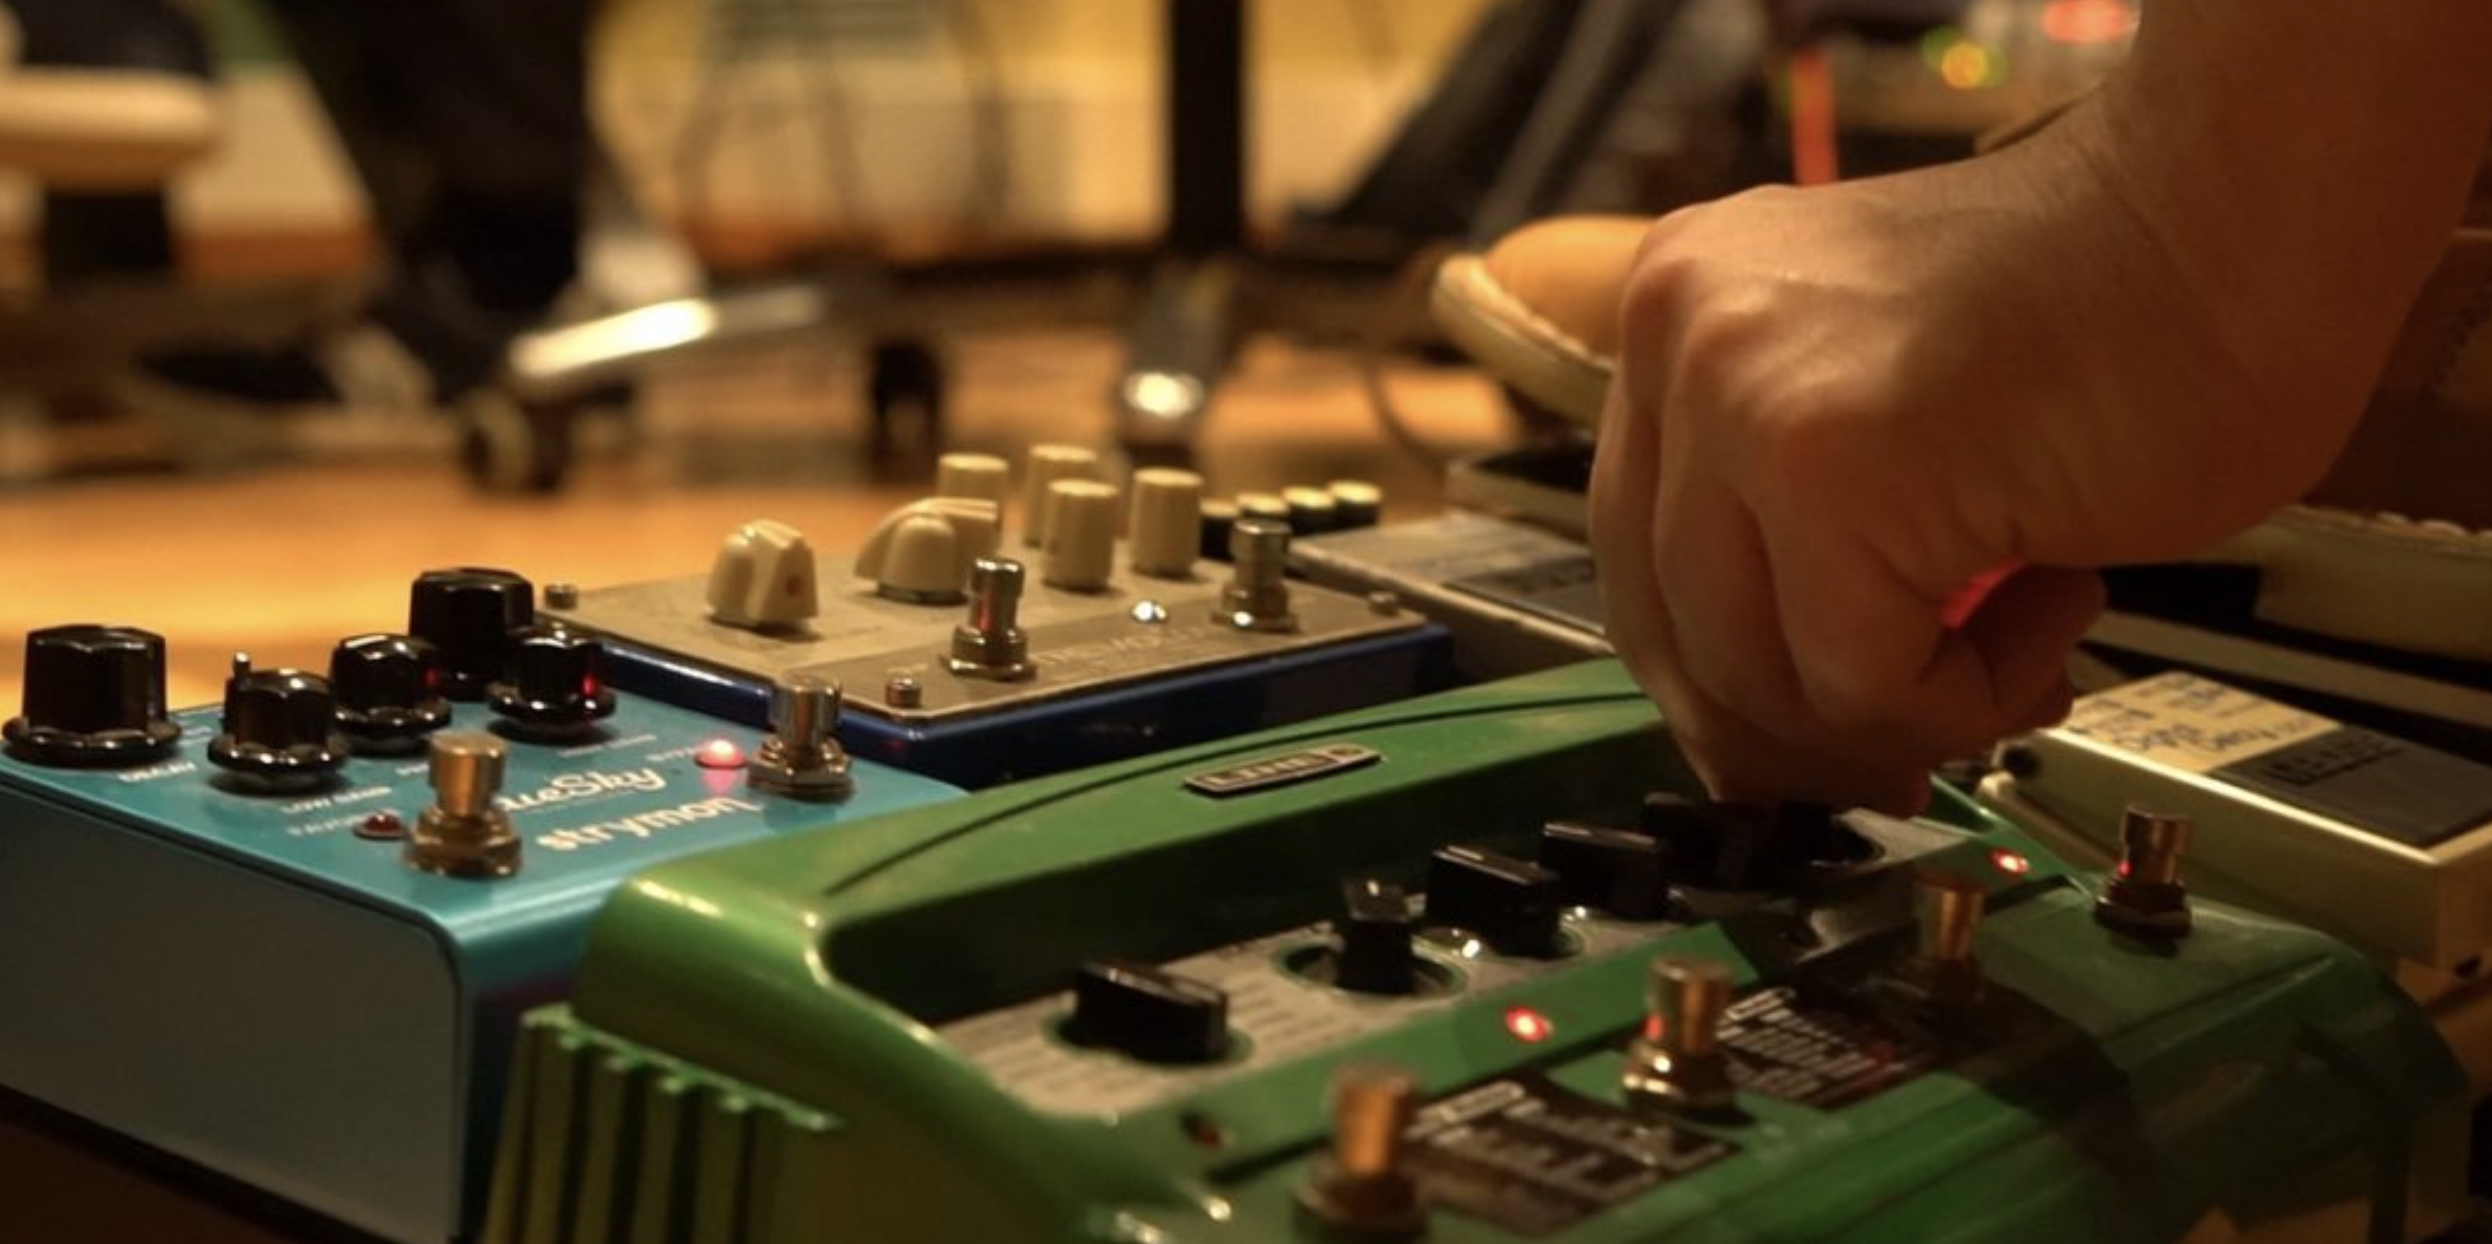
Understanding how to emulate analog sound starts with knowing why analog gear like tape machines, tube preamps, and transformers add character to a mix.
Unlike digital devices, which record audio signals with complete precision, analog sound naturally introduces:
- Harmonic distortion
- Subtle distortion
- Saturation
It shapes the frequency response in a way that feels warm and musical.
This is because analog devices don’t just pass a signal through cleanly 一 they interact with it, smoothing transients, coloring tones, and softening harsh peaks.
This is what gives an audio signal that classic analog flavor.
To achieve this in the digital world, you’re going to use analog emulation plugins like tape emulation, console emulation, and preamp emulation.
They’re all designed to mimic how real analog gear processes sound.
The key to adding warmth is understanding tape noise, tape speed, and the way nonlinearities in the frequency response introduce movement and depth into a mix.
Without these elements, digital mixes can sound too clean, which is why engineers like myself rely on tape saturation and saturation effects to bring life back into our tracks.
Don’t worry, I’ll be breaking it all down for you today so you get a solid understanding and you’ll know exactly how to emulate analog sound.
Tape Saturation Techniques (Tape Emulation 101)
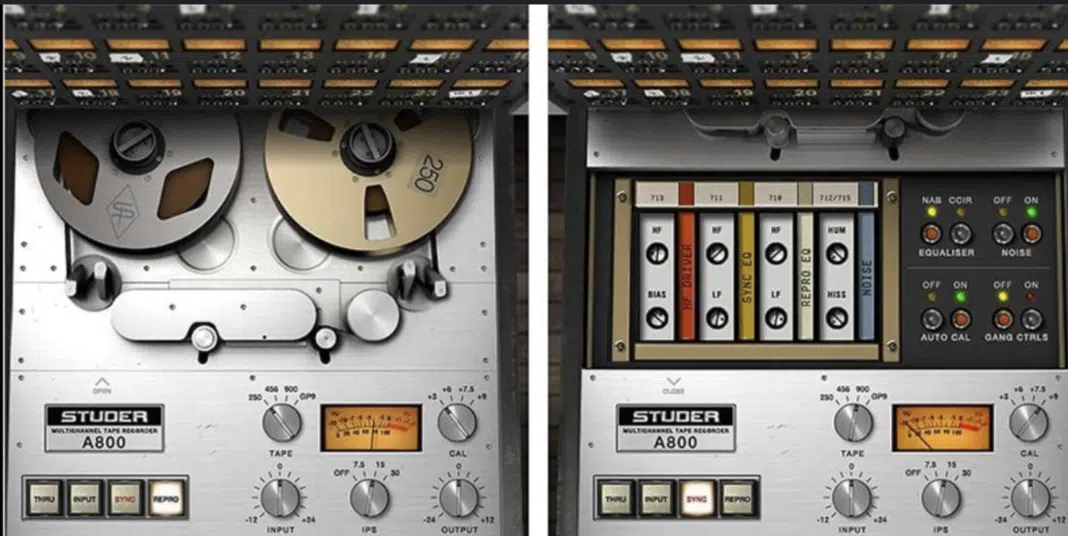
If you want to achieve a warm, vintage analog sound, using tape saturation is one of the best ways to do it, hands down.
In analog recording, a tape machine rounds off transients, enhances harmonics, and introduces slight distortion.
This is exactly why tape emulation is so popular in digital processing.
A great example is using a tape emulation plugin like Softube Tape, UAD Studer A800, or Waves J37, each of which allows you to control:
- Tape speed
- Tape noise
- Harmonic distortion
Faster tape speeds (like 30 IPS) keep the frequency response clean, while slower speeds (like 15 IPS) enhance the low-mids and introduce more tape saturation.
For the most natural results, place a tape emulation plugin on every console channel, just like a real studio setup, so the subtle saturation builds up across all the tracks.
Driving the input harder creates subtle distortion and natural compression 一 helping glue a mix together while maintaining dynamic range.
For extra warmth, try adding a mastering tape machine with a slight high-end roll-off on the master buss to smooth out the top end and add warmth to the whole mix.
Analog Console Emulation & Amp Emulation
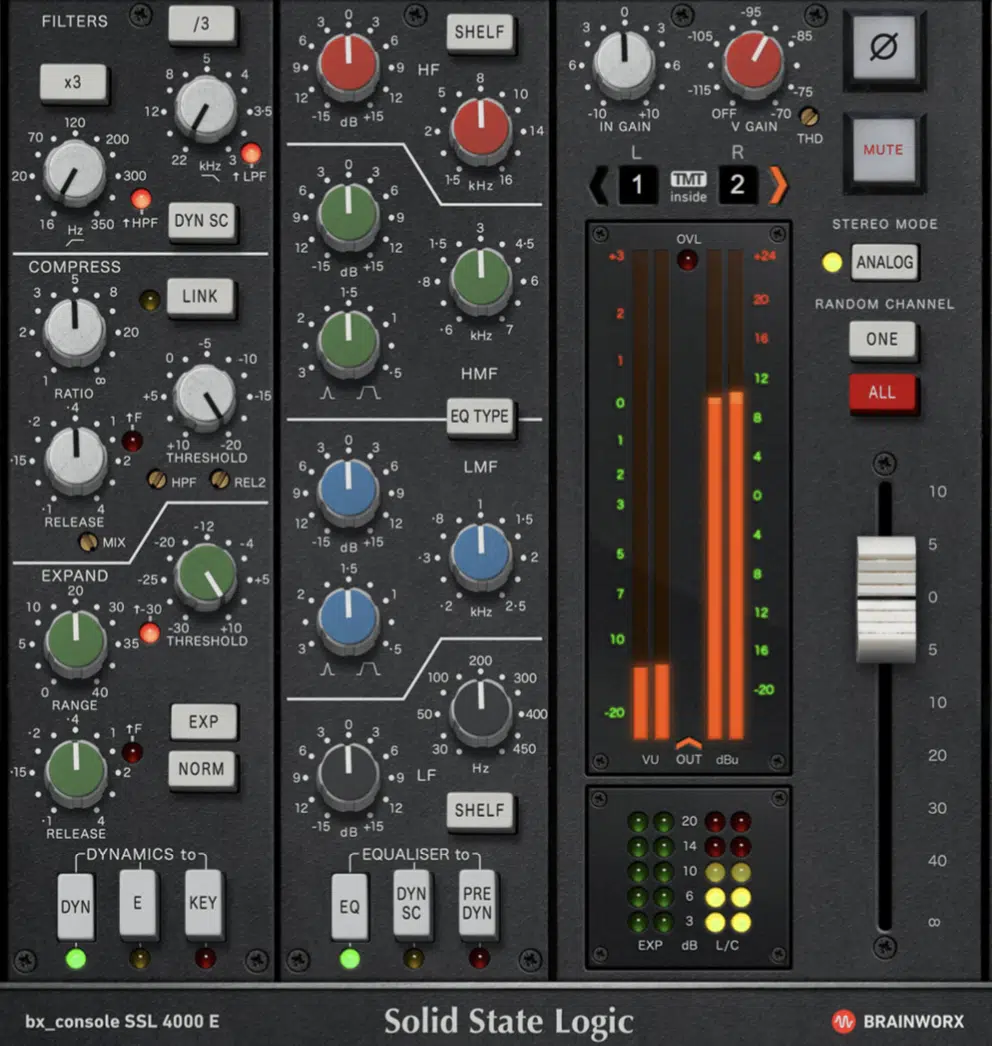
When you’re learning how to emulate analog sound one of the most effective ways to do so is by using console emulation and amp emulation.
Both of them successfully replicate how classic analog gear shapes a signal.
In traditional studios, console channels were responsible for subtle saturation, harmonic color, and the unique frequency response that gave classic recordings their warmth.
Modern analog emulation plugins like Waves NLS, Brainworx bx_console, and Slate VCC allow us to bring this character into digital mixes, which is awesome.
They recreate the sound of famous analog devices like SSL, Neve, and API desks in a super realistic way.
Running all the tracks through a virtual channel ensures that the mix is cohesive, as the small variations in saturation effects and harmonic content add depth and realism.
Amp emulation follows the same concept but focuses on recreating the natural/audible distortion and saturation of tube-driven preamps.
It adds grit and warmth to audio signals, which is what you’re looking for.
A great example is using UAD’s Fender ‘55 Tweed or Neural DSP’s Soldano SLO-100 to add depth to electric bass or an electric guitar part.
It mimics exactly how real tubes react to gain changes.
To add warmth while maintaining dynamic range, drive the input gain of a preamp emulation just enough to introduce subtle distortion.
But not so much that it crushes transients, of course, because that would be an absolute disaster (and nobody has time for that).
Finally, combining console emulation with tape saturation on the master buss helps glue everything together, giving a whole mix the feel of a classic analog recording.
-
Pro Tip: The Best Analog Emulation Plugins
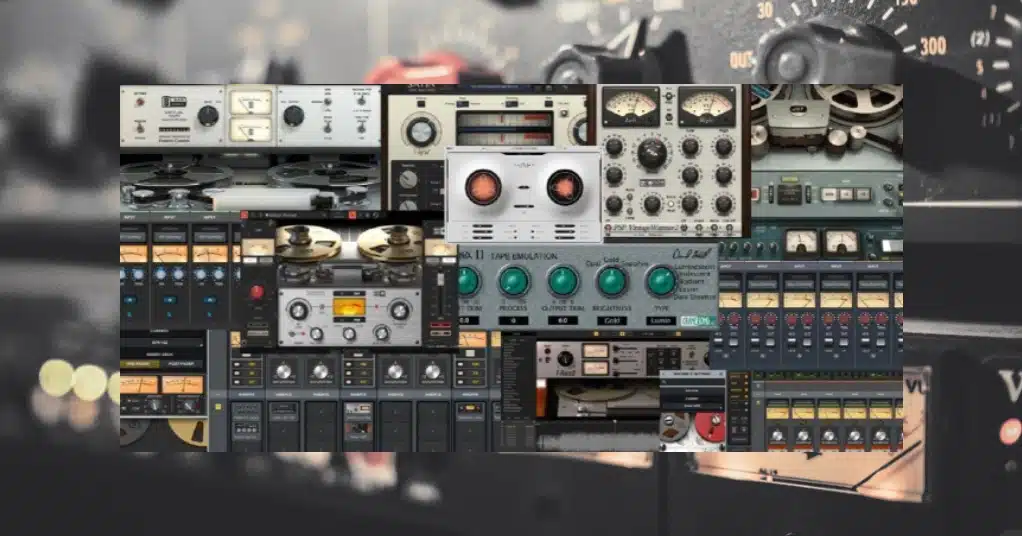
When you’re learning how to emulate analog sound, choosing the right emulation plugins is also super important for getting that authentic analog flavor.
For tape saturation, UAD Studer A800 and Softube Tape offer some of the best tape emulation available to mimic real tape machines, letting you tweak:
- Tape speed
- Bias
- WOW & flutter
If you’re looking for console emulation, Slate Virtual Console Collection and Waves NLS allow you to apply saturation to every separate channel.
It gives your mix the distinct character of classic analog gear.
For preamp emulation, Arturia’s 1973-Pre and Soundtoys Radiator are excellent choices, each designed to replicate the harmonic richness and subtle distortion found in real tube preamps.
A great example of stacking emulation plugins is running a vocal chain through Softube Tape, Waves API 550 EQ, and Soundtoys Radiator to shape the audio signal.
It will make things very natural and musical in a magical way.
To make sure your mix sounds cohesive, use a combination of analog emulation plugins across your tracks.
Just don’t forget to tweak each one to add just the right amount of saturation without over-processing the audio.
For example, start with Softube Tape at 15 IPS with the bias slightly increased for extra tape saturation 一 adding warmth without muddying the low-mids.
Then, shape the frequency response with Waves API 550 EQ, giving a slight 2dB boost at 8kHz to add presence while cutting 300Hz by 1.5dB to clean up any muddiness.
Next, introduce subtle distortion with Soundtoys Radiator by setting the Input Drive to around 4-5 for a touch of preamp emulation without overpowering transients.
If your vocal still needs glue, add an LA-2A analog-modeled compressor with a 3:1 ratio, slow attack, and medium release.
This will gently control dynamics while enhancing analog sound characteristics.
Finally, place UAD Ampex ATR-102 on the vocal bus with a 30 IPS setting for a clean high end, slightly rolling off above 14kHz to smooth out digital harshness.
It will add way more depth, which is what you’re looking for.
The Importance of Harmonic Distortion: Breaking it Down
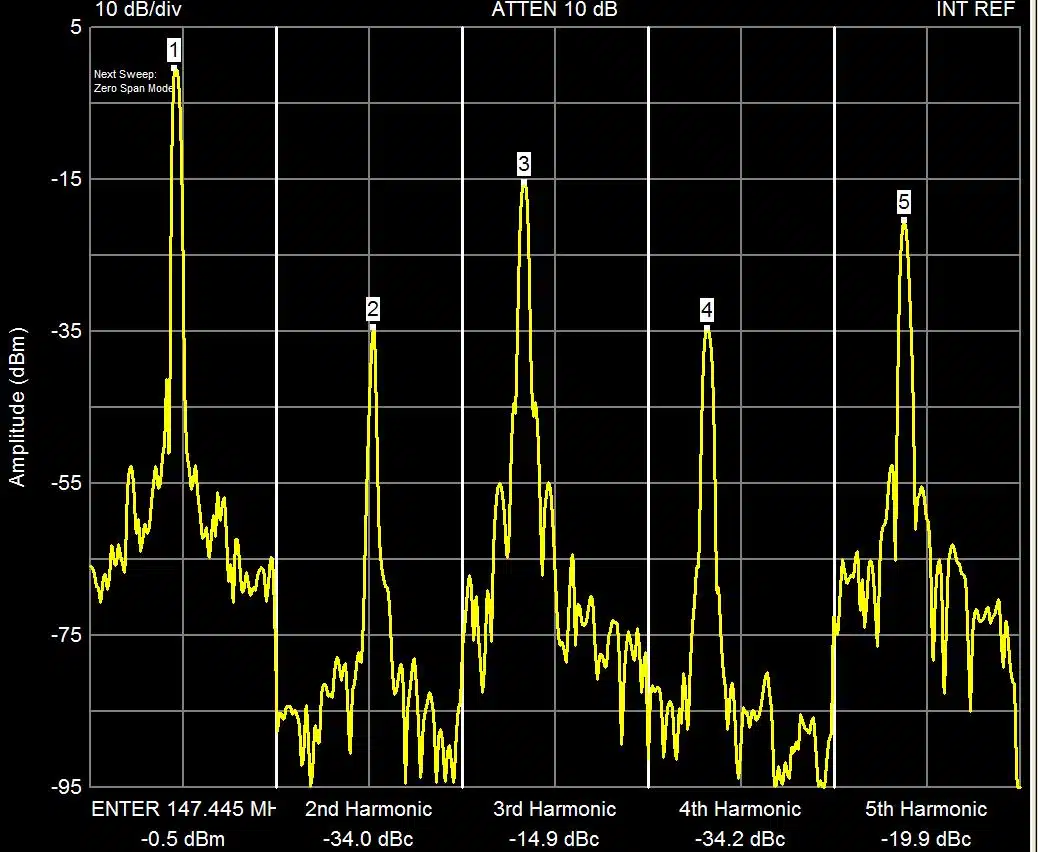
One of the key elements of how to emulate analog sound is harmonic distortion, which naturally occurs in analog gearlike tube preamps, transformers, and tape machines.
Unlike harsh digital distortion (which creates unwanted artifacts), harmonic distortion enhances a signal by adding even and odd harmonics.
It will help make your mix sound fuller and more musical.
A great example of this is running a bass track through Soundtoys Decapitator, subtly driving the saturation knob to around 3-5 for warmth without making the audio signal too aggressive.
Different types of analog saturation affect a mix in unique ways:
- Tube-based preamp emulation tends to emphasize even-order harmonics for a super smooth, rich tone.
- Transistor-based analog devices like Neve consoles add slight subtle distortion with a tighter low-end.
To achieve a balanced analog sound, use harmonic distortion on individual tracks first, then apply a touch of tape saturation on the master buss for extra glue.
Just be careful not to overdo it 一 driving a console channel too hard can crush transients and reduce dynamic range, which makes a mix feel overly compressed.
A good rule of thumb is to listen for just enough saturation effects to make a track feel warm and alive while keeping the frequency response clear and balanced.
Using Vintage EQ and Filtering
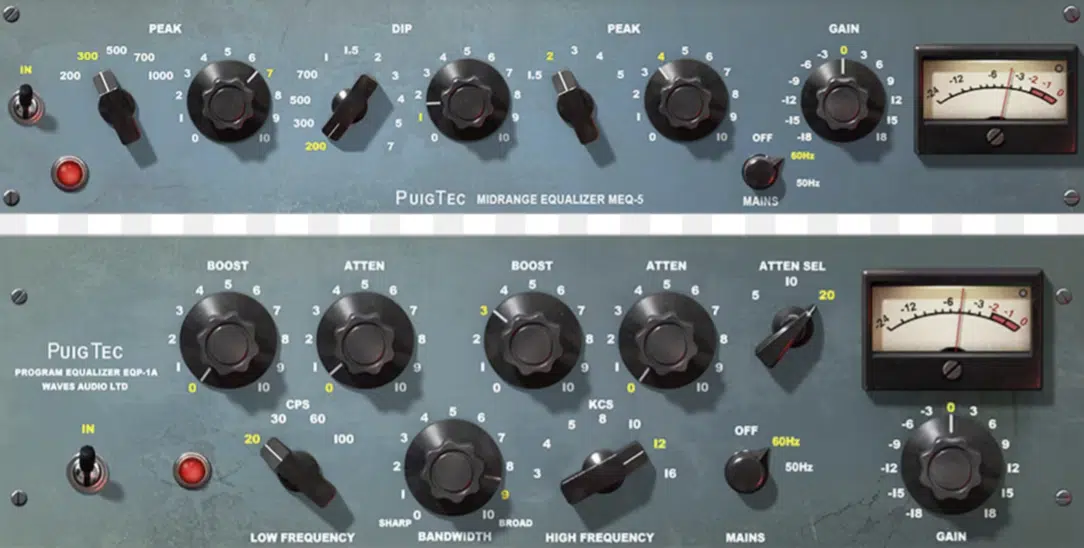
A major part of how to emulate analog sound is shaping the frequency response using vintage EQs and filters, which work differently from modern digital parametric EQs.
Analog gear like the Pultec EQP-1A and API 550 EQ has broad, musical curves that naturally introduce subtle distortion and phase shifts, giving a mix warmth and depth.
A great example is boosting the low-mids around 100 Hz on a kick drum using a Pultec-style EQ, while cutting at the same frequency to create a tight, punchy signal.
Another key technique is using high-pass filters to remove unwanted low-end rumble from all the tracks 一 helping the whole mix sound clearer without thinning it out.
For vocals, try adding a slight 12kHz boost with an API 550A console channel EQ to bring out air without introducing harshness.
NOTE: If you want a more analog feel, combine tape emulation with gentle filtering to smooth out transients and round off digital harshness.
This will make sure the audio signal sits naturally in the mix.
Analog-Style Compression Strategies
A big part of how to emulate analog sound is understanding how compression interacts with a signal in analog gearversus digital devices. So, let’s break down the key differences and how to use analog-modeled compressors to add warmth, glue, and movement to a mix.
-
Differences Between Analog and Digital Compression
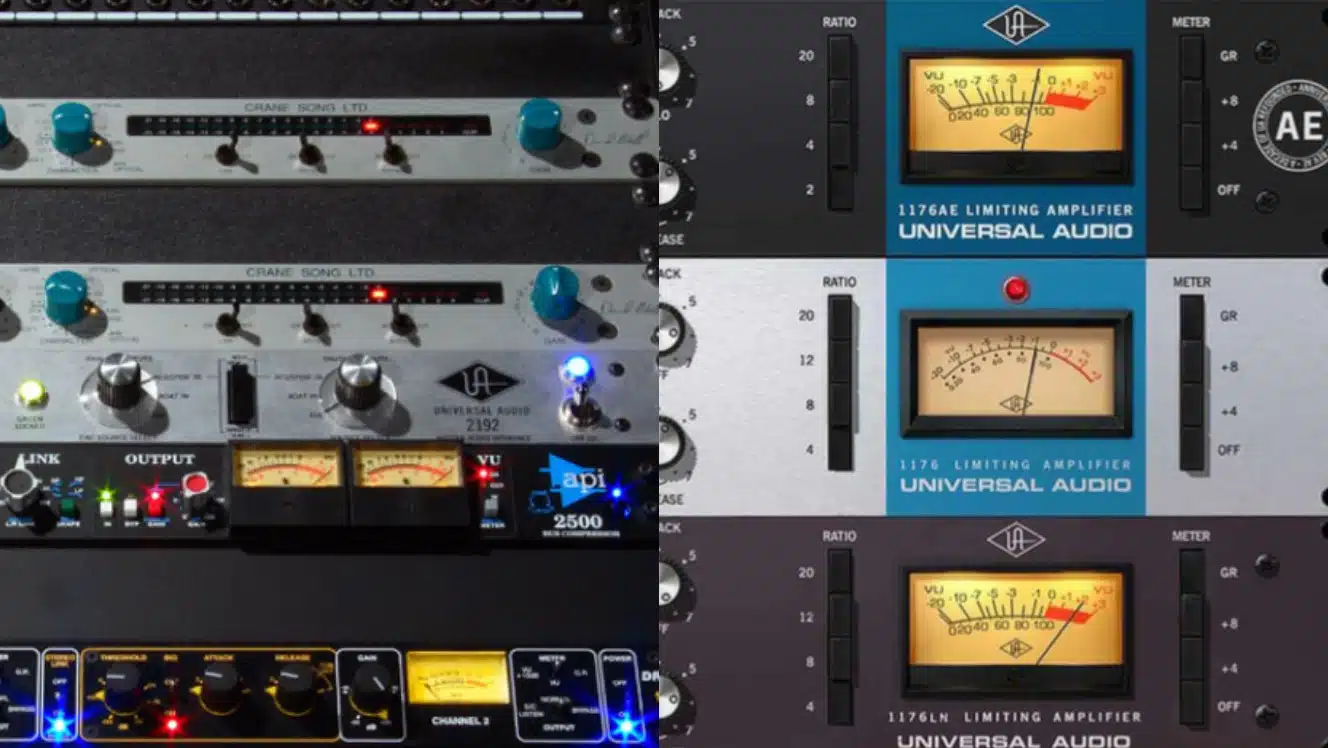
When comparing analog and digital compression, the biggest difference is how they react to transients and dynamic range.
Analog compressors like the LA-2A and Fairchild 670 apply compression smoothly, introducing harmonic distortion and natural saturation.
Digital devices, on the flip side, tend to work with absolute precision, which can sound sterile.
A great example of this is using an 1176 analog-modeled compressor on a snare drum with a fast attack and medium release…
It clamps down quickly but still allows subtle distortion and saturation to enhance the signal 一 creating an aggressive punch.
In contrast, a digital compressor like FabFilter Pro-C2, when set to the same parameters, will react consistently but lack the warmth and coloration that classic analog gear naturally imparts on a mix.
-
Setting Attack and Release Parameters for Analog Feel
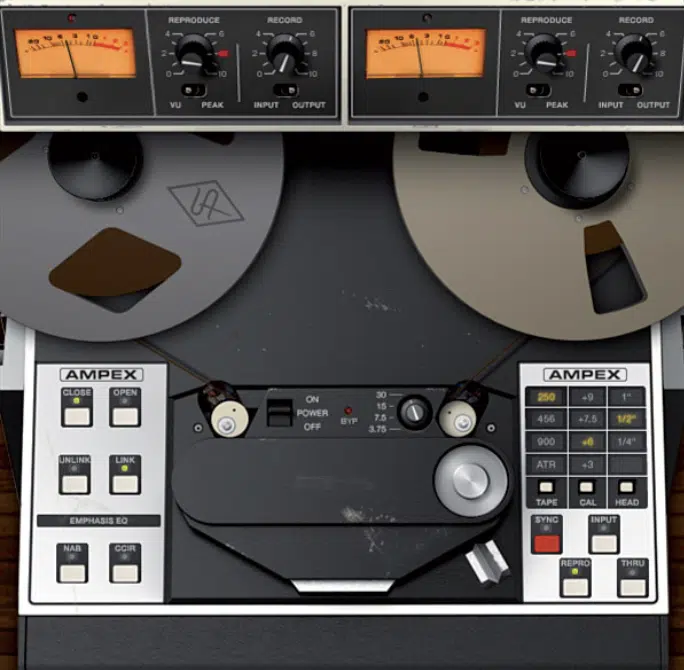
Dialing in the right attack and release times is key when it comes to emulating analog sound.
This is because analog compressors don’t just reduce volume, they shape the signal in a super musical way.
- A slow attack (above 10ms) lets transients cut through before compression kicks in.
- A fast attack (below 5ms) clamps down quickly, softening transients and enhancing tape saturation effects.
A great example is using a dbx 160 analog-modeled compressor on a bass track with an attack of 15ms and a release of 300ms.
This keeps the low-end tight while letting the initial pluck breathe.
On a whole mix, a mastering tape machine like UAD Ampex ATR-102 with a slow attack and medium release can introduce glue and subtle distortion.
This will make your digital mix feel like it was printed through real analog gear.
Adding Analog Noise and Imperfections
A huge part of how to emulate analog sound is understanding that real analog devices were never 100% clean. There was always some level of tape noise, hiss, and subtle inconsistencies in the audio signal. So, not let’s talk about how these imperfections add character to a mix and how we can recreate them using analog emulation plugins.
-
The Role of Noise in Analog Recordings
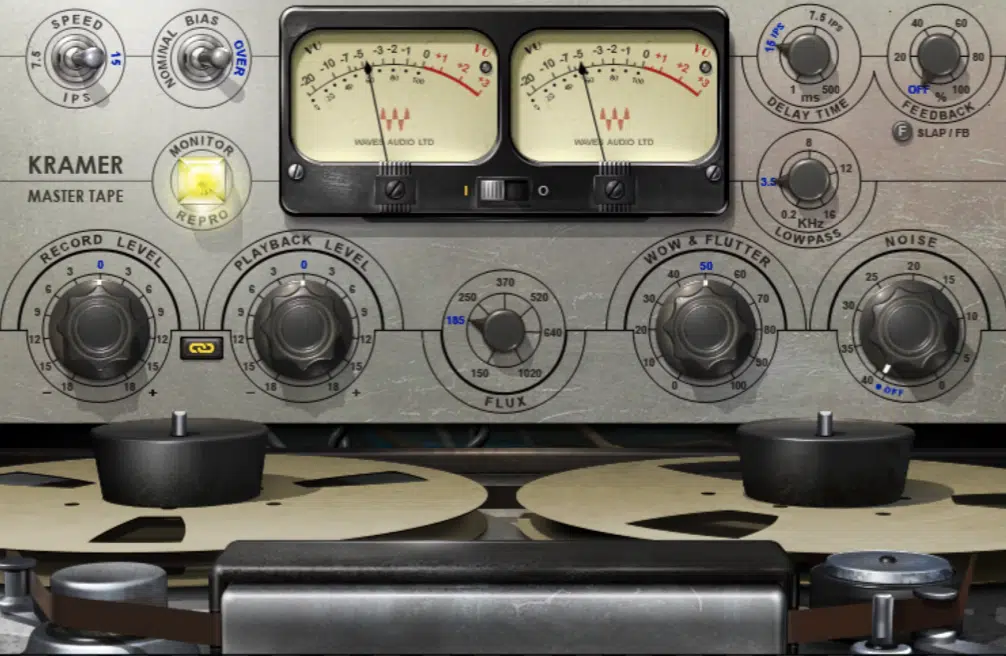
In real analog recordings, things like tape noise, preamp hiss, and electrical hum were always present, that’s a given.
But, instead of being a problem, they actually helped fill out the frequency response and add depth to a mix like we touched upon.
Let’s take the noise floor in a classic Studer A800 tape machine, for example…
When a signal passes through it, the slight saturation and high-frequency noise blend into the tracks, making them feel much more cohesive.
Unlike digital devices, where a completely silent noise floor can make a mix feel too sterile, a little bit of tape noise can help glue all the tracks together.
To achieve this, try adding the Waves Kramer Master Tape with the “Noise” setting at around -50dB; this will subtly enhance the audio signal without overpowering the mix.
NOTE: Another great trick is using Soundtoys Decapitator with the “Punish” mode off and the Mix knob at 10-15% to introduce a hint of subtle distortion, just like an overdriven analog preamp.
If you want to push it even further, layering in a lo-fi vinyl crackle sample at a super low level can enhance the warmth of your whole mix without being distracting.
-
Introducing Controlled Noise to Digital Tracks for Authenticity
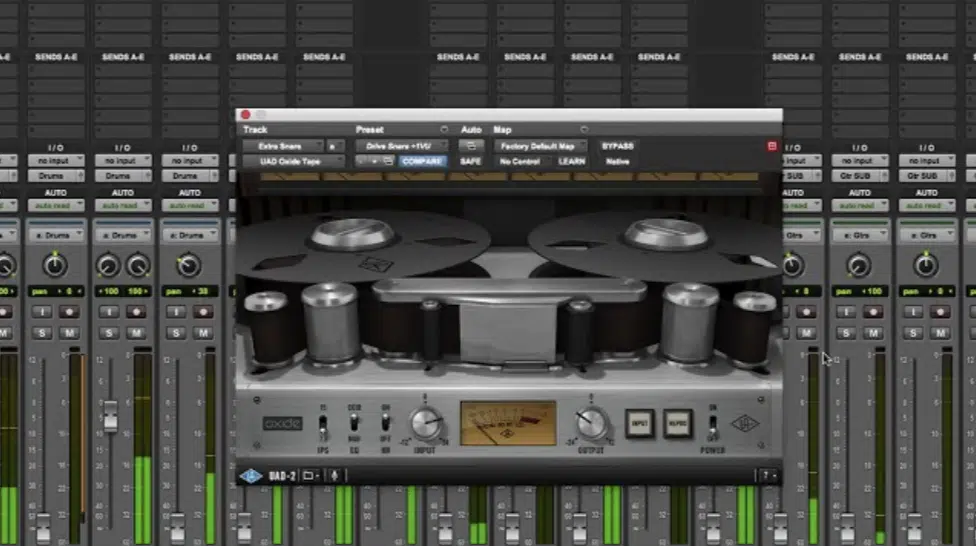
One of the best ways to achieve an authentic analog sound in a digital mix is by subtly introducing controlled noise into key tracks.
For example, you can use the UAD Oxide tape emulation with the “Noise” slider set around -45dB on a vocal bus.
This adds just enough movement in the signal to prevent it from feeling too clean.
For drums, try using Waves Abbey Road Vinyl with the “Mechanical” and “Needle” noise set at a barely audible level (around -55dB) to bring life to programmed beats.
A small amount of carefully placed noise, when spread across many tracks, helps break up the clinical precision of a digital world, making the mix feel more organic/natural.
-
Simulating Wow, Flutter, and Other Tape Imperfections

In real tape machines, the motors weren’t always perfectly stable, which resulted in subtle variations in pitch and timing, known as wow and flutter.
This played a crazy huge role in shaping classic analog recordings.
To achieve this effect in the digital world, use a tape emulation plugin like Waves J37 and set the “Wow & Flutter” knob between 0.5-1.5%.
This will create just enough movement to make the signal feel more alive without sounding unstable or ridiculous.
A great example is adding a tiny bit of flutter (around 1.2%) on an atmospheric synth pad to give it a more nostalgic, tape-like movement in the frequency response.
For even more control, try Soundtoys MicroShift on a stereo bus with the “Detune” setting around -3 cents.
This mimics how real analog gear would slightly alter pitch over time, adding warmth and depth to a mix.
Recreating Analog Signal Chains in Your DAW
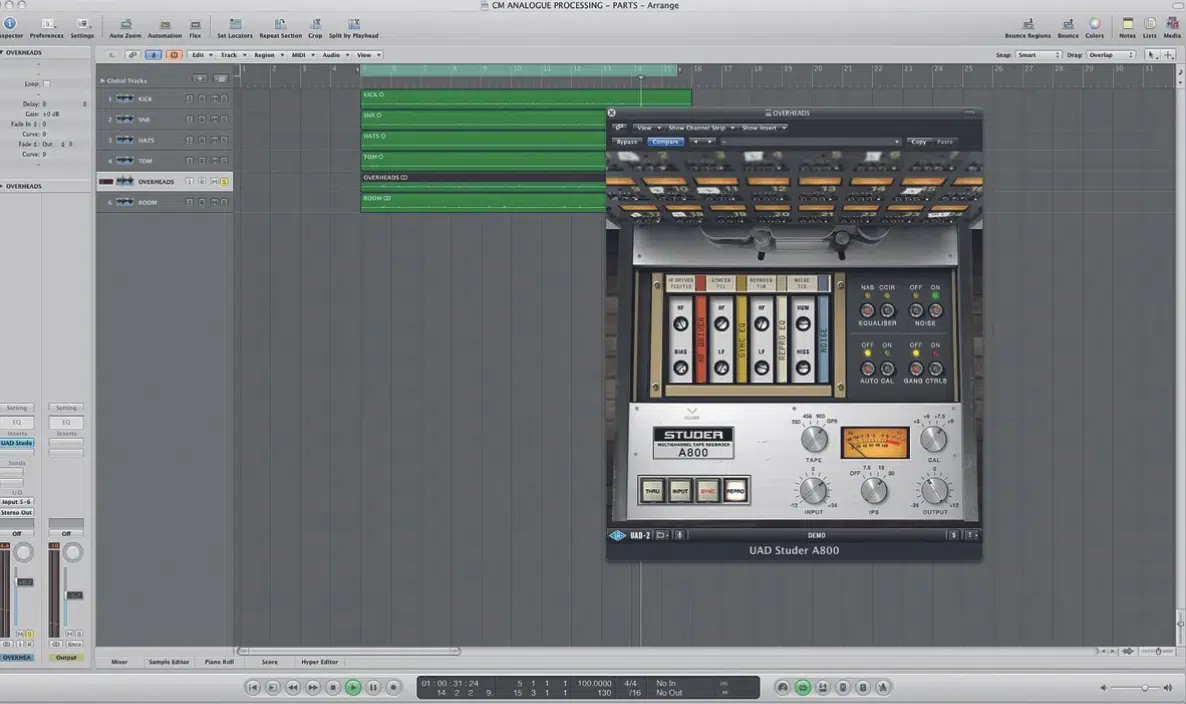
To truly achieve an authentic analog sound in a digital mix, you need to structure your processing the way a real analog recording chain would, of course.
For example, you could run vocals through an analog emulation plugin chain like:
- Waves Scheps 73 (for preamp emulation)
- Softube Tape (for tape saturation)
- UAD LA-2A (for smooth compression)
- Slate VCC (for console emulation)
For drums, start with an analog-modeled compressor like the UAD 1176 Rev A with an 8:1 ratio, fast attack, and medium release.
Then, add the Waves J37 tape machine with a tape speed of 15 IPS to enhance low-mids and introduce harmonic distortion.
On synths, use a dbx 160 analog-modeled compressor with a 4:1 ratio and a slow release to subtly glue the signal together while adding a touch of saturation effects.
A great trick for bass is running it through Soundtoys Decapitator with the “Drive” knob at 3-5 and the “Style” set to “E” for vintage preamp emulation, then sending it into a tape emulation plugin like UAD Ampex ATR-102 for extra warmth.
By structuring your tracks this way, your mix will be full of analog depth, analog flavor, and natural movement without feeling artificially processed.
The Best Analog-Modeled Effects
Another big part you need to master when learning how to emulate analog sound comes down to using the right analog-modeled effects, as vintage analog gear introduced depth, movement, and character that modern digital devices often lack. So, for this next section, let’s break down how to use tape delays, spring reverbs, and modulation effects to enhance a mix with analog saturation and natural warmth.
-
Playing Around with Analog-Style Reverbs, Delays & Modulation Effects
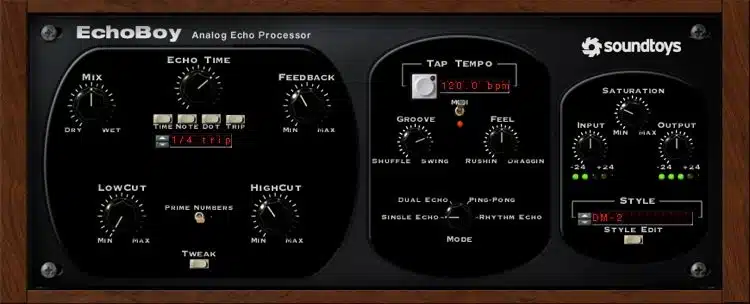
Vintage analog sound was never just about the audio signal… It was also about how tracks were processed with reverbs, delays, and modulation.
For example, you could use Soundtoys EchoBoy in “Echoplex” mode with a 150 ms delay time, a 30% wet mix, and 1.5% wow & flutter for a warm, tape-saturated echo.
For vocals, try UAD EMT 140 Plate Reverb with a 2.5s decay and a 30% wet mix.
This replicates how classic studio reverbs naturally blended into your whole mix without sounding artificial.
Another essential trick is using Valhalla VintageVerb with the “1970s” mode, a high-cut filter at 8kHz, and a subtle distortion setting to make reverb tails feel like they were printed onto magnetic tape.
-
Tape Delays and Spring Reverbs for Vintage Vibe
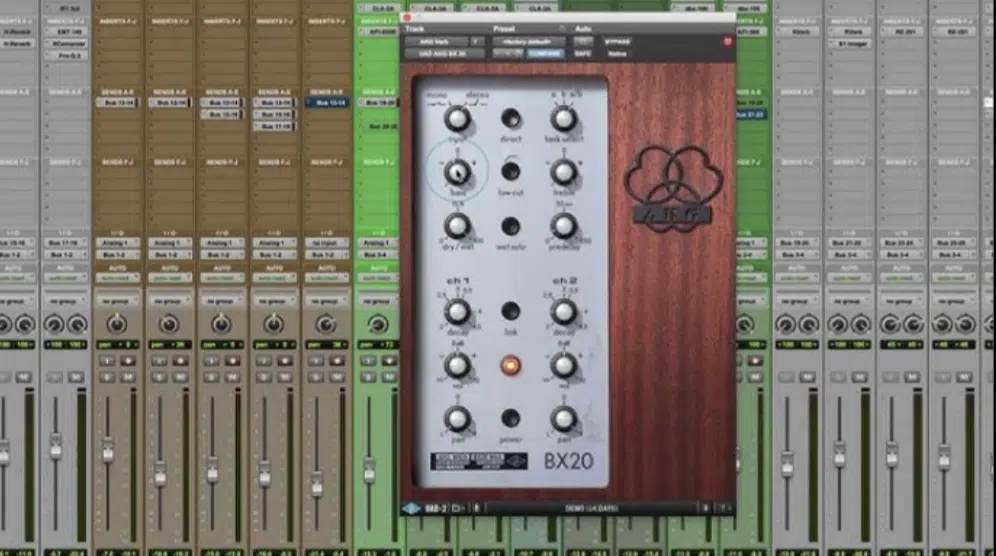
A key element of how to emulate analog sound is using tape delays and spring reverbs, both of which add unique imperfections to a mix.
If you’re using something like the Waves J37 tape delay, set to 7.5 IPS, with 30% wow & flutter and a 60% feedback level.
This creates a warm, evolving delay that naturally warps the signal over time.
For a classic rock vocal effect, try a spring reverb like UAD’s AKG BX 20, with the decay time at 2.8s and a 50% wet/dry blend.
It will successfully mimic how vintage analog devices colored a mix with natural resonance and some killer movement.
NOTE: To get a looser, reggae-style delay, use the Arturia Delay TAPE-201 with a high-feedback setting (above 70%) and a tape saturation level of 5-7 to let the echoes naturally degrade into subtle distortion.
-
Using Analog Chorus and Flanging Effects

Classic analog gear introduced movement and warmth through modulation effects like chorus and flanging (both of which can make a mix feel wider and more alive).
For example, you can use Soundtoys MicroShift with the “Detune” setting around -2 cents and the “Mix” knob at 40% to create an edgy, subtle widening effect.
It gives that old-school console channel chorus vibe.
For a vintage flanger effect, try Waves MetaFlanger with a slow 0.3Hz rate, 20% feedback, and a mix level of 30%.
This replicates how early analog devices created natural phasing and movement across the frequency response.
NOTE: To achieve a true analog sound, place a tape emulation plugin like UAD Studer A800 before your modulation effect in the chain, so the audio signal is slightly colored before being modulated.
Synthesizer Techniques for Vintage Sounds
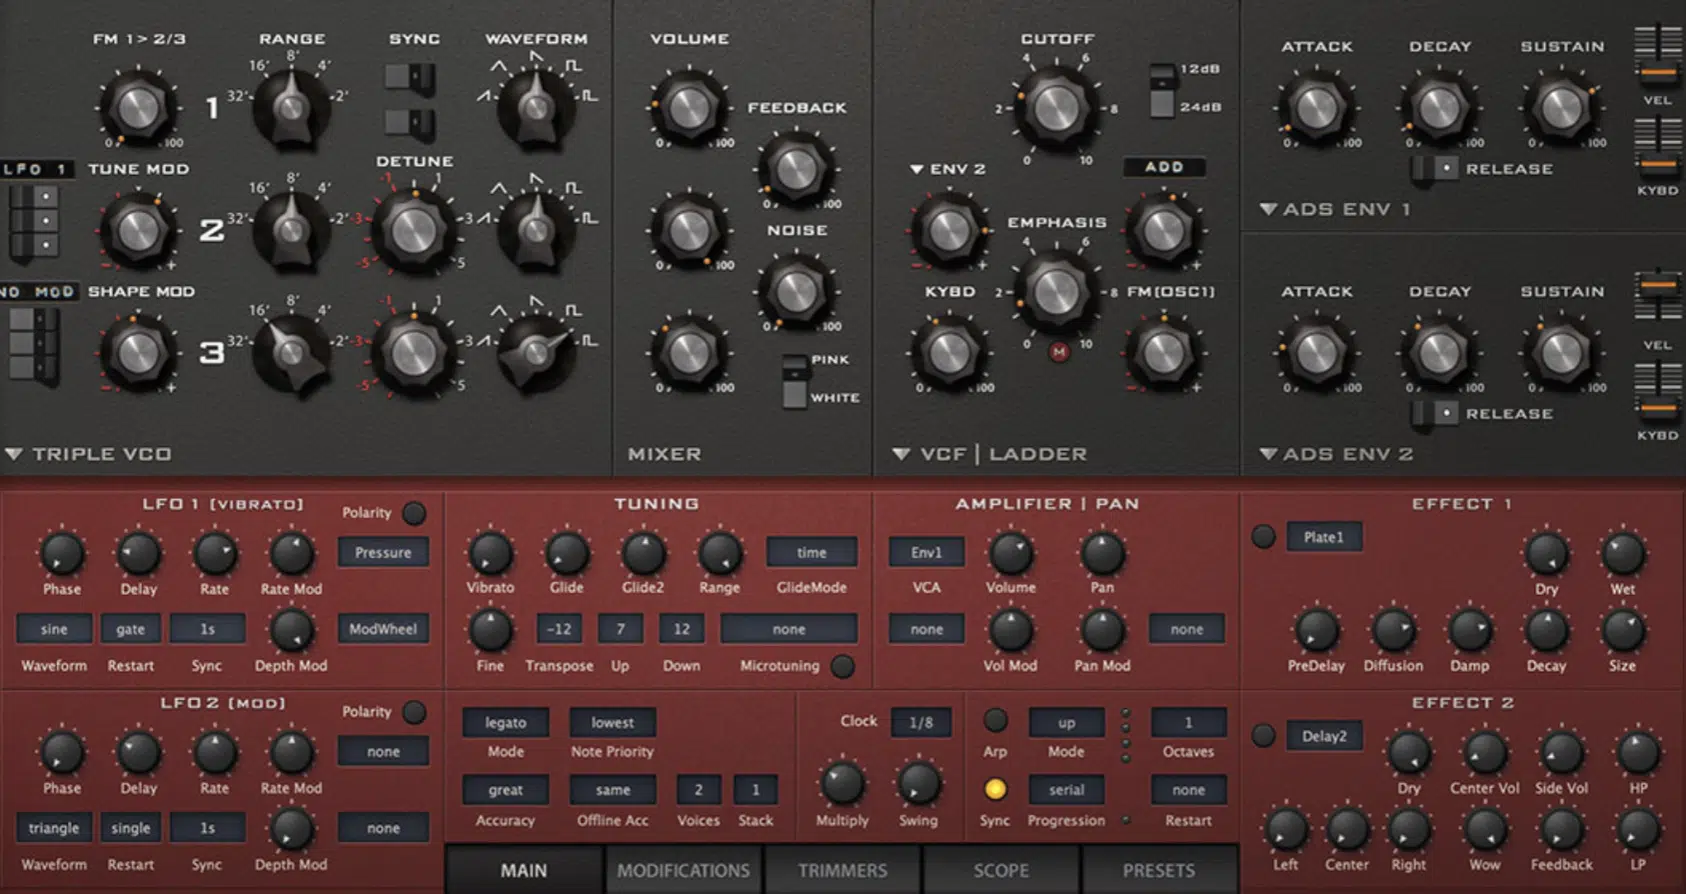
If you’re learning how to emulate analog sound and want to use synthesizers, there are a few things you should know.
You need to replicate the imperfections of vintage hardware synths by adjusting:
- Oscillator drift
- Filter resonance
- Saturation
You could use Arturia Mini V or u-he Diva, setting the “Voice Detune” knob between 5-10% and slightly modulating pitch with an LFO at 0.2Hz.
This perfectly mimics the instability of classic analog devices.
For even more warmth, run your synth through Soundtoys Decapitator with the “Drive” knob set to 3 and “Style” set to “T” for subtle preamp emulation.
A great way to fill out the frequency response is by using an analog-modeled compressor like UAD Fairchild 660 with a 4:1 ratio, slow attack (20ms), and auto-release so your synth sits naturally in the mix.
Finally, adding tape saturation with Waves J37 at 15 IPS, with 2-3% tape noise and wow & flutter at 1%, helps give soft pads or leads a true analog flavor.
Analog Summing and Mixing (Best Methods)
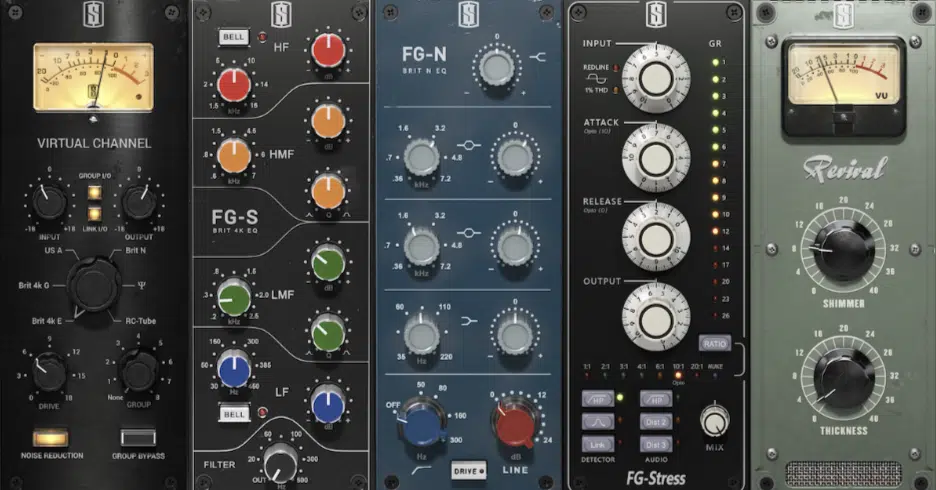
In my experience, one of the most overlooked aspects of how to emulate analog sound is analog summing.
Analog summing enhances a mix by introducing nonlinearities and subtle distortion that aren’t present in digital devices.
A great example is using Slate VCC in Neve mode across all console channels, with drive set to 3-4 to add harmonic distortion and tape saturation across all the tracks.
For bus processing, a mastering tape machine like UAD Ampex ATR-102 set to 15 IPS, 456 Tape Type, and 50% tape saturation helps glue a whole mix together.
All while keeping the dynamic range intact, which is super important here.
A common trick is routing stems (drums, bass, synths, vocals) into separate bus groups 一 applying Waves NLS Channel in EMI mode with drive at 6.
This will mimic how analog gear introduced warmth and cohesion.
To achieve an even more realistic analog sound, one of my favorite techniques is summing my mix through an external audio interface like the Burl B32 Vancouver.
Then, you just need to print it back into your DAW with a slight push on the input gain for natural saturation.
Bonus: Mastering with Analog Emulation
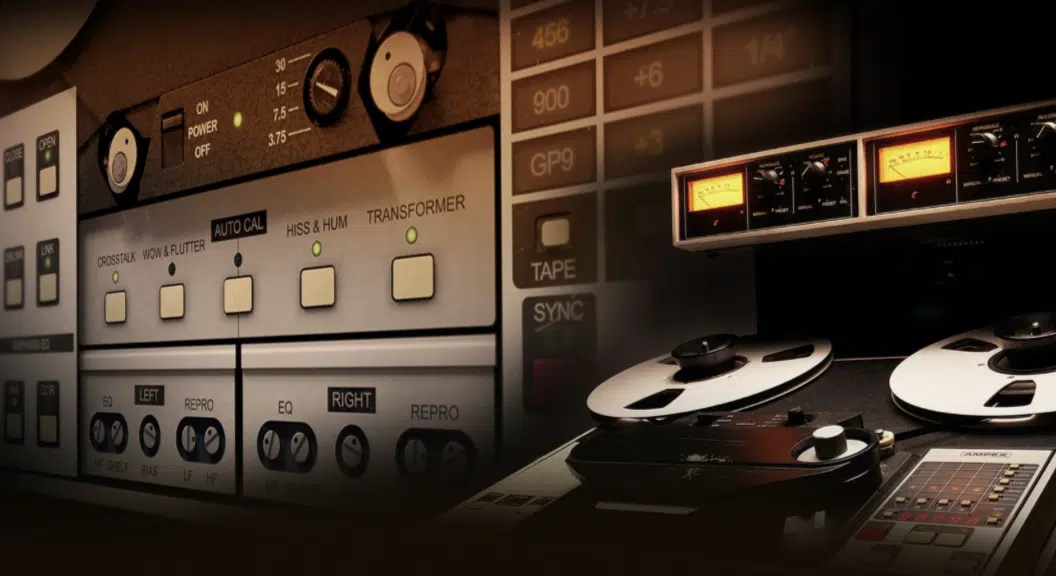
Mastering with analog emulation is all about enhancing the frequency response, smoothing transients, and adding cohesion through tape saturation and subtle distortion.
A great example is running your whole mix through the UAD ATR-102 mastering tape machine at 30 IPS for a cleaner top end or 15 IPS for enhanced low-mids.
The tape type should be set to 456 for a more pronounced tape saturation effect.
With a slight 1-2dB boost at 60Hz for added warmth.
You can also apply a 0.5dB cut at 250 Hz to avoid excessive muddiness in the audio signal while keeping the frequency response balanced.
For analog-modeled compression, the Manley Vari-Mu with a 2:1 ratio, 10ms attack, and auto-release works well for adding glue while keeping the dynamic range intact.
If a mix needs a bit more punch, switching to Shadow Hills Mastering Compressor with opto mode engaged, medium attack, and fast release can give more energy.
Don’t worry, it won’t ruin any of the analog sound characteristics.
To enhance stereo width, you can use Waves Abbey Road TG Mastering Chain with:
- The width control at 110%
- The presence EQ set to +1dB at 3kHz
- A low-shelf dip of -1dB at 150Hz
This will help tighten up your low end while adding extra clarity.
For a subtle distortion touch, try running the audio signal through Soundtoys Radiator at a Drive setting of 3, while slightly reducing the Output Trim to prevent clipping.
For even more color, you can add PreSonus Analog Delay in a parallel channel with low feedback (20%) and a short delay time (80ms).
This will simulate natural analog devices interacting in a mastering chain.
By doing all of this, your tracks will sit together perfectly in the mix with analog saturation and warmth, which is what it’s all about.
Final Thoughts
Remember, when you’re learning how to emulate analog sound, it’s all about tape saturation, harmonic distortion, and analog summing.
Plus, using the right analog emulation plugins, preamp emulation, console emulation, and vintage EQs 一 it’ll take your mix from sterile to warm and full of life.
Your tracks will always have that classic analog flavor and blend together to perfection.
Just don’t forget to balance your saturation levels, tweak your frequency response, and avoid over-processing!
Otherwise, you’ll end up with a muddy mix instead of a rich, dynamic, and musical one.
And, as a special bonus, since we mentioned lo-fi samples a few times, you’ve got to check out the very best Free Lo-Fi Samples in the industry.
You’ll get access to 60+ free Lo-Fi samples, loops & MIDIs that will help take your tracks to the next level (they’re mind-blowing too, honestly).
They’re all modeled after the styles of the biggest artists in modern music like A$AP Rocky, J. Cole, Earl Sweatshirt, and more.
Believe me, whether you want pure chill vibes or want to tweak them to blow people’s minds, these Lo-Fi samples are invaluable.
Plus, they were all created by the best in the business, so they are all super polished, pristine, and processed to perfection.
And yes, they’re all 100% royalty-free, so feel free to use them however you’d like.
Bottom line, when you’re learning how to emulate analog sound, just keep it subtle and balanced.
Otherwise, things could sound a little harsh or overcooked, and nobody wants that.
As long as you stay motivated, constantly practice, and play around with new techniques, you’ll nail it down in no time.
Until next time…


Leave a Reply
You must belogged in to post a comment.