808s are absolutely essential in the music production world because they can shake the walls, drive the rhythm, and completely transform the energy of your track.
Plus, they can help you fill the low-end the right way, support your drums, and give your beats that epic bounce that people go absolutely crazy for.
And when you throw sound design into the mix… forget about it.
As producers, knowing all the best 808 sound design tips, tricks, and techniques will make your track hit harder, sound WAY cleaner, and stand out all day.
That’s exactly why I’m breaking down absolutely everything you need to know, like:
- Understanding what makes a powerful 808 ✓
- Dialing in the perfect sub-bass layer ✓
- Getting the mids to cut without muddying your mix ✓
- Adding click and transient texture the right way ✓
- Synthesizing or selecting your base 808 sound ✓
- Perfect envelope and pitch settings ✓
- EQ, filtering, and harmonic shaping ✓
- Saturation, distortion, and creative grit ✓
- Layering techniques for a thick, pro-level 808 ✓
- Advanced tricks to bring things to the next level ✓
- Much more about 808 sound design ✓
By knowing the secrets to 808 sound design that I’m about to tell you, you’ll never have to worry about your 808s sounding weak or clashing with your mix ever again.
This way, your tracks will sound on point every single time, and your production skills will be on the level of professionals.
So, if you’re ready to learn everything there is to know (and completely dominate the competition), you definitely want to read all the way through.
Side note 一 I’m adding a pro tip for basically every single section to give you a leg up.
Table of Contents
- How 808 Sound Design Can Completely Transform Your Low-end
- Anatomy of the Perfect 808: Breaking it Down
- 808 Sound Design (Step-by-Step Guide)
- Step 1: Choosing or Synthesizing Your 808 Source
- Step 2: Envelope Settings & Pitch Tuning
- Step 3: EQ, Filtering & Harmonic Shaping
- Step 4: Saturation & Distortion
- Step 5: Compression & Dynamics Control
- Step 6: Layering Techniques for Full-Bodied 808s
- Step 7: Mixing & Integration with Kick
- Step 8: Advanced Envelope Automation
- Studio Tricks & Plugins You Absolutely Need
- How to Avoid Common Issues/Pitfalls
- Bonus: Advanced Techniques to Elevate Your 808 Sound Design Game Even More
- Final Thoughts
How 808 Sound Design Can Completely Transform Your Low-end
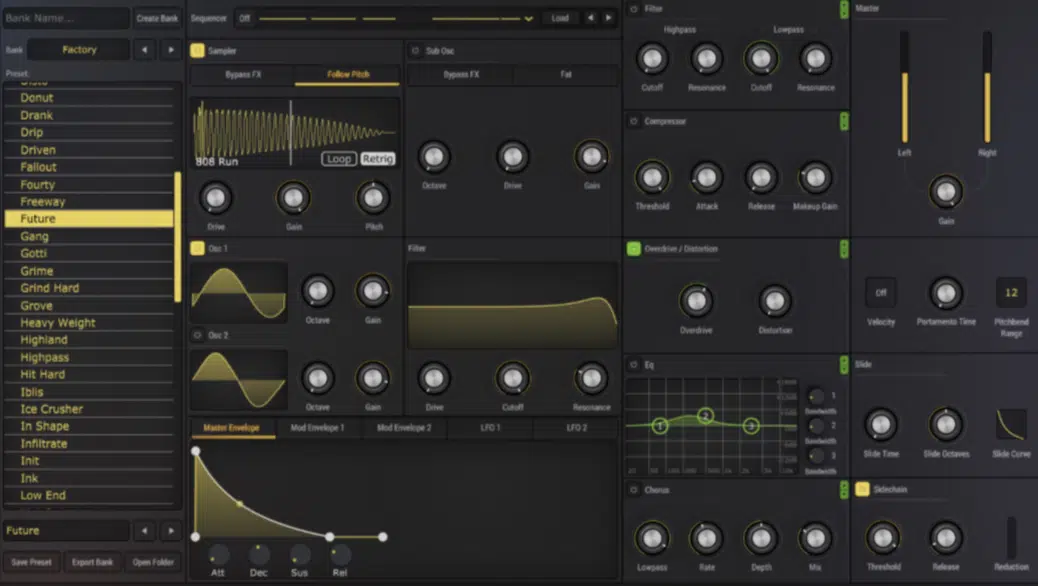
808 sound design is all about laying down, shaping, and fine-tuning your bass from the ground up, instead of just dragging in a random sample and hoping it works.
It basically means taking control over the sub, body, and transient of your 808 so it hits exactly how you want.
Whether that’s smooth and clean, gritty and distorted, or punchy and tight, you’ll be able to achieve it like a boss.
For example, instead of using a flat sine wave, you might layer in a triangle wave for midrange tone, then throw a pitch envelope on it to give it that signature punchy dive.
You’re making all the make-or-break decisions that matter more than anything, like:
- How long it sustains
- What frequencies it emphasizes
- How it reacts to velocity
- How it plays with the rest of the mix
This is insanely important when you’ve got a lot going on in your low end (like kicks, vocals, and synths) because a poorly shaped 808 can bury your mix in mud.
And make you sound like a real amateur, and you definitely don’t want that.
When done right, though, 808 sound design lets you build basses that not only sit perfectly with your drums but also carry melody and vibe all on their own.
PRO TIP: A great 808 doesn’t just support your beat 一 it literally becomes the backbone of your entire production, especially in trap, drill, and modern hip-hop.
Don’t worry if it sounds a little complicated or overwhelming right now, because I’m breaking down everything you need to know.
And by the end, you’ll have a solid understanding of what 808 sound design is all about, and you’ll be on your way to the top of the charts.
Anatomy of the Perfect 808: Breaking it Down
To really master 808 sound design, you’ve got to understand what your 808 is actually made of; that’s fire and foremost. Every powerful 808 has 3 key parts working together, so let’s kick things off by breaking down each one so you can shape every layer of your low end like an expert.
Sub-bass layer (~20–80 Hz)
The sub-bass layer is where your 808 gets all of its weight 一 the part that shakes your car, rattles your studio monitors, and fills out the low-end.
Most producers like myself start with a pure sine wave here, tuned to hit between 40–60 Hz depending on your song’s key.
You’ll want to remember that a clean sub needs tight envelope settings, something like:
- 5 ms attack
- 700 ms decay
- 0 sustain
- Around 400–500 ms release
This usually does the trick, but it’s highly dependent on the specific effect you’re going for (and doesn’t need to stay stagnant throughout your track).
These settings let the sub hit strong but fade out smoothly without overlapping notes or muddying the low end.
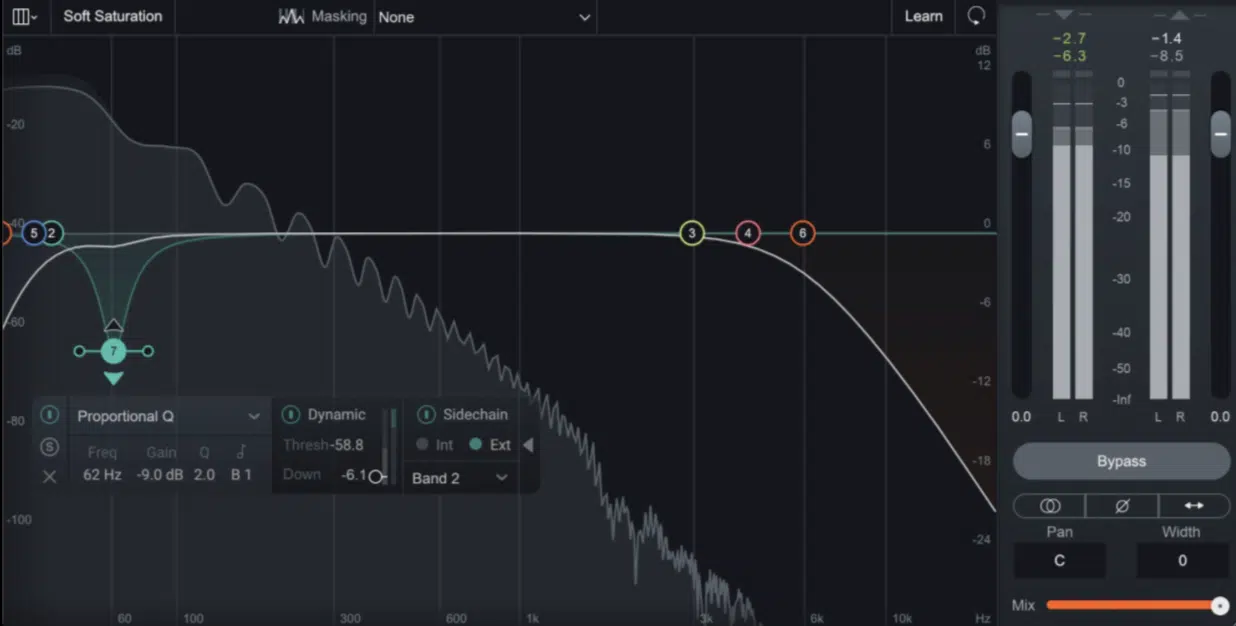
Also, I highly recommend that you high-pass your sub-bass layer just above 20 Hz and notch out a bit around 50 Hz—but only if you’re getting buildup near your kick.
This keeps your mix clean without killing the energy.
It may sound counterintuitive, but sometimes cutting a very small amount of low end at the precise frequency can actually enhance your low end.
Mid-body (~80–300 Hz)
The mid-body of your 808 is where you start adding tone and texture.
Basically, it’s what gives your 808 character and makes it audible on smaller speakers, as a very high percentage of the time, the listener’s playback system won’t reproduce anything below it.
That’s why a good amount of your sub-bass frequencies must be “faked” in this range through taking advantage of psychoacoustics.
One trick is layering a triangle or slightly distorted square wave an octave above your sub-bass to fill out this zone 一 even if you’re cutting everything below it out.
This way, you’re leveraging just the upper frequency content like a boss.
And if your 808 feels too hollow, try boosting between 120–180 Hz with a medium Q and +2 dB of gain using a parametric EQ.
You can also throw a subtle saturation plugin set to “keep low” mode to excite this area without messing with your sub (dealer’s choice).
PRO TIP: Toss a multiband compressor on just the mid-body range, with a 2:1 ratio, –18 dB threshold, and 90 ms release to lock it in without flattening the rest of your 808.
Click/transient (~1–5 kHz)
The click/transient layer of your 808 is what gives it that upfront snap or punch.
Basically, it’s the attack that cuts through the mix and helps it pop, regardless of the system it’s reproduced on.
Depending on the playback medium, it’s the only indication of the 808 the listener will hear.
To dial this in properly, make sure to layer in a short, snappy sample like a:
- Filtered rimshot
- Stick hit
- Just an isolated boosted transient pulled from a kick or percussion sample
Just try to keep it roughly under 50 ms for max results.
Then use a high-pass filter around 800–1,000 Hz to clean up any unnecessary low-mid overlap (very important as well).
For even more bite, boost a narrow band at 2.5–3.2 kHz by about 3–4 dB, and maybe automate it subtly if you want variation throughout.
With a transient that will almost certainly cut through your mix, of course.
PRO TIP: You don’t need this transient on every 808 hit 一 use it on faster patterns or where your 808 competes with dense drum programming to help it stay present.
808 Sound Design (Step-by-Step Guide)
Now that you’ve got a solid understanding of what actually makes up a strong 808, let’s dive into how to build one from scratch. These next sections will walk you through the full 808 sound design process, step by step, so you can tweak your bass exactly how you want it (no guesswork, no shortcuts).
Step 1: Choosing or Synthesizing Your 808 Source
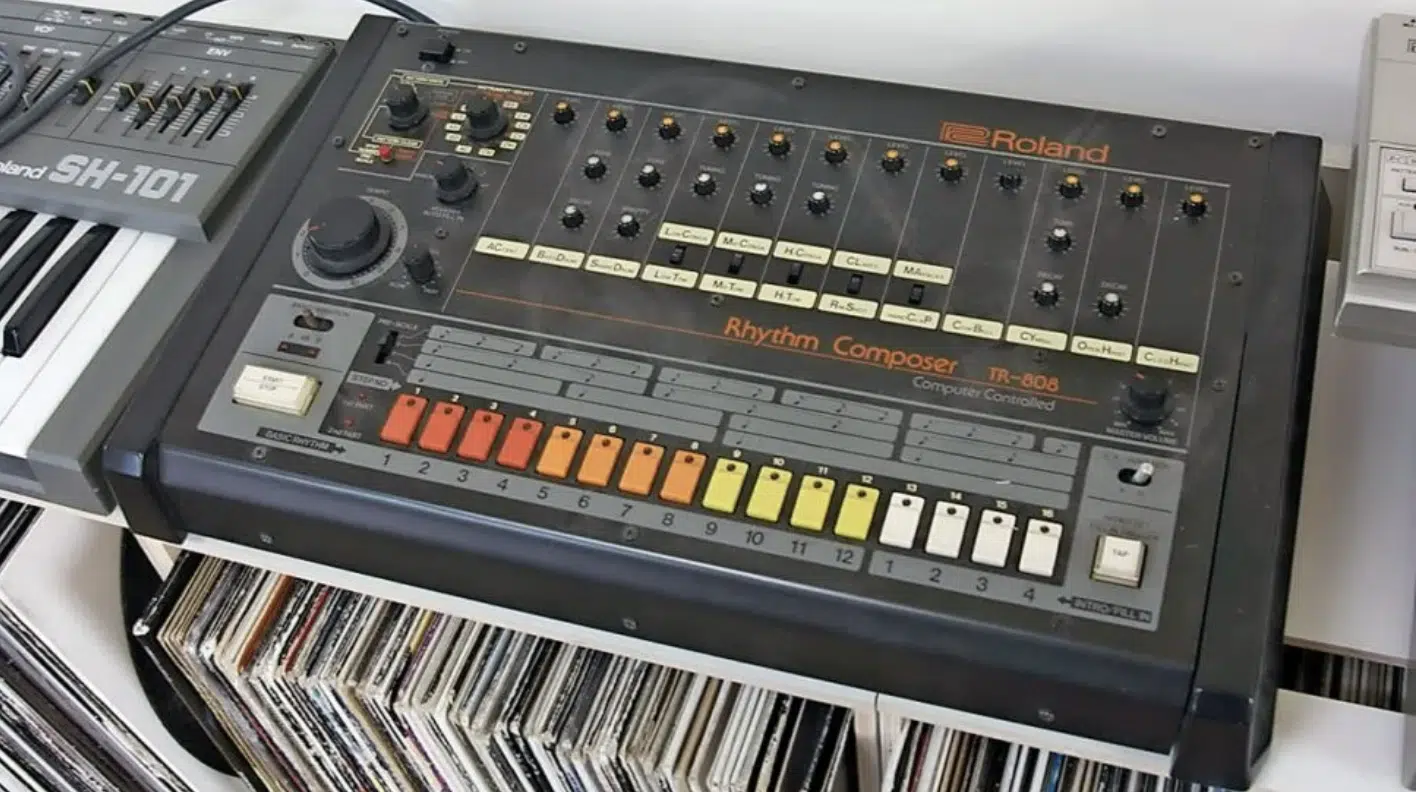
Getting your 808 right starts with picking the cleanest source possible, whether that’s a sample or one you build from scratch.
If you’re using a sample, aim for one that’s mono, no longer than 1.5 seconds, and centered around 45–60 Hz so you’re not buried in sub you don’t need.
Look for something with a short tail for faster beats or a longer release (700–900 ms) if you’re producing something spacious that’s not consistently being re-triggered.
If you’re synthesizing, start with a sine wave oscillator tuned to your root note, and another duplicate/additional oscillator set an octave up for added midrange tone.
Just make sure to detune the second wave by about –7 cents for some analog-style movement, which I personally love.
Wavetable synthesis gives you extra harmonic weight 一 scan between clean and buzzy shapes to find a good balance between texture and sub clarity.
And with additive synthesis, you can build your tone from partials.
To do this, start with a fundamental at 50 Hz, then add harmonics at 100 Hz (–12 dB), 150 Hz (–18 dB), and 200 Hz (–20 dB) for extra depth.
You can also try FM-style shaping if you want your 808 to have metallic or growling textures, but go easy on the modulation depth to avoid ruining your low-end.
PRO TIP: Solo your source and layer it with your kick drum at –6 dB each.
If the 808 vanishes or muddies up, you’ve got phasing or overlapping frequency issues to solve before shaping anything else.
Once your source is clean, everything else you do later (like EQ, distortion, compression) will sound way better and behave more predictably.
Fix these issues in the beginning or else they’ll become a bigger headache than they’re worth later, and trust me you don’t want that.
Step 2: Envelope Settings & Pitch Tuning
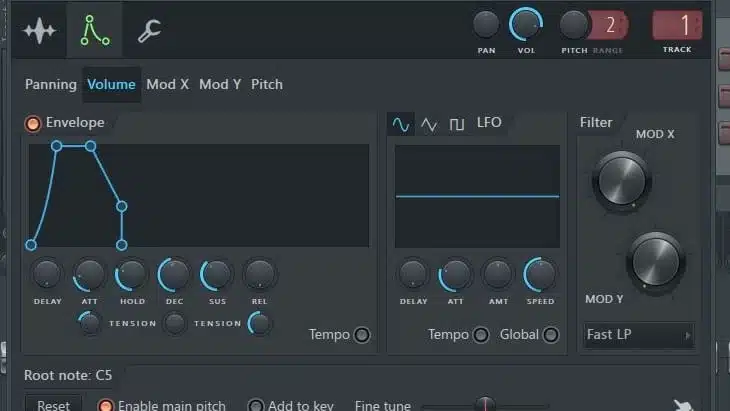
Your envelope settings decide how your 808 moves, and getting that shape right is everything, so you don’t want to overlook this one.
For tight hits, set your amp envelope to 0–5 ms attack, 550–650 ms decay, 0 sustain, and 400 ms release 一 it’ll hit hard and clean with no tail spill.
For slower tracks or longer notes (but still no sustain), push the release closer to 750–900 ms so the 808 fades naturally.
And don’t forget that pitch envelopes give you that iconic dive, so drop the pitch 24 semitones over 40–60 ms and it’ll punch right at the front of the transient.
If your 808 needs more bite, shape the pitch envelope using an exponential curve instead of linear so the movement feels more natural and professional.
Also, make sure to tune the base note correctly…
Drop your 808 into a tuner and fine-adjust with cents if needed (±30–50 cents is usually enough to correct samples that are just off).
You can also automate pitch per section if your chords move. This way, your 808 feels locked into the progression instead of just droning.
PRO TIP: Use glide or portamento between notes.
To do so, set the glide time between 80–120 ms and overlap MIDI notes to create those smooth slides you hear in tracks from artists like Metro Boomin or Southside.
If you want more extreme pitch dips for sound design or transitions, try automating a one-shot pitch drop of 3–5 semitones over a half-beat.
Just make sure it still lands back in key, which is very, very important.
Step 3: EQ, Filtering & Harmonic Shaping
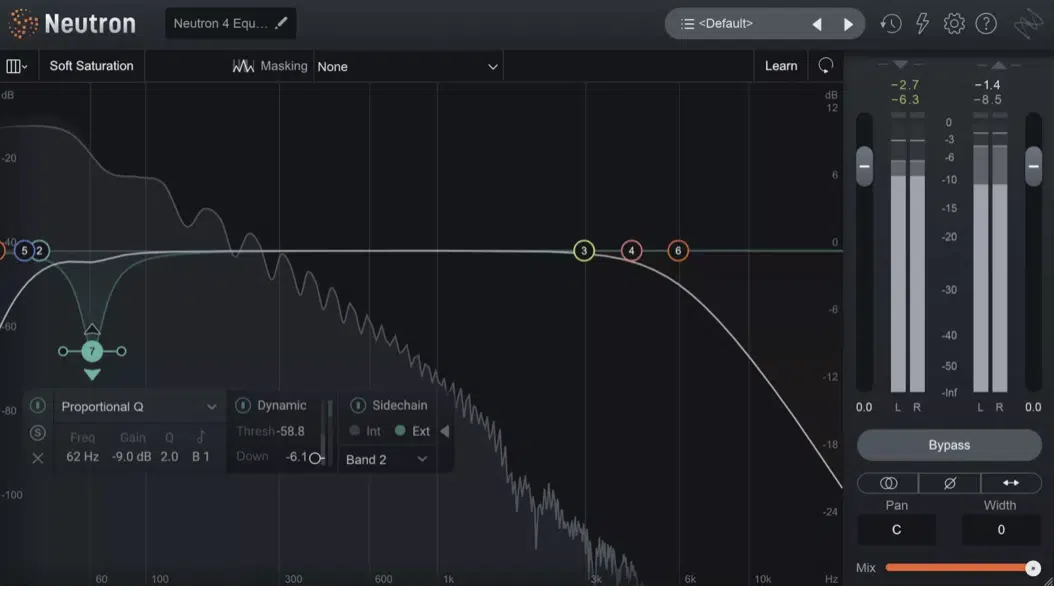
Now it’s time to carve your 808 into place so it actually fits the rest of your mix, which is where a lot of producers (including my students) get lost.
What you’ll want to do is high-pass at 20–22 Hz with a steep 24 dB/oct slope to get rid of useless rumble that clutters your master bus.
If your kick and 808 are stacking at 55 Hz, notch the 808 by –3 dB with a Q of 2.8 and let the kick own that pocket.
And if you want more meat, simply boost around 130–160 Hz with a wide Q and a gentle +1.5 dB.
This gives the 808 mid-body that translates better on phones and laptops, which is where most people are listening, of course.
For even more texture, sweep between 850–1,200 Hz and boost around +2 dB to pull up any harmonic grit hiding in the tone.
And if your top-end gets harsh after distortion, try dynamic EQ at 3.2–5.5 kHz…
Set the threshold to –20 dB, ratio 2:1, attack 10 ms, release 80 ms to smooth things out when they spike.
PRO TIP: Always EQ your 808 in mono before checking it in stereo 一 if the bass sounds different when collapsed, something’s wrong with your phase or stereo spread.
Also, try using mid/side EQ to tighten your sub in the center while letting the upper harmonics breathe out to the sides.
It can really open up the sound without messing with the low-end power.
Or, even better, other than the upper-range content (and even that) should be in mono.
Step 4: Saturation & Distortion
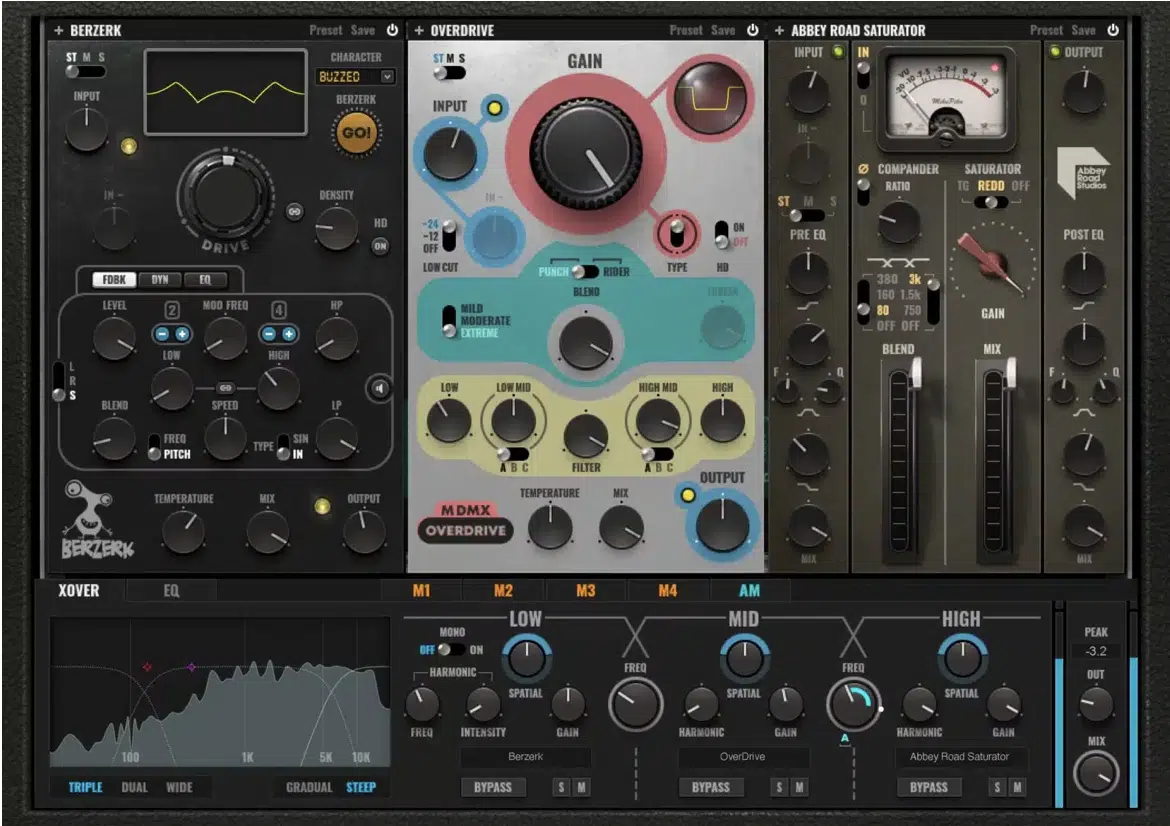
Saturation is where your 808 gets its weight and attitude because it’s what makes it pop out of the mix and feel alive.
Start with soft saturation by adding 4–6 dB of input gain, then trim the output back to unity to avoid over-leveling your channel.
If you’re going for heavier tone, increase the gain to +8–10 dB and let it drive until the 808 starts to buzz 一 then pull that back 1–2 dB to sit just before it breaks apart.
And always filter your distorted 808s afterward (cut everything above 6 kHz and dip 300–500 Hz by –1.5 dB if it starts getting muddy).
You can also create movement by automating the amount of distortion…
Start at 50% during verses and slowly ramp it to 80% in choruses for more energy without changing the 808 itself.
If you’re layering for extra impact, use a multiband processor and distort only the mids and highs (200–800 Hz), leaving the sub super clean.
Split it into two bands and process them separately for total control!
PRO TIP: After distortion, use a limiter or soft clipper with a fast release (~80–100 ms) and set the ceiling to –0.1 dB.
This keeps the shape tight and the punch strong without letting peaks ruin your balance.
You can also use a short fade-in (5–10 ms) before distortion hits to soften overly sharp transients and avoid sudden clipping.
Step 5: Compression & Dynamics Control
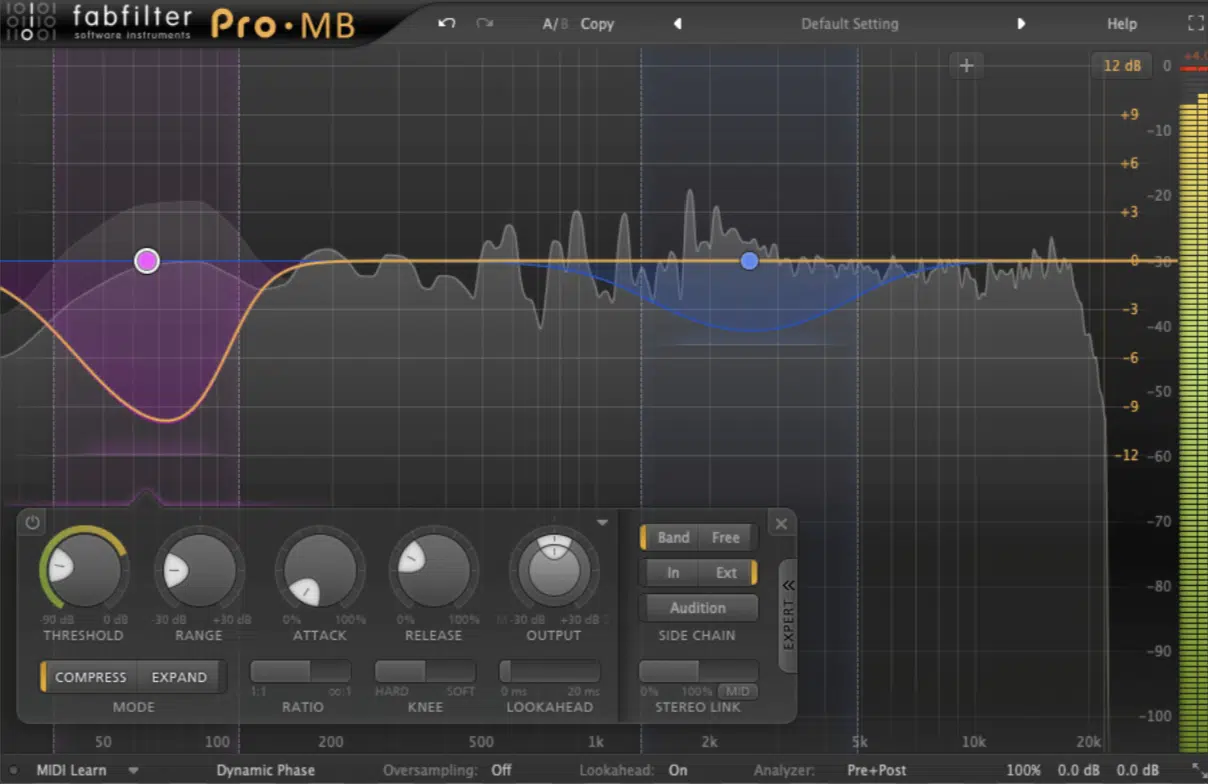
Compression on your 808 isn’t about smashing, but rather controlling its shape so it consistently hits, without killing the movement or tone.
Start light by setting a:
- 2:1 or 3:1 ratio
- Threshold around –24 dB
- Attack at 25 ms
- Release between 90–120 ms to gently even out volume spikes while still letting the transient breathe
If your 808’s transient is too sharp, increase the attack to 35–40 ms and switch to a soft knee to round it off without flattening it.
You can also use multiband compression to tame just the mid-body…
Split around 200–400 Hz, apply a 2:1 ratio, and keep gain reduction below 3 dB so you don’t suck the life out of it.
For more control, layer in a clipper after the compressor and push input gain until you’re shaving off 1–2 dB on peaks, then adjust the ceiling to –0.1 dB to stay clean.
If your 808 feels too tame after compression, add back some bite using a transient shaper (dealer’s choice which one you use, but here’s my favs).
To do so, boost the attack by 10–15% and leave the sustain neutral.
Sidechain compression from the kick is also key 一 use a fast attack (~5 ms), 4:1 ratio, and 60–100 ms release to make room every time the kick hits.
PRO TIP: Use gain reduction meters as your compass.
Once you’re hitting more than 3–4 dB of compression across the board, chances are you’re over-processing and losing the punch you worked so hard to dial in.
Step 6: Layering Techniques for Full-Bodied 808s
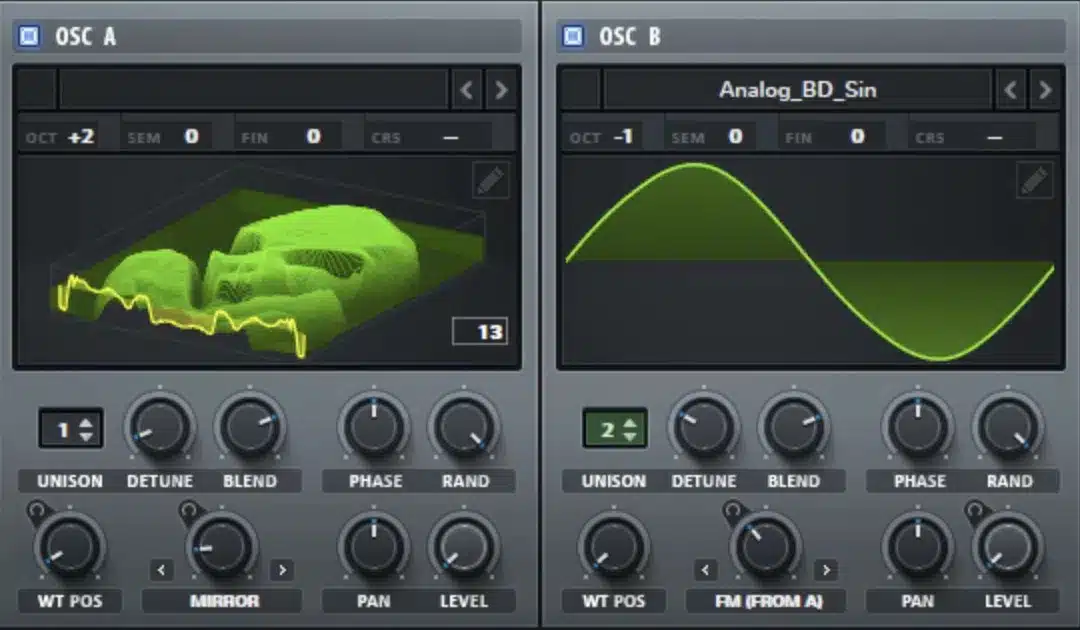
Layering is how you give your 808 size, dimension, and tone across the full frequency spectrum… But it only works if you do it with intention.
Start with your core sub layer. A pure sine or clean sample hitting around 45–55 Hz, and keep that one untouched and mono all the way through.
Then you should:
- Duplicate it and pitch the second layer up an octave (90–110 Hz)
- High-pass it at 200 Hz
- Sdd slight distortion or saturation to bring out the tone and upper harmonics
Next, for transient control, layer in a tight, short sound like a stick hit, filtered rim, or even a foley sample, dealer’s choice.
Then, cut it below 1 kHz, trim the tail to under 40 ms, and use it purely to add definition to the attack; that’s the M.O. here.
And if your main 808 is feeling too flat in a dense mix, try stacking a third layer in the 1–3 kHz range (even a soft percussive snap or pitched click can fill that pocket).
Make sure everything is perfectly phase-aligned, so use sample start offsets or nudge in your audio editor by 1–5 ms if anything sounds off or hollow.
Once layered, group everything to a bus and process it as a whole 一 glue compression (2:1, slow attack, fast release) helps tighten it up without flattening dynamics.
PRO TIP: If you want movement and width without affecting the sub, apply stereo imaging only to the upper layers (above 400 Hz), and always test the full stack in mono before committing.
Step 7: Mixing & Integration with Kick
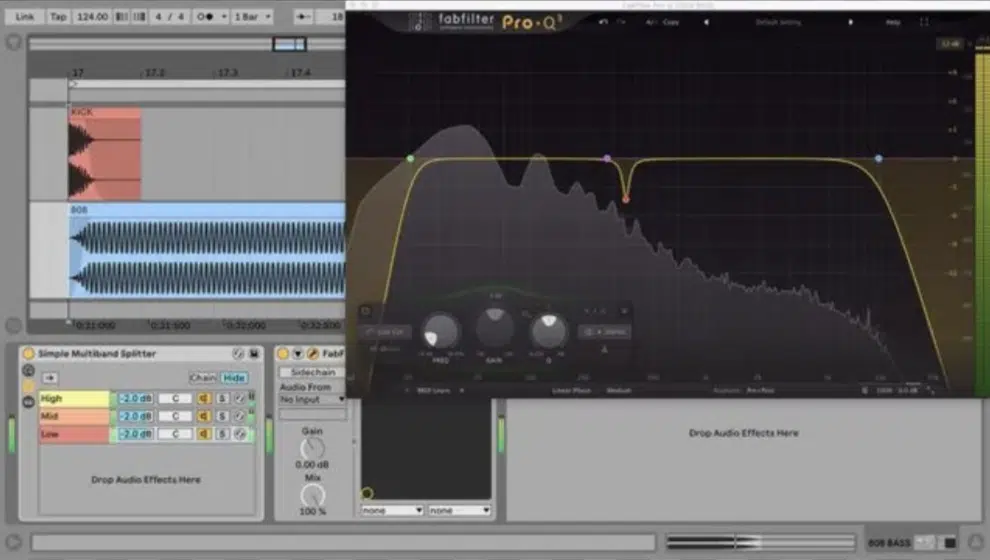
Your 808 and kick are either best friends or worst enemies in the mix, and getting them to play nice is what separates amateur low-end from show-stopping bounce.
First, check the tuning: if your 808 is sitting at 50 Hz, pitch your kick to hit slightly above or below (maybe 60 Hz or 45 Hz) to avoid direct collisions in the frequency spectrum.
And when you EQ your 808, make sure it’s with a narrow dip (–2.5 dB, Q: 2.5) right where the kick lands, and boost the kick slightly (+1.5 dB) in that same pocket so it punches through properly.
Next, set up sidechain compression on your 808…
Start with a 4:1 ratio, attack at 5–10 ms, and release between 70–110 ms, but keep in mind it’s highly dependent on the specific length of your kick sample, of course.
This way the 808 ducks fast and then fills back in naturally, with the goal of transparency (transparency is key here).
You want it to be virtually undetectable and gluing the two elements together so they act as one, sonically speaking.
And if you want more surgical control, volume-shaping tools or automation let you draw the exact dip shape, which can feel more transparent than traditional compression.
You can also use mid/side EQ to carve space in the center image for the kick while keeping the 808’s upper layers wide and textured.
If you’re still not getting clean separation, try reducing the 808’s attack and release time or adjusting note length in the MIDI to tighten things rhythmically.
PRO TIP: Solo your kick and 808 together and play just that loop. If either one sound feels like it’s disappearing, overlapping, or flamming/flanging, that’s not good.
This means something’s either out of phase, untuned, or clashing rhythmically and/or frequency-wise, and you need to get on that ASAP.
Step 8: Advanced Envelope Automation
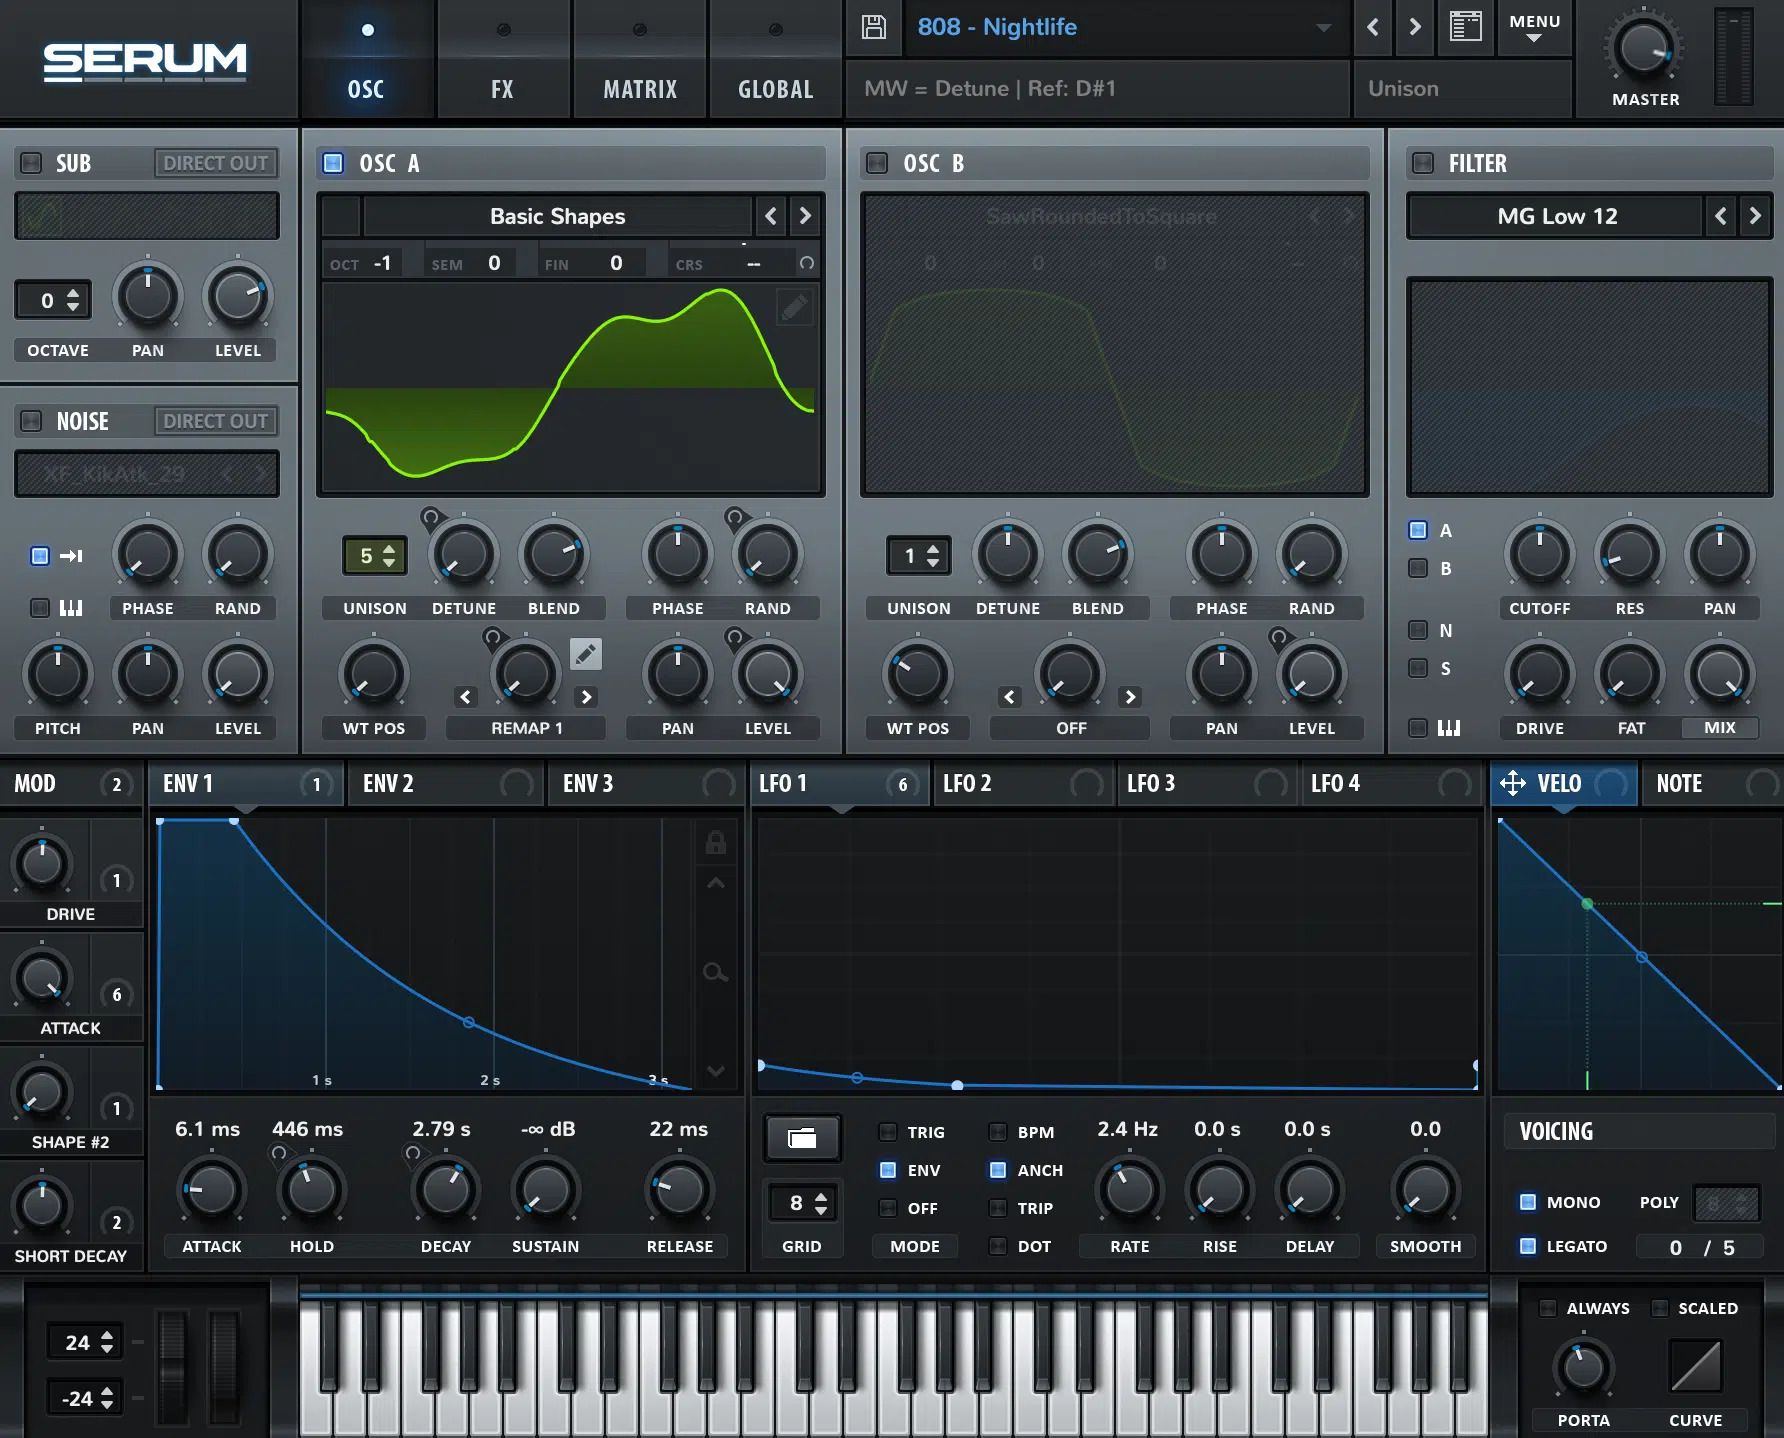
After your basic 808 shape is on point, advanced envelope automation is how you make it come alive and feel dynamic across the whole track.
One trick is to automate decay and release times in real time, so make your 808s shorter in the verse (Decay: 400 ms, Release: 300 ms).
The, stretch them out during the chorus (Decay: 700 ms, Release: 500 ms) for more low-end presence.
And if your synth or sampler has real-time envelope modulation (like Serum 2 or FL Sampler), you can link decay or release to MIDI velocity.
This way, lighter notes fade faster and harder ones sustain longer.
You can also automate pitch envelope amounts 一 reduce the amount of dive on certain hits to build tension before dropping back into a full-snap 808.
Another move is triggering different pitch drops using automation lanes.
For example, drop 2 octaves on the downbeat, but only 1 octave on the pickups, using curve automation over 30–50 ms.
If you want even more movement, link the filter cutoff (LPF around 100 Hz) to an LFO synced to 1/4 or 1/8 bars.
It will give your 808 an evolving, rhythmic pulse without extra notes.
PRO TIP: In FL Studio, automate the “Envelope Decay” knob inside the sampler with automation clips per section.
This gives you exact envelope control without having to duplicate the 808 across mixer channels (which is pretty awesome if you ask me).
Studio Tricks & Plugins You Absolutely Need
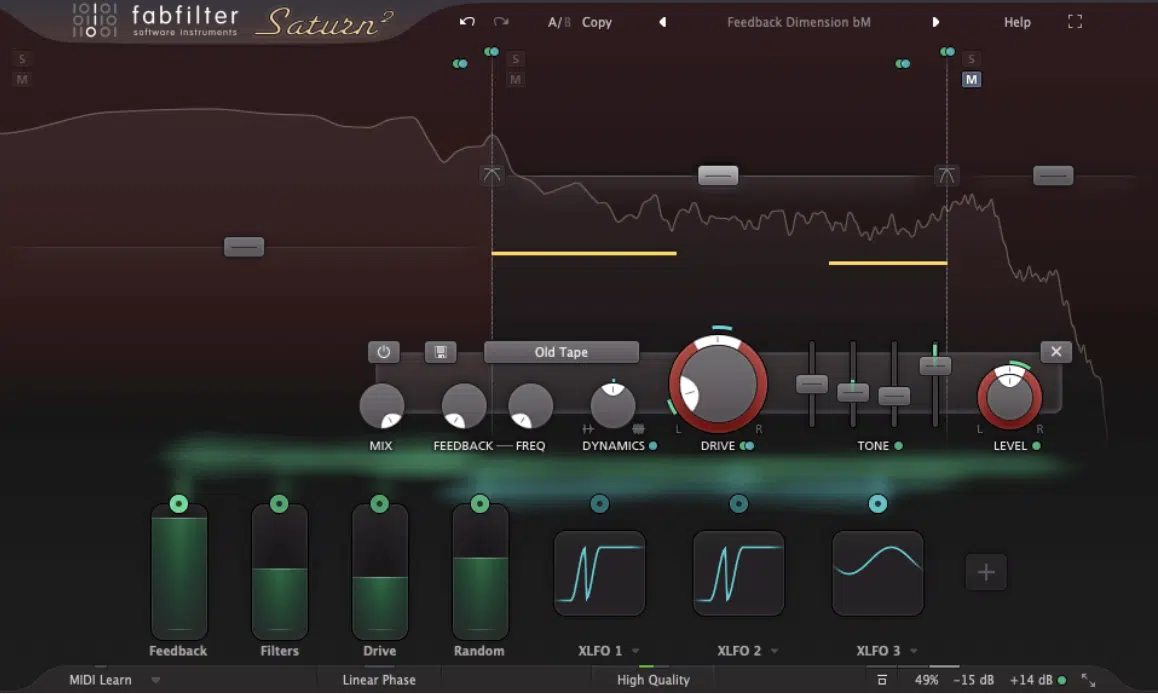
Once your 808 is designed, shaped, and integrated, there are a few key tools and techniques that can take things even further…
First, if you want to vocally “tune” your 808 like an instrument, convert a sung idea or hum into MIDI using Audio-to-MIDI in Ableton or Melodyne.
Then, map it to your 808 to follow that exact melody.
You can also apply multiband saturation to different frequency bands as well.
For example, saturate 100–300 Hz with 40–50% drive using FabFilter Saturn 2’s “Heavy Tube” setting, while keeping the sub below 80 Hz completely clean.
For glue, try wide-band compression across the full 808 with a:
- 1.8:1 ratio
- –24 dB threshold
- Attack at 20 ms
- Release at 110 ms
This successfully tames peaks and adds cohesion without flattening the vibe.
Parallel compression is another solid trick, of course, and to do that you can send your 808 to a bus, squash it with a high ratio like 8:1 (or higher) and mix it back in at 20–30% to thicken it without losing punch.
Sidechaining doesn’t have to stop at the kick either.
So, try sidechaining the 808 slightly to snares or claps in busier sections using VolumeShaper or Trackspacer to carve out just enough room to breathe.
PRO TIP: My last little tip would be to add Soothe2 on your 808 bus in dynamic mode with reduction focused around 300–500 Hz and 3–5 kHz.
This catches harsh buildup and cleans up overlapping energy that’s easy to miss in dense arrangements.
How to Avoid Common Issues/Pitfalls
Even when your 808 sounds great in isolation, there are a few mistakes that can totally wreck it once it’s inside the mix.
#1. Be careful with long decay settings because anything over 900 ms can cause low-end buildup, especially if you’ve got fast 808 patterns or overlapping notes.
#2. You should also watch for frequency clashes with your kick. Do NOT just assume EQE will fix everything, because sometimes you need to re-tune one or the other to give them space. For example, tuning the kick to G and the 808 to D creates separation.
#3. When layering, always phase-align your transient and tonal layers. Use a sample editor to nudge by 5–10 ms if needed, and flip the phase if you’re getting cancellation.
#4. Too much distortion can also wreck not just the low-end content but your clarity. Distortion stacks harmonics fast, so keep gain staging clean (level match your processors by keeping an eye on your input and output gain) and always check how your 808 sounds in both mono and stereo.
#5. Lastly, comb filtering can creep in from stereo widening or badly layered tops. So, use a phase correlation meter or a utility plugin to collapse your 808 to mono and check for phasing or flutter.
And my pro tip here would be to always test your 808 on different systems 一 laptop speakers, car speakers, AirPods, club monitors, etc.
If your 808 only sounds good in the studio, it’s not ready, period.
It’s an age-old trick to test your low end on a playback system that’s horrible at reproducing the low end.
Basically, the better it sounds on bad or cheap speakers, the better off you’ll be on a good system (usually).
Bonus: Advanced Techniques to Elevate Your 808 Sound Design Game Even More
Once you’ve locked down the basics, there are a few next-level techniques that can completely reshape the way your 808s hit, move, and evolve throughout a track. So, if you want full creative control, unique textures, and dynamic low-end movement, definitely don’t underestimate these. They’ll help take your 808 sound design to places most people overlook entirely.
FM Modulation for Metallic 808s
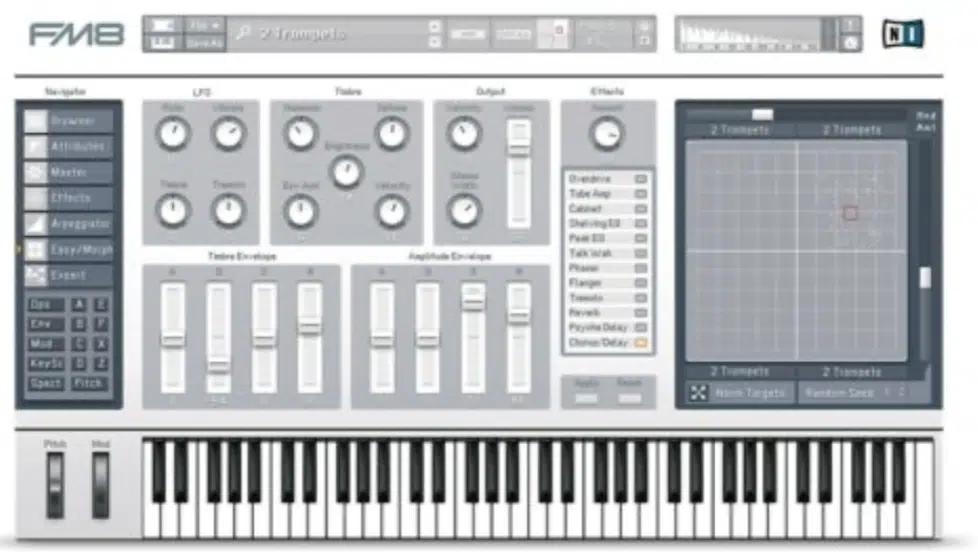
FM modulation can give your 808 a sharp, metallic edge that cuts through a mix and adds aggressive texture.
To get started, use a basic sine wave as your carrier oscillator tuned to your root note 一 something around 40–60 Hz usually works great.
Then you’re going to introduce a modulator oscillator that’s pitched up 2–3 octaves, (ideally in the 300–800 Hz range) and increase the modulation index or amount slowly.
Begin around 10–15% depth and raise it until you hear metallic overtones and growling harmonics creeping into the tone.
You can also shape the FM modulation using an envelope with a fast attack (under 15 ms) and short decay (200–300 ms), so the metallic bite fades as the 808 sustains.
For even more control, try adjusting the modulation curve so it’s exponential because it’ll create a harder transient and then fade out naturally, letting the low-end breathe.
PRO TIP: If the sound becomes too sharp or noisy, apply a low-pass filter around 2.5–3.5 kHz to smooth out harsh highs and keep the sub feeling clean and solid underneath.
Parallel Distortion Chains
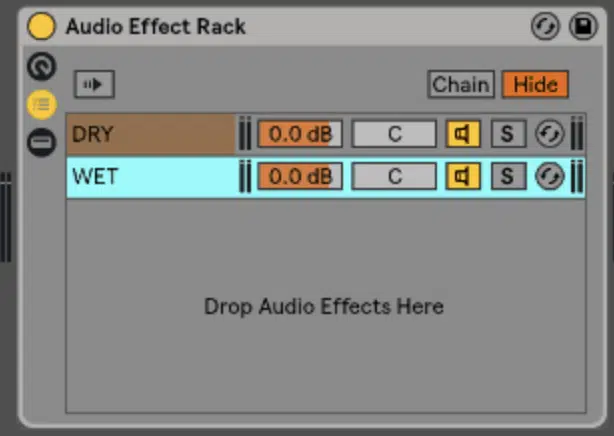
Parallel distortion is another killer way to add aggression and presence to your 808 without completely killing that clean low-end punch.
To do this, duplicate your 808 signal and high-pass the duplicate just above 200–250 Hz to remove all sub energy from the distorted layer.
Then apply heavy saturation or overdrive to the parallel channel and shape it with EQ—cut extreme highs above 6 kHz and tame any mud by dipping around 300–500 Hz.
Once you’ve shaped the tone, bring the distorted layer back in at a lower level (about 10 to 15 dB below your clean 808) and blend until it matches the vibe you’re going for.
You can also compress or limit the parallel layer aggressively to keep it consistent and avoid spiky peaks clashing with your main signal.
For even more width, consider applying a stereo effect or mild chorus to only the distorted copy, but just make sure you’re not widening anything below 150 Hz.
PRO TIP: Automate the level of the parallel distortion layer across sections.
Push it forward in hooks and drops, and pull it back in verses to add contrast and movement to your 808s.
Sidechain to Multiple Triggers
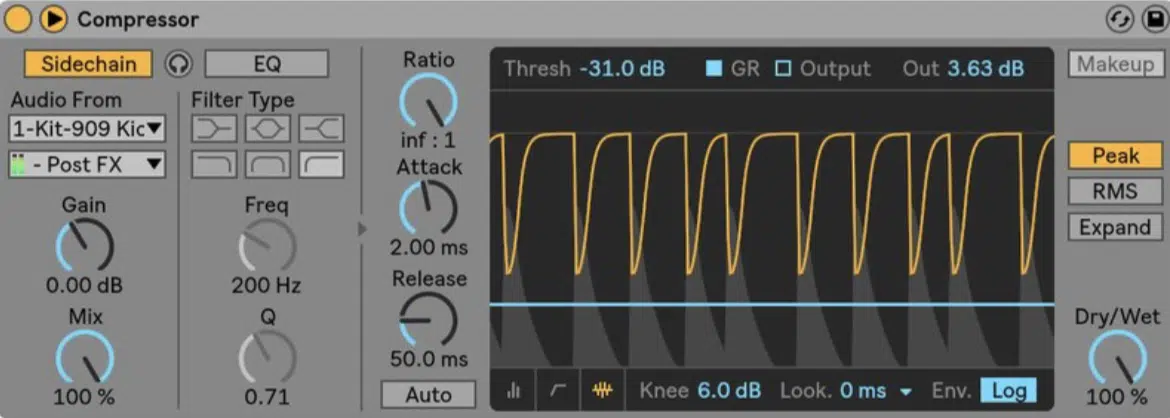
Sidechaining your 808 to just the kick is great, but sidechaining it to multiple elements in the mix adds flexibility and dynamic space like never before.
First, identify which layers the 808 is competing with (usually snares, claps, or percussive hits that land on strong beats or syncopated grooves).
Then you’ll want to create additional sidechain triggers for each of these and set the amount of ducking based on how much space you want to create.
I recommend something subtle, like 1–2 dB of gain reduction.
You can even shape each duck with slightly different curves by using a fast attack and medium release (70–120 ms) for snares.
And, a slower, more gradual dip for percs or hats to add swing and groove.
If your DAW allows it, use dedicated control envelopes or MIDI-based sidechain triggers to draw in custom ducking shapes per element.
This lets your 808 stay consistent while still giving breathing room to other important rhythmic or tonal elements in your track.
PRO TIP: If you’re ducking the 808 in multiple areas of the frequency spectrum, try band-splitting the signal so only specific ranges are affected.
This keeps the sub intact while letting mid and high content stay dynamically flexible.
Resampling & Reverse FX

Resampling your 808 gives you total freedom to shape, manipulate, and reimagine it in ways that synthesis alone just… can’t.
To get going, start by bouncing your full 808 (sub, body, transient, saturation, and all) into audio so you can edit it like any other sample.
Then simply:
- Stretch the waveform (try doubling or tripling the length)
- Pitch it down 3–7 semitones
- Reverse it to create massive pre-drop transitions or intros
Then, apply a short fade-in (30–50 ms) to keep the reversed swell clean, and make sure the tail lands exactly on beat.
Cut the reversed clip to exactly 1 bar or half-bar for tight phrasing.
You can also layer your reversed 808 with additional FX, like adding reverb to the reversed tail before bouncing it.
Or, layering a downpitched ambient texture underneath to give it an eerie, cinematic feel.
If you’re creating breakdowns or ambient builds, you can even take the reversed 808, filter it with a high-pass and add movement using automation or LFO-based volume/pan changes.
PRO TIP: Once reversed, you can render the final sample and re-trigger it via MIDI with velocity control.
If you’re looking for total control over the movement and want to help you build creative, in-key transitions that lead right into your next section, this one is sick.
Side note, if you’re looking for way more advanced sound design techniques, you HAVE to check out this advanced sound design article (it’ll blow your mind!).
Final Thoughts
And there you have it: absolutely everything you need to know about the sickest 808 sound design techniques in the entire industry.
I promise you, even your favorite producers and sound designers are using these all day to shape, slam, and finesse their low-end.
And now, you’ll be able to control your subs, sculpt your tone, and get your 808s to cut through any mix like a pro as well.
Just don’t forget to dial in your source properly and shape your layers with purpose.
Otherwise, you’ll end up with a muddy, messy low-end that fights everything in your mix, and nobody has time for that, am I right?
And, as a special bonus, you’ve got to check out the sickest Free 808 Samples in the game right now.
Inside, you’ll get 10 fire 808s and matching 808 audio loops to help you build bangers fast and stack clean low-end energy without wasting time.
They were all created by the best in the business and are 100% royalty-free, so you never have to worry about quality and you can use them however you want, for anything.
So if you’re looking for powerful, perfectly processed 808s (with that sick analog-style distortion baked in), you definitely don’t want to miss out on these.
Try applying the techniques you learned in this guide, like layering, distortion control, envelope automation, or even FM shaping, on these samples.
This way, you’ll instantly start getting wild results that will blow your freakin’ mind.
Bottom line, when it comes to 808 sound design, just remember to treat your sub with respect and always keep your frequency balance, timing, and tone locked in.
This way, you can build 808s that slam, breathe, and bounce the way they’re supposed to 一 on every system, every single time.
Your tracks will always hit harder, sound cleaner, and you’ll know how to shape bass like a true boss.
And never be afraid to think outside of the box, because that’s where the real magic, and a bunch of happy accidents can happen.
Until next time…


Leave a Reply
You must belogged in to post a comment.