De-essing is all about controlling sibilant frequencies (those sharp, hissing “s” and “sh” sounds that can sneak into your vocal recordings or instrument tracks).
It can seriously improve the audio quality of your mixes by reducing problematic sibilance so you have a more polished, professional result.
Plus, it helps your vocals and instruments sit comfortably in the mix without overpowering other elements, which you never want.
As producers, knowing all about the de-essing essentials will enable you to maintain clarity, balance, and smoothness in your tracks.
While, at the same time, improving the listener’s experience, which is very important 一 That’s why we’re breaking down everything you need to know, like:
- Targeting specific frequency ranges ✓
- Using wide-band and split-band de-essers ✓
- Identifying sibilant frequencies/how to control sibilance ✓
- Adjusting gain reduction for natural results ✓
- Setting attack and release parameters ✓
- Best de-esser plugins & how to use them ✓
- Automating de-essing techniques for precision ✓
- Throwing de-esser plugins into your workflow ✓
- Handling vocal sibilance & getting creative with sound design ✓
- Combining manual de-essing with plugins ✓
- The best de-esser tips in the game ✓
- Much more about de-essing ✓
By knowing all about de-essing, you’ll enhance your skills and take your mixes to the next level (and stand out over the competition too, which is always nice).
Plus, your tracks will always sound clean, polished, and professional, and never harsh or distracting.
This way, you’ll be able to de-ess like an absolute boss.
Table of Contents
- What Exactly is De-essing?
- Understanding Sibilance
- Types of De-essing Techniques
- Wide-band vs. Split-band De-essing
- Setting Up Your De-esser
- De-essing During the Mixing Process
- De-essing Vocals
- De-essing Instruments
- Advanced De-essing Techniques
- Using Sidechain De-essing for Precision
- BONUS: Layered De-essing (Combining Techniques & Processors)
- Final Thoughts
What Exactly is De-essing?
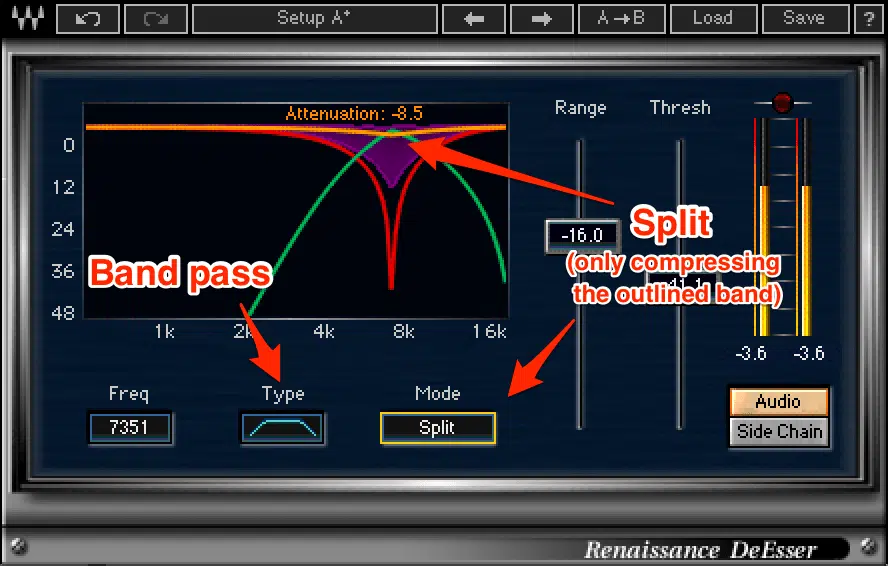
De-essing is a precise audio production technique used to control sibilant frequencies (those harsh “s” and “sh” sounds) present in some vocals or certain instruments.
Typically, sibilance occurs within the frequency range of 4 kHz to 8 kHz, although it can switch up depending on the vocal performance or sound source.
A de-esser works by detecting these problematic frequencies and applying gain reduction specifically to the selected frequency band.
It leaves the rest of the audio completely untouched.
For example, let’s say you’re working on a vocal recording with noticeable/excessive sibilance…
Setting the threshold at -10 dB with a narrow band centered around 6 kHz can significantly improve the audio quality without dulling the track.
Personally, I’ve found that combining a de-essing plugin with subtle manual de-essing ensures the vocals sound on point while retaining clarity and natural tone.
Don’t worry, we’ll break down everything you need to know throughout the article so you get a solid understanding.
Understanding Sibilance
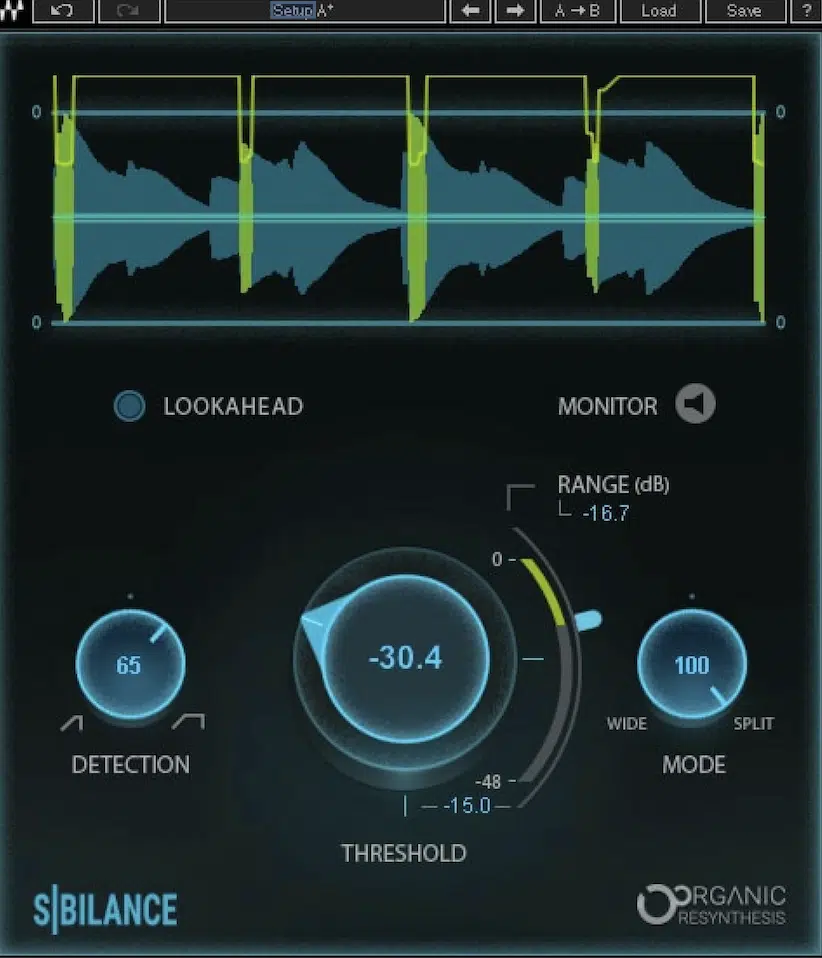
Sibilance refers to the sharp, hissing sounds produced by certain consonants like “s,” “sh,” and “z.”
These sibilant frequencies often clash with other elements in a mix and create super unpleasant sounds that can distract the listener.
And, if they’re bad enough, cause them to just completely shut off your track altogether (I bet you can think of a few songs like that right now).
For example, a female voice may exhibit more pronounced sibilance in the upper frequency range (~6 kHz to 10 kHz) compared to the lower frequencies in a male voice.
During post-production, reducing sibilance involves identifying the problematic sibilance using an analyzer or by sweeping through the frequency spectrum.
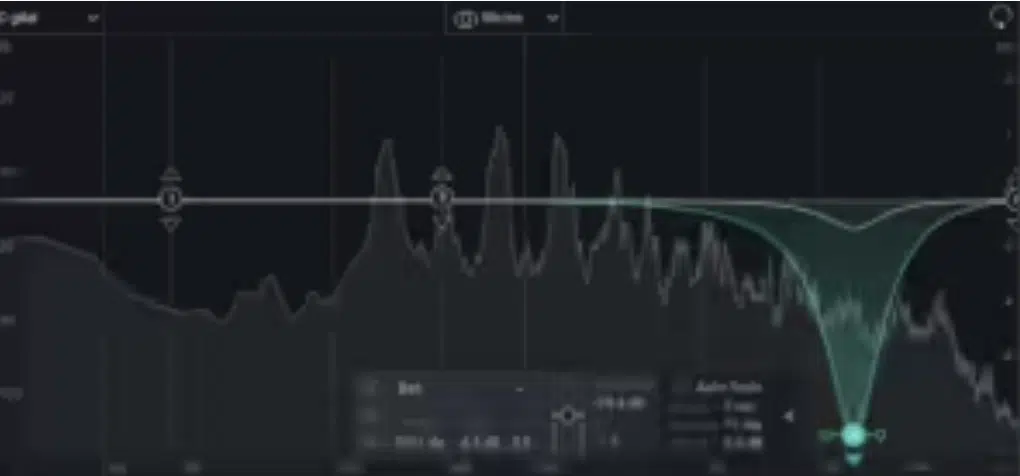
Try using a dynamic equalizer to target different frequency peaks dynamically, especially when working with complex vocal tracks.
If you skip addressing sibilance, it can lead to ear fatigue for listeners or even ruin an otherwise great mix, and make you sound super amateur also.
Keep in mind that balance is key… Removing too much can result in dull vocals, so always aim for clarity without over-processing.
Types of De-essing Techniques
There are two primary techniques to de-essing: manual de-essing and automatic de-essing using de-esser plug-ins. Each one has its advantages, depending on your workflow and the level of control you need over sibilant frequencies, so let’s get into it.
-
Manual De-essing

Manual de-essing involves directly reducing the volume of sibilant frequencies by using clip gain or volume automation on specific sections of a vocal track.
For example, if a harsh “s” peaks at 6.2 kHz with a gain spike of -1 dB, you can manually lower that segment by an additional 3 dB using clip gain in your DAW.
When you’re automating, zoom in closely on the waveform and create anchor points around the sibilant sound to gently fade the volume down and back up.
This way, the transition will feel natural and authentic.
Make sure to use a spectrum analyzer (e.g., FabFilter Pro-Q 3) to pinpoint the exact frequency range of the issue before making adjustments.
This is because some sibilance can sit as high as 8 kHz or as low as 4.5 kHz.
This is super helpful for vocal performances where sibilance varies in intensity 一 this way, you avoid over-processing parts of the recording where it’s not an issue.
NOTE: While manual de-essing is definitely more time-consuming, it does offer unparalleled precision and is ideal for post-production work or acoustic projects where de-esser plugins might introduce artifacts.
-
Automatic De-essing with Plugins
Automatic de-essing with de-esser plugins, on the other hand, is the go-to method for most mixing engineers (like myself) due to its unmatched speed and efficiency.
A de-essing plugin works by detecting sibilant frequencies within a specific frequency band and applying gain reduction automatically.
For example, when working on a pop vocal performance, you could:
- Set the threshold to -15 dB
- Target a frequency range of 5 kHz to 7 kHz
- Use a ratio of 3:1 for reducing sibilance
Always fine-tune the attack and release settings to avoid unnatural dips or delays 一 start with an attack of 5 ms and a release of 50 ms and tweak it from there.
My advice is to stack a wide-band de-esser first to catch the majority of sibilance issues, and then follow it with a split-band de-esser for precision.
This method ensures a smoother workflow while maintaining high audio quality.
-
PRO TIP: The Best De-esser Plugins
Choosing the right de-esser plugins can make or break your mix.
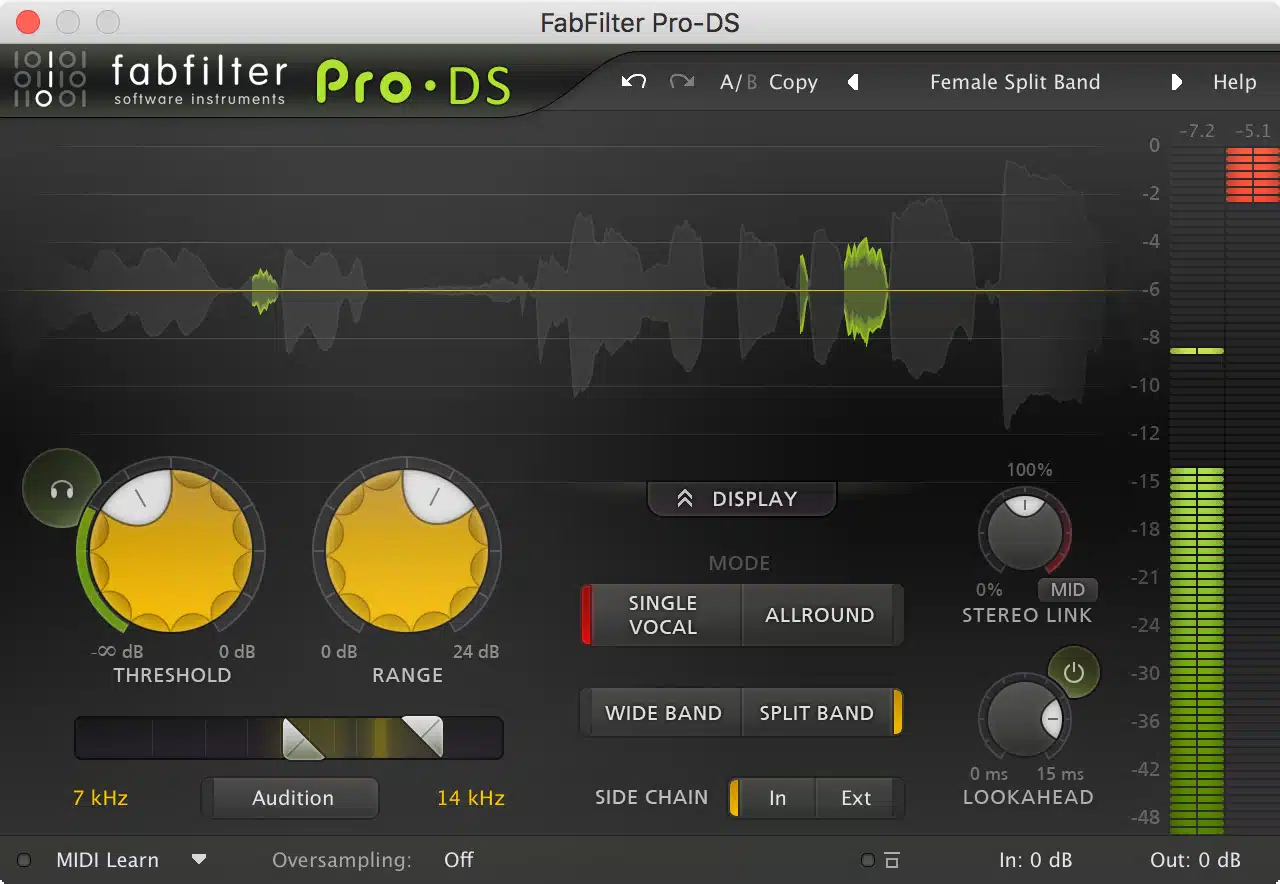
Some of the best options include FabFilter Pro-DS, Waves DeEsser, and iZotope RX, each perfect for addressing sibilant frequencies with razor-sharp precision.
For example, FabFilter Pro-DS offers a transparent mode, ideal for subtle adjustments, while its range slider allows you to control how much gain is reduced in the selected frequency.
A common setting is to use a threshold of -20 dB and a range of 6 dB 一 focusing on a frequency band around 6 kHz for modern pop vocals.
iZotope RX takes it further with spectral editing, which lets you surgically remove problematic sibilance without affecting the whole signal.
I prefer Waves DeEsser for quick adjustments in high-energy vocal recordings when taming harsh sibilance in the 7 kHz to 8 kHz range, but it’s dealer’s choice.
Always demo a few plugins to see which one suits your workflow and delivers the most pristine audio for your projects.
Wide-band vs. Split-band De-essing
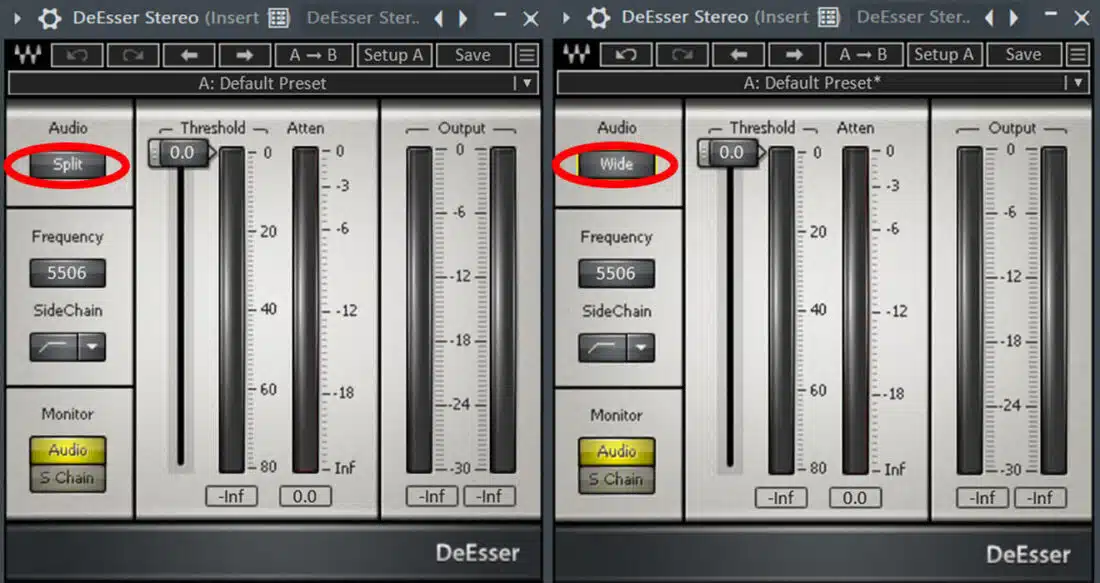
Wide-band de-essing and split-band de-essing are two distinct methods used to control sibilant frequencies, each with its own advantages.
Wide-band de-essing reduces the level of the entire signal whenever problematic sibilance is detected.
For example, if a vocal peaks at 7 kHz with excessive energy, setting the threshold to -12 dB on a wide-band de-esser will attenuate the whole signal.
This can sometimes make the overall sound feel less transparent, so just watch out and also be careful when it comes to attenuating sibilance.
Split-band de-essing, on the other hand, targets only the selected frequency band where the excess sibilance resides, leaving the rest of the audio unaffected.
On a split-band de-esser plugin, for instance, you could focus on 5.5 kHz to 7.5 kHz with a range of -6 dB, keeping clarity in the lower frequencies and preserving the natural tone.
I usually recommend starting with split-band de-essing for vocals to retain dynamics.
But, for more aggressive material like hi-hats or cymbals, wide-band de-essing can simplify the process without overcomplicating the chain.
When in doubt, use both methods together to handle different frequencies like a boss while keeping the mix smooth.
Setting Up Your De-esser
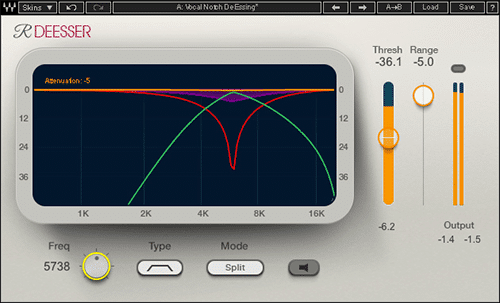
Setting up a de-esser takes a balance of precision and subtlety to control sibilant frequencies without compromising the audio quality.
Start by using a frequency analyzer to identify the selected frequency range where sibilance peaks 一 which typically falls between 4 kHz and 8 kHz.
But again, this can vary with the human voice, of course.
You’ll want to set the threshold so it activates only when the sibilance surpasses the natural vocal level (like around -18 dB for a typical vocal recording).
Then, adjust the ratio between 2:1 and 4:1 for a natural effect, while tuning the attack and release settings.
A slower attack, like 10 ms, will make sure you’re not clipping the transients, while a faster release, around 50 ms, restores the signal quickly.
Personally, I recommend using the solo mode available on most de-esser plugins (e.g., FabFilter Pro-DS) to isolate the sibilant section and fine-tune the settings for maximum control, but it’s dealer’s choice.
By taking the time to set up correctly, your vocals are clear, polished, and free from any harsh sibilance.
De-essing During the Mixing Process

Playing around with de-essing during the mixing stage is super important when it comes to achieving a clean and professional overall sound.
The placement of the de-esser in your vocal chain can significantly impact how the processing interacts with other effects like EQ and compression.
As a mixing engineer, I recommend placing the de-esser plugin after EQ but before compression to avoid amplifying already-tamed sibilant frequencies.
For example, if your vocal EQ boosts the 6 kHz to 7 kHz range by 2 dB to add presence, your de-esser threshold might need to be adjusted lower, around -20 dB.
This is to successfully account for the extra gain.
When dealing with layered vocals, make sure to use separate de-essing techniques for each layer to prevent buildup of excess sibilance in the mix.
-
PRO TIP
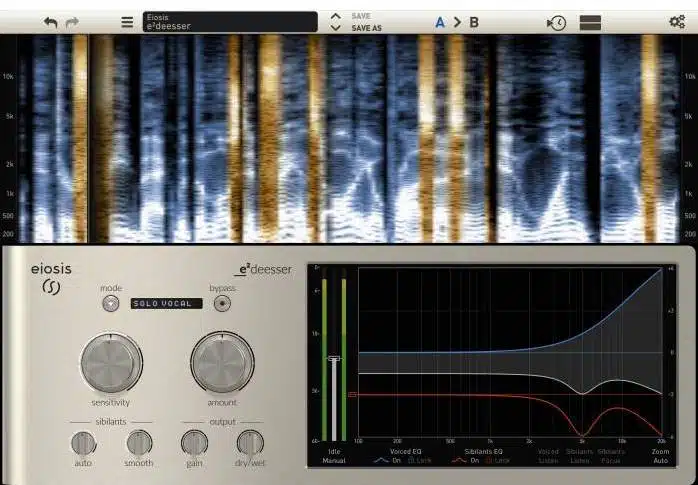
One trick I’ve found pretty helpful is applying a mild wide-band de-esser on the vocal bus to catch any residual sibilance after processing individual tracks.
Remember, the goal is to make the vocals sit comfortably in the mix without drawing attention to the processing…
Subtle adjustments often lead to the most transparent results.
Also, to avoid dulling your mix while de-essing, use a high-shelf EQ to subtly boost high frequencies above 8 kHz after applying your de-ess sound.
This will keep things on point and clear without reintroducing harsh frequencies 一 balancing the high frequencies and keeping the track vibrant and natural.
De-essing Vocals
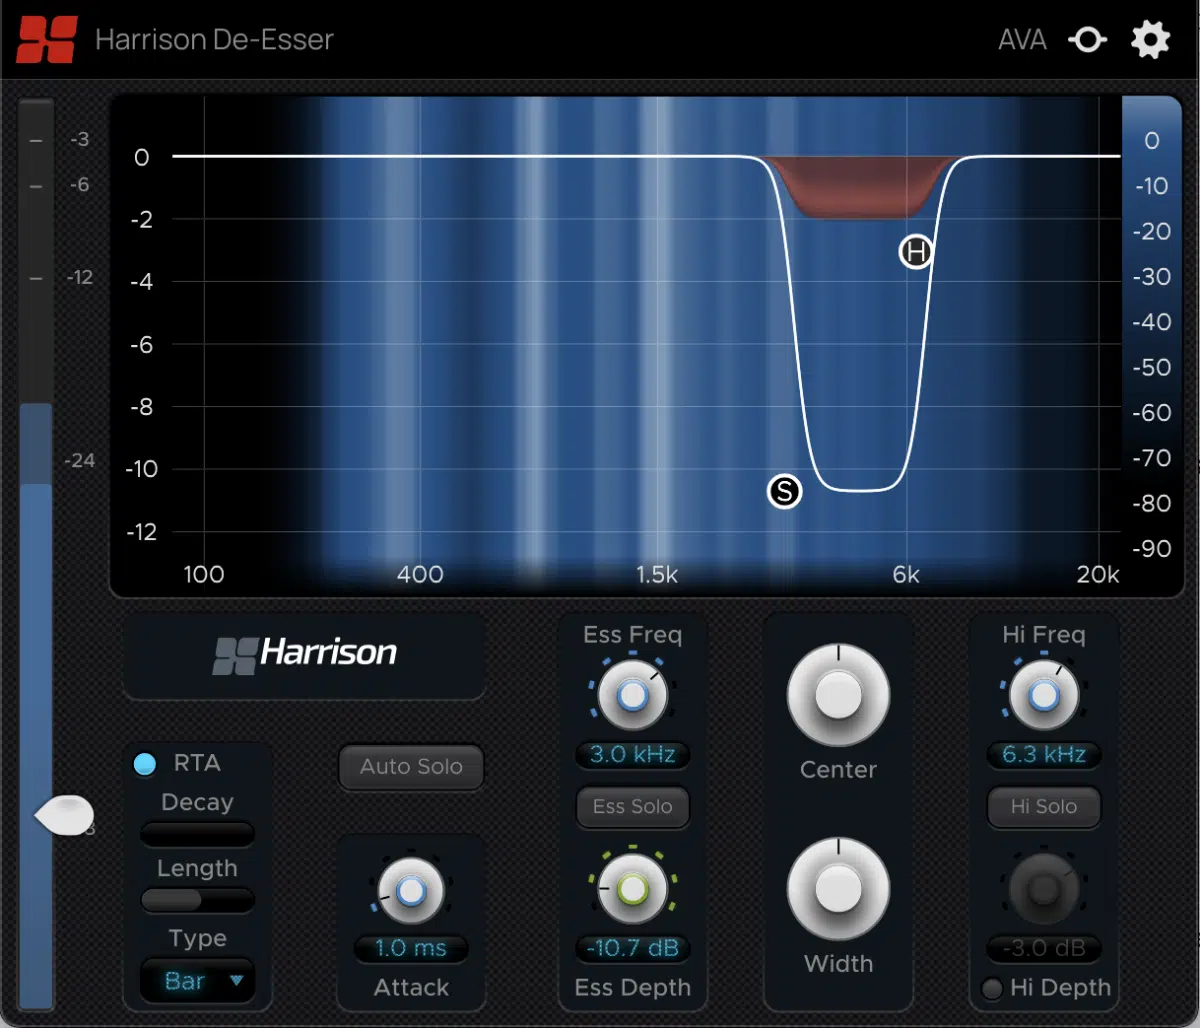
When de-essing vocals, precision is key to making sure your artist’s (or your) vocal performance retains its natural tone while addressing sibilant frequencies.
Start by identifying the problematic frequencies using a spectrum analyzer like we talked about earlier, which usually fall between:
- 4.5 kHz – 7.5 kHz for male vocals
- 6 kHz – 10 kHz for female vocals
A split-band de-esser is ideal here because it targets only the sibilance without affecting the lower frequencies or other critical elements of the vocal track.
For example, I’ve achieved great results by setting the threshold at -16 dB, a range of -5 dB, and a ratio of 3:1, with an attack of 8 ms and a release of 50 ms on a pop vocal recording.
My advice is to solo the sibilance band in your de-esser plugin to hear exactly what’s being processed so you’re not unintentionally dulling the high-end clarity.
-
PRO TIP
When working with backing vocals, you may need to apply gentler settings to prevent over-processing; try reducing the range to -3 dB to maintain cohesion.
By balancing these parameters, you can remove harsh sibilance without sacrificing the brightness that makes the vocals cut through the mix the right way.
De-essing Instruments
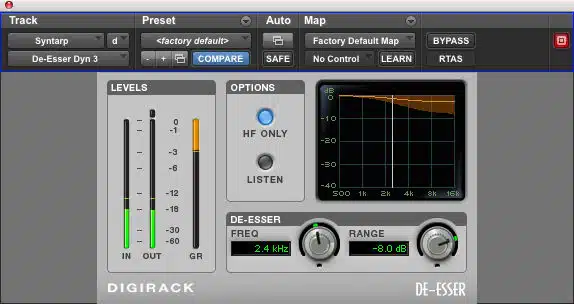
De-essing instruments requires a slightly different approach, as the sibilant frequencies can vary in a big way depending on the instrument.
For cymbals or hi-hats (which often produce harshness in the 7 kHz to 10 kHz frequency range) a split-band de-esser with a threshold of -12 dB and a range of -4 dB can tame the sharp transients while preserving their natural shimmer.
Brass and woodwind instruments can also exhibit problematic sibilance, especially during dynamic passages…
In these cases, targeting 5.5 kHz to 8 kHz with a ratio of 2:1 is a safe starting point.
I use a wide-band de-esser on aggressive guitar solos or distorted leads, applying mild settings like a threshold of -10 dB and a gain reduction of 3 dB to smooth out the top end.
Just always double-check the processed signal in solo and in context to ensure the de-ess sound complements the mix without overcorrecting or dulling the tone.
Advanced De-essing Techniques
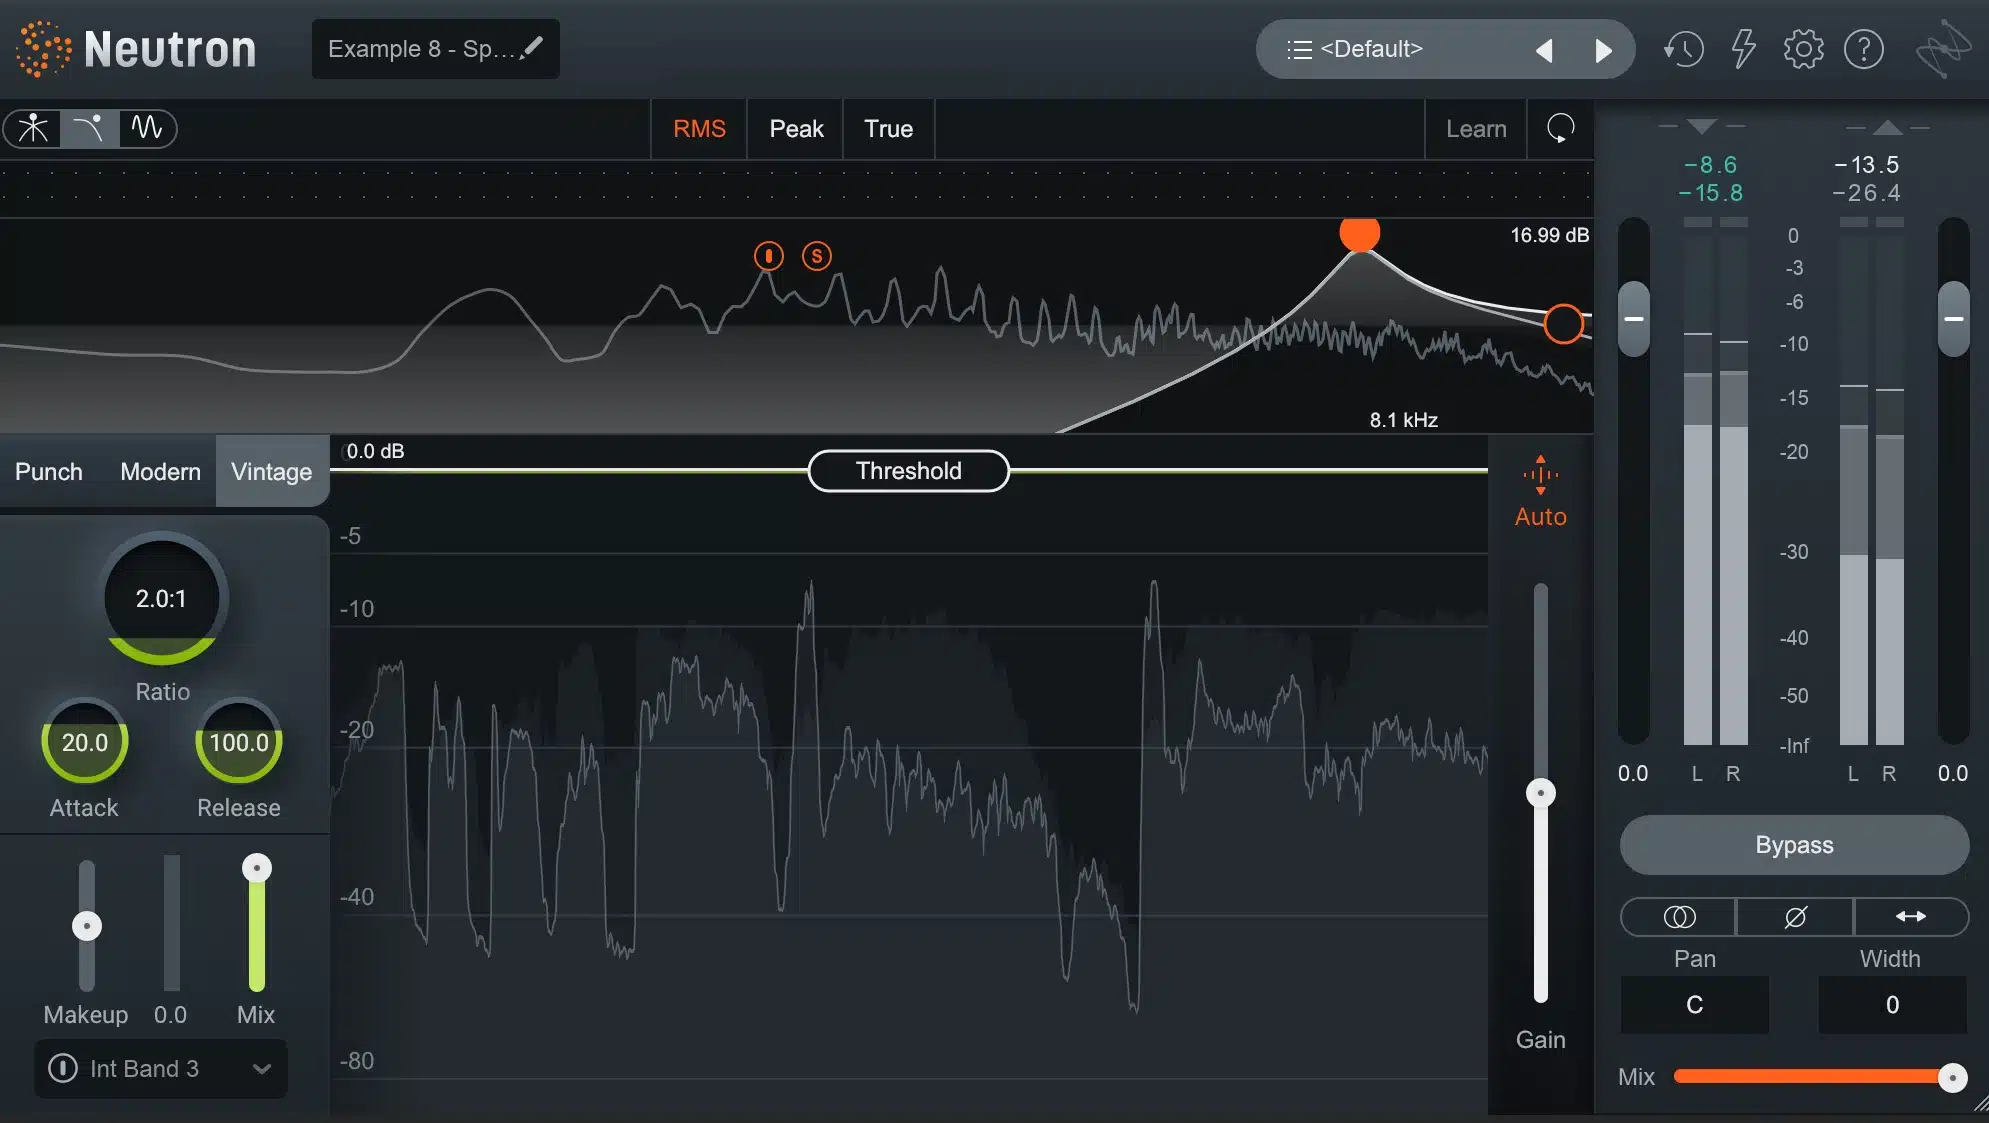
For advanced control over sibilance, techniques like dynamic equalization and multi-band compression provide unmatched precision.
A dynamic equalizer such as FabFilter Pro-Q 4 allows you to dynamically reduce specific sibilant frequencies only when they cross a threshold.
This is great for vocal tracks with inconsistent or unpredictable sibilance.
For example, set a dynamic EQ band at 6.5 kHz with a threshold of -14 dB and a gain reduction range of -5 dB to address intermittent peaks in a vocal recording.
Multi-band compression, on the other hand, divides the signal into separate frequency bands for targeted reduction of harshness while maintaining clarity in other areas.
A common setting for vocals is to apply compression to the 5 kHz to 8 kHz range with a ratio of 3:1 and a threshold of -20 dB.
This will successfully harshness without messing up the lower frequencies.
To fine-tune these methods further, use automation to adjust the intensity of the processing in real-time 一 ensuring a natural de-ess sound throughout the track.
Personally, I find combining these techniques with traditional de-essers results in a smoother, more professional mix, so definitely give that a try.
For example, start with a de-esser plugin for overall corrections, then follow up with a dynamic equalizer for more surgical adjustments.
Using Sidechain De-essing for Precision
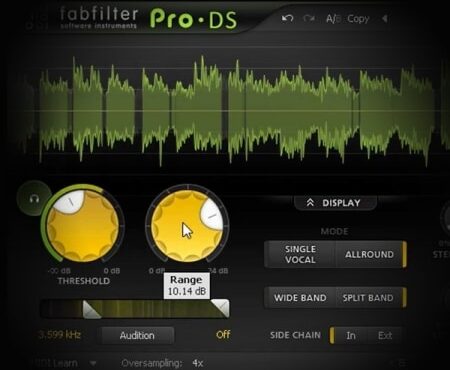
Sidechain de-essing allows for hyper-specific control over sibilant frequencies, especially in dense mixes where a single element (like vocals) triggers the processing.
For example, if your vocals are competing with bright cymbals in the frequency range of 6 kHz to 8 kHz, you can simply set up a sidechain input from the vocal bus to a split-band de-esser on the cymbals.
Adjust the threshold so the cymbals attenuate only when the vocals hit a sibilant sound 一 maintaining balance without over-processing the entire drum track.
Start with a sidechain threshold of -15 dB. And, for how much gain reduction I’d say 3 dB, tweaking the ratio to 2:1 for subtlety.
This technique is super useful when working with busy mixes or genres like EDM, where clarity is everything (well, it’s good for all genres, but you know what I mean).
-
PRO TIP
Use sidechain de-essing techniques with caution and only when necessary, as overuse can lead to inconsistencies in the overall sound.
Just don’t forget to always check the mix in mono to make sure any adjustments that you made work across different playback systems.
BONUS: Layered De-essing (Combining Techniques & Processors)
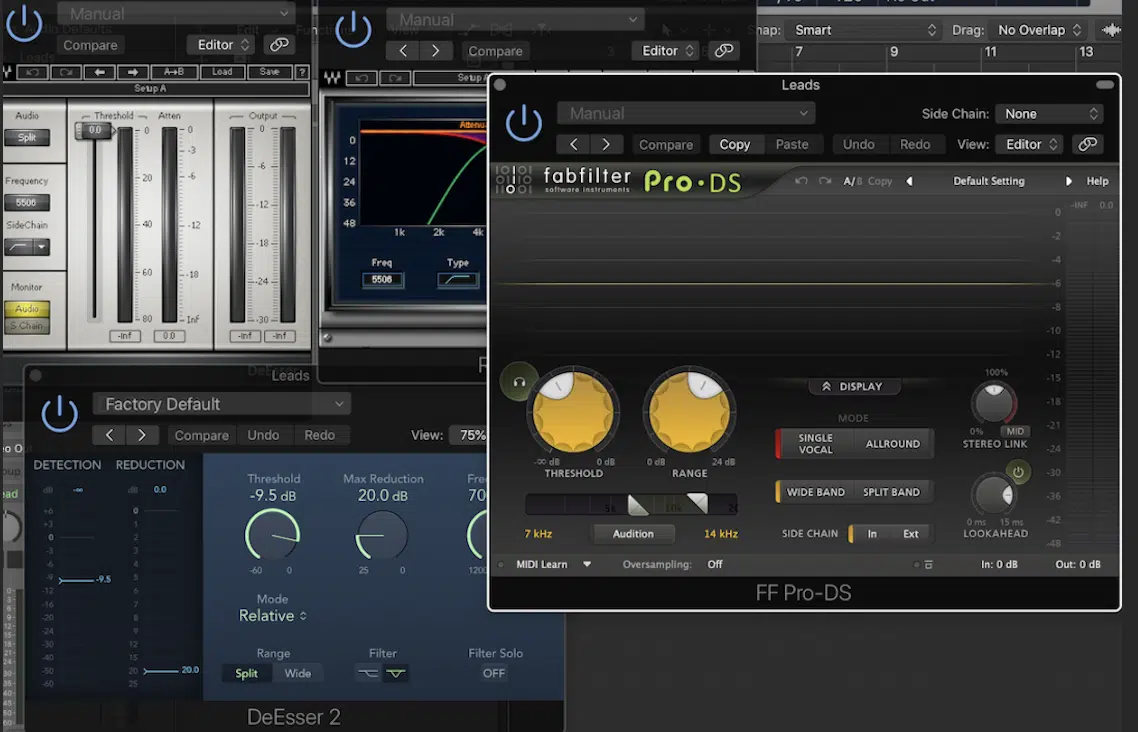
Layering de-essing techniques combines the precision of multiple tools to achieve a more polished overall sound that makes you sound like a pro.
For example, you might start with a wide-band de-esser to reduce general sibilance across the track and follow it up with a split-band de-esser.
Make sure to target the 6 kHz to 8 kHz area for more surgical corrections.
On a pop vocal, for instance, you could set the wide-band de-esser with a:
- Threshold of -18 dB
- Ratio of 2.5:1
- Release of 50 ms
This way, it ensures smooth attenuation without affecting transients.
Then, add a split-band de-esser plugin targeting the frequency range of 6 kHz to 8 kHz, with a tighter range of -2 dB and a ratio of 3:1.
This will successfully catch any remaining sibilant frequencies.
Using automation into this process allows you to dynamically adjust the intensity of each de-essing stage, especially during choruses or sections with heavy vocal layering.
My advice is to layer manual de-essing on top of these methods to fine-tune problem areas, like a sharp “t” at 6.5 kHz that might slip past an automated de-esser.
NOTE: Manually lower the clip gain by 3-4 dB for these moments to ensure transparency and avoid adding harshness.
When layering, just make sure each individual processor focuses on different frequency bands to avoid redundancy and maintain the integrity of the mix.
For example, let one handle 5 kHz to 7 kHz and another address 7 kHz to 9 kHz.
I find that layering works best for dynamic vocal performances or multi-layered harmonies where a single de-esser might not suffice, so keep that in mind.
Final Thoughts
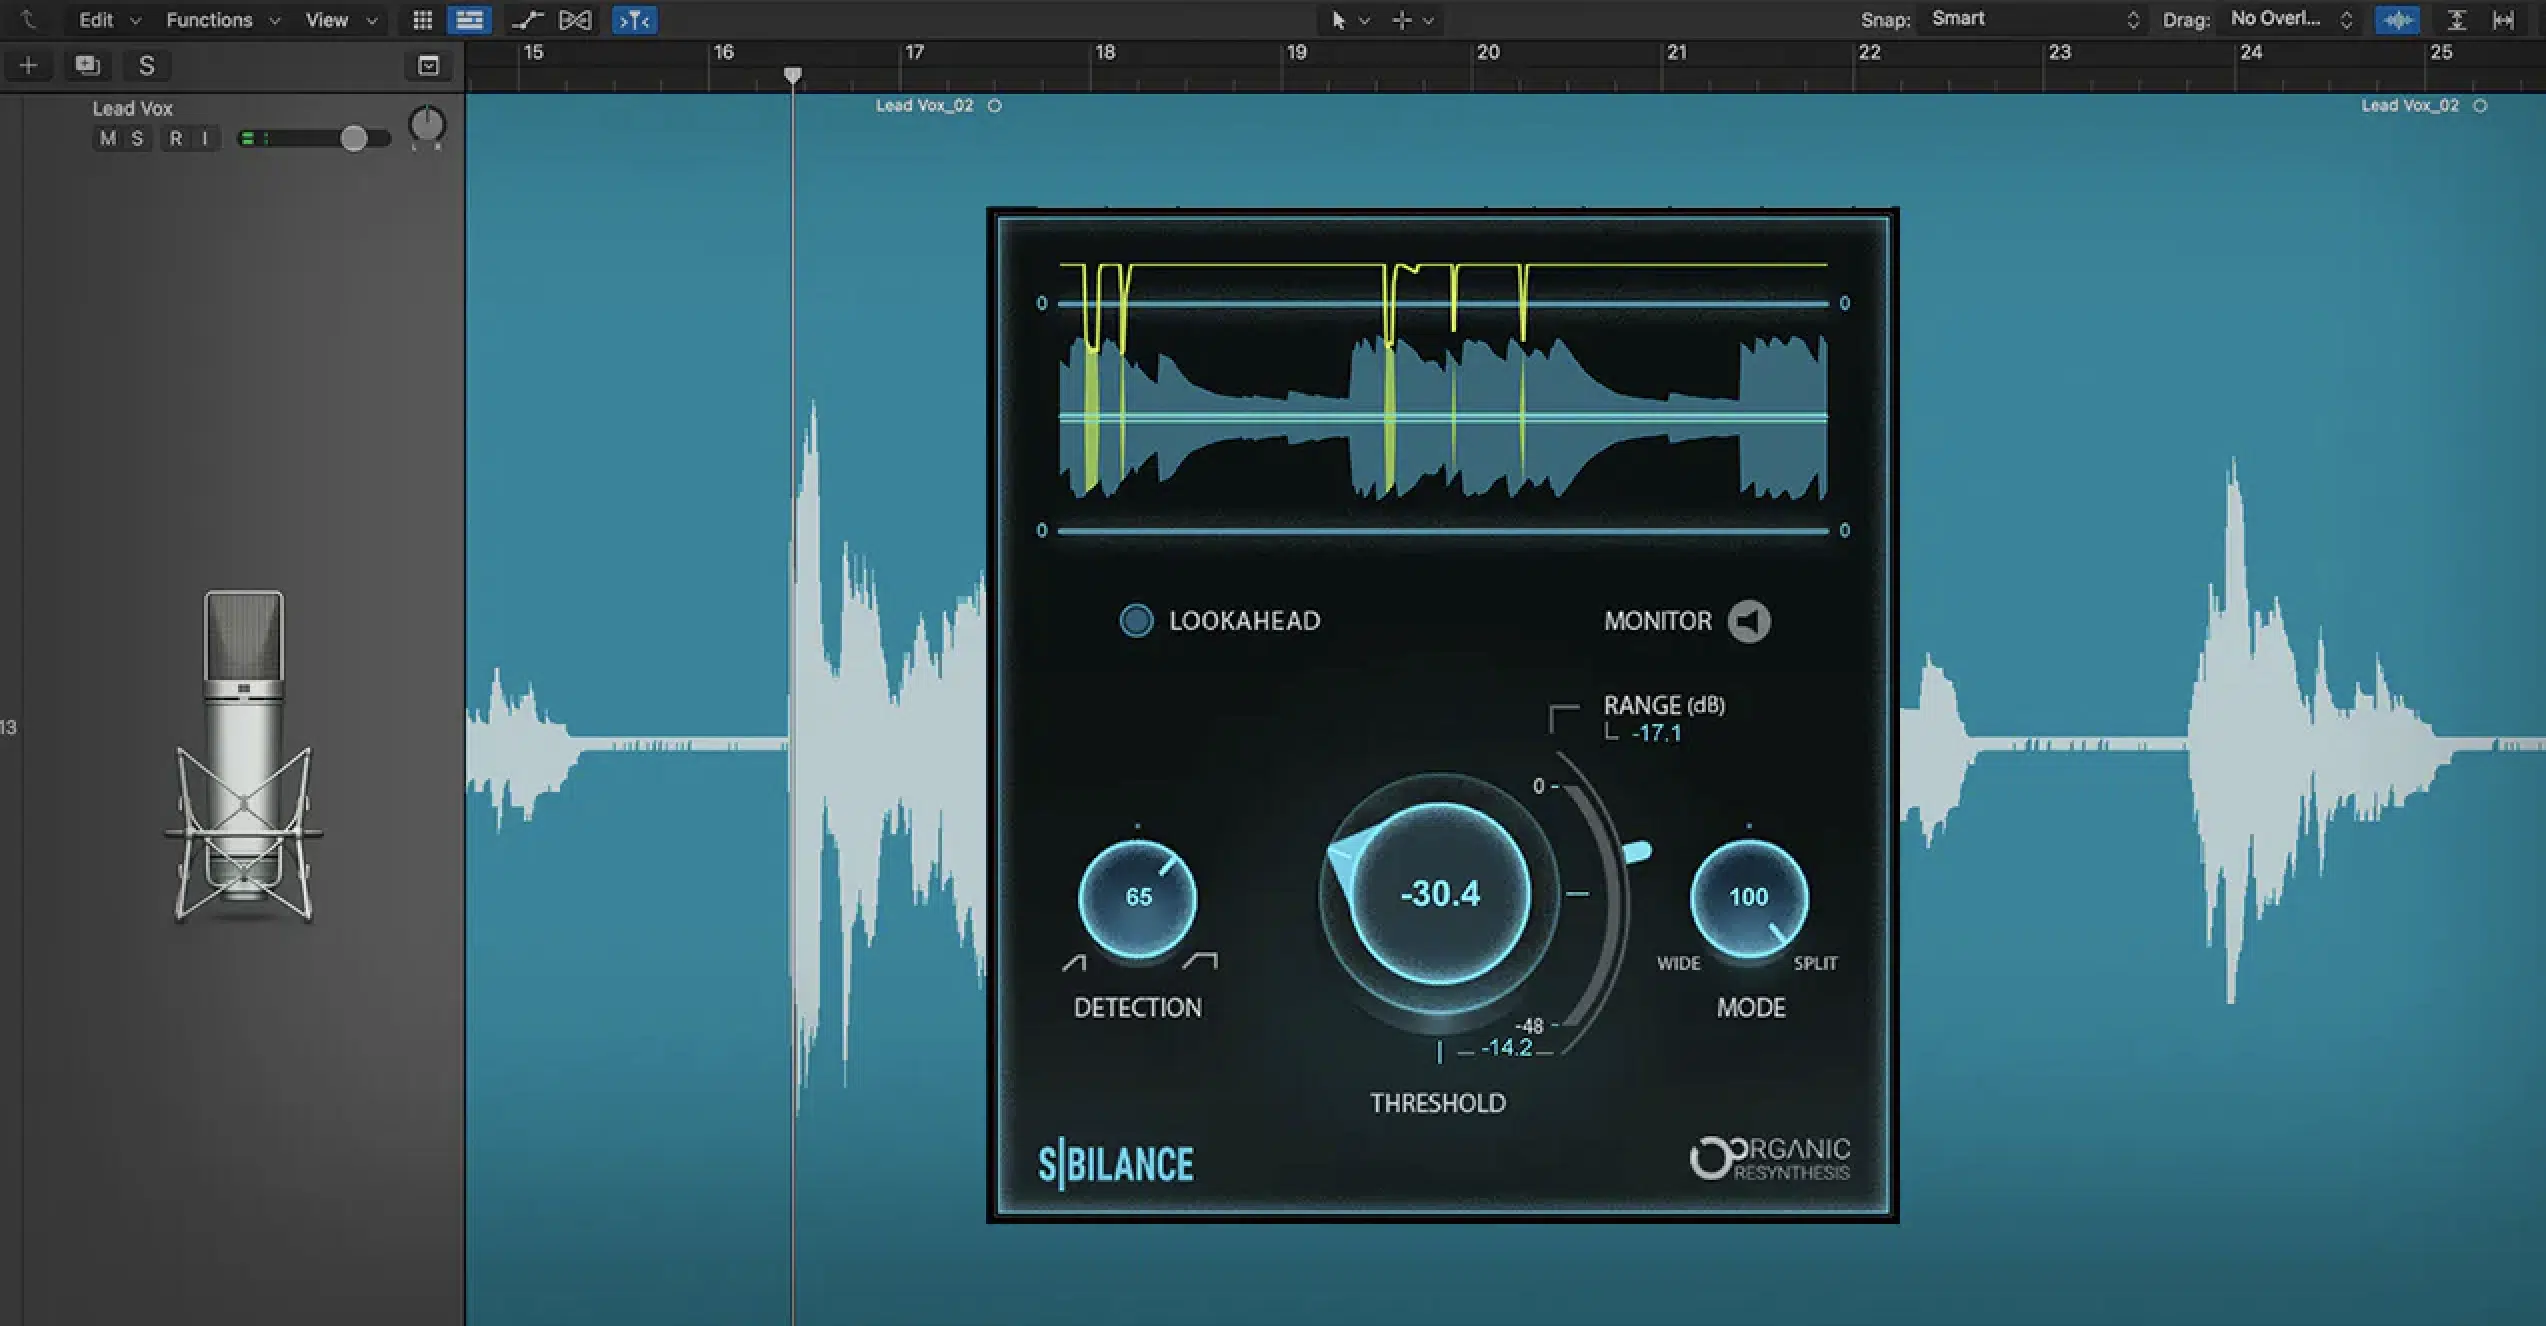
And there you have it: everything you need to know about de-essing and how it can elevate your mixes to a professional level.
By following everything we talked about today, you’ll be able to successfully tackle sibilant frequencies, balance your high frequencies, and maintain clarity in every track.
Plus, your de-ess sound will always stay polished and transparent, ensuring your vocals and instruments shine in the mix.
Just don’t forget to listen in context or rely too heavily on a single plugin.
Otherwise, you might lose the natural dynamics of your tracks or end up with an overly processed mix, and nobody wants that.
As a special bonus, you’ve got to check out this legendary Free Vocal Samples pack.
It contains 20 professional-quality vocal loops, chops, and one-shots that can completely change the game (for real).
They’re perfectly processed and can add that missing piece to your track for that extra edge, regardless of genre or style.
Created by the world’s top producers and sound designers, you’ll never have to worry about quality.
Plus, they’re 100% royalty-free, so you can use them however you want, and better yet, with these, you’ll never have to worry about de-essing because they’re already on point.
Remember, mastering de-essing isn’t just about fixing a problem 一 it’s about enhancing the way your music connects with listeners.
By applying these techniques, you’ll ensure every mix you create sounds clean, professional, and ready to compete with the best.
Just remember to always stay hustling, practicing every day, learn and educate yourself, and never let anyone tell you you can’t make it.
Until next time…


Leave a Reply
You must belogged in to post a comment.