The Haas Effect, a psychoacoustic phenomenon discovered by Helmut Haas, can help you create more immersive and captivating mixes by manipulating stereo imaging and sound localization.
It’s essential for music producers to understand the Haas Effect to produce a more spacious and engaging mix.
By harnessing this phenomenon, you can create a more compelling mix, making your tracks stand out in today’s competitive industry.
This comprehensive guide will cover everything you need to know about the Haas Effect, including its history, the science behind it, and how to apply it effectively in your mixes.
Plus, we’ve included a super secret industry secret that will skyrocket your production value.
Table of Contents
- A Glimpse Into the Haas Effect’s Origin
- Enhancing Your Stereo Image with the Haas Effect
- Creating the Illusion of a Wider Mix
- Mastering Delay Time in the Haas Effect
- Stereoizing Any MONO Signal With The Haas Effect
- Tips & Techniques for Applying the Haas Effect Like a Pro
- Industry Secret: Use The Haas Effect To Create More Complex Sounds
- Industry Secret (continued)
- Final Thoughts
A Glimpse Into the Haas Effect’s Origin
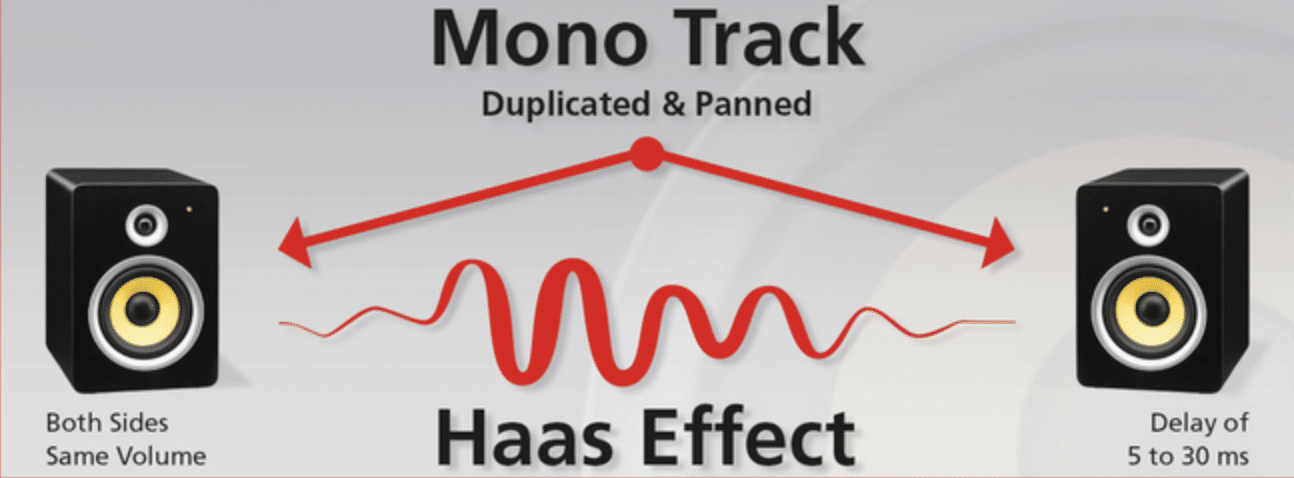
In 1949, German acoustician Helmut Haas discovered the phenomenon now known as the Haas Effect.
His research on directional masking and sound localization led him to uncover the relationship between direct and reflected sound and the perception of spatial location.
The Precedence Effect, also known as the law of the first wavefront, occurs when two identical sounds reach our ears at slightly different times.
Our brain perceives the sound source’s direction as coming from the first-arriving sound, even if the second sound is louder.
The Haas Effect leverages the Precedence Effect to create the illusion of a broader stereo image.
Enhancing Your Stereo Image with the Haas Effect
Generally speaking, stereo imaging is the perception of width, depth, and space in a mix.
It’s a crucial aspect of music production, as it helps to create a more immersive listening experience.
By strategically using the Haas Effect, you can enhance your stereo imaging and make your tracks more engaging.
A well-crafted image provides listeners with a sense of space and separation between the different elements in a mix, giving each instrument its place and allowing the mix to breathe.
Creating the Illusion of a Wider Mix
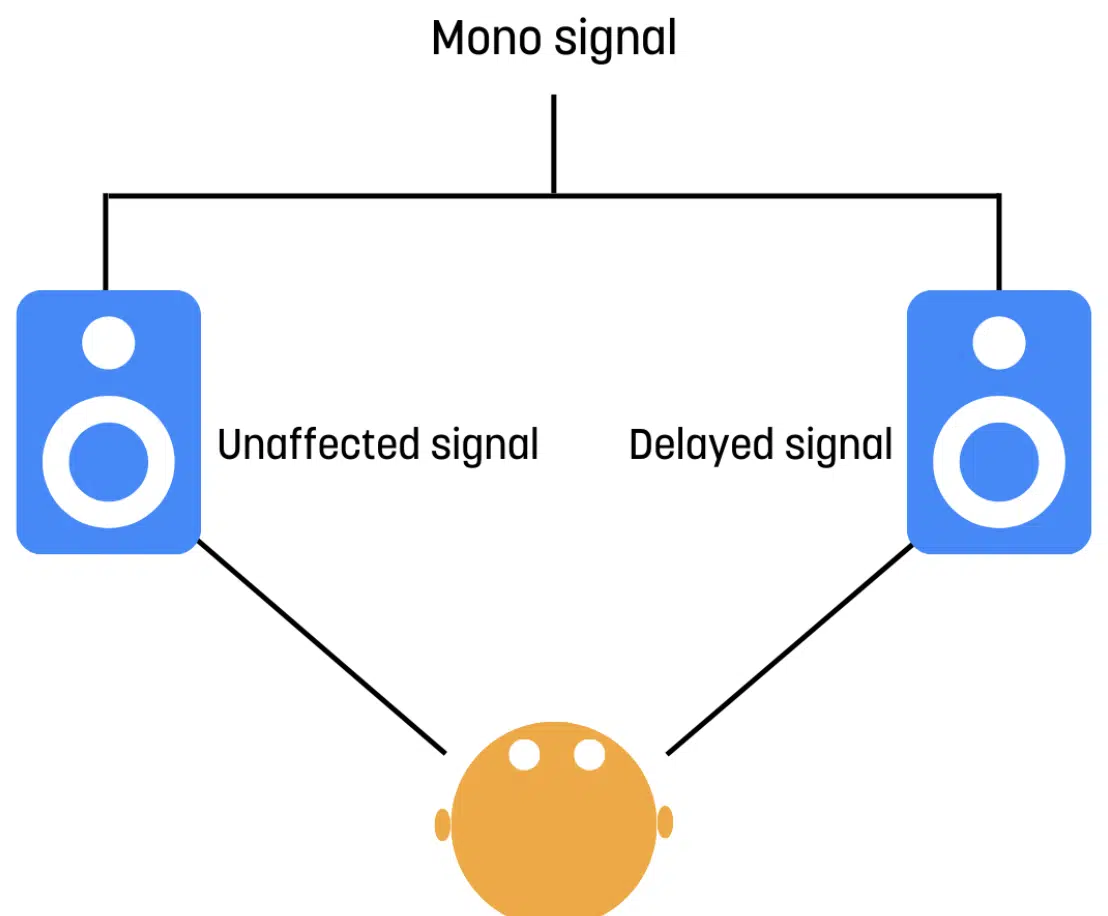
To create the illusion of a wider mix using the Haas Effect, you’ll need to experiment with applying a short delay to one sound (either the left or right channel of a track).
This delay should be between 1 and 35 milliseconds.
- Shorter delays 一 Create a more subtle effect and direct sound.
- Longer delays 一 Result in a more pronounced stereo width.
By carefully adjusting the delay time, you can create an expansive stereo image that will enhance your mix and make it feel more spacious and sound wider.
However, it’s essential to maintain a sense of balance in the mix.
While it’s tempting to push the width to its limits (trust me, I know), overdoing it can cause issues with mono compatibility and make your mix sound unnatural.
Be sure to reference your mix in mono regularly to ensure that your tracks still sound great with the same sound when collapsed to a single channel.
Mastering Delay Time in the Haas Effect

The delay time is a critical component of the Haas Effect, as it determines the perceived spatial location of the sound source.
Finding the right delay time is essential for achieving the desired stereo width and depth without causing phase cancellation or mono-track compatibility issues.
The key to optimizing delay time is to experiment with a range of settings and trust your ears.
Start by introducing a short delay (1 to 10 milliseconds) to one of the stereo channels and gradually increase it.
Pay close attention to the changes in the stereo image, depth, and any potential artifacts or phase issues that may arise.
Additionally, try using automation to vary the delay time subtly throughout the track.
This can create an evolving sense of depth and space, adding interest and movement to the mix.
Make sure to keep the delay time within the 1-35 millisecond range to avoid causing distinct repeats or other undesirable effects.
Also, take into account how the Haas Effect interacts with compression, EQ, and other dynamic processing.
Adjusting delay time in conjunction with these processes can help you achieve a more balanced and polished mix.
It will ensure that the Haas Effect works in harmony with the rest of your production.
Not one sound should feel overpowering or undervalued.
Stereoizing Any MONO Signal With The Haas Effect
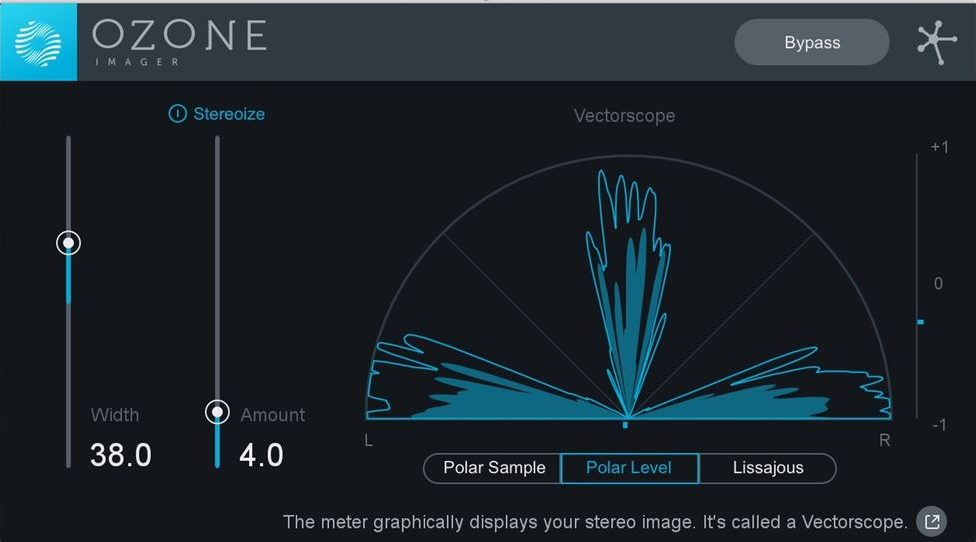
Oftentimes, you’ll want to use a nice, full stereo drum loop, but you may not have one at your disposal… time to swap samples? Absolutely not!
Since stereo is just an illusion, there’s nothing stopping you from applying it yourself:
STEP 1 一 Duplicate the MONO drum loop.
STEP 2 一 Pan one version to the left (left panned channel).
STEP 3 一 Pan the other version to the right (right-panned channel).
STEP 4 一 Zoom in really closely and nudge one file over in the timeline by just a handful of samples.
Since you’re moving the file such a small amount, you may need to input how far you want to offset the value (depending on your DAW).
STEP 5 一 Play around with the values until you achieve the depth you’re searching for, without introducing any phasing.
Make sure to note that the values below 30 m/s won’t be able to be distinguished by human hearing as two separate transients.
However, if you go too far, the listener will perceive the effect as 2 separate tracks as opposed to stereo.
This can cause all sorts of phase issues and chaos, so make sure to tinker around with different values carefully before you settle.
When tinkering around, make sure to only nudge 1 track (left and right channels), as moving both back and forth is counterproductive.
Tips & Techniques for Applying the Haas Effect Like a Pro
-
Start With a Subtle Approach
When first experimenting with the Haas Effect, it’s essential to start with a subtle approach.
Begin by introducing a small delay (1 to 10 milliseconds) to one of the stereo channels and gradually increase it while carefully listening for any undesirable artifacts or phase issues.
This method allows you to find the sweet spot for your mix without risking any significant problems.
-
Reference Your Mix in MONO
As mentioned earlier, checking your mix in mono is crucial when using the Haas Effect.
Mono compatibility is vital for ensuring that your mix translates well across different playback systems.
Regularly referencing your mix in mono (use a mono track) while adjusting the Haas Effect will help you maintain the integrity of your tracks and avoid potential issues when played back on mono systems.
-
Beware of Phase Cancellation
Phase cancellation can occur when two identical sounds with slightly different delay times are combined, causing some frequencies to cancel each other out.
This can result in a thin or hollow direct single sound, which is undesirable in a mix.
To avoid phase cancellation, be cautious with the delay times you choose, and always reference your mix in mono to detect potential phase issues.
Industry Secret: Use The Haas Effect To Create More Complex Sounds
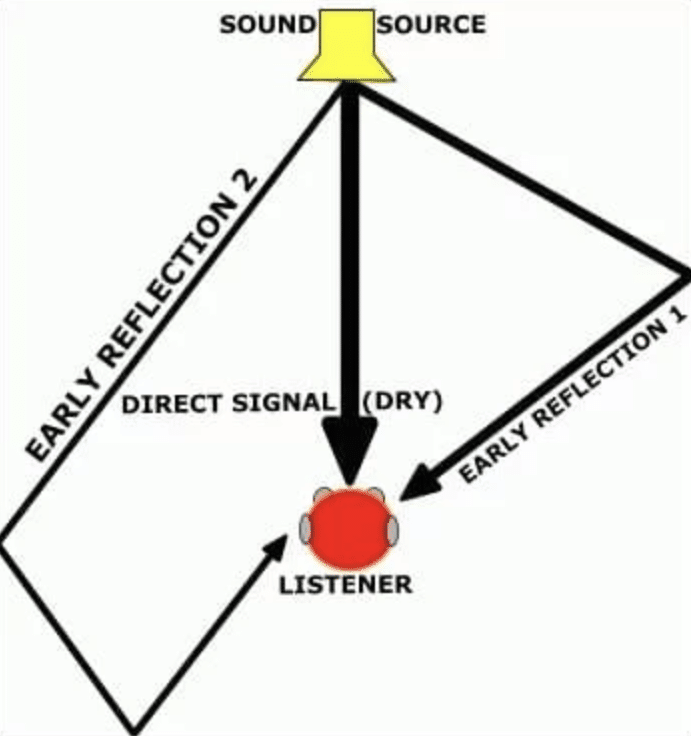
Reverb’s two most distinguished properties are:
- Early reflections
- Late reflections
They’re responsible for the depth a sound can carry in any given space.
An experienced ear can even estimate the dimensions of a room through the recording alone.
When working in the digital world, you’ll have even more flexibility when it comes to these two prominent reflections than usual.
For this tip, we’re going to take two MONO reverbs, separate the early and late reflections, and manipulate them for a much wider stereo image (stay with me!).
STEP 1 一 Take your MONO drum loop and send the track to two different reverb Sends/Returns.
STEP 2 一 Open up H-Reverb and, for the first instance only, use the early reflections (mute the late reflections), and vice versa for the second instance (use the late reflections, mute the early reflections).
No, most reverbs don’t allow for the full separation of these two reflections, but having one that can is crucial.
To find the best reverb plugins of 2023, look no further.
STEP 3 一 Add some of H-Reverb’s unique processing modules.
The key is to apply two very different types of processing on each set of reflections.
Depending on how long your reverb tail is, you can also apply some rhythmic ducking (the pumping introduced by heavy sidechain compression), if that’s the effect you’re looking for.
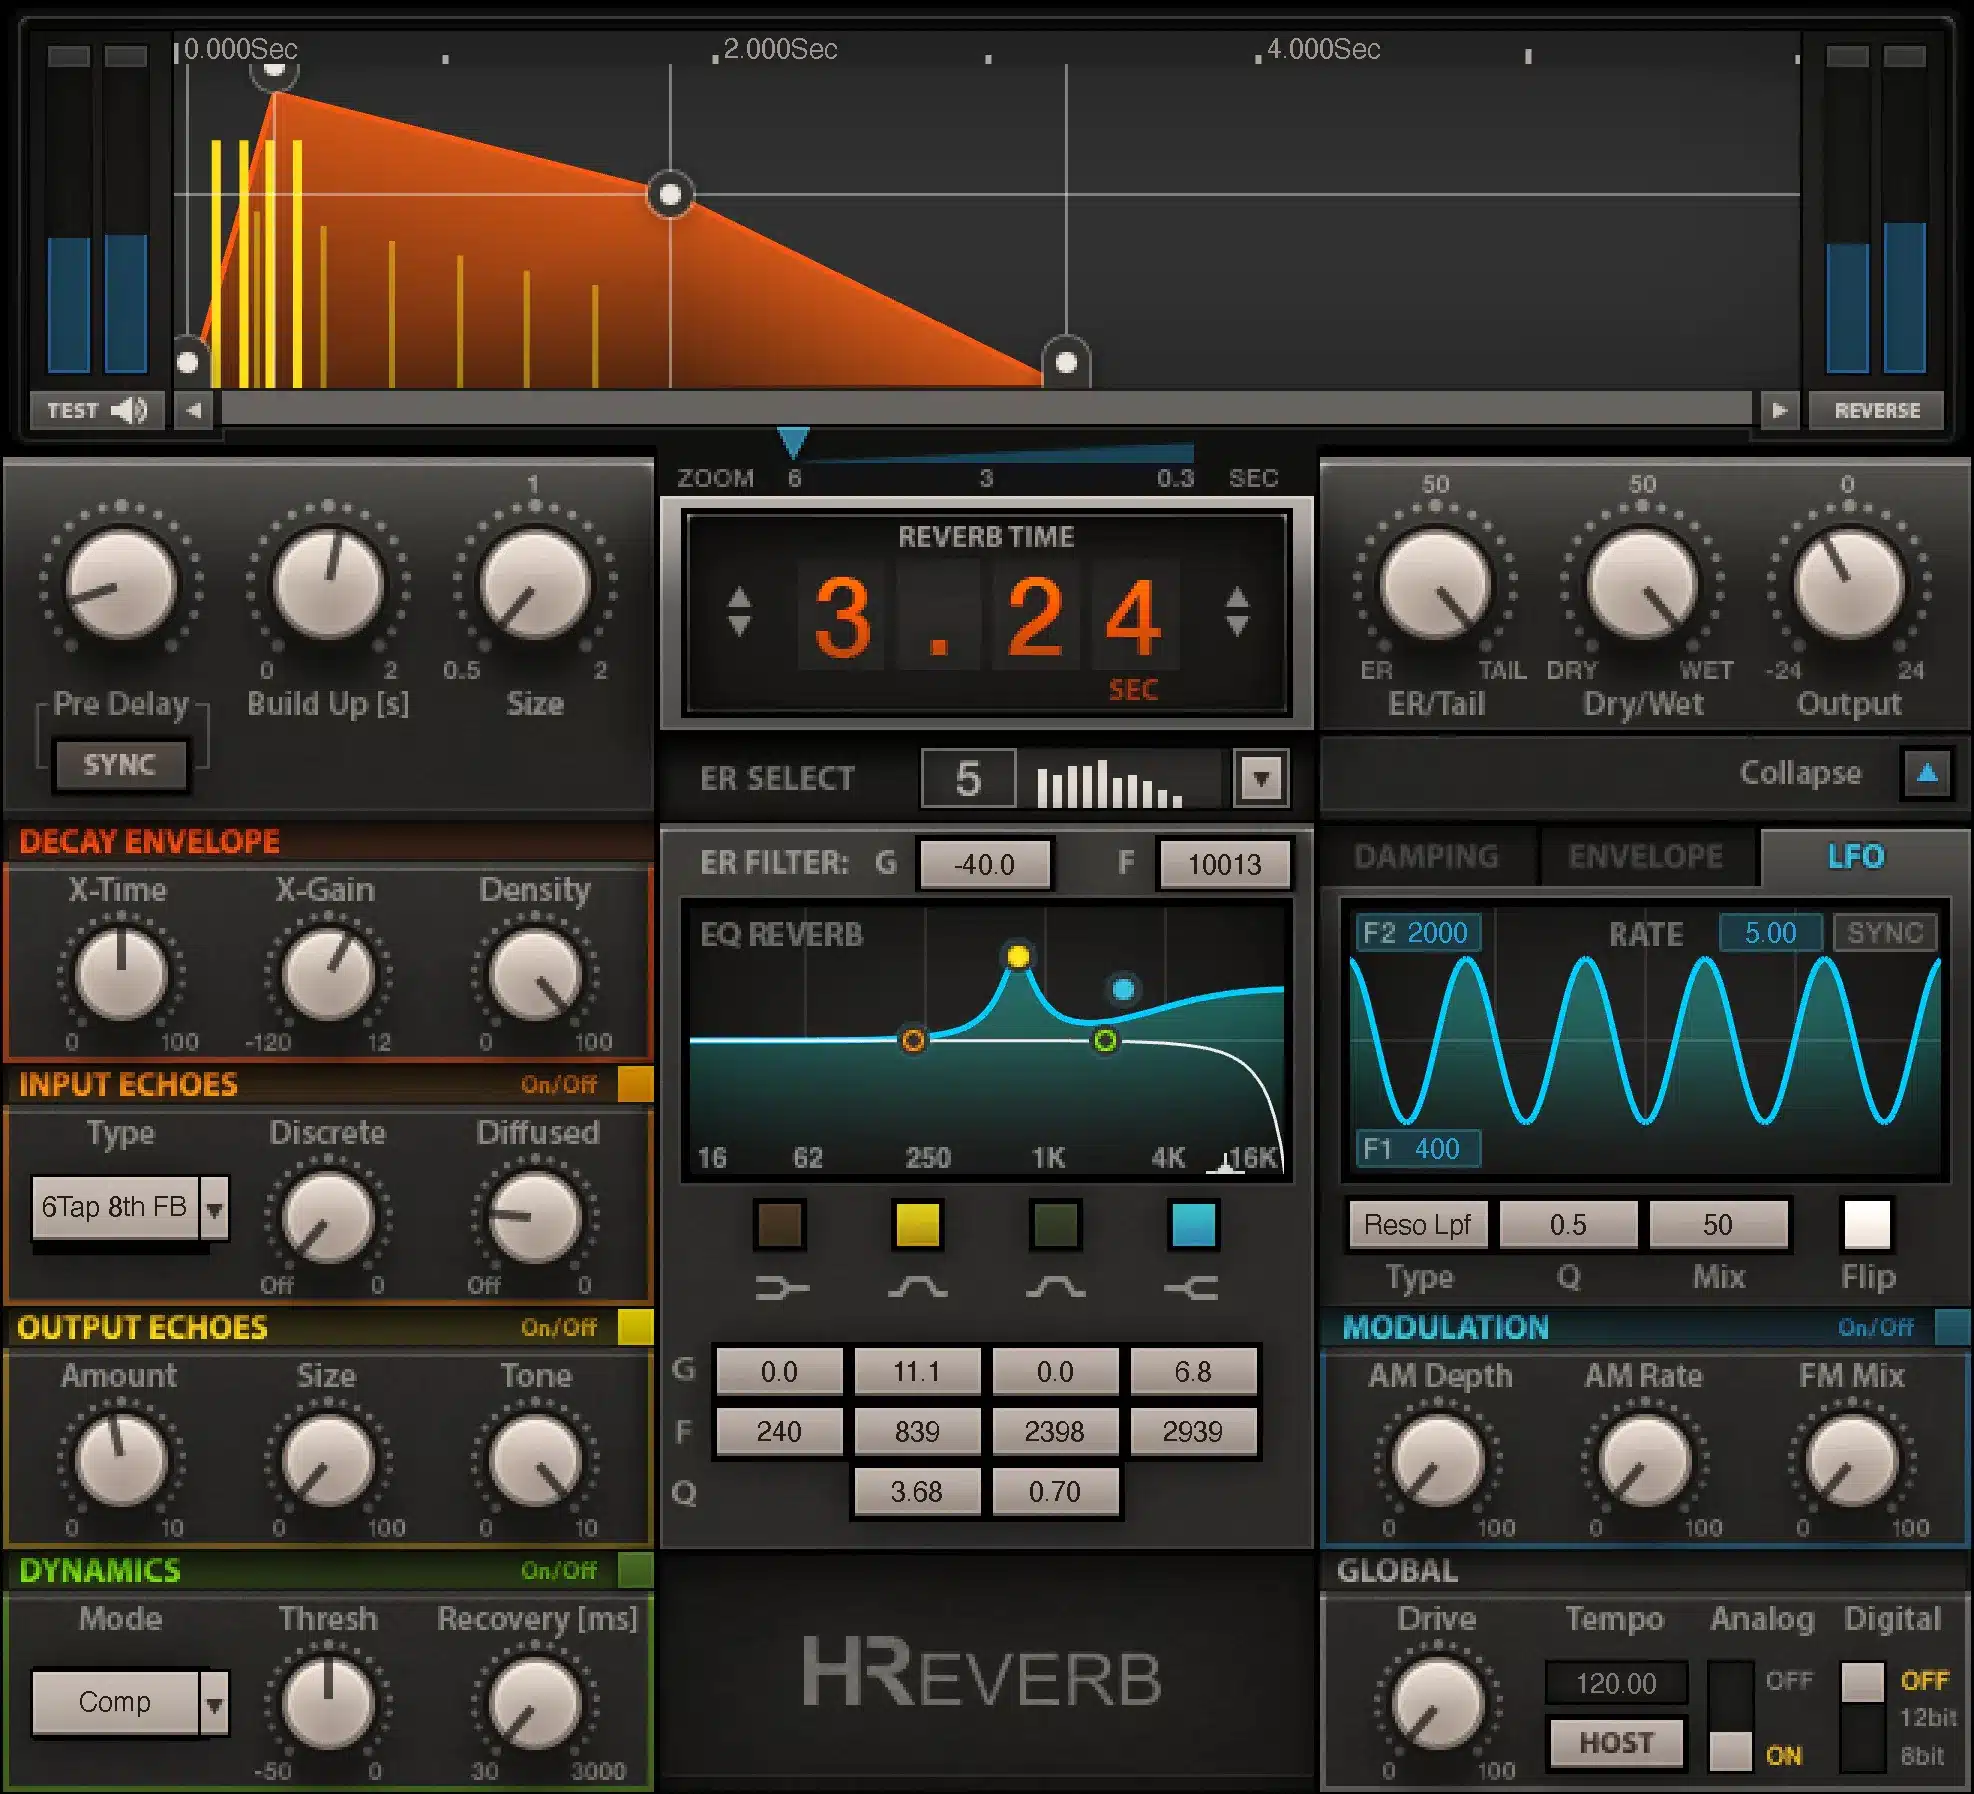
STEP 4 一 Take the early reflection reverb signal and pan it hard right.
Do the same for the late reflections except, this time, you’ll pan it hard left.
You may need to make the original signal a little lower in order to appreciate it, but you now have a super rare, insanely professional reverb type.
One with a stereo image so incredibly wide that most people would find it unbelievable that it’s comprised of strictly MONO signals.
Industry Secret (continued)
You can stop at step 4 if desired, but we’re all about taking it one step further over here, so let’s keep going.
STEP 5 一 Since the early reflections can easily get lost in the mix, let’s add a pretty substantial amount of EQ.
I suggest you make it much brighter (in terms of frequency response) than the original signals themselves.
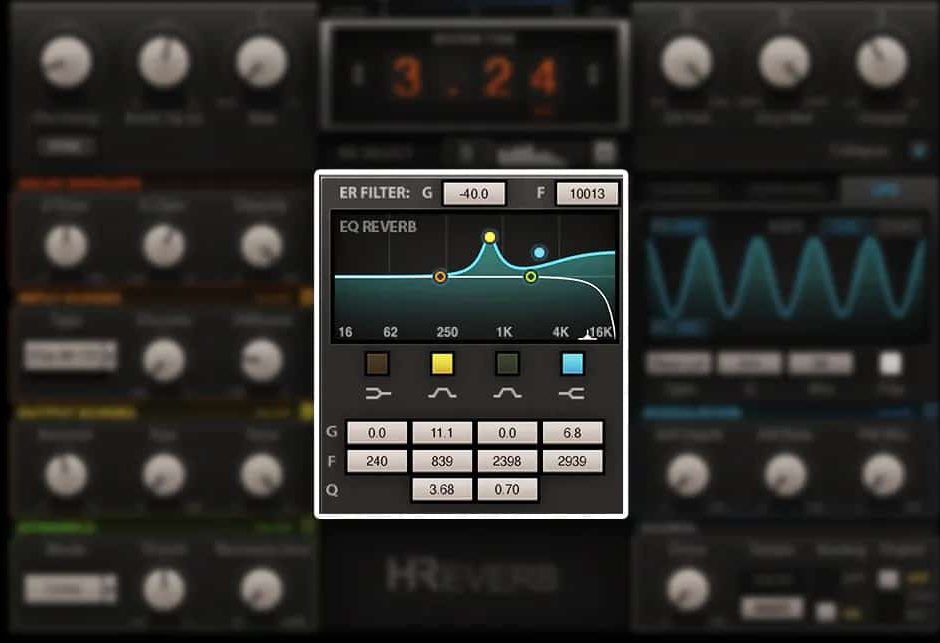
STEP 6 一 Go into the “Input Echo Section” and play around until you hear something that sounds intriguing and unique.
Reverbs are essentially just repeated echos; each one too close together for our ears to separate (as they’re much less than 30ms).
By manipulating them, you can essentially mold the typically untouchable aspects of reverb, so be sure to play around with these.
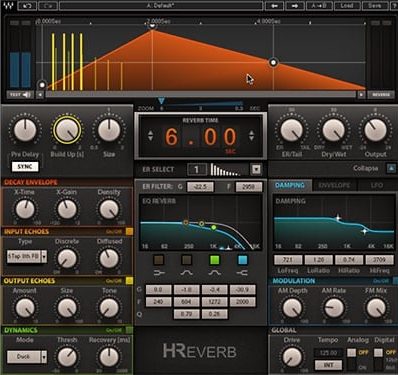
STEP 7 一 Adjust the “surface” type in order to have a virtually endless amount of creative possibilities.
Each one models the response of a different surface or material (e.g., metal, glass, etc.).
Listen to all 10 early reflections characteristic profiles until you land on the one that gets you the most hype.
If you’re feeling particularly crazy, you can even automate and switch profiles throughout the track or section.
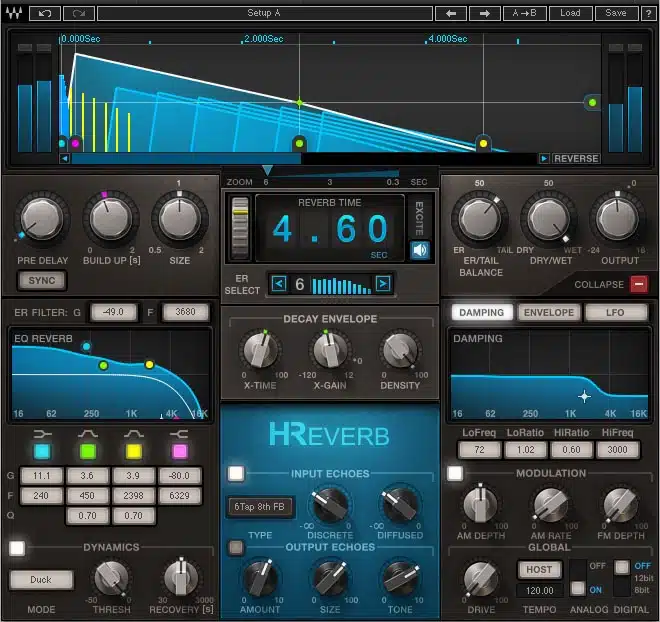
STEP 8 一 Lastly, you’re going to do something extra special with the late reflections: add a very pronounced resonant sweep, and then add some amplitude modulation.
It may be a little overwhelming at this point, but that’s what H-Reverb has Advanced Envelopes for.
So, spend some time sculpting them (along with the EQ section) to perfection.
By doing so, you can create some truly wild filter shapes.
Now, you may be thinking… what does this have to do with the Haas Effect? Well, I promise you it all connects.
The Haas Effect is essentially a small shift in time of two identical MONO signals.
So, by using this technique you actually created the Haas Effect on steroids (using the same simple principles).
Except, now your separation in time is provided by the early & late reflections as opposed to an actual timeline shift.
Amazing, right?
Final Thoughts
The Haas Effect is a powerful tool for music producers, allowing you to create more immersive and captivating mixes by manipulating stereo imaging and sound localization.
By understanding the science behind the Haas Effect and mastering its application, you can elevate your music production skills and set your tracks apart from the competition.
Now that you have a solid understanding of the Haas Effect and its applications in music production, it’s time to put your newfound knowledge to the test.
In order to implement these awesome techniques using the Haas Effect, you’re going to need pristine drum loops.
Luckily, inside the FREE Unison Essential Drum Loops, you’ll find the absolute sickest drum loops on the planet.
You’ll get 12 professional-quality, perfectly mixed drum loops for you to plug & play straight into your tracks.
Start experimenting with the Haas Effect in your next mix and unlock a world of depth, dimension, and captivating stereo imaging.
Until next time…


Leave a Reply
You must belogged in to post a comment.