As producers, you have to know about MIDI and all the possibilities it opens up for building tracks that slap.
If you want to lay down killer drums, addicting melodies, sick chord progressions that sound on point every single time, humanized MIDI is the key.
It will give you full control over every single note, groove, and function.
This way, it’ll feel like a real person played it instead of just randomly triggering some samples that sound stiff as hell like everybody else.
That’s why I’m breaking down everything about how to humanize MIDI, like:
- Groove quantize breakdowns ✓
- Velocity variation secrets ✓
- How to use the tempo track ✓
- Realistic hi-hat patterns ✓
- Ghost notes that actually groove ✓
- Layering multiple MIDI instruments ✓
- Note length tweaks ✓
- MIDI effects that add life ✓
- Real-time pitch and modulation ✓
- Advanced tips, tricks, and techniques ✓
- Much more stuff about how to humanize MIDI ✓
By knowing how to humanize MIDI like a boss, you’ll be able to build grooves that feel alive and lock in a vibe that connects emotionally.
And, finally get your tracks sounding truly next-level.
This way, your tracks will always move right, breathe as they should, and your listeners will instantly be intrigued right off rip (no more static MIDI, my friends).
You’ll never have to worry about your beats sounding flat, lifeless, or robotic ever again 一 cementing you a top spot in the game.
Trust me, it’s the key to creating movement, tension, and energy, while still staying tight, clean, and professional, so stay tuned.
Table of Contents
- How to Humanize MIDI: Breaking it Down
- Getting It Right From the Start: Input Matters
- Understanding Timing: Move Beyond the Grid
- Velocity Variation: The Key to Dynamic Expression
- Note Length Variation: Small Tweaks, Big Difference
- Pitch & Modulation Techniques for MAX Expressiveness
- Layering Like a Boss: Things You Need to Know
- Drum Humanization: Making Rhythms Like a Real Drummer With Killer MIDI Events
- Instrument-Specific MIDI Humanization Techniques
- Automation for Added Realism
- Bonus: Final Pass (Editing Like a Real Player)
- Final Thoughts
How to Humanize MIDI: Breaking it Down
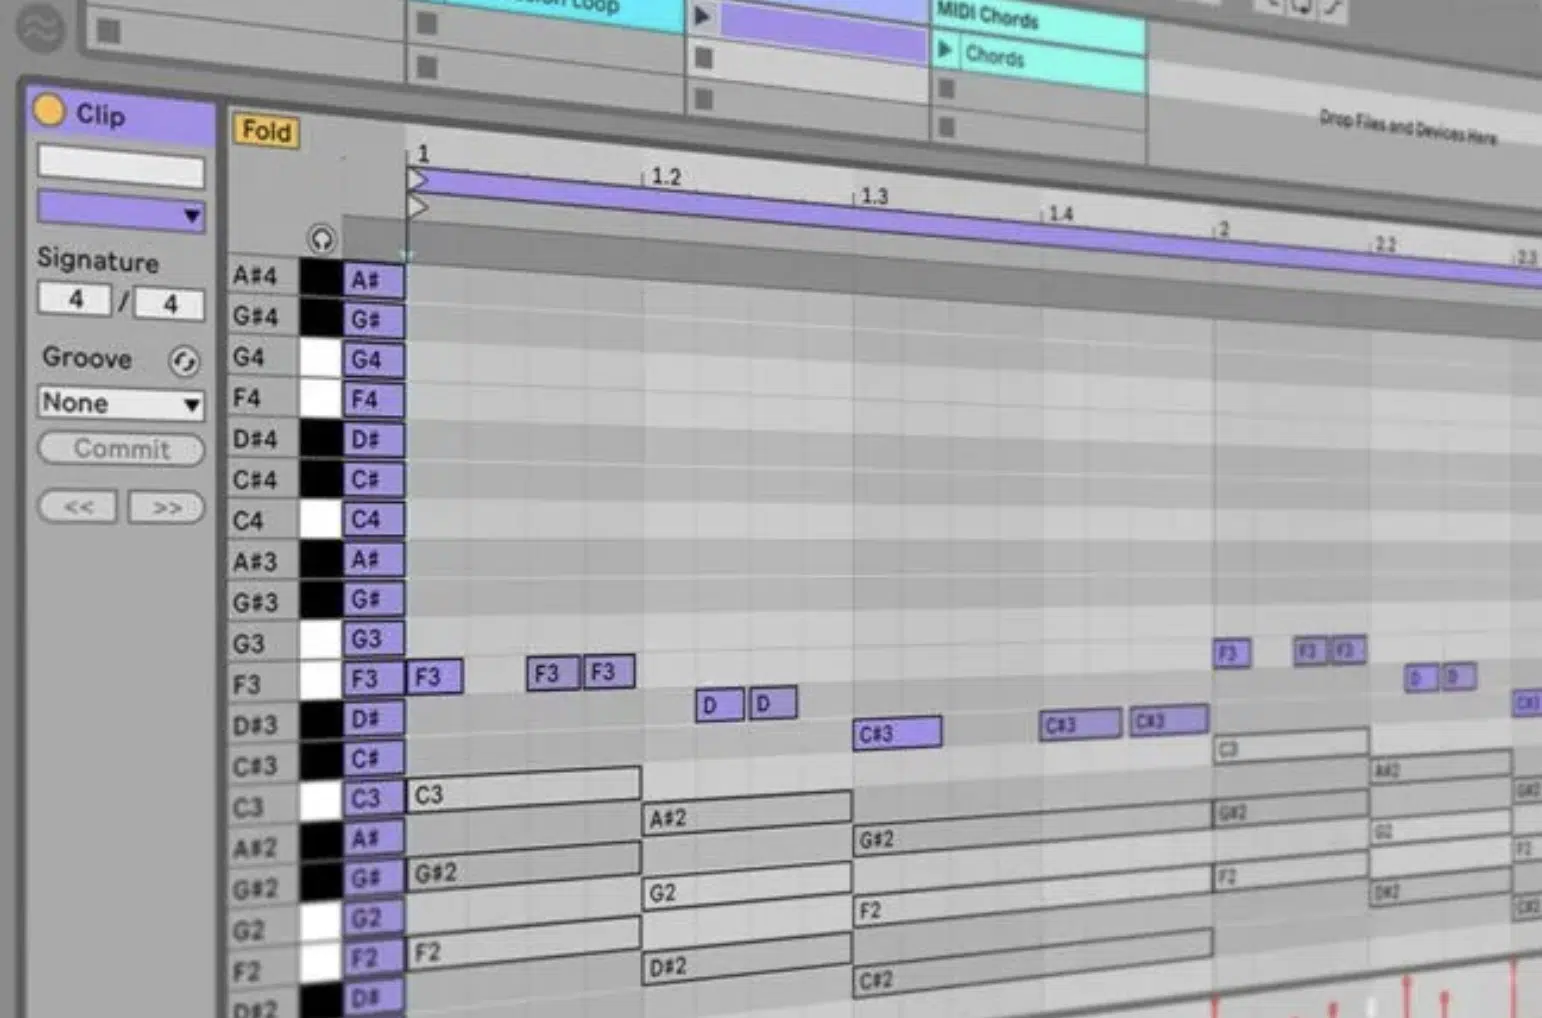
When you’re working in the DAW, MIDI is crazy powerful, as you probably know, but it’s also super easy to make it sound stiff or overly mechanical.
That’s where learning how to humanize MIDI makes all the difference.
See, if your MIDI notes are hitting too perfectly, the timing, volume, and articulation can feel robotic and lifeless, and your listeners will subconsciously pick up on that.
And don’t worry, you’re not trying to chase perfection here…
You’re simply trying to emulate the imperfections of a real, human performance, with all its:
- Slight variations
- Emotional movement
- Natural groove
For example, something as basic as a repeating hi-hat loop with identical velocity and timing will sound flat and unnatural compared to a version with subtle changes in volume and timing every bar.
It doesn’t matter what instrument you’re working with (MIDI piano, bass, drums, or synths) it all comes back to this idea 一 slight imperfections equals realism.
By learning how to humanize MIDI properly, your track will instantly start feeling way more alive and professional.
You’ll start standing out in a sea of over-quantized beats, and your sound will level up in a way that listeners might not even be able to explain because they’ll just feel it.
Getting It Right From the Start: Input Matters
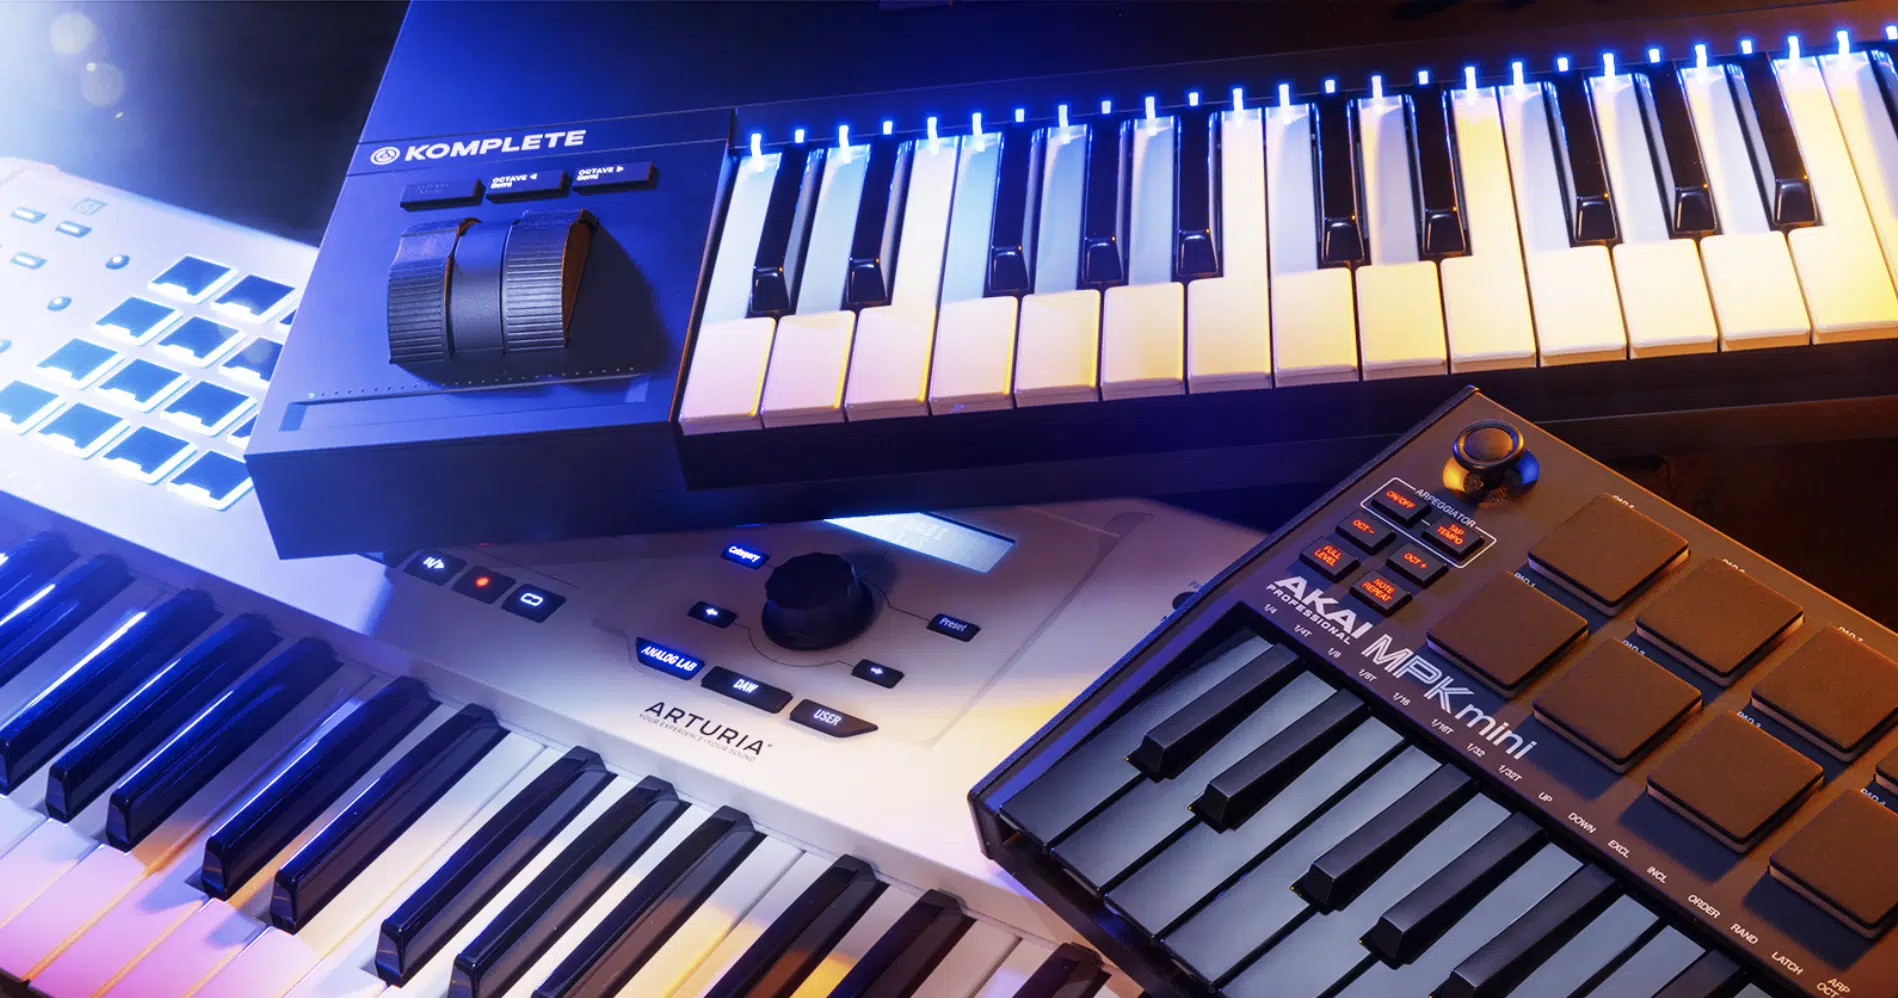
Now before we even touch editing, let’s talk about how you input your MIDI in the first place because that has a huge impact on how human it ends up sounding.
The truth is, if you play your parts using a velocity-sensitive MIDI controller, you’re already halfway to figuring out how to humanize MIDI, believe it or not.
For example, when you’re finger drumming or playing a chord progression, the velocity of each note is naturally going to be slightly different.
And those slight variations are exactly what you want.
You’re not going to hit every snare or hi-hat with the same force, and that natural feel goes a long way when it’s time to edit.
If you’re just drawing in MIDI notes with your mouse, you’ll need to put in extra work later to add those subtle changes.
That’s why I typically try to record parts using a controller, even if I’m just going to edit the position or timing later, so I definitely suggest you do that as well.
It saves a ton of time and makes the process way more fun.
And even if your timing’s off a little bit, that’s okay 一 you’re gonna tweak it later, and what matters is getting a real human touch baked into the performance from the start.
By doing this, you’re setting yourself up with natural velocity variation, groove, and human performance feel.
All of which are super important when learning how to humanize MIDI the right way.
Understanding Timing: Move Beyond the Grid
Once you’ve got your MIDI recorded or laid out, the timing is where things start to either breathe or break, of course. And when you’re learning how to humanize MIDI, breaking free from the grid is what makes your track groove instead of feeling stiff/whack. So, let’s break it down real quick.
When to Use (and Not Use) Quantization
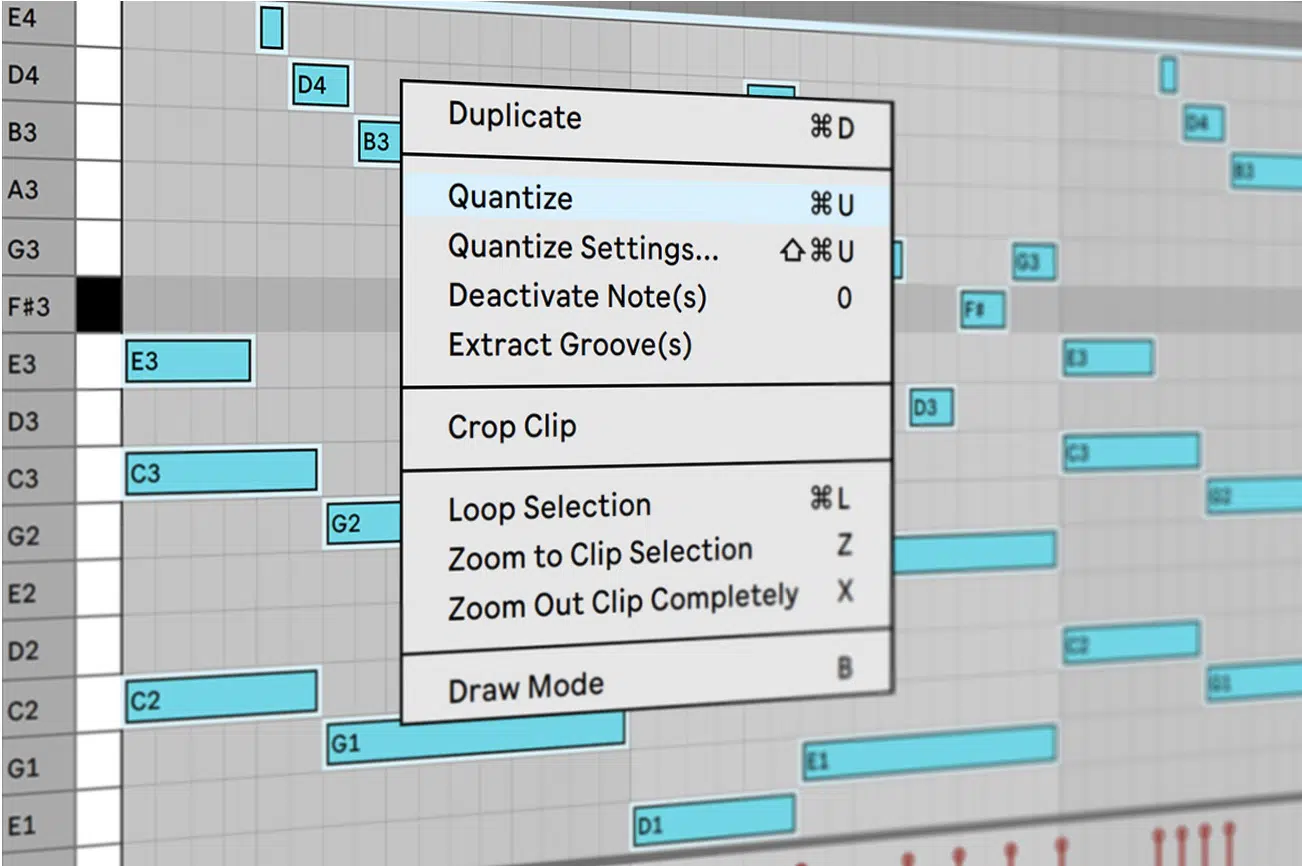
Quantization can lock your MIDI notes into exact position on the grid, which is fine if you’re going for a super clean, electronic feel.
However, it does kill human energy when used on everything.
For example, instead of 100% quantize strength in Logic Pro, try starting at 50–65% strength for your chords or melodies.
That gives you some structure while keeping slight variations in the timing.
PRO TIP: Quantize your kick and snare tightly if they need to line up with the tempo track, but leave your hi-hat or percussion parts looser.
That’s where the groove lives and where how to humanize MIDI truly comes into play.
Micro-Timing Offsets for Groove
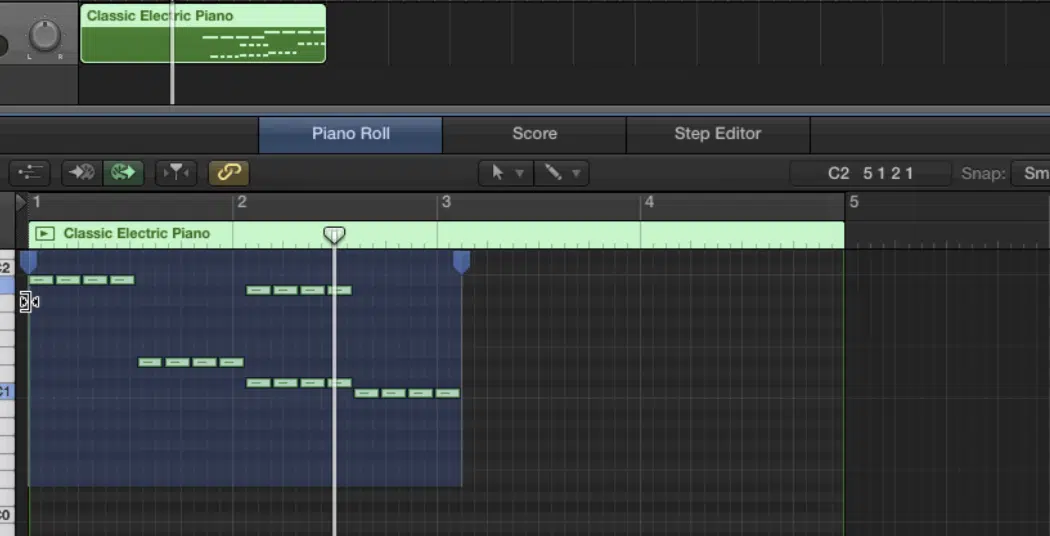
To build a super believable groove, one of the best things you can do is slightly shift MIDI notes forward or backward from the grid to mimic a real performer’s timing.
For example, take a 16th-note hi-hat pattern and nudge every 2nd note forward by 1–2 ticks (4–8ms at 120 BPM).
This will simulate a looser, hand-played pattern while still locking in with your kick, which will make things sound much more real over all the rest.
With snare hits, I recommend pulling them slightly late 一 try moving every main snare on beats 2 and 4 back by 10ms to get that laid-back, pocket feel.
This is very effective in boom-bap or lo-fi styles where that behind-the-beat feel is part of the sound.
You can also shift percussive accents slightly ahead, like placing a shaker or open hi-hat 6ms early to give your groove momentum without changing the overall rhythm.
And keep in mind that the contrast between early and late notes creates micro-tension that makes a groove breathe.
This is one of the most powerful techniques in how to humanize MIDI, and it’s worth taking the time to manually adjust key elements 100%.
If you just move everything together, it won’t groove 一 it’s the small position differences that make it feel authentic (which is what you want).
Groove Templates and Swing Settings
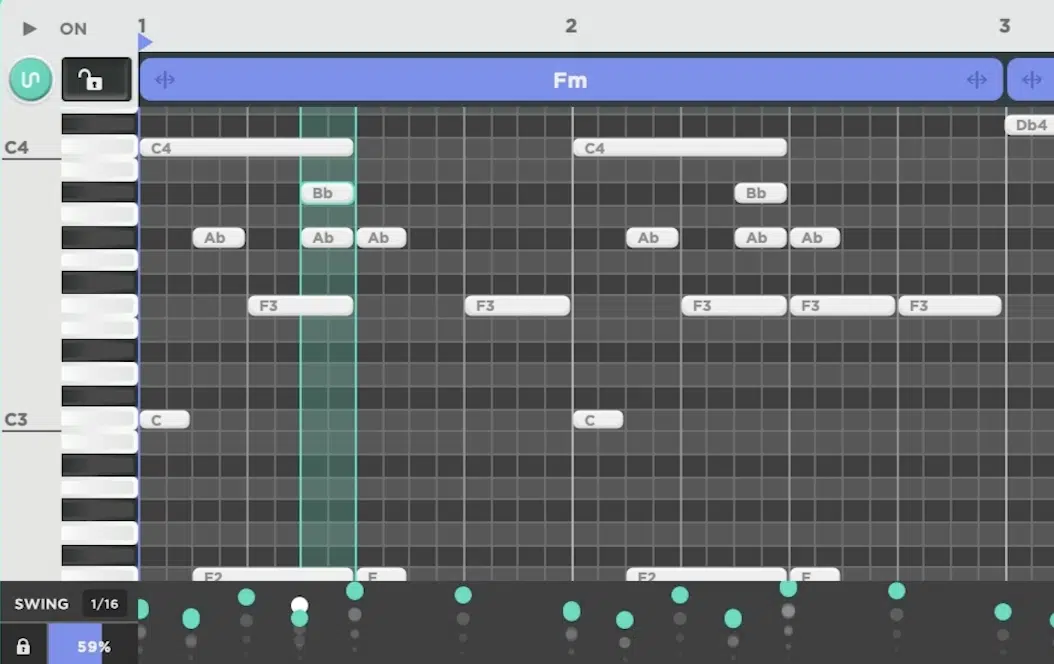
Using groove templates is one of the fastest ways to bring human feel into a mechanical MIDI clip, which is key when you’re just starting to figure out how to humanize MIDI.
In Ableton Live, head to the Groove Pool, drag in a groove like “MPC 16 Swing 75,” and apply it to your drums, bass, or hi-hats.
This shifts both timing and velocity values at different percentages 一 usually between 54% and 63% swing per grid division.
If you’re in Logic Pro, use the Swing Quantize setting under “Time Quantize,” and start with 1/16 swing at 65%.
This will push every second 16th note later in time by 20–30 ticks (depending on tempo), adding that subtle swing feel you hear in old J Dilla beats or Neptunes grooves.
If you’re part of the FL Studio gang, check out the Quantizer Tool (Alt+Q). Load in a custom groove map, like an SP-1200-style swing, and apply it with around 35% strength.
Then adjust Start Time Randomness to ±7%, and Velocity Randomness to ±12% to simulate real player inconsistencies.
One of the best ways to take this to the next level is to create your own groove template by extracting groove from an audio clip of a real drummer…
In Ableton, just right-click the clip and select “Extract Groove,” then apply that to your MIDI because it’s a great way to pull that human performance into programmed parts.
NOTE: Once you know how to play around with swing and groove settings across different layers (like drums swinging at 62% and bass at 58%), you’ll unlock epic depth in your track without things falling apart.
Velocity Variation: The Key to Dynamic Expression
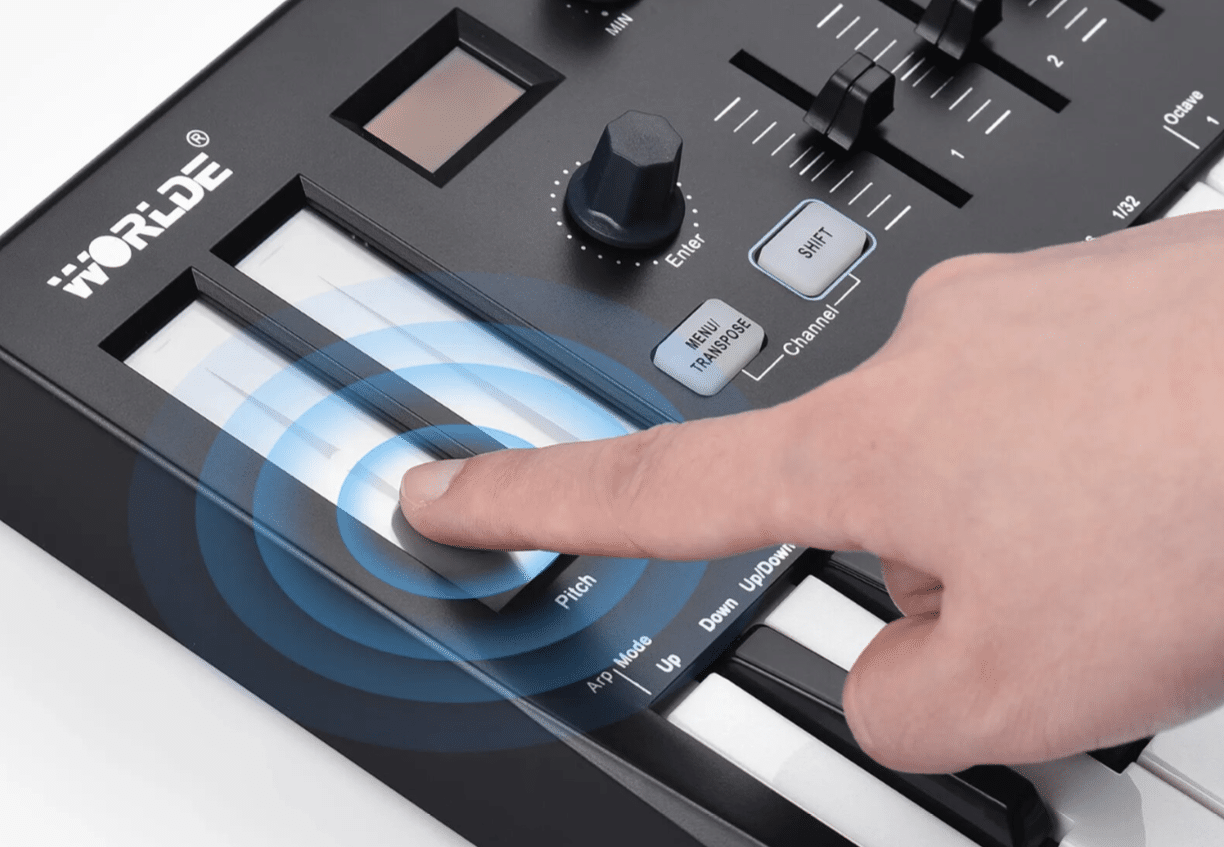
Once your timing is feeling natural and on point, the next biggest giveaway of robotic MIDI is the velocity. Getting it wrong can make your track feel stiff even if everything else is solid. So if you really want to master how to humanize MIDI, locking down velocity variation across your notes is one of the most powerful tools around.
Avoiding Uniform Velocity Values
When every single note hits at the same velocity, it instantly feels mechanical, no doubt about it (like a machine playing at full force every time, with zero intention behind it).
For example, if you’re working on a hi-hat loop and all the hits are at a fixed velocity of 100, there’s no dynamic movement.
So, what you can do is try setting your base velocity around 75–80 and manually vary each hit between 65 and 95.
In Logic Pro, you can select all the MIDI notes in a region and use the MIDI Transform > Humanize function to randomly shift velocity by ±10.
Just enough to feel human, without sounding way too random.
Don’t forget to take context into account, either… If you’re programming soft drums for a chill section, your velocity range might be 50–70 instead of 80–110.
These amounts aren’t locked down because everybody is different and you might want it a little different based on your signature style/vibe.
That kind of ‘intentionality’ is how you dial in how to humanize MIDI properly.
Accents, Ghost Notes, and Human Emphasis
Creating dynamic drum parts that feel real means understanding exactly how to use accents and ghost notes properly.
A real drummer rarely hits every snare or hi-hat at the same intensity, that kind of thing.
So, try setting your main snare hits at velocity 100–115, and place ghost notes at 35–50 in between, for example, on the “e” or “a” of the beat.
A solid ghost note pattern might be:
- Ghost on 1.2.75 (velocity 42)
- Main hit on 1.3 (velocity 110)
- Another ghost at 1.3.50 (velocity 38)
This technique will keep the groove alive without crowding the rhythm, which is key.
On a hi-hat run, you can accent every downbeat with a velocity around 85–90, with intervening notes varying between 65–75.
If you’re using Kontakt 8 or Addictive Drums 2, make sure to alternate between closed and semi-open hat articulations to avoid any robotic repetition.
When working on melodic parts like piano or guitar, for example, apply a similar concept: for a 4-note chord, make one note slightly louder (around velocity 95) and others quieter (75–85).
It all depends on where the emotional emphasis should be.
And just remember to never overdo it as you want the volume shifts to feel subtle, not dramatic to the point where it’s obnoxious.
The key to how to humanize MIDI is in shaping your performance with expert variation, not random editing 一 each note should have a purpose and a feel, period.
Mapping Velocity to Timbre, Tone, and Volume
In a lot of VSTs and samplers, velocity doesn’t just affect volume, it also controls timbre, filter position, or even sample variation.
Understanding that is a game-changer for learning how to humanize MIDI.
For example, in Superior Drummer 2, hitting a snare at 40 doesn’t just make it quieter, it literally triggers a different sample layer that sounds softer and more muffled.
Same goes for synths like Serum 2 or Kontakt libraries 一 you can easily route velocity to control the cutoff of a filter.
Try setting the filter’s minimum at 60 and max at 127, then set your note velocities between 70 and 115.
This way, harder hits sound brighter and more aggressive while softer hits feel warmer.
I suggest going into your instrument’s modulation section and checking if velocity is mapped to anything besides volume (which it often is).
If not, manually map it to modulate filter cutoff, envelope decay, or oscillator mix for even more added realism.
And don’t be afraid to play around with this like even mapping velocity to reverb send amount. Softer notes = drier signal. Louder hits = more space.
It’s subtle, but it adds depth fast, believe me.
Note Length Variation: Small Tweaks, Big Difference
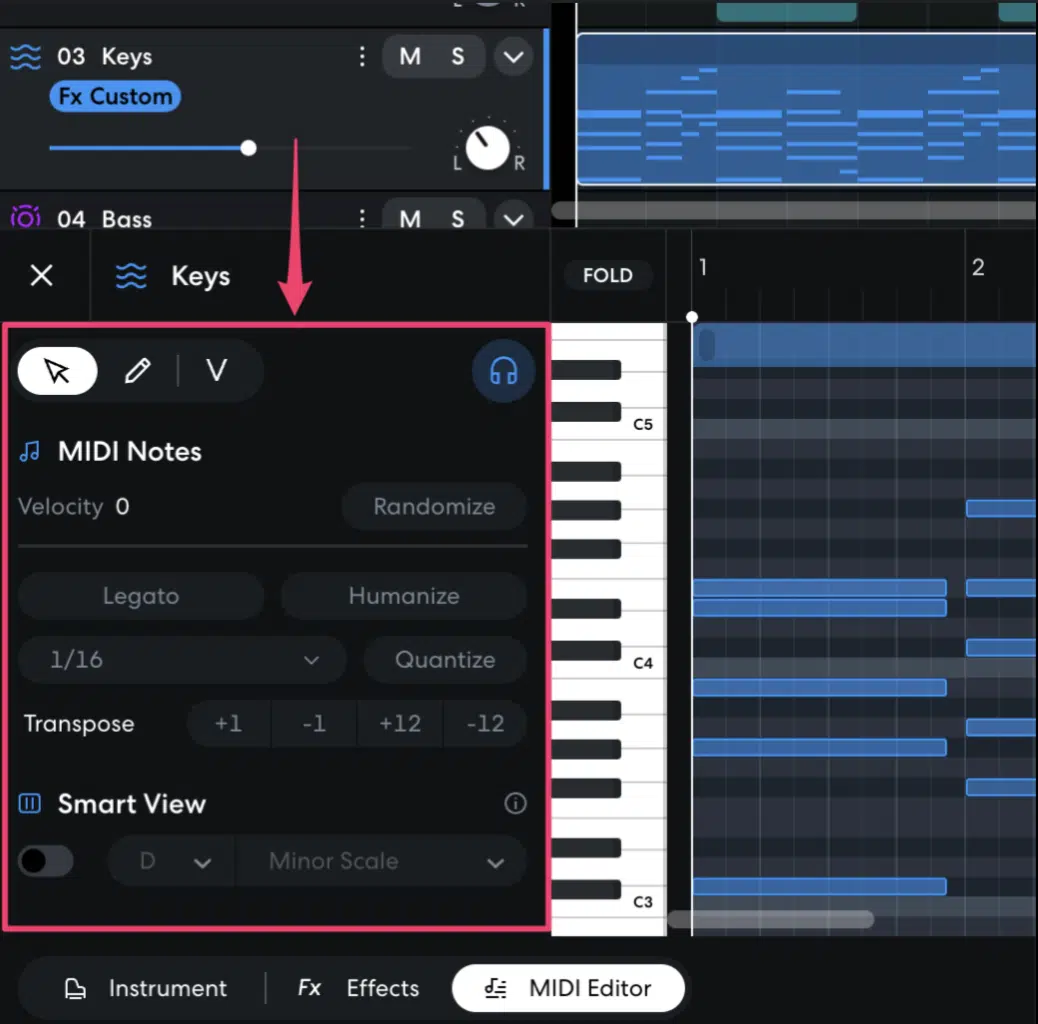
One of the biggest dead giveaways of robotic MIDI is when every note is the exact same length, over and over again.
Even if the timing and velocity are on point, uniform durations will instantly kill any sense of realism, and you certainly don’t want that.
For example, if you’re programming a piano chord progression and every chord holds for exactly one full measure (let’s say 960 ticks in most DAWs), it’s going to sound stiff.
Like someone just clicked and dragged the notes.
Instead, try trimming some chords to 930 ticks and letting others ride out to 980 or even 1,010 to make the flow feel more natural/flowy.
Legato playing (where notes slightly overlap) works well for pads, strings, or bass parts you want to feel smooth.
Staccato phrasing, on the other hand, with shorter note lengths and slightly delayed position, is perfect for plucks, hi-hats, and punchier rhythms.
You can even use MIDI effects like Logic Pro’s Note Length plugin to automate decay changes across notes…
For example, decrease duration by 10% on every second snare hit to tighten it up without affecting the whole pattern.
And here’s the key: when learning how to humanize MIDI, don’t just focus on how a note starts because how it ends is just as important.
Cutting off a bass note a little early, or letting a synth tail linger into the next beat, creates those slight variations that make a huge difference across the track.
Just like with velocity variation, you want your note lengths to reflect the energy and professionalism of the part.
And that’s what gets you closer to mastering how to humanize MIDI.
Pitch & Modulation Techniques for MAX Expressiveness
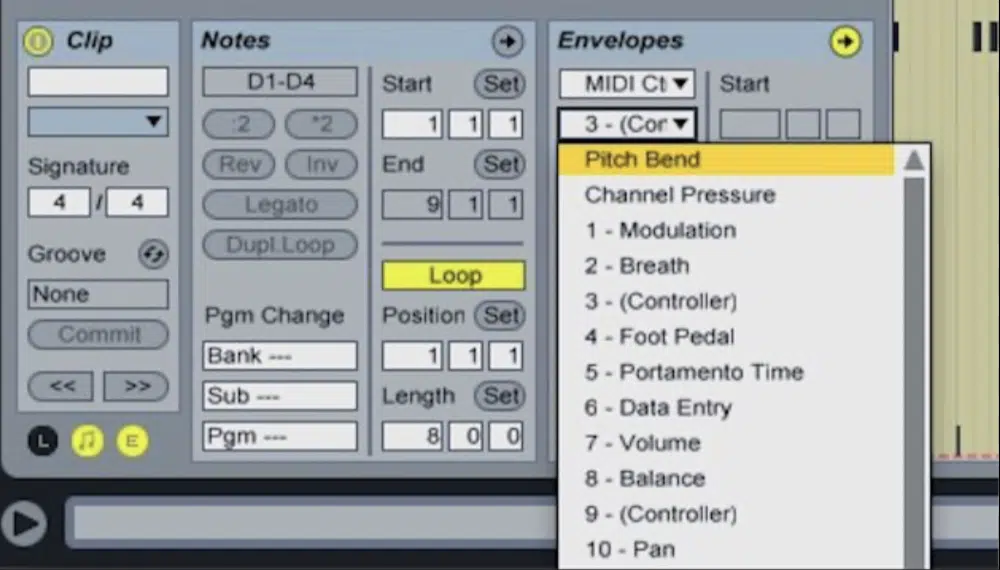
Now that your timing, velocity, and note lengths are feeling more human, it’s time to add the final layer of realism: pitch and modulation movement. This is where how to humanize MIDI really starts to shine, because these kinds of tweaks let you tap into the expressive qualities that real instruments naturally bring to a performance.
Subtle Pitch Bend
Using pitch bend doesn’t mean everything has to sound like a crazy lead synth solo because sometimes a little goes a long way.
For example, if you’re working with a bass patch that supports pitch bend, try drawing a bend of +20 cents just before a downbeat and returning it by the second beat.
It’ll add a tiny scoop that feels like a finger slide.
In most DAWs, the pitch bend range is ±2 semitones by default, but you can dial that back to ±1 or even ±0.5 if you’re working with more organic sounds.
This lets you get super detailed without accidentally jumping a full step.
With drums, it’s less common, but if your snare or tom samples respond to pitch, you can bend them down by a few cents on certain hits to give a worn-out, tape feel.
I like doing this manually on every fourth hit of a hi-hat line for that slight instability, but of course, it’s dealer’s choice.
These are the kinds of subtle changes that don’t stand out right away…
But when stacked with everything else we’ve talked about, they make a noticeable difference and play a major role in how to humanize MIDI.
Mod Wheel and Aftertouch Movement
The mod wheel is one of the easiest ways to bring MIDI parts to life (especially with synths, strings, or pads that evolve over time).
Most VSTs default mod wheel to vibrato depth or filter cutoff, but you can reassign it to anything you want easily.
For example, in Serum 2, map the mod wheel to control both cutoff and resonance at the same exact time.
You can set the cutoff minimum to 100 Hz and the maximum to 2.5 kHz, and sweep the mod wheel from 20% to 80% across an entire bar.
This will make your sound move organically with each phrase.
Aftertouch (which responds to how hard you press a key after striking it) is absolutely perfect for adding expression per note.
Let’s say you’re playing a piano melody with a synth layer…
You can use aftertouch to open up a reverb or raise volume only on sustained notes, which mimics how a real player would hold down certain tones.
These expressive layers are what bring out the nuance in your track, and when used right, they make your MIDI parts feel emotional, intentional, and human.
That’s exactly what you should be going for when mastering how to humanize MIDI.
Simulating Vibrato, Slides, and Finger Noise
Adding vibrato, slides, and even subtle finger noise into your MIDI tracks can be the difference between something that sounds played and programmed.
These details are what make how to humanize MIDI go from good to elite.
For vibrato, try using an LFO set to around 5–6 Hz and assign it to pitch modulation ±10 cents, keeping the depth low (10–15%) and automate it to fade in gradually at the end of longer notes.
This mimics how a real instrument player would naturally shake the pitch at the tail of a sustained tone.
To simulate slides or glides, increase portamento time slightly (around 45–60ms) and use overlapping MIDI notes (legato mode on) so the pitch glides from one to the next.
This works super well with bass lines or lead synths where you want that natural slide between tones.
Some VSTs like Kontakt or Trilian even have built-in finger noise layers…
Try triggering them with extremely low-velocity MIDI events (velocity 1–10), and position them right before or after the primary note to create that realistic fret sound/keybed motion.
Even just layering a subtle vinyl crackle or breathy room sample underneath can sell the illusion and make people really intrigued.
Because, in the end, it’s all about those slight variations that complete your mission to fully master how to humanize MIDI (yes, I’m going to say that a million times).
Layering Like a Boss: Things You Need to Know
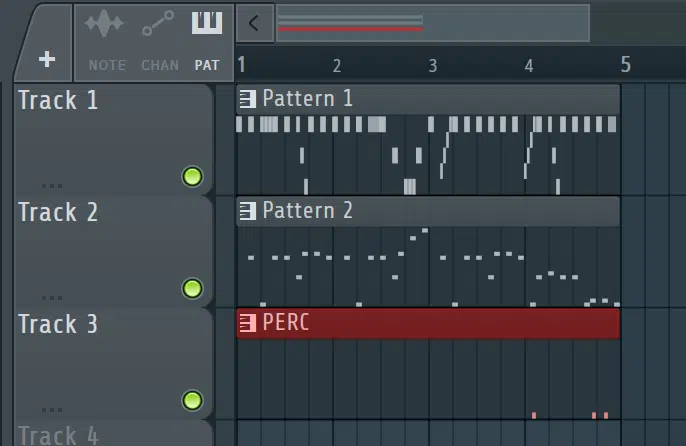
Once your note shaping, velocity, and modulation are solid, layering is the next step in making your track feel immersive, dynamic, and undoubtedly human. And when it comes to learning how to humanize MIDI, layering is where you add texture, depth, and subtle movement that gives your sound its identity, so let’s dive in.
Stacking Slightly Different MIDI Notes/Variations
If you copy-paste a MIDI region and just change the sound, you’re going to end up with the same robotic feel (yes, even if the timbre is different).
What actually works is layering slightly different MIDI variations that complement each other rhythmically and dynamically.
For example, double your lead melody and shift the second instance’s velocity values down 10–15 units while offsetting each note by 2–3 ticks forward.
You’ll create natural phase variation without losing the groove.
I recommend changing at least one other parameter.
This could be making the note lengths slightly shorter on the second layer, or apply a 20–30ms delay to a few MIDI events at random positions in the phrase.
That way, it feels like two different takes played at the same time.
This kind of intentional difference is exactly what you need when dialing in how to humanize MIDI like a real-deal player.
Not just stacking, but knocking out unique supporting layers like the pros like myself.
Panning and Stereo Offset Tricks
Once your layers are distinct, you can start using stereo tricks to separate them spatially and make everything feel bigger and more human.
A classic move is to pan your main layer center and the variation layer 20–30% left or right, but don’t stop there, where’s the fun in that.
Instead, try adding a 15 ms delay to just one side using a simple sample delay plugin to create stereo width without making it sound washed out.
For drums, pan your hi-hat 20% to the right and create a duplicate that’s slightly offset in timing (5–8ms delay) and panned 20% to the left.
This simulates the subtle inconsistencies of a human performance where no two hits are perfectly aligned, like we talked about earlier.
And if you want to push it further, use an LFO mapped to pan position 一 moving slowly between ±5% over 2–3 bars.
It adds motion to a static part and brings everything to life, which is one of the most slept-on moves in how to humanize MIDI properly.
Pro Tip: Using Multiple Instruments for a Unified, Human Feel
One of the most overlooked ways to humanize your MIDI parts is to use multiple instruments playing the same part, but just slightly differently.
For example, layer a soft pluck synth with a mellow electric piano patch.
Then, reduce the velocity range of the pluck to 60–75 and the electric piano to 75–90, while shifting the note position of the second layer forward by 1–2 ticks (2–5ms).
This creates the illusion that two different musicians are playing the same phrase, a little bit out of sync.
If you’re aiming to emulate a live feel, make sure to modify the note lengths as well 一 have the piano hold notes to 480 ticks and keep the pluck at around 360.
It’s the layering of small variations like this that really push your track toward a fully human feel, which is key when learning how to humanize MIDI with purpose.
Drum Humanization: Making Rhythms Like a Real Drummer With Killer MIDI Events
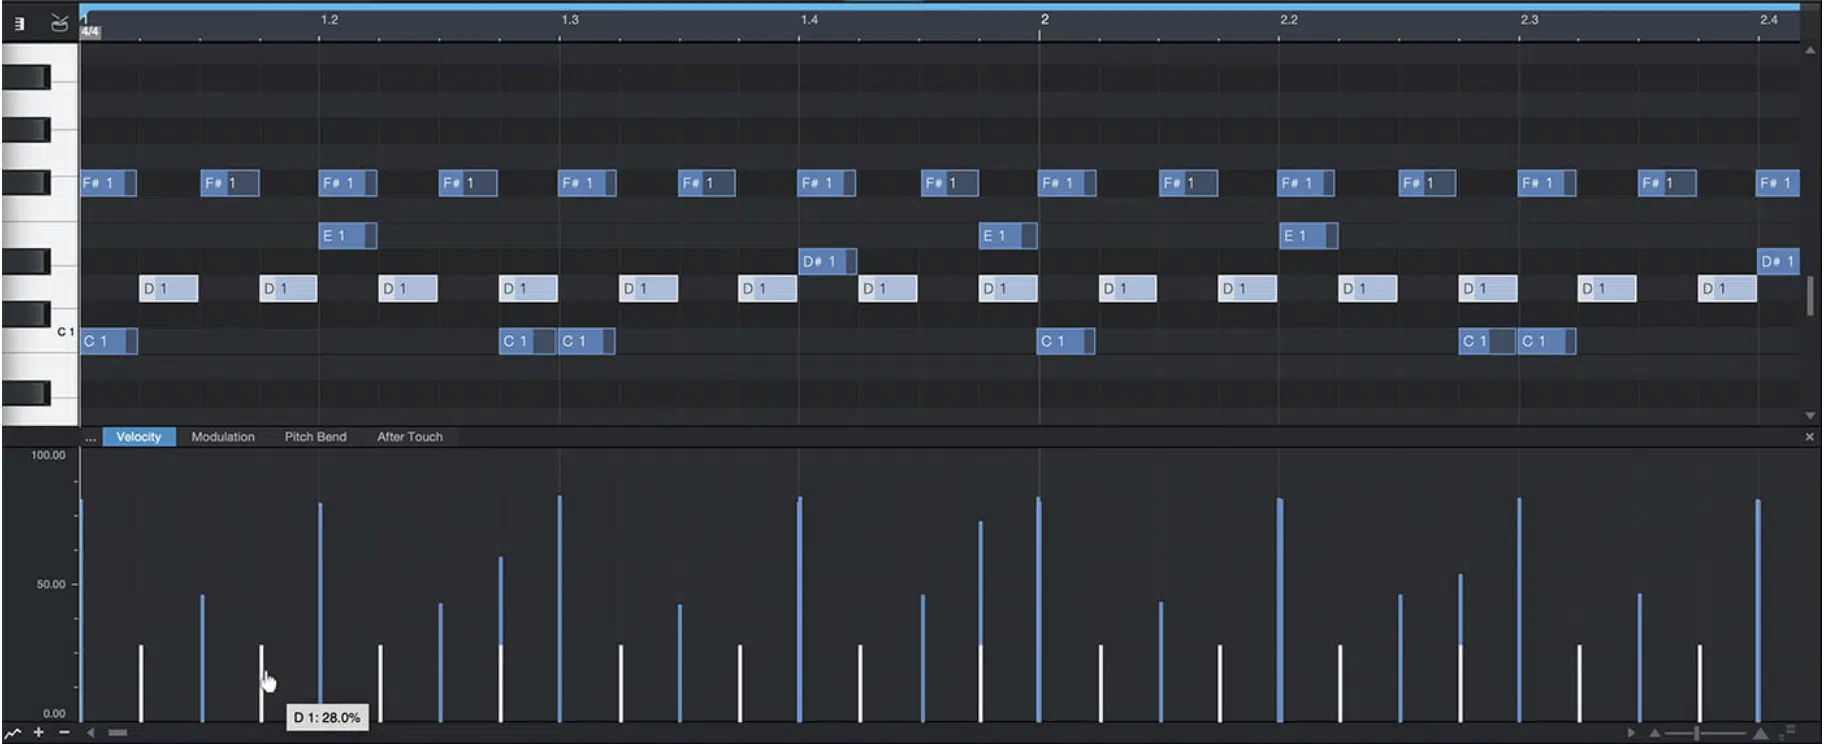
If your drums are stiff and boring, your entire track will feel lifeless, even if everything else is on point.
That’s why humanizing drum parts is arguably the most important part of learning how to humanize MIDI (I definitely think so).
Start with your hi-hats, alternating between velocities of 65, 80, and 95 for a 16th-note pattern.
I usually program the downbeats (1st, 3rd, etc.) slightly louder (around 90–95), with off-beats dipping to 65–70 to simulate a real hand pattern.
You’re also going to add ghost notes on the snare by inserting extra hits between beats at a velocity of 35–45.
For example, drop one in at 1.4.3 between the first and second kick for a subtle drag that pushes the groove forward.
Then, make sure your kick, snare, and hi-hat aren’t hitting at the exact same position.
I recommend nudging the snareback by 8ms and pushing the hi-hat slightly forward by 4–6ms 一 depending on the vibe.
This kind of movement instantly creates a more realistic and dynamic rhythm.
You’ll also want to vary the note lengths slightly (especially on snares and percs) by trimming them ±20 ticks each time.
If your MIDI editor shows everything perfectly lined up and identical, you’ve got more work to do my friends!
NOTE: Don’t fall into the trap of copy-pasting 2-bar drum loops for an entire project. At minimum, you should at least switch out your fills, flip some ghost notes, and add a few micro-variations every measure.
That’s how you get your drums sounding like a real drummer, and that’s how you master how to humanize MIDI the right way.
Instrument-Specific MIDI Humanization Techniques
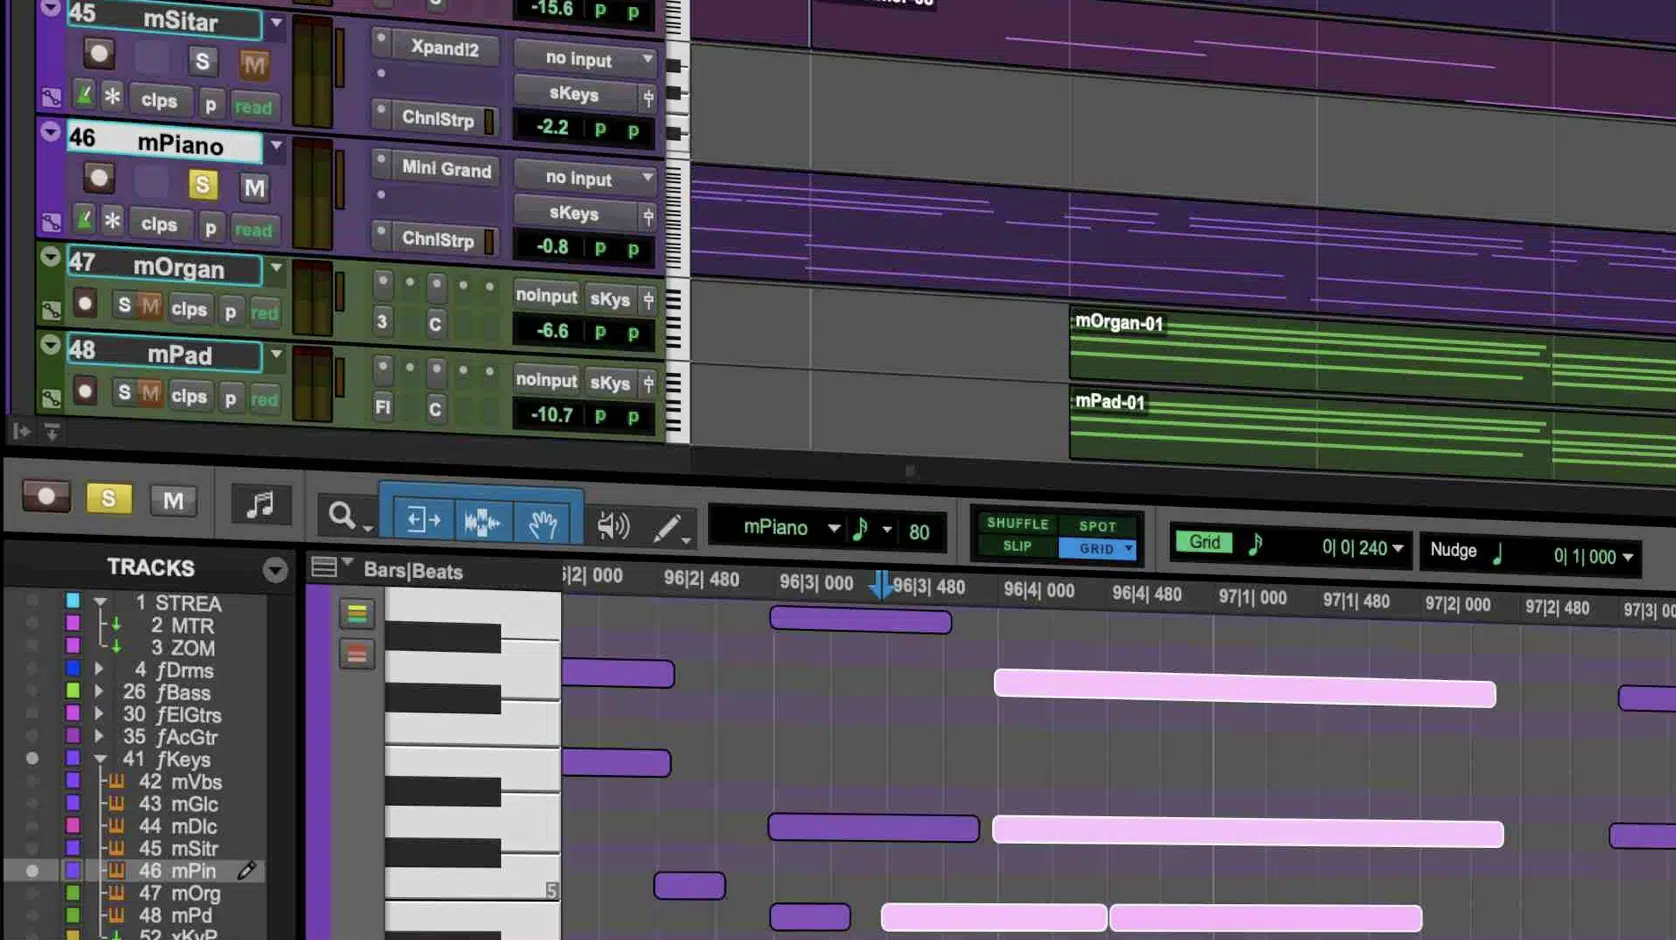
Not every instrument responds the same way to timing, velocity, or articulation — so knowing how to tweak them individually is a huge part of truly mastering how to humanize MIDI. These next few tips are all about tailoring your humanization to the unique character of different virtual instruments, so every part of your track feels intentional and alive.
Piano: Arpeggios, Timing Fluctuations, and Pedal Use
For piano lines, stagger your chord notes slightly instead of stacking them vertically 一 arpeggiate them by 10–25ms per note, starting from the bottom.
It’s a small move that simulates the way real pianists roll their hands across the keys.
Also, you can manually modify note timing by ±5–12ms to create a sense of human performance, especially when transitioning between chord changes.
You can also vary velocity for each finger stroke (i.e., 85, 76, 93), even within a single chord, for natural volume balance.
NOTE: Use Logic Pro’s sustain pedal automation to simulate pedal lifts and presses.
For example, lift the pedal slightly before a chord change (just before beat 1), and re-press it right after.
This mimics real-world phrasing and goes a long way in nailing how to humanize MIDI for piano parts all day.
Strings & Pads: Swells, Legato, and Envelopes
For strings and pads, long notes and sustains are where the realism either hits or falls flat, so you should definitely automate envelopes to breathe with the track.
Try using a longer attack time around 150–250 ms and a release of 500–800ms for pads 一 giving them a natural fade-in/out motion.
In Kontakt or most synth engines, turn on legato mode and overlap your MIDI notes by 5–10 ticks to smooth out transitions.
You’ll also want to modulate volume or filter cutoff over time.
For example, slowly rising the low-pass filter from 1.2kHz to 3kHz across four beats creates a subtle swell that feels alive.
When you’re playing around and trying to figure out how to humanize MIDI, this type of movement is key, because these instruments don’t just hit a note and stay static.
They evolve, and your MIDI should reflect that.
Bass & Guitar: Groove Emphasis and Slide Simulation
To humanize bass and guitar parts, it all starts with groove, so you have to make sure not every note sits perfectly on the grid.
I usually nudge every 2nd or 3rd bass hit forward by 5–8ms to simulate the natural lag in finger playing, but make sure that it matches the vibe you’re going for.
You should also vary the note lengths per hit, so try trimming some bass notes to 280 ticks and letting others ring out to 420 一 depending on your tempo track and style.
This creates a more musical push and pull within the groove that’s awesome.
For slide simulation, set your pitch bend range to ±2 semitones and automate a slide between notes across 150 ms to mimic a fret glide.
For example, bend from A to C smoothly and land dead center by beat 2, which works great on the last note of a phrase.
Finally, don’t forget to introduce velocity variation per pluck (for finger-style bass, use values like 85, 70, 95, and 80 back-to-back).
It’s all about nailing down the inconsistent volume of real players and is a must when dialing in how to humanize MIDIfor stringed instruments, period.
Automation for Added Realism
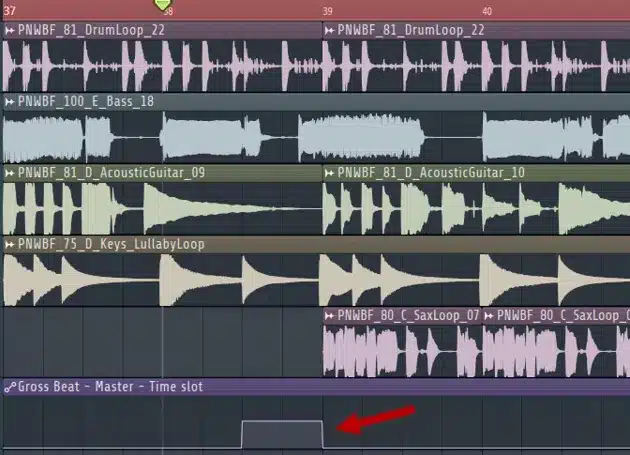
At this point your timing, velocity, and articulation are feeling natural, so it’s time to lock in the last 10%, and all that comes from automation. This is one of the most powerful tools in how to humanize MIDI, because it lets you mimic the subtle movements and tonal shifts that happen during real, expressive performance.
Automating Filter, Volume, and Envelope Movement
Automating subtle filter, volume, and envelope changes throughout your track is one of the most underrated ways to make your MIDI feel alive.
For example, set up a low-pass filter on your synth pad and sweep it from 1.5kHz to 4kHz over 16 bars because even that small function adds evolving depth.
Try automating the volume of your bass to swell by +1.5 dB on every downbeat as well, especially during the chorus.
This not only hypes up the beat as a whole, but also makes the energy build in a way a human would naturally play.
I recommend using a MIDI effect to add envelope shaping per note, like setting the attack to rise from 10ms to 40ms across a 4-bar phrase.
Also, link automation to your mod wheel for live control…
To do so, assign it to control filter resonance and then record your automation lane in real time to give each measure a unique feel.
And if you’re bouncing down your final WAV file and wondering why it still sounds static, this type of automation might be exactly what’s missing.
That’s why it’s a super important part of how to humanize MIDI like a pro.
Subtle Reverb/FX Automation by Phrase
If you use reverb or delay and just leave it static across the entire project, you’re missing out on a ton of expressive potential, and there’s nothing worse than that.
One smart move is to automate your reverb send, for example, increase the FX level by 20% just on the last note of a phrase, then pull it back to dry.
Another trick is automating a delay filter cutoff…
Set your high-pass at 300 Hz and slowly slide the low-pass from 3kHz to 1.5kHz over one measure to create that washed-out analog decay.
For hi-hats, I suggest that you automate a chorus effect’s depth parameter from 0.2 to 0.7 every 8 bars to give the hats a gentle shimmer that moves without being obvious.
That’s a function you’ll find in many modulation plugins (even stock ones).
You can also assign an LFO to your reverb’s dry/wet mix and set it to drift from 15% to 30% across your second verse, which works great when paired with a bit of pan modulation 一 creating space and movement.
And don’t forget that every single track in your mix should respond to the energy of the arrangement. Let the FX breathe, shift, and support the emotional arc.
It’s moves like these that really lock in how to humanize MIDI on a professional level.
Tempo Track Ramping and Breathing Between Sections
Most producers overlook tempo automation, but real players like myself don’t perform to a locked grid because tempos naturally speed up and slow down.
One easy move is to ramp your tempo track from 90 BPM to 92 BPM over the first 8 bars to simulate building momentum.
For breakdowns or emotional moments (which you should have in your tracks every single time), slow the tempo down by 2–3 BPM over a full bar.
For example, bring it from 128 to 125 BPM across one measure, then bring it back up smoothly for the drop 一 you’ll feel more tension and release right off the bat.
You can also create a “breath” effect between sections, like pulling the tempo down 5 BPM for a single beat right before the chorus.
This creates a pocket of space that mimics a live band taking a breath before slamming back in (perfect with drums and transitions).
When your kick hits feel slightly behind on a slowdown and come back tight on the drop, it mimics the response of a real human performance.
NOTE: When learning how to humanize MIDI, this is the type of advanced move that separates “decent” from fine-tuned and realistic. Subtle tempo shaping adds natural groove and space you just can’t get from strict quantization.
Bonus: Final Pass (Editing Like a Real Player)
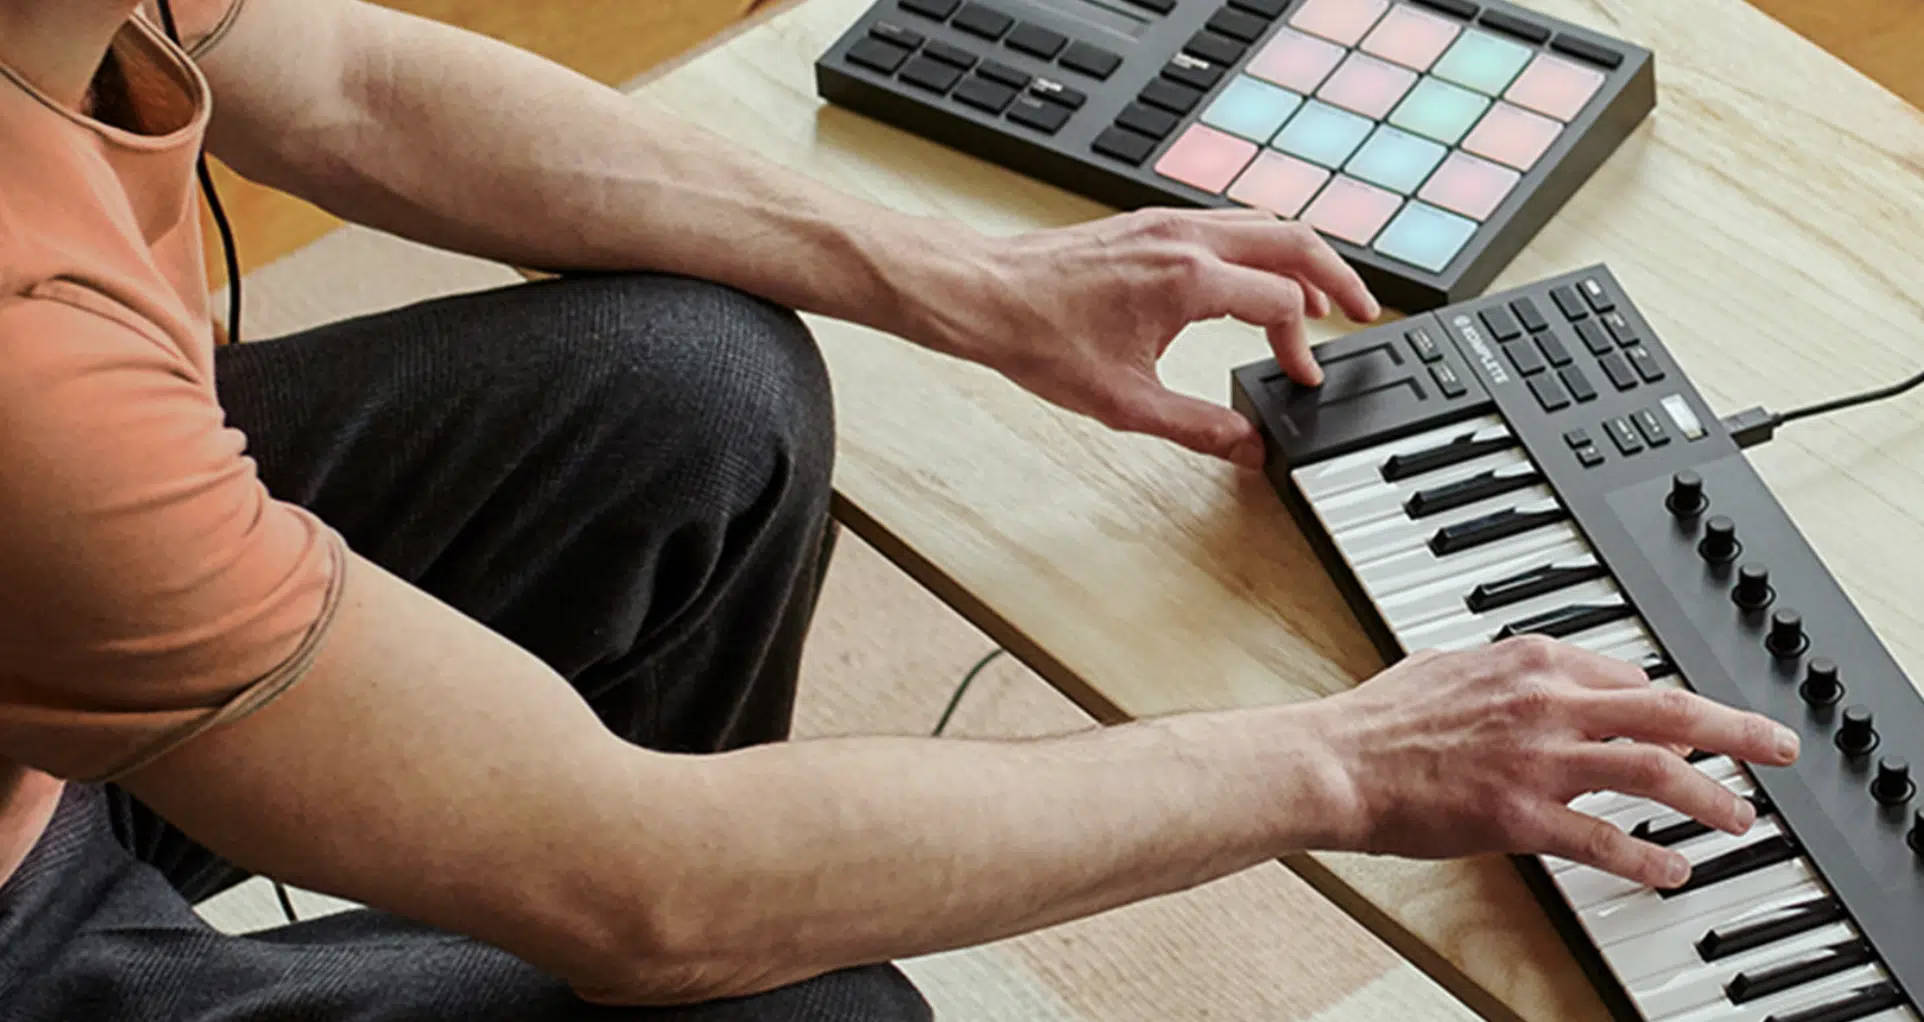
And last but not least, before bouncing your project or exporting a final WAV, you should always take one last pass 一 not with a technical ear, but with a musical one.
Ask yourself: does this sound like a real performance, or a grid-locked loop? And also make sure to zoom in on any sections where your parts feel too rigid…
Manually nudge things forward or backward by 1–2 ticks (that’s around 4–6ms at 120 BPM) to loosen them just a little bit.
This is very, very important for melodic elements that are supposed to sit around the beat, not directly on it.
Then, listen back in solo and in context, especially your drums, bass, and chord instruments, and if anything sticks out as overly perfect or robotic, it probably is.
So, don’t overthink it and always trust your gut and go in to modify whatever’s too clean.
Compare your MIDI phrasing to a reference song with a real performance that you can hear and analyze in real time.
And just remember, it’s not about matching perfectly, it’s about noticing what’s missing and responding with proper adjustments.
That’s the mindset that separates a programmer from a real producer who knows how to humanize MIDI on a truly professional level (which will soon be you!).
Final Thoughts
At the end of the day, learning how to humanize MIDI isn’t just about adding random imperfections, it’s about shaping your music to feel real, expressive, and alive.
So whether it’s through micro-timing shifts, subtle velocity changes, or layered automation, each move you make brings you closer to something that truly resonates.
The more time you spend dialing in those small details, the more your tracks will move, breathe, and connect on an emotional level.
And, as a special bonus, if you want to get access to the absolute best, most legendary MIDI packs in the entire industry, I got you covered.
From MIDI drums and bass, to MIDI melodies and chords, it’s all right here, and all created by the best in the business.
Yes, everything is 100% tweakable and royalty-free as well, so definitely try out the techniques we talked about today and feel free to use them however you’d like.
Just remember, it’s not about aiming for perfection, it’s aiming for personality and realness 一 that’s what makes people feel your music, not just hear it.
So trust your ear, play around with your ideas, never be afraid to think outside of the box (because that’s where magic happens), and let your MIDI speak like a human.
That’s how you stand out, and that’s exactly how to humanize MIDI like a true professional.
Until next time…


Leave a Reply
You must belogged in to post a comment.