Multiband distortion is all about shaping your sound, enhancing harmonics, and making your mix shine with different unique textures.
If you’re a producer, knowing all about using multiband distortion creatively can enhance your skills and really take your beats to the next level.
It can help you add warmth to your synths, create super punchy drum loops, and keep your bass clean (while still making it hit harder than ever, I might add).
Plus, successfully using crossover points, balancing saturation across different frequency bands, and applying parallel processing.
That’s why I’m breaking down everything you need to know about multiband distortion, like:
- How distortion shapes sound ✓
- Important parameters and tools ✓
- Key differences between regular and multiband distortion ✓
- The best multiband distortion plugins (e.g., FabFilter Saturn 2) ✓
- Proper crossover settings for different instruments ✓
- How to balance warmth, clarity & aggression in a mix ✓
- Using automation for dynamic distortion movement ✓
- Mid/side multiband distortion for stereo enhancement ✓
- Parallel processing techniques for maximum control ✓
- How to avoid common phase and transient issues ✓
- Much more about multiband distortion ✓
By knowing all about multiband distortion, you’ll never have to worry about muddy mixes or weak, lifeless sounds again (talk about dominating the competition).
This way, your tracks will always hit hard, sound clean, and stand out professionally.
Plus, you’ll be able to distort, process, and shape sound like an absolute boss.
Table of Contents
- Understanding Distortion & Multiband Distortion
- Key Benefits of Multiband Distortion
- Multiband Distortion Plugins: Features & Best Choices
- Applying Multiband Distortion to Different Instruments
- Multiband Distortion in Mastering: When & How Do I Use It?
- Pro-Level Multiband Distortion Techniques
- Final Thoughts
Understanding Distortion & Multiband Distortion

Distortion is one of the most powerful tools in music production, whether you’re going for gritty analog warmth, aggressive saturation, or full-on harmonic destruction.
When we apply distortion to a signal, we’re intentionally pushing the sound beyond its normal limits so we can:
- Add harmonics
- Clip peaks
- Reshape the frequency response
But here’s where multiband distortion changes the game…
Instead of distorting the entire signal as a single type of effect, it allows you to split the sound into multiple frequency bands and apply different distortion settings to each.
This means you can saturate the mids without crushing the low end, or add crispy high-frequency excitement while keeping the body of the sound warm and full.
FabFilter Saturn 2 is one of the best multiband distortion plugins for this because it gives you complete control over the number of bands, different distortion algorithms, and how each band interacts.
Bottom line, multiband processing is key when you’re trying to shape distortion in a way that complements the mix rather than completely overpowering it.
Don’t worry, we’ll be breaking it all down so you really get a solid understanding and can apply it in your own beats like a professional.
-
Different Types of Distortion (Soft Clipping, Hard Clipping, Saturation & More)
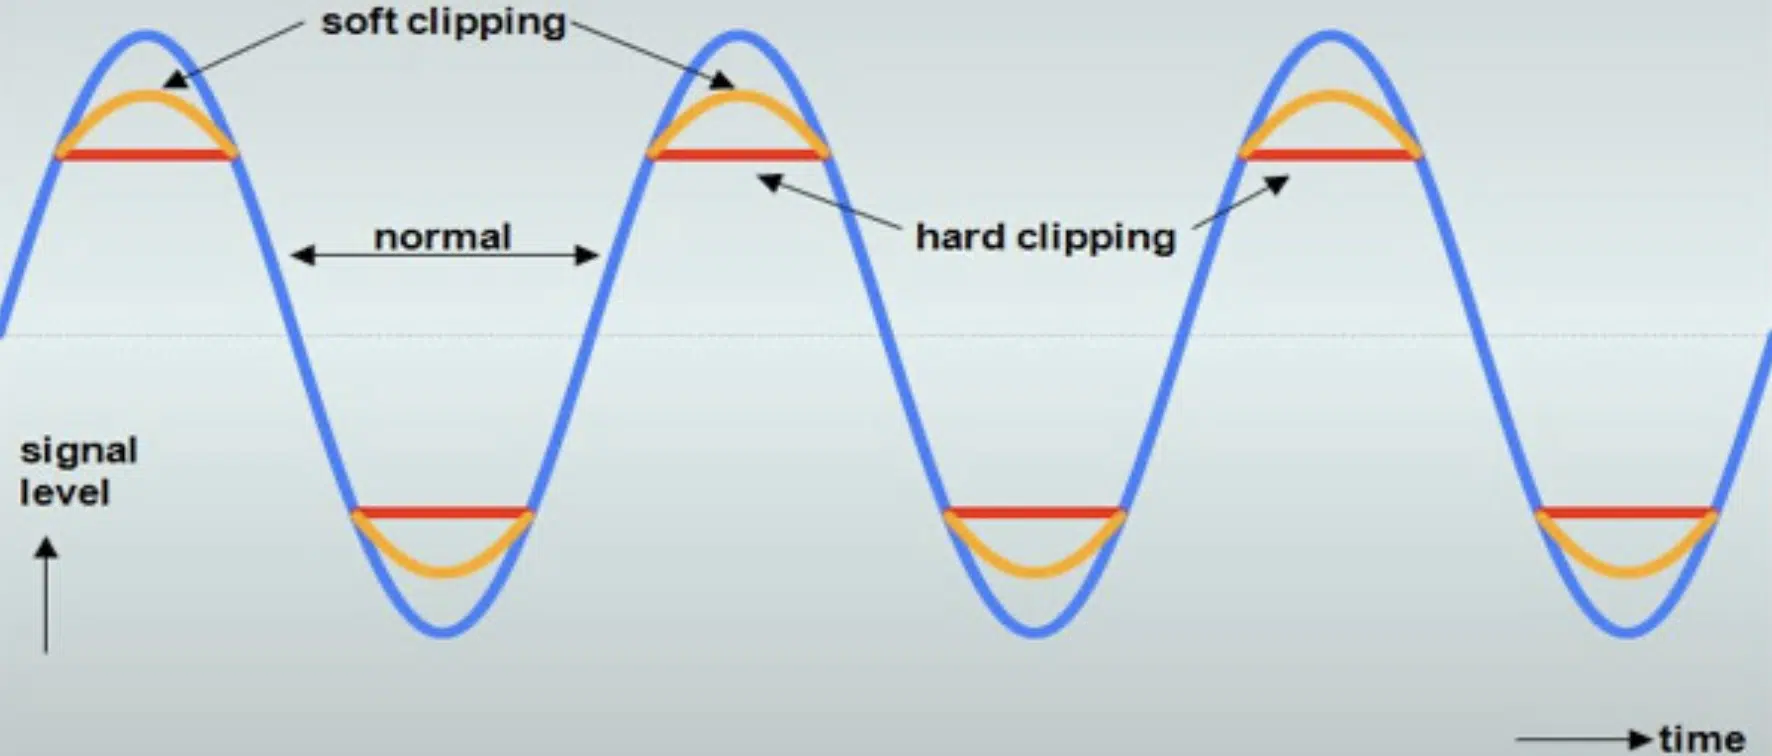
Not all distortion is created equal, and understanding the different types will help you apply the right processing to the right frequencies, which is everything.
Soft clipping is one of the most natural-sounding types, gently rounding off the peaks of a signal without introducing harsh artifacts.
Think of it like the smooth saturation you’d get from tape or a pushed analog console.
Hard clipping, on the other hand, is aggressive and brutal 一 cutting off peaks completely and introducing sharp, digital-sounding harmonics.
It works great when you want a bit of extra grit on a snare drum or 808 bass, but too much will destroy your mix.
Saturation is what most producers are after because it enhances harmonics while keeping the sound dynamic.
It can give your tracks that warmth and character we associate with vintage gear.
Some VST plugins even let you switch between different saturation models 一 from tube warmth to tape-like crunch, which makes them incredibly flexible.
Yes, we’ll talk about all of that in a minute.
Experiment with these types of distortion on different elements of your mix, and you’ll quickly figure out how each one shapes the sound in its own unique way.
-
Why Multiband Distortion Offers More Control

Regular distortion applies one single type of processing to the entire signal, which can easily muddy up the low end or make a mix feel harsh if you’re not careful.
Multiband distortion, on the other hand, fixes this by letting you split the signal into multiple frequency bands, where you can distort different parts of the sound separately.
Let’s say you’re working on a bass sound… If you push hard clipping across the full frequency range, it’ll wreck the sub-bass (making it sound weak and undefined).
But if you only distort the mids and highs, say, everything above 200 Hz, the low end stays clean while the higher frequencies gain extra bite and presence.
This will make everything sound on point and just the way you want it.
The same idea applies to vocals: pushing saturation on the 3–5 kHz range helps them cut through a mix, while leaving the low mids untouched keeps the voice full and warm.
NOTE: FabFilter Saturn 2 is my go-to for this because it gives you up to six bands and lets you use different distortion models on each, which makes it one of the most flexible multiband distortion plugins out there.
If you want to check out all of the best distortion plugins in the game, I got you.
Key Benefits of Multiband Distortion
Multiband distortion can shape the tone of a sound in ways that single-band distortion just can’t match, if you do it right, of course. The following sections break down exactly how to fine-tune harmonics, target specific frequency ranges, and balance warmth, clarity, and aggression without over-processing your mix.
-
Fine-Tuning Harmonics Without Overprocessing the Mix
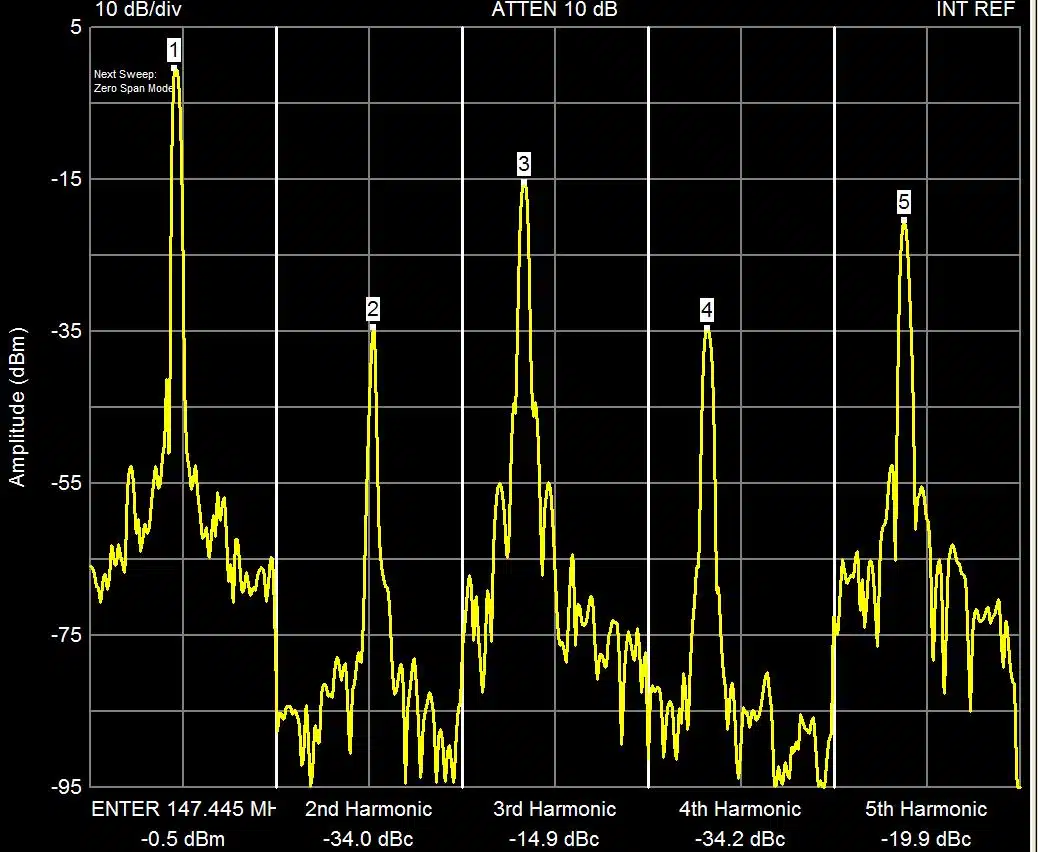
The key to getting harmonic distortion right is knowing where to push and where to hold back (when to hold ‘em and when to fold ‘em type of deal).
If you drive too much distortion across the entire frequency range, you risk losing clarity, but if you only distort a particular band, you can add richness without ruining the sound.
A good starting point for adding warmth to a synth pad is to apply saturation between 500 Hz and 2 kHz with about 20–30% drive 一 leaving the sub frequencies untouched.
This keeps the body of the sound full while adding just enough harmonic content to make it feel alive.
If the synth still feels thin, try boosting the mix knob to 40% and using FabFilter Saturn’s Warm Tube mode to get a smooth, analog-like saturation without over-hyping the highs.
When working with drums, try pushing hard clipping on the top-end (above 7 kHz) at 50% mix, which lets you keep that punch while adding extra presence/brightness.
All without overcooking the low-mids, of course.
This works super well on snare drums and hi-hats 一 making them cut through dense mixes without sounding too brittle.
NOTE: If your drums still feel flat, add a subtle 20% drive on the midrange (1–3 kHz). This brings out the body of the snare and makes the transients pop to help your drum loops feel tighter/more fluid.
-
Targeting Specific Frequencies Without Affecting the Entire Signal
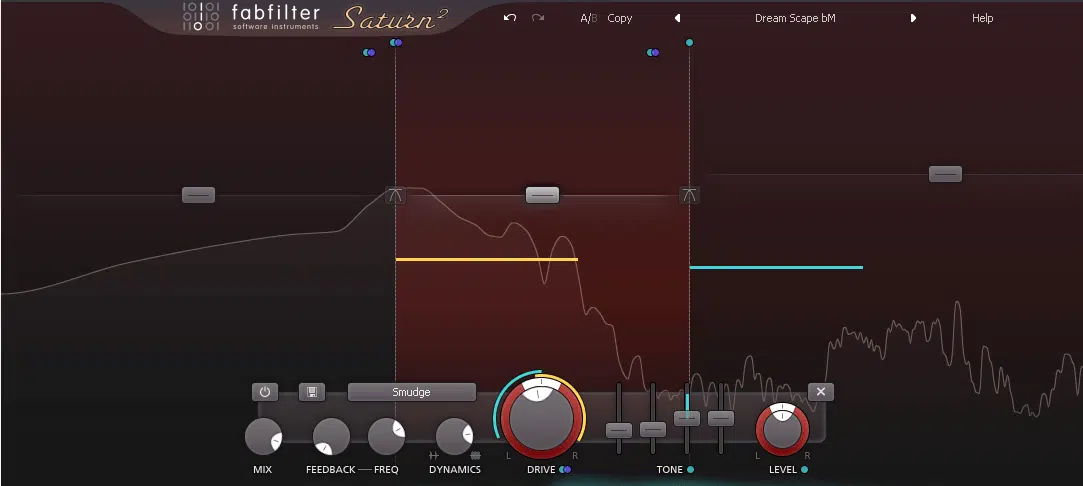
One of the biggest advantages of multiband distortion is that it lets you boost harmonics in one part of a sound while keeping the rest untouched, like I told you.
This is huge when you need to add character to a sound without muddying the mix or overpowering certain frequencies
For example, if you’re working on a kick drum, you might want to add some crunch to the midrange (around 1–2 kHz) for extra attack, but leave the sub (below 100 Hz) alone.
This way, the low end stays tight and controlled, while the midrange gains punch that helps the kick cut through busy mixes.
If the high end needs more bite, simply try boosting above 5 kHz with a touch of hard clipping (30% drive) to enhance the snap without making the kick feel too harsh.
A good approach here is to use FabFilter Saturn 2 with three bands, setting:
- The low band to 0% drive
- The mids to 30% tape saturation
- The highs to 40% hard clipping
This will keep the body of the sound clean while making the top end cut through a mix.
The same technique works great on vocals as well.
If a vocal line feels dull, you can push a bit of tube saturation at 5 kHz, which adds clarity without affecting the fullness in the low mids.
For a more aggressive sound, try applying 25% drive to 3 kHz and above, while keeping the mix knob around 50% to bring out presence and energy.
It won’t make the vocals sound thin either, don’t worry.
If you want to add extra grit, applying a bit of hard clipping on the highs (above 8 kHz) at 20% drive can help make vocals feel more aggressive without distorting the whole signal.
-
Balancing Warmth, Clarity, & Aggression in a Controlled Way
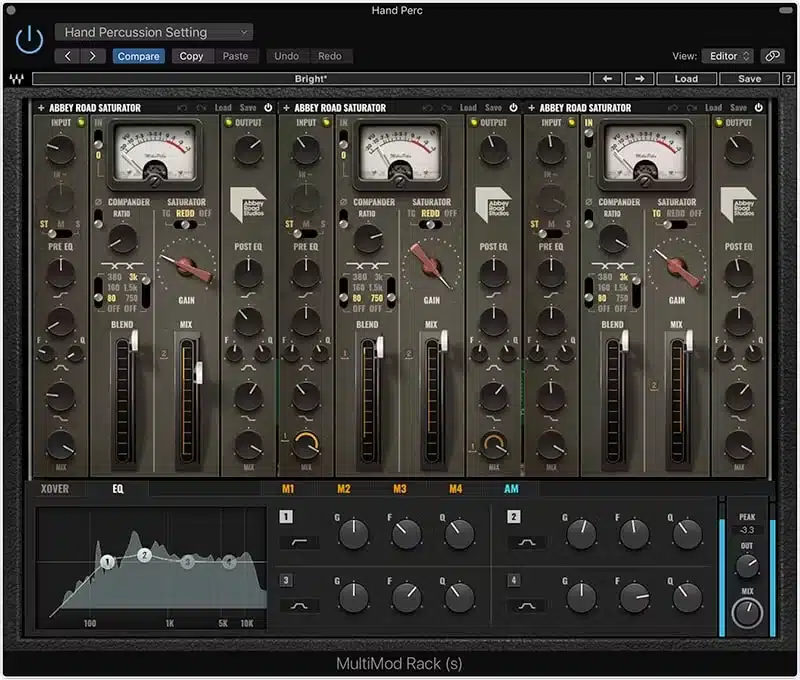
Another thing multiband distortion is perfect for, is balancing warmth, clarity, and aggression without making things get crushed.
If you want to add warmth to a synth, try setting a midrange band (400 Hz–1.5 kHz) to about 20% tape saturation.
This will make it feel thicker without pushing the highs too much.
If you want to push it further, try raising the mix to 40% and adding a bit of soft saturation to the highs (5 kHz and up).
This will keep the body of the synth full while adding extra air and harmonics up top.
For aggression on an 808, set your crossover at 200 Hz, applying zero distortion to the lows, soft clipping to the mids at 35% drive, and hard clipping on the highs at 50% drive.
This will let you keep the sub clean while making the higher frequencies hit harder, which is perfect for trap/hip-hop beats where the 808 needs to punch through the mix.
If you need even more attack, try setting a high-shelf boost at 4 kHz before distorting the high band; this enhances the click of the 808 without over-processing the low mids.
The key is always to experiment with different bands and distortion types, because every sound is different, and the best settings depend on how it sits in the mix.
NOTE: If your saturation feels too aggressive, try reducing the mix knob to around 30% and automating it to increase during louder sections.
On the other hand, if your distortion feels too subtle, increasing the input gain by 2–3 dB before hitting the distortion stage can push the harmonics without needing to crank the drive too much.
Multiband Distortion Plugins: Features & Best Choices

When it comes to multiband distortion plugins, the absolute best choice is FabFilter Saturn 2 (I know I mentioned that a few times, but it’s true).
it’s insanely powerful, super flexible, and gives you total control over how distortion is applied across different frequency bands.
One of its biggest advantages is that it lets you apply different distortion types to each band, meaning you can have soft saturation on the lows, tube-style warmth on the mids, and aggressive hard clipping on the highs; all in one easy plugin instance.
If you’re looking for something CPU-friendly, iZotope Trash 2 is another solid option, offering dynamic multiband distortion with built-in filters.
You can shape the distorted signal even further, which is awesome.
For free alternatives, MeldaProduction’s MWavefolder is a good choice, but it’s nowhere near as feature-rich as FabFilter Saturn 2.
This is why most serious producers like myself stick with Saturn 2 for distortion-heavy processing, because let’s be honest, nothing can beat it.
But, regardless of which VST you use, the key to multiband distortion is choosing a plugin that gives you control over crossovers, drive intensity, and blend settings.
This way you can dial in the exact tone you’re after without wrecking your mix.
Speaking of those key parameters, let’s break them down real quick in the next section.
-
Key Plugin Features: Crossover, Drive, Mix & Gain
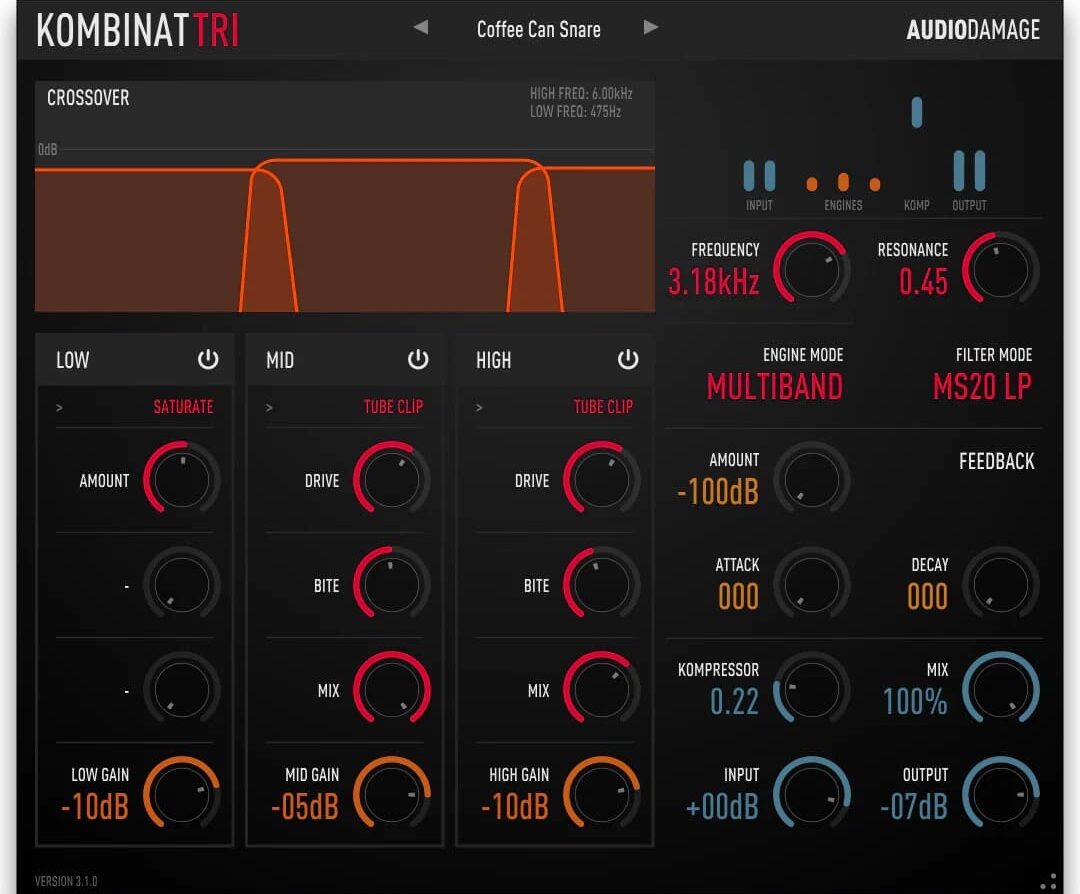
When working with multiband distortion, there are a few key parameters that determine how the sound is affected.
If you get these wrong or don’t really understand them fully, you’ll either barely hear a difference or completely destroy your mix (and nobody has time for that, am I right?).
Crossover points let you split the frequency range into multiple bands.
In FabFilter Saturn 2, for example, you can use up to six bands 一 each with its own distortion type and settings.
Drive controls just how much distortion is applied.
A good rule of thumb is to start at 20-30% for subtle warmth and push up to 70% or higher when you want aggressive saturation on a particular band.
Mix lets you blend the distorted and clean signals, which is crucial for parallel processing.
For example, a setting of 50% mix often works best for keeping some clean transients while adding a distorted body.
Lastly, don’t forget that gain staging is everything…
If your input gain is too high, you’ll overload the plugin, and if your output gain isn’t adjusted properly, you’ll be left with an unbalanced mix that’s way too loud.
-
Understanding Crossover Points & Frequency Division
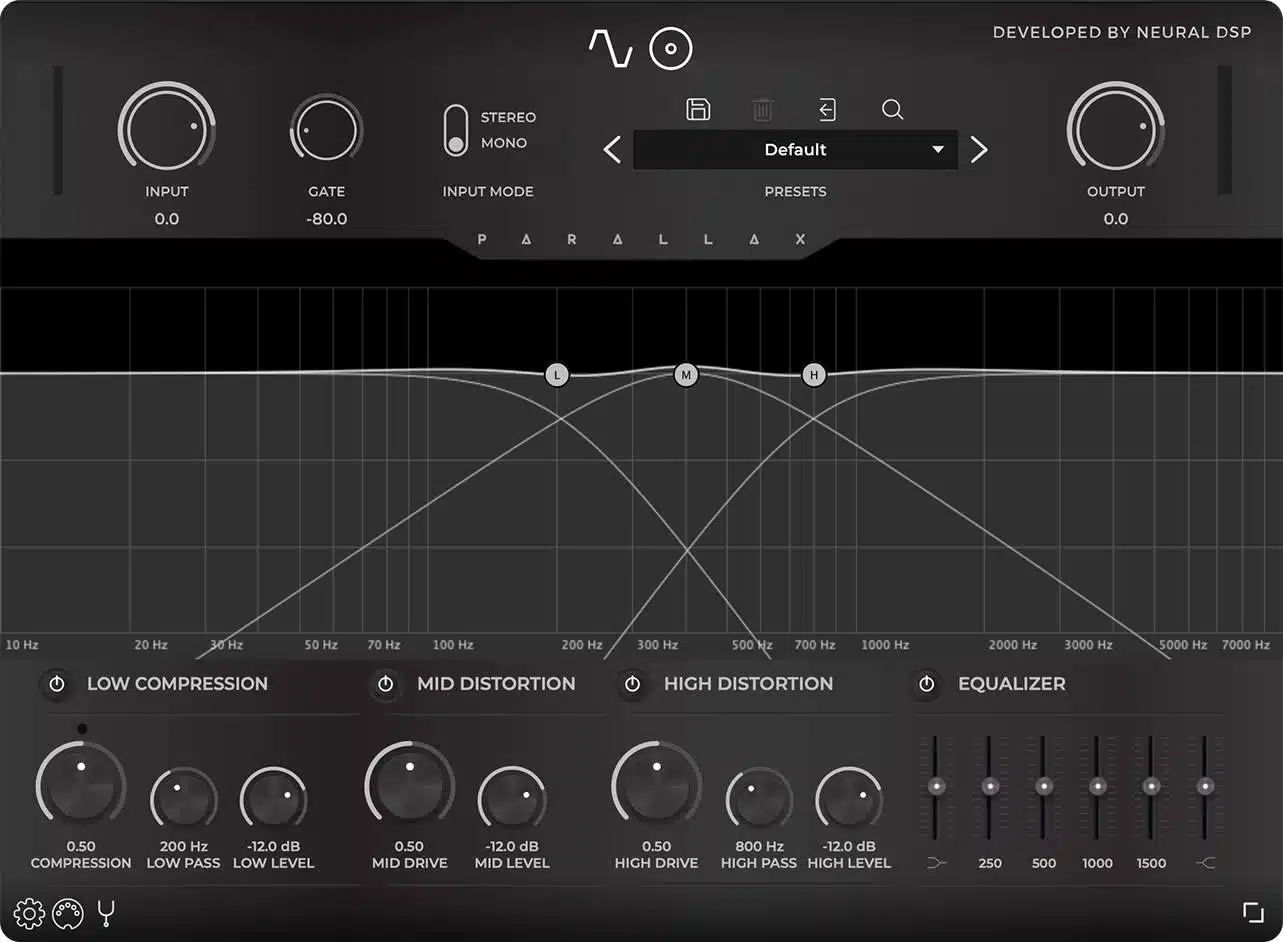
Setting correct crossover points is the first step to making multiband distortion work properly, since they determine where each frequency band begins and ends.
I suggest, for most sounds, you start by splitting at 150 Hz and 3 kHz, which keeps the sub-bass clean, allows for warmth in the mids, and lets the highs breathe.
If you’re working on drums, you might want three bands:
- One for sub-bass below 120 Hz
- Another for the body of the kick/snare at 120 Hz–3 kHz
- And yet another for the transients and high-end energy above 3 kHz
FabFilter Saturn 2 makes this easy with visible frequency divisions, so you can drag the crossovers until you find the sweet spots.
This is where distortion enhances the sound without causing phase issues.
-
Adjusting Input & Output Gain for a Clean Signal Flow
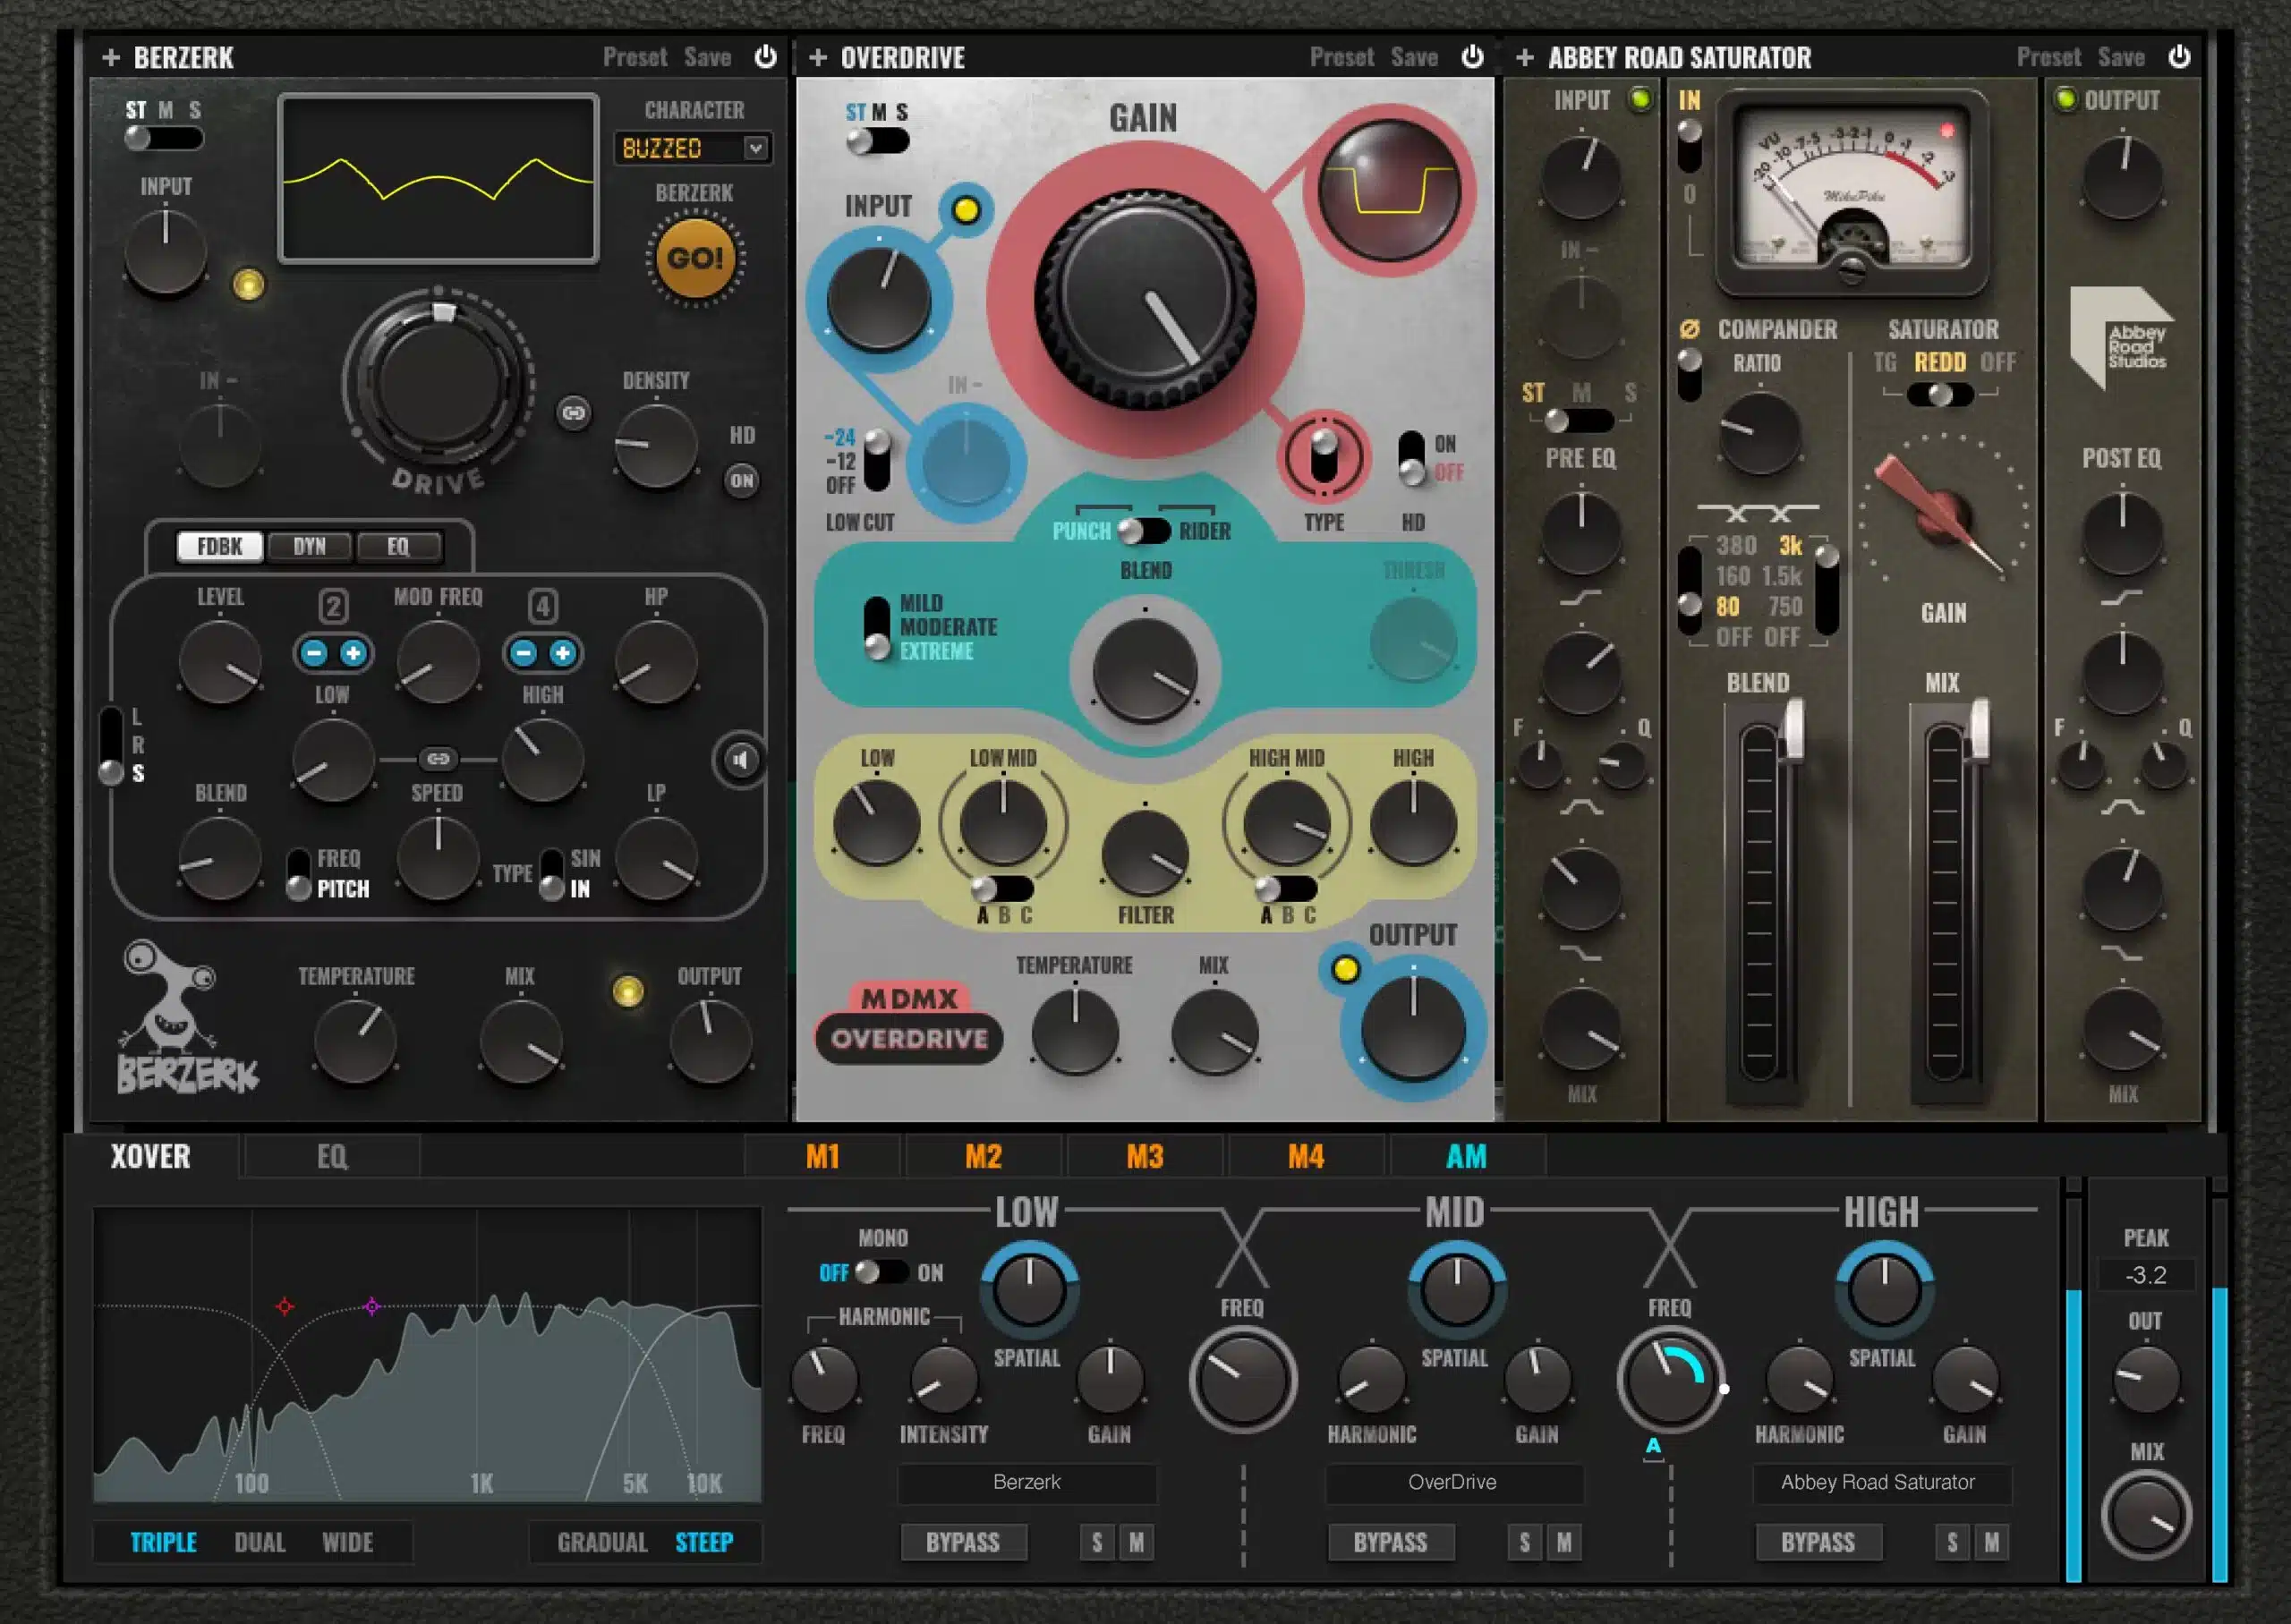
Getting input and output gain right is what makes the difference between a distorted mess and a mix that actually sounds on point and professional.
The general rule is to set the input gain so that the loudest peaks hit around -6 dB before adding distortion (it keeps the signal clean and prevents digital clipping).
If you’re stacking multiple distortion plugins just make sure to lower the output gain after each stage by about 1–2 dB.
This way, you don’t accumulate too much loudness and end up with an unmanageable mix, because you definitely don’t want that.
NOTE: If you’re using multiband distortion on bass, keeping the low band’s output gain slightly lower (around -2 dB) while boosting the high band by +1 dB can help balance the sound without making the mix feel muddy or overly harsh.
Applying Multiband Distortion to Different Instruments
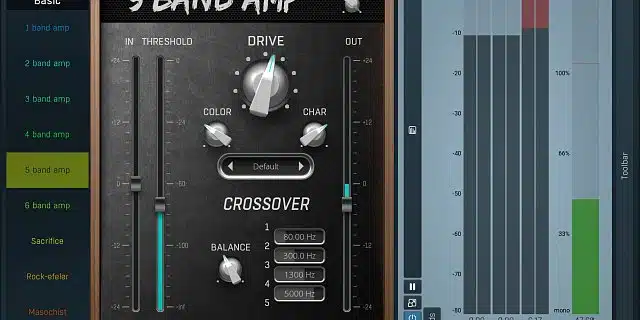
Multiband distortion is a game-changer for shaping different instruments without wrecking the mix, from bass to vocals and most things in between.
The best part of it is that you can push distortion exactly where you need it while keeping everything else clean and balanced.
On bass, the trick is to leave the sub (below 120 Hz) clean, add 30% drive to the mids for warmth, and push the highs with 50% hard clipping so it cuts through without getting muddy.
If you want even more attack, boosting 5 kHz by 3 dB before hitting the distortion stage can bring out the bite of the transient.
This makes the bass more defined without ruining the low-end weight.
For synths and pads, a little tape saturation (20% on the mids, 30% on the highs) can make them feel warmer and more analog, while keeping the low end smooth.
If a synth lead feels too harsh, using FabFilter Saturn’s Gentle Saturation mode with 25% mix on the top end (above 6 kHz) can help round off those sharp edges while keeping the brightness on point.
Drums hit harder when you soft-clip the mids at 40% drive and hard-clip the highs at 50% 一 adding punch and making your drum loops feel glued together.
This technique is perfect for snares and hi-hats because it makes them cut through a busy mix while keeping the low mids controlled perfectly.
If the kick feels too boomy, a subtle 15% tape saturation below 100 Hz can tighten it up without killing its low-end energy.
When it comes to vocals, a bit of light saturation (15% drive) on 1–3 kHz helps them cut through the mix without making them sound thin.
If you want extra energy, try blending in a parallel track with hard clipping at 50% drive, then mix it in at -12 dB, which adds grit/presence while keeping the main vocal clean.
And, for an edgy lo-fi effect, try 40% tape saturation with 50% mix to get that gritty, old-school vibe that is actually pretty popular right now, just saying.
If you want to take it even further, running the distorted vocal through a subtle chorus effect at 30% mix can give it extra movement and texture.
Whether it’s FabFilter Saturn 2 or another plugin, the key is dialing in the right crossover points, drive, and mix levels to get just the right amount of saturation.
If you push things too far, pulling back the mix knob by 10–15% can help keep everything controlled while still giving you that extra punch and character.
Multiband Distortion in Mastering: When & How Do I Use It?
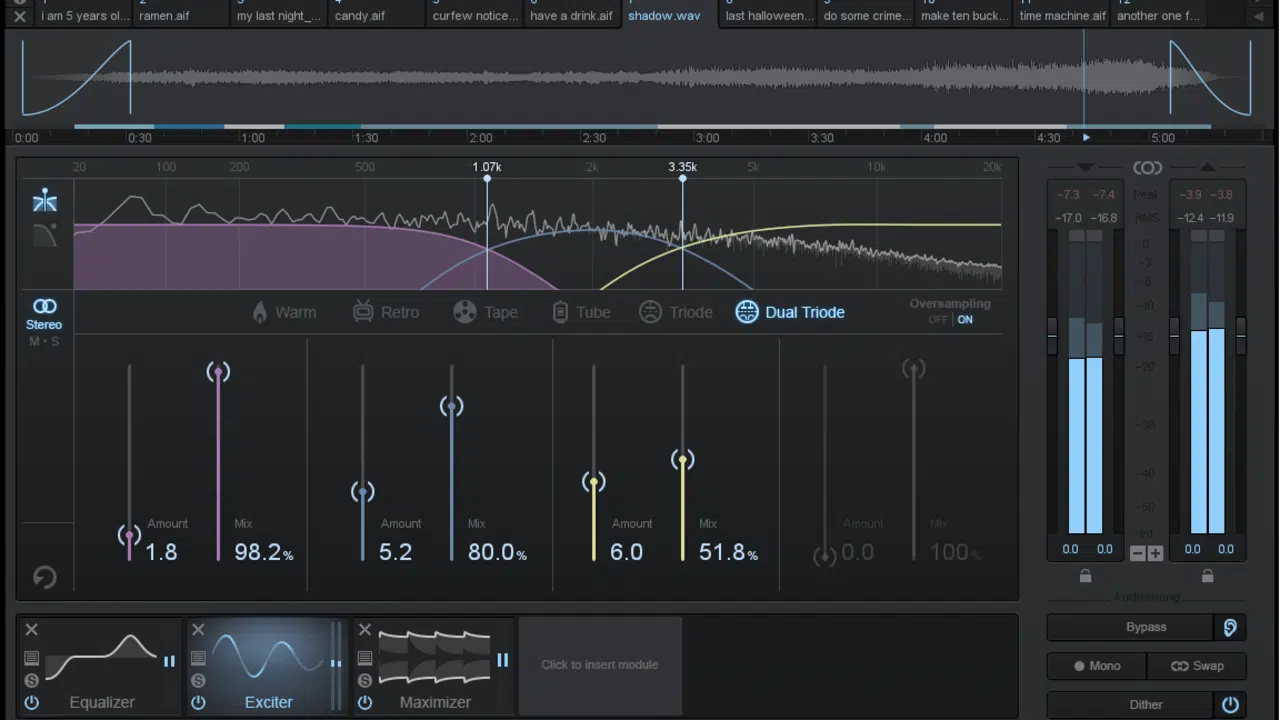
Multiband distortion in mastering should be subtle, and the goal is to enhance warmth and clarity without destroying the dynamics of the mix.
It’s all about subtlety here, just like mastering in itself.
A good approach is to apply 5–10% drive on the mids (300 Hz–3 kHz) using tape or tube saturation, which adds harmonic richness while keeping the mix transparent.
If the high end feels dull, a gentle 10% soft clipper on frequencies above 6 kHz can bring out detail without introducing harshness.
Just be careful with the low end…
If you need more warmth, try pushing 10% saturation at 80 Hz, but if the mix already feels full, leave the bass frequencies untouched to avoid muddiness.
Pro-Level Multiband Distortion Techniques
For this last section, let’s talk about some more advanced multiband distortion techniques. You’ll need to go beyond basic drive settings to really kick things up a notch. So, let’s break down how to blend dry and wet signals, automate distortion for dynamic variation, apply mid/side processing for stereo enhancement, and use sidechain distortion for rhythmic energy.
-
Blending Dry & Wet Signals for More Control
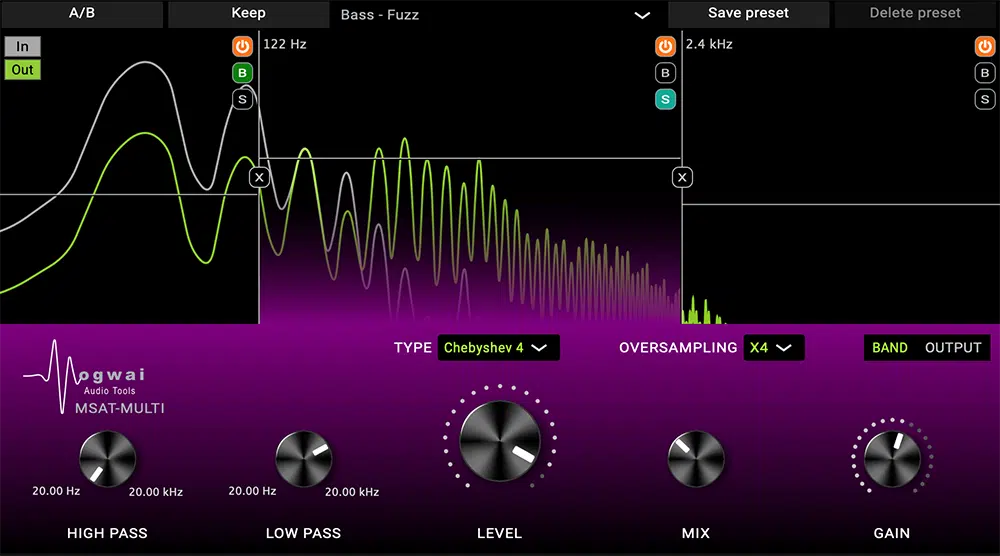
Using a parallel processing technique with multi-band distortion can add grit and warmth without overpowering the original sound.
It’s super useful when it comes to vocals, synths, and drums.
A great trick is to set the dry signal at full volume, then push the wet signal with distortion up to -10 dB 一 keeping the mix knob at about 30–50%.
This allows clarity to stay intact while still introducing harmonic fullness.
If you’re using FabFilter Saturn 2, try setting soft saturation on the mids and highs with a mix level of 40%, while leaving the lows at 10% or lower, which adds warmth and detail without affecting the sub frequencies too much.
-
Using Automation for Dynamic Distortion

Static distortion settings can sometimes make a sound feel lifeless, which is why automating distortion drive levels can add movement and interest to a mix.
Some great audio examples include using automation to increase drive on synth leads or basslines when transitioning into a chorus, starting at 20% drive on the verse and ramping up to 60% by the drop, which makes the sound feel more intense over time.
If you’re working on vocals, automating a 5–10% boost in saturation at key moments, like at the end of phrases, can add extra energy.
All without making the entire vocal line too distorted, which is very important.
-
Mid/Side Multiband Distortion for Stereo Enhancement
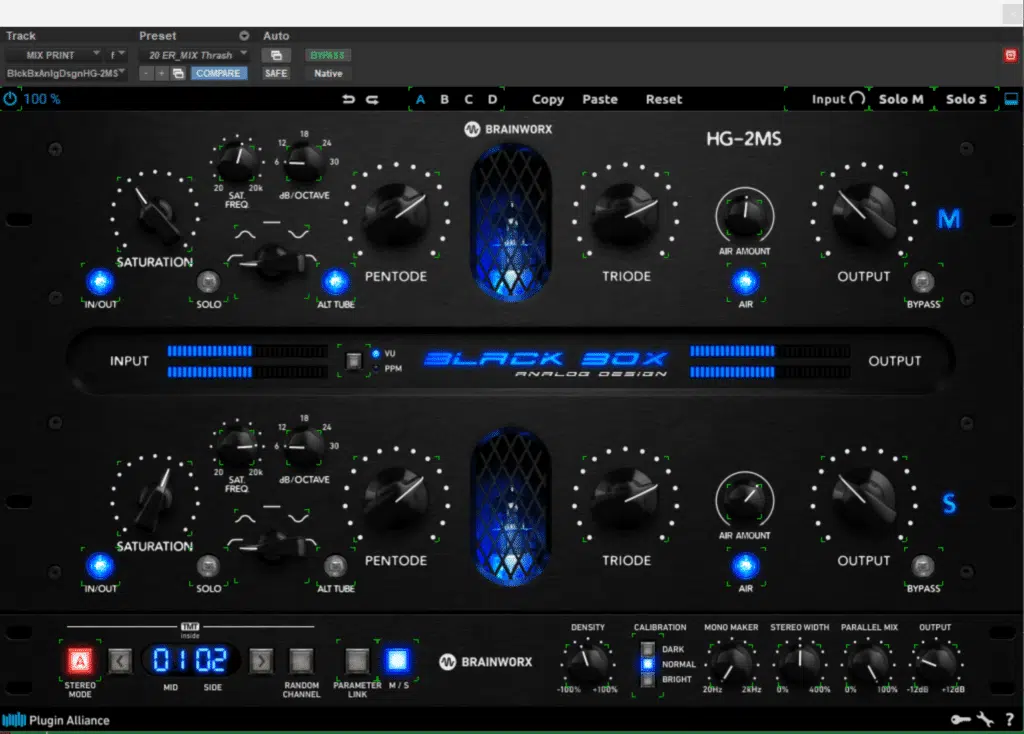
Applying distortion only to the side channels of a stereo mix can make the sound feel wider and more immersive, while keeping the center-focused and clean.
A great starting point is to use Saturn’s Mid/Side mode 一 setting the mid channel to 15% tube saturation and the side channel to 30% tape distortion.
This will keep the main signal intact while adding width to the high frequencies.
If you want to push this even further, try applying extra saturation to the side channel above 5 kHz while keeping the low mids focused in mono, which enhances stereo presence without making the mix feel phasey or washed out.
-
Sidechain Distortion for Rhythmic Movement
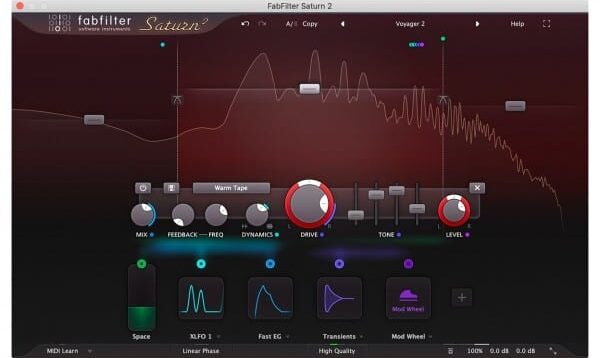
Using sidechain distortion is a powerful trick to make distortion react to another element in the mix, which is great for adding movement to:
- Basslines
- Synths
- Even drum loops
A great way to do this is sidechaining the distortion intensity to a kick drum, so that every time the kick hits, the distortion ducks down slightly.
This creates a pretty cool breathing effect.
Also, try setting the sidechain threshold at -20 dB with a fast attack and release to make the effect feel natural.
Another cool technique is to sidechain multiband distortion on pads 一 making the high frequencies distort harder when the snare hits.
It adds a dynamic, evolving texture that will help make the mix feel more alive.
-
Multiband Distortion on Reverb & Delay Returns for Textural Depth
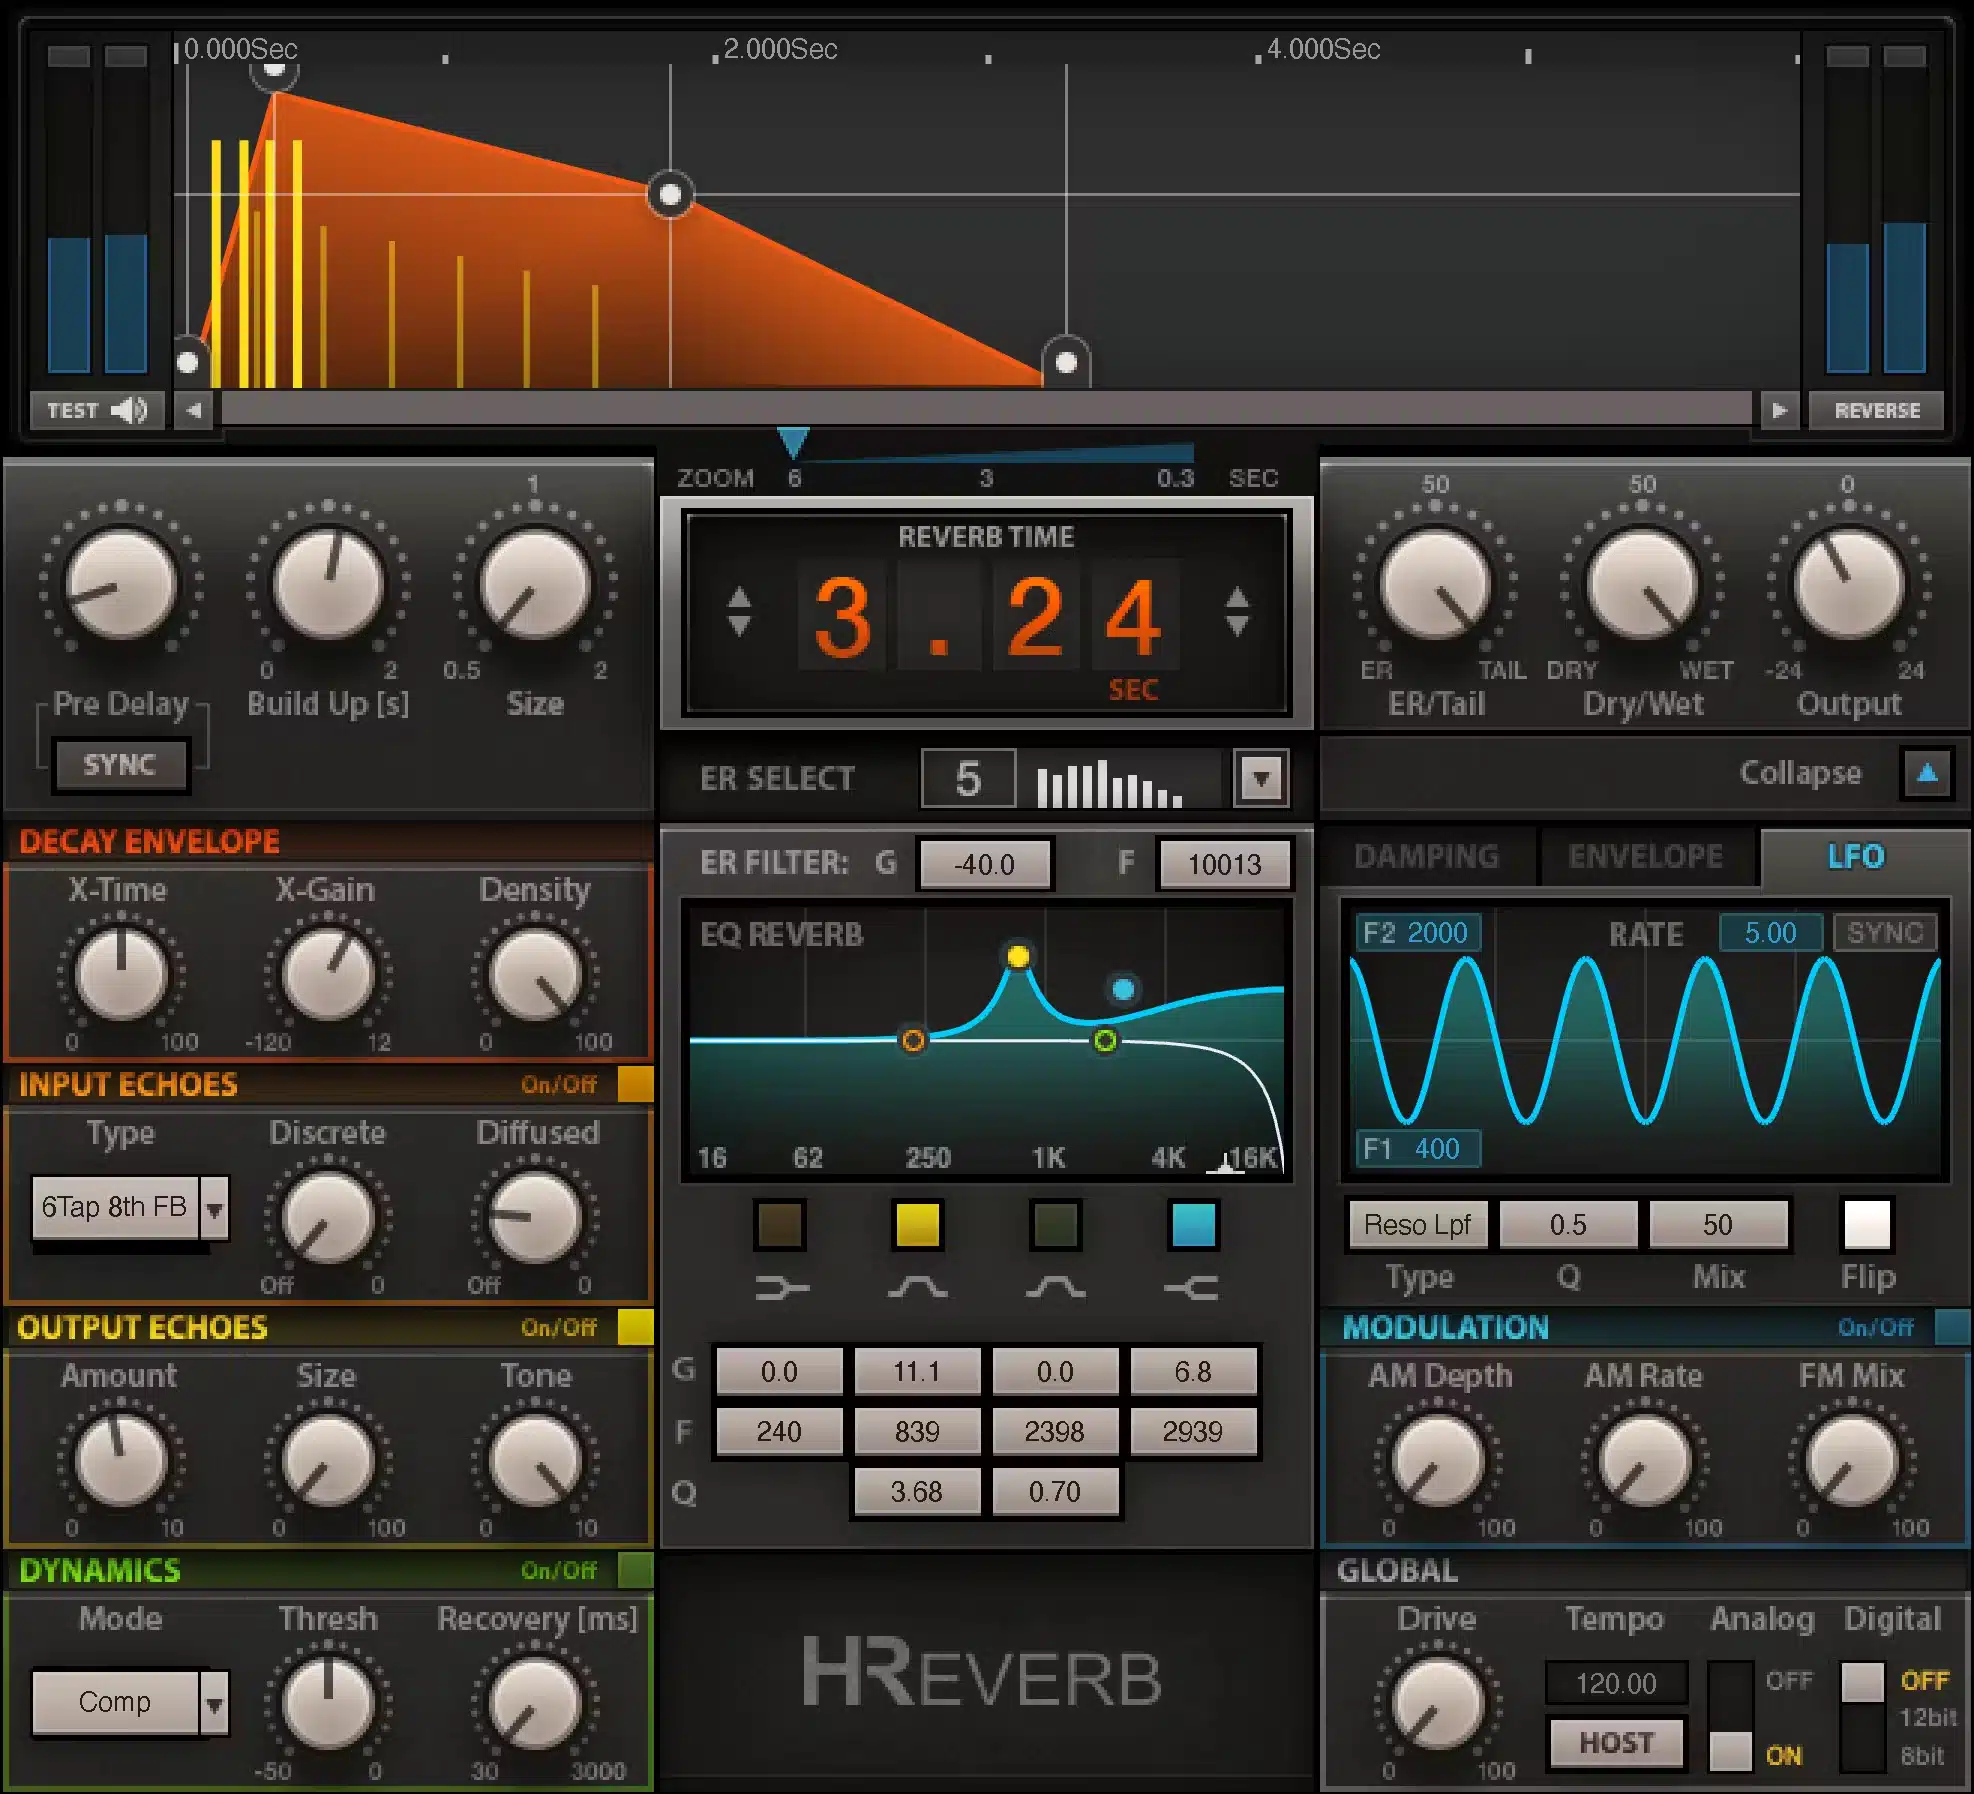
Applying multiband distortion on reverb and delay return tracks is an underrated trick that adds unique textures/movement to effects without muddying the dry signal.
To do this, you can set up a reverb return, then apply FabFilter Saturn 2 to only distort the mid and high frequencies (800 Hz and above) while leaving the lows clean.
It’ll keep the effect airy and crisp without overpowering your mix.
Another cool approach is using tape saturation on a delay return but automating the mix knob between 30–50% during different sections of the track.
This will make the delays feel dynamic and evolving instead of static, which is what you always will want (no basic beats here).
-
Cross-Band Interaction
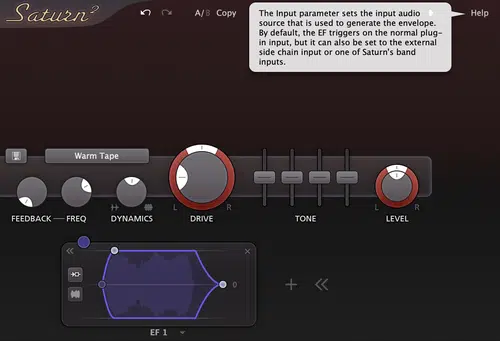
One of the most creative ways to use multi-band distortion is to make one band’s distortion level react dynamically to another frequency range, which can create interesting movement and energy shifts in a mix within your DAW.
For example, if you’re working on synths, you can set an envelope follower to increase distortion on the highs whenever the mids get louder.
If you want your sound to feel more expressive, it’s perfect.
Try setting the modulation depth to 25% with a fast attack (10 ms) for a smooth yet responsive effect.
Another example is applying hard clipping on a drum bus but making it back off slightly when the kick drum peaks, which preserves punch while keeping the entire drum mix glued together perfectly.
Final Thoughts
And there you have it: everything you need to know about multiband distortion and how to use it like a boss.
Remember, it all comes down to knowing which frequency bands to target, how much drive to apply, and how to blend wet and dry signals for the perfect balance.
Just make sure not to overdo it on the low end, because otherwise, your mix will turn into a muddy mess instead of a clean, powerful sound.
And, as a special bonus, you’ve got to check out these epic Free Samples 一 from basslines to vocals and everything else we talked about today, it’s all right here.
Regardless of which genre or style you’re into producing, there are endless options for you to choose from.
They’re all created by professional producers and sound designers who are the best in the industry, so you never have to worry about quality.
Plus, they’re all 100% royalty-free, so you can use them however you want.
There’s even project files that can show you exactly how to apply multiband distortion using all the different techniques we covered today (talk about invaluable).
Bottom line, when it comes to multiband distortion, it’s all about using it intentionally to enhance warmth, clarity, and aggression in a controlled way.
Just remember to set proper crossover points, balance the mix knob, and avoid distorting the entire frequency range unless it’s intentional.
Plus, automation, sidechain distortion, and mid/side processing can take your multiband distortion game to the next level.
If you apply everything we broke down in this guide, your tracks will always sound polished, punchy, and professional.
This way, you’ll dominate the competition and make beats that truly stand out.
Until next time…


Leave a Reply
You must belogged in to post a comment.