Mastering is an intricate process that requires a good ear, a solid understanding of audio dynamics, and the skills to use certain tools.
It’s the final step in the music production process, where you fine-tune your final mixes to ensure they sound polished and ready for distribution across various platforms.
It can significantly elevate the quality of your tracks, which can be make or break.
If the mastering process is ignored or not up to industry standards, your tracks are going to be drowned out and seem unprofessional (or even sloppy).
However, if you know how to master properly, you’ll be able to enhance the clarity, balance, and loudness of your music 一 ensuring your tracks sound professional.
So, as a music producer who wants to be their own mastering engineer, it’s important to know some expert mastering tips to achieve that signature sound.
In today’s article, we’ll break down:
- Understanding the mastering process ✓
- Utilizing reference tracks effectively ✓
- Managing dynamic range for clarity ✓
- The role of the mastering chain ✓
- Techniques for optimal frequency response ✓
- Expanding stereo width for immersion ✓
- The importance of compression and limiting ✓
- Avoiding distortion for a super clean sound ✓
- Choosing the right speakers for mastering ✓
- Preparing tracks for streaming services ✓
- Many more mastering tips for professional tracks ✓
You’ll possess all the necessary knowledge about mastering and get some professional mastering tips so you can refine your tracks.
This way, they’ll always sound appropriately loud, clear, and dynamic; on the same level as the best mastering engineers around.
Whether you’re aiming for a career in music production or simply looking to enhance your personal projects, you’ll be able to bring your mastering skills to the next level.
So, let’s dive in…
Table of Contents
- Understanding the Mastering Process: Key Goals of Mastering
- The Difference Between Mixing and Mastering
- 11 Mastering Tips For Polished, Professional Tracks
- #1. Start With High-Quality Mixes
- #2. Use Reference Tracks
- #3. Optimize Your Listening Environment
- #4. Achieving Optimal Dynamic Range
- #5. Enhancing Frequency Response
- #6. Final Compression and Limiting
- #7. Tweaking Your Final Master for Streaming Services
- #8. Mid/Side Processing
- #9. Avoid Over-Compression and Limiting
- #10. Pro Tip: Do Not Neglect Mono Compatibility
- #11. Optimizing Metadata and File Formats
- Mastering Tips: Final Thoughts
Understanding the Mastering Process: Key Goals of Mastering
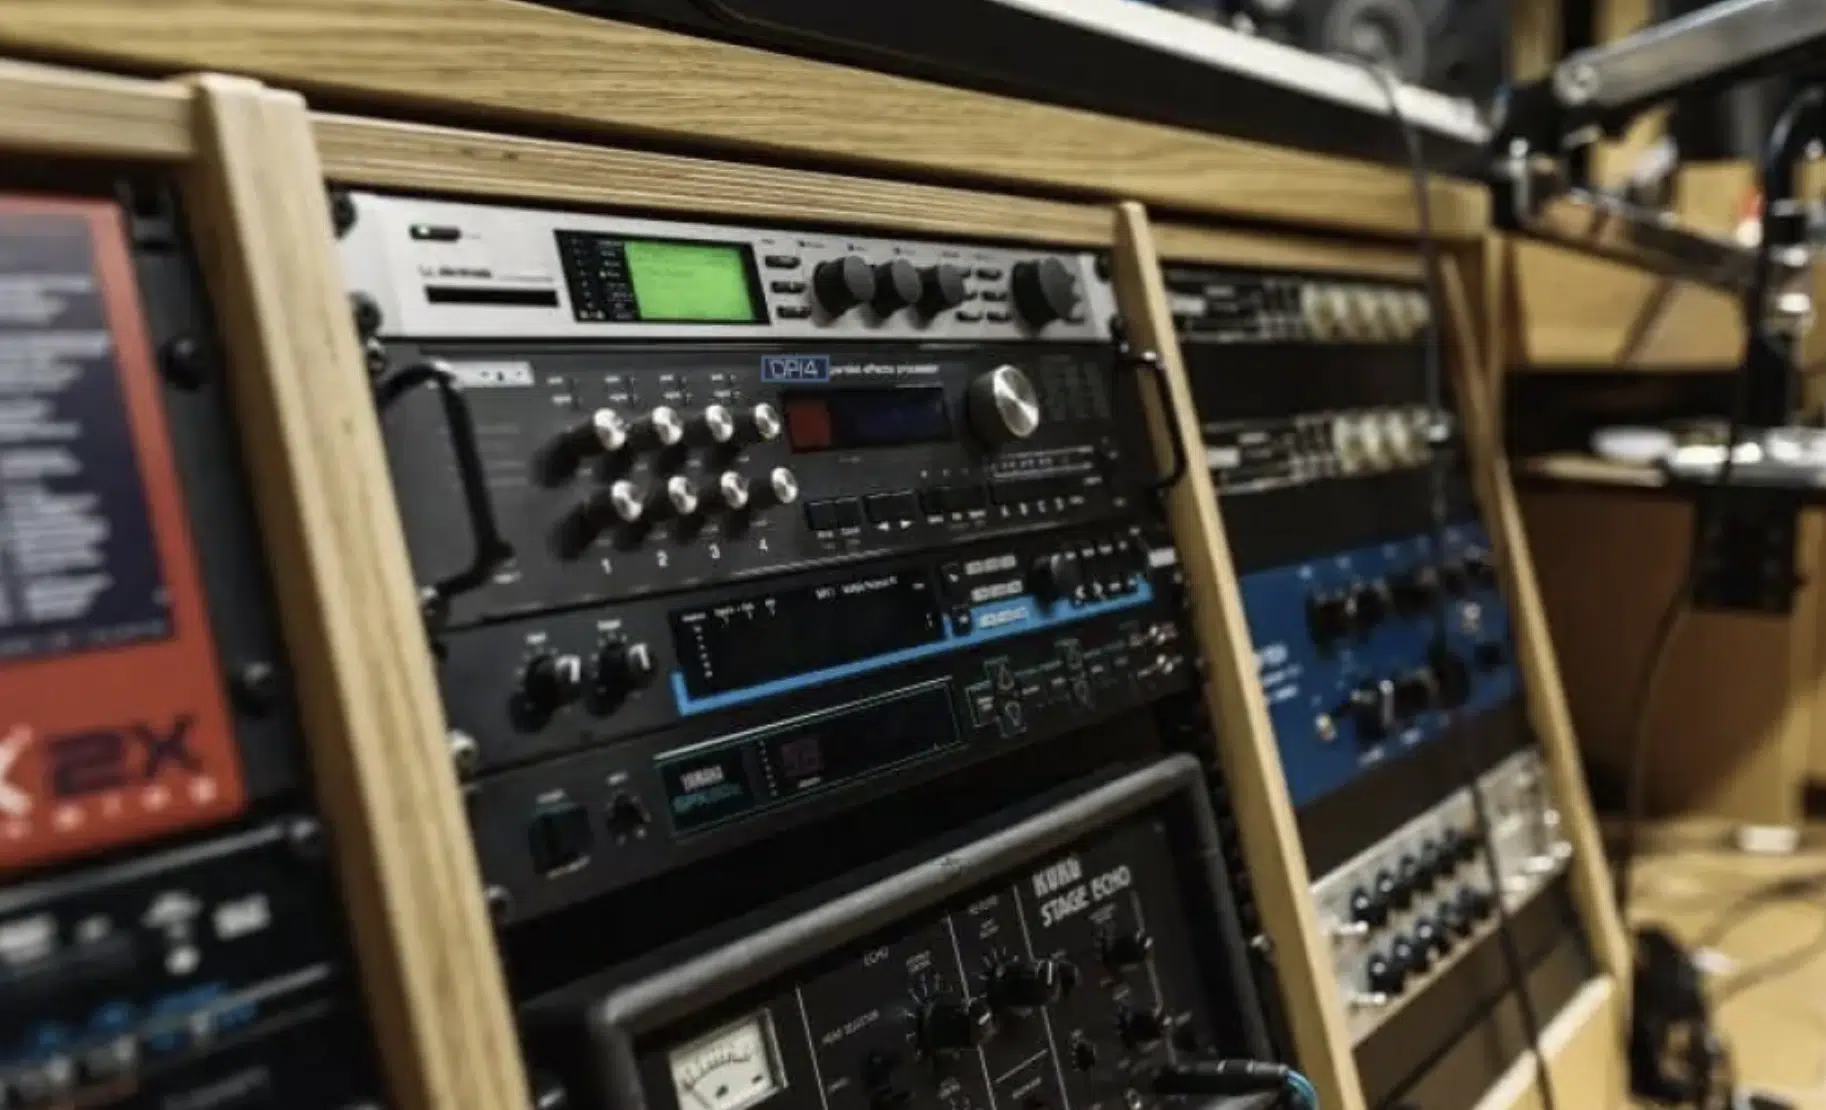
Mastering is the final stage in the music production process, aiming to unify the sound of a record, ensuring consistency across all tracks.
This stage enhances the overall sound quality, making it ready for any distribution method.
The mastering process involves critical listening and fine-tuning the final mix to optimize the audio for all playback systems.
Key goals include:
- Balancing frequency response
- Ensuring dynamic range is optimal
- Maximizing loudness without distortion
- Maintaining clarity and detail
The mastering engineers role (you in this case) is vital in this process 一 applying a series of mastering tips and techniques to achieve a polished, professional sound.
You’ll use flexible tools like EQ, compression, limiting, and stereo enhancement to refine your final mixes.
The mastering process ensures that the track sounds its best across various speakers and playback environments, from high-end sound systems to streaming services.
It shows the importance of a skilled mastering engineer in the music production game, which will hopefully be you after this article.
The Difference Between Mixing and Mastering

Mixing and mastering are two distinct stages in the production of music, each with its unique objectives and techniques.
Mixing involves combining and adjusting individual tracks within a song to balance the elements, such as vocals, instruments, and effects, creating a cohesive final mix.
The mixing stage focuses on achieving a good balance, stereo placement, and ensuring that each element sits well in the mix without clashing with others.
Mastering, on the other hand, takes this final mix and applies further processing to enhance its sound 一 ensuring it translates well across all playback systems.
Mastering tips are usually broken down into a few key categories, involving: subtle adjustments to EQ, compression, and stereo width.
The whole point is to bring out the best in all of your mixes.
The mastering stage also addresses the loudness and dynamic range…
It makes sure your music meets music industry standards and sounds consistent across different listening environments.
Understanding the difference between mixing and mastering (and why you need to compare them) is key for music producers and any future mastering engineer.
While mixing focuses on the balance and blend of individual tracks, mastering is about the fine-tuning and polishing of the final mix.
Both stages are essential for producing high-quality music, but mastering provides the final touches that elevate a track to professional standards.
11 Mastering Tips For Polished, Professional Tracks
Mastering your tracks to sound polished and professional requires attention to detail and an understanding of several key techniques. So, let’s dive into 11 mastering tips that will help you achieve that high-quality sound like professional engineers.
#1. Start With High-Quality Mixes

The foundation of a successful mastering session is a high-quality mix.
You’ll want to make sure your mixes are well-balanced and free from issues such as clipping, excessive sibilance, or muddy low frequencies.
A clean and dynamic mix provides the best starting point for mastering 一 allowing the mastering engineer to enhance the track without having to fix problems.
This emphasizes the importance of spending adequate time on the mixing stage before moving on to mastering.
High-quality mixes should have:
- Well-defined bass
- Clear mids
- Crisp highs
With, of course, each element of the mix occupying its own space in the stereo field.
Nothing should push anything out of the way or overpower one another when you listen back.
Achieving this overall level of quality in the mix stage makes the mastering process more effective, as it allows for subtle enhancements rather than corrective measures.
Remember, mastering cannot fix bad mixes but can significantly enhance a good one (you can put makeup on a pig, but… you know the rest).
#2. Use Reference Tracks
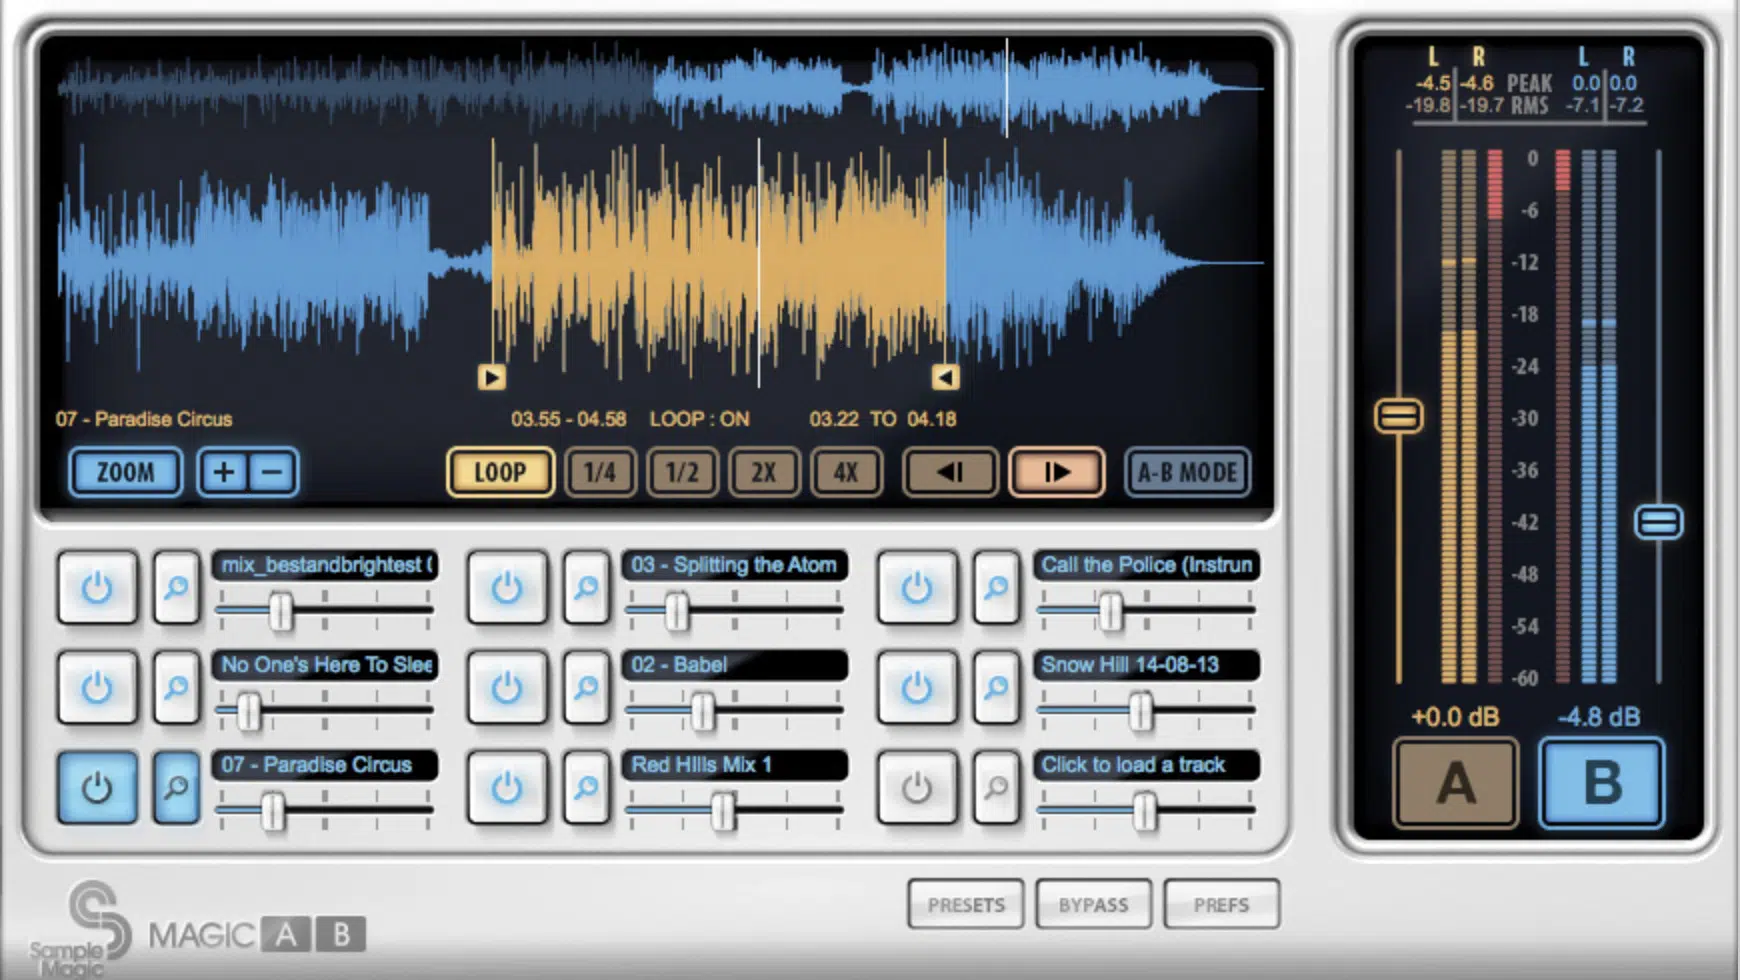
Using reference tracks is a super important mastering tip for achieving a professional sound.
Select a reference track in the same genre (e.g., hip-hop, trap, EDM, pop music) with a sound quality you aspire to match.
Analyzing these reference tracks when you mix and master can provide invaluable insights into:
- Desired loudness levels (high levels/low levels)
- Frequency balance
- Dynamic range
Reference tracks help maintain objectivity during the mastering process, like a blueprint for your song.
For example, when you listen, if your reference track has a brighter, more open high-end than your mix, you should use EQ to gently enhance the treble frequencies a little bit.
Make sure to listen to your reference tracks on the same speakers or headphones you use during the mastering process.
Pay attention to how the bass, mids, and highs are balanced, and try to emulate the overall sound quality and dynamics you hear.
Using a reference track effectively can significantly improve the quality of your mastering, so make sure to take advantage.
It will ensure your tracks stand up to commercial releases and sound super pristine, turning your house/studio into a mastering house.
#3. Optimize Your Listening Environment

The listening environment of your (home) studio plays a huge role in the mastering process.
A well-treated room with accurate monitoring allows you to make precise adjustments to your tracks/sounds.
Invest in quality speakers and consider room acoustics to ensure a flat frequency response and minimal reflections.
An optimized listening environment enables critical listening, which you can’t become a master engineer without.
Consider using headphones as a secondary reference to check details and ensure your final master translates well on different listening systems.
However, the bulk of mastering decisions should be made on reliable studio monitors in an acoustically treated space.
This ensures that your mastering efforts lead to improvements that translate across various playback systems.
#4. Achieving Optimal Dynamic Range
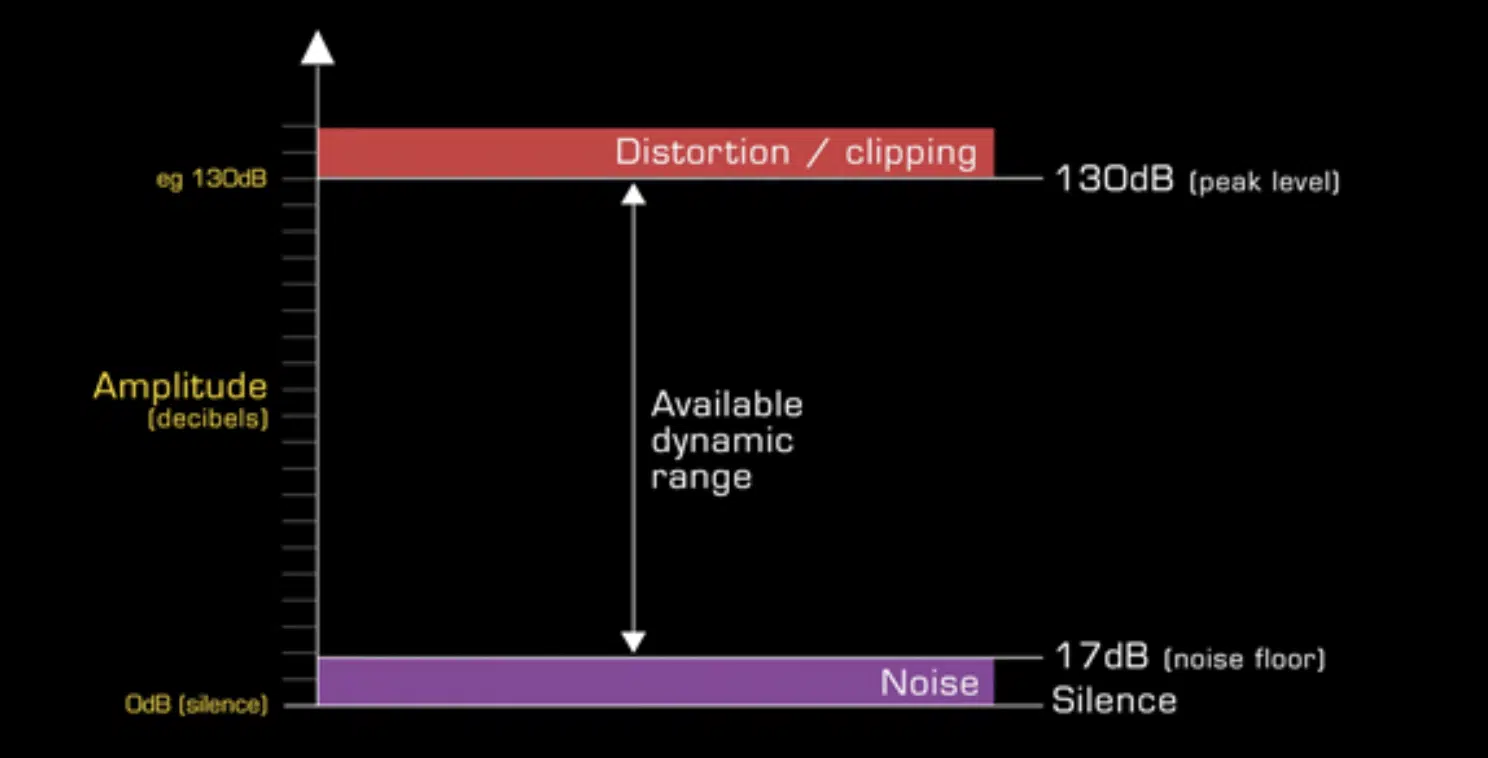
Dynamic range (the difference between the softest and loudest parts of a track) is crucial for maintaining clarity and impact.
When you master a song, you should always aim to preserve enough dynamic range to keep the music people hear expressive and engaging.
Over-compression can lead to a lifeless sound, so use compression with caution to enhance dynamics without completely squashing them.
A balanced dynamic range ensures that your music can breathe and maintain its emotional impact.
Mastering tips such as parallel compression can help achieve loudness while preserving dynamics like a real mastering engineer would.
It’s about finding the right balance that works for the genre and the specific track you’re mastering.
For example, a dynamic range that works well for a loud rock song master may be different from what’s ideal for a dynamic hip-hop master.
Using tools like a dynamic range meter can help you quantify and maintain the desired overall level of dynamics throughout the mastering process.
Adjusting the dynamic range also involves careful listening and comparison with your reference tracks (always compare!).
Pay attention to how the dynamics in that song contribute to its emotional weight and try to replicate this effect in your own masters.
This approach ensures that your tracks not only sound professional but also retain the intended emotional depth and impact.
#5. Enhancing Frequency Response
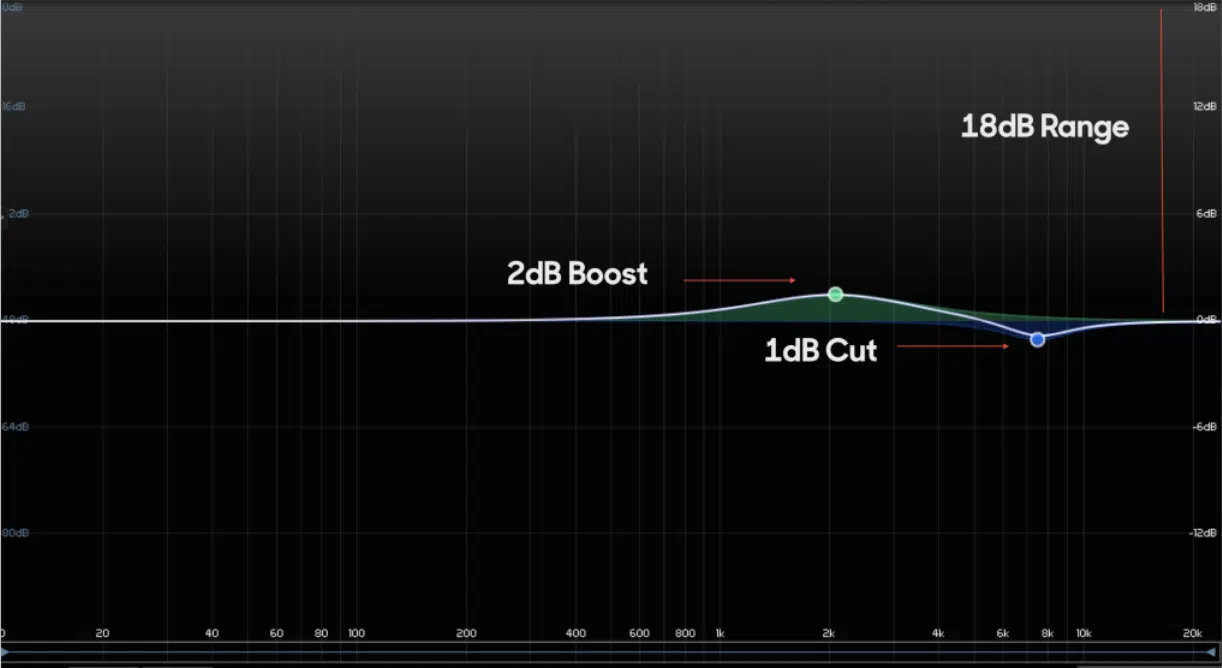
A well-balanced frequency response is essential for a track to sound good on all playback systems.
During mastering, use equalization (EQ) to gently adjust frequencies to achieve a clear, balanced sound.
One of the mastering tips you can’t forget is to apply subtle boosts or cuts to smooth out any frequency imbalances left from the mixing stage.
To give you a better idea, applying a gentle high-pass filter can remove unnecessary low-frequency rumble; making more room for clarity in the bass and midrange.
Conversely, a slight boost in the high frequencies can add air and presence to a track.
Always remember that the key is subtlety…
Drastic EQ moves can alter the mix’s balance, so aim for minimal adjustments that refine rather than redefine the sound.
NOTE: A high-pass filter is a type of equalizer that attenuates frequencies below a certain cutoff point 一 allowing higher frequencies to pass through.
A high-pass filter is essential in mastering to ensure that low-end frequencies don’t overpower or muddy the overall mix.
It enhances your tracks clarity and brings a cleaner, more balanced sound across the frequency spectrum.
If you want to learn all about high-pass filters, we’ve got you covered.
#6. Final Compression and Limiting

Final compression and limiting are the last steps in the mastering chain to ensure the track meets industry loudness standards while retaining dynamic range.
It might involve using a mastering-grade compressor with a soft knee setting and a low ratio (e.g., 1.5:1 or 2:1) to gently smooth out any remaining dynamic peaks in the track.
The attack and release times would be set to complement the tempo of the music, allowing the compressor to operate transparently without introducing unwanted artifacts.
Any recording or mastering engineer will tell you that this step is not to be skipped.
Limiting, on the other hand, is used to achieve the final loudness.
A limiter might be set to catch only the highest peaks, with the threshold adjusted so that it’s only engaged during the loudest parts of the track.
For example, setting a limiter with a fast attack and release can maximize loudness while avoiding distortion.
It’s essential to use a high-quality limiter that offers inter-sample peak detection to prevent clipping that could occur during digital-to-analog conversion.
To give you a better idea of effective limiting, it would include increasing the input gain until the desired loudness is achieved, as measured by LUFS (Loudness Units Full Scale).
It ensures your song remains dynamic and doesn’t become just another over-compressed or lifeless project.
The goal is to, if anyone was compare your song to one mastered by professional mastering engineers, it would sound just as clean.
For the record, it does time a little time, practice, and patience, so don’t get overwhelmed if you don’t master it right off the bat.
#7. Tweaking Your Final Master for Streaming Services

Streaming services have specific loudness standards, and setting up your masters for these platforms require careful consideration of these streaming standards.
The normalization process used by streaming services can affect the perceived loudness of your tracks; making it essential to target the optimal loudness level during mastering.
This helps your music sound consistent and retains its quality across different platforms.
You don’t need to go to different studios to master your tracks like a professional mastering engineer 一 it can be done right from home.
For example, mastering with a loudness target of around -14 LUFS (Loudness Units Full Scale) is a common practice for streaming services.
This helps prevent your tracks from being turned down excessively during normalization.
Meaning, it retains your intended dynamic range and impact.
Additionally, understanding the specific requirements of each platform, such as peak level limits and encoding formats, can help you tweak your final master for optimal playback quality.
#8. Mid/Side Processing
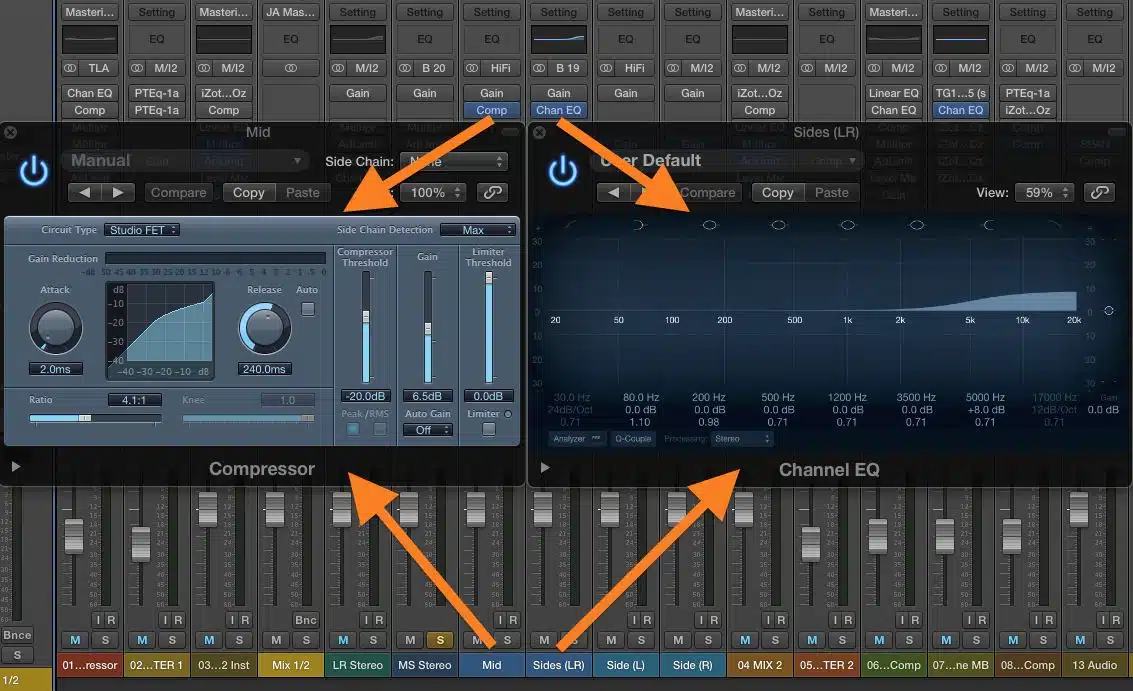
Mid/side processing is one of the most valuable mastering tips around, which allows for separate control over the center and side content of a stereo image.
This can be used to fine-tune the balance between the mono and stereo elements of a mix, enhancing the clarity and spatial definition of your song.
For instance, you might apply a slight EQ boost to the side channels to enhance stereo width or a gentle compression to the mid-channel to solidify the center image.
This technique offers a precise, preferable way to adjust the stereo field without affecting the overall balance of the mix negatively.
It’s particularly useful for addressing issues that weren’t fully resolved during the mixing stage 一 providing another layer of control to achieve a polished, professional sound.
Remember, when you master your tracks, it’s all about broad strokes, so don’t make it a habit to try to ‘fix’ during this stage; it’s final refinements.
#9. Avoid Over-Compression and Limiting
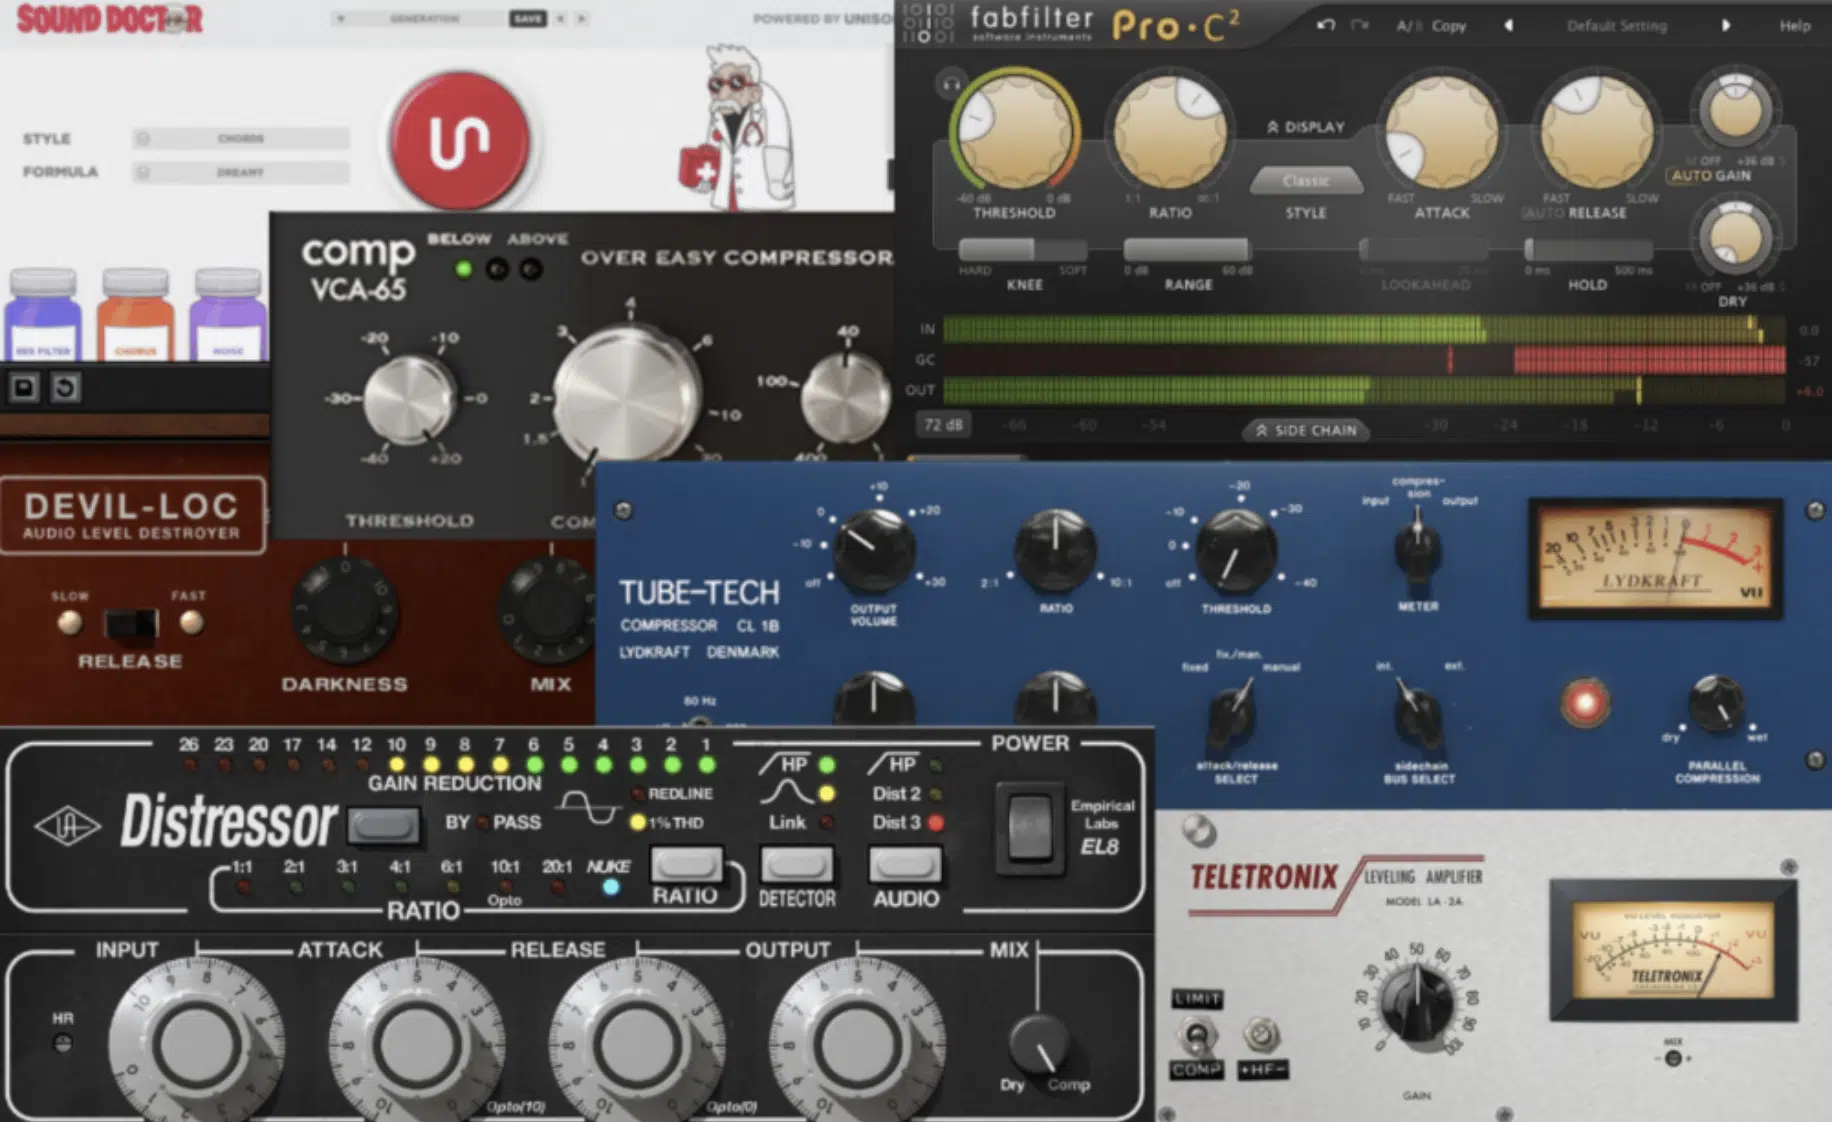
Over-compression and excessive limiting are common pitfalls in the mastering stage, which usually come from the desire to make a song seem as loud as possible.
While achieving competitive loudness is important, particularly for a song intended for streaming services, it’s key to maintain the dynamic range.
So, you need to make sure you don’t ever over-compress because over-compressed tracks lose their punch/energy and will create a messy master.
Nobody wants a flat, lifeless sound for their masters, so make sure to be careful.
A good example of over-compression at its finest is the loudness war phenomenon, where tracks are pushed to their maximum level/loudness at the expense of audio quality.
To avoid over-compression, use compression and limiting delicately.
Apply them in stages and constantly A/B test (compare) with the uncompressed mix to ensure you’re not sacrificing the track’s dynamics for loudness.
Mastering tips like parallel compression and multi-band compression can help maintain dynamic integrity while achieving a loud, impactful master like a master (pun intended).
Remember, the goal when it comes to your masters is to enhance the track and create a fluid project, not overpower it with compression and limiting.
#10. Pro Tip: Do Not Neglect Mono Compatibility

Mono compatibility is an often-overlooked aspect of mastering that can make a significant difference in how your music is perceived across different playback systems. ‘
In today’s world, where basically all of your listeners use mono playback devices like smartphones and smart speakers.
It ensures your mixes translate well in mono is non-negotiable.
Issues like phase cancellation can lead to elements disappearing or sounding thin in mono, which can detract from the listener’s experience.
To ensure mono compatibility, regularly check your mixes in mono throughout the mastering process, like a true mastering engineer would.
This can help you see issues in your mixes (and master) that might not be so apparent in stereo 一 allowing you to make necessary adjustments.
Tools like mid/side EQ and careful stereo imaging can help maintain the integrity of your mix in both stereo and mono playback.
It will ensure your music sounds great on any device, so never overlook it.
#11. Optimizing Metadata and File Formats
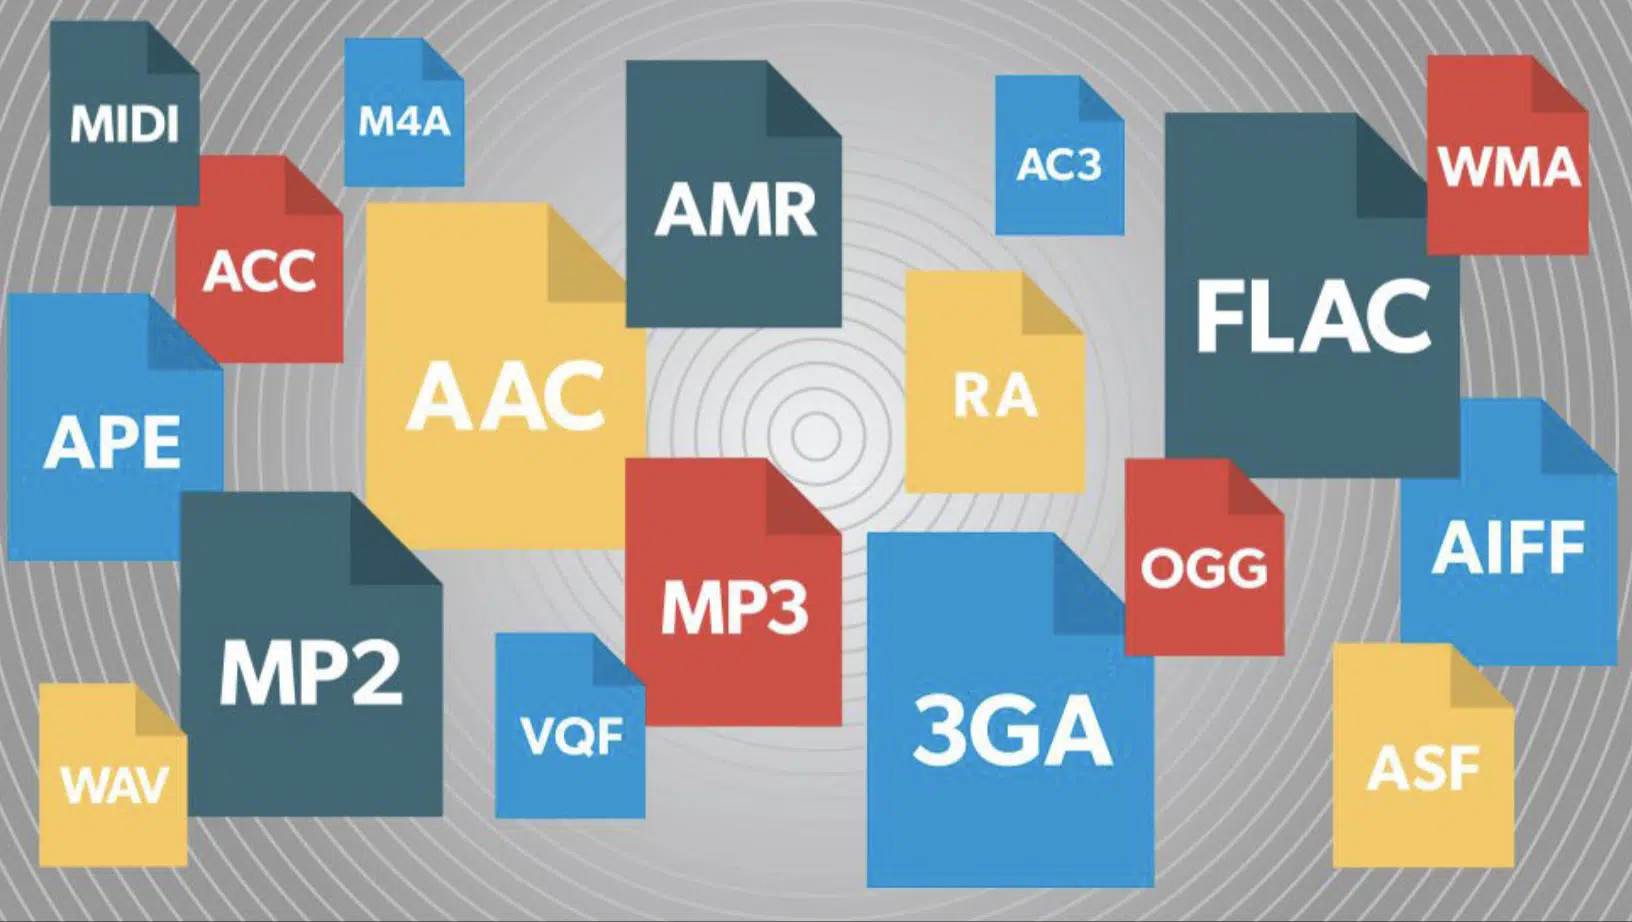
The final step in the mastering process (after mixing) involves preparing your tracks for any distribution method, which includes:
- Optimizing metadata
- Choosing the right file formats
Metadata, such as track titles, artist names, album art, and genre, is key for making sure your music is properly categorized and easy to find on digital platforms.
Including high-quality metadata can also enhance the listener’s experience by providing them with a bit of valuable information about the track.
Choosing the right audio file formats is equally important.
For most digital platforms, a high-resolution WAV or AIFF file is preferred to ensure the highest audio quality.
NOTE: It’s also beneficial to have MP3 versions for promotional purposes or for platforms that require compressed formats.
Tools and services like DDP masters for CD production or specific mastering settings for streaming services ensure your music is optimized for its final destination.
It will help maintain the quality and integrity of your final master across all platforms and distribution services.
Just remember, when it comes to your masters and having them sound like professional mastering engineers worked on it takes time and dedication.
So, don’t sleep on the little details when you create (this includes recording), mix, or master; it makes all the difference.
Mastering Tips: Final Thoughts
Mastering requires a detailed ear, a thorough understanding of audio dynamics, and getting creative with the tools you use.
It will help your final mixes achieve the polish and coherence necessary for professional release 一 ensuring your tracks stand out and blow the competition away.
The mastering tips we talked about today will help you refine your sound, maximize your music’s potential, and make sure it translates well across all listening environments.
Reading about mastering tips and seeing them done to perfection are two different stories…
That’s where these professionally-crafted Free Project Files come into play.
It contains 3 free project files that will help you truly understand the mastering tips we talked about, like dynamic range, frequency balance, stereo width adjustments, etc.
With them, you can analyze exactly how the world’s top producers/sound designers create tracks and how expert mastering techniques are done.
Remember, mastering is more than just a process 一 it’s the final touch that elevates your music from good to unforgettable.
With the mastering tips we broke down today and resources like those free project files, you’ll now be able to create professional, clear, and balanced tracks every time.
So, go make music that takes over the industry with perfectly mastered tracks.
Until next time…


Leave a Reply
You must belogged in to post a comment.