Pitch shifting is a super powerful technique that can help you create epic harmonies, tweak the key of an audio file, and even design entirely new sounds.
Plus, it allows you to manipulate tempo, layer vocals, and make your tracks really stand out in a crowded mix.
As producers, knowing all about pitch shifting will enhance your skills big time, which is why we’re breaking down:
- What pitch shifting is ✓
- How to use a pitch shifter + pitch shifter techniques ✓
- Pitch shifting vs. time-stretching ✓
- Creating harmonies and layering vocals ✓
- Advanced pitch shifting techniques ✓
- Designing unique textures and effects ✓
- Working with octaves and semitones ✓
- Pro tips for clean pitch-shifted sounds ✓
- The best tools and plugins ✓
- Much more about pitch shifting and pitch shifters ✓
By knowing how to properly pitch shift and work with pitch-shifted elements, it will give you the opportunity to get super creative and kick things up a notch.
Plus, you’ll be able to refine your sound, match any key, and design effects like a boss so your tracks always stand out, and your music will sound super professional.
Table of Contents
What is Pitch Shifting Exactly?
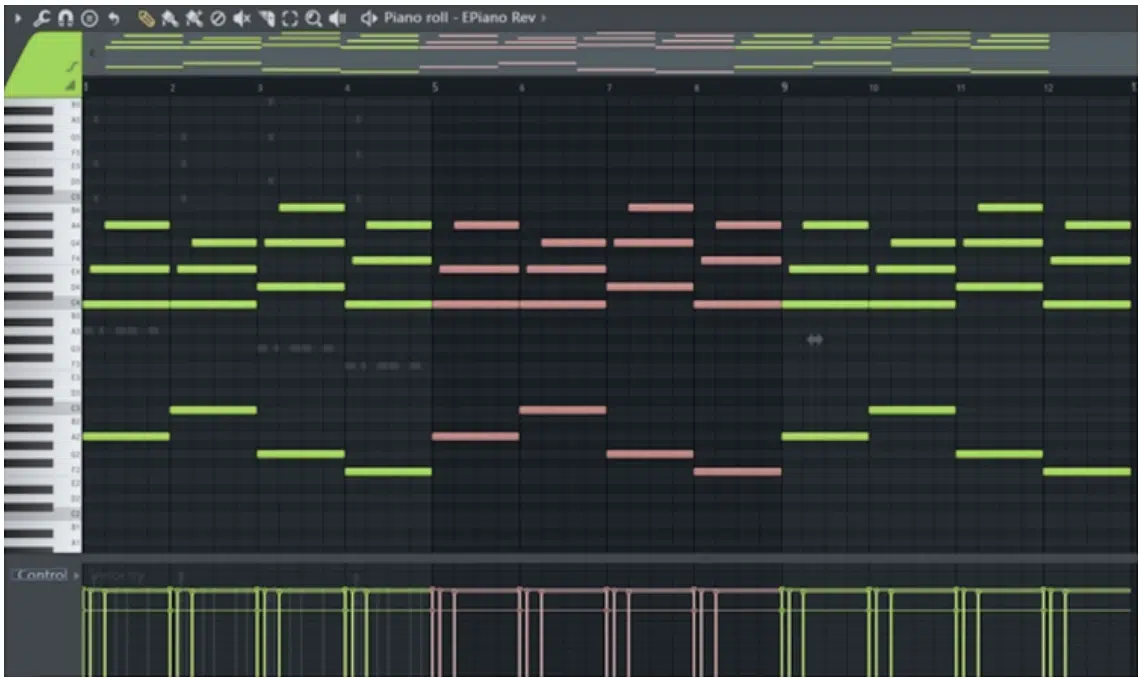
FL’s Pitch Shifter
Pitch shifting is where you adjust the pitch of an audio file 一 moving it up or down in pitch without speeding it up or slowing it down.
It’s one of the most versatile tools in music production, because it lets you:
- Shift a vocal line into a different key
- Create harmonies
- Completely transform an instrument
For example, you might pitch-shift a vocal up half an octave for a light, airy effect or drop it down an octave to give it a darker, more haunting vibe.
Whether you’re using pitch shifting to fix issues in a recording or to create brand-new sounds, it’s a must-have technique in any producer’s workflow.
Don’t worry, we’ll be breaking down everything (in detail) throughout the article so you get a solid understanding of how to use pitch shifting in your own tracks.
Using a Pitch Shifter Like a Boss
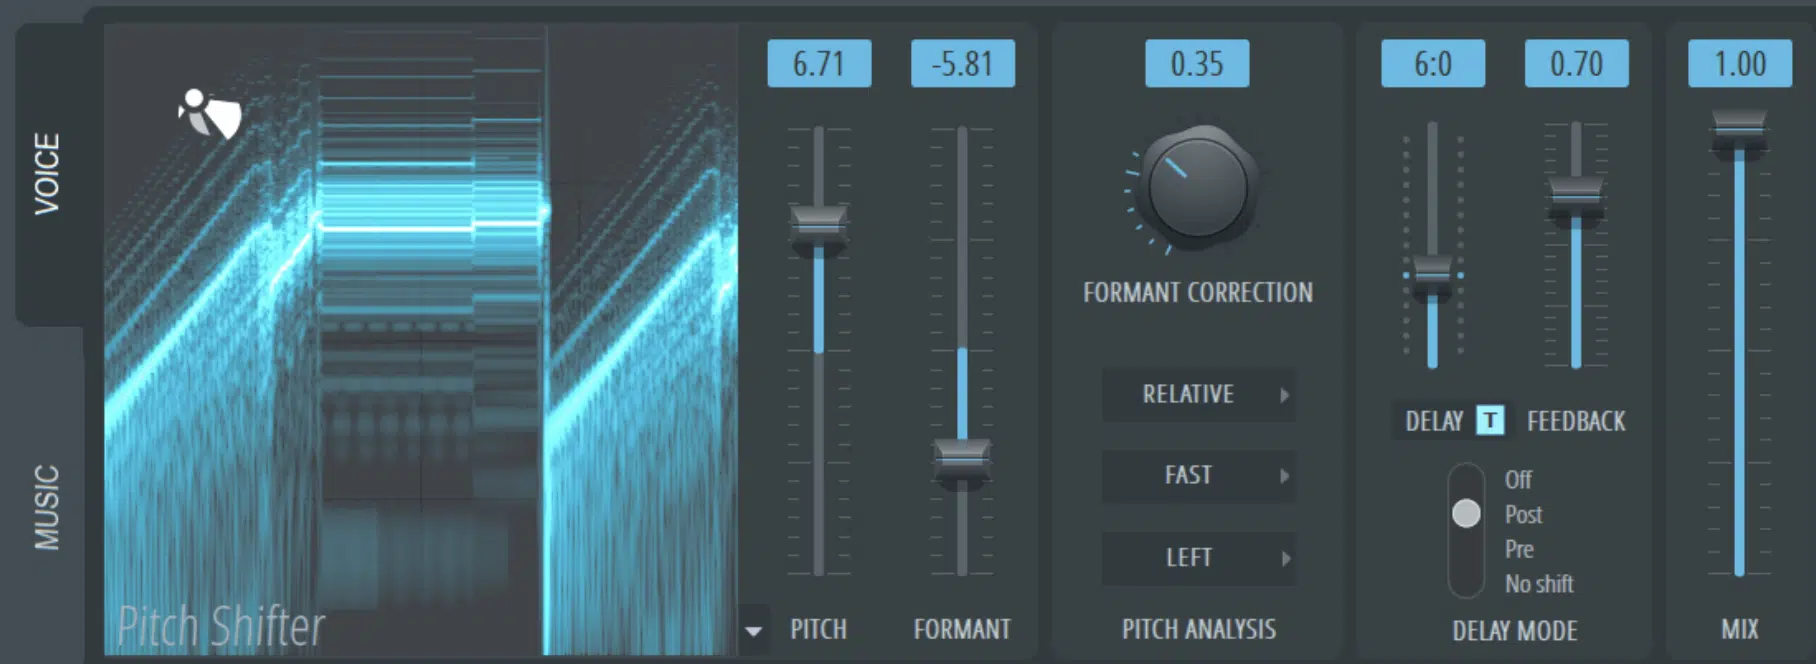
A pitch shifter is super versatile and, whether you’re working with vocals, instruments, or sound effects, pitch shifters let you change the pitch of an audio file with precision.
For example, you can shift a vocal line up 5 semitones to create a harmony or drop a melody down an octave to add weight and depth.
When using a pitch shifter, make small adjustments (like shifting by 1 or 2 semitones) to add subtle variation without drastically altering the sound.
For more dramatic effects, try shifting up a full octave and layering the pitch-shifted file with the original for added depth and intrigue.
If you’re working on complex audio, like layered voices or intricate instrumentals, experiment with pitch shifters that offer fine-tuning options like cent adjustments.
This will help you maintain clarity and balance in your mix, which you always want.
Pitch Shifting Techniques: Breaking it Down
Pitch shifting isn’t just one-size-fits-all 一 it’s a collection of techniques that can completely transform your audio. So, for this next section, let’s break down the essential techniques you need to know to master pitch shifting.
-
Transposition
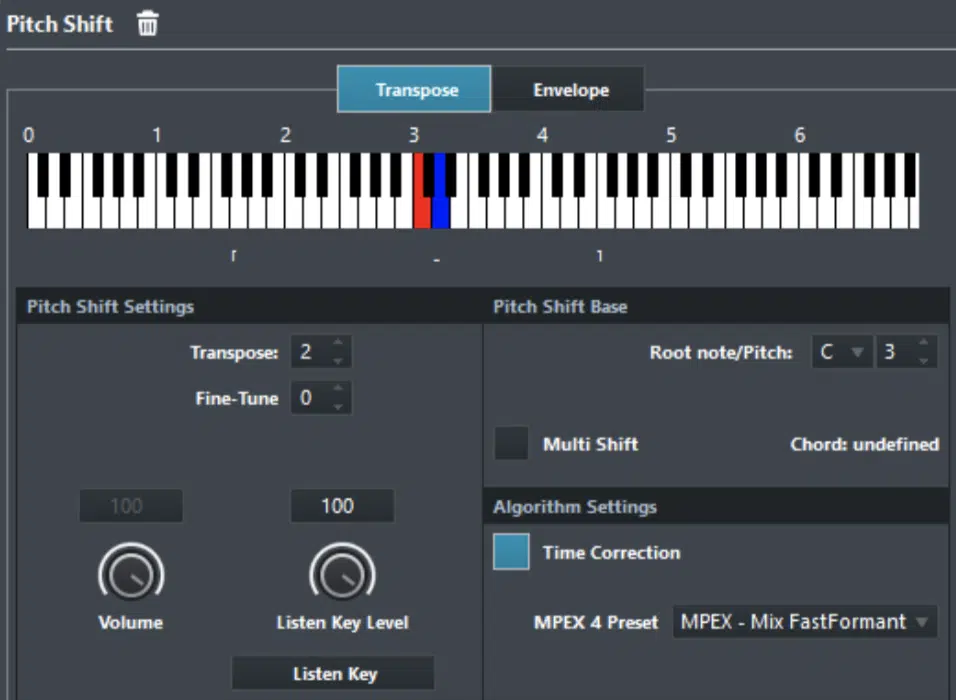
Transposition involves shifting the pitch of an audio file by specific intervals, like a:
- Semitone 一 Moving up or down one half-step for subtle adjustments.
- Major third 一 A wider jump, adding edge to harmonies.
- Full octave 一 A dramatic change for completely altering the tone.
For example, if you’re working on a melody, transposing it up 12 semitones (one octave) can create a brighter, more uplifting vibe, perfect for choruses or energetic sections.
On the other hand, transposing it down 7 semitones (a perfect fifth) can introduce tension and drama, often used in cinematic scores or moody bridges.
It all depends on the vibe you’re aiming for, of course.
For layered harmonies, duplicate your audio file and transpose one copy up by a fourth (5 semitones) and another down by a fifth (7 semitones).
This will create a solid harmonic structure that works great for vocals or lead lines, especially when panned slightly left and right for stereo width.
You can also experiment with transposing a bassline up by an octave to mimic a lead instrument 一 giving it a whole new presence in the mix.
Keep in mind that very large transpositions, like moving an audio file up or down by more than an octave, can sometimes introduce unwanted artifacts.
If you notice this, try using higher-quality .WAV files to minimize the impact, and make sure to always listen closely and adjust as needed; don’t overdo it.
My advice is to use transposition with caution when working with vocals or leads and more freely with background layers of effects (it’s all about balance, people).
-
Formant Preservation
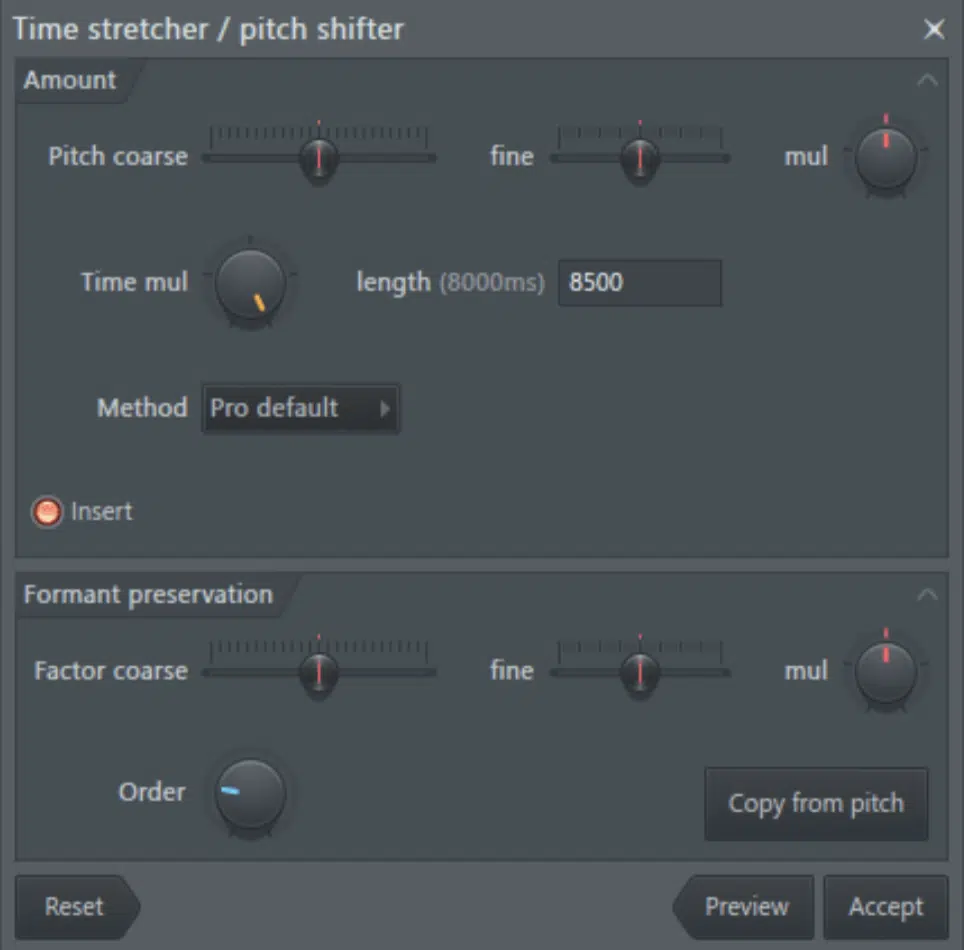
Formant preservation ensures that when you shift the pitch of an audio file, it keeps its natural timbre and tonal characteristics on point/intact.
This is especially important for vocals because shifting up or down even half an octave without preserving the formants can make a voice sound unnatural or robotic.
For example, if you’re pitching vocals down 3 semitones to create a darker tone, formant preservation will help retain the original vocal texture and avoid distortion.
On the same note, if you’re adjusting a vocal up an octave for harmonic purposes, preserving the formants will prevent it from sounding thin or overly processed.
Just make sure to test different formant settings based on your specific track:
- Lower settings (around 70%) work great for deep, haunting sounds.
- Higher settings (90% or above) keep the sound closer to its original tone.
This technique also works with instruments as well.
For example, when pitch-shifting a bass guitar up an octave, formant preservation helps you mimic the tone of a higher-register stringed instrument.
All while keeping the clarity of the original file, which is great.
Same goes for synths 一 shifting a pad down by an octave with formant preservation can give it a warm, atmospheric feel without losing its tonal flair.
Always tweak the settings to fit the audio file and experiment with subtle changes to find the sweet spot for your mix.
-
Pro Tip: Time-stretching vs. Pitch-shifting
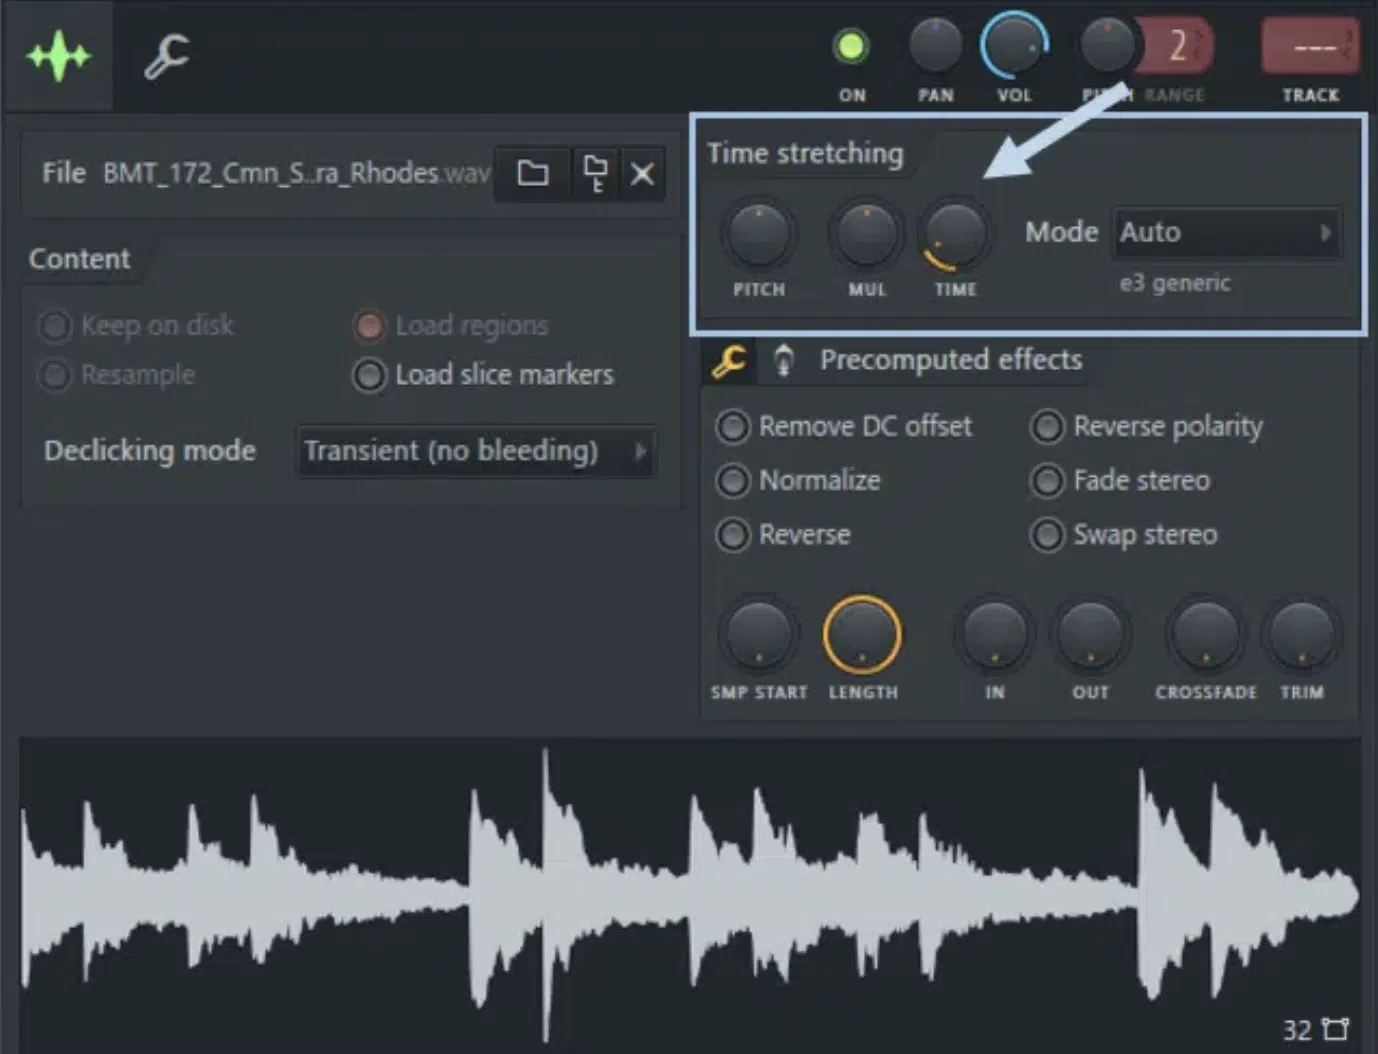
Understanding the difference between time-stretching and pitch-shifting is super important if you want to achieve the effect you’re going for and maintain audio quality.
Pitch-shifting changes the pitch of an audio file without affecting its speed, making it perfect for tasks like creating harmonies or altering the key of a song.
For example, if you want to shift a vocal line up by half an octave (6 semitones) while keeping the tempo steady, pitch-shifting is the way to go.
It’s also great for creating sick variations in your instrumental parts, such as pitching a guitar riff down an octave to give it a bass-like quality.
Time-stretching, on the other hand, alters the speed of an audio file without changing its pitch.
If you want to slow down a drum loop to match the tempo of a slower section in your song, time-stretching will preserve the pitch so it remains consistent.
For example, stretching a drum loop from 120 BPM down to 90 BPM can create a laid-back groove without altering the tone of the kick or snare.
But again, keep an eye and ear out for artifacts…
When slowing an audio file significantly, time-stretching can introduce glitches or distortion, especially with more complex sounds like layered instruments or vocals.
For instance, stretching a dense piano track by more than 20% can result in muddy, unrealistic tones, and nobody has time for that.
To avoid all this nonsense, always preview your adjustments on soloed tracks first and aim for subtle changes when possible.
For cleaner results, apply these techniques in sections of your song rather than the entire mix, especially when working with tempo-locked audio files (e.g., .WAV stems).
NOTE: Splitting audio into smaller clips before applying time-stretching or pitch-shifting can help you focus on precision and reduce processing errors.
These small steps can make a huge difference in the final quality of your tracks, so don’t overlook it.
-
Creating Vocal Harmonies and Layering
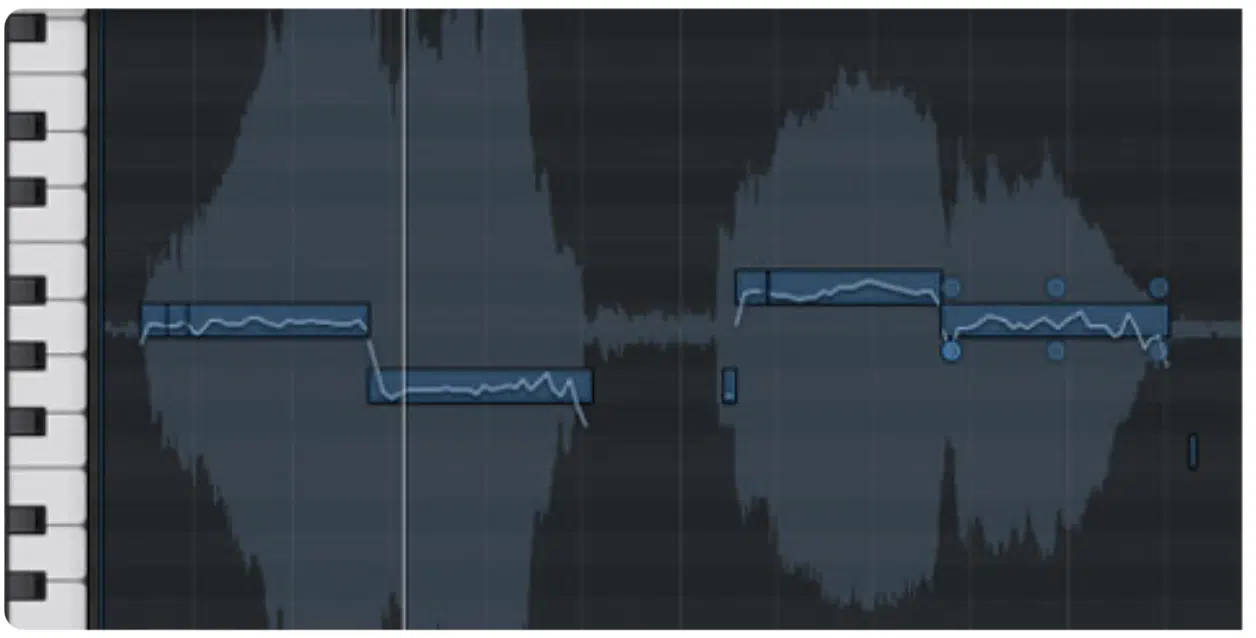
Pitch shifting is one of the easiest and straightforward ways to create vocal harmonies and dynamic layers in your tracks.
You’ll want to start with a clean vocal recording and duplicate the file, and then:
- Shift one copy up 7 semitones (a fifth)
- Shift another down 5 semitones (a fourth)
This will create a full, epic harmonic spread, but be careful not to go HAM with the layering because too many harmonies can seriously crowd your mix.
Keep the additional layers subtle by lowering their volume by 6-10 dB compared to the lead and use panning (e.g., shift one harmony 30% left and the other 30% right).
This will create a balanced stereo width.
If you want a more modern, processed sound, try combining pitch-shifting with some reverb and a touch of delay (ping-pong delay set to quarter notes works well).
This will make the harmonies float in the background, and keep the lead vocal front and center where it should be.
To make your layers even more cohesive/fluid, apply light EQ to remove low-end rumble (below 100 Hz) from the harmonies and a touch of compression to glue the layers together.
-
Designing Unique Instrumental Textures & Special Effects
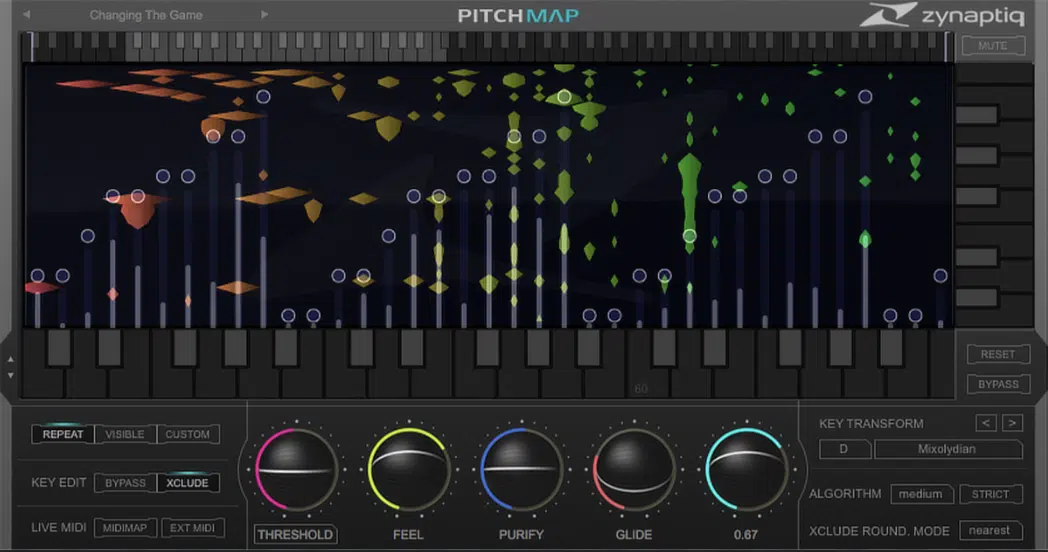
Like we said earlier, pitch shifting isn’t just for vocals… It’s a powerful way to create wild, experimental effects on instruments as well.
You can try pitch-shifting a synth line down an octave to add a heavy, gritty undertone, or shift it up a few semitones for a brighter, more playful vibe (dealer’s choice).
For robotic voices, drop a vocal line by 12 semitones and add distortion or a bitcrusher to give it a metallic, digital edge.
Detuning is another great technique 一 slightly pitch-shift a duplicate layer of an instrument up or down by 10-15 cents to create a rich, chorused sound.
You can also automate the pitch slider over time to create dramatic risers or drops, which work great for EDM or cinematic transitions.
The key to designing these textures is experimenting, so duplicate your audio files, tweak the pitch settings, and layer them until you find a sound that stands out.
Always keep your final mix in mind, though, and make sure these effects enhance the overall feel of the song rather than overpowering it or destroying it altogether
-
Advanced Pitch Shifting Techniques
If you want to take pitch shifting to the next level, there are a few advanced techniques that can truly elevate your tracks, and the following are my personal favorite.
#1. Micro-shifting

Micro-shifting involves detuning an audio file by just a few cents (like -10 or +10) to create subtle width and depth.
This is perfect for layering vocals or adding movement to static instrumental sounds.
For example, if your lead vocal is at 0 cents, try shifting one layer to +8 and another to -8 for a lush, chorused effect that doesn’t overpower the mix.
You can also apply micro-shifting to pads or synths to make static sounds feel more dynamic and alive, perfect for EDM or ambient music.
#2. Granular Pitch-shifting
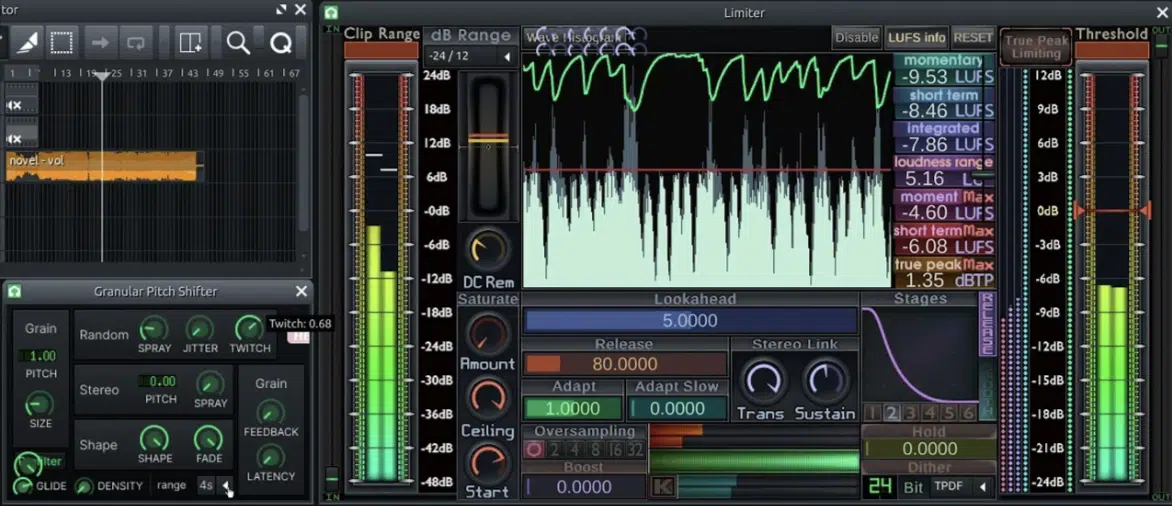
Granular pitch shifting is where small fragments of the sound are shifted independently to create glitchy, futuristic textures.
For example, apply granular pitch shifting to a drum loop to generate randomized pitch variations, or use it on a vocal chop to make it sound fragmented and robotic.
Make sure to dial in the grain size (start with 30ms and experiment) to control how smooth or choppy the effect feels.
#3. Automating Pitch Changes
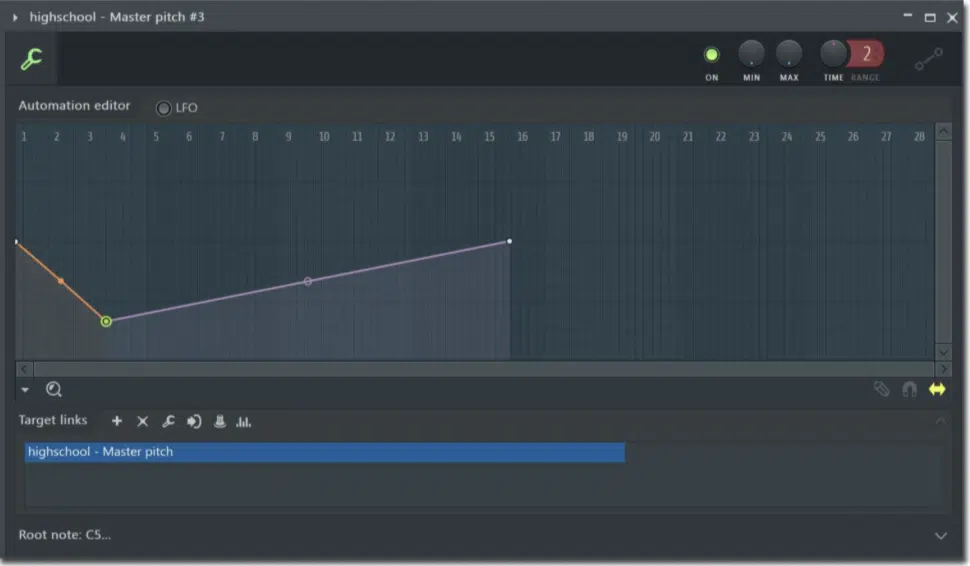
Automating pitch changes can add some serious motion and drama to your track.
Set up an automation curve to gradually shift the pitch of an audio file, like a slow rise of half an octave over 16 bars to build tension in a breakdown.
This works perfectly for transitions in EDM or cinematic tracks.
For example, automate a vocal sample to drop an octave at the end of a phrase for a dramatic, impactful finish.
Just make sure to preview the automation in the full mix to make sure it flows perfectly with the rest of the track.
#4. Combine Pitch Shifting with Time Stretching
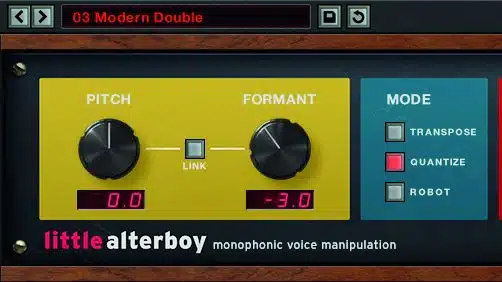
Mixing pitch shifting with time-stretching can produce epic warped, otherworldly sounds that are pretty impressive.
For instance, pitch a pad sound down an octave while stretching its speed to 200% slower for a deep, ethereal atmosphere.
And don’t be afraid to push your speed and tempo settings to extremes when experimenting because this is where the magic happens.
When pitch-shifting audio, always consider the key of your song to ensure everything sounds fluid.
If you’re working with .WAV files, duplicate the original before making adjustments to preserve the quality.
To mimic natural vocal harmonies, play around with slight variations in pitch and speed (shifting one layer slightly slower 一 keep the other at the original speed).
This technique works super well for songs with complex arrangements to add depth and character that is hard to beat.
And yes, I’m saying it again: always double-check the shifted parts against the rest of the mix to make sure they blend properly into the key of your songs.
Bonus: Essential Tools & Plugins for Pitch Shifting
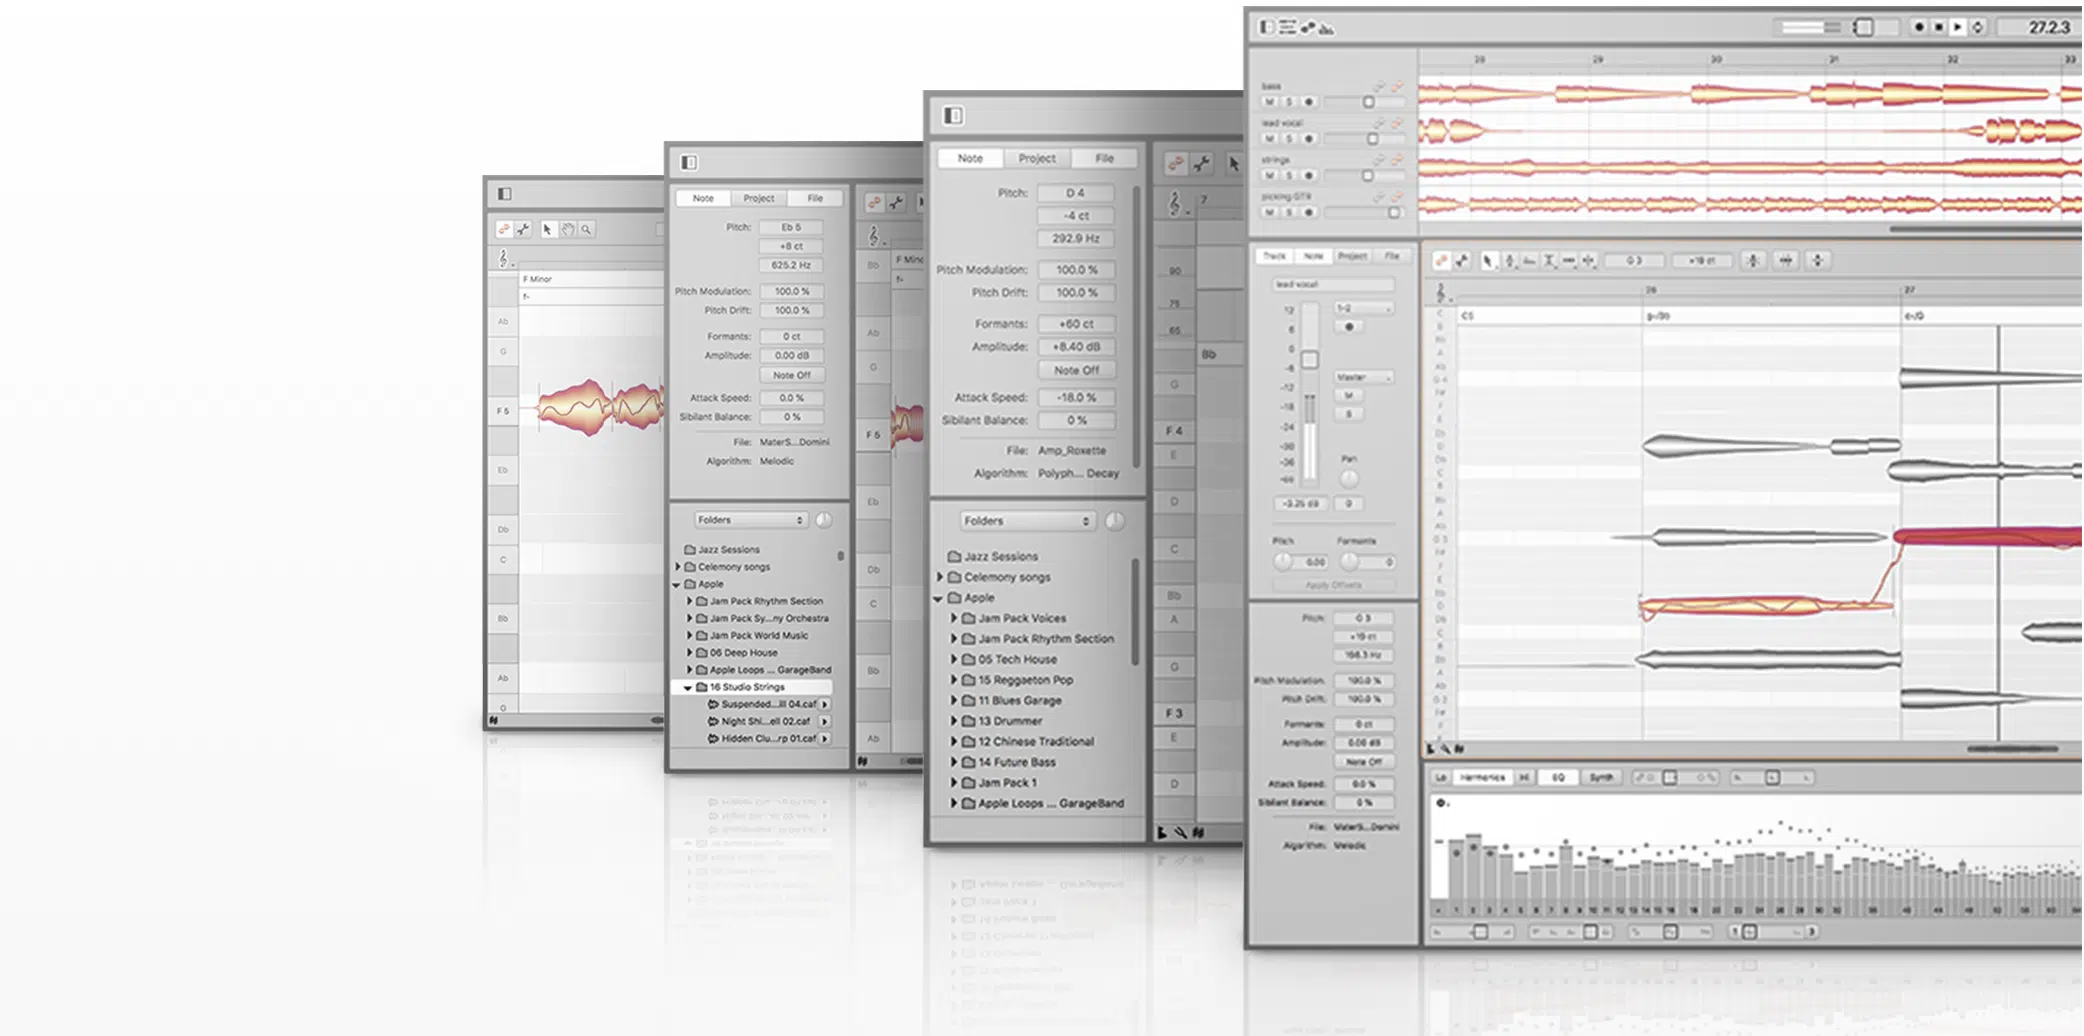
When it comes to pitch shifting tools, your options are endless, but a few plugins stand out as industry favorites (including yours truly).
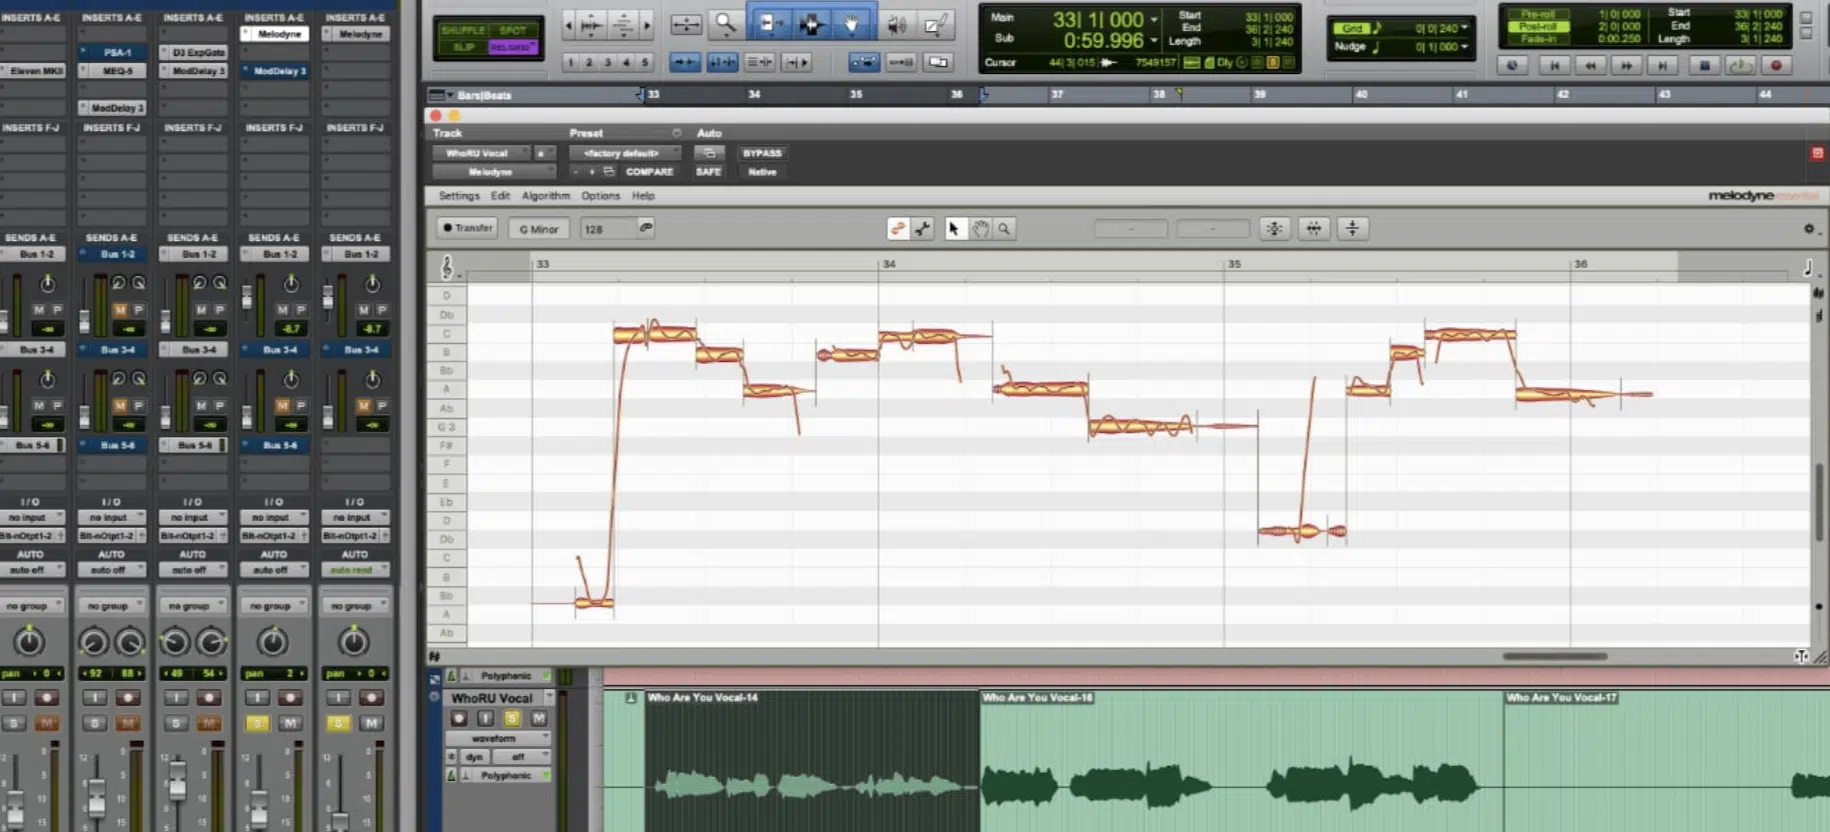
Melodyne is a go-to for its precision and ability to pitch-shift individual notes in polyphonic audio files.
For real-time performance, plugins like Soundtoys’ Little AlterBoy offer instant pitch manipulation with formant shifting and detuning options.
Logic Pro’s Flex Pitch and Ableton Live’s Warp function are also solid when it comes to maintaining sound quality while making major pitch adjustments.
For producers who need quick results, an online pitch shifter can be a lifesaver, especially for editing on the go, but they’re pretty lame, so don’t depend on them.
If you’re working with hardware, a device like the Electro-Harmonix Pitch Fork pedal provides hands-on control for instruments like bass guitar or vocals.
I’ve personally used that one and I can guarantee it’s super on point.
NOTE: Remember to take advantage of presets that come with these tools. They often provide great starting points for pitch-shifted effects while leaving room for customization.
Final Thoughts
Pitch-shifting is one of those key tools you need to know as a producer if you want a shot at competing with the professionals.
It can transform your tracks, add depth, and open up endless creative possibilities.
Plus, as you now know, you can use it to create harmonies, design unique textures, and manipulate sounds in ways that make your music stand out.
Not to mention, mastering pitch shifting allows you to experiment with different keys and tempos, giving you the flexibility to create the perfect sound for your songs.
As a special bonus (since we talked about vocals, naturally), you’ve got to check out the most legendary Free Vocal Samples in the game.
This epic pack contains 20 professional-quality vocal loops, chops, and one-shots that are perfect for all genres and styles.
These samples are 100% royalty-free and cover a range of styles, which makes them invaluable for adding that extra edge to your tracks.
Whether you’re looking to enhance your melodies or add dynamic layers, this pack is a must-have, created by the top producers in the game.
Remember, the key to becoming one of the greats in the music production scene, experimentation and continuous learning is non-negotiable.
So, always keep pushing your creative boundaries, and never be afraid to try new techniques 一 your next big hit could be just a pitch shift away.


Leave a Reply
You must belogged in to post a comment.