Ableton’s drum rack is one of the most powerful (and fun) tools in Ableton Live.
It can transform how you build your drum kits 一 adding effects, instruments, and even entire chains of sound to each pad.
Plus, it’s packed with flexible features like choke groups, return chains, and hot-swap functionality that can completely change your music production game.
As a producer, mastering the Ableton Drum Rack can seriously elevate your production game and streamline your creative process.
That’s why I’m breaking down everything you need to know about the Ableton drum rack, including:
- Setting up your drum kits ✓
- Working with drum pads ✓
- Layering sounds on one pad ✓
- Using choke groups ✓
- Applying any audio effect & return chains ✓
- Hot-swapping samples in Ableton Live ✓
- Extracting individual tracks ✓
- All about macro controls ✓
- Advanced features like chain selectors ✓
- Hidden secrets for live performance ✓
- Much more about Ableton drum rack ✓
After this article, you’ll know everything about the Ableton Drum Rack.
Meaning, you’ll be able to build custom drum kits from scratch, add layers of effects, and fine-tune each sound to absolute perfection.
Plus, you’ll make sure every element of your drum machine works together flawlessly while optimizing your music production workflow.
Whether you’re layering sounds or switching between effects in live performances, you’ll be able to take advantage of all its potential like a pro.
So, let’s dive in…
Table of Contents
- Ableton Drum Rack: Breaking it Down
- Getting Started with Ableton Drum Rack (Creating Drum Kits)
- Working with Pad Controls
- “Zoning” Out
- Advanced Features of Drum Rack
- Randomizing and Variations
- Hot-Swapping Samples
- Extracting and Organizing Drum Racks
- Grouping Drum Racks with Instrument Racks
- Hidden Features and Pro Tips For Ableton Drum Racks
- Ableton Drum Rack: Final Thoughts
Ableton Drum Rack: Breaking it Down
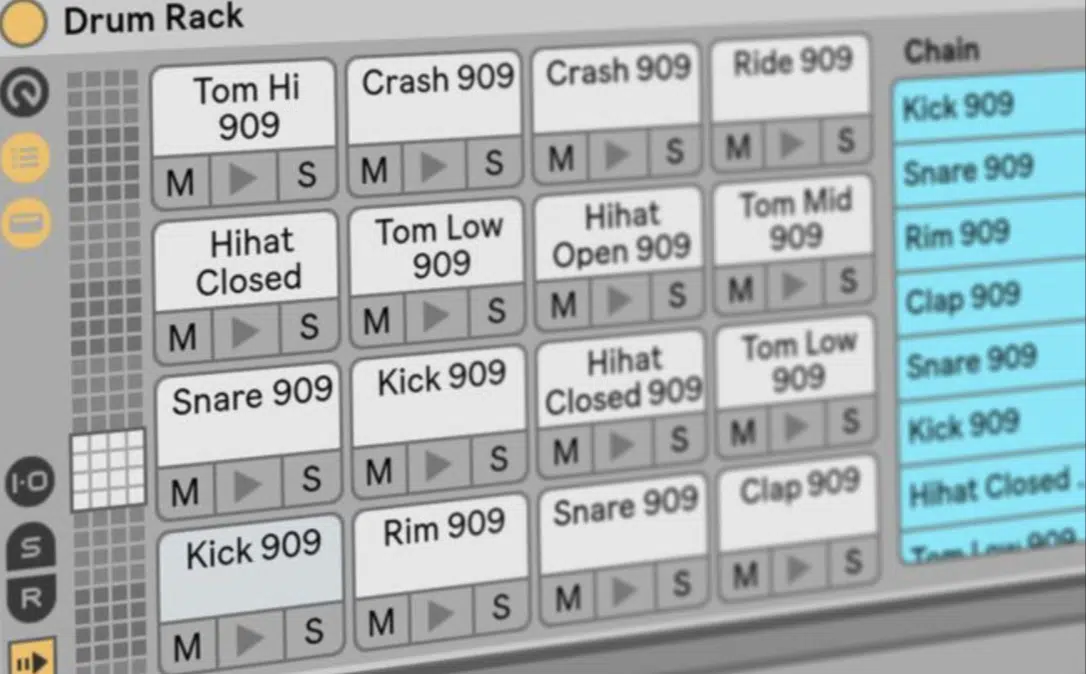
The Ableton Drum Rack is a flexible tool designed to simplify the process of building intricate drum kits while offering deep customization.
As well as advanced production features too, of course.
It lets you assign individual drum sounds, instruments, or even entire audio effects onto each of its 128 MIDI pads.
Whether you’re adding classic percussion sounds like snares and hi-hats or experimenting with synths, it gives you full control over your kit’s sounds/parameters.
And bonus, it’s not just limited to drums 一 you can create complex instrument tracks and explore countless sound design possibilities.
Don’t worry, we’ll be breaking it all down today so you have a solid understanding and you’ll be able to knock out killer tracks in no time.
Getting Started with Ableton Drum Rack (Creating Drum Kits)
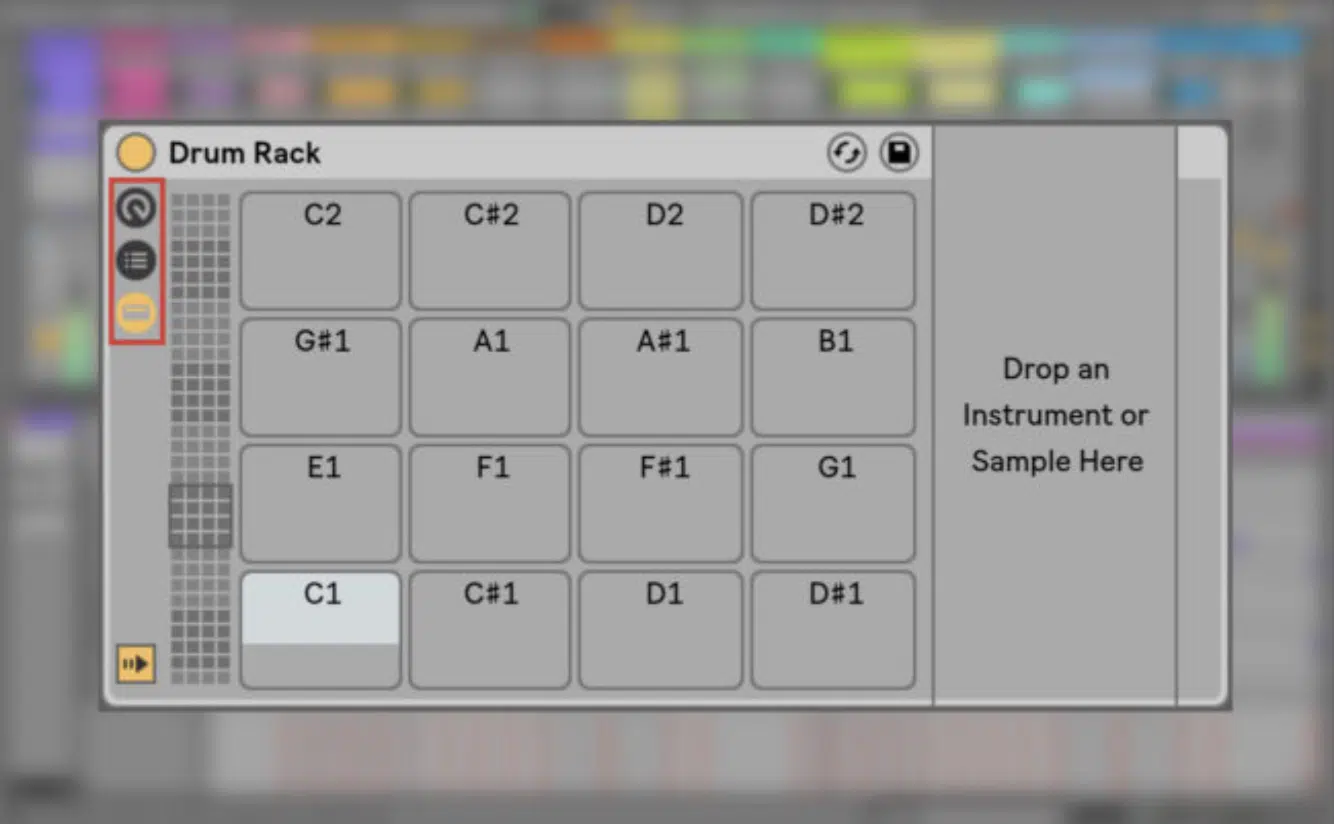
To start using the Ableton Drum Rack, you’ll first need to load it from the browser…
Simply navigate to the “Instruments” section of the browser and locate Drum Rack under the instrument options.
To do so, you can simply drag and drop the rack into MIDI tracks to begin putting in work and knocking out sick beats.
The interface shows a grid of 16 visible drum pads (out of 128 total) where you can assign various sounds and samples.
Each pad represents a separate drum cell where you can assign samples or even synths for more complex sound design beyond just standard drum kits.
For example, you could assign:
- A kick sample to the first pad
- A snare to the second
- A synth stab or vocal chop onto another pad
This will create a hybrid drum and melody section that’s out of this world.
The real magic happens, however, when you layer sounds on top of each other like stacking multiple kick samples on one pad to create a thick, powerful low-end.
Try layering a sub-heavy kick with a punchy mid-range one to give you both impact and depth in your mix.
Each pad is also connected to its own chain list so you can adjust volume, panning, and apply audio effects to individual sounds.
For instance, you can add reverb to your snare while keeping your kick dry, or apply distortion to just one hi-hat without affecting the others.
This granular level of control is one of the many reasons why Ableton Live’s Drum Rack is so powerful when it comes to creating unique, professional-sounding beats.
Working with Pad Controls
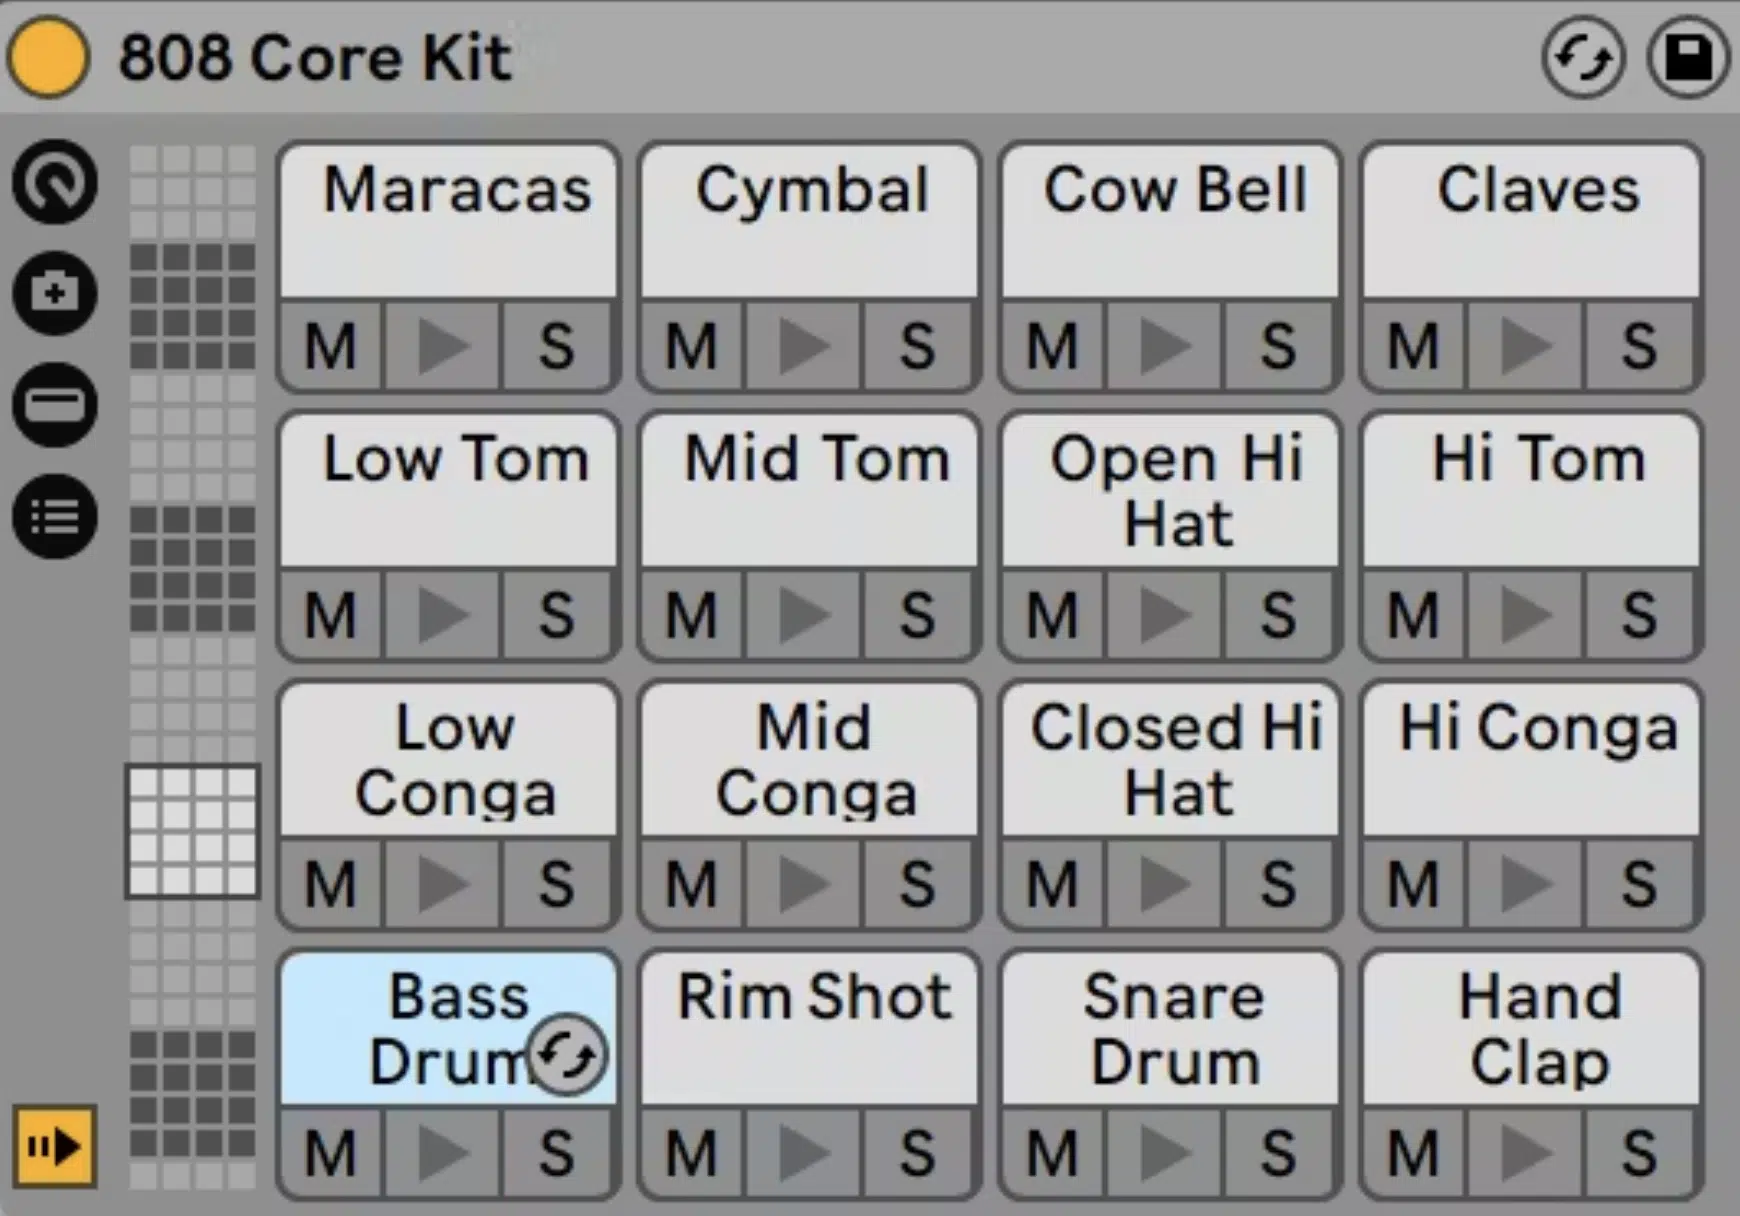
Each drum pad in Ableton Drum Rack gives you total control over the sounds loaded onto it.
One of the coolest features is the ability to assign multiple samples to a single pad, which can then be triggered at different velocities or randomly selected by a MIDI effect.
For instance, you can load three different snare samples onto one drum pad and have Ableton Live trigger them based on how hard you hit your MIDI controller.
This way, no two hits sound exactly the same in your drum kit.
This is super useful for hi-hats or percussion elements where subtle differences make a huge impact on the overall groove.
You can also use the Macro controls to adjust key parameters like volume level and pan across all the drum pads like we mentioned above so you can fine-tune the entire kit.
Want to mute or solo a specific drum pad?… No problem, just use the drum pad’s control options to isolate or adjust individual sounds.
This setup provides flexibility so you can customize how each instrument track interacts within your setup (get as creative as you want).
“Zoning” Out
In Ableton Drum Rack, key zones and velocity zones allow you to customize how and when your samples are triggered, so let’s break it down further.
Key zones let you determine which notes on your MIDI controller will activate each sound, so you can control multiple samples across different pads based on pitch.

For instance, you could set different kicks or snares to trigger depending on the MIDI note being played for more variation in your patterns.
Velocity zones add another layer of control by adjusting which sample is played based on how hard you hit the pad.

For example, you can set a soft snare hit to trigger at lower velocities and a harder snare hit when you press the pad with more force.
This helps you create dynamic, realistic drum performances where intensity and velocity control which samples are triggered.
Chain select zones allow you to take things further by letting you switch between entire chains of sounds or effects within the drum rack.

By mapping the chain selector to a MIDI controller or macro controls, you can quickly switch between different drum or effect setups during live performances.
This gives you instant access to different sounds or processing chains based on your track’s specific/unique needs.
This epic feature lets you move beyond static beats and into more immersive, evolving soundscapes that can set your tracks apart.
Advanced Features of Drum Rack

Choke Groups
The Ableton Drum Rack offers killer advanced features that can transform your production, and one of my go-to techniques is using Choke Groups (shown above).
This is where one sound cuts off another.
It’s essential for recreating realistic hi-hat patterns like when an open hi-hat is triggered, it automatically silences the closed one, simulating how a real drummer would play.
The same choke group isn’t limited to hi-hats; you can also use them for kicks, snares, or any other sounds that shouldn’t overlap, like muting cymbals when snares hit.
To set up a choke group in Ableton drum rack:
- Double-click the pad
- Go into the I/O settings
- Assign the pads to the same choke group via the choke choosers dropdown
This simple step makes a huge difference in the realism and depth of your drums 一 turning basic MIDI programming into something much more lifelike.
Another hidden gem is the ability to assign Return Chains within your Drum Rack.
By doing this, you can route multiple pads through shared effects like reverb or delay, applying the same audio effect to several sounds without overloading the CPU.
The Chain Selector is another powerful tool that lets you switch between different effects or instruments on the fly, perfect for live performances or creativity.
Exploring these features gives you a deeper understanding of the capabilities Ableton Live has to offer, making the Drum Rack more than just a simple drum machine.
You can really get crazy when it comes to advanced sound design.
Side note, if you want to learn all about finger drumming to help you with mastering the drum rack, we’ve got you covered.
Randomizing and Variations
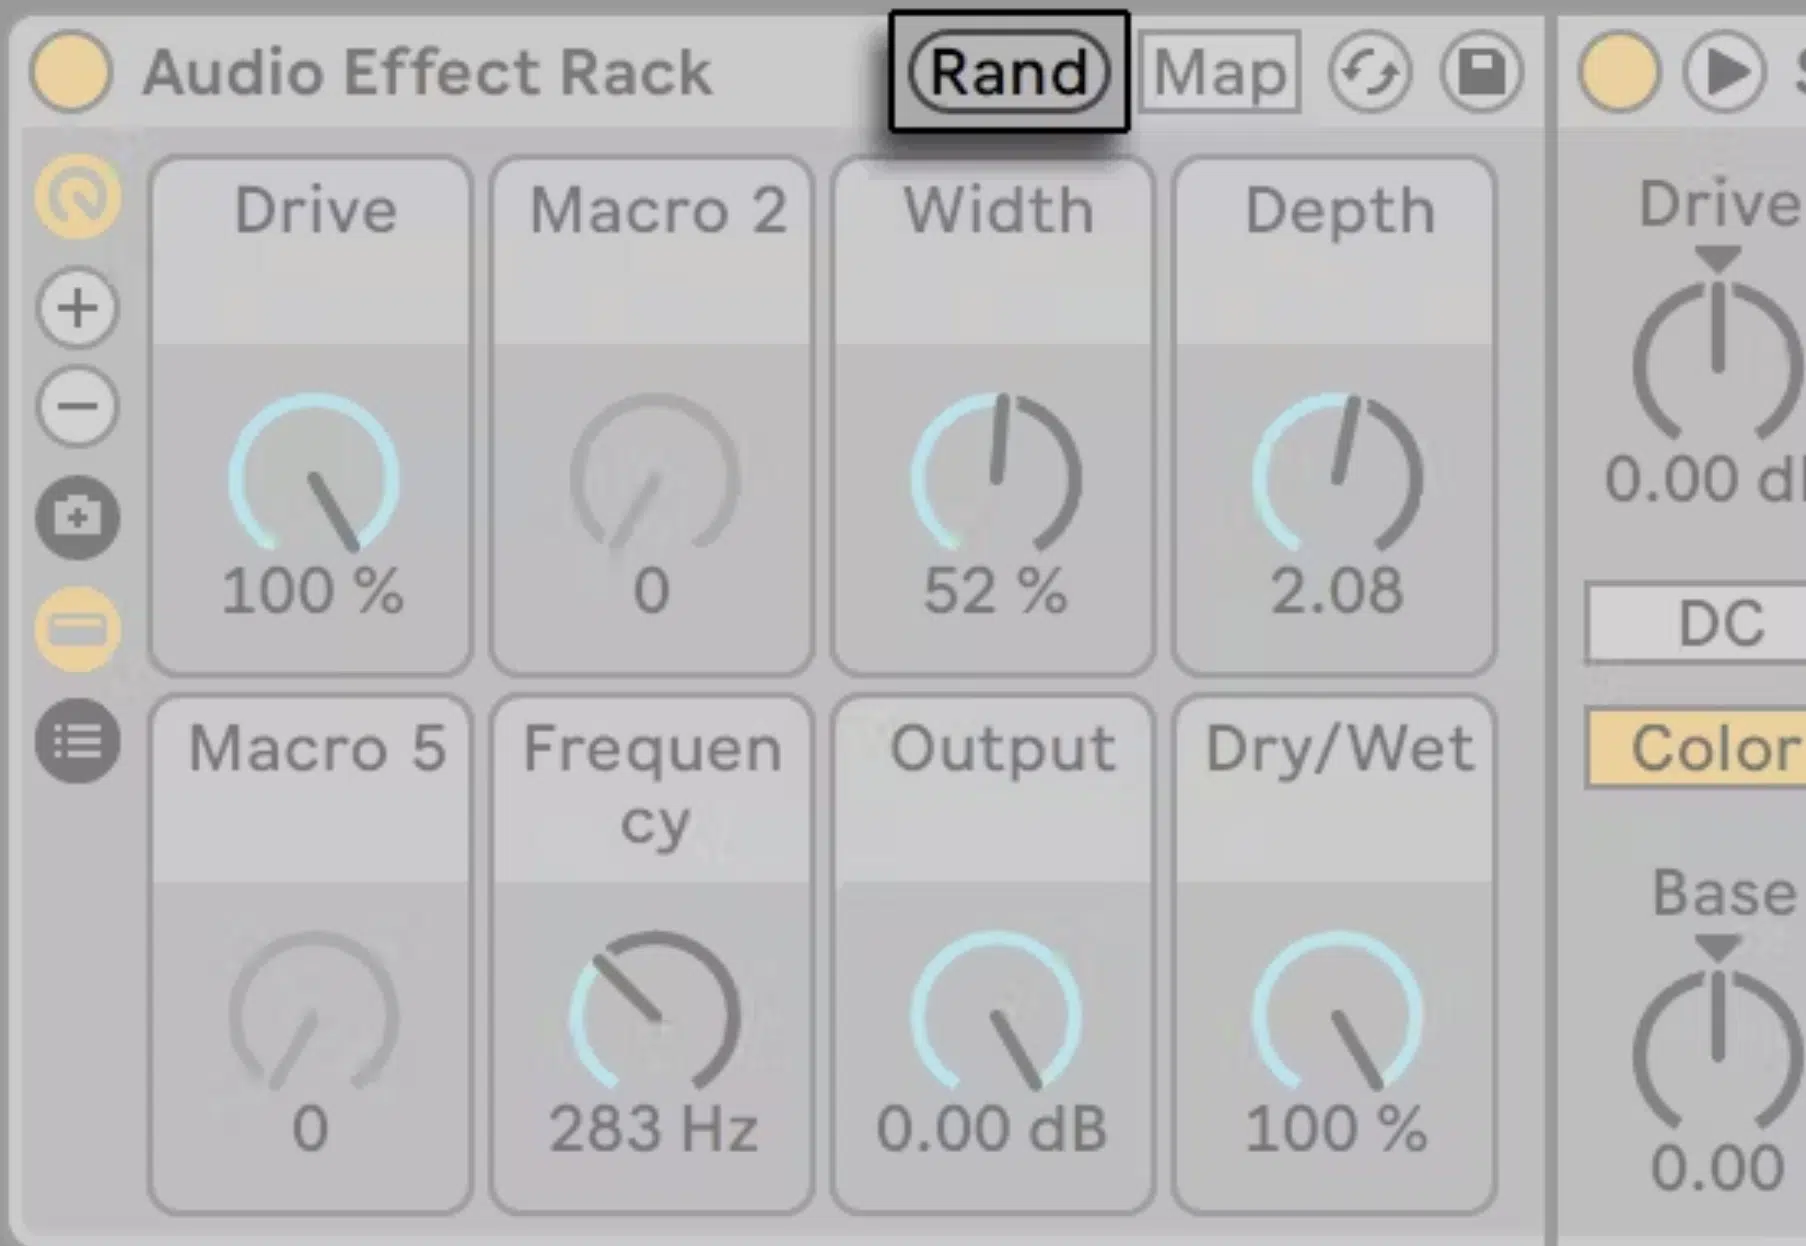
To keep your drum kits from sounding too static, Ableton Drum Rack offers powerful tools for randomizing patterns and creating variations.
A great example of this is using the MIDI effect Arpeggiator in random mode, which can trigger different samples from the same pad each time the note is played.
For instance, you can load three different snare hits onto one pad and let the Arpeggiator randomly select which one gets triggered.
It adds some much-needed unpredictability to your beat.
This feature is a perfect solution when you want to avoid robotic loops and instead inject some organic feel into your music production process.
You can adjust the rate of the Arpeggiator (e.g., 1/4, 1/8 notes) to control how frequently the samples switch 一 giving your beat a more dynamic, human feel.
Hot-Swapping Samples
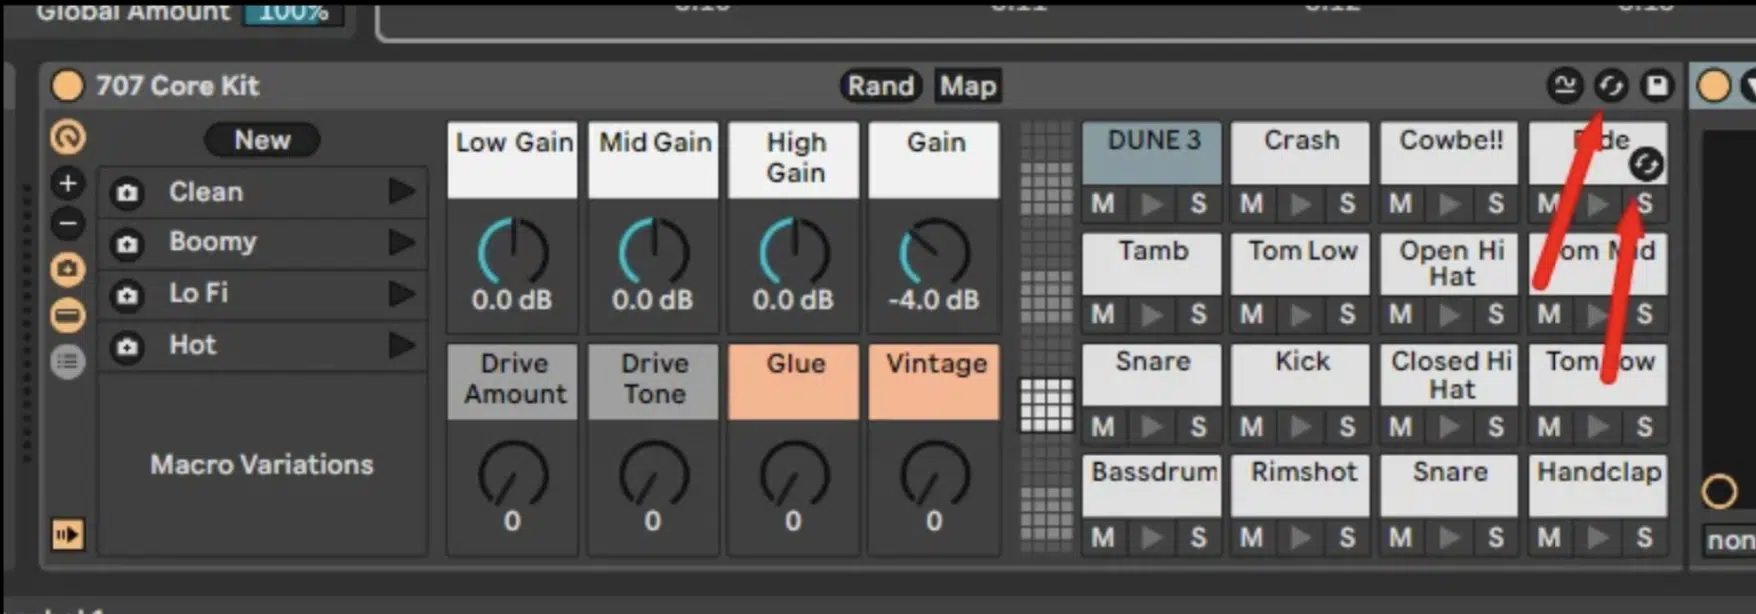
One of the standout features of the Ableton Drum Rack is its hot-swap functionality, which allows you to change samples quickly without interrupting your workflow.
For example, if you’re not happy with a snare sound, you can simply hover over the drum pad, click the hot-swap button, and browse through your library to find a replacement.
When you’re trying to fine-tune the sound of a drum kit or experiment with different tones, this is where it’s at.
I usually start with a basic snare sample, then hot-swap through various layers of snares or even add foley percussion sounds to give the beat more texture.
The hot-swap feature speeds up the creative process by letting you hear each new sample in context with the rest of your kit.
It’s a time-saver when you’re building complex drum racks, giving you more flexibility to fine-tune sounds on the fly without slowing down your workflow.
Extracting and Organizing Drum Racks
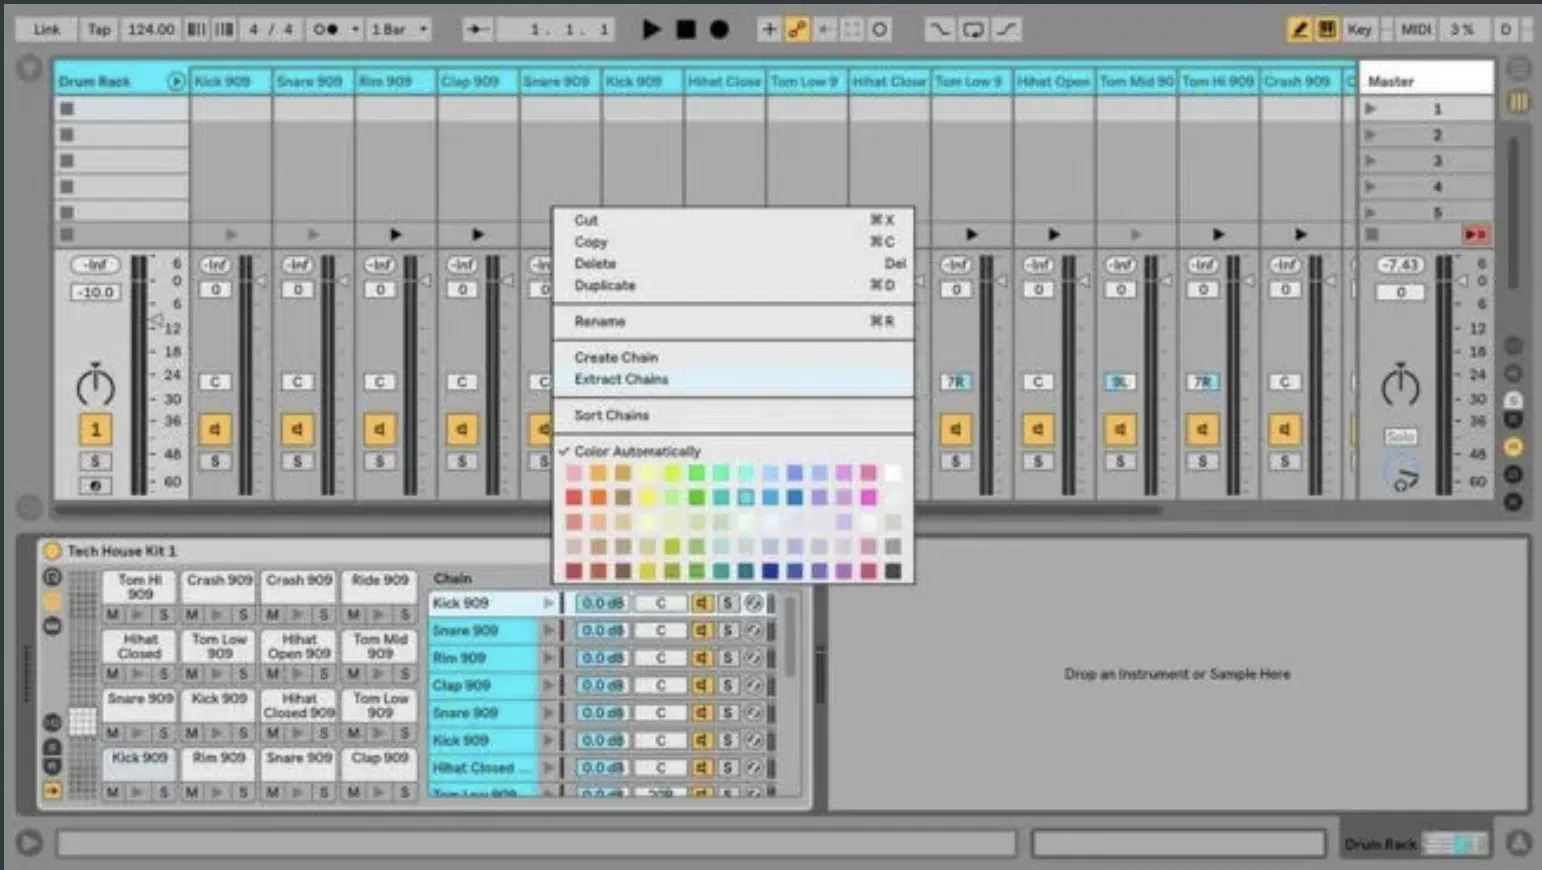
Once your drum rack is packed with samples and effects, you can extract specific sounds to their own instrument tracks for better control.
In Ableton Live, this is done by right-clicking on a drum pad and selecting “Extract Chains,” which moves the sample and its effects to a new MIDI track.
For example, if you’ve built a complex kick drum with layered samples and effects, but want to tweak it separately, you can extract it from the entire rack without affecting the other sounds.
This feature is especially helpful when you want to add separate automation or detailed effects like EQ to individual parts of your kit.
You might want to add sidechain compression only to the kick or automate the hi-hat’s panning to create more movement, and you certainly can.
Extracting pads allows you to organize your tracks better, giving you more precision over the mixing and processing of each element in your beat.
Grouping Drum Racks with Instrument Racks
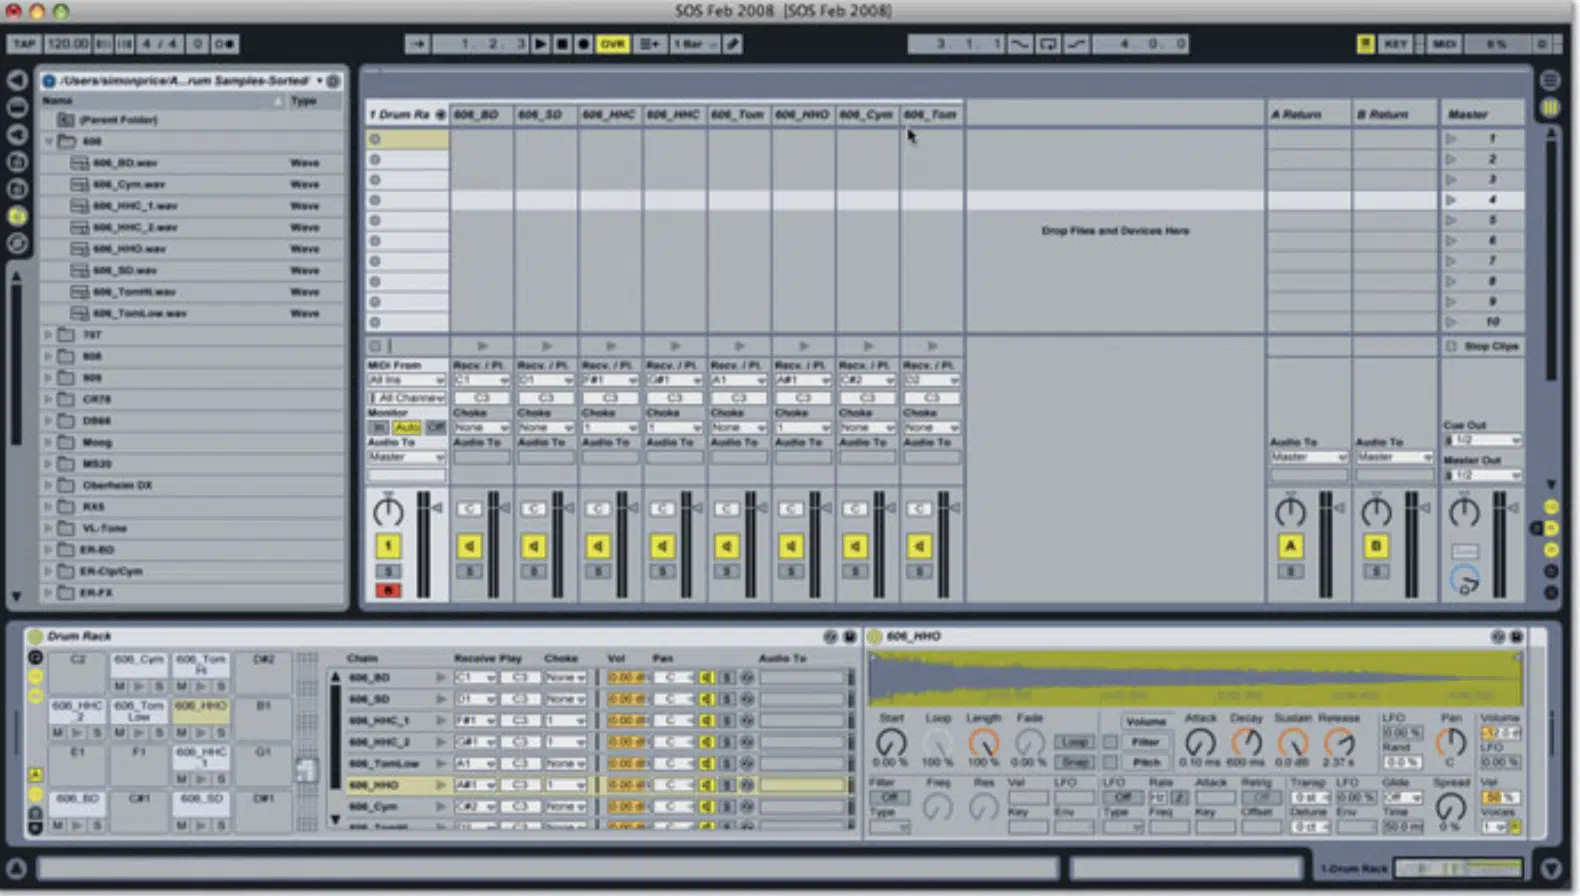
One of the most efficient ways to enhance your workflow in Ableton Live is by combining/grouping drum racks with instrument racks.
This combination allows producers like yourself to go beyond basic drum kits and explore deeper sound design possibilities.
For instance, you can group a drum rack with an instrument rack to layer synths or effects onto each drum cell.
It’ll create hybrid sounds that can be triggered with a single pad (like a booming 808 kick with a sub-bass synth from an instrument rack).
You should take advantage of this setup, especially when experimenting with complex rhythms and textures in the latest version of Ableton Live.
By integrating both instrument racks and drum racks, you can streamline your production process, making it easier to control both drums and melodic elements.
This setup is super useful for live performances, where producers need quick access to multiple layers of sound within the same version of their session.
It’s a versatile approach that allows you to maximize the potential of every drum cell in your kit while keeping your session organized and efficient.
Hidden Features and Pro Tips For Ableton Drum Racks
Beyond its straightforward interface, the Ableton Drum Rack hides powerful features that can take your production to the next level. Let’s dive into a few pro tips that will help you unlock its full potential.
-
Preset Banks and Custom Slicing Presets
Using preset banks in Ableton Drum Rack can streamline your workflow, especially if you have go-to setups for specific genres or styles.
You can create custom slicing presets, which allows you to chop up samples and load them directly into your drum rack.
For instance, when working with a drum break, you can slice the audio file into individual hits and spread them across different drum pads.
This is done by using a preset that determines how the slices are arranged.
I often create preset banks for various drum sounds, like one for lo-fi snares and another for trap hi-hats, so I can quickly access them without having to rebuild each rack from scratch.
Another pro tip is mapping a macro control to switch between these presets during live performances, of course.
This lets you move from one set of samples or effects to another, which is great for improvisational or evolving live sets as we discussed.
-
Copying Values to Siblings
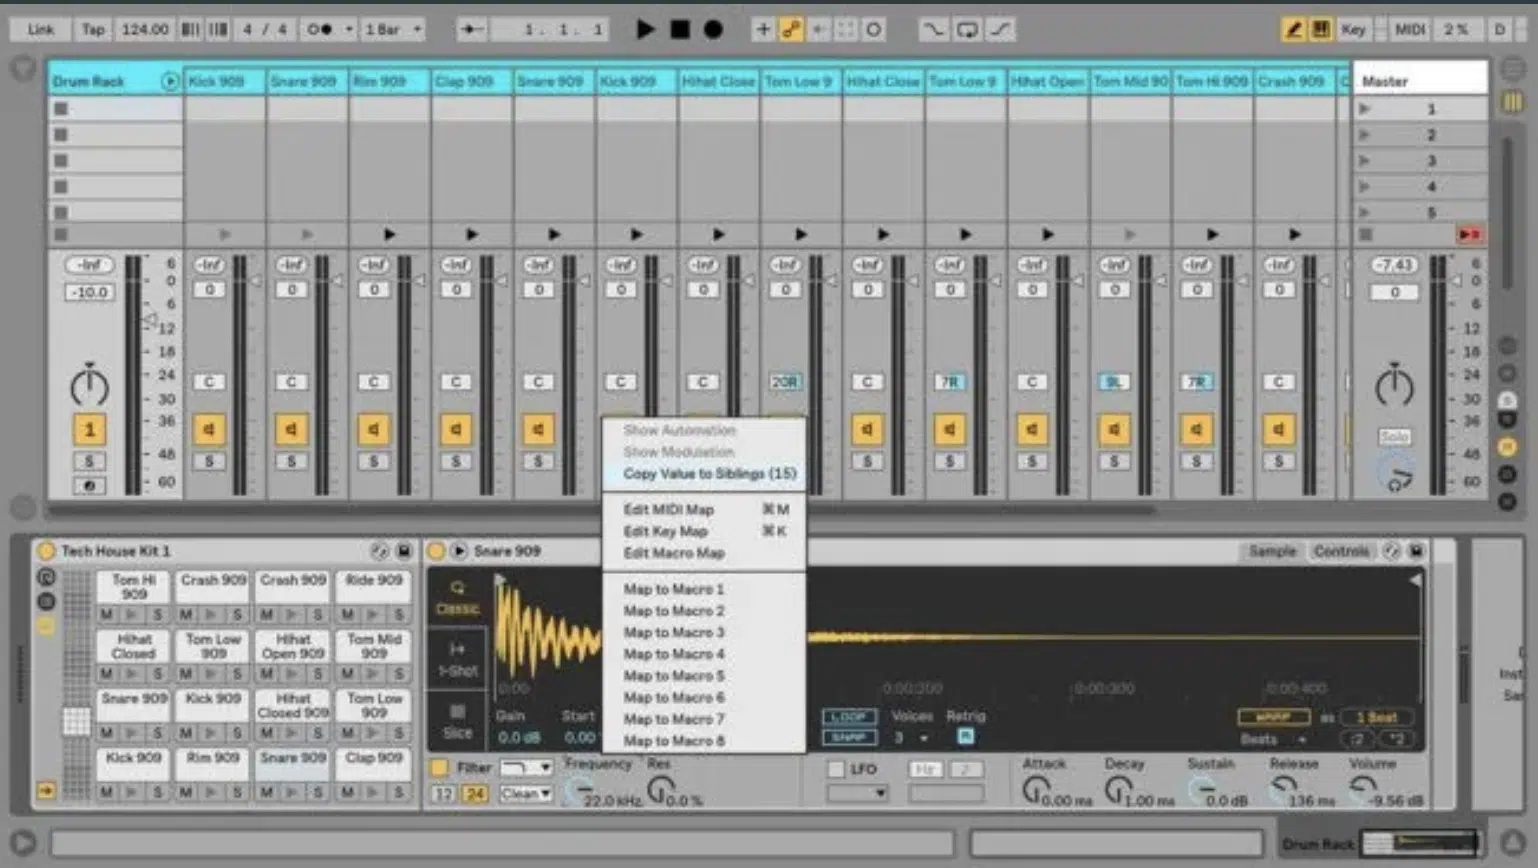
Ableton Drum Rack has a great feature called “Copy Value to Siblings,” which lets you apply the same settings across multiple pads in seconds.
For example, if you’ve adjusted the volume level or velocity of one pad, you can copy that exact value to the rest of the pads so there’s consistency across your entire kit.
This is great when fine-tuning the dynamics of layered samples, like kick drums that consist of both sub-bass and high-end layers.
To use this feature, simply right-click on the parameter you want to copy (e.g., volume, filter settings) and select Copy Value to Siblings.
It saves tons of time when working with large drum racks.
This way, you don’t have to individually adjust each sound, which would be a repetitive and time-consuming task in a detailed drum kit.
-
Bonus: Using Drum Rack for Non-Drum Sounds

While Ableton Drum Rack is traditionally used for drum kits, its versatility makes it perfect for more creative uses.
For example, you can load synth stabs, vocal chops, or even entire melodies into the rack and trigger them as if they were percussion sounds.
A good example is using it for vocal one-shots in a track, where you can assign each phrase or word to a different pad.
Let’s say you’ve got a vocal phrase like “yeah,” “uh-huh,” or “let’s go.”
You can load each of these individual words or phrases onto separate pads and trigger them at different points in your track.
This’ll give you real-time control over vocal samples in your tracks (and instant inspiration on top of that, which is always great).
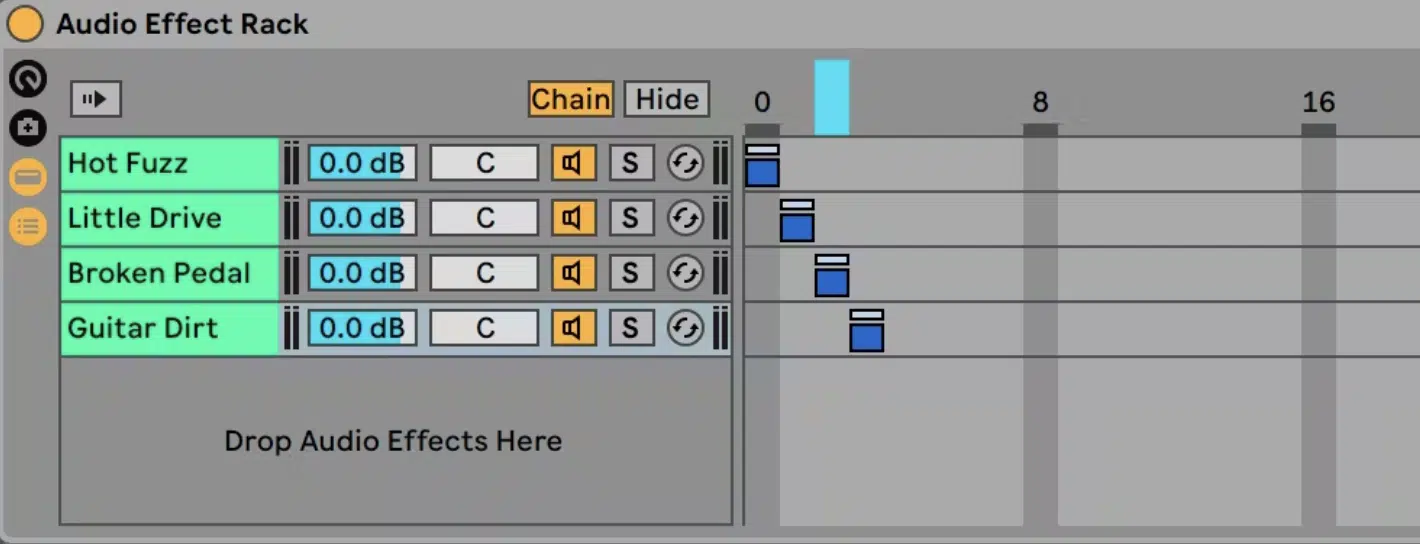
Another great use is creating layered instrument tracks by assigning multiple synth samples to different pads, shown above.
It will give you a hybrid between a drum machine and a traditional sampler, opening up a world of endless possibilities when it comes to sound design.
For example, in a cinematic production, you might trigger foley sounds like footsteps or doors closing alongside melodic instruments.
When it comes to my fellow EDM producers, you can load a collection of abstract sound effects or synth hits that complement your rhythm section.
This makes the Drum Rack an incredibly flexible tool for any producer, whether you’re crafting intricate beats or complex textures, bottom line.
Ableton Drum Rack: Final Thoughts
Ableton’s Drum Rack is certainly a powerhouse when it comes to drum programming and sound design, there’s no doubt about it.
It has the power to streamline your music production workflow, create dynamic variations, and layer complex sounds all day long.
And now, after this article, you know exactly how to use choke groups, hot-swap samples, and build custom drum kits like a true professional.
Plus, you learned how to successfully master key zones, velocity zones, and advanced macro controls to shape your sounds and performances.
As an added bonus, you’ve got to check out these invaluable Free Project Files.
It contains 3 expertly crafted project files that break down everything you need to know about layering samples and using advanced effects chains in Ableton (step-by-step).
Plus, building complex drum racks from scratch.
These files are perfect for reinforcing everything covered in this article and will give you hands-on experience with pro-level setups and techniques.
So, now that you have all the knowledge, go dive deep into the Ableton Drum Rack and start experimenting with your own sounds.
The flexibility and control it offers are unmatched, and now that you know how to harness it, you’re ready to take your music production to the next level.
Until next time…


Leave a Reply
You must belogged in to post a comment.