Effect sends let you apply reverb, delay, and other effects to multiple tracks at once without overloading your CPU.
Plus, using effect sends the right way can help you keep your mix clean, control wet/dry balance, and create dynamic effects that bring everything together.
And, when it comes to getting a professional, polished sound in your mixes, knowing how to set up, route, and fine-tune effect sends is key.
That’s why I’m breaking down everything you need to know about effect sends, like:
- What effect sends are and why they matter ✓
- The benefits of using effect sends in your mix ✓
- Common types of effect sends and when to use them ✓
- How to properly set up effect sends in your DAW ✓
- The difference between pre-fader and post-fader sends ✓
- Balancing dry and wet signals for a cleaner mix ✓
- Parallel processing techniques using effect sends ✓
- Advanced creative tricks, like layering delays and reverb ✓
- Common mistakes to avoid when using effect sends ✓
- Much more about effect sends ✓
Once you know how to use effect sends, you’ll be able to add space, depth, and clarity to your mix without making it sound cluttered or super amateurish.
Your tracks will sit better, feel more fluid/on point, and sound more professional.
Plus, you’ll know how to adjust, automate, and mix your effects with total control like an absolute boss.
Table of Contents
What Are Effect Sends?
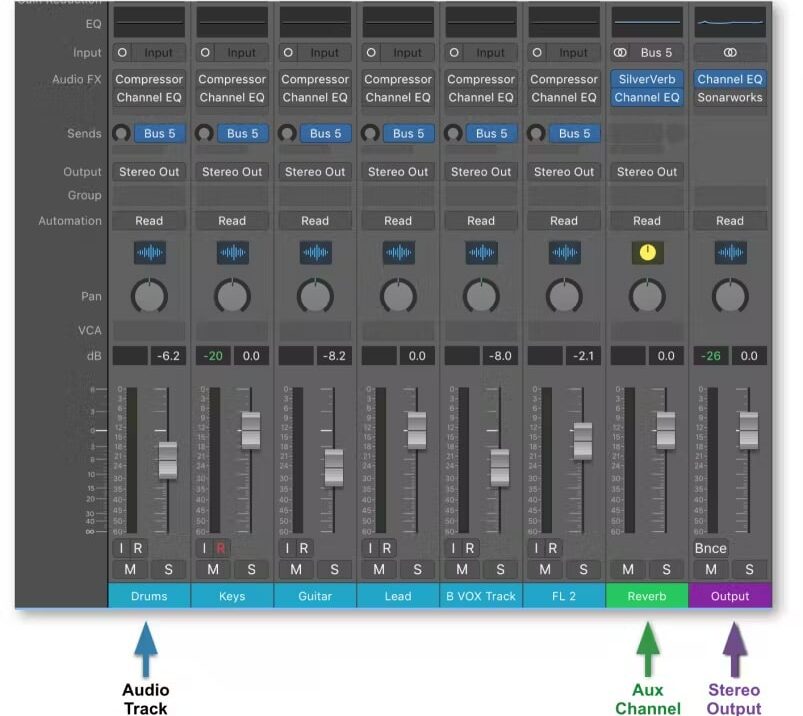
Effect sends let you apply effects like reverb, delay, chorus, and distortion to multiple tracks from a single auxiliary track (AUX track) instead of loading the same plugin on each one.
This routing system gives you better control so it’s much easier to:
- Adjust effect levels
- Tweak settings
- Automate without affecting the dry sound
If you want a vocal, snare, and synth to share the same reverb, you send them all to one effect send and blend in the amount you need for each track.
Unlike insert effects, where the entire signal gets processed, effect sends preserve the original sound 一 letting you fine-tune exactly how much of the effect is applied.
Using effect sends also saves CPU power, since one instance of an effect handles multiple sounds, preventing unnecessary strain on your system.
Bottom line, effect sends are super powerful when it comes to keeping your mixes clear, efficient, and dynamically controlled while adding depth and space.
Don’t worry, we’ll break it all down so you get a super solid understanding.
Common Types of Send Effects
Effect sends are used all the time for time-based effects like reverb and delay, but they also work great for modulation, distortion, and other creative processing techniques. Choosing the right type of send effect depends on what you want to achieve, whether it’s adding depth, space, width, or movement to your mix. So, let’s get into it.
-
Reverb
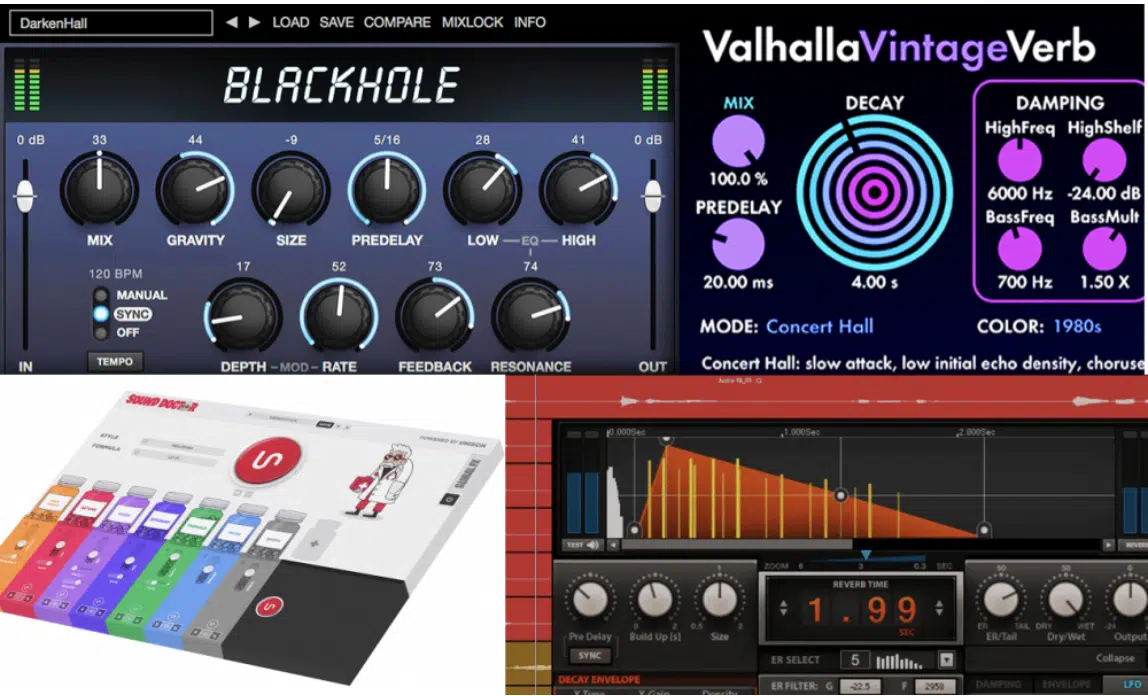
Reverb sends are super important for placing sounds in a space without drowning them in excessive wetness.
Instead of inserting a reverb plugin on every track, sending multiple elements (like vocals, snares, and synths) to a single aux reverb creates a fluid, natural blend.
One that makes it feel like everything exists in the same room.
For example, a common setup is a plate reverb send with a 2–3s decay for vocals to keep the tail long enough for depth but short enough to avoid washing things out.
When it comes to drums, a small room reverb with a pre-delay of 10–20ms can add space without making the hits feel distant.
To keep the mix clean, you can high-pass the reverb send at around 250–400Hz to remove low-end mud.
And, sometimes sidechain it to the dry signal so the effect tucks behind the main sound if it works out in that specific circumstance.
PRO TIP: Try using 100% wet reverb sends and adjusting the send levels per track, rather than relying on the built-in mix knob, for precise control over how much space each element gets.
-
Delay
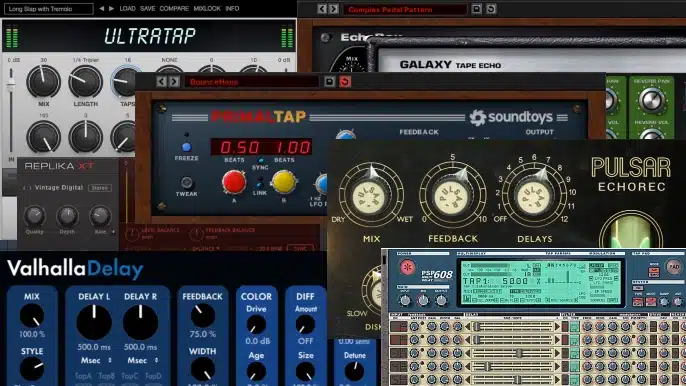
Using a delay send is one of the best ways to add movement, width, and rhythmic interest without making the mix cluttered.
Instead of applying separate delays on vocals, synths, and drums, routing them all to one delay send allows for more consistent, natural echoes.
All while keeping your CPU usage low, which you can’t beat.
A popular choice is a 1/4-note slap delay send for vocals, set with low feedback (10-15%) to add subtle depth without overpowering the mix.
For a ping-pong delay send, a 1/8th note delay with around 50% stereo width can help widen synths or background vocals without making them feel disconnected.
To avoid delays clashing with the dry signal, high-passing the send at 200–300 Hz and sometimes low-passing above 6–8kHz can keep things from getting too sharp/muddy.
PRO TIP: Automate the send level on specific words or snare hits for delay throws 一 making certain parts of a track pop out dynamically.
-
Chorus/Flanger
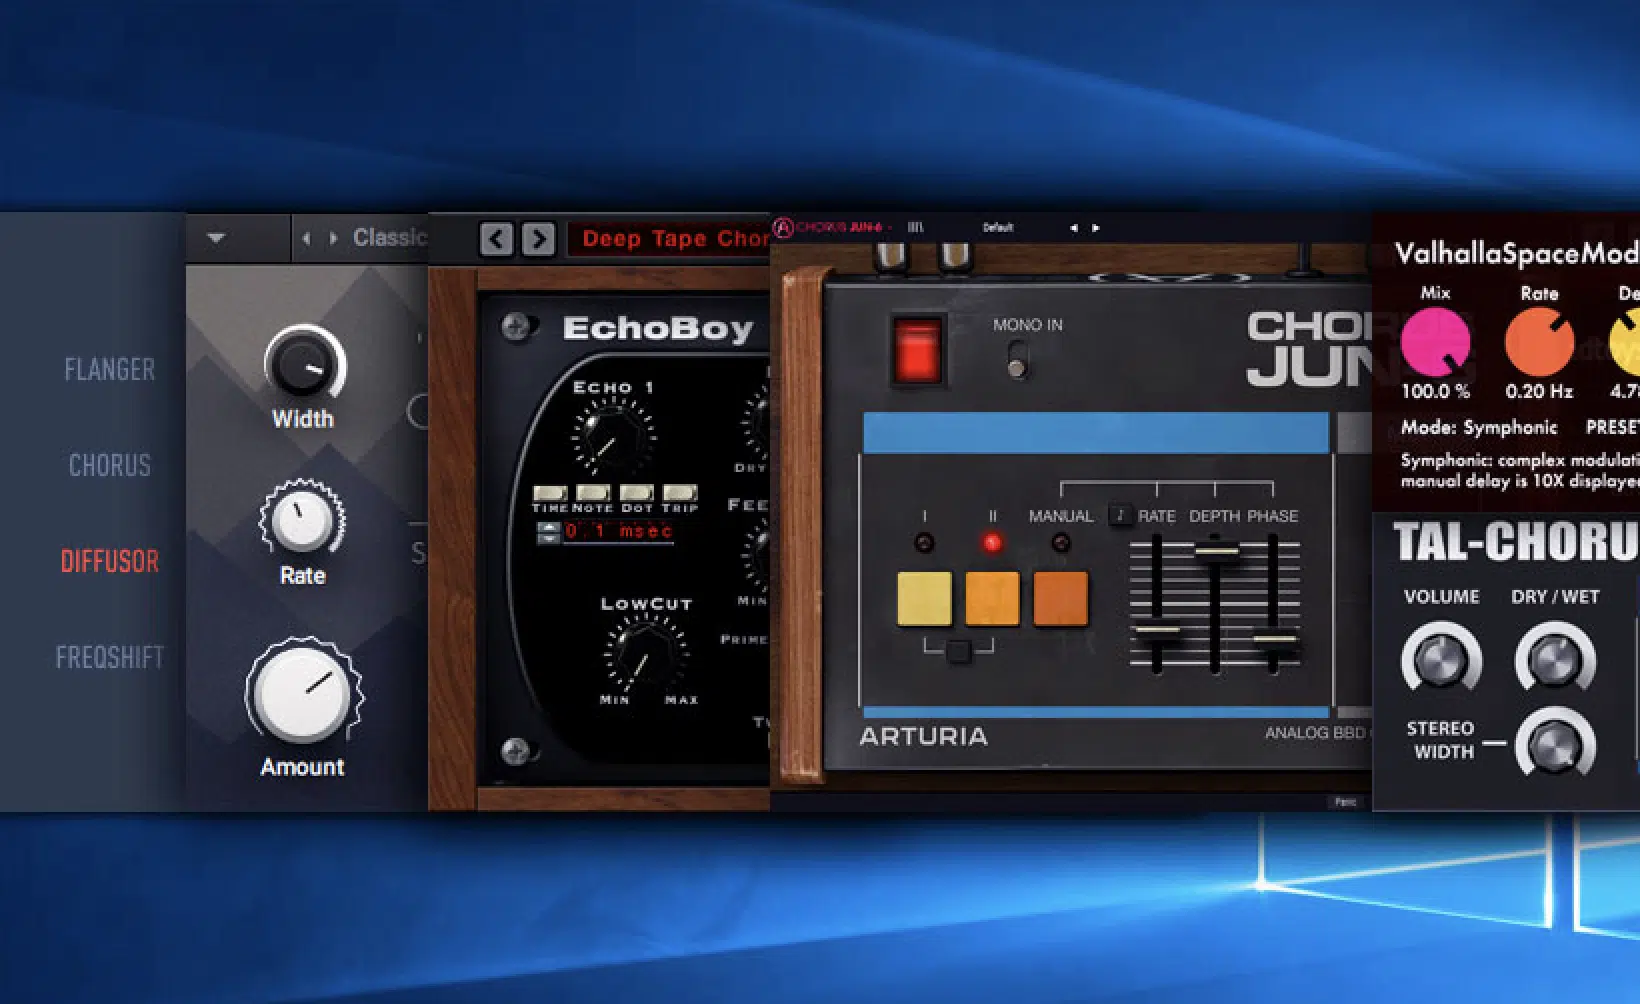
Using a chorus effect send is a great way to add width and depth without making a sound feel artificial or overly modulated.
Instead of applying chorus directly to a track, you send multiple elements (like backing vocals, synth pads, or guitars) to one chorus send, blending them naturally.
A good starting point is setting the rate between 0.3Hz and 0.8Hz, the depth at 30-50%, and stereo width to 80-100% for a lush effect.
If you want more subtle widening, try high-passing the chorus send at 500Hz, so only the mid and high frequencies get widened while the low end stays tight.
For extra movement, automating the chorus depth or rate throughout a track keeps the sound evolving and prevents a static feel, which nobody has time for.
If you’re working with vocals, sending backing harmonies to a chorus send with a low depth setting (20-30%) can help them blend smoothly with the lead vocal.
Flanger effect sends work in the same way but are best for adding extreme movement, swirling textures, or a jet-like sweep to sounds like guitar leads, synths, or percussive loops.
A great trick is sending a hi-hat loop to a flanger send with a slow rate (0.1Hz), medium feedback (30-40%), and a wide stereo setting 一 creating a subtle, evolving texture.
If you want a stronger, psychedelic flanger effect, increasing the feedback above 60% and automating the delay time can create rhythmic sweeps.
This one is perfect for build-ups and transitions.
To keep things clean, try low-passing the flanger send at 5-7kHz, so only the midrange is affected to keep your high frequencies super crisp.
-
Distortion
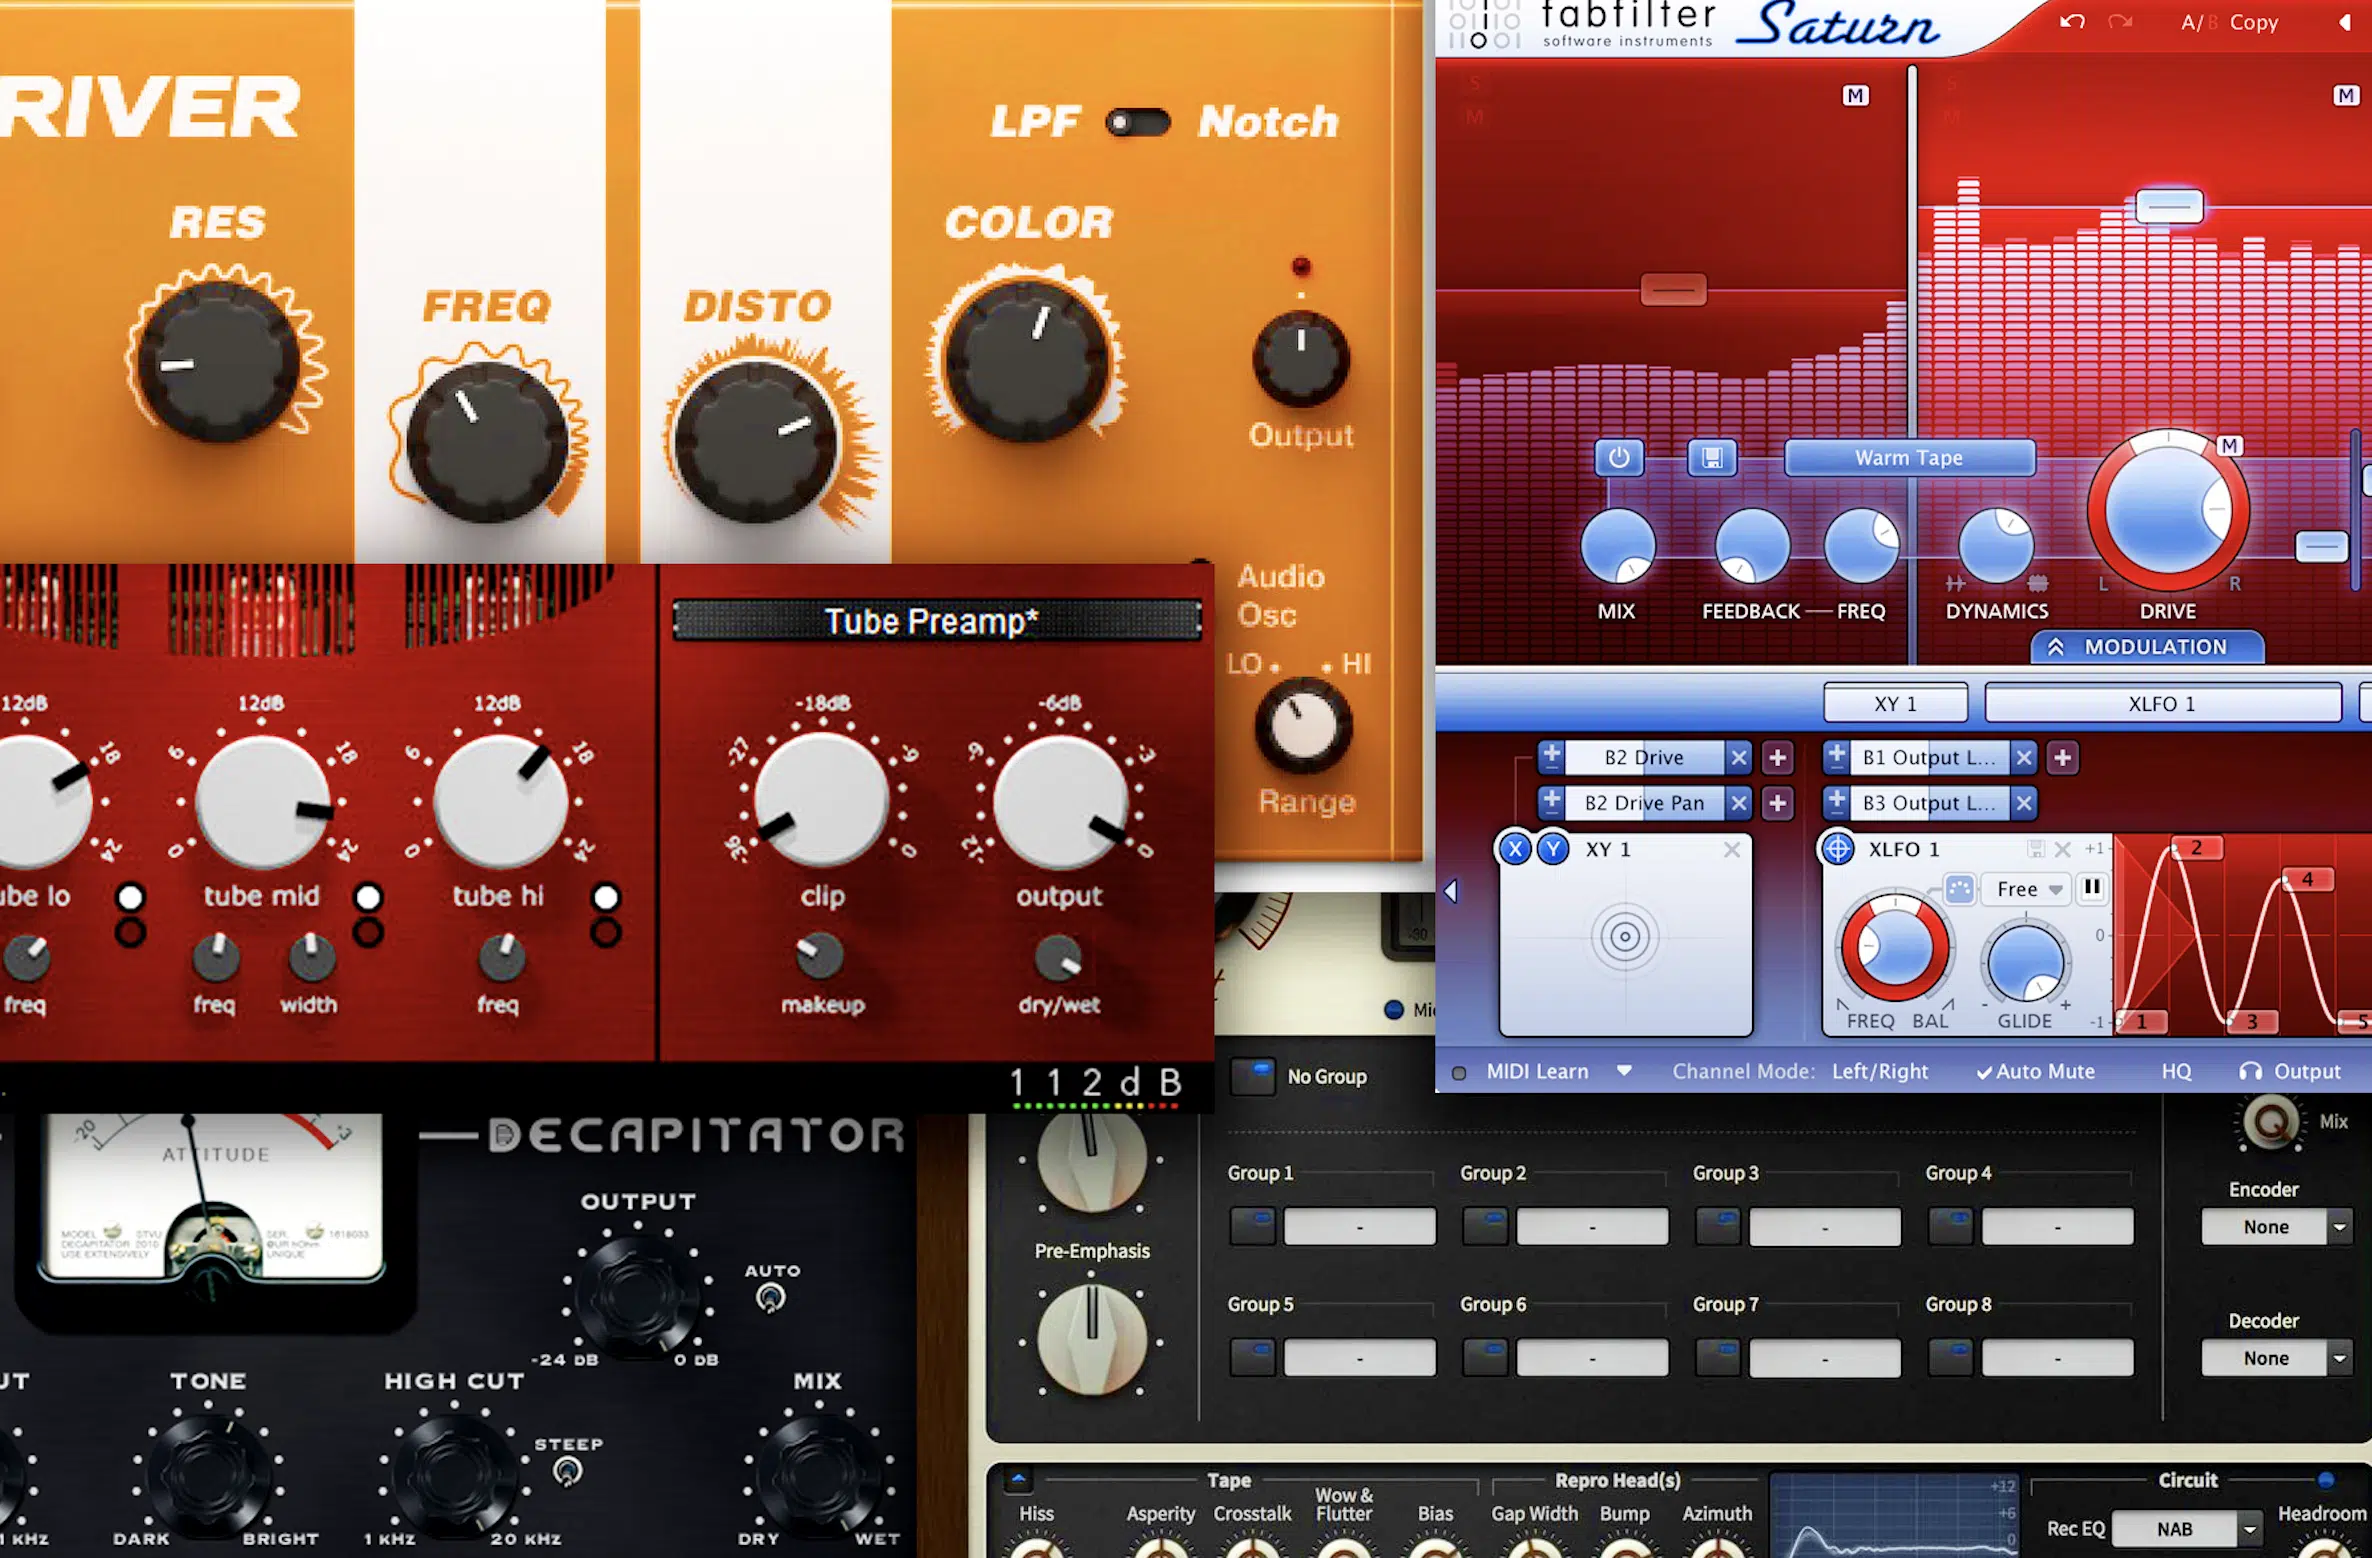
Distortion sends are perfect for adding warmth, grit, or aggression without over-processing the original sound.
This is because, instead of placing distortion directly on a track (which sometimes kill dynamics and clarity) you can send a portion of your sound to a parallel distortion send.
This way, you can blend in just the right amount of saturation.
When it comes to vocals or drums, you can try using a tape-style distortion send with a soft clipper or tube saturator like Soundtoys Decapitator or FabFilter Saturn 2, set to a low drive (around 15-25%) and blended back in at -15dB to -20dB for subtle warmth.
If you want a heavier effect, try using a guitar amp distortion send with something like Guitar Rig 6 or Thermionic Culture Vulture.
It can help add aggressive grit and harmonics to a bass, snare, or even 808s.
NOTE: A popular trick is high-passing the distortion send above 200Hz so the distortion doesn’t muddy up the low end, keeping the bass clean while adding aggression to the mids and highs.
Another pro move is using a multiband distortion send, where you only distort the midrange (500 Hz – 4kHz) while keeping the lows and highs untouched.
This is perfect for vocals, guitars, or synth leads.
If you’re working on drums, sending your kick and snare to a parallel distortion send with a medium drive setting and 50-60% mix level can make them hit harder without losing the original transients.
Setting Up Effect Sends in Your DAW
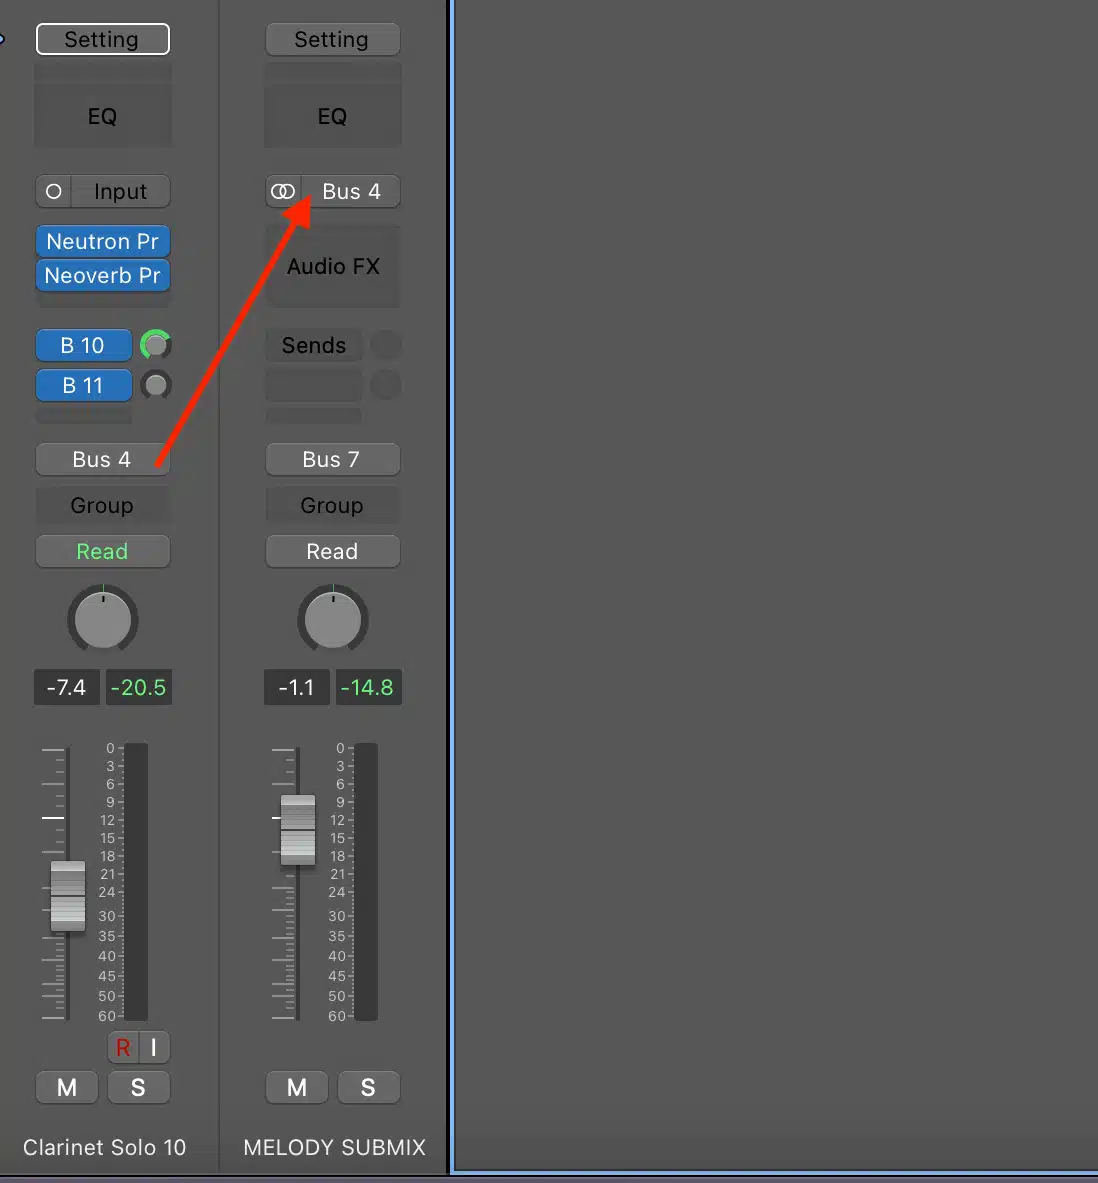
Setting up effect sends in your DAW is simple, but getting the signal flow right is key to keeping your mix clean and efficient, so let’s talk about it.
#1. The first step is to create a designated effects channel, also known as an FX channel or effects bus return channel.
This will handle the effect you want to apply across multiple sounds.
Instead of inserting effects directly onto an audio channel, you use the send and return method to route a portion of the track’s signal to this mixer channel (where the effect is applied separately).
This keeps the original sound intact while letting you blend in the effect as needed.
#2. After setting up the effects bus return channel, you insert the desired effect, whether it’s a reverb, delay, chorus, or saturation plugin, and make sure it’s set to 100% wet.
This is because the dry signal is still coming from the original audio channel.
#3. Next, you adjust the send and return controls on each track to determine how much of their signal gets processed by the effect.
In most DAWs, these controls are found in the mixer channel settings, which lets you fine-tune the balance between dry and wet signals.
Properly routing your signal chain is important to avoid phase issues and muddying up the mix 一 don’t forget that.
#4. If you’re working with multiple FX channels, organizing them by type (like one FX channel for reverb and another for delay) keeps your session streamlined.
Also, if you’re using an audio interface with multiple outputs, you can even set up an external effects bus return channel for analog gear.
This will expand your send and return capabilities beyond your DAW software.
Using the send and return approach gives you more control over how effects interact with different elements in the mix.
Instead of adjusting individual plugin settings across multiple tracks, you can tweak a single designated effects channel to affect everything routed to it.
Whether you’re blending a subtle room reverb on a vocal or adding a slap delay to a snare, the send and return track method ensures your signal flow stays efficient and your effects are easy to manage.
Pre-Fader vs. Post-Fader Sends
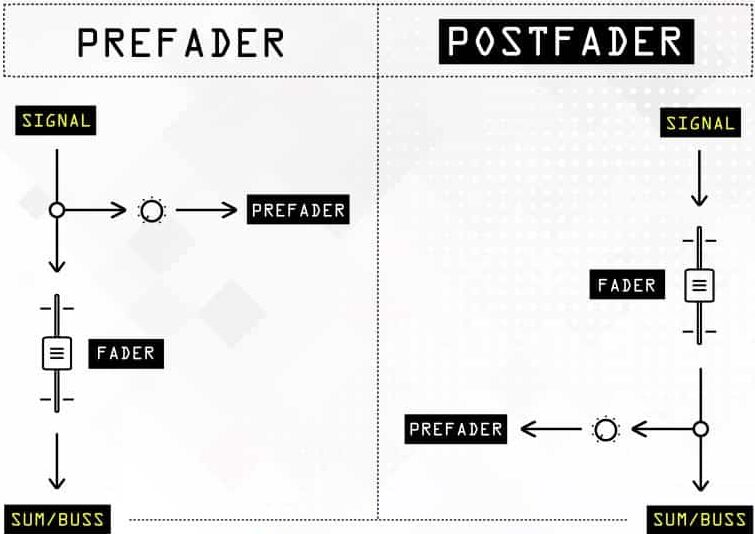
Effect sends can be either pre-fader or post-fader, and knowing the difference will seriously help you control how effects behave in your mix.
A pre-fader send means the signal is sent to the effect before the track’s volume fader, so the effect stays at a constant level even if you lower the track’s volume.
This is great for creating reverb or delay effects that stay present even when a sound fades out, which is a common trick for keeping vocal reverbs consistent.
Yes, even during volume automation.
A post-fader send, on the other hand, means the effect level follows the track’s volume, so if you lower the volume of the original track, the send effect also gets quieter.
This is the default setting in most DAWs because it keeps the effect levels in proportion to the track’s dynamics 一 making it ideal for most mixing situations.
If you want a vocal delay that lingers even after the vocal fades out, setting it to pre-fader ensures the delay isn’t affected by the vocal’s volume automation.
But, if you’re working with a snare reverb send, keeping it post-fader makes sure the reverb tail follows the natural dynamics of the snare without overpowering the mix.
Balancing Dry and Wet Signals
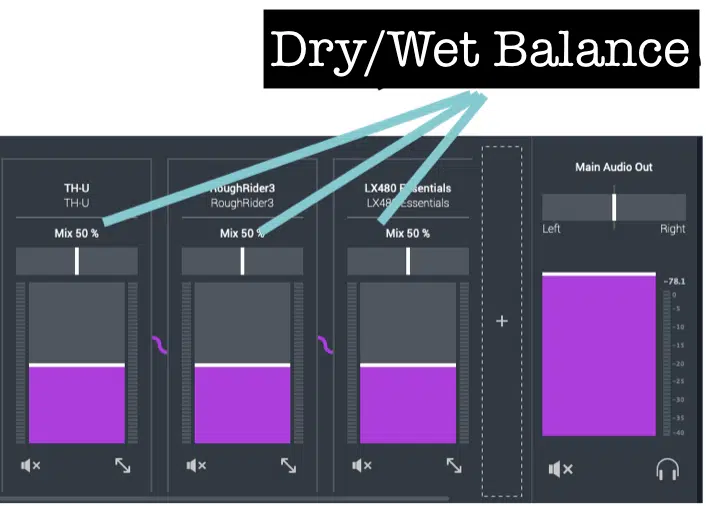
A big part of using effect sends properly is understanding the difference between dry (unprocessed) and wet (processed) signals so you can blend them the right way.
- The dry signal is the original, unaffected sound
- The wet signal is the version with effects applied
Getting the balance right is key to keeping your mix clear and professional.
If you send too much of a track’s signal to an effect send, the wet signal can overpower the dry signal 一 making the sound feel distant or buried in your mix.
On the other hand, if you don’t send enough, the effect might be too subtle to make an impact, which leaves your mix feeling dry and lifeless.
A great way to control this is by adjusting the send level on each track, rather than changing the wet/dry mix inside the effect plugin itself…
This gives you independent control over how much of each sound is sent to the effect.
For example, sending a vocal to a reverb send at -15dB to -20dB keeps it present in the mix while still adding depth, while sending a snare to a delay send at -10dB can create a rhythmic echo without overpowering the groove.
If an effect feels too heavy, simply lowering the send level brings it back into balance without touching the original dry sound, keeping your mix tight and controlled.
Parallel Processing with Effect Sends

Parallel processing with effect sends lets you blend a heavily processed version of a sound with the original dry signal.
It gives you more control over the intensity of the effect.
Instead of applying compression, saturation, or modulation directly to a track, you:
- Send a copy of the signal to a new auxiliary track
- Process it separately
- Blend it back in for a more dynamic, punchy sound
For example, using a parallel compression send on drums, with an aggressive compressor like the 1176 (all buttons in mode) or Waves RCompressor, can add thickness and sustain without squashing the original dynamics.
A common setting for parallel compression is a high ratio (8:1 or more), fast attack (2-5ms), and medium release (50-100ms), with the send level tweaked to taste.
Another great use is parallel distortion on bass or vocals, where you send a track to a tape saturation or amp simulator.
It keeps the original clean while blending in some extra grit for presence.
NOTE: Parallel processing is also for creating depth with subtle modulation effects, like chorus or phaser sends that give width without overwhelming the dry sound.
Managing Multiple Effect Sends
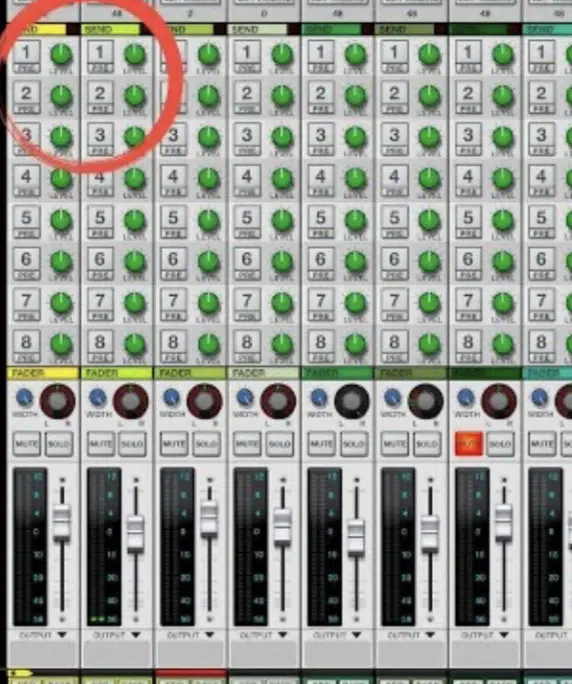
When working with multiple effect sends, it’s important to keep everything organized so your mix doesn’t become cluttered.
A great technique is to group similar effects together, such as keeping all reverb sends next to each other, all delay sends in another section, and modulation sends separate.
This way, you can easily adjust settings without searching through a messy project.
In large sessions, labeling your sends properly (like renaming them “Vocal Reverb,” “Drum Delay,” or “Parallel Comp”) helps keep everything clear.
By doing that, you’ll instantly know what each and every send is doing.
Using bus groups for enhanced processing/power can also make a huge difference, like routing all drum-related sends (room reverb, parallel compression, and transient shaping) to a single drum bus.
This way you can EQ or compress all effect returns together for a more unified sound.
NOTE: If you’re using a lot of different sends, gain staging is key, making sure your return track levels aren’t overpowering the mix 一 checking send return levels and keeping them between -12dB and -6dBis a good rule of thumb.
Another useful tip is to mute effect sends temporarily during mixing to hear how much space they’re adding so nothing is making the mix too muddy or washy.
-
Pro Tip: Common Mistakes to Avoid

One of the biggest mistakes when using effect sends is overusing them to the point where the mix becomes cluttered and washed out…
Too much reverb, delay, or modulation can make sounds lose their definition and sit too far back, and nobody has time for that.
A great way to avoid this is by dialing in your send levels conservatively and muting effect returns occasionally to check how much space they’re actually adding.
Another common issue is neglecting to monitor phase relationships between the dry and wet signals, especially when using stereo effects like:
- Chorus
- Flanger
- Wide reverb sends
If an effect send is causing phase cancellation, it can weaken the sound instead of enhancing it, so always check your mix in mono to catch any problems early.
Also, make sure to high-pass filter low frequencies on reverb and delay sends, as excessive low-end buildup can quickly make a mix sound muddy and unfocused.
Advanced Tips for Using Effect Sends
Once you understand the basics of effect sends, you can take things to the next level by using them in more advanced ways. Some of the best techniques involve splitting frequency bands for more precise effect control, sidechaining effect sends to create space, and stacking multiple delays and reverbs for unique spatial textures. So, let’s get into it for this last section.
-
Multiband Send Effects
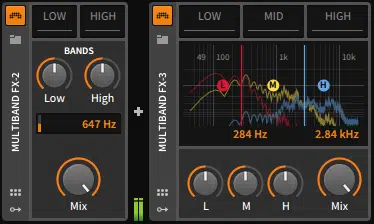
Instead of sending an entire sound to one effect, you can split the frequency range and send different bands to different effect sends.
For example, you might send only the high frequencies of a vocal to a shimmering reverb, keeping the lower mids dry to avoid muddiness.
This works especially well for bright pop vocals and lead instruments.
You can do this is by using an EQ before the send, filtering out lows and mids before the effect is applied…
Also, try high-passing at 600 Hz for a silky top-end reverb that doesn’t clutter the mix.
This technique is also great for bass sounds, where you might want to distort only the mids and highs while keeping the sub frequencies clean.
If you want to give the sound more presence without sacrificing any low-end power.
One of my favs for this is FabFilter Saturn 2, which lets you apply different distortion styles to separate frequency bands for a highly controlled parallel saturation effect.
You can also experiment with multiband delays, where you send high frequencies to a faster, rhythmic delay and low mids to a longer, atmospheric delay 一 keeping the same effect tight without muddying the mix.
-
Sidechain Compression on Send Effects
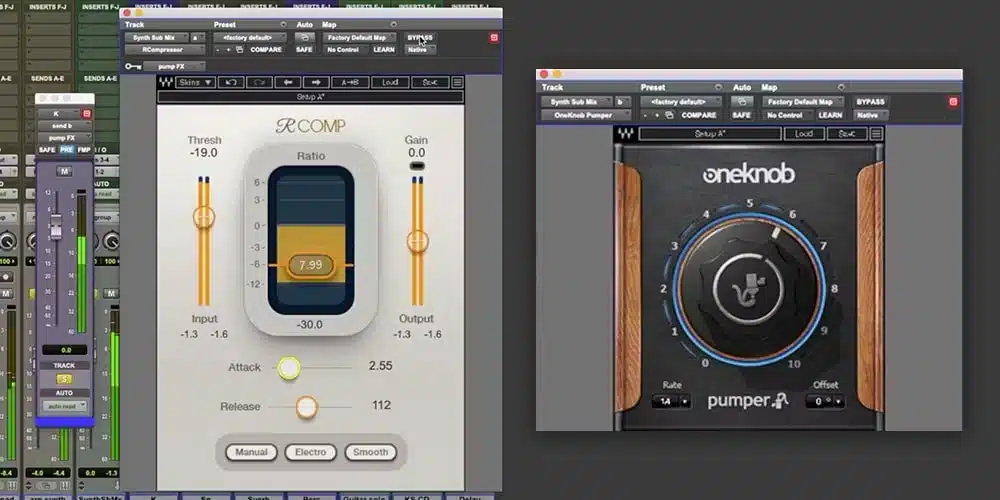
Using sidechain compression on effect sends is a powerful way to keep effects present but controlled, ensuring they don’t overpower the dry signal.
A common trick is applying sidechain compression to a reverb or delay send, so the effect ducks slightly whenever the dry sound plays.
This prevents it from washing out the mix.
For example, if you have a vocal effect send with a long reverb tail, setting up sidechain compression triggered by the dry vocal keeps the reverb quieter when the vocal is active and lets it bloom when the vocal stops.
This technique works especially well on drum effect sends, where sidechaining a drum reverb send to the kick and snare makes sure the hits stay punchy while the reverb adds space in between.
To set this up, use a fast attack (1-5ms), medium release (50-150ms), and a gain reduction of 3-6dB.
Just don’t forget to adjust the threshold so the effect send tucks in just enough without disappearing completely.
-
Layering Multiple Delays & Reverb
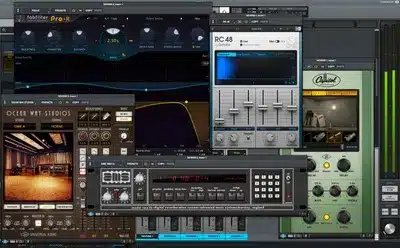
Stacking multiple effect sends with different delay and reverb types can create a more dimensional and interesting space in your mix.
Instead of relying on a single delay, you can send a track to one effect send with a short slap delay (80-120ms) for width.
And another with a longer ping-pong delay (1/4 or 1/8 note) for rhythmic echoes.
For a vocal track, a great trick is combining a plate reverb send with a long hall reverb send, blending them to get both clarity and depth without losing intelligibility.
When layering delay effect sends, adjusting the feedback and filtering each send differently helps prevent things from getting too cluttered.
NOTE: Make sure to high-pass one delay at 400 Hz and another at 800 Hz can keep them from fighting in the mix.
If you want more movement, automating the send levels for each effect send lets you introduce more reverb and delay at certain moments so things are more dynamic.
-
Using Sends for Distortion & Saturation
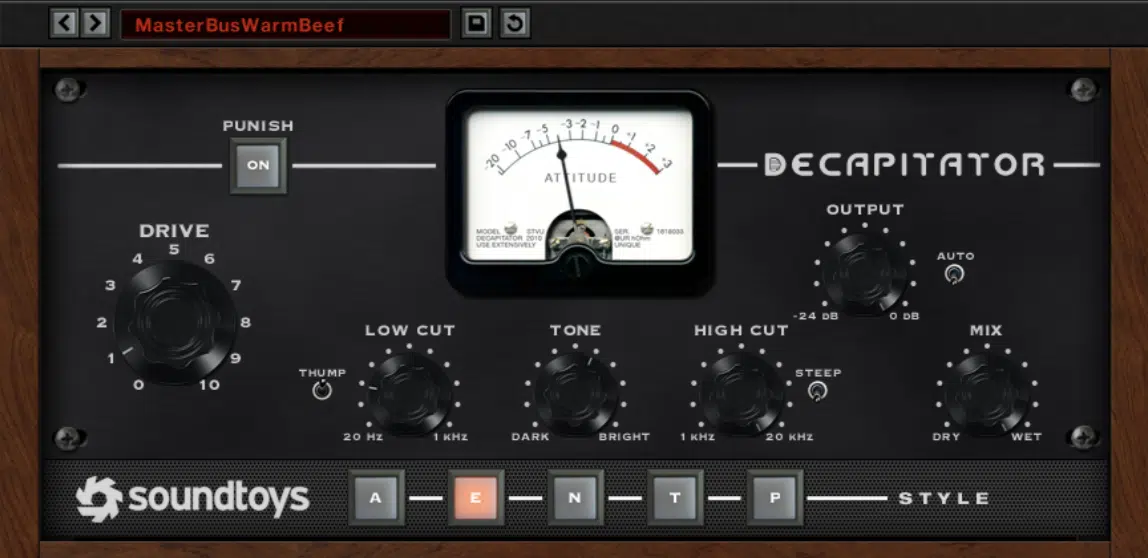
Applying distortion and saturation through effect sends is a great way to add warmth, grit, and harmonic richness without destroying the original dynamics.
Instead of directly inserting a distortion plugin on a track, you can send a portion of the signal to an effect send with a saturation or amp simulator.
Make sure to blend in as much drive as needed.
A great one for a vocal track or synths is using a tape saturation effect send with a low drive setting (15-25%), bringing in subtle harmonic excitement while keeping the dry signal clean.
For bass and all the drum tracks, sending only the midrange and high frequencies to a distortion effect send keeps the low end intact while adding aggression.
Try high-passing at 200 Hz before the effect send to avoid muddiness.
If you want even more control, automating the send amount for the distortion send during choruses or high-energy sections can make parts hit harder while keeping the verses cleaner.
Final Thoughts
And there you have it: everything you need to know about effect sends.
Just remember to use effect sends efficiently, keep your send and return levels balanced, and always monitor phase issues to avoid a muddy mix.
Plus, make sure to play around with different effect types, automate send levels for dynamic movement, and organize your FX channels properly for a cleaner workflow.
This way, you can successfully add depth, space, and clarity to your mix without overloading your CPU or cluttering your sound.
And, as a special bonus, you’ve got to check out these epic Free Project Files.
They include 3 invaluable project files that break down everything you need to know… not just about effect sends, but about every technique for making pro-level beats.
These files reveal insider mixing and routing techniques, advanced automation tricks, and industry-standard effect chains that top producers use daily.
Bottom line, when it comes to effect sends, it’s all about control and creativity 一 using them the right way ensures your mix stays clean, powerful, and professional.
Just don’t forget to keep your wet/dry balance in check, use EQ and sidechain processing on your send effects, and choose the right effect sends for each sound.
This way, your tracks will always sound polished, dynamic, and full of depth.
And remember to never stop learning, practicing new techniques, and refining your skills to take your music to the next level (trust me, it pays off).
Until next time…


Leave a Reply
You must belogged in to post a comment.