When it comes to mixing and mastering, these two (very distinct) processes oftentimes get grouped together as one.
This can be due to overlapping terminology, lack of knowledge, or even carelessness.
The key to producing an immaculate, professional final track, however, is knowing the unique differences and applying them as such.
Today we’re going over 7 astounding differences between mixing and mastering.
As well as how to use this knowledge to your advantage in order to make your music stand out from the competition.
Your tracks will be clean, polished, chart-worthy, and ready to upload anywhere!
Table of Contents
- MIXING
- MASTERING
- 1. MIXING AND MASTERING SHOULD BE DONE IN SEPARATE SESSIONS
- 2. MIXING VS MASTERING: SPECIFIC ROLES
- 3. THE DOUBLE-EDGED SWORD
- 4. THE MASTER BUS (IN A MIX SESSION) SHOULD ALWAYS BE EMPTY
- 5. COMPRESSION AND EQ
- 6. PLAYBACK ENVIRONMENTS
- 7. BONUS (PRODUCER TIP): THE PRICE OF A MIX VS A MASTER
- FINAL THOUGHTS
MIXING
The step before mastering that involves adjusting, combining, and optimizing individual tracks into a stereo or multichannel format (aka ‘the mix’).
It marks the start of post-production and handles all the heavy-lifting in preparation for the mastering stage.
Each move is extremely methodical, on a micro-level.
All of the hundreds (sometimes thousands) of meticulous alterations you make each contribute to the bigger picture.
The way in which you implement them, determine how the overall mix (as a whole) will turn out.
Every element (instrument, track, vocal, sample) should be mixed independently to perfection before moving on.
The purpose of mixing is to bring out the very best in your session and make everything shine in its own right.
This is when you’ll carry out tasks, such as:
- Manipulating levels
- Panning (through automation)
- Integrate dynamics (compressors, etc.)
- Handle frequencies (EQs)
- Incorporate harmonic processing (distortion, saturation, exciters)
- Plus, of course, implement time-based audio effects (chorus, reverb, delay, etc.).
MASTERING
The final step in the production process.
It involves processing your mix into its final form so it’s ready for distribution.
This process may include transitioning/sequencing songs and could range from a single to an entire album.
The master manipulates the final mix on a more macro level.
Meaning, very subtle tweaks that could ultimately make or break your overall track/session.
The goal when mastering is not to make your song sound good and cohesive because that’s what the mix is for.
Rather, its purpose is to prepare and optimize your mix to match the professional standards of a certain platform (or overall destination).
This will ensure, when people listen to your music, it is a pleasing, professional experience.
The purpose of mixing is to make your music sound balanced, uniform, professional, and ready for commercial (or personal) release.
Mastering also ensures playback optimization across various speaker systems, environments, and different media formats.
As well as streaming and digital distribution platforms (like Spotify).
You wouldn’t want your song to be played after a song of a much higher caliber.
I’m sure you’ve heard a song played that was so amateur, or mixed and mastered so terribly that you immediately skipped it…
You don’t ever want that song to be yours.
NOTE: There are a variety of utility mastering plugins that can be used to preview and convert your current master into whatever compatible form is standard for the platform at hand (also described, in detail, in the Spotify link above).
1. MIXING AND MASTERING SHOULD BE DONE IN SEPARATE SESSIONS
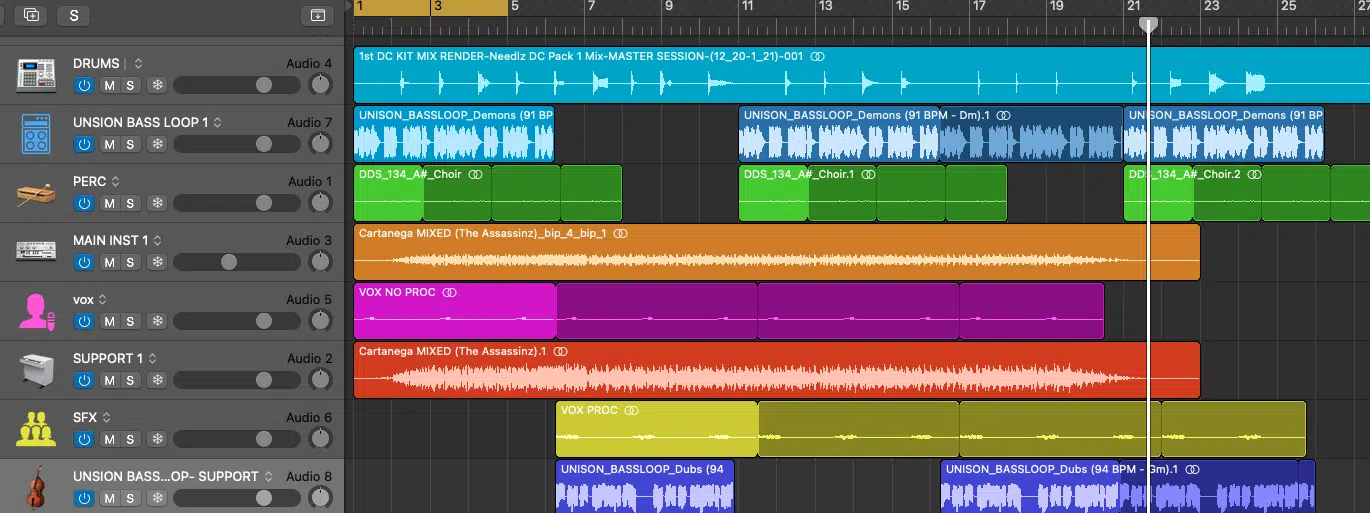
You should never master a multi-track session [above]. That is reserved for the production/mixing stage.
To truly grasp the difference between mixing and mastering, you must first understand each ones’ duties, functions, and implementations.
Mixing and mastering roles are very unique in essence.
For example, the mix is accomplished in a ‘multi-track’ environment, and the master session typically consists of just 1 stereo track.
Or, less often, the mid/side signals or left/right channels are mastered independently.
Then, summed as 1 to create the stereo track (during the bounce); making it easier to fine-tune each channel of the stereo signal separately.
This method is more commonly used if you’re working with hardware, as it doesn’t really apply within the digital domain.
Most digital modern processors offer independent left/right or mid/side-channel mixing capabilities whilst using one, unified processor.
The important thing is to not let the Master Bus fool you into thinking it has any business being used in your mix, as it most certainly does not (discussed below).
While mixing and mastering are both a form of post-processing and of equal importance, the key to remember is this:
You can’t have a perfect professional ‘mix and master’ without first having a professional mix, to then master perfectly.
Being aware of how they differ in their uniqueness is the key to producing a clean, polished track, guaranteed to stand out above the rest.
2. MIXING VS MASTERING: SPECIFIC ROLES
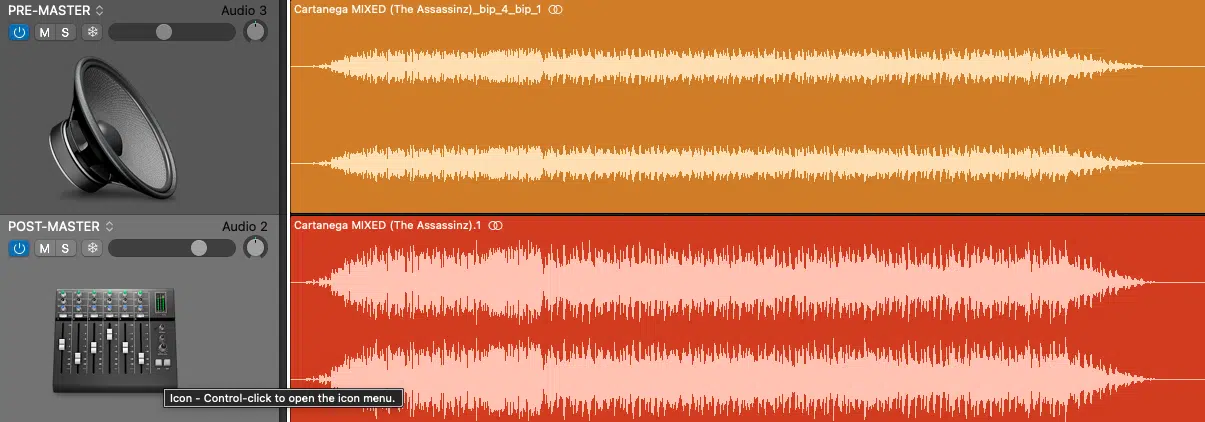
When it comes to mixing and mastering, as discussed, the roles are very distinctive.
- MIXING 一 Is where you have a lot of creative freedom in the ways you reach your end goal, and prepare it for the master. This is where you make your track as dope and interesting as possible.
It can take as long as needed to finish, as it’s a very meticulous process that warrants unlimited tweaking and manipulation.
There are ample tracks, tasks, and processors that require special attention before you move on to mastering.
- MASTERING 一 Can be compared to placing a cherry on top of an already baked-to-perfection cake. It is where you make broad, technical strokes in order to ensure it meets both sonic and statistical standards.
Let’s say you want to add 1.5 dB of gain to the low-end of your mastering session…
You won’t have to adjust the EQ of an individual track, but rather apply it to the bounced mix as a whole.
The only way to not ruin, or disturb anything in the process, is by ensuring the mix is already in good enough condition that it won’t require any elemental changes (on an individual level).
This is because, as you now know, during the mastering stage you won’t be dealing with multi-track sessions.
The rule of thumb is that this refinement process (the master) should take no more than 30 minutes, at the most.
If it takes you any longer than that, you’re either doing it wrong, or your mix wasn’t ready to be mastered in the first place.
You are able to tell, by the amount of time it takes to complete each process, that mixing and mastering are two very different devils.
PRO TIP: In order to pull this off seamlessly, it’s highly recommended that you already have the extensive needs of your target platform in mind.
Without an end goal in sight, you could start getting lost in the shuffle and quickly lose perspective.
Stay razor-focused and you won’t have an issue.
3. THE DOUBLE-EDGED SWORD
Mixing and mastering will always be reliant on one another, but the tasks and methods executed by each stage should never overlap.
In other words, there should be no mastering applied during the mixing process, and no multi-track mixing/processing during the mastering process.
I simply cannot emphasize this enough.
Many producers sadly feel that a sub-par mix can magically be corrected by a spectacular master (or vice versa)…
And that couldn’t be further from the truth.
Always remember these two very important things:
- A poor mix cannot be fixed during the mastering stage
- A poor master can ruin an incredible mix
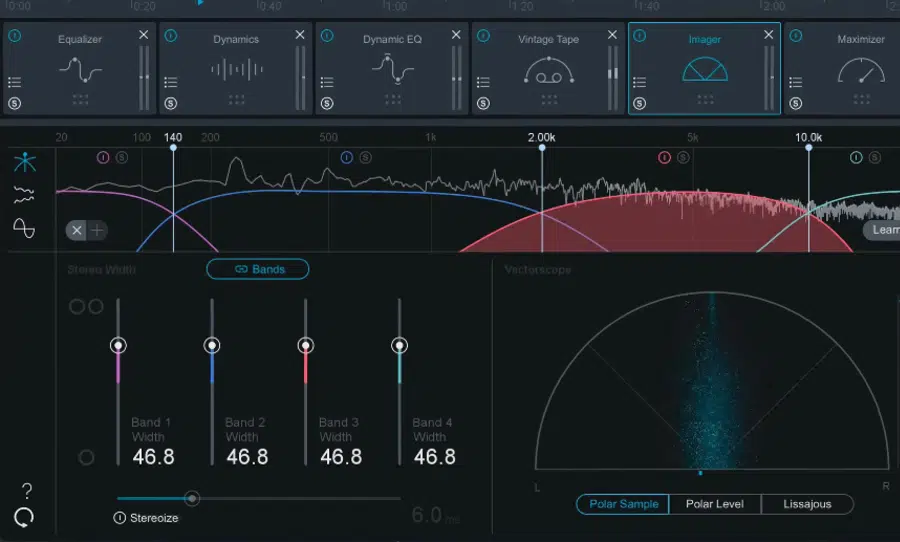
When mastering, you’re working on the stereo mix as a whole.
Any major issues such as frequency problems pertaining to a specific set of vocals, or phase issues between the kick & bass in the low-end will be virtually impossible to pull off during this stage.
Without any major setbacks or complications, that is.
This includes attempting simple mixing tasks like adjusting the balance between an individual group of elements or adding a little more delay/reverb to a particular element.
These things just aren’t supposed to be done during the mastering stage.
Sure, you could ‘make due’ with crafty curves and manipulation tactics, but your track will suffer greatly for it.
You’ll be sacrificing the dignity of your entire mix that you undoubtedly worked so hard to perfect.
If you’ve ever tried to impart processing to the master bus before, you know exactly how easy it is to destroy hours, days, sometimes weeks’ worth of work in a matter of seconds.
If you never have, don’t start now!
Just remember, when mastering your own mix, always separate the sessions as the pros do.
This way, when it inevitably gets messed up in some way, you’ll be able to begin again from a desirable place (your mix).
If your mix is not a good enough jumping-off point to start with, please do not even THINK about mastering yet.
4. THE MASTER BUS (IN A MIX SESSION) SHOULD ALWAYS BE EMPTY
When it comes to mixing and mastering, ‘processors’ play very different roles as well.
- DURING THE MIXING STAGE 一 There can, and typically will be processors galore throughout your mixing session, except on the Master BUS. There should never be any processors enabled (on the master BUS) during the mixes’ final bounce!
- DURING THE MASTERING STAGE 一 You’re using the Master BUS exclusively. The amount and range of processors present are relatively limited. The processing is usually applied very lightly.
The need to make massive moves, with heavy processing should be your indicator that you have a major issue within, or regarding some aspect of your mix.
If either of these stages is done incorrectly, it can be detrimental to both the mixing and mastering process, in the very worst of ways.
All that time you spent meticulously preparing and perfecting your mix can be ruined in the blink of an eye.
So, again, before sending your session off to post-production, always make sure the Master BUS is completely empty.
Once your track is complete and it’s time for the mixing stage, be sure to bounce every track within the session, and convert all MIDI to audio (the stems).
Then, open up a new session designated specifically for the mix, import the stems, and get to work.
If you insist upon performing your own master bus processing (highly frowned upon), be sure to bounce two versions:
- The first with extra processing
- The second without extra processing
Oftentimes processors are placed on the master bus for various non-corrective purposes, such as:
- Visual representation of what’s going on frequency-wise.
- Metering purposes, such as testing the variables of the final mix at hand.
- Gauging playback during the course of a mix, and how alternative variations can influence the final product.
- Assisting in MONO compatibility and phase correlation so you can adjust what needs adjusting, so it matches your preferred set of standards.
I highly suggest you have what’s known as a ‘Safety Limiter’ enabled for every session, regardless of the stage (mixing and mastering) you’re working in.
It should be pre-loaded into your template if possible.
Safety Limiters do not affect the sound in any way, as they’re not meant to induce any attenuation (aka Gain Reduction) or alter the dynamic range in any way.
You should do so to prevent yourself from hurting or damaging your ears during those all-too-common unpredictable volume spikes and glitches.
They’re bound to happen when working in the digital domain, so it’s better to be safe than sorry.
Your ears are your most prized possession, and you should always treat them with the care they deserve.
A safer limiter does not prevent volume spikes from occurring, but rather sets a strict output limit (dB value).
Regardless of the input level, this output limit can never be exceeded.
So, if the default template pertaining to any particular task doesn’t have one, be sure to set the ceiling to a comfortable level (with a ratio of 1:1).
This will ensure no gain reduction is taking place.
Then, save the template you’ve just successfully safeguarded for the future.
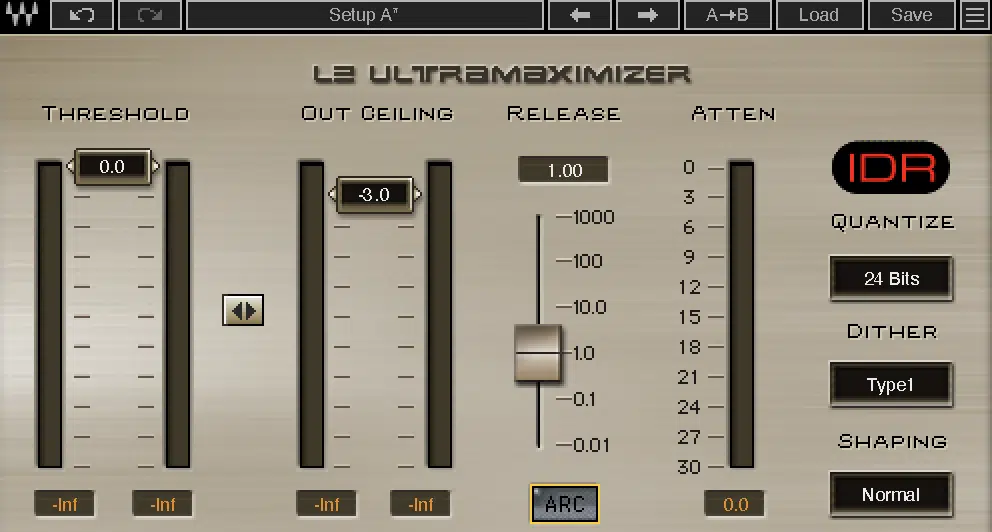
PRO TIP: Take a look at the Gain Reduction Meter.
If you see it triggered, even by the slightest amount, your safety limiter is not doing what it’s supposed to; applying Limiting to the master bus.
5. COMPRESSION AND EQ
Compressors can be found within both stages of post-production (the mixing and mastering stages), in highly distinctive ways.
Anybody starting to see a pattern here?
Compressors are used in mixing for ultimate control over the signal and the dynamic range of the track you’re applying it to.
In other words, it makes the signal appear fuller and ‘fatter,’ and decreases the dynamic range.
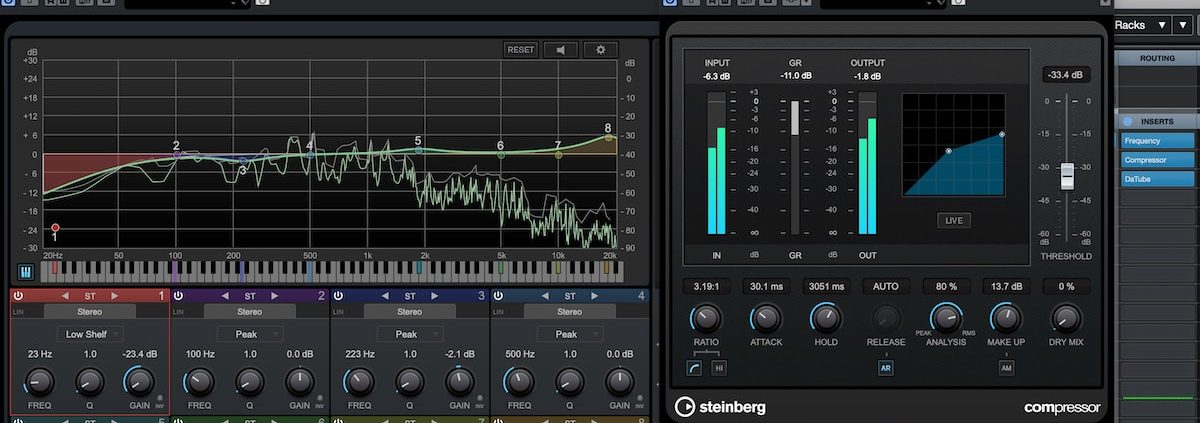
When it comes to master compression, it’s usually the final processor in the chain.
It is used in order to take all the headroom that should’ve been left back at the mixing stage (the more the better) and bring the track back to its intended target level.
This is accomplished by squeezing the signal.
This makes it more leveled (even) and brings the lower parts up a little more to the forefront.
Your listeners won’t be forced to adjust the volume at any point throughout the track.
With that said, some dynamic range is not only healthy but necessary, so it’s not about eliminating it altogether, but rather narrowing the gap.
EQs are also used in both mixing and mastering processes as well.
You’ll see them scattered throughout the mix in all different forms and fashions.
Whether it be to produce crazy complex-looking curves or to isolate and/or sharply eliminate problem frequencies.
On the other hand, you’ll traditionally find just an analog EQ (or 2) in the master with settings that induce only a small fraction of the duties an EQ carries out during the mixing stage.
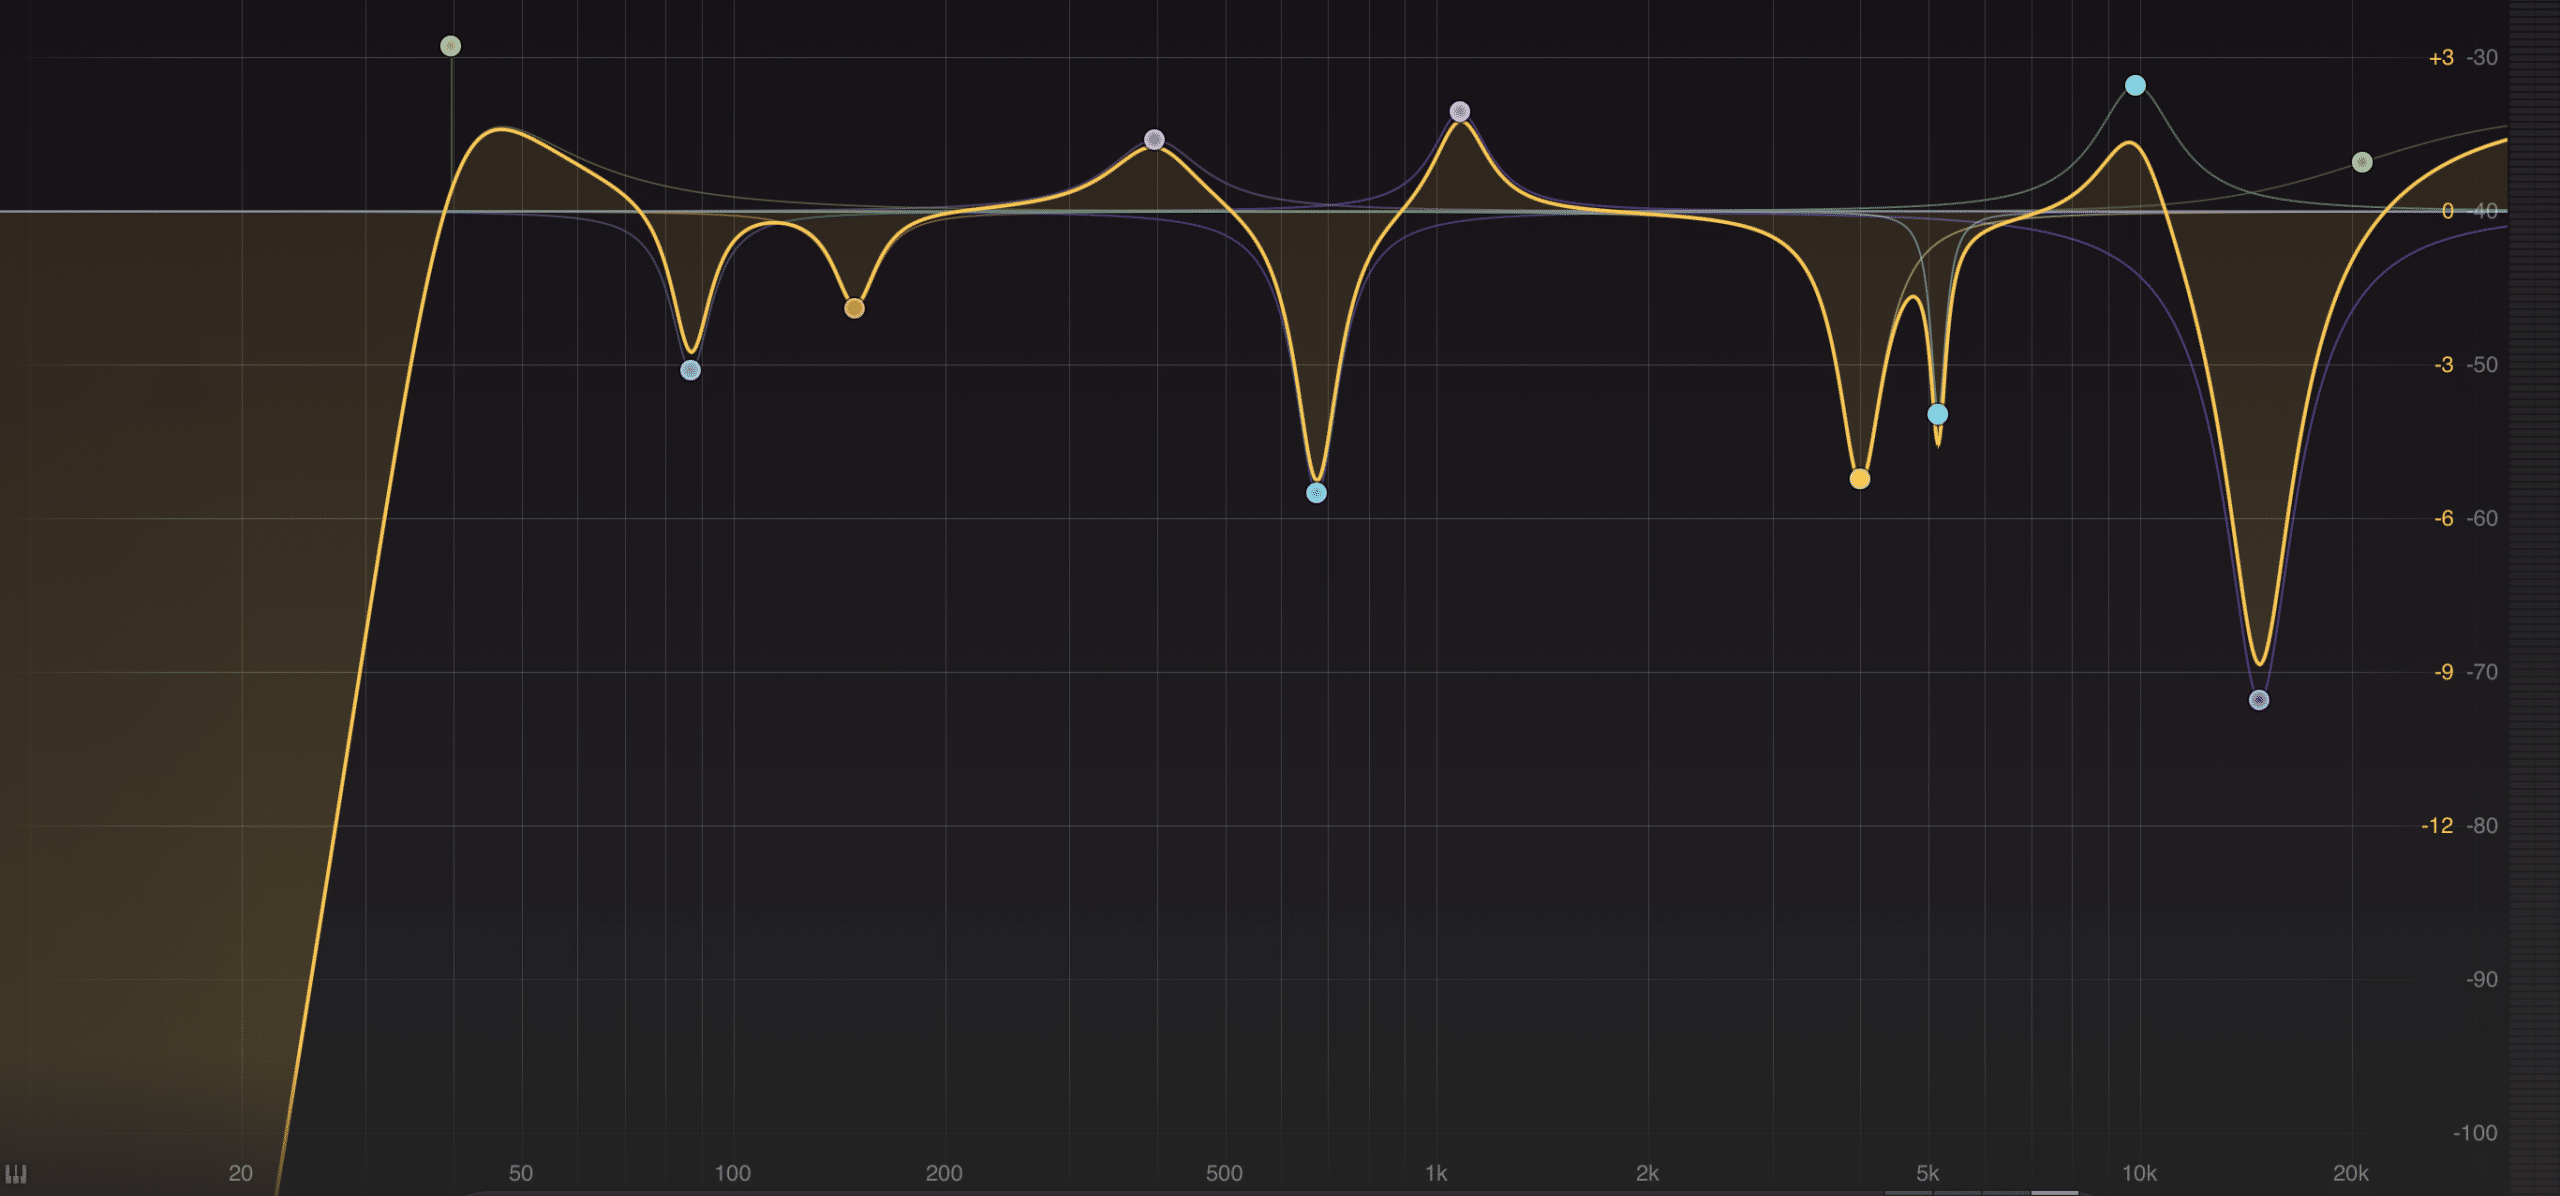
How the typical corrective EQ looks when correcting problematic frequencies within the mix
In fact, EQs and the compressors they use may not even come equipped with a fully adjustable or sweepable frequency range.
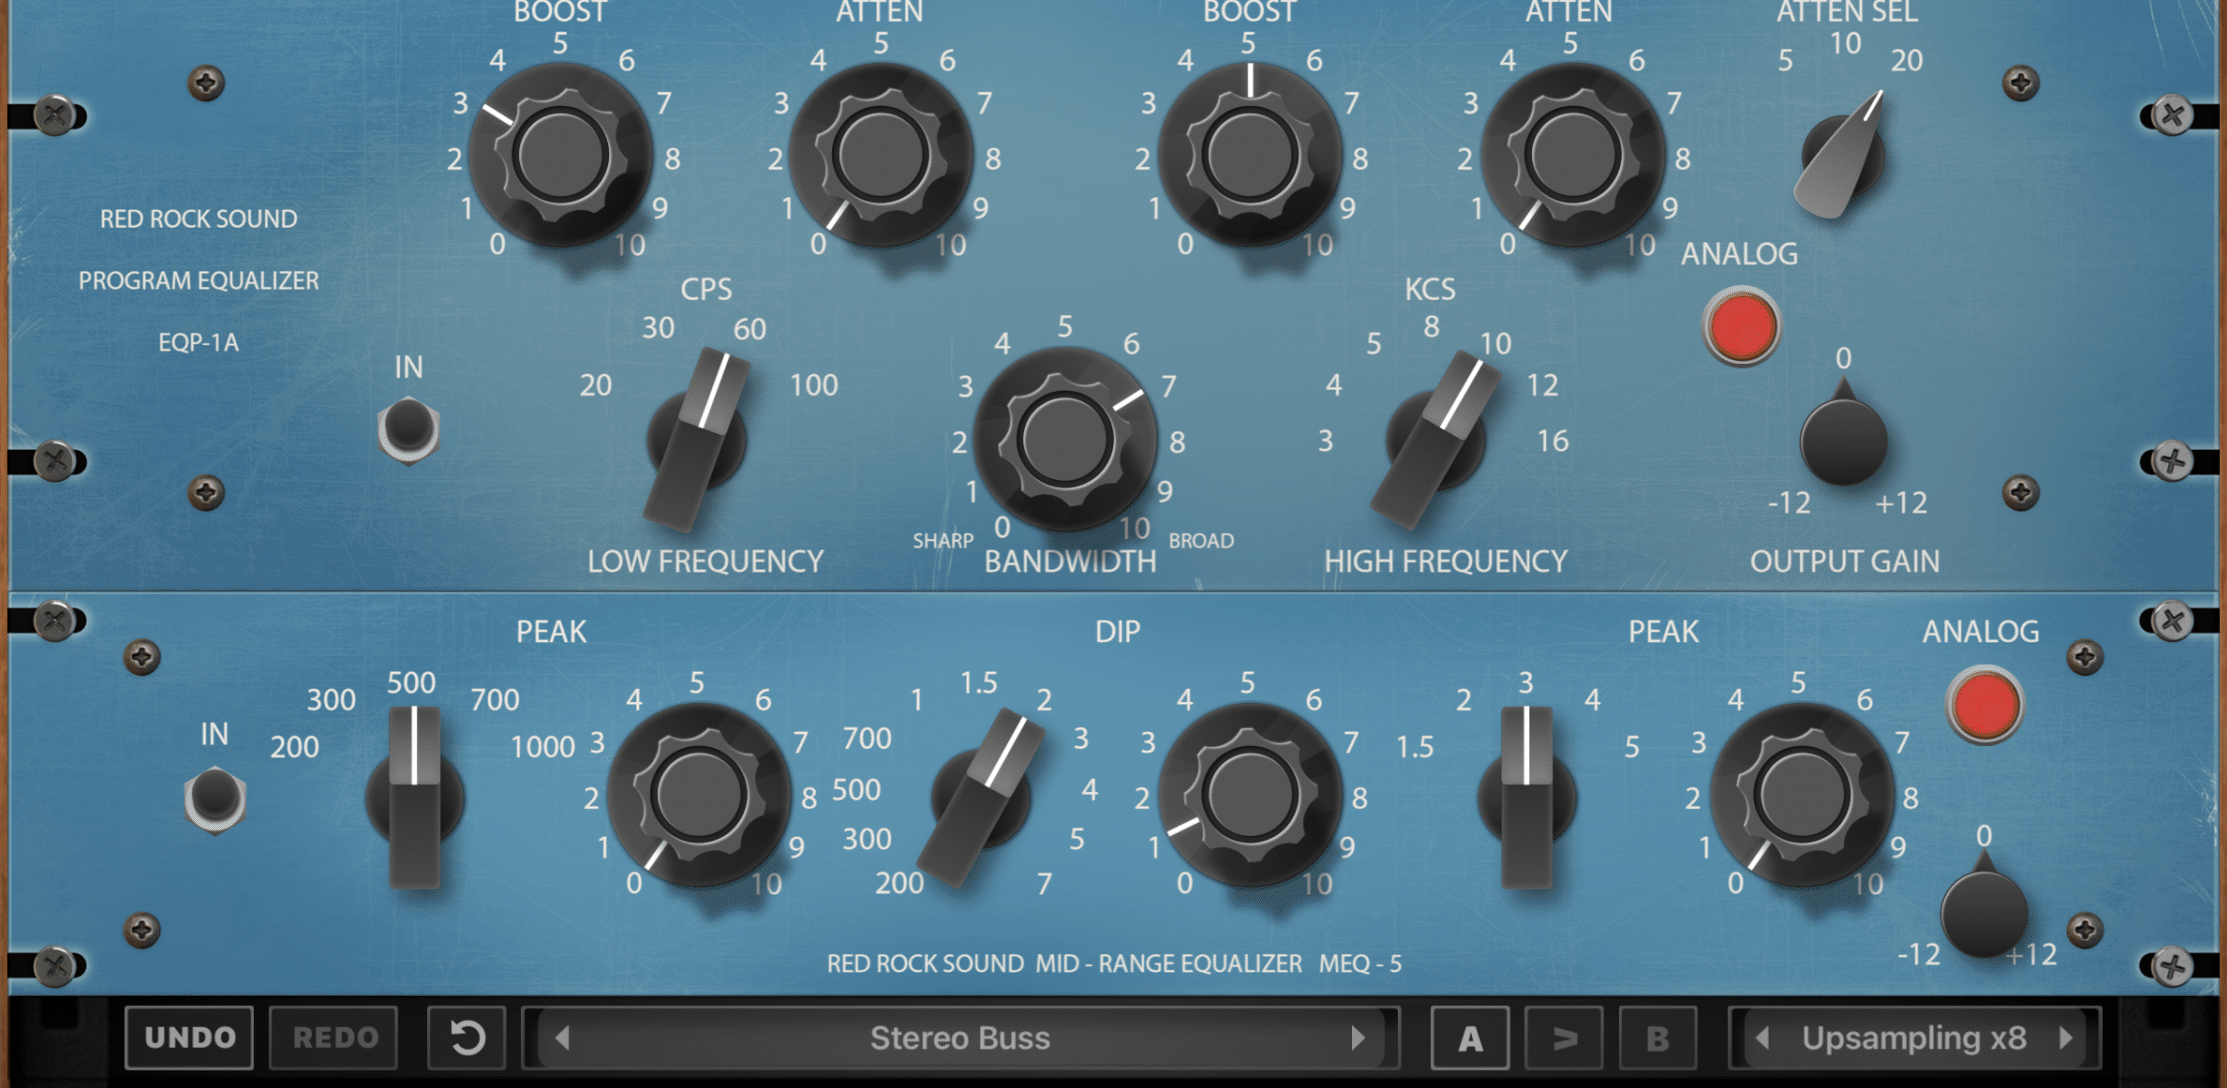
These only cut and boost certain (key) areas of your track, the sweet spots mainly, as any correction was already accomplished within the mix.
This means very broad strokes, broad frequency-band ranges (large Q size), and very tiny, subtle changes in dB values (cutting and/or boosting).
Just a few dBs here and there.
NOTE: To learn how to master your music with the correct compression settings, CLICK HERE.
6. PLAYBACK ENVIRONMENTS
When you’re done mixing and mastering, you always want to playback the fully-finished product across as many different devices, platforms as possible.
That’s a give-in…
However, when it comes to the actual mixing and mastering process, the environments should differ during each unique stage considerably.
- MIXING 一 Can be done in most places, with the use of most gear (regular headphones, speakers, etc.) as getting your music to translate is not too complicated during this stage.
As long as you know and trust the perspective you have, and can confidently make mental (or physical) notes of any shortcomings that you encounter.
- MASTERING 一 Is a much more sensitive process in this respect, as it needs to be done in a very controlled environment; one dedicated to this specific purpose to ensure proper translatability. Not just any treated room or studio.
The speakers should be set up so everything is felt more than it’s heard during this stage.
For instance, the setup found in a typical Tracking and Mixing Studio will clearly display the intricacies of the decay of a snare.
That’s great for mixing, not so important when it comes to the mastering stage.
However, a dedicated and designated mastering room/studio that was designed to showcase less detail and emphasize more feeling would be perfect.
As to demonstrate the power felt when an entire drum section when it collides with the instruments, for example.
So, if you’re thinking about mastering your own material, make sure you utilize a designated mastering room.
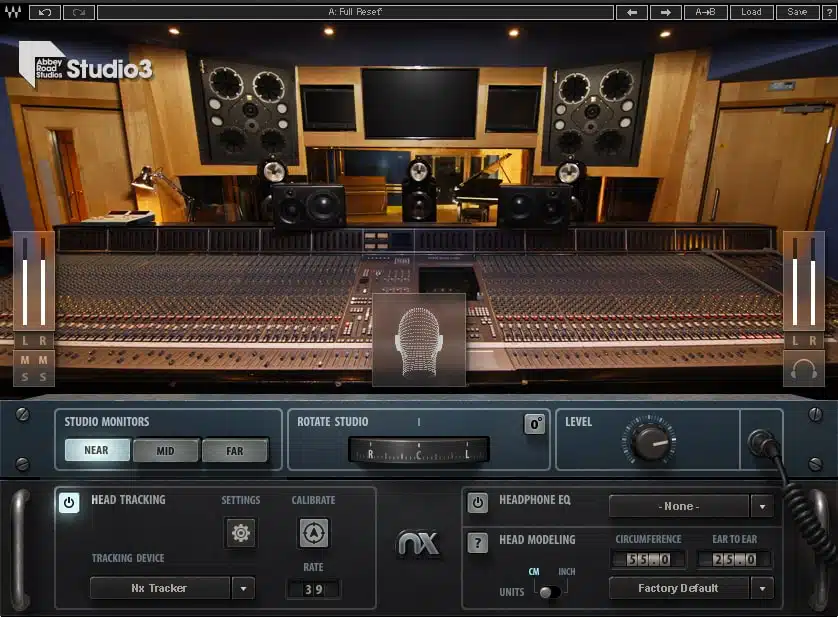
You can learn all about setting your room (or home studio) up properly, in our Home Recording Studio Essentials article.
7. BONUS (PRODUCER TIP): THE PRICE OF A MIX VS A MASTER
If you send your tracks out for mixing and mastering purposes, you want to make sure you’re not getting scammed in any way.
Unfortunately, the world is full of ‘professional’ engineers that don’t fully grasp the difference between mixing and mastering… scary, I know.
You don’t want to be taken advantage of by someone who claims to be one thing, yet really isn’t.
The worst part is, they’re probably fully aware of the mixing and mastering deception they’re imparting.
Luckily, there are some red flags to look out for.
The number one thing to be aware of is that mixing and mastering services do not cost the same.
This may seem a little crazy to you, as both post-processing stages are of equal importance.
However, in this case, it boils down to time spent and services rendered.
Next time you’re getting an estimate, always keep in mind this one thing:
A master should cost much less (approximately half) than a mix, period!
I don’t care how experienced the mastering engineer is, the process itself, as we mentioned earlier, should never take more than 30 minutes.
Of course, somebody famous might cost an arm and a leg due to stature, skill, and notoriety, but on average, don’t let yourself get played.
Plus, by using the tips found in today’s article, your mix will already be of professional quality, so you’ll be able to bounce it yourself.
This is always wiser to do as opposed to outsourcing the mix and attempting to apply your own mastering.
Remember, when it comes to mixing and mastering, it’s much easier to screw everything up during the master than the mix.
FINAL THOUGHTS
Always consider mixing and mastering to be two very different, intricate post-production processes.
When in doubt, always remember this very important thing:
Your mix can never be fixed during the mastering process, and the mastering process can absolutely ruin a beautiful mix if done incorrectly.
The best way to ensure a good mix is by using perfectly mixed samples.
Luckily for you, we have the top-of-the-line, most jaw-dropping samples in the game.
Download the FREE Unison Essential Melody Loops now, for the foolproof way to get your tracks on the charts.
With them, you’ll have unique, hit-worthy melodies guaranteed to make people play your music on repeat.
Plus, you’ll certainly never have to worry about whether or not they are of professional quality, or mixed properly as the top producers around created them!
Until next time…


