Multiband transient shaping is all about taking full control of how different parts of your audio signal respond in real-time.
From the sharp bite of a kick drum to the smooth tail of a snare or pluck, you can do it all (if you know how to do it properly).
It can help you tighten up your drums, add serious punchy attack, and enhance your mixing across the board.
Plus, if you use it creatively, you’ll be able to isolate and shape different frequency bands 一 Dialing in the exact amount of attack or sustain in one spot without messing up the rest of your signal like an absolute boss.
And let’s be honest, as producers and sound designers, you need to know how to add depth, clarity, and punch while keeping full control of the audio.
That’s why knowing everything about multiband transient shaping will seriously enhance your workflow and help you get a better mix faster, which is why I’m covering:
- How multiband transient shaping works ✓
- Using it during mixing, sound design, and even mastering ✓
- The difference between attack and sustain controls ✓
- Pro tips for parallel processing and advanced automation ✓
- The absolute best transient shapers in the game ✓
- How to make synths and loops hit harder ✓
- Why multiband transient shaping works even on vocals ✓
- Common mistakes that can ruin your dynamics ✓
- Advanced techniques to help you become a transient master ✓
- Much more about multiband transient shaping ✓
By knowing how to use multiband transient shaping, you’ll be able to bring punch, clarity, and life to every single; I mean, think of the possibilities.
You’ll never have to worry about weak transients, flat drum busses, or dull-sounding synths anymore at all.
Plus your tracks will translate across all systems, and your sound will always hit where it matters (and you’ll have the most legendary transient shapers in the game at your disposal as well).
And of course, I’ll be including some advanced techniques for you guys to take things to the next level, too, so you’ll definitely want to read all the way through.
Table of Contents
- What is Multiband Transient Shaping & Why is it Important?
- The Two Key Controls: Attack & Sustain
- When to Use Multiband Transient Shaping
- The Best Transient Shapers in the Industry
- My Favorite Techniques to Make Drums Hit Hard
- Transient Shaping on Vocals (Yes, It Works!)
- Advanced Techniques: Parallel & Multiband Shaping
- Avoiding Common Transient Shaping Mistakes
- Final Thoughts
What is Multiband Transient Shaping & Why is it Important?
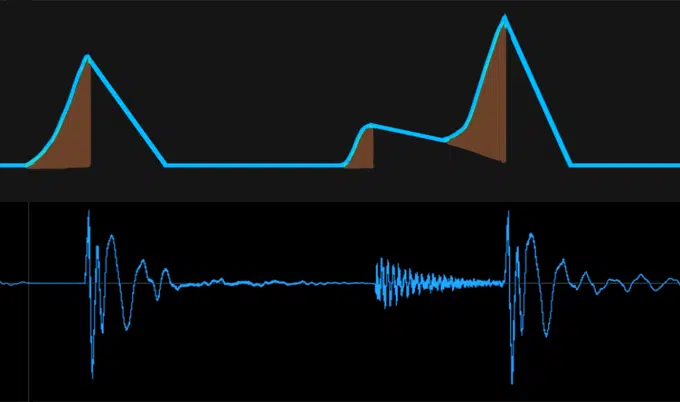
Multiband transient shaping is the process of adjusting the attack and sustain of your audio signal across multiple frequency bands instead of just treating it as a single, wide-band source.
That means you can boost the initial attack of your low-end transients (like your kick drum) while leaving your high frequencies untouched.
Or, reduce harsh midrange transients without killing the energy of the track.
This gives you way more control than ever over how your audio hits, breathes, and settles (especially in dense or layered mixes where things can get muddy fast).
For example, if you want your snare to have a tighter punch but not increase the room noise, you can reduce the sustain in just the 200–600 Hz frequency range.
This leaves the top-end snap completely untouched.
That kind of precise control is exactly why multiband transient shaping is so powerful.
Where regular transient shapers affect the entire signal uniformly, a multi-band transient shaper separates the audio into several zones, typically 3 or 4 frequency bands, and lets you adjust them independently 一 independently being the key word here.
This not only improves your ability to shape each sound with clarity but also gives you more flexibility to enhance the parts of the signal that matter most.
All without introducing unwanted noise or artifacts, of course.
Plus, when it comes to perceived loudness, shaping transients cleanly in specific bands gives you punch and power without having to raise the overall volume.
It’ll seriously help your track translate better across speakers, headphones, and mobile devices, which is what you’re going for.
So whether you’re working on a thick guitar track, a punchy EDM drop, or just trying to bring more life to a flat drum hit, multiband transient shaping is a must.
The Two Key Controls: Attack & Sustain
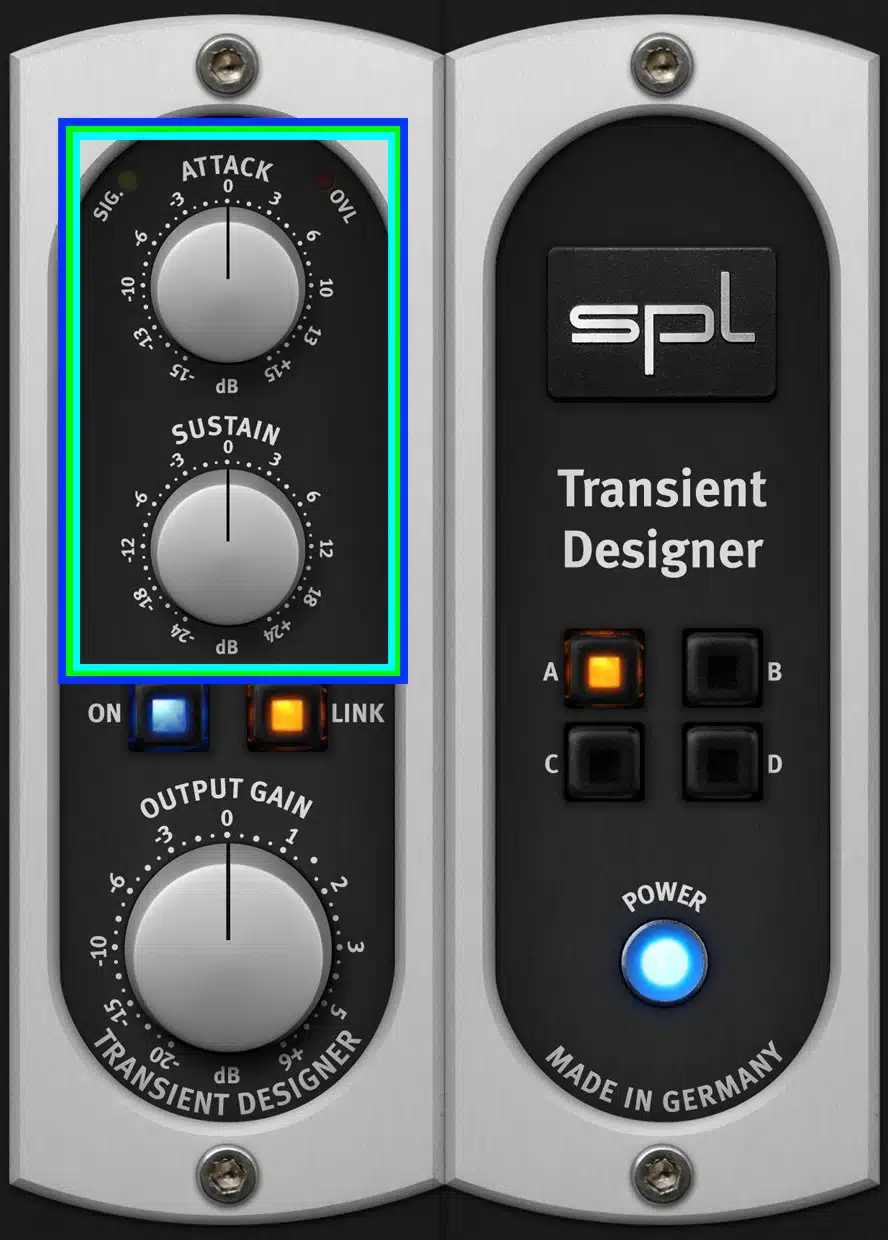
If you’re going to master multiband transient shaping, there are 2 main parameters that you need to know like the back of your hand.
The two main parameters that drive every transient shaper (yes, including multiband ones) are attack and sustain.
They work together like a push-and-pull system 一 attack determines how fast and forceful a transient hits, while sustain controls how long it sticks around afterward.
Attack controls let you boost or tame the initial hit of a sound, like the sharp punch of a kick drum or the snap at the front of a drum hit.
This is super important when dealing with midrange transients or elements that get buried in dense mixes.
Even a +20% boost in the 2.5–5 kHz range can make a snare pop through a wall of synths or guitars.
For example, increasing the attack setting in the low band can bring out the punch of a kick between 60–120 Hz, while leaving the rest of the audio signal clean and untouched.
The sustain control, on the other hand, affects the decay or release tail of the sound, which helps you either tighten up flabby hits or let them breathe more naturally.
When you want to shorten boominess in the 250–400 Hz range on a kick or toms, or even stretch out the tail of a guitar track to add more body and presence, it’s key.
And with multiband transient shaping, you can do this independently in each frequency band like we just touched upon.
That means you never have to compromise because each band can be shaped in its own way, giving you precise control that you just can’t get with single-band shapers.
For example, you might want to increase sustain in the upper mids around 2–4 kHz to keep a guitar track ringing out, while reducing sustain in the sub-frequencies to stop unwanted noise or rumble from building up.
This kind of unmatched control allows you to lock in clarity and fullness without overloading the low-end transients or letting the mix fall apart.
The beauty of multiband transient shaping is that you’re not locked into using both controls equally.
You can choose to increase attack in one band while decreasing sustain in another.
For example, boosting attack in the high-mids while trimming sustain in the low-mids can give you punch and clarity at the same time (no trade-offs necessary!).
It’ll give you more control than ever and let you really sculpt the body, presence, and clarity of every layer in your mix like a boss.
So, whether you’re shaping a vocal to sit just right or adding snap to a kick without overdoing it, this technique unlocks a level of refinement that can be touched.
When to Use Multiband Transient Shaping
There’s a time and place for every tool in your chain, that’s a fact. And when it comes to multiband transient shaping, it’s all about knowing exactly where it fits into your workflow to maximize clarity, punch, and balance. Whether you’re tweaking a single drum hit, controlling a full drum buss, or trying to fix the body of a muddy guitar track, multiband transient shaping can seriously enhance the way your audio signal moves, breathes, and translates across systems. So, let’s get into it.
Individual Sounds (Drums, Plucks, FX)
When you’re shaping individual sounds, multiband transient shaping lets you dive into the specific frequency ranges that actually matter for each unique instrument.
For example, let’s say you’ve got a kick drum that punches fine around 80 Hz, but the click up in the 3–5 kHz range feels flat…
You can boost the attack setting just in that top band to add clarity without touching the low end at all.
On plucks or short synth stabs, you might want to decrease sustain in the 200–400 Hz range to keep things tight while letting the highs breathe.
It will help you give the sound a cleaner and more polished feel.
With percussive FX sounds, like uplifters or glitches, a common trick is to increase attack in the high frequencies (6–10 kHz) while cutting sustain in the lows.
This creates a sharper, more aggressive transient without unwanted rumble muddying up the track.
PRO TIP: If your synth or FX hit feels lifeless, you can easily use a transient shaper plugin to boost transients only in the 1–3 kHz area.
If you’re looking for presence without cluttering the midrange transients, it’s key.
Group Tracks & Busses
When you’re working with group tracks or full drum busses, multiband transient shaping is where things get really surgical my friends.
Let’s say your drums are layered tight, but the cymbals in your overheads are a bit too sharp 一 you can reduce the attack in the 8–12 kHz band without screwing up your kick or snare in the low and midrange.
This is the type of precise control you don’t get from most transient shapers (especially those without multi-band capabilities).
If your drum buss feels bloated, try cutting sustain in the 100–200 Hz band by about -20% (that’s usually the sweet spot).
It will help you clear up the low-end transients without ruining the overall body of your mix, which would be a massive fail.
And when your snare lacks power, you can add punch by boosting the attack in the 2.5 kHz range and leaving the sustain settings untouched for a more focused crack.
I also suggest you play around with duplicating your drum buss, applying parallel processing, and using a transient shaper plugin to boost the attack in the highs only.
Then blend it in for extra punch without adding harshness (thank me later).
During Sound Design, Mixing & Even Mastering
When it comes to sound design, multiband transient shaping is key for giving movement and shape to complex or static textures.
For example, if you’re creating a pad that has too much boom in the lows, you can cut sustain in the 60–150 Hz range and boost the attack in the 6–8 kHz band for sparkle.
This way, your audio will have a much more balanced feel.
When mixing, it becomes your go-to move to enhance or suppress transients that are fighting for space (especially in dense sections with overlapping frequency ranges).
You can even use a multi-band transient shaper when you’re mastering to subtly enhance high frequencies without EQ.
By increasing attack just in the 6 kHz and up range, the whole track sounds brighter and more open without getting harsh.
For example, using Spiff (which we’ll talk about in a minute), you could easily set a mid-side mode with boosted sustain controls in the side signal only above 5 kHz.
It will create depth and stereo width in a way that feels smooth/musical.
And, also, don’t forget to keep the settings gentle in mastering…
Think +5 to +10% attack boosts in targeted frequency bands so you maintain dynamics without killing the original signal.
The Best Transient Shapers in the Industry
Alright, now that we’ve laid the groundwork, let’s talk plugins because not all transient shaper plugins are built the same. When it comes to multiband transient shaping, these are better than any other transient shaper if you’re looking for real flexibility, musical control, and sick sound quality. So, let’s break down these epic transient shapers real quick (and remember, we’re not talking regular transient shapers like Smack Attack; we’re talking multiband abilities).
#1. Waves Trans-X
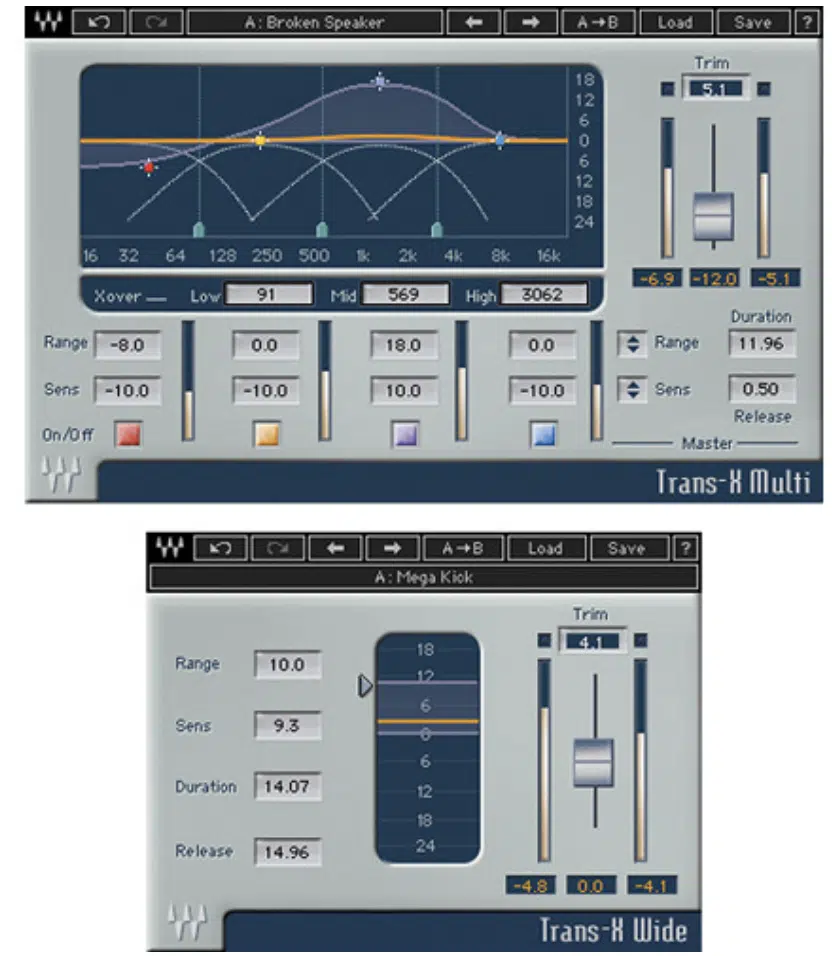
Waves Trans-X has been a solid pick for quite some time when you need easy but powerful multiband transient shaping across four adjustable frequency bands.
Each band gives you independent attack shaping, and it comes with two modes:
- Wide 一 Applies transient shaping across the entire audio signal using a single envelope (perfect for quick, broad enhancements).
- Multi 一 Splits the signal into four separate frequency bands, each with its own attack and time constant.
What makes it unique is its ability to pinpoint the exact attack zone in each band using a simple Threshold and Range slider.
The Threshold sets the level at which transients are detected, while the Range determines just how strongly the processor reacts.
Meaning, you can easily zero in on just the peaks that need shaping without touching the rest of the audio signal.
It gives you precise control over transient presence without needing any complex routing, which is awesome.
And since Trans-X doesn’t rely on traditional compression, it adds no gain reduction artifacts (just pure transient adjustment, so it’s super transparent and smooth)
You can use the Time Constant setting to adjust the envelope’s speed.
Keep in mind that shorter values tighten transients, while longer values smooth things out for balanced decay control across each band.
It reacts fast enough to catch sharp, short hits like snares, but you can also slow it down to soften midrange transients in guitars or vocals when needed.
For example, boosting the attack in the 60–120 Hz band by 20% while slightly reducing sustain in the highs can make a kick drum punch harder.
This is great if your kick is getting masked by pads or guitar tracks that fill up the low-mids 一 you can let the initial attack pop through without touching the body.
While taming sharp cymbals at the same time, of course.
Just reduce the range in the top band and adjust the Time Constant to a slower setting, and it’ll soften harsh crashes and high-frequency transients without dulling the overall sound.
#2. Oeksound Spiff
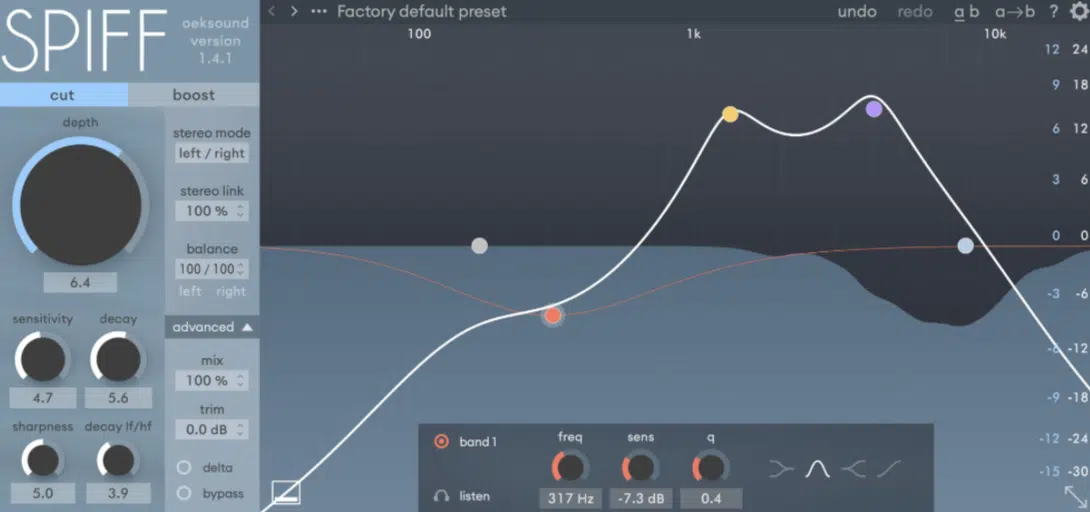
Spiff by Oeksound is a next-gen transient shaper plugin that takes things further with adaptive transient processing and a visual EQ-style interface.
Honestly, it feels more like a sculpting beast than a standard shaper.
And unlike traditional multiband transient shaping plugins that rely on fixed frequency bands, Spiff uses a constantly adapting algorithm.
Basically it analyzes the incoming audio signal in real time and targets only the transients that matter (in exactly the frequency ranges you define).
What’s unique here in my opinion is its frequency-dependent behavior…
Instead of working with static crossovers, Spiff lets you shape attack or sustain based on transient density and placement, which makes it feel like a smart processor that adjusts itself to the sound rather than just applying flat parameters.
It doesn’t just split the signal into static bands, it reacts in real-time based on where transients actually occur within your chosen frequency ranges.
That means you can focus shaping only on plosives in vocals (like 120–300 Hz) or tame harsh pick attacks on a guitar track in the 3–6 kHz range.
All without even touching the rest of the audio, naturally.
You can literally draw in where you want attack or sustain boosted or suppressed and Spiff will handle it super dynamically.
It’s perfect for vocals, guitar tracks, or harsh midrange transients.
The visual curve interface lets you intuitively set boost or cut zones 一 and the decay, sensitivity, and sharpness controls allow for ultra-granular editing, with real-time feedback as you tweak each region.
Hands down, it’s a go-to plugin when you’re after smooth, transparent shaping that still gives your audio an aggressive edge without sounding artificial.
NOTE: Even on full drum busses, Spiff can be set to slightly reduce attack in the highs while subtly enhancing sustain in the mids, so don’t underestimate it.
It gives you that controlled, forward sound all day without sacrificing clarity, depth, or dynamic range.
#3. iZotope Neutron 5 Transient Shaper
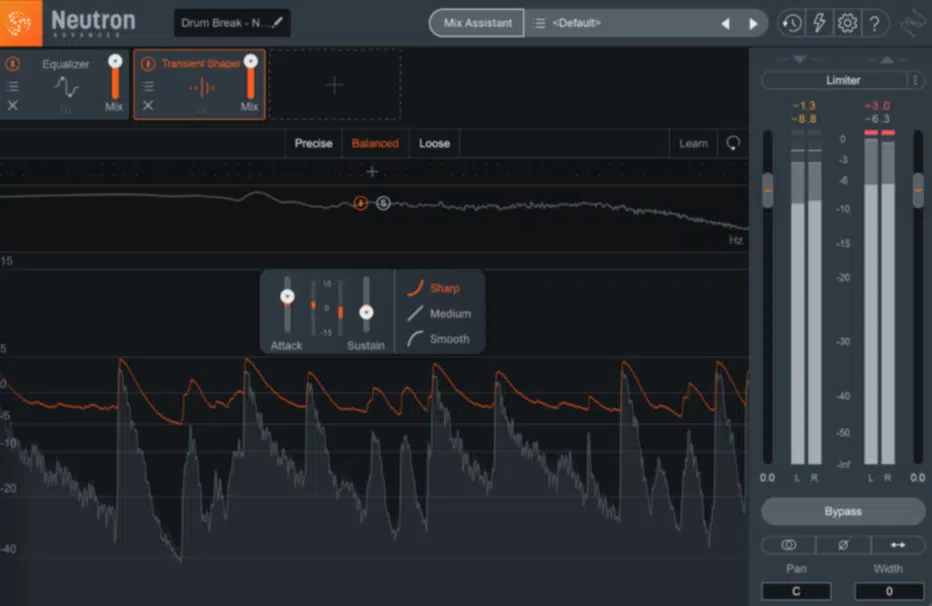
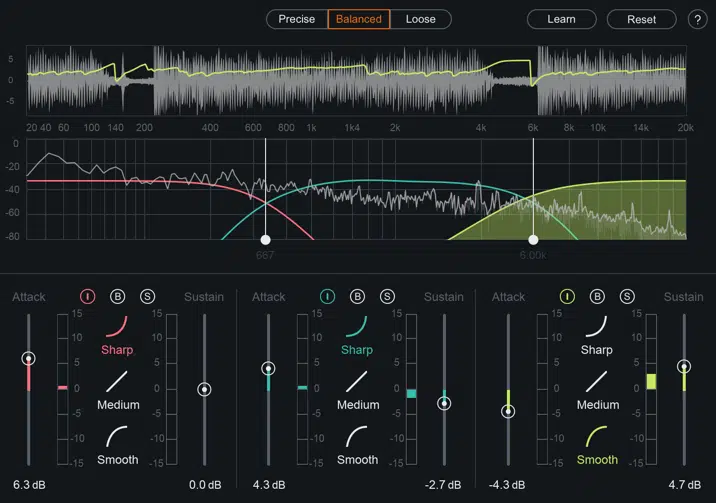
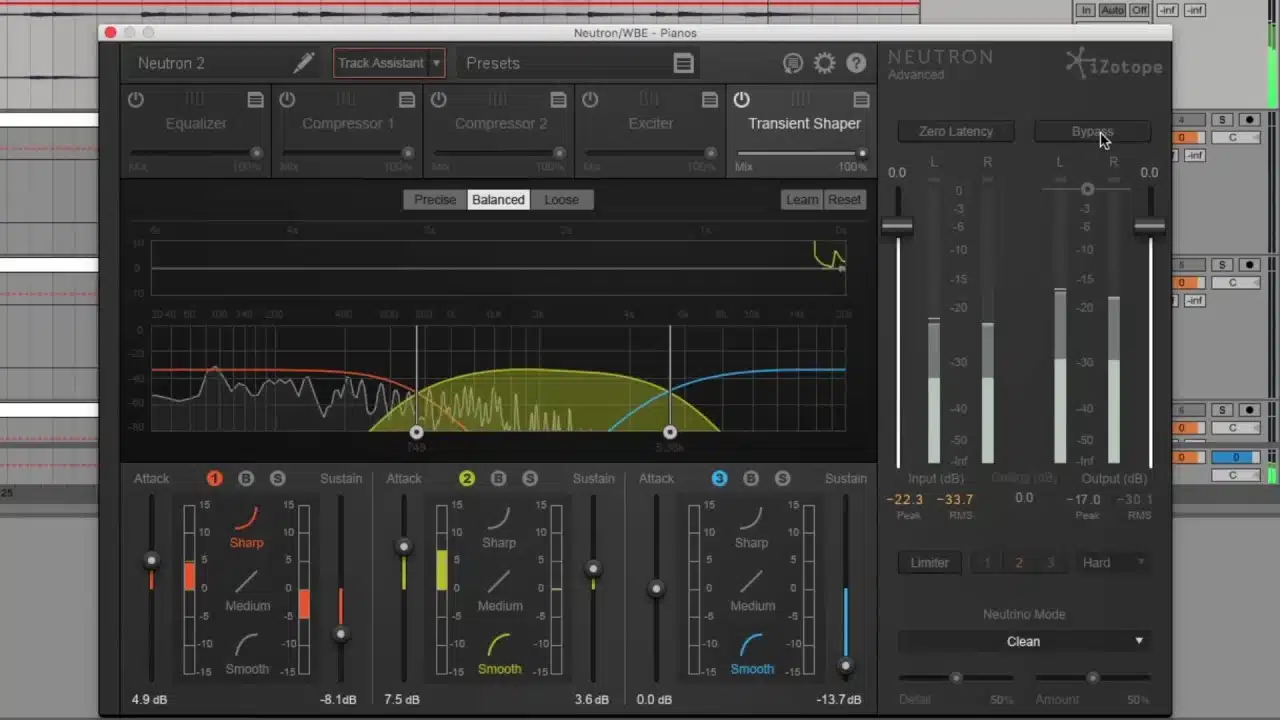
The transient shaper module inside iZotope Neutron is a super flexible tool for multiband transient shaping, built right into a full suite that’s meant for mixing.
It’s part of a modular workflow, which means you can combine it with Neutron’s EQ, compressor, exciter, and saturation tools all in one interface.
So, if you’re dealing with large sessions or time-consuming routing setups, it’s super time-efficient, no doubt about it.
It offers key features/functions, like:
- Three adjustable bands
- Mid/side functionality
- Separate attack and sustain settings per band
This lets you surgically fix issues like weak low-end transients or overly aggressive high frequencies and everything in between.
And each band comes with its own threshold and gain sliders, so you can adjust decay, tighten the body, or hype up transients without impacting adjacent frequency bands.
For example, you could boost sustain in just the side channel above 6 kHz while reducing attack in the mids 一 helping your track sound balanced/spacious.
It’s great for stereo synths, ambient guitar tracks, or even wide vocal doubles.
Wherever you want to control the audio envelope with precise control while preserving depth and stereo imaging, it can help you all day.
It also comes with built-in metering and visual feedback that makes dialing in punchy attack incredibly easy (yes, even if you’re new to this kind of transient shaping).
The real-time display helps you see exactly how each band is affecting the signal.
And, the animated waveform response lets you visually match what you’re hearing with what’s actually being shaped, so you’re covered on all bases.
Bottom line, when it comes to transient shapers, it doesn’t get much better than this one.
Between the multiband architecture, the advanced features, and the transparent workflow, Neutron gives you one of the most intuitive and powerful plugins for shaping transients in a professional (and amateur, really) mixing environment.
#4. MeldaProduction MTransientMB
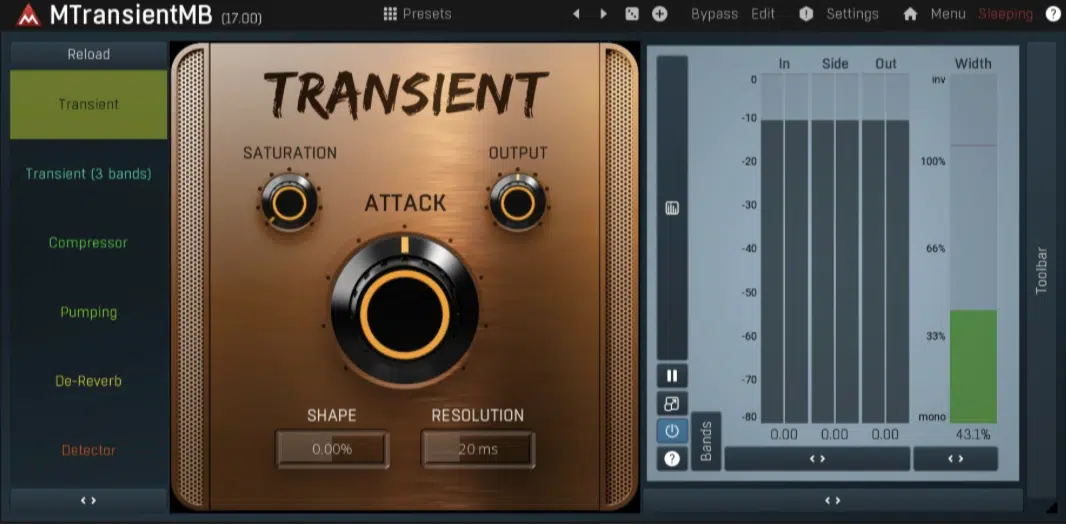
MeldaProduction’s MTransientMB is one of the most advanced multiband transient shaping tools out there, giving you up to 6 bands of transient control.
That means you’re not limited to just the standard low, mid, and high…
You can divide the audio signal into highly targeted frequency bands and shape them with extreme precision.
It’s perfect for working on complex drum busses, synth stacks, or even full mixes.
And, side note, each with its own attack, sustain, saturation, and even modulation settings, which I find pretty impressive myself.
You can modulate any parameter using LFOs, envelopes, pitch-followers, or even custom MIDI input.
Meaning, this isn’t just a transient shaper plugin, it’s also a creative sound design tool with endless automation potential.
What makes it stand out most in my opinion is its massive flexibility…
You can set different processing modes (linear phase, minimum phase, or hybrid), link bands, and even automate every parameter over time.
- Linear phase mode keeps your signal phase-coherent for mastering tasks
- Minimum phase is great for tight real-time use
- Hybrid mode gives you the best of both depending on what you’re working on
I seriously encourage you to use it for parallel processing by boosting the attack in just the high-mids (3–6 kHz) and blending it in under 20% wet.
This will help you enhance the clarity and sparkle in a busy drum buss, no problem.
This keeps the original signal clean and untouched while the parallel layer adds punchy attack and high-frequency presence.
It comes packed with way more control than ever and, if you’re working with dense material that needs precision shaping without any destructive effects on the original signal, this one is invaluable.
#5. JST Transify
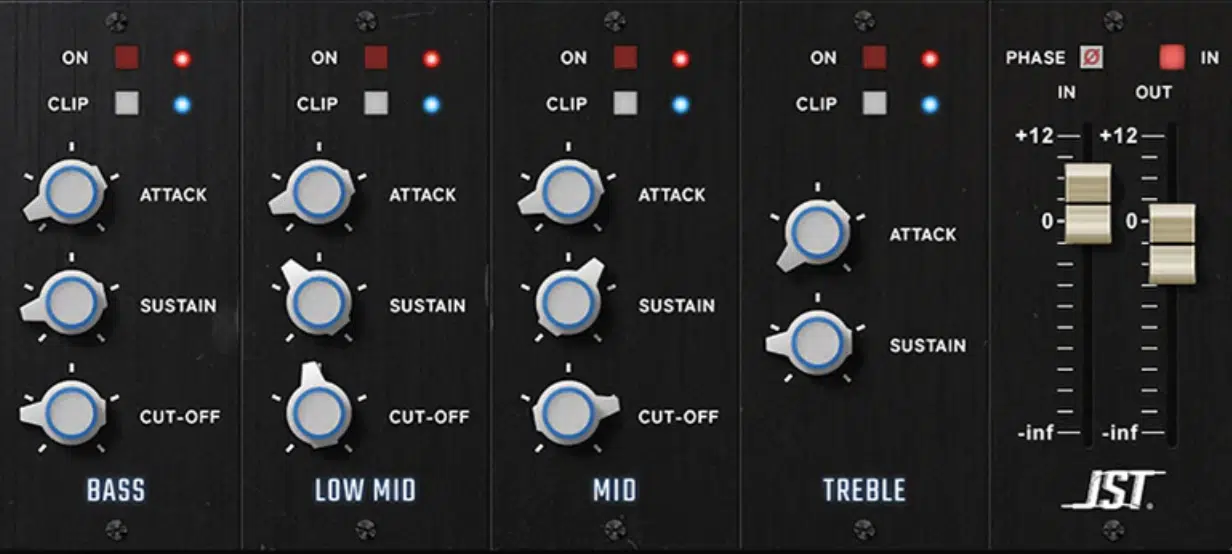
JST Transify gives you a simple but super on point 4-band multi-band transient shaper, with each frequency band having its own set of attack and sustain controls.
It has a drag-and-drop interface combined with fixed crossover points that cover all the essentials:
- Sub
- Low-mids
- High-mids
- Highs
It’s perfect for handling drums, guitar tracks, or even layered FX without the clutter.
The interface is clean, and what’s great is how fast and responsive it feels, so there’s no need to dig through menus or advanced routing options.
Just select the band, tweak the attack and sustain, and you’ll hear the transient response change in real time with almost zero latency (for real).
You can hear the difference when boosting transients in the snappy top end or tightening up low-end mush right off rip.
For example, if your kick drum lacks clarity in the 80–120 Hz range, reducing sustain settings in the sub band by -25% can clean up the body while letting the initial attack breathe on its own.
For example, boosting attack by 30% in the 2.5–6 kHz range can instantly add punch to a flat snare, while reducing sustain in the sub-bass clears up unwanted noise without affecting tone.
This combo works great when trying to tighten a drum buss or bring more definition to layered percussion in genres like trap, rock, or hybrid cinematic stuff.
It’s a killer pick when it comes to transient shapers if you want fast results and don’t want to overthink your transient shaping; it just works.
Transify is the kind of plugin you load up when you’re short on time but still need surgical results across different frequency bands 一 and it’s often better than any other transient shaper when it comes to raw speed and usability.
#6. Eventide/Newfangled Audio Punctuate
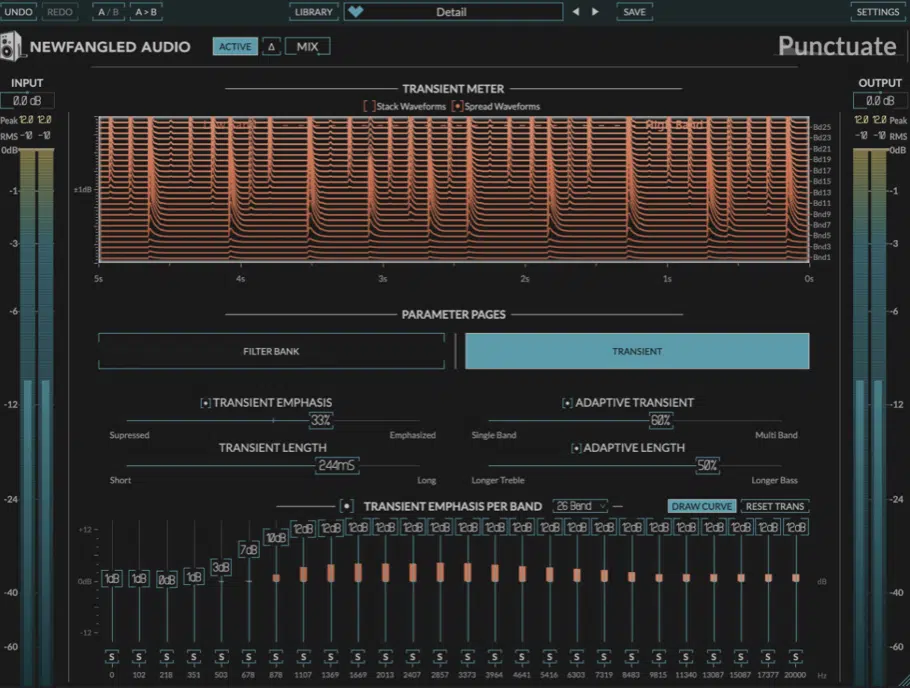
Punctuate by Newfangled Audio takes a completely different approach to multiband transient shaping.
It uses up to 26 frequency bands based on the critical bands of human hearing 一 making it easily the most psychoacoustically accurate one on this entire list.
Each band is mapped to how the human ear perceives frequencies.
This means your shaping decisions feel more musical, even when making aggressive moves across the spectrum.
Instead of the typical three or four bands, you get pinpoint attack and sustain shaping across ultra-narrow frequency ranges, which is sick.
When dealing with dense mixes where traditional tools lack the resolution to treat overlapping midrange transients, it’s unmatched, like:
- Layered synths
- Cymbals
- Distorted guitars
And one of the wildest things about Punctuate is its “Adapt” control, which intelligently reacts to transients in real time and adjusts accordingly.
Rather than applying a static envelope, Adapt dynamically recalibrates the transient response based on the signal’s intensity.
So you’ll get constantly evolving shaping that feels smooth, musical, and responsive to performance changes every single time.
This makes it a beast on drum busses, FX, and even guitar tracks that need bite without getting too sharp and obnoxious.
For example, you can increase attack in the upper mids while simultaneously letting sustain breathe in the lows (for epic body and depth) without over-accentuating high frequencies that already have energy.
And keep in mind that this is one of the only transient shaper plugins that lets you push that hard with that much frequency range control and still end up with a sound that feels clean, dynamic, and ready for mastering.
No unwanted noise, no smearing, and no need for excessive post-processing!
My Favorite Techniques to Make Drums Hit Hard
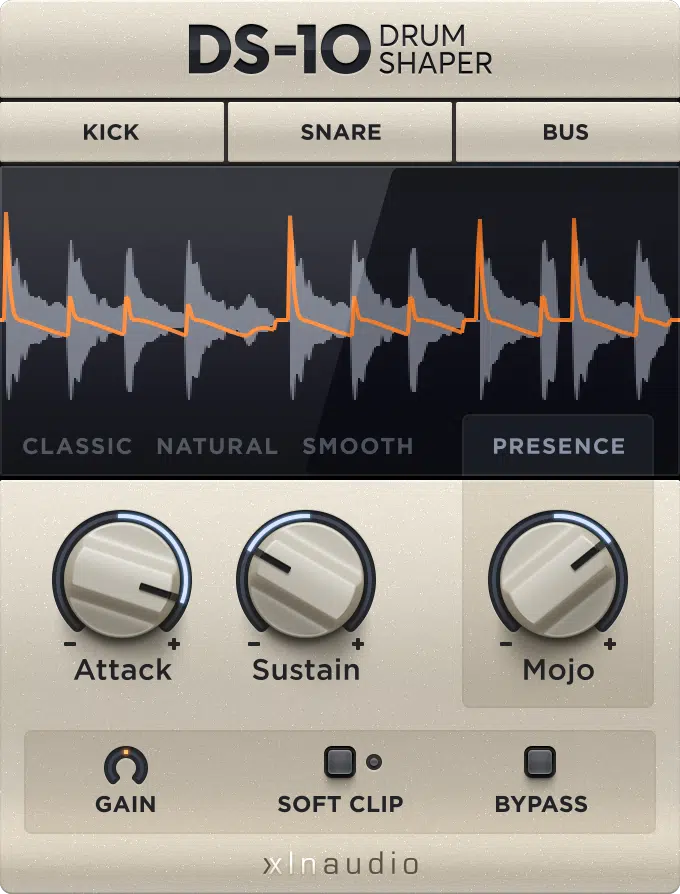
When your drums sound flat or weak, multiband transient shaping can come in and save the day if you know what you’re doing.
It lets you isolate and enhance specific frequency ranges that give each element its unique punchy attack, body, and depth.
What you’re going to do is start with your kick drum 一 boosting the attack by +30% in the 60–90 Hz range while cutting the sustain in the 180–250 Hz band by -25%.
This can help emphasize the low-end punch without any added mud.
To enhance snare crack, try targeting the 2.5–5 kHz band with a +35% attack boost.
And if the snare feels too thin, increase the sustain slightly in the 200–400 Hz range to bring out more body without overpowering the mix.
For taming cymbals or harsh overheads, you can cut attack in the 8–12 kHz range by -15%, which helps smooth the high frequencies while keeping brightness intact.
If your drum buss lacks aggression, try duplicating the track and applying parallel processing.
To do this, boost attack in the 1.5–4 kHz range by around +20% and slightly increase sustain in the upper-mids before blending the processed signal in at about 25–30% wet.
This will add extra punch to the transients without affecting the original groove or introducing harshness into your audio signal.
NOTE: If your transient shaper also has a mix knob, it’s a good way to keep things sounding natural and not over-processed, so keep that in mind.
And also, a bonus tip would be to shape low-end transients by tightening sustain settings in the 100–200 Hz range (especially if your toms, kicks, or snares overlap).
Then, simply use precise transient shapers to clean up any overlapping frequency bands without touching your highs.
Making Synths More Percussive
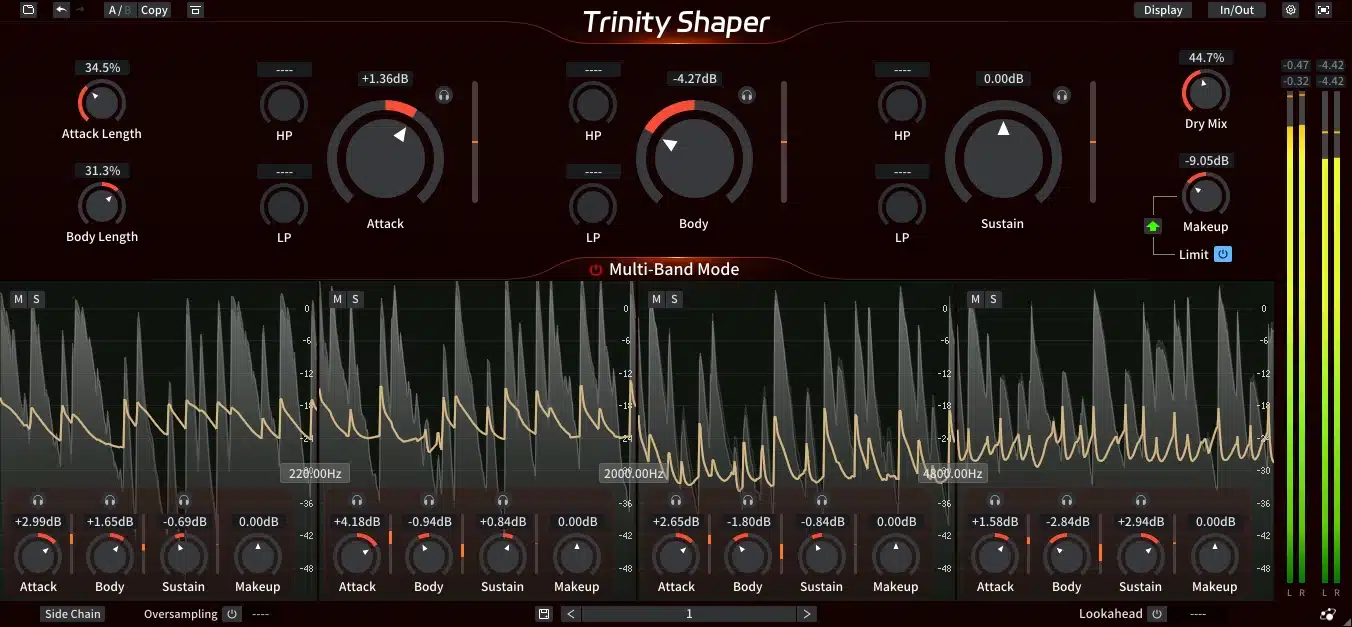
To make your synths sound more percussive, start by using multiband transient shaping to isolate the 3–6 kHz band and boost the attack by around +25–30% to give your leads or stabs a sharper initial attack.
At the same time, you’re going to cut sustain in the 150–300 Hz band by -20% to clean up the low-mid body, which often carries excess energy that can blur rhythmic timing.
If you’re dealing with an arpeggiated guitar track or layered synth loop, I suggest you also try shaping the 700–1.2 kHz frequency range.
You can do this by slightly boosting attack to give it more mid-forward clarity.
To keep things extra balanced, use a plugin like JST Transify, which lets you tweak all four frequency bands independently and audition the audio signal per band.
For high frequencies (especially if there’s a reverb tail layered into the patch), try pulling sustain down by -15% in the 8–12 kHz range to tighten the top with no dullness.
This kind of precision helps your synths sit tightly in the pocket while still cutting through the mix with punch and focus like a pro.
Adding Groove to Basic/Static Loops
When working with loops that feel rigid or completely lifeless, multiband transient shaping can give you real groove without altering the actual MIDI or audio timing.
Try increasing sustain settings by +15% in the 500 Hz to 1.5 kHz frequency range to stretch out midrange transients.
This will help you create that rolling, breathing feel between hits that people love.
And if the snare or clap feels buried, boost attack in the 2–4 kHz band by about +20–25% to highlight the transient and give the loop more bite.
Then, tame the high frequencies above 9 kHz by slightly reducing sustain to avoid buildup from hats or noisy tops.
It’s perfect if there’s reverb or layered vinyl crackle in the track.
NOTE: For loops with stereo width, try using Neutron’s transient shaper plugin in mid/side mode 一 boosting attack in the side channel above 6 kHz by +10% opens up the space and gives the audio signal room to breathe.
When used across different frequency bands, this technique adds movement, character, and feel (all without touching the grid).
Creating Movement with Automation
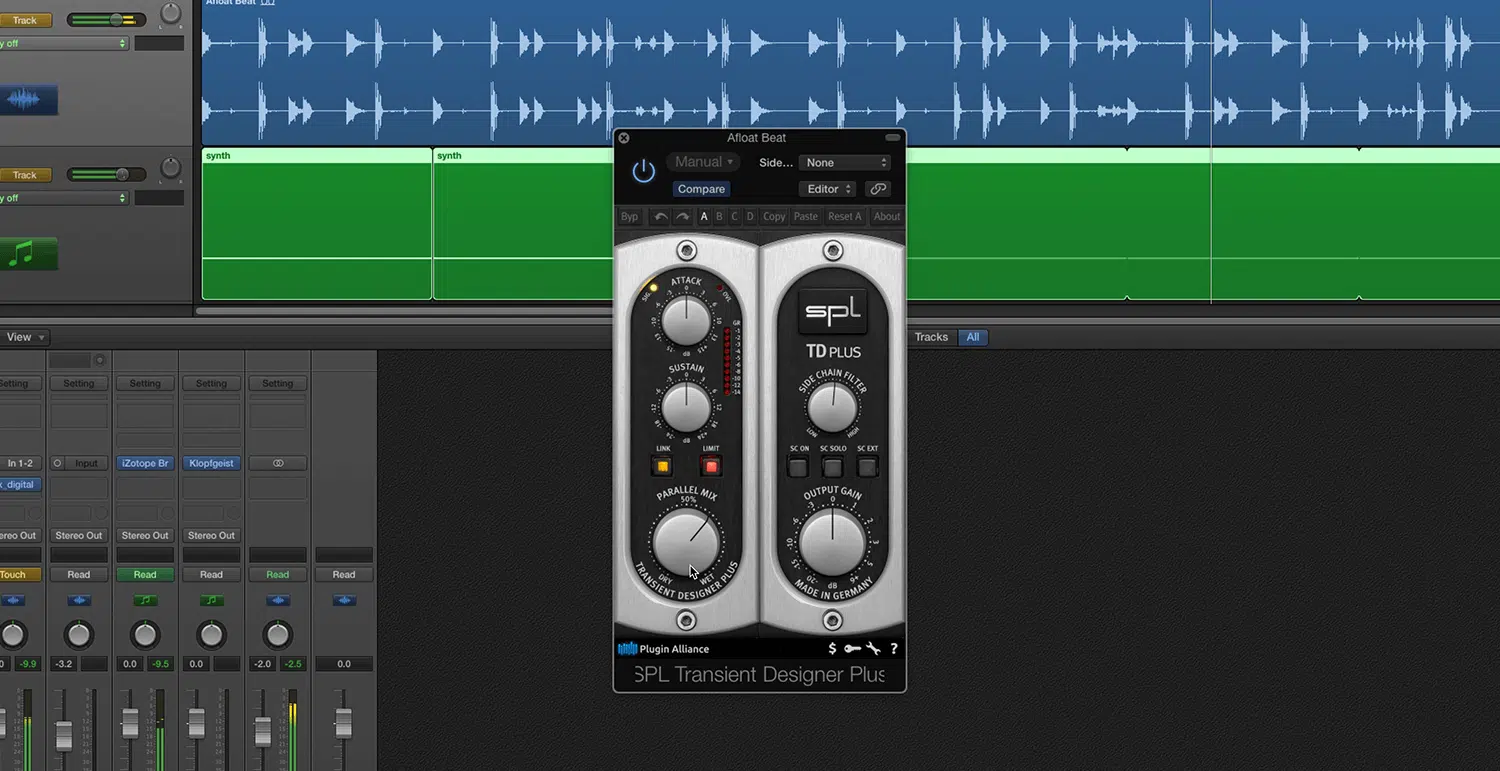
One of the most creative ways to use multiband transient shaping in my opinion is by automating different attack and sustain values across sections of your track.
For example, in a buildup or breakdown, you can:
- Reduce attack in the 60–120 Hz range by -20% to soften the low-end transients
- Then, ramp it back up right before the drop for maximum punch
On the same note, automate a slight sustain boost (+10–15%) in the 3–6 kHz band during the chorus to bring out midrange transients and help vocals, snares, or synths stand out.
This type of movement makes the whole mix feel more alive without relying solely on volume or filtering tricks.
PRO TIP: In parallel, automate the wet/dry blend of a duplicate track running a multi-band transient shaper 一 pushing the attack in just one band while letting the original remain untouched.
Just remember that automating transient values across different frequency ranges not only helps with dynamics.
It also enhances perceived energy and keeps things from feeling static or looped.
Transient Shaping on Vocals (Yes, It Works!)
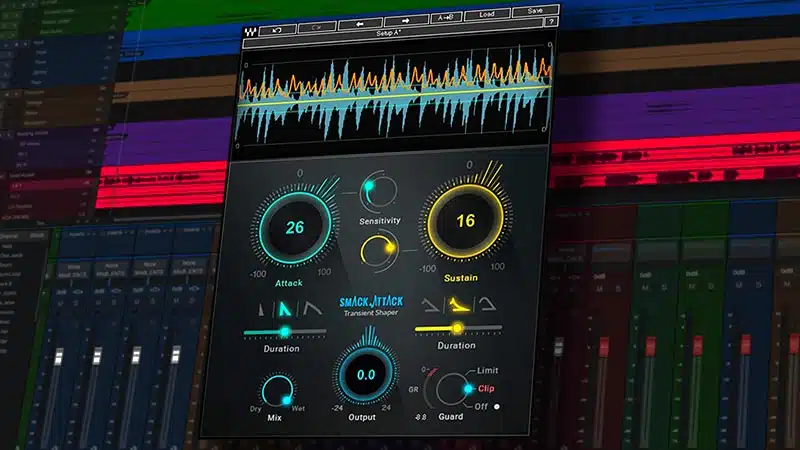
Even though vocals might not be the first thing that comes to mind for multiband transient shaping, it can make a massive difference when trying to keep vocals punchy, present, and clean in dense arrangements.
You can start by targeting specific frequency ranges…
Boost the attack slightly in the 3–6 kHz band to enhance consonants and breaths, which helps the vocal cut through the mix with natural energy.
If you’re dealing with plosives or sharp syllables, a great trick is reducing attack in the 100–200 Hz range by -15% to clean up low-end buildup without touching the body of the audio signal.
You can also reduce sustain in the 8–12 kHz band by -10% if your reverb or air layer is lingering too long and creating unwanted noise or harshness.
I’m telling you, producers overlook how a transient shaper plugin can give vocals a balanced presence all the time, and you definitely don’t want to be one of them.
Just make sure to carefully boost the sustain settings in the midrange (around 1.5–3.5 kHz), so you can add thickness and depth without muddying the track.
It’s one of the easiest ways to get that clean but forward vocal sound without needing tons of compression or EQ, which is great.
Advanced Techniques: Parallel & Multiband Shaping
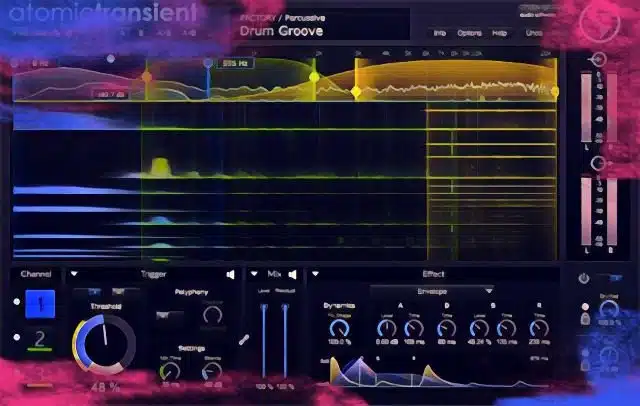
Once you’ve got the basics down, the next level of multiband transient shaping comes from combining parallel and multiband strategies for extremely precise control over your transients. This way, you’ll have a dynamic, professional track without compromise. So, let’s get into it.
Parallel Processing/Transient Shaping for Clean Aggression
To keep your audio clean while still adding energy, use parallel processing to blend shaped signals back in with the dry track.
For example, you can easily:
- Duplicate your drum buss
- Apply a transient shaper plugin
- Boost attack in the 2–5 kHz range by +30%
- Leave the sustain mostly flat
Then blend that duplicate track in at 20–30% wet to get a super punchy attack without overpowering the original signal.
You can also tame sharp high frequencies by reducing attack in the 9–12 kHz range on the duplicate while leaving the rest of the signal completely untouched.
It helps preserve clarity while preventing harshness, which I’m sure you get by now is the ultimate goal here.
So if you’re layering aggressive synths, snares, or even guitar tracks where you want some extra attitude without overload, don’t overlook this one.
Multiband Targeting for Frequency Control
One of the most powerful features in multiband transient shaping is the ability to shape different frequency ranges independently.
It gives you more control than ever over tone and impact.
For example, if a kick drum has solid low-end punch but a weak top-end click, you can increase attack by +35% in the 3–5 kHz band while reducing sustain in the low-mids around 200–300 Hz to remove unwanted noise or boom.
At the same time, you don’t need to adjust both attack and sustain across all bands 一 you can tweak just one parameter per zone for highly targeted sound shaping.
Let’s say your overheads are too washy…
You can easily drop sustain settings in the 10–12 kHz band by -20%, but leave the attack as-is to preserve brightness and clarity.
This kind of shaping lets you boost the midrange transients of a snare while softening the tail in the low-end to create that perfect balance of body/snap.
Remember, a good transient shaper lets you sculpt each part of the signal to serve a specific purpose (whether that’s to enhance bite, reduce decay, or eliminate unnecessary noise from different frequency bands).
Combining with Saturation or EQ
Another one of the best ways to take your multiband transient shaping even further is by combining it with subtle saturation or EQ.
This can completely change how transients affect the body, depth, and tone of your sound and help you achieve your overall goal.
After enhancing the punchy attack of a kick drum in the 60–90 Hz range, I suggest you try adding a low-end boost with a gentle bell EQ curve around 65 Hz.
This will help you fill out the body without overlapping the transient zone.
You can also follow up transient shaping with a saturator like Native Instruments Supercharger or Soundtoys Decapitator.
Just make sure to dial in +1 to +3 dB of harmonic drive only on the upper mids (2.5–5 kHz) to reinforce midrange transients and give them a slightly sharp, analog edge, which I’m all about.
A great approach is to adjust your sustain settings first, then tweak the EQ around the decay curve you’ve created.
For example, if you’ve shortened the sustain in the 300–500 Hz range by -20%, roll off a few dB at 400 Hz to further clean up the signal.
NOTE: If you’re working in parallel, adding saturation only to the processed duplicate can help keep your original signal clean while giving your transient shaper plugin more bite.
It’s a pretty cool technique that feels subtle but can make your final mix sound tighter, fatter, and better than any other transient shaper workflow out there.
Avoiding Common Transient Shaping Mistakes
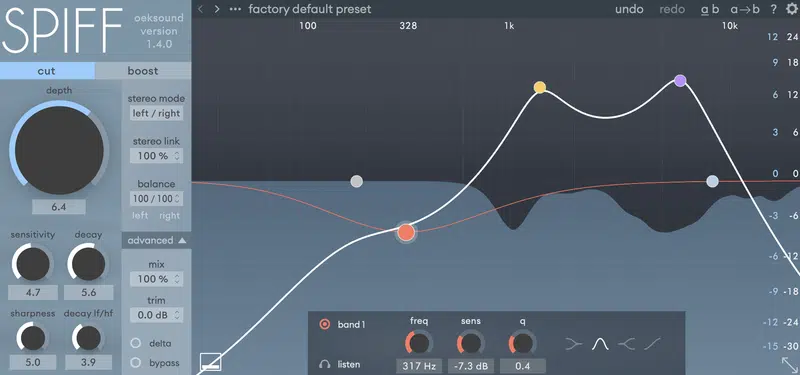
And last but not least, I’ll leave you with some last minute tips to help you avoid some of the most common transient shaping mistakes.
One of the biggest mistakes producers make with multiband transient shaping is over-shaping, and that’s something you never want to do.
This is because pushing attack and sustain settings too far can completely kill the natural dynamics of a track 一 making everything sound robotic or overly clipped.
It’s also easy to misuse the tool by applying shaping to elements that don’t benefit from it, like ambient pads or background textures.
This only wastes CPU and can lead to unintended signal degradation.
Another trap is ignoring the decay phase of sounds…
Shaping without considering how changes to sustain will impact the overall sound can cause imbalance and conflict between instruments in the mix.
Instead, treat each band and element with intention, and always ask if the transient shaper lets you enhance the audio or if it’s just making things louder or more time-consuming to fix later.
Smart control and clean decision-making will always win (yes, even if you’re using a classic like SPL Transient Designer, which still holds its own today).
Final Thoughts
And there you have it: everything you need to know about multiband transient shaping and how to use it like a boss.
Now, you’ll be able to tighten up your drums, elevate your synths, and make your mixes feel alive like never before.
By using these legendary tips, tricks, and techniques, you’ll be able to shape your sounds with pinpoint accuracy, no matter what genre or workflow you’re working with.
Plus, you’ll never have to worry about weak transients, muddy low-end, or lifeless loops ever again (big bonus right there).
And, as a special bonus, I’d like to give you access to the most invaluable Free Project Files in the entire industry.
With them, you can see exactly how to apply multiband transient shaping in real time.
And not just that, but any other effect, process, or routing chain you’ve ever wondered about as well, which is invaluable.
This way, you can watch how professionals set their sustain, adjust attack, carve frequency ranges, and get clean, punchy, industry-ready mixes from scratch.
Plus, since every project was knocked out by true professionals, you’ll be able to get on their level real quick; talk about benefits.
Bottom line, when it comes to multiband transient shaping, just remember you always have to listen critically and shape with intent because that’s the key.
This way, you can keep your transients clean, your mix tight, and your tracks hitting like an expert.
Just don’t forget to always test in context, trust your ears over your eyes, and think outside the box 一 because that’s where the real magic happens.
Until next time…


Leave a Reply
You must belogged in to post a comment.