Vocal comping is all about taking the best parts of multiple vocal takes and seamlessly blending them into one perfect vocal track.
Plus, making sure that each vocal phrase is aligned and consistent to make sure your entire song sounds polished and professional.
As a producer, knowing all about vocal comping is super important so you can create flawless vocal performances that stand out in any mix.
It also helps you to tweak each one to fit the vibe and emotion of the song.
That’s why we’re breaking down everything you need to know about the vocal comping process from start to finish, like:
- Setting up your DAW for comping ✓
- Recording multiple takes ✓
- Listening and evaluating takes ✓
- Cutting and splicing clips ✓
- Aligning and timing vocal phrases ✓
- Comping for different vocal styles ✓
- Layering and doubling vocals ✓
- Avoiding common mistakes ✓
- Important technical aspects ✓
- Mixing the comped vocal ✓
- Advanced tips to ensure the perfect performance ✓
- Much more about vocal comping & vocal tracks ✓
After this article, you’ll know everything about vocal comping and how to apply these techniques to your own tracks.
Plus, be able to identify the best vocal takes, blend them together like a boss, and successfully create a professional-sounding vocal track.
This way, your tracks will sound polished, and you’ll learn how to master vocal comping moving forward.
So, let’s dive in…
Table of Contents
What is Vocal Comping? Breaking it Down
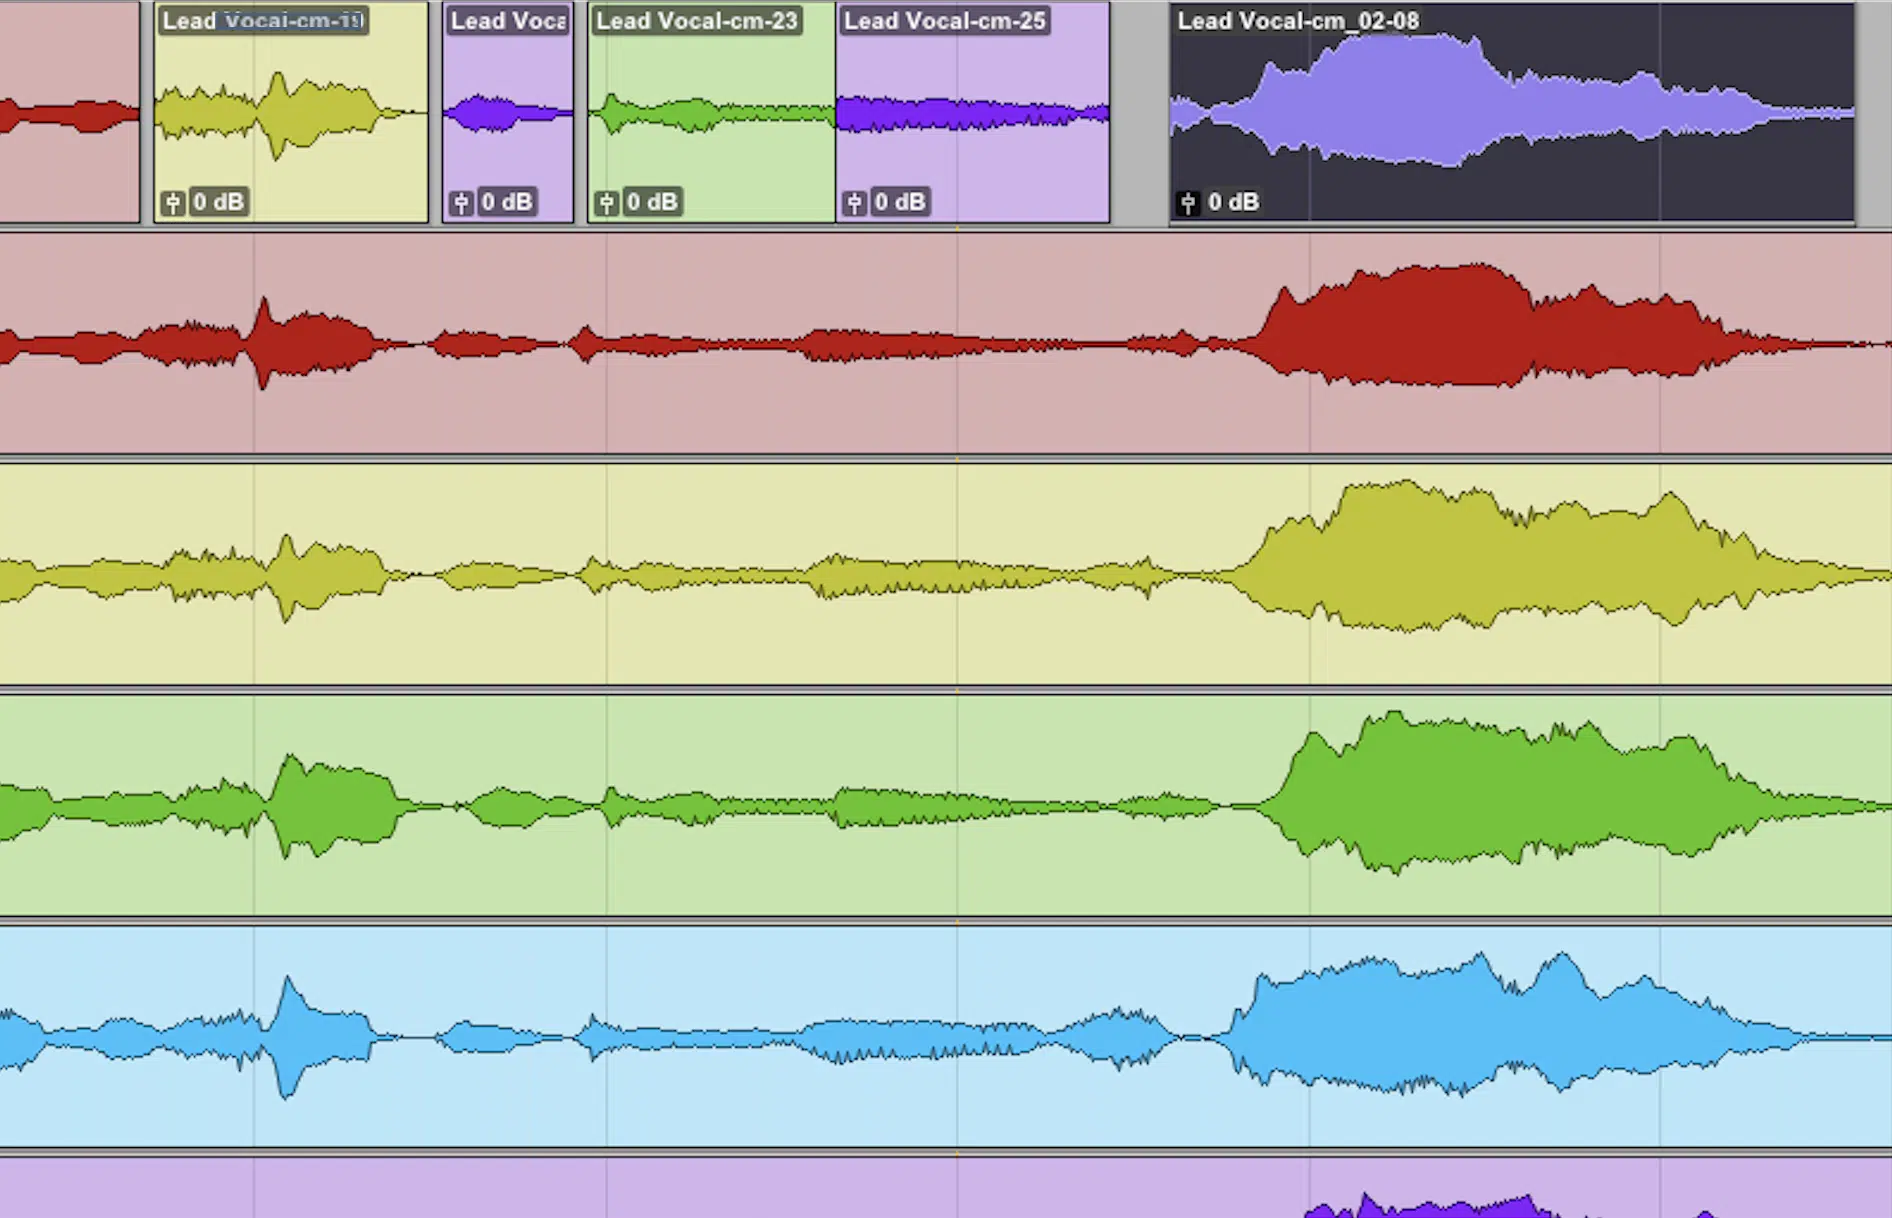
Vocal comping is an important production that lets you take the best parts from multiple vocal takes and create a perfect vocal performance.
During a recording session, even the most skilled vocalists might not deliver a perfect vocal take in one go, right?
Well, this is where vocal comping comes into play.
By recording multiple vocal takes of the same part, you have the flexibility to pick and choose the best moments from each take.
This could be the perfect pitch on a high note or the ideal vibe in a more emotional passage.
For example, if the singer nailed the first verse in take three but had a sudden break in take five, you can simply combine these takes to form a single, cohesive vocal track.
The goal of vocal comping is to achieve a final vocal track that sounds as though the singer delivered a flawless performance from start to finish.
When in reality, it’s composed of several different takes (brilliant, really).
This process is essential for ensuring that the vocals fit perfectly within the full mix of the entire song 一 making it sound polished and professional.
Different Approaches to Vocal Comping: Manual vs. Automatic
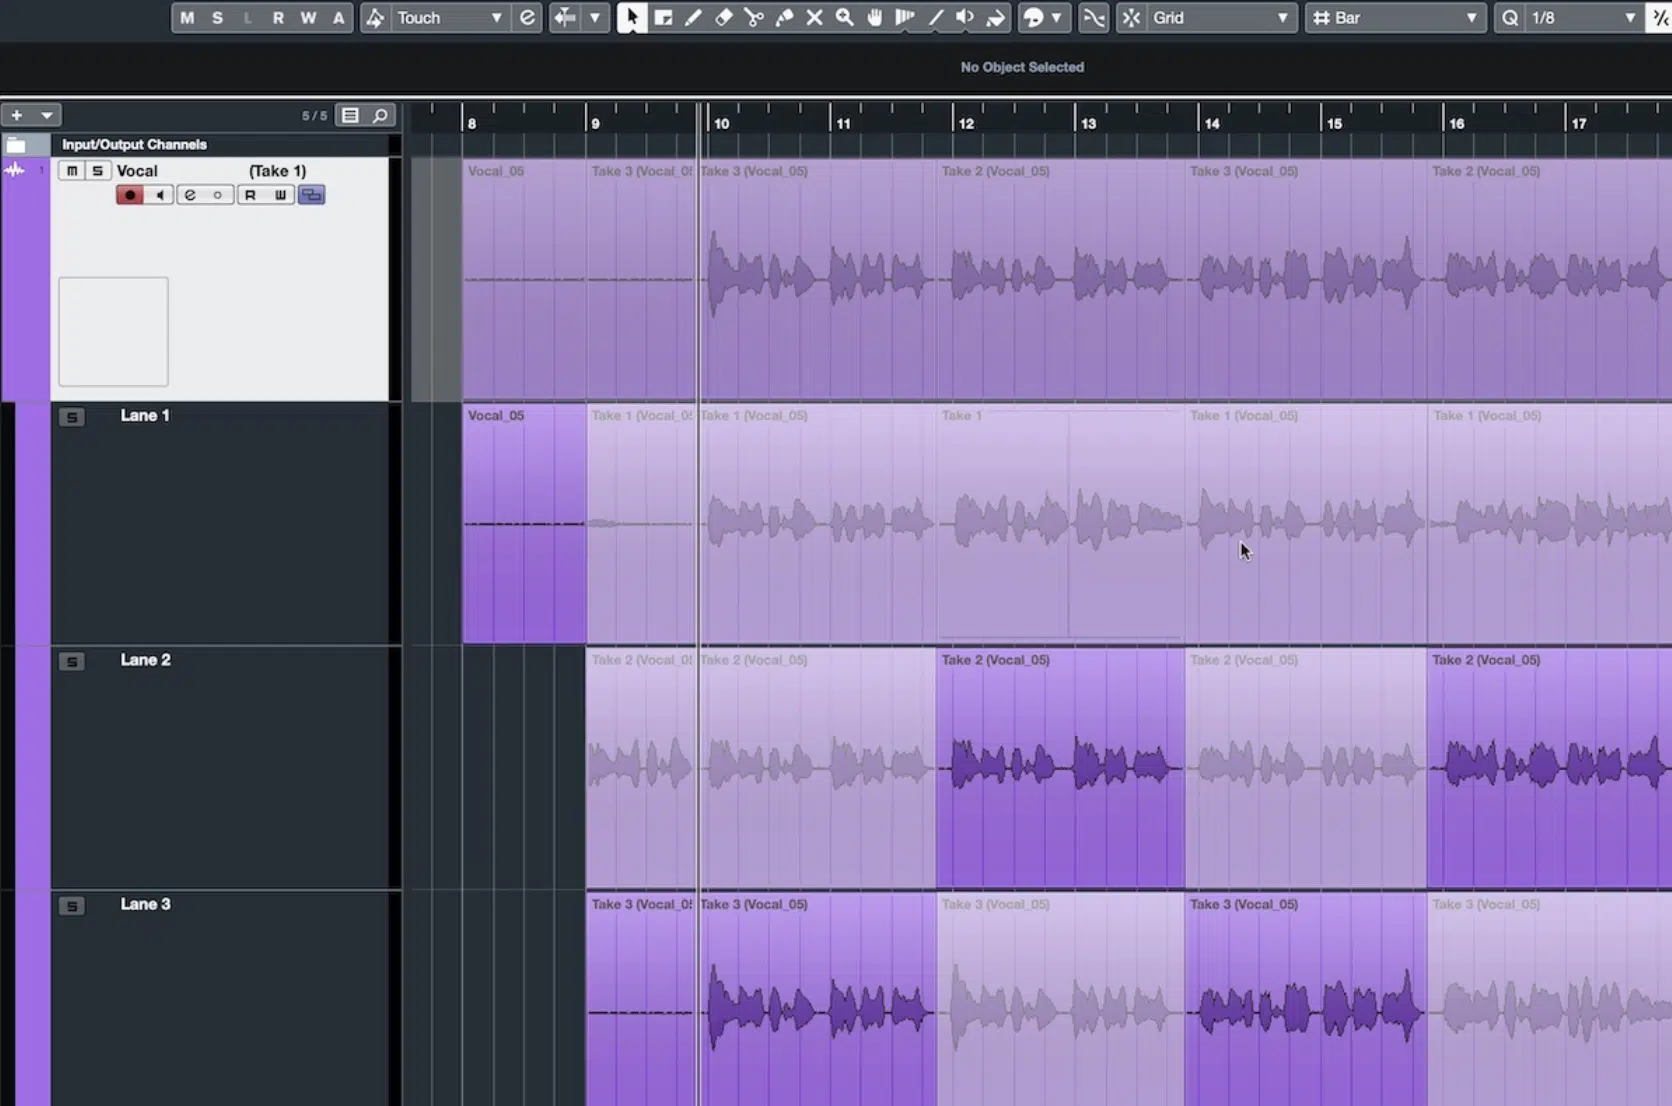
When it comes to vocal comping, you can either take a manual approach or use automatic tools available in most DAWs.
Manual comping is when you listen to all the vocal takes and manually select the best parts from each one.
It gives you full control over the final vocal track 一 allowing you to focus on the details like the singer’s voice, phrasing, and emotion.
Automatic comping tools, on the other hand, like those in Pro Tools or Ableton Live, can speed up the process by automatically selecting a few takes that are the best.
They’re based on certain criteria like pitch and timing.
However, these tools might not always catch the magic moments that make a vocal track stand out, so just keep that in mind.
Generally speaking, I prefer to start comping manually to guarantee that the final vocal comp captures the best performance.
NOTE: Automatic tools can be a great time-saver, but it’s important to always double-check the results to make sure they align with your vision for the vocal performance.
Preparing for Vocal Comping
Before diving into the vocal comping process, it’s important to prepare your DAW and vocal recording setup to ensure everything runs smoothly. Let’s break down the key steps to get you ready for comping vocals.
-
Setting Up Your DAW for Vocal Comping
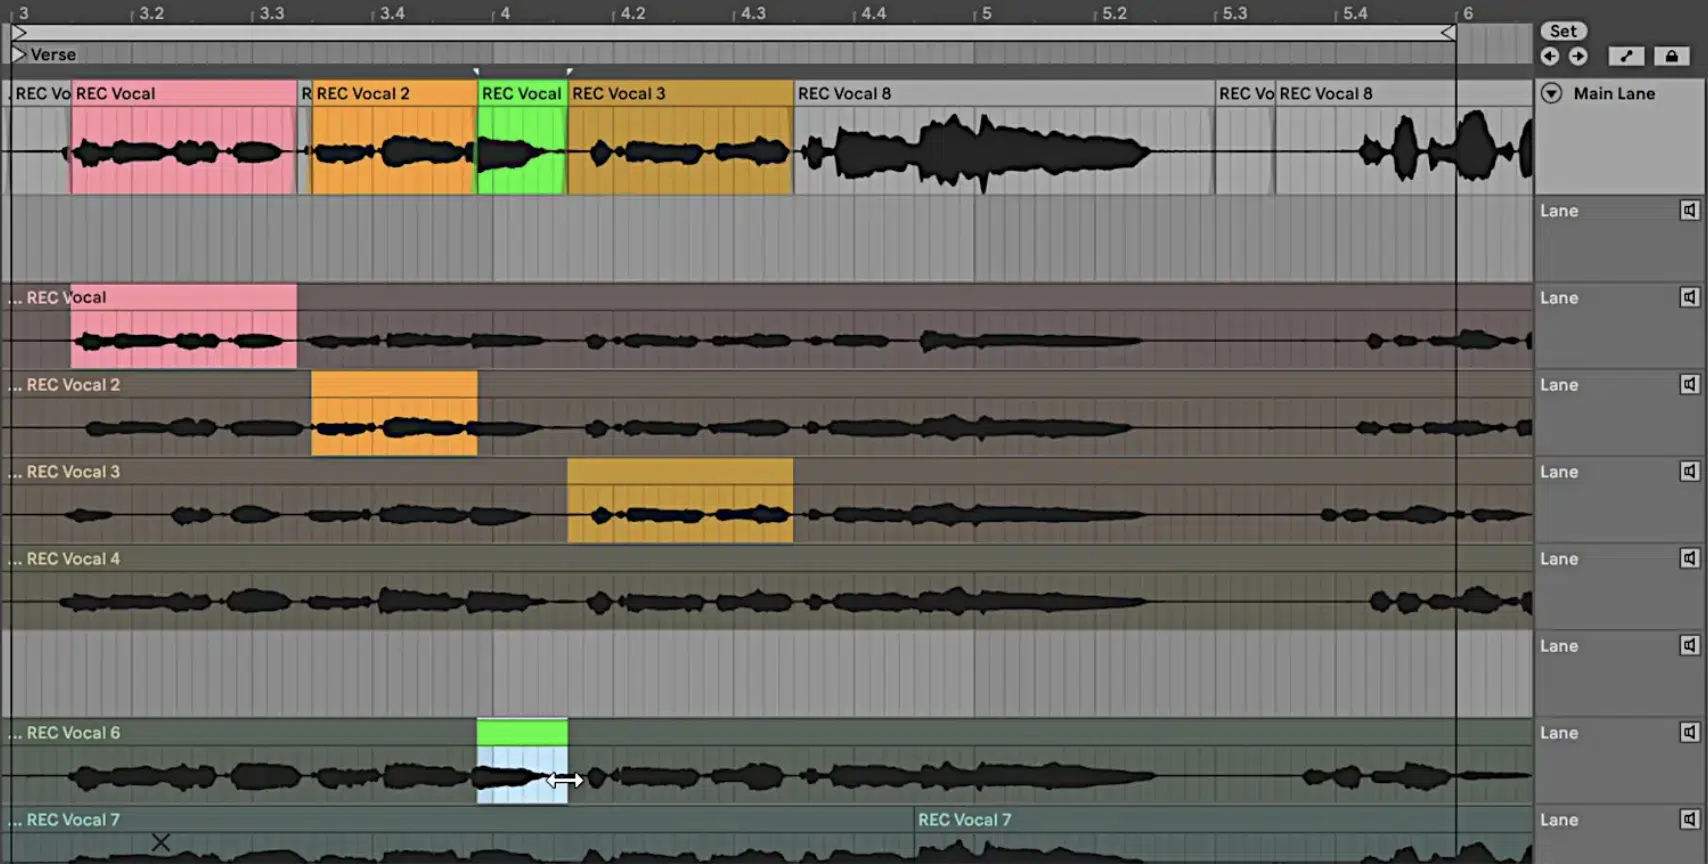
The first step in preparing for vocal comping is to set up your DAW in a way that keeps everything organized and easy to navigate.
Start by creating separate tracks for each vocal take, which is super useful if you’re working with eight takes or more.
Label each track clearly with the take number or any notes about that take, such as “Take 1 – strong verse” or “Take 3 – head voice focus.”
This way, when you begin comping, you can easily locate a few takes that really stood out during the vocal recording session.
Make sure your DAW’s comping feature is enabled… For example, in Ableton Live, you can use the “Take Lanes” (shown below) to organize and comp your vocals easily.
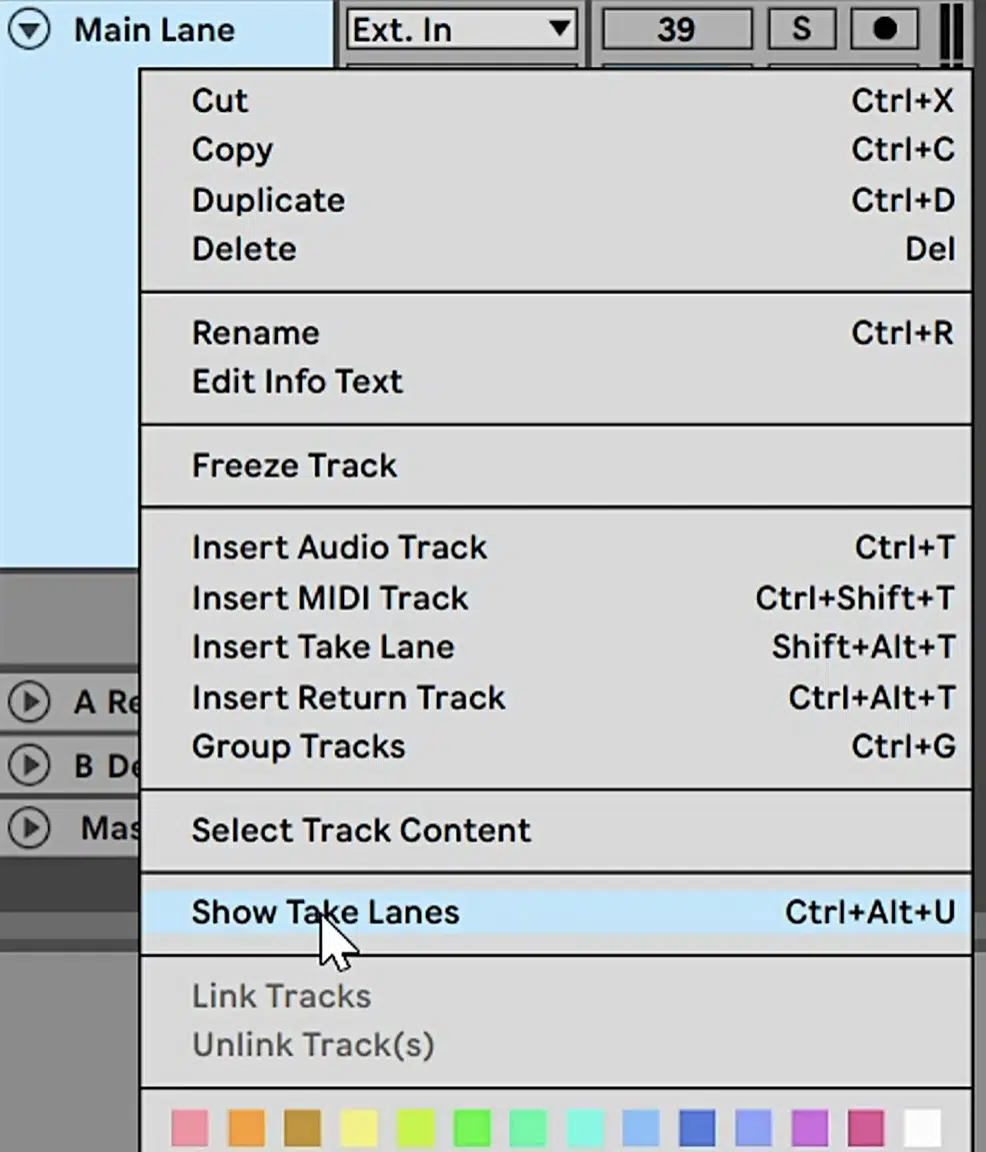
Organizing your tracks this way also helps when you need to solo the vocals to hear differences between each unique take.
Also, set up markers for any important sections of the song, like the chorus or the first verse, to enhance your workflow and avoid missing any magic moments during the comping process.
Pro Tip
When working with multiple audio clips and audio files in your DAW, always create a backup of the original recordings before you start vocal comping. This way, if you make any mistakes or want to try a different approach, you can easily revert to the original audio files without losing any of your hard work, which would suck.
-
Recording Multiple Takes

When recording vocals, always aim to capture multiple takes of the same part 一 at least five or six is a good starting point I would say.
Recording multiple takes allows you to have a variety of options when it comes time to comp vocals, which is really the whole point.
For example, one take might capture the singer’s voice with the perfect emotion, while another take might hit the perfect pitch in a difficult section.
During the vocal recording process, encourage the singer to vary their performance slightly with each take, focusing on different aspects like:
- Intensity
- Phrasing
- Even trying a different vocal tone
If you notice that a certain take had a sudden break or the singer didn’t quite hit the mark, don’t hesitate to record as many takes as it takes, no pun intended.
Whatever makes sense during the selection process, just roll with it.
You want to ensure you have a range of vocal takes that provide you with plenty of material to create a flawless performance during the comping process.
It also helps in capturing subtle nuances in the singer’s voice that can make a big difference in the final track.
Side note, if you want to know how to find singers for your beats, we got you covered.
The Vocal Comping Process: Step-by-Step
Once your DAW is set up and you’ve captured multiple vocal takes, it’s time to start comping vocals. It involves carefully selecting, cutting, and aligning the best parts from each take to create the perfect vocal performance. So, let’s break it down so you can comp vocals like a pro.
-
Listening to and Evaluating Takes
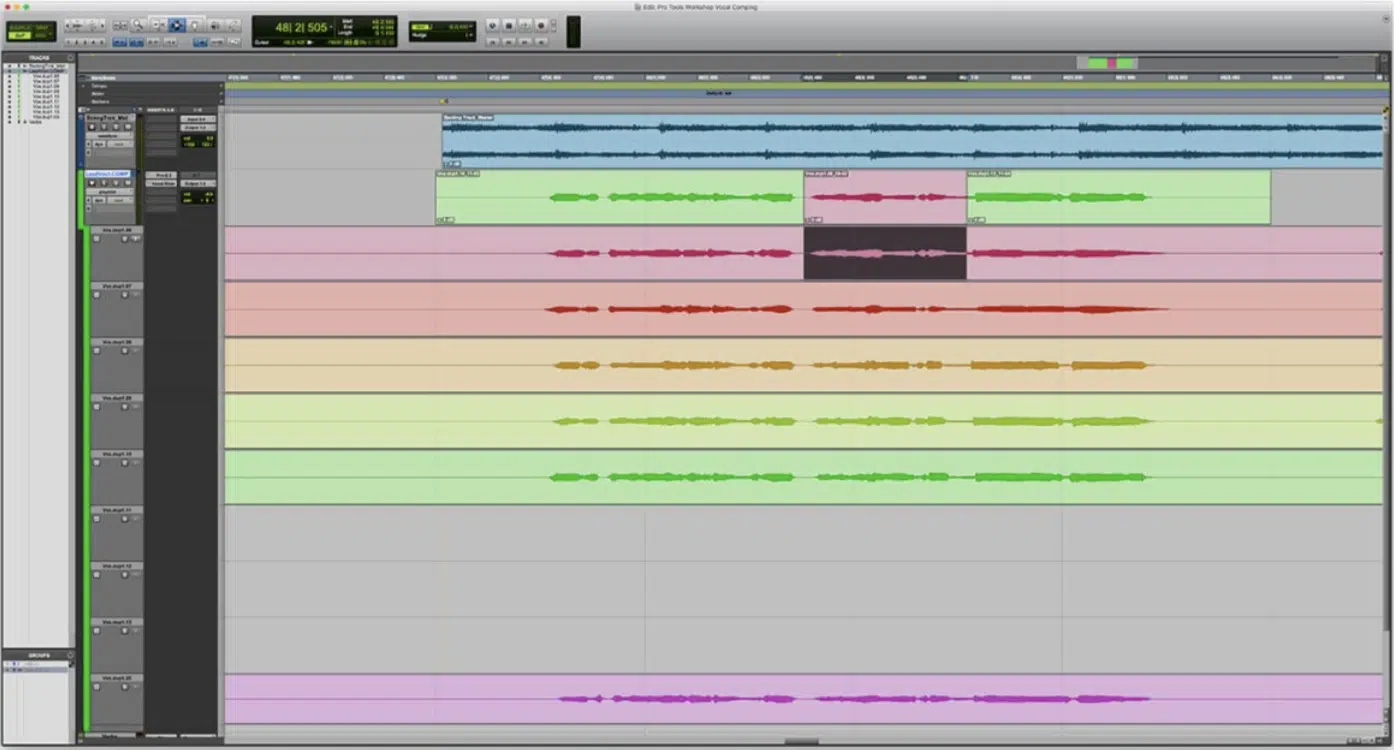
The first step in the comping process is listening critically to each vocal take, which sounds obvious, but you really need to take this step seriously.
I recommend soloing the vocals and listening for key elements like:
- Pitch accuracy
- Emotional delivery
- Clarity
As you listen, take notes on which sections of each take stand out, whether it’s a particularly strong phrase in take two or a smooth transition between words in take four.
It’s important to identify the best performance moments that you want to include in your final comp.
For example, if take three has a great vocal on the chorus but take five captures the singer’s head voice perfectly in the bridge, make a note of these so you can piece them together later.
It’s really a simple process in theory, but if you’re not vigilant, things can get messy.
-
Cutting and Splicing
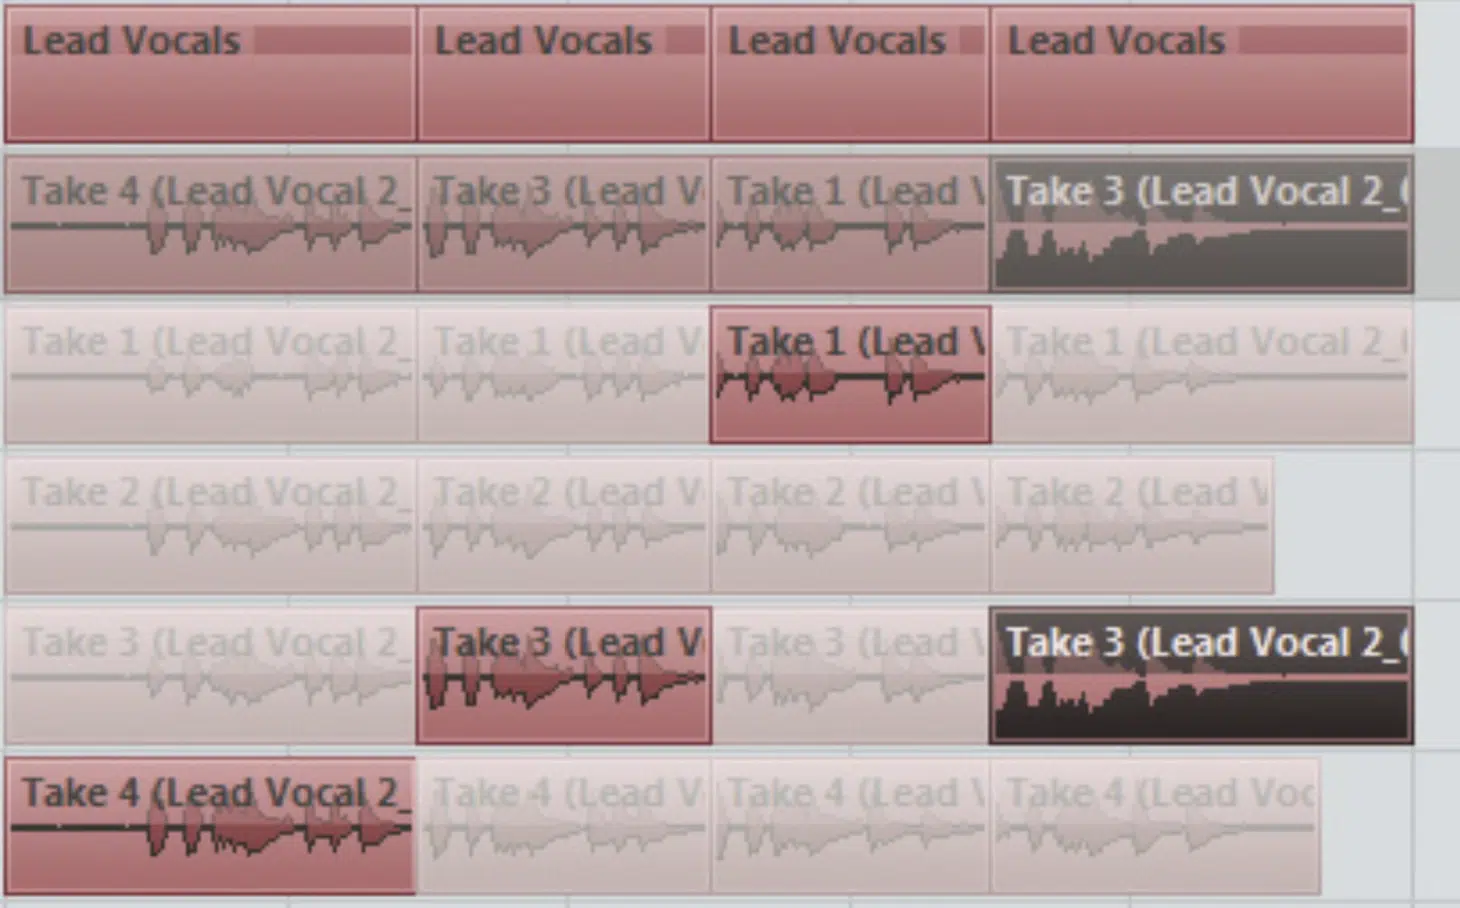
After you’ve evaluated your takes, the next step is to start cutting and splicing the best parts together.
Use your DAW’s editing tools to precisely cut the sections you want to keep, whether it’s single words, phrases, or entire verses.
For example, if the first verse sounds perfect in take two but the second verse shines in take four, you can cut these sections and splice them together.
Make sure to zoom in on the waveform level to make sure your cuts are clean and don’t cause any noticeable audio glitches or issues.
When you splice the clips together, pay attention to the edit points 一 remember, smooth transitions are key to making the final vocal track sound flawlessly.
NOTE: If you notice any abrupt changes in tone or timing, you may need to adjust the splice or use crossfades to blend the two clips together.
-
Aligning and Timing

After cutting and splicing the best parts of your vocal takes, the next step is to make sure everything is aligned and timed perfectly.
Even if the vocal phrases you’ve selected are flawless, mismatched timing can ruin the flow of the entire song, and nobody wants that.
Start by zooming in on the waveform level of each clip to make sure the vocal parts align with the beat and rhythm of the track.
For example, if you’re working on a pop track and the downbeat of a phrase from take three doesn’t line up perfectly with the rest of the track, use your DAW’s time-stretching or warp markers to simply nudge it into place.
Another important aspect is ensuring that the timing between breaths and words is natural, which can involve adjusting the space between clips.
This way, you’ll match the tempo and feel of the overall song.
A well-aligned vocal comp not only sounds on point but also helps create a cohesive flow that makes the performance sound as if it was delivered in one take.
Expert Tips for Effective Vocal Comping
Once you’ve got the basics down, there are a few pro tips that can help you avoid any issues and ensure that your vocal comping results in a polished, fluid sound. Let’s dive into some strategies that can make your vocal comping process smoother and more professional.
-
Layering and Doubling Vocals
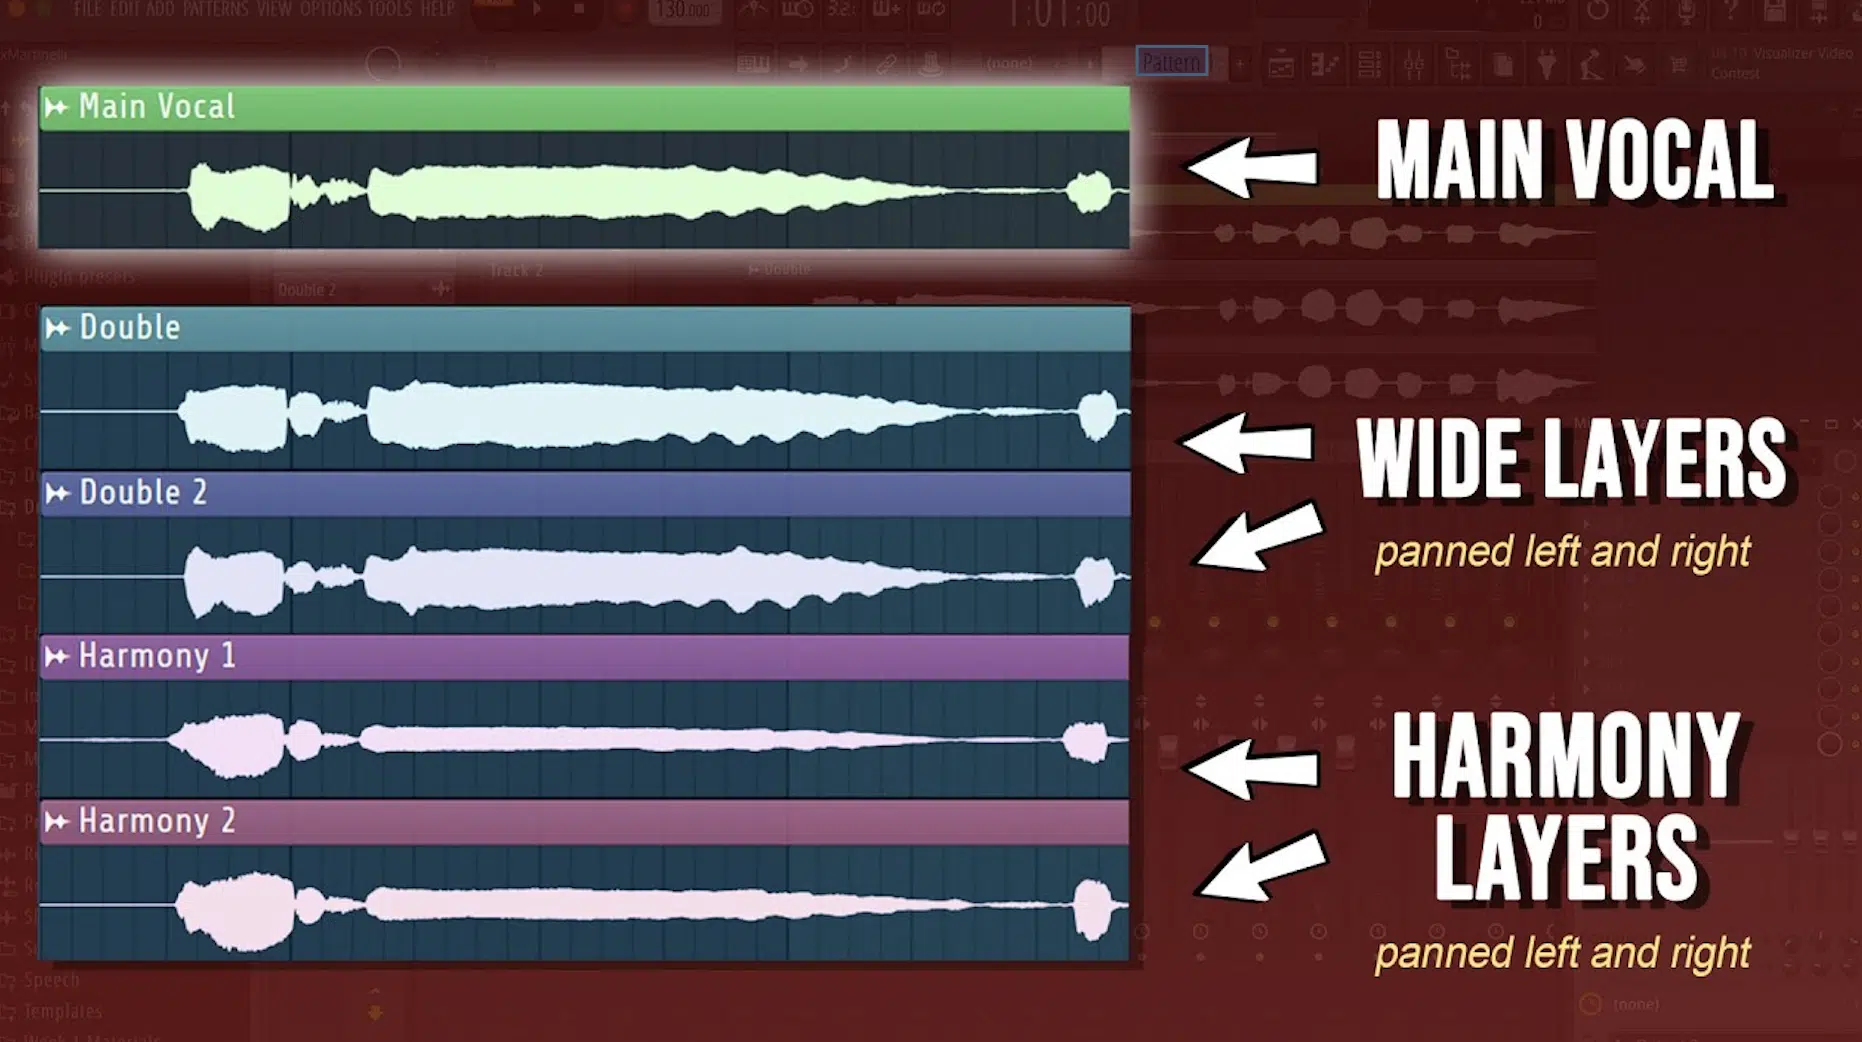
Layering and doubling vocals can add depth and richness to your vocal tracks, making them sound fuller and more dynamic, which is what you’re aiming for.
Start by selecting the best vocal takes for your main vocal comp, then consider layering additional takes underneath to create a thicker sound…
For example, you might use a slightly lower-volume take to add warmth and support to the lead vocal.
Doubling is super effective in genres like pop and rock, where a powerful chorus requires multiple vocal layers to achieve that “big” sound you want to hear.
NOTE: To avoid phase issues, make sure to slightly offset the timing of the doubled vocal tracks or apply subtle pitch variations.
This technique also works well when you want to add emphasis to specific parts of the song, like the chorus or key phrases in the verses that are a whole vibe.
Or, have the potential to go viral on TikTok or something (you’ll know it when you hear it).
By carefully layering and doubling, you can create great vocal tracks that listeners will find irresistible as well as elevate the entire mix.
-
Avoiding Common Mistakes
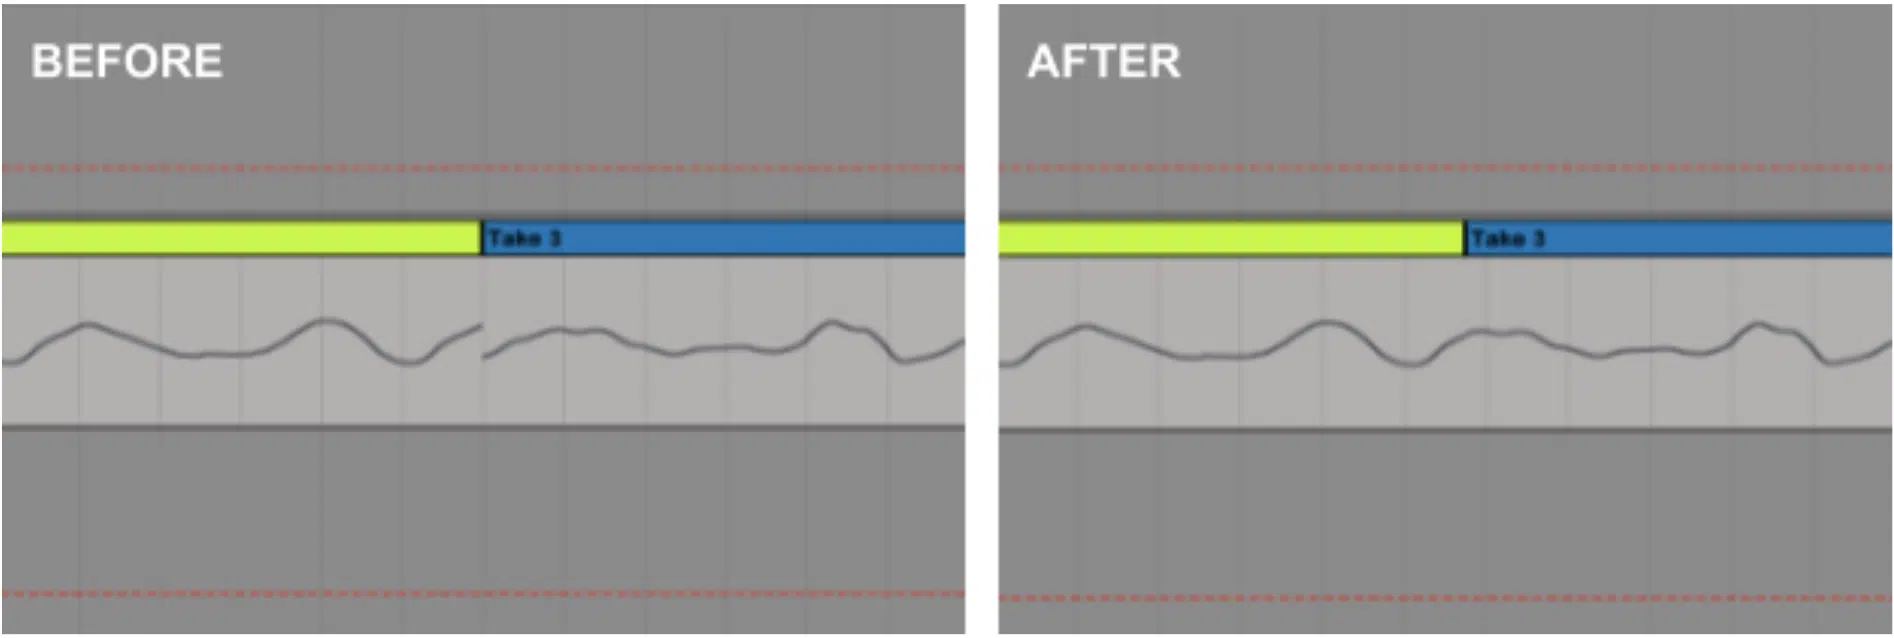
Left: Audible Clicking (wrong). Right: Cropped & Moved Over Slightly (correct)
One mistake I’ve seen often is over-comping, where you try to create a perfect vocal take by piecing together too many small sections.
This can leave you with a vocal track that sounds unnatural, disjointed, and just plain out whack and unprofessional.
Another common issue when you’re comping vocals is not leaving enough breath space between phrases, which leads to a vocal comp that feels rushed.
You always want the breathing pattern to sound natural.
Also, some producers forget to check phase alignment when layering multiple takes, which can cause certain frequencies to cancel out.
This will completely weaken the vocal’s impact, so you never want that.
Ignoring subtle timing discrepancies between clips can also create a disjointed feel in the final comp when you listen back (especially in more rhythmically driven genres).
Finally, neglecting to match the vocal tone across all the takes can lead to inconsistencies that make the edits sound uneven.
So, it’s essential to adjust EQ or dynamics as needed to achieve a smooth blend.
-
Maintaining Vocal Consistency
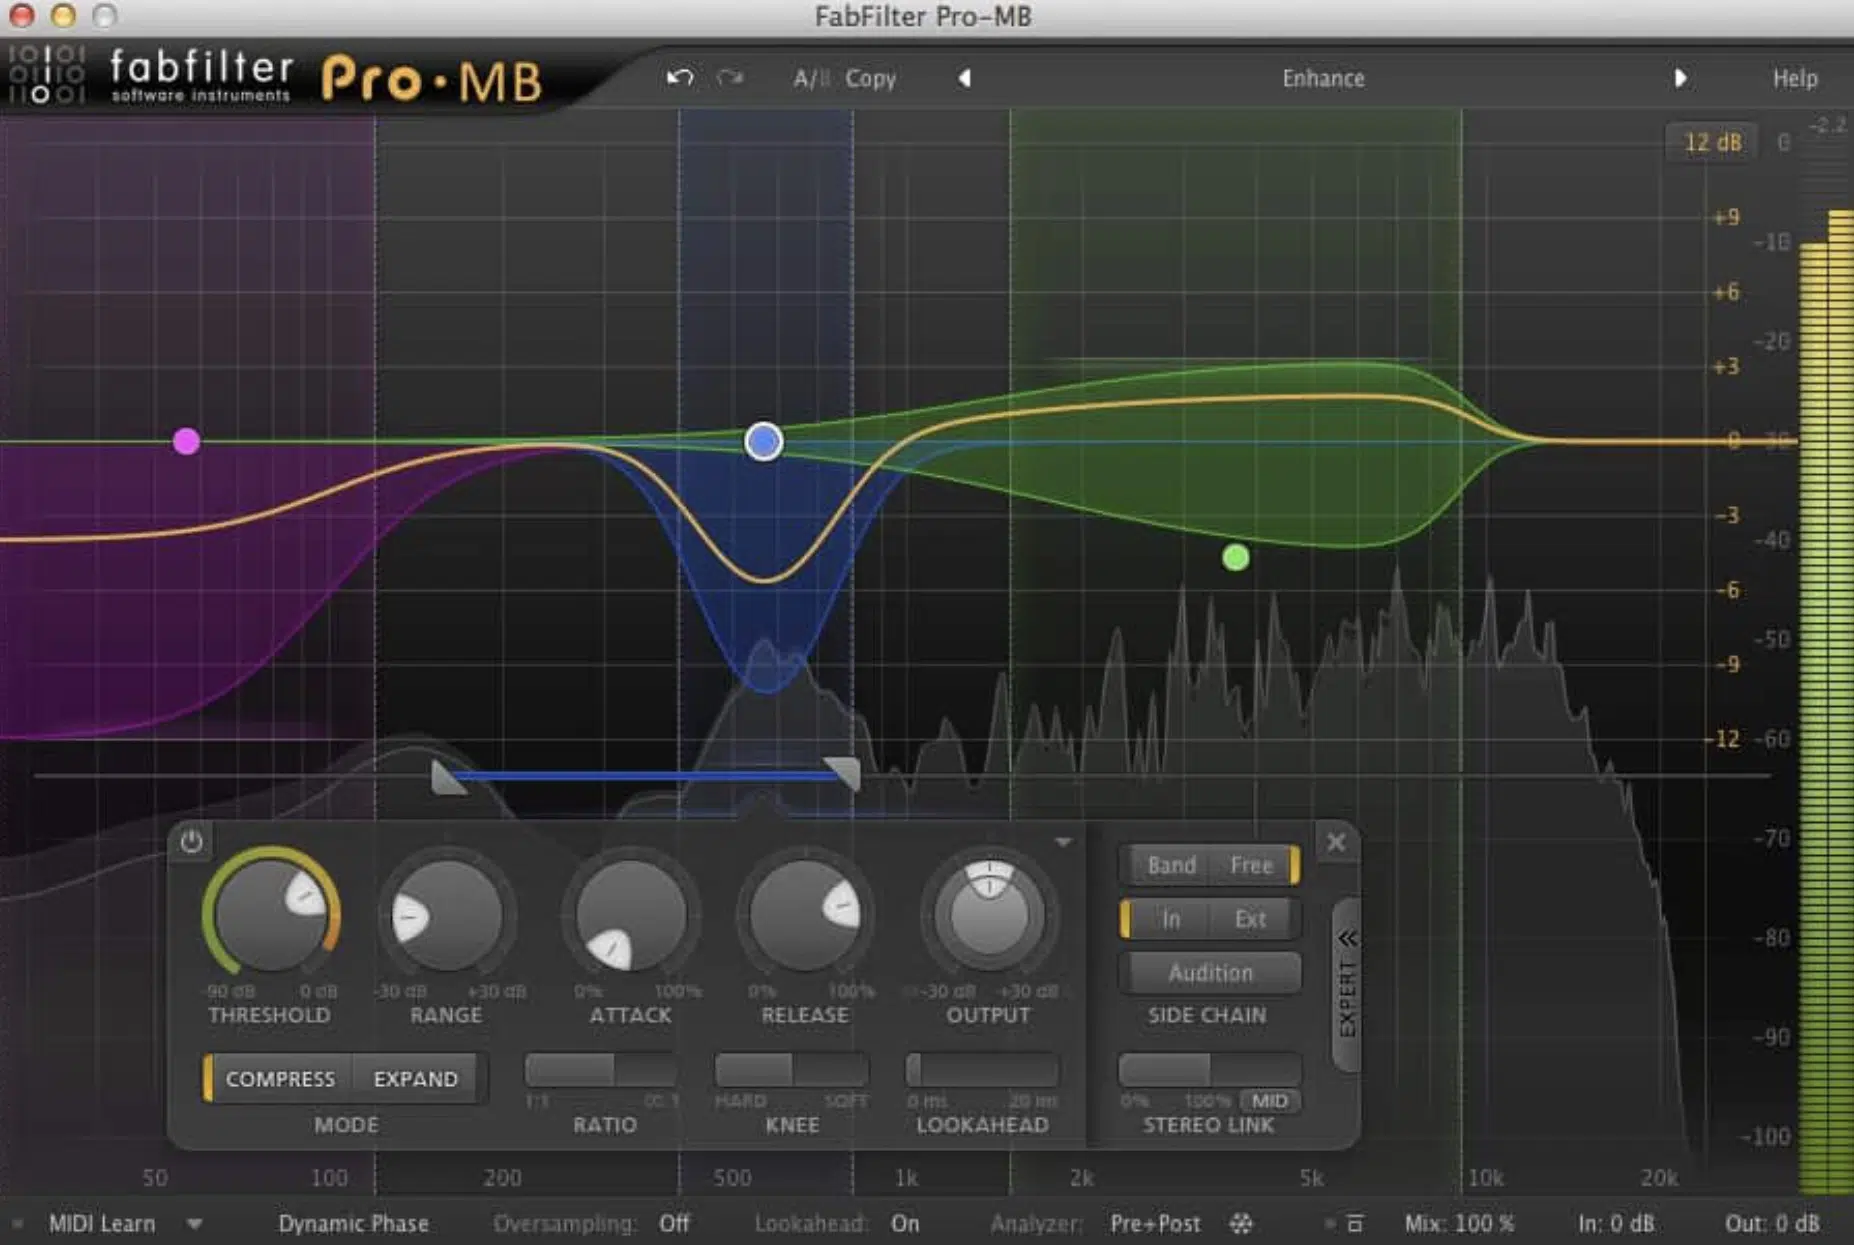
Vocal compression
Maintaining consistency across your vocal comp is key to ensuring that the final track sounds cohesive.
You’re going to want to start by carefully matching the tone and dynamics of each clip within your comp.
For example, if the singer’s energy shifts between takes, you might need to use vocal compression or volume automation to even out the levels.
Another important aspect is making sure the vocal track stays in the same key and pitch throughout.
NOTE: Slight variations in pitch can be corrected using pitch correction tools like Auto-Tune, but be careful not to overdo it.
It can strip the natural feel from the vocal performance and make things sound way too robotic or unnatural (even full-blown cringey).
Pro Tip
Make sure that any effects applied to the vocals, such as reverb or delay, are consistent across the entire comp to avoid obvious differences between sections. By paying attention to these details, you can create a vocal track that sounds smooth and professional from start to finish when people hear it.
Finalizing the Comped Vocal
After comping your vocals and applying any necessary edits, the final step is to polish the vocal track and prepare it for mixing. Let’s explore how to edit, fine-tune, and mix the comped vocal for the best possible results.
-
Editing and Polishing the Final Comp
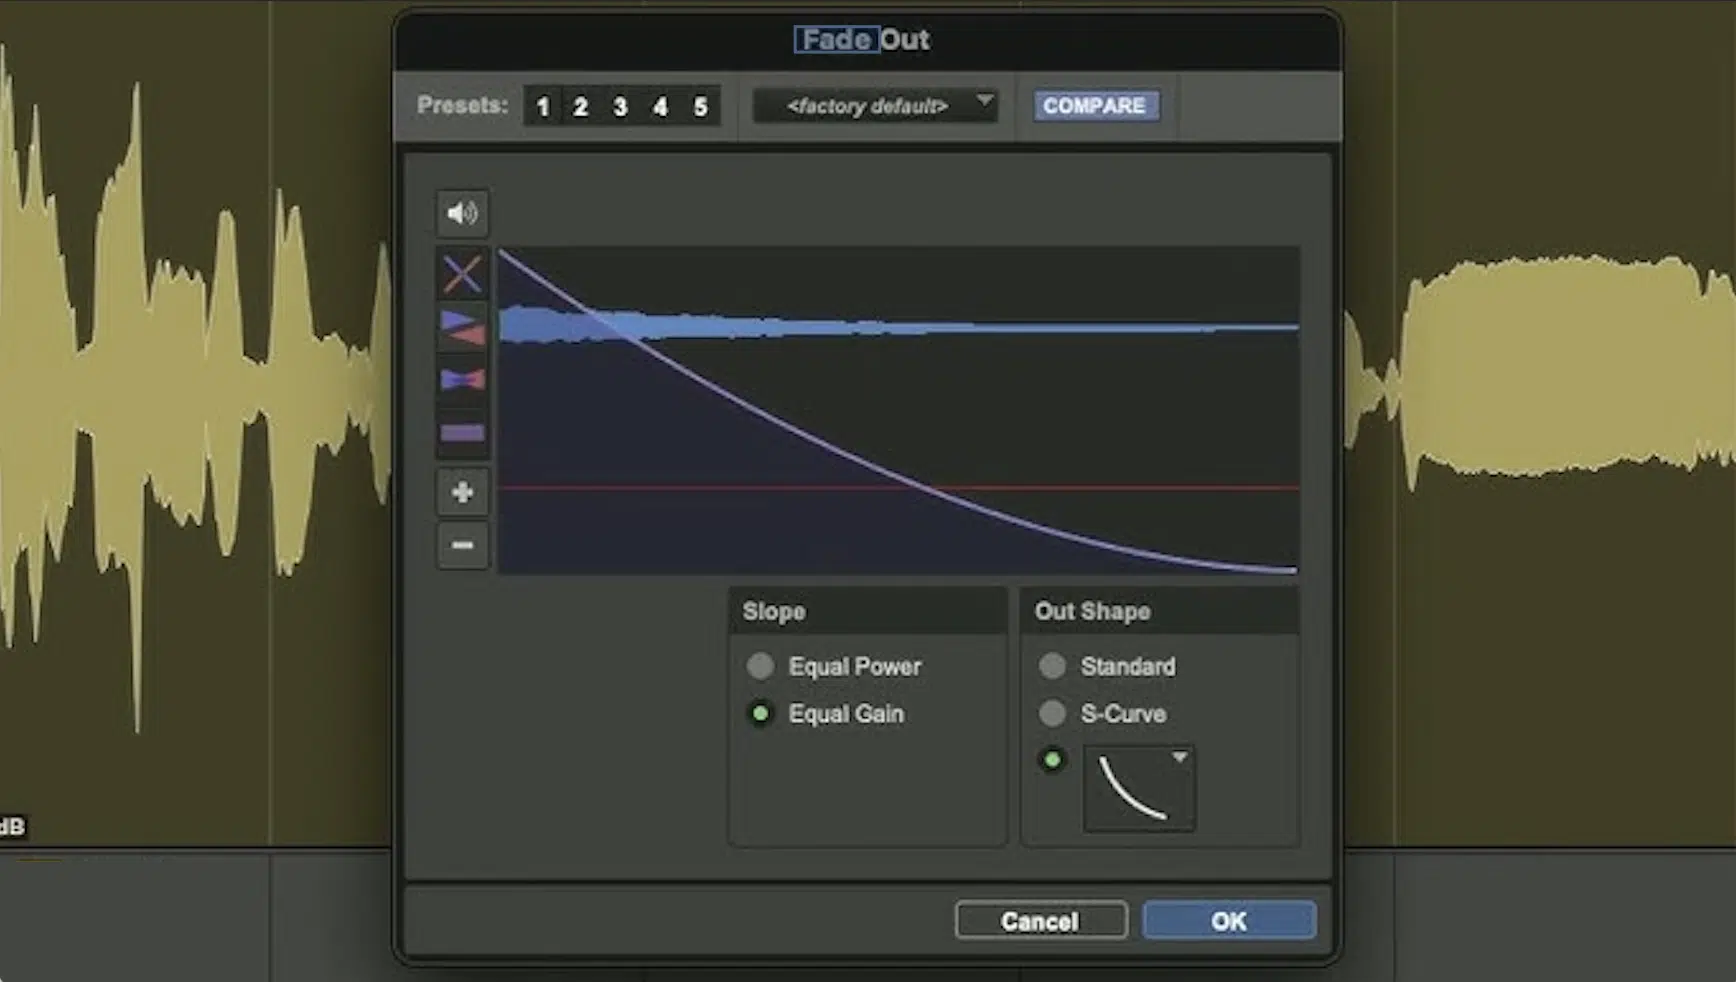
Once you’ve finished comping the vocals, it’s time to refine the track to make sure everything sounds as smooth as humanly possible.
Listen carefully to the entire vocal comp from start to finish 一 focusing on any subtle issues that may need fixing, such as:
- Minor timing issues/discrepancies
- Unwanted noises like clicks and pops between clips
Remember, use your DAW’s editing tools to address these issues, applying fades or small adjustments to ensure transitions between vocal phrases are on point.
Make gentle EQ adjustments (if needed) to maintain a consistent tone across the vocal track, especially if you notice any variations between the different takes.
This is also the time to clean up the performance by trimming any unnecessary breaths or unwanted noises that might distract from the overall sound.
Finally, listen to the entire track one more time with fresh ears, making any final tweaks to guarantee that the vocal track is ready to be mixed into the full song.
Remember, ear fatigue is a real thing, people,
-
Mixing Your Comped Vocal
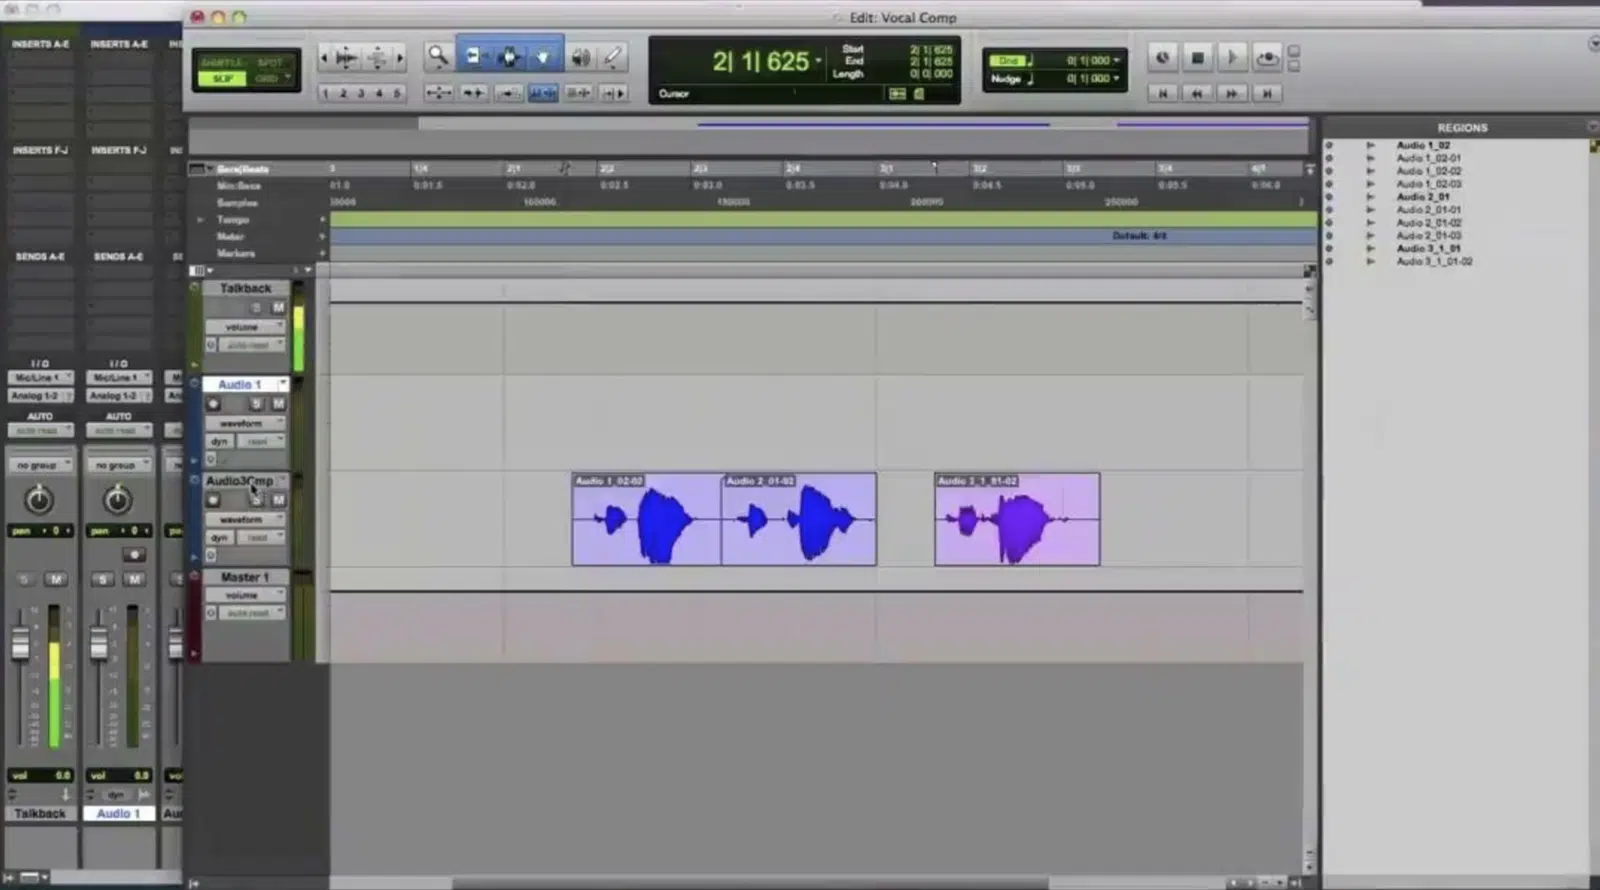
After editing and polishing the vocal comp, one of the final steps is to integrate it into your mix so it sits perfectly with the other elements of the track.
Begin by adjusting the volume of the vocal track to make sure it stands out in the mix without overpowering other instruments.
Use EQ to carve out a space for the vocals by cutting frequencies that clash with other parts of the mix (like the bass or snare).
To add depth and space to the vocal, try applying some reverb and delay subtly 一 enough to create a sense of space, but not so much that it washes out the vocal clarity.
Compression is also essential to control the dynamics of the vocal, making sure that both the loudest and softest parts of the performance are balanced within the mix.
Finally, listen to the entire mix with the vocals in context to make any last adjustments…
This will make sure that the vocal track complements the whole song and enhances the overall sound, just like a professional.
-
Fixing Timing and Pitch Issues
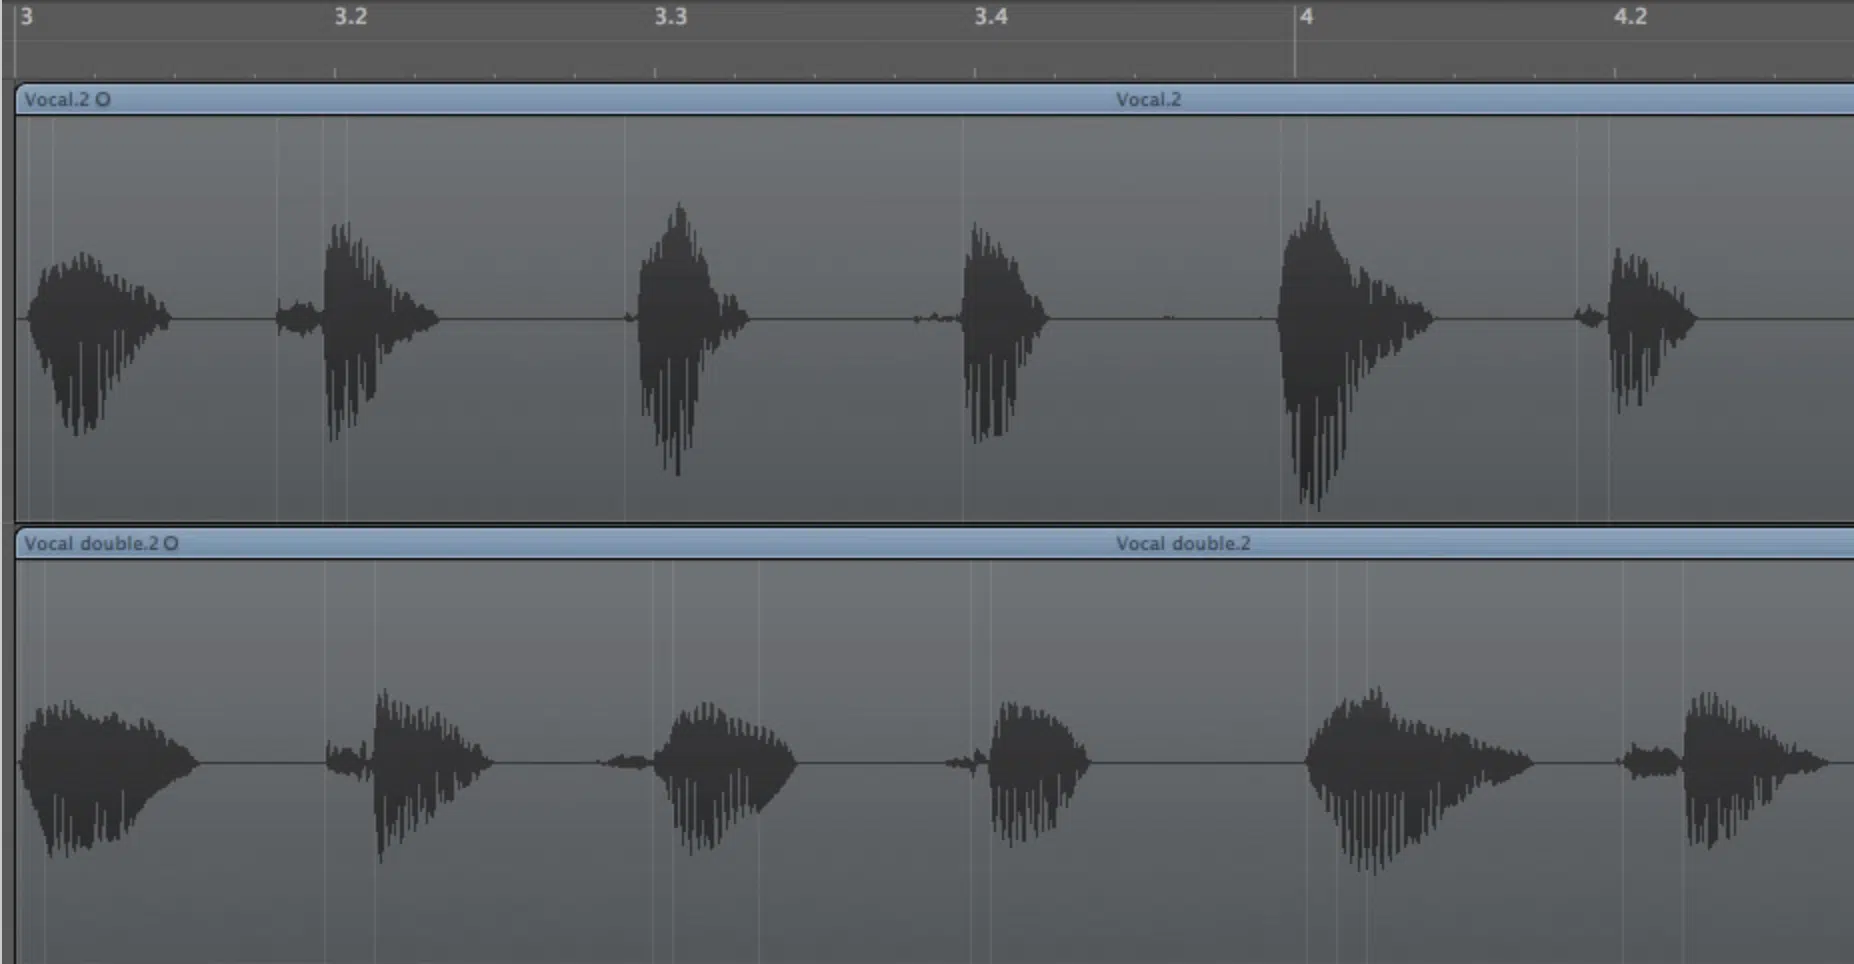
Flex Time in Logic
Timing and pitch issues can disrupt the flow of a vocal track, so it’s important to address them before finalizing your comp.
Start by using your DAW’s timing tools, such as Flex Time in Logic Pro or Warp in Ableton Live, to align any phrases that are slightly off-beat.
If you notice that certain words or phrases are out of sync with the instrumental track, adjust them for a smoother transition throughout the vocal performance.
For pitch issues, apply a pitch correction plugin like Melodyne or Auto-Tune to subtly correct any off-key notes.
However, be careful not to overdo the pitch correction, as it can make the vocal sound unnatural and super amateur.
If you’ve layered multiple takes, make sure that the pitch of each layer matches perfectly to avoid any dissonance.
Pro Tip
Listen to the entire song with the vocals soloed and in context with the rest of the mix to ensure that the timing and pitch are spot-on. This final step is very important to help ensure that your vocal comp sounds polished and professional in the full mix.
Vocal Comping: Final Thoughts
Vocal comping is a powerful tool that will help make sure your vocal tracks are always on point, cohesive, and professional-sounding.
Your multiple vocal takes will blend into one serious masterpiece and help elevate the overall quality of your music.
Using the tips and tricks in this article, your vocals will always stand out in the mix and capture the listener’s attention just like the professionals.
To make your tracks even more catchy and addicting, you’ve got to check out the Free Vocal Samples pack by Unison Audio.
It contains 20 free vocal samples, including vocal chops, loops, and one-shots, that will help make your vocal tracks shine and blow the competition out of the water.
They’re all expertly processed and ready to be dropped into your projects, perfectly complementing your comped vocals.
You’ll instantly hear the difference with polished, professionally crafted vocal samples created by expert vocalists and producers.
You’ll never have to worry about uneven performances or lackluster vocals again.
Remember, vocal comping is an essential skill for any music producer.
With the right techniques and tools, your vocal tracks can sound as polished and professional as anything on the charts.
Keep practicing, and you’ll master vocal comping in no time, and if you’re looking for even more free packs, we’ve got you covered.
Until next time…


Leave a Reply
You must belogged in to post a comment.