Phaser effects are all about creating depth, motion, and character.
They can transform a basic sound into something dynamic and alive 一 adding richness and complexity to everything from guitars to synths (and even drums).
Plus, they help your tracks stand out by bringing some unique textures, rhythmic modulations, and atmospheric tones to the table.
As producers, knowing all about phaser effects and how to use a phaser pedal can really change the game for you.
That’s why I’m breaking down everything you need to know, like:
- What phaser effects are and how they work ✓
- The difference between a phaser and a flanger effect ✓
- The anatomy of a phaser pedal and its core controls ✓
- How to integrate an expression pedal with your phaser ✓
- Creative techniques for sound design with digital phasersv
- Combining phasers with other modulation effects ✓
- Pro tips for mastering phaser pedals ✓
- Using phasers as pseudo-filters for basslines and synths ✓
- Automating phasers for evolving, dynamic tracks ✓
- Advanced techniques to spice things up ✓
- Much more about phaser effects ✓
By knowing everything about phaser effects, you’ll be able to add life and motion to your tracks like a boss.
Plus, you’ll have the tools to shape your signal chain, create unique modulation effects, and never feel limited by boring production techniques.
This way, your tracks will really shine and make people stop and take notice.
Table of Contents
What are Phaser Effects?
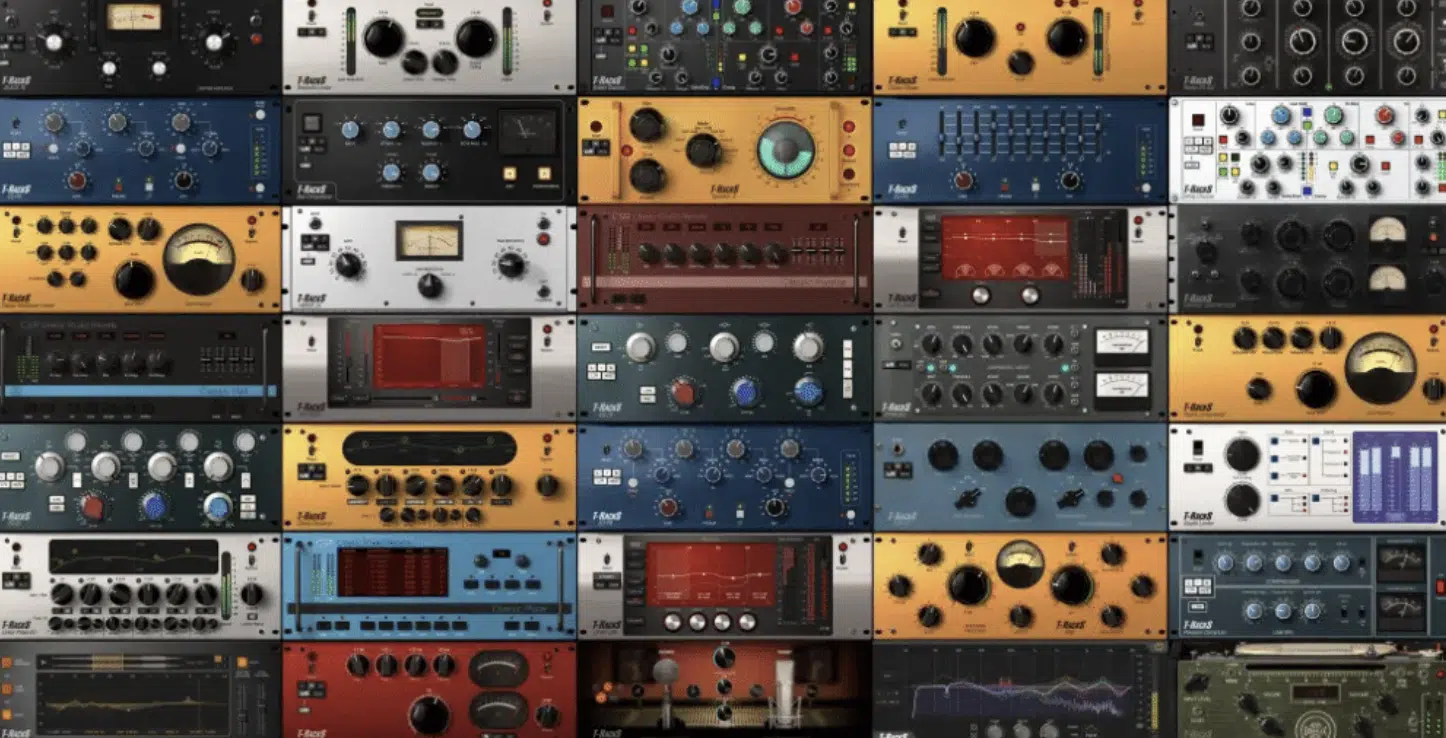
Phaser effects are a type of modulation effect that creates a unique, swirling tone by altering the phase of an audio signal.
A phaser splits the incoming signal into two paths 一 applying a series of all-pass filters to one signal, which shifts the phase of specific frequencies.
When the original signal and the affected signal are mixed together, the phase shifts create peaks and notches in the frequencies.
This gives you that signature sweeping effect that phasers are known for.
Unlike the flanging effect, which involves short delay times, phaser effects focus on modulation through frequency-specific phase shifting.
This makes phasers perfect for adding depth and motion to guitars, synths, and even vocals.
NOTE: Some of the most popular phaser pedals, like the MXR Phase 90, became iconic in genres like psychedelic rock.
They’ve literally shaped the original sound of legendary tracks by artists like Eddie Van Halen and Jimi Hendrix.
-
Pro Tip: Flanger vs Phaser Effects

Phaser (left) and Flanger (right)
While both phaser and flanger effects are part of the modulation effects family, their processes and sounds differ.
A flanger works by mixing an audio signal with a delayed version of itself, creating a comb-filter-like effect that sounds metallic and jet-like.
Phasers, on the other hand, use all-pass filters to alter the phase of certain frequencies to produce a much smoother, more organic sweeping effect.
The feedback parameter on a flanger accentuates the comb filtering (making it sharper).
Phasers can add more subtle or psychedelic tones depending on the depth and rate knob settings.
Both effects shine on guitars, but phasers excel at adding warmth and movement without overwhelming the signal.
If you’re looking for a more spacey and liquid feel in your mix, the phaser is often the better choice, so just keep that in mind.
Experimenting with both in the same signal chain can also lead to unique textures.
Side note, if you want to learn all about flanger effects, I got you covered.
Anatomy of a Phaser Pedal: Breaking It Down
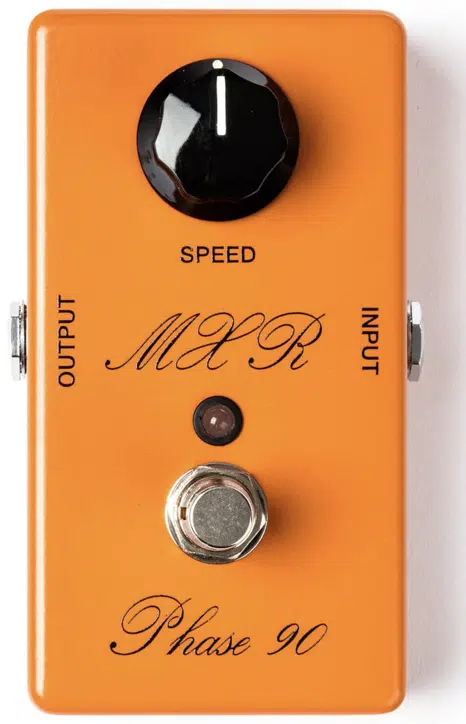
A phaser pedal has several key controls that let you shape the phase tone exactly how you want it, and you’ll need to know them if you’re looking to master it.
At the heart of most popular phaser pedals, like the MXR Phase 90 or the Empress Effects Phaser, is the rate knob.
The rate knob determines how quickly the modulation occurs.
A slow setting (like 0.2 Hz) creates smooth, subtle sweeps, while faster settings (around 5-6 Hz) give you a more intense, pulsing effect.
For example, if you’re playing lead guitar pedals in a track like Van Halen’s “Atomic Punk,” try setting the rate around 4 Hz for a sound that really cuts through.
The depth knob controls how far the modulation sweeps across the frequency spectrum.
A depth of 20%-30% adds a gentle shimmer, while 80% or more produces a dramatic sweeping effect that’s great for synths and pads.
The feedback control is where things get interesting in my opinion because it feeds a portion of the output signal back into the pedal’s input, creating resonant peaks.
Dial it in at 40% for warmth, or crank it to 70% for a sharp, almost vocal-like tone.
Some more modern phasers also have a tap tempo feature, which lets you sync the modulation to your track’s BPM.
For example, on a 120 BPM track, use a quarter-note subdivision to keep everything locked in rhythm and professional.
If your pedal supports multiple stages (4, 6, or 8), increasing the stages creates more intricate notches in the phase tone 一 giving you a cleaner, richer sound.
NOTE: One often overlooked feature is the wet/dry mix, which balances the processed and unprocessed signals (two signals).
Keeping it at 50/50 ensures you retain the clarity of your original signal while adding just enough modulation to make things epic.
Finally, true bypass makes sure your phaser pedal won’t color your tone when it’s not in use; an essential feature for keeping your guitar effect on point and transparent.
Using Expression Pedals with Phaser Units
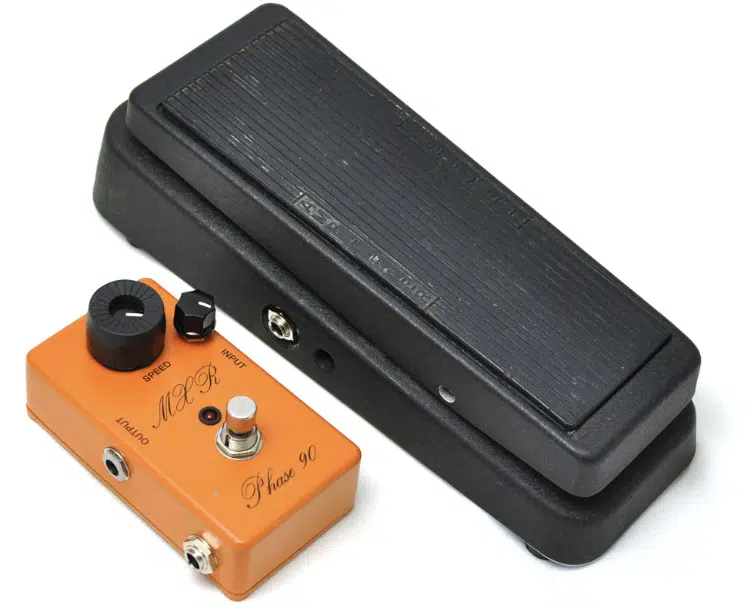
Adding an expression pedal to your phaser pedal setup unlocks a world of real-time control and lets you shape the phase tone dynamically.
By connecting an expression pedal to a phaser with an expression input, like the Empress Effects Phaser, you can manipulate parameters with your foot, such as:
- Rate
- Depth
- Even feedback
For example, sweeping from a slow rate (0.2 Hz) to a faster setting (5 Hz) can create dramatic transitions perfect for live performances or cinematic builds.
Many modern phasers allow you to assign the expression pedal to control multiple parameters at once, which really lets you play around and get creative.
Whether you’re creating pulsing textures for EDM or rhythmic modulations for lo-fi beats, an expression pedal is invaluable for keeping your sound fluid/expressive.
-
Pro Tip: Connecting Phaser Pedals and Expression Pedals in Your DAW
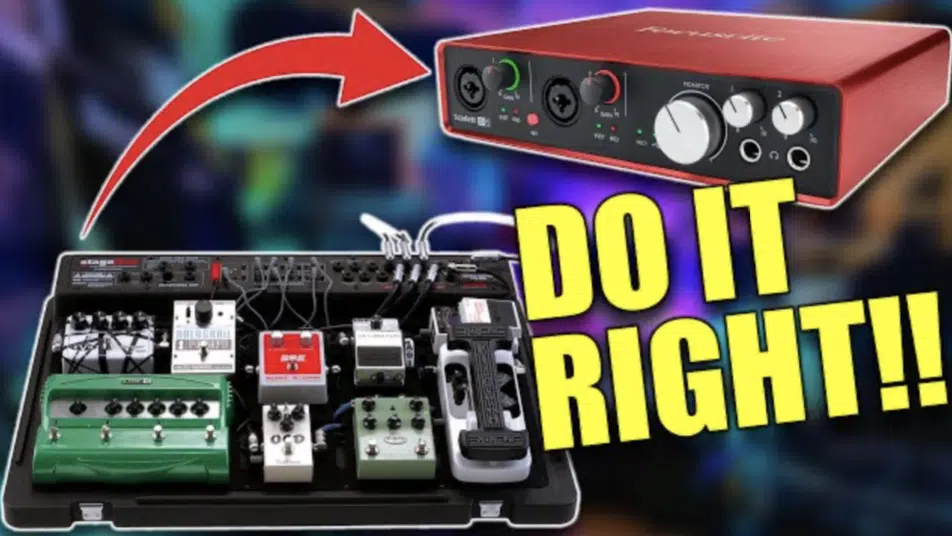
Throwing a phaser pedal and an expression pedal into your DAW setup gives you hands-on control and the flexibility that digital production offers (win-win).
Start by running your phaser pedal through an audio interface with re-amping capabilities, and you can find my favs right here.
This makes sure your dry signal remains uncolored as it passes through the chain.
Then, use your DAW’s routing options to place the pedal in an effects loop, so you can send specific tracks through the phaser without disrupting the main mix.
For example, if you’re processing a lead guitar, set the rate knob to 2 Hz and assign the expression pedal to control the feedback 一 ranging from 30% to 70%.
This lets you gradually add resonance during solos or key transitions, which is what you want.
NOTE: And, like I mentioned before, to lock the phaser modulation to your project’s tempo, use a tap tempo feature or automate the modulation rate directly in your DAW.
Pairing this with automation on the wet/dry mix (starting at 20% for subtlety and peaking at 80% for more dramatic effects) creates evolving textures that feel alive.
Whether you’re layering pads, working on rhythmic basslines, or enhancing vocal effects, this setup provides the best of both analog and digital worlds.
And, let’s be honest, it doesn’t get much better than that.
Phaser Techniques for Modern Production
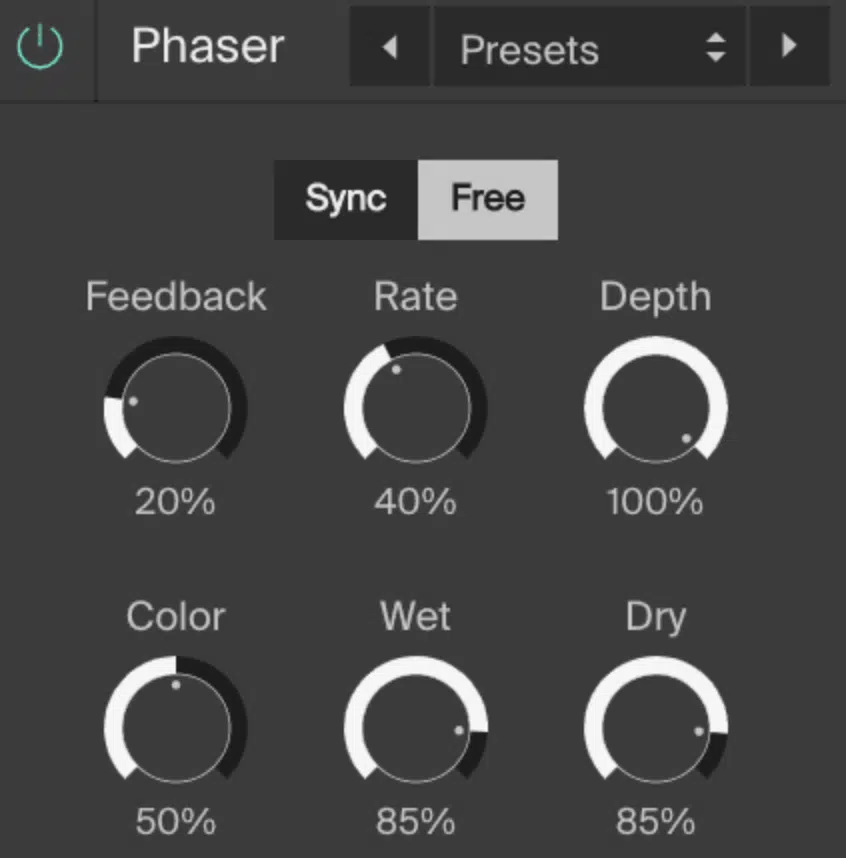
When it comes to phaser effects in modern production, subtlety and precision are what’s going to give you the impactful results you’re looking for.
For example, on pads or ambient textures, set the rate knob to a slower setting, around 0.1 Hz, and use a moderate depth.
This will create a wide, sweeping motion that gently shifts through the stereo field.
For more rhythmic tracks (like EDM or lo-fi hip-hop), syncing the phaser’s tap tempo to your project’s BPM (e.g., 120 BPM) makes the sweeping effect align perfectly with the beat.
Basically, it adds movement without any clashing.
If you’re processing synth leads, try dialing in a feedback level around 40% to introduce resonant peaks, that’s my advice.
This way, it will enhance the harmonics in a way that adds character without overwhelming the signal, which is a big goal of course.
Phasers are great for vocals too because they can be used to create unique textures by blending the affected signal with the dry track.
For example, you can:
- Set the phaser’s stages to 4 or 6
- Keep the depth low
- Focus on a higher rate (5 Hz or above)
This will successfully create subtle warbles that complement lo-fi or experimental mixes, or anything that matches that vibe pretty much.
Guitar recordings can benefit from phasers as well 一 a 2 Hz speed and moderate feedback (30%-50%) is your best bet, then tweak from there.
This will bring an awesome vintage feel reminiscent of Eddie Van Halen or Jimi Hendrix.
Finally, layering two phasers on parallel tracks (one with a fast rate and the other with a slow one) creates complex, evolving modulations.
These are ideal for cinematic or ambient music.
-
Pro Tip: Using a Phase Shifter for Unique Rhythmic Effects
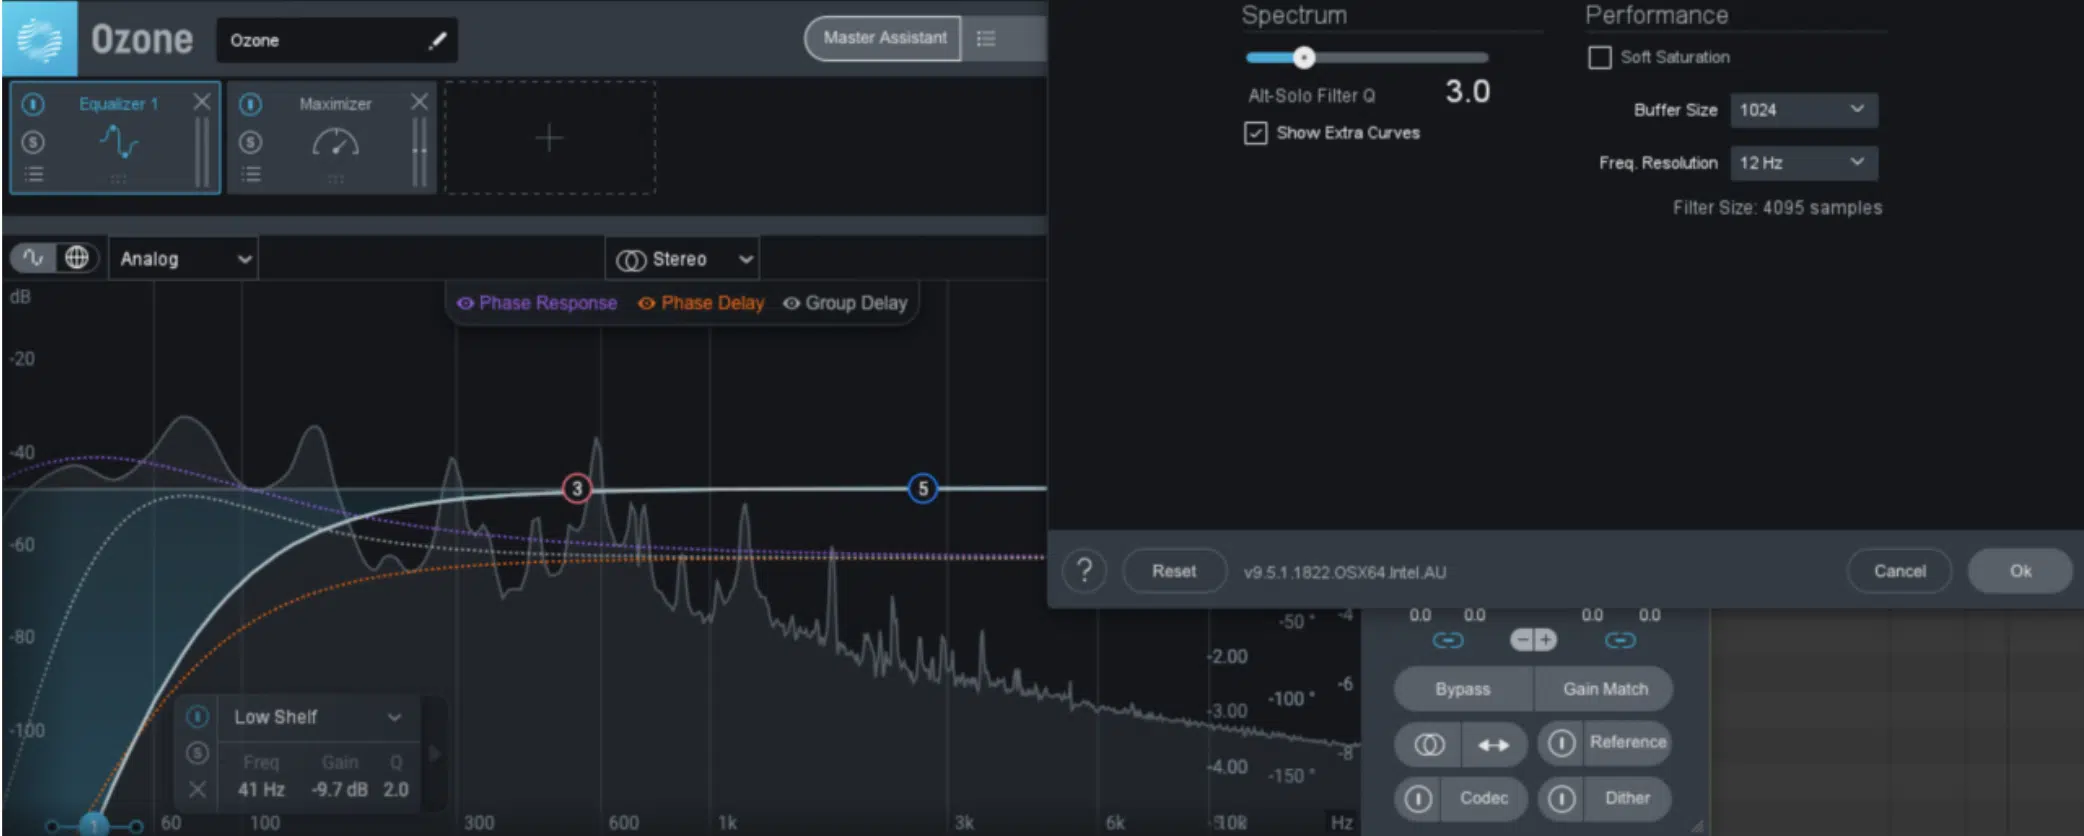
When working with a phase shifter, you can create rhythmic effects that feel incredibly unique by combining tempo-synced modulation with automation.
For example, set your phase shifter to sync with your DAW’s BPM and choose 1/8-note subdivisions for a pulsing effect that complements your beat.
To achieve a cleaner pulse, set the depth to 40% to prevent the modulation from crushing the original sound.
For more ‘experimental’ results, try switching to dotted or triplet subdivisions, which can introduce a polyrhythmic feel that is pretty epic.
Automate the wet/dry mix to rise and fall during key sections of the track, starting at 20% for subtle movement and peaking at 70% for dramatic intensity.
Pair this automation with changes to the feedback, beginning at 30% for subtle phasing and peaking at 60%-70% during high-energy sections to emphasize resonant peaks.
This technique works perfectly on percussion loops or synth plucks, which gives them a swirling, almost hypnotic quality that adds depth and groove to your track.
NOTE: If you’re working with a mono bassline, apply this same concept but keep the wet mix under 50% to retain clarity while adding subtle motion to the low end.
For additional texture, layer the phase shifter with a delay set to 1/16 notes and 25% feedback 一 creating rhythmic echoes that amplify the pulsing effect.
This combo is great for creating syncopated rhythms or filling out sparse sections of your mix.
Combining Phaser Effects with Other Modulation Tools
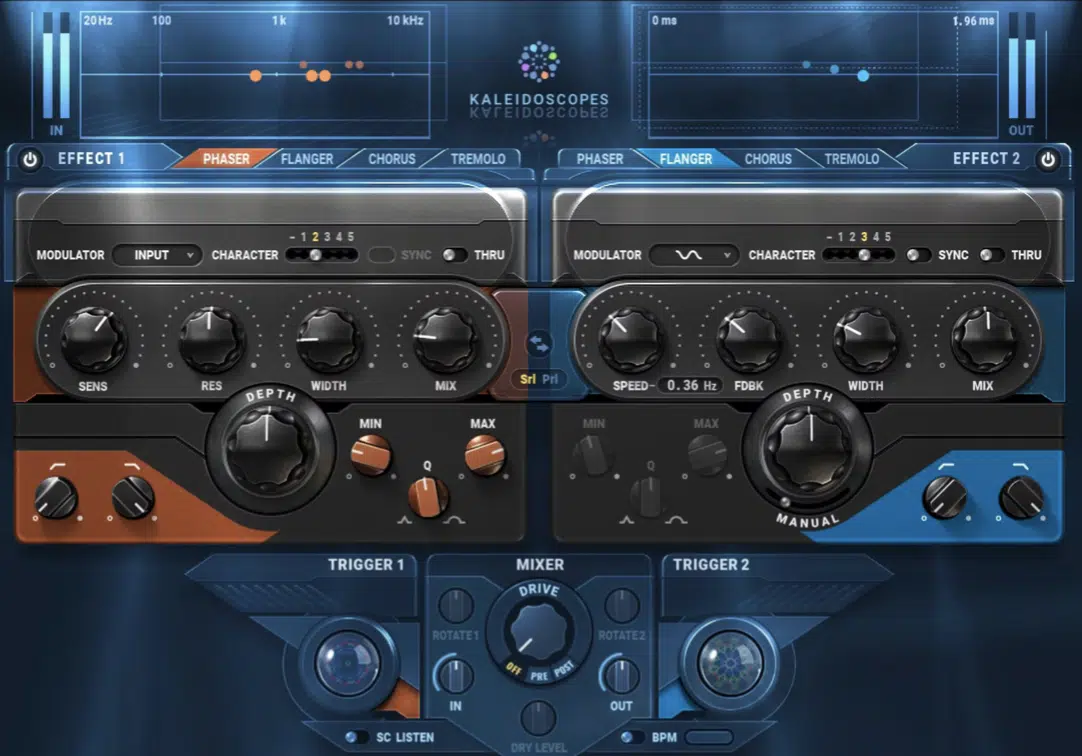
Phasers pair really well with most modulation effects, letting you create unique textures that are impossible to achieve with just one effect.
For example, try combining a phaser with a chorus effect by placing the chorus first in the signal chain.
Set the chorus to a wide stereo spread, and then run it through the phaser with a rate of 0.3 Hz and a moderate depth.
This will create a lush, swirling motion that feels alive and full.
If you’re after more aggressive tones, add distortion before the phaser…
A slightly overdriven signal fed into a phaser with high feedback (around 70%) produces harmonically edgy, gritty textures.
For rhythmic modulation, try pairing a phaser with a flanger.
Set the flanger’s delay to 5 ms and the phaser’s speed knob to 3 Hz 一 creating interlocking modulations that dance across the stereo field.
Another trick is to use a vibrato pedal after the phaser, which gives the output a warbling pitch effect that adds even more motion.
These will let you tweak your sound in ways that single effects just can’t achieve (believe me).
Bonus: 5 Expert Phaser and Expression Pedal Tricks
Phaser effects can be pushed way beyond the basics, especially when you throw an expression pedal into the mix. So, let’s break down the top 5 phaser effects that are a little more advanced. Whether you’re working with hardware phaser pedals or digital phasers, the following phaser effects can kick things up a notch.
-
Foot-Controlled Filter Sweeps for Dynamic Transitions
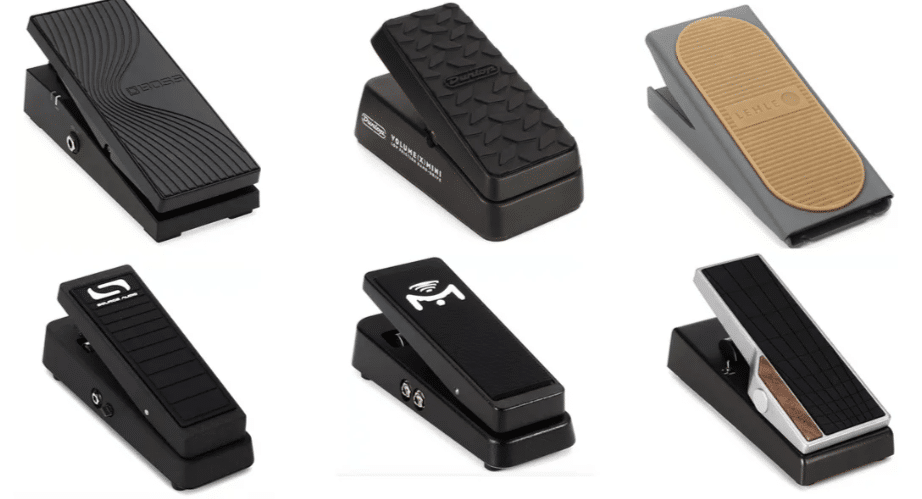
Using an expression pedal to control your phaser’s rate or depth in real-time can create dramatic filter sweeps that make transitions pop.
For example, set your phaser pedal’s rate knob to a low range (0.2 Hz) and map the expression pedal to increase it gradually up to 6 Hz.
This works incredibly well during a breakdown, because it builds this epic tension as the modulation speeds up (and tension is everything).
Adding a slight feedback boost (around 50%) creates a more resonant and noticeable effect, perfect for genres like EDM or for cinematic scoring.
For even more drama, place the phaser after a reverb-heavy signal, so the sweeping effect pulls the reverb tails into motion.
-
Using Dual Phasers for Evolving Stereo Width
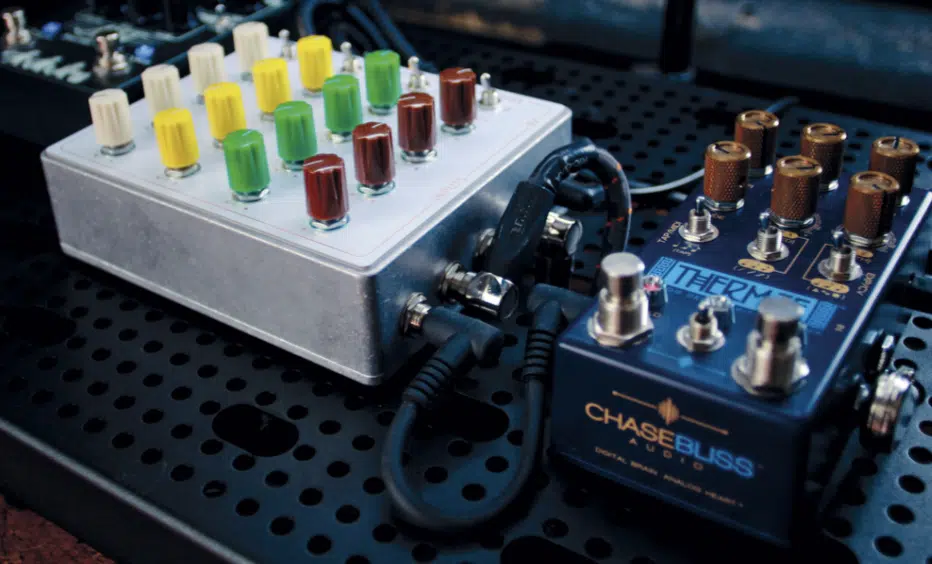
Running two phaser pedals in parallel or stereo can create massive, evolving modulations across the stereo field that are… well, mind-blowing.
To do so:
- Set one phaser to a slow rate (e.g., 0.5 Hz)
- Set the other to a faster one (e.g., 4 Hz), and pan their outputs left & right
This creates that dope swirling effect where the phases interact dynamically 一 pulling the listener’s attention from side to side.
Use feedback settings at around 40% on the slower phaser and 60% on the faster one for balanced but contrasting textures.
For even more width, apply a touch of delay to one of the two signals, keeping it under 20 ms to avoid any phase issues.
This technique shines on ambient pads, cinematic soundscapes, or any track needing a huge, immersive sound (which can be any really).
-
Combining Expression Pedals with Sidechain Effects
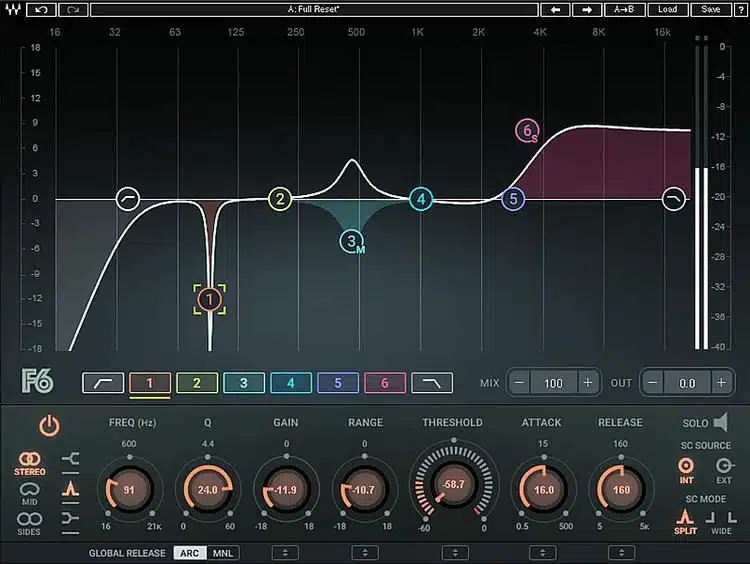
Pairing an expression pedal with sidechain effects creates movement that feels reactive and alive, if that makes sense.
To do this, start by running your phaser into a compressor set with a fast attack (10 ms) and a release of around 100 ms, keyed to a kick drum.
Then, assign the expression pedal to control the phaser’s feedback or depth.
This way, the modulation intensifies during quieter moments when the sidechain compression eases off.
For example, you can boost feedback to 70% during breakdowns for a more pronounced sweeping effect, then roll it back to 30% for a cleaner sound in the drop.
So, for rhythmic complexity and added harmonics, this one is great.
-
Creating Pulsing Modulation for Cinematic Sound Design
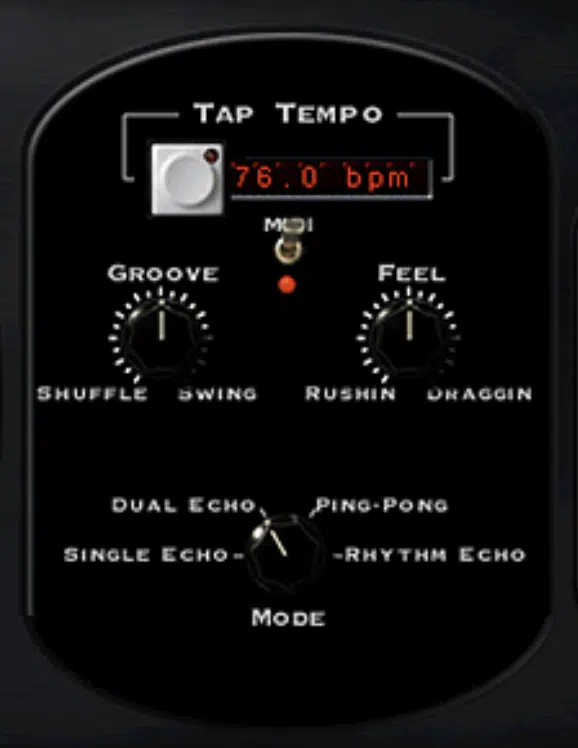
Cinematic sound design absolutely thrives on motion, that’s a fact, and using a phaser for pulsing modulation is one way to achieve this.
Sync your digital phaser to a project tempo of 100 BPM and set the tap tempo to quarter-note subdivisions for a steady pulse.
And, set the depth at 50% and the feedback around 60% to create a resonant but not obnoxious texture.
For added intensity of these phaser effects, use an expression pedal to control the rate 一 starting at a slow 0.5 Hz and gradually increasing to 4 Hz during climactic moments.
To kick things up a notch, layer the phaser with a delay set to 200 ms and 30% wet, creating echoes that emphasize the motion of the modulation.
-
Enhancing Mono Instruments with Spatial Phasing Tricks
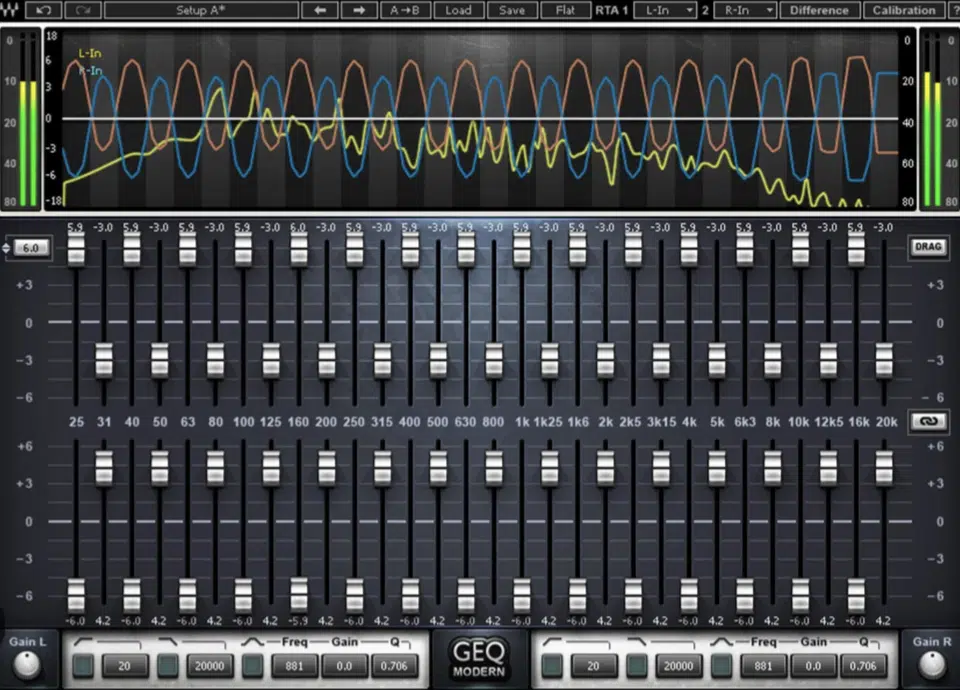
A phaser pedal can turn a mono instrument, like a bass or single synth line, into a wide, spatial sound that feels much larger than it actually is.
Start by running the mono signal through a phaser with multiple stages (8 or more) to create complex frequency spectrum notches.
For instance, an 8-stage phaser like the Empress Effects Phaser will produce a rich, swirling texture, while a 12-stage phaser will add even more complexity and motion.
Set the rate knob at 0.8 Hz for subtle motion, and use the feedback at 40% to add warmth without overwhelming the low-end clarity.
If your phaser has a depth control, set it around 30% to make sure the modulation remains understated but still noticeable (especially to professionals).
Use the feedback at 40% to warm up the signal and enhance the harmonics, without muddying the low-end clarity of a bassline or synth.
If you want a sharper, more pronounced effect for a lead guitar, push the feedback to 60% for some extra resonance.
Next, split the output signal into two paths 一 panning one hard left and the other hard right.
Apply a 10 ms delay to one path to create a pseudo-stereo effect that complements the phaser’s motion perfectly.
If your setup allows, adjust the wet/dry mix to about 60/40 for a balance between clarity and modulation.
This setup is awesome for giving mono synth basslines or lead guitars a sense of depth and width that stands out in the mix.
NOTE: To take it even further, you can automate the panning of each path slightly to create dynamic shifts in stereo positioning, which will make the sound feel alive and constantly evolving.
Bonus: All Digital EVERYTHING
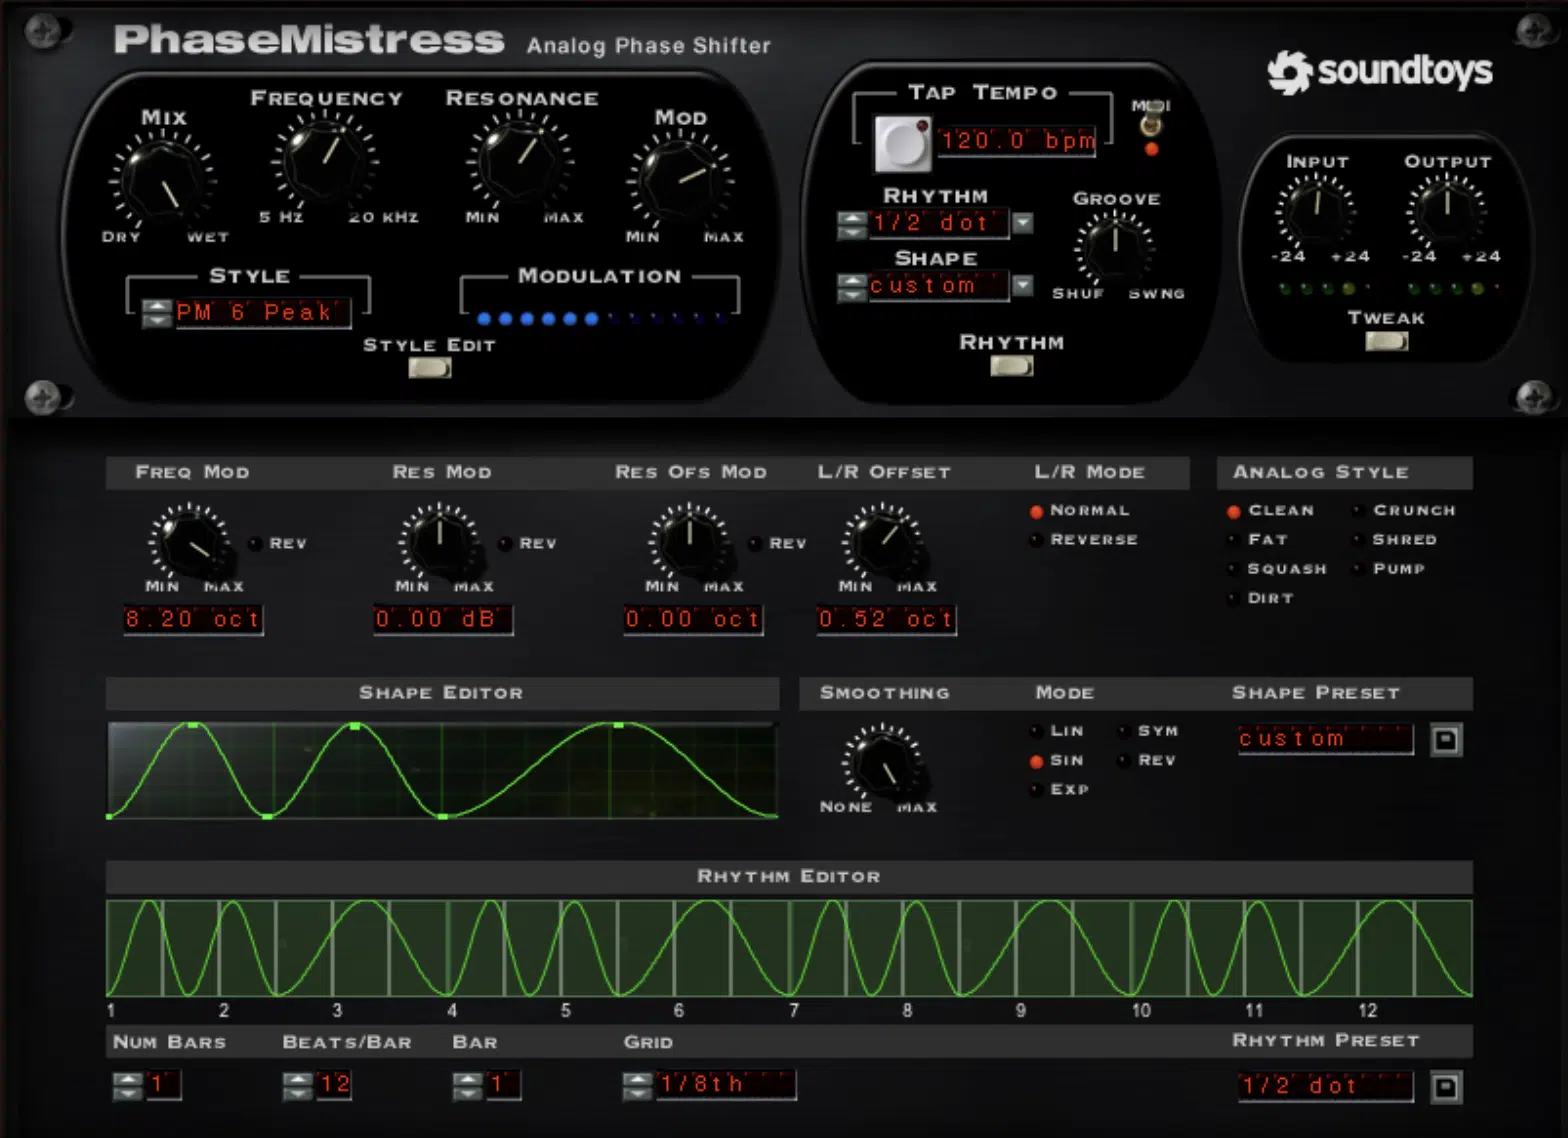
Digital phaser effects give you precision and control that analog phaser pedals simply can’t match, so we have to talk about them real quick as well.
My favorite plugins (like Soundtoys PhaseMistress) and the phaser in Ableton Live, for example, let you get super detailed when you’re adjusting things.
This too includes:
- Rate
- Depth
- Feedback
- Modulation waveforms (like sine or sawtooth)
A sine wave provides smooth, natural sweeps, while a sawtooth adds sharp, aggressive movement ideal for intense builds.
Digital phasers also sync effortlessly to your DAW’s BPM for tempo-locked modulation for rhythmic consistency as we talked about a little earlier.
For example, automating the wet/dry mix from 20% to 70% during a chorus can add dynamic shifts that make your track feel alive.
Many digital phasers also include multi-band functionality, so you can isolate and phase specific frequency ranges.
This could be like adding motion to the highs of a synth lead or subtle modulation to the low end of a bassline.
With the ability to stack multiple stages (typically up to 24), digital phasers create intricate frequency notches perfect for pads, drones, or ambient textures.
Advanced features like tap tempo, presets tweaked for guitars, synths, and drums, and MIDI mapping let you make real-time parameter adjustments.
So, needless to say, they’re incredibly versatile/flexible.
For even more depth, layer a digital phaser with a flanging effect or combine it with a delay for evolving modulations.
Set the phaser’s rate to a slower setting, like 0.5 Hz, and the flanger’s delay time to around 5-10 ms for subtle, rhythmic interactions.
This creates a super textured sound that’s perfect for ambient pads or evolving leads.
To push it further, combine the phaser with a delay effect 一 setting the delay time to match your track’s tempo (e.g., 1/8-note or 1/4-note divisions) and the feedback to around 30%.
As the phaser sweeps through the frequency spectrum, the delay captures and repeats the modulated signal to create a cascading effect that feels immersive and expansive.
Automate the delay’s wet/dry mix alongside the phaser’s depth for evolving motion throughout the track.
For example, start with a dry phaser sound in the intro, gradually blending in the flanger and delay during the build-up to create a sense of growth/intensity.
I mean, the creative possibilities are truly endless, so digital phasers are invaluable.
Final Thoughts

And there you have it: everything you need to know about phaser effects.
With all the techniques, tips, and tricks you’ve learned today, you’re ready to bring your tracks (and phaser effects) to the next level.
Just remember, it’s all about using the right settings, playing around with different combinations like expression pedals, and finding the sweet spot in your mix.
But don’t be afraid to kick things up a notch, like running phaser effects through delays or pairing them with distortion for some truly out-of-the-box sounds, of course.
And, as a special bonus, you’ve got to check out these 3 epic Free Project Files that show you exactly how to use phaser effects.
Plus, if you’re interested in learning about any other effects like reverb, compression, or modulation, these project files will have you covered too.
Each one (available in Ableton, FL Studio, and Logic Pro) shows you how to build a professional beat from start to finish.
Plus, they’ve all been created by expert sound designers and producers, so it’s like getting the cheat codes, which is freakin’ awesome.
Bottom line, when it comes to phaser effects, it’s all about experimentation and creativity.
Plus, making sure your settings are dialed in, your signal chain is clean, and your sound fits the vibe you’re going for.
Just make sure to always stay hustling, learning, growing, and most of all, making dope beats.
Until next time…


Leave a Reply
You must belogged in to post a comment.