Stereo widening has the ability to completely transform your tracks 一 adding depth, space, and an immersive quality that captivates listeners right off rip.
It’s all about creating balance, enhancing the stereo image, and making every element in your mix stand out like it should.
As producers, knowing all about stereo widening and the professional techniques behind it will allow you to lay down better mixes that feel polished and expansive.
That’s why I’m breaking down everything you need to know about stereo widening, including:
- Expanding the stereo field ✓
- Enhancing left and right channels ✓
- Maintaining mono compatibility ✓
- Avoiding phase issues ✓
- Using reverb and delay for width ✓
- Applying mid/side processing ✓
- Multiband stereo widening ✓
- What tools you’ll need to make it happen ✓
- Mid/side processing & parallel processing ✓
- Balancing low frequencies and high frequencies ✓
- Pro tips & advanced techniques ✓
- Much more about stereo widening ✓
By knowing all about stereo widening, you’ll be able to successfully create mixes that feel wide, balanced, and professional every single time.
This way, your tracks will stand out on any system, sound incredible in both stereo and mono, and become almost addicting.
It’s a powerful technique that’s key for modern music production, so if you want to create immersive tracks, stay tuned.
Table of Contents
What is Stereo Widening?
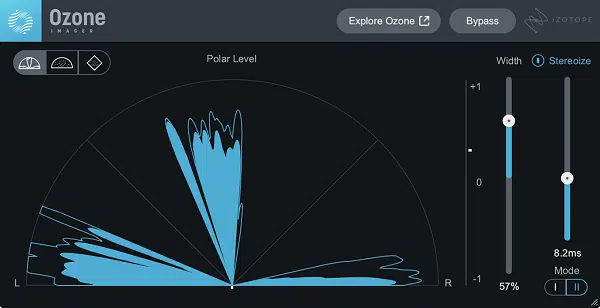
Stereo widening is all about creating space in your mix by making it feel wider and more immersive in the stereo field.
Think of stereo width as the distance between the left and right channels and, when balanced well, it gives your tracks a sick three-dimensional quality.
For example, when a wide stereo image is done correctly, you can actually feel the shimmer of a synth pad on one side while a tight guitar lick fills the other.
At the heart of stereo widening is panning 一 by adjusting pan positions, you can place individual instruments like a hi-hat slightly to the left or a piano to the right.
This makes sure that each sound has its place without overcrowding the mix.
I’ve personally found that keeping the kick drum and lead vocal panned center helps maintain a solid core for the mix while allowing stereo elements to play around them.
It’s important to know the difference between mono and stereo sounds here:
- Mono sounds (like a mono track for bass or kick drum) stay centered/punchy.
- Stereo sounds (like a reverb-soaked guitar) spread across the stereo field for a more spacious feel.
Wide stereo sounds go even further, often using stereo effects or layering to add extra dimension and create an immersive experience.
But it’s not just about spreading sounds around randomly…
The human ear loves balance and symmetry, so making sure your left and right channels complement each other is key, never forget that.
For example, if you pan a lead guitar hard left, try filling the right channel with a supporting harmony or reverb tail for a super fluid stereo mix.
Stereo Widening Techniques You Need to Know
Mastering stereo widening starts with using the right techniques at the right time. Whether it’s layering, reverb, or advanced tricks like the Haas effect, these approaches can add width and depth to your tracks without sacrificing clarity, and we’re breaking it down right now.
-
Layering with Intent
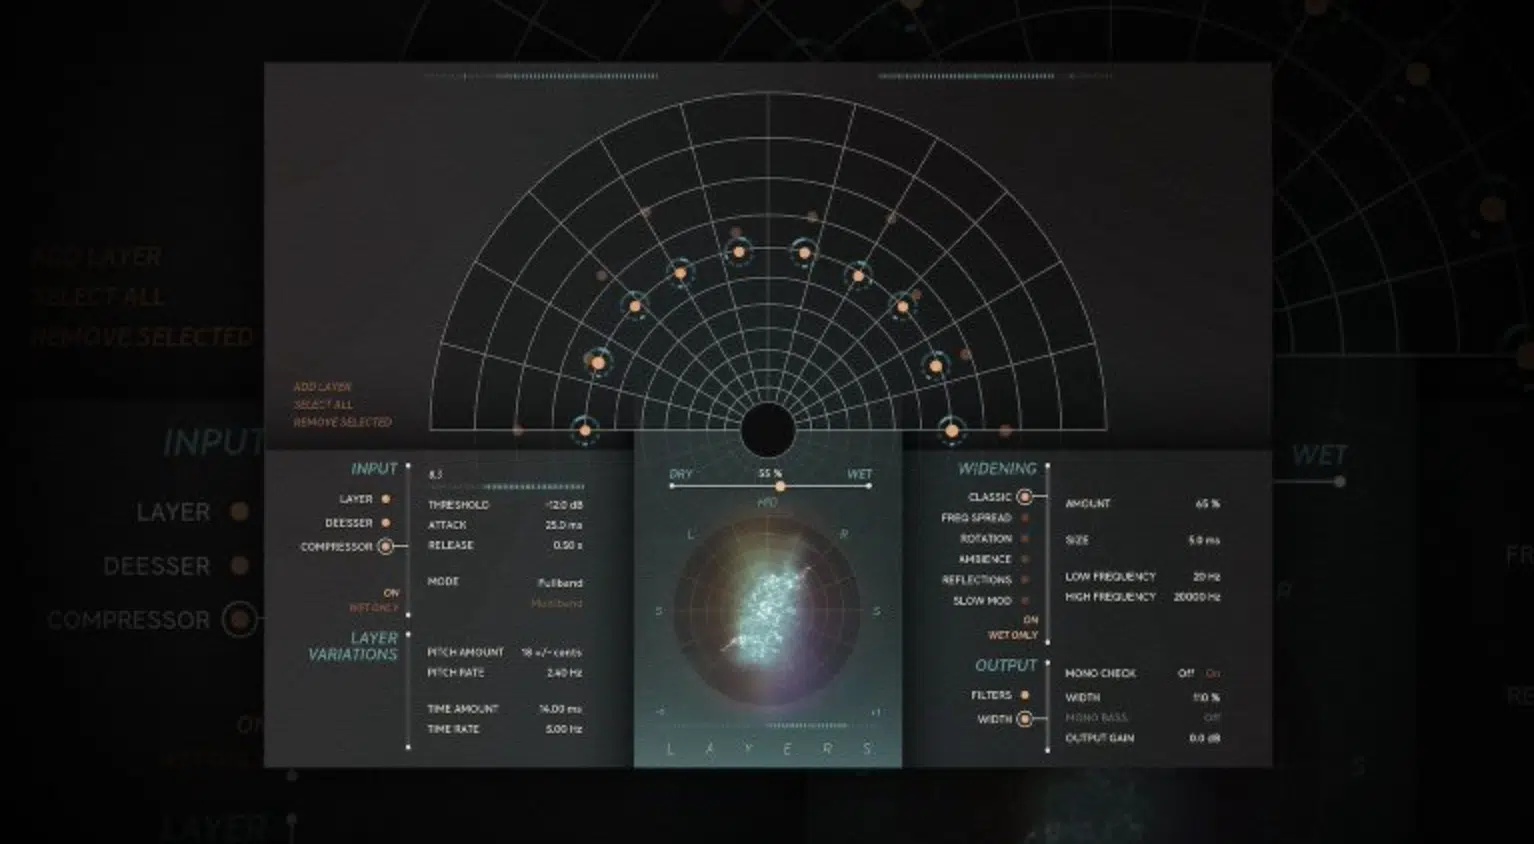
Layering is one of the most effective ways to create width and depth in your mix, especially when you’re working with instruments like guitars, synths, or vocals.
For example, you can double-track a guitar performance and hard pan one take to the left channel and the other to the right.
This will create a wide stereo image while leaving room in the center for the lead vocal and kick drum to pop/shine like it should.
When working with synths, try layering a:
- Bright, high-frequency pad on the left.
- Darker, midrange pad on the right.
This contrast not only enhances stereo width but also avoids frequency clashes in the stereo field, but just be aware of phase issues.
I always use a phase correlation meter to check for comb filtering (the bad kind), which can thin out the sound and make your mix feel weaker.
Make sure to experiment with slightly detuning one of the layers or adding a very short delay to one channel to create perceived width without sounding artificial or robotic.
Finally, layering isn’t just about doubling… It’s about intention and making sure each unique layer should serve a purpose.
This could be like adding harmonic texture or reinforcing a focal element.
For example, layering a subtly distorted vocal under a clean take can enhance stereo width while preserving clarity and presence.
Just remember, with every move you make, be careful and intentional.
-
Reverb and Delay as Spatial Tools
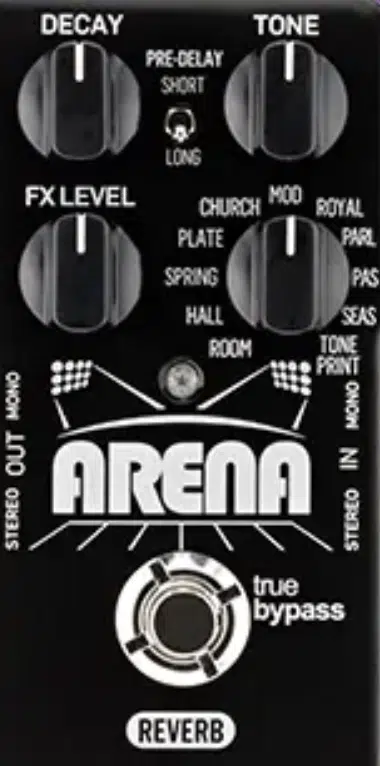
Reverb and delay are absolutely perfect for creating depth and stereo width, but using them correctly is the key to clarity.
For example, applying a stereo reverb with a pre-delay of around 20 ms keeps lead vocals upfront while pushing background vocals into the stereo field.
This will help your mix sound wider, more immersive, and professional.
On instruments like guitars, a short stereo delay with a feedback setting of 15% and a time difference of 1/8 on one side and 1/16 on the other can add rhythmic width.
All while preserving the panned center, which is what you want.
NOTE: It’s important to high-pass the reverb and delay signals 一 cutting frequencies below 150 Hz to avoid muddying the low frequencies.
For snares or percussive elements, try a short slap-back delay with a wet/dry mix of 20% to create subtle width without overwhelming the stereo image.
Always check your mix in mono after applying reverb and delay to ensure they don’t introduce comb filtering or phase issues (you should do this all the time).
Oh, and always reserve stereo effects for mid and high frequencies so the mono track can hold down the low end while adding width to higher elements.
-
The Haas Effect and Stereo Delays
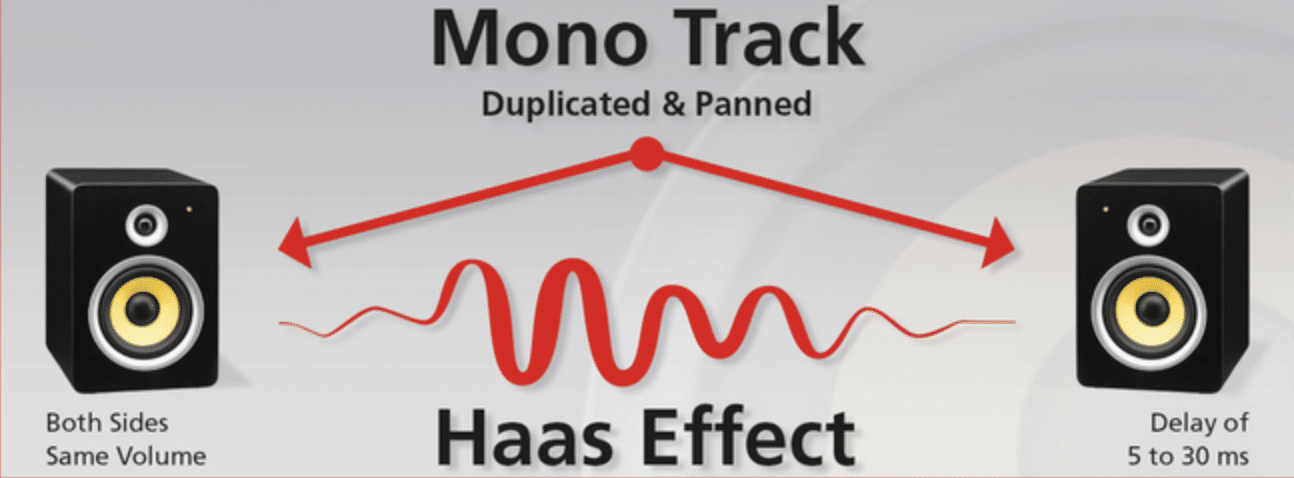
The Haas Effect is a psychoacoustic phenomenon that creates perceived width by delaying one side of a stereo signal by 10ms to 40ms, making mono sounds feel wider.
This is because a delay time of 40 ms or less is not perceived by the human ear as a delay.
For example, duplicating a mono track like a lead vocal and delaying the right channel by 15ms creates a natural wide stereo image without detaching it from the mix.
It’s essential to keep delay times below 40ms to prevent an audible delay while also avoiding phase issues when played in mono…
I typically use 20ms for synth leads to keep them clean and wide.
True stereo delays, like ping-pong delays, provide a different effect and are excellent for rhythmic width, with settings like 1/8 delay on one side and 1/16 on the other.
It will create that perfect interplay between left and right channels.
Remember that high-pass filtering the delayed signal around 150Hz prevents muddying the low frequencies, keeping the stereo field clear while enhancing the high frequencies.
Again, using a phase correlation meter is key to maintaining mono compatibility, especially with the Haas Effect, which can cause comb filtering if unchecked.
For snare drums, try a short slap delay to give them subtle stereo presence without disrupting the panned center.
Make sure to apply stereo delays selectively on focal elements (like vocals or synth leads) to create impactful width while preserving clarity in the stereo mix.
Pro Tip: When working with mono signals like a lead vocal or snare, try adding subtle stereo widening using a delay plugin.
You’ll want to set the left channel to dry and the right channel to a very short delay of 15-20 ms to create a natural sense of extra space.
This technique not only enhances the stereo field but also introduces ear candy for the listener, which you definitely always want.
As an audio engineer, I’m telling you that checking mono compatibility to ensure the effect doesn’t cause phase issues in mono playback is everything.
Side note, if you’re looking for the best delay plugins in the game, we got you.
-
Multiband Stereo Widening
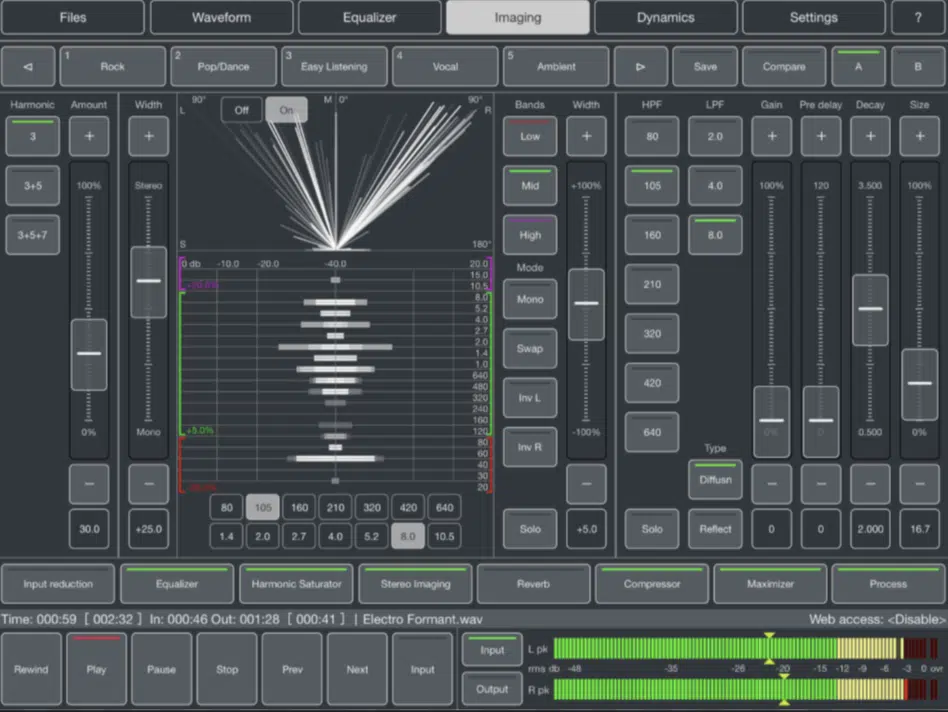
Multiband stereo widening lets you target specific frequency bands.
It’s perfect for keeping low frequencies (like those under 120Hz) in mono while widening high frequencies above 1kHz for air and sparkle.
Tools like Ozone Multiband Imager split the audio signal into bands so you can easily widen each range independently.
For example, keeping mids moderately wide while extending highs will enhance the overall width and give you the vibe you’re aiming for.
NOTE: A width setting of around 50% on the high band works well for pads or backing vocals, but always solo bands while adjusting to avoid harshness or phase issues.
Make sure to keep an eye on the master channel to make sure the frequency balance isn’t thrown off 一 narrowing the midrange slightly can fix any imbalance.
For backing vocals, widen higher harmonies while keeping lower ones panned center to enhance stereo width without sacrificing clarity, so play around with that.
Lastly, always check the mix on different systems, including mono playback, to ensure your widening adjustments translate well and add to a good stereo image.
Yes, I’ve said that a couple times, and expect me to do that a couple more because it’s so important to master stereo widening.
Stereo Enhancements in the Mastering Stage vs Mixing Stage
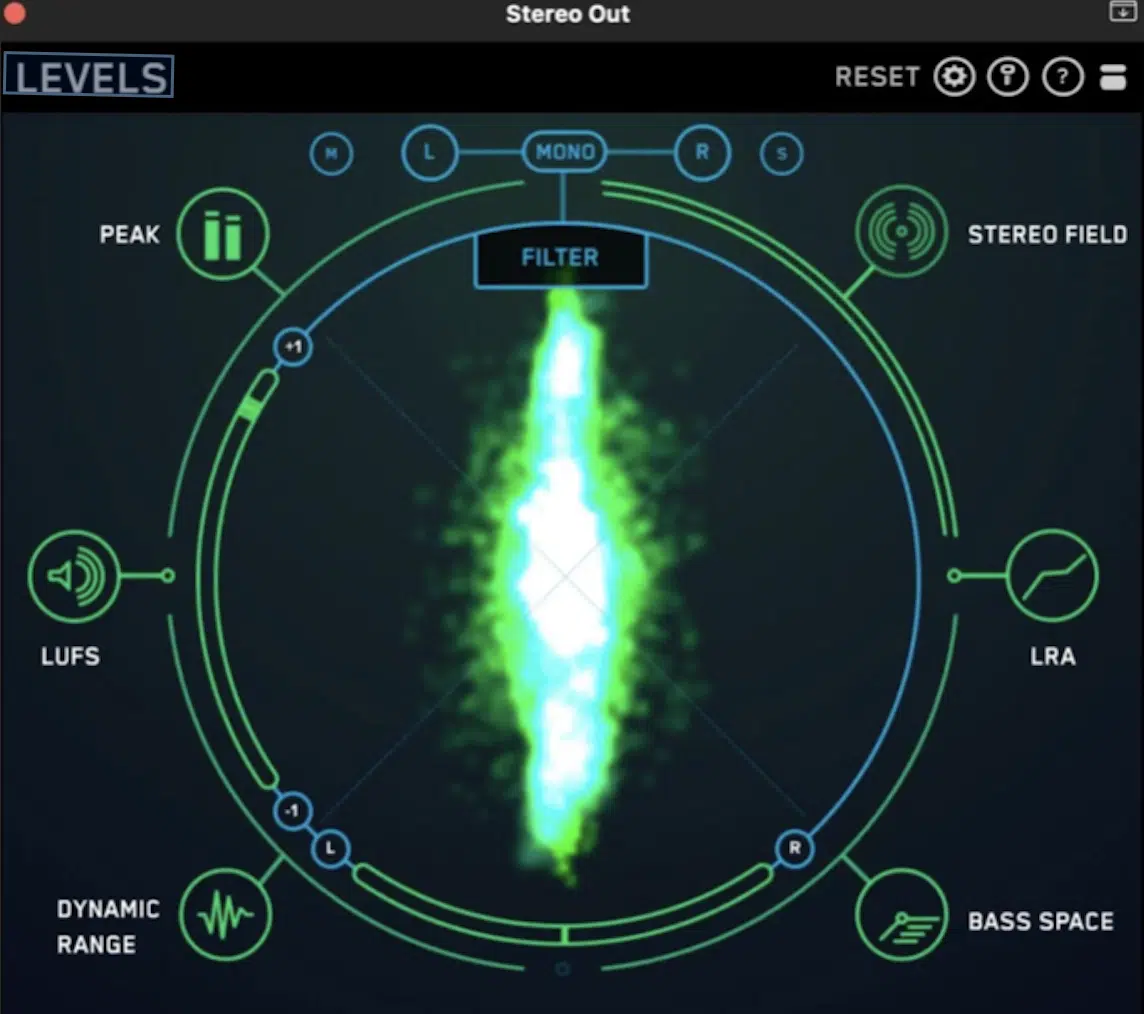
Stereo widening techniques in the mixing stage differ big-time from those in the mastering stage, primarily due to the level of control and intended impact on the mix.
In the mixing stage, widening is applied on individual elements like vocals, guitars, or synths to make space and balance pan positions across the stereo field.
For example, you might pan guitars hard left and right while keeping the kick drum and lead vocal panned center to maintain clarity in the phantom center.
In the mastering stage, stereo enhancements are applied to the entire mix 一 focusing on subtle adjustments to the stereo field without altering individual elements.
A great mastering technique is to widen the high frequencies slightly, typically above 8kHz, using whichever stereo imager you like.
For example, widening the highs by just 10% can add that good sparkle and perceived width without impacting the low frequencies.
It’s crucial to avoid widening the low frequencies during mastering because this can introduce unwanted phase issues and muddy the mono compatibility.
And, let’s be honest, nobody has time for that.
Instead, you’re going to want to use mid/side processing so the side channel is airy and the mono version’s punch and definition is on point.
Always check the stereo image using a metering tool to see if any changes you make enhance the overall width without slacking in the balance department.
In my experience, I usually limit stereo adjustments during mastering to avoid overprocessing (mastering is about refining the stereo track, so less is often more.)
PRO TIP: Test your final master on both stereo and mono playback systems to ensure that your stereo field enhancements translate flawlessly across all platforms.
Tools & Technologies for Stereo Widening
When it comes to achieving legendary stereo widening, you’ll certainly need the right tools, that’s a given. Each one we’re going to break down offers unique features for creating width and balance in your mix, so let’s get into it.
-
Stereo Widening Plugins
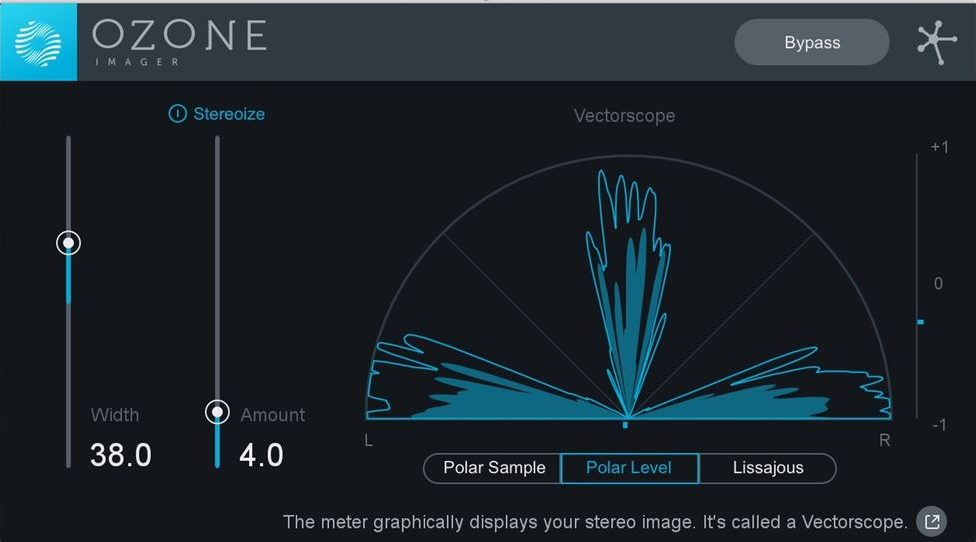
Plugins are the most accessible and versatile tools for stereo widening.
For example, iZotope’s Multiband Imager is a go-to for widening specific frequency bands, while Waves S1 lets you adjust the width of the entire stereo signal with precision.
A typical starting point for vocals might involve a 20% width increase in the midrange frequencies to add depth without pulling the vocal away from the panned center.
Some plugins, like Soundtoys MicroShift, add subtle detuning and modulation for natural stereo effects, making it perfect for synth pads or background vocals.
Always monitor the stereo field using plugins like Voxengo Span (free) or whatever you prefer to ensure your adjustments enhance the mix without introducing phase issues.
-
Mid/Side Processing for Precision
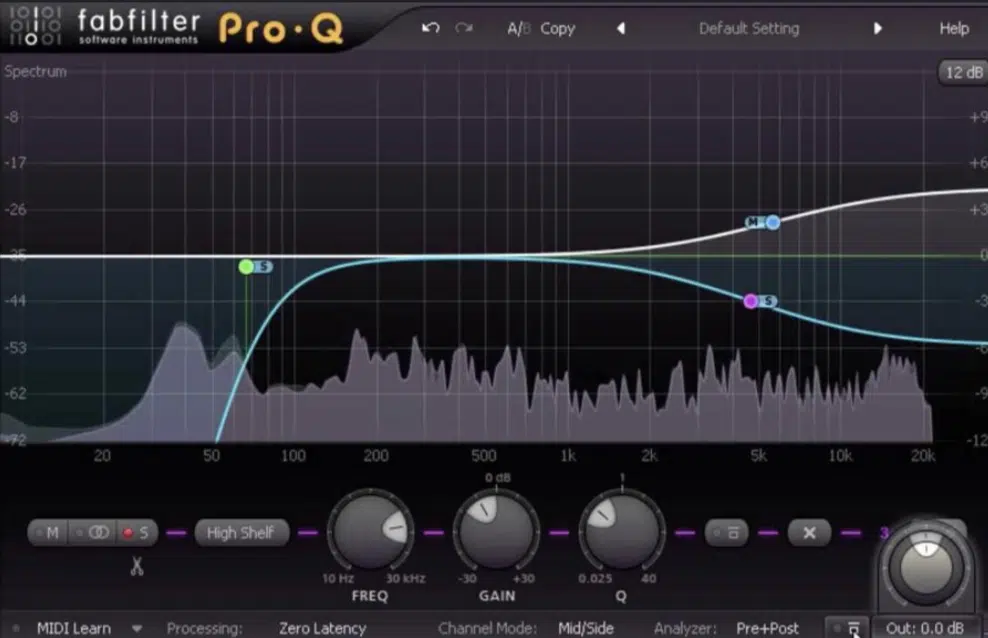
Mid/side processing is a game-changing technique for precise stereo widening, which lets you separately adjust the mid (center) and side (stereo) elements of your mix.
For example, you can boost the side channel above 1kHz to enhance high frequencies for a wider stereo field.
While keeping low frequencies in the mid channel to maintain mono compatibility.
I usually use FabFilter Pro-Q 3’s mid/side EQ mode to subtly widen a stereo track’s side channel by 2-3dB in the upper mids.
This adds sparkle without disrupting the mix balance.
When working on the master channel, avoid over-widening the side channel below 250 Hz to prevent frequency balance issues or phase cancellation.
PRO TIP: Use a monitoring system with good stereo imaging to ensure precise adjustments and regularly switch to mono playback to check for comb filtering.
-
Avoiding Stereo Widening Mistakes: Summing it Up
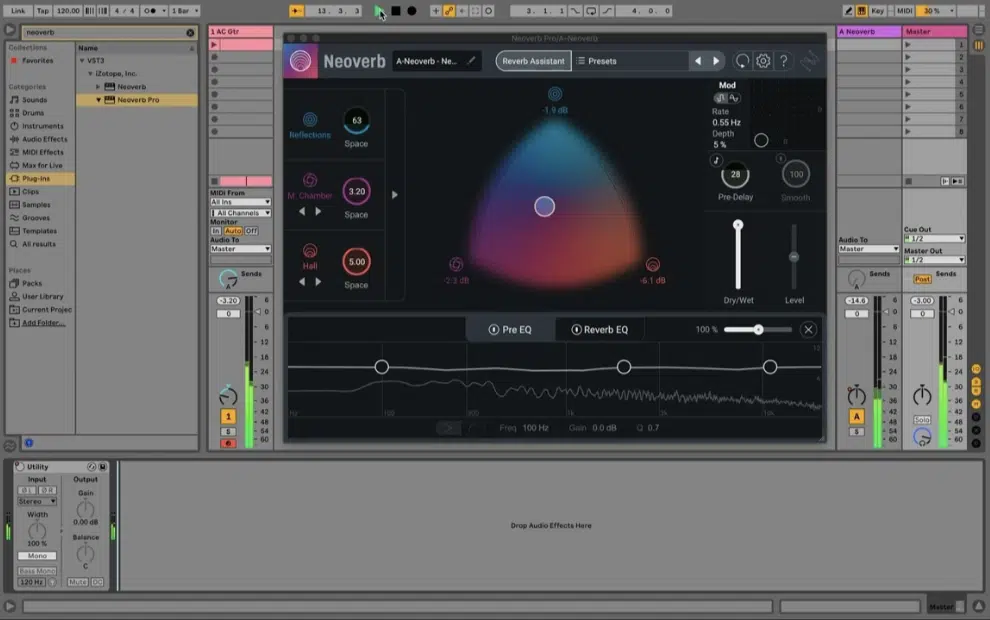
One of the most common mistakes in stereo widening is introducing phase cancellation, which happens when two sounds arrive at slightly different times.
It causes some frequencies to completely cancel out, which you never want.
To avoid this, always check for phase issues using a phase correlation meter…
If the signal leans too far to the negative side, you might need to adjust delay times or panning as we talked about earlier.
For example, when using the Haas Effect, keep delays under 40 ms to prevent phase cancellation and maintain mono compatibility.
Another one is over-widening low frequencies, which can make your mix sound muddy and weak (not to mention super unprofessional and amateurish).
To kill this, keep the low frequencies mono, especially for elements like the kick drum and bass.
NOTE: Use mid/side EQ (above) to high-pass the side channel at 120Hz or higher 一 focusing the stereo widening on the midrange and high frequencies.
Balancing width and mono compatibility is super important to creating better mixes.
After applying stereo widening, always check your mix in mono to ensure nothing disappears.
A good stereo image should translate well across both stereo and mono playback systems, so use reference tracks to compare your adjustments.
Also, avoid hard panning individual instruments like lead vocals or kick drums, as this can throw off the stereo field and create unnatural imbalances.
Instead, try subtle panning or use double tracking to create width naturally.
Remember, stereo widening is a tool to enhance your mix, not overpower it; less is often more people, always keep that in mind.
Bonus: Parallel Processing for Stereo Widening
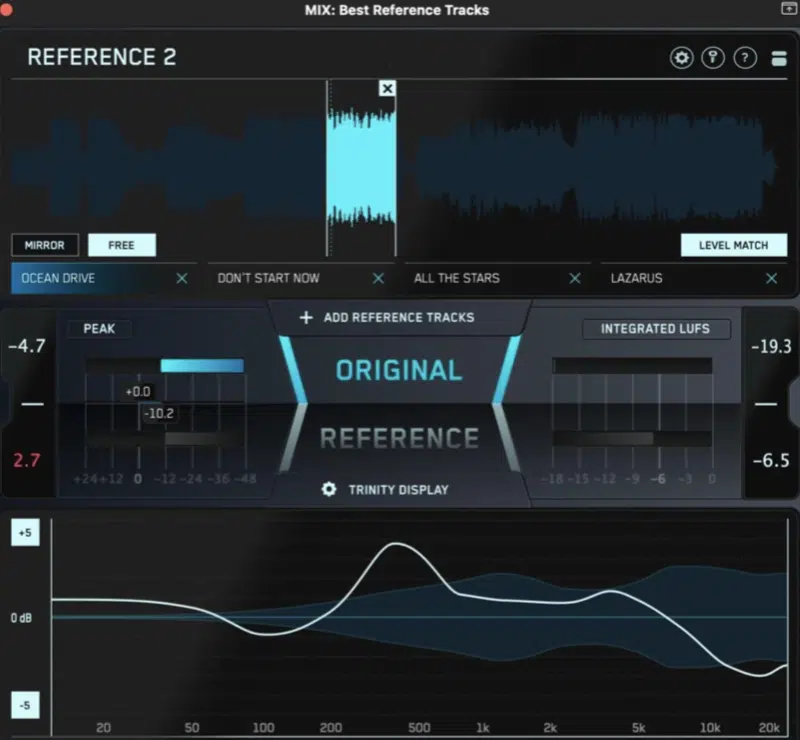
Parallel processing for stereo widening is all about blending a processed stereo signal with the original track for precise control over the effect.
For example, I use a parallel reverb chain with a stereo spread of 40% to add subtle width to backing vocals without overwhelming the mix.
This technique works well on drums too…
Applying parallel compression to the side signal/channel of the snare drum can enhance stereo width while keeping the main transient punchy.
To create a super clean stereo image, use high-pass filters on the parallel chain to cut low frequencies below 120Hz so the low-end remains centered.
A typical setting for parallel widening might include boosting the high frequencies in the single channel by 2-3dB while keeping the mid frequencies neutral.
Make sure to apply parallel processing very selectively to focal elements like lead vocals or synths, as too much widening on multiple tracks can clutter the stereo field.
Plus, of course, always monitor the stereo signal with a metering tool to ensure balance between the processed and dry channels
And, regularly check for phase cancellation in the mono version.
Final Thoughts

Stereo widening, as you now know, is all about creating depth, space, and a balanced stereo image that takes your tracks to the next level.
It’s about enhancing the stereo field, maintaining clarity, and ensuring mono compatibility while avoiding phase issues.
Plus, making sure that every element in your mix feels intentional and never overcrowded.
If you follow the tips and techniques we talked about today, you’ll be able to create polished, professional mixes like a boss.
This way, your tracks will always sound immersive, dynamic, and perfectly balanced (while you enhance your production skills in the process).
As a special bonus, you’ve got to check out these Free Project Files, which break down the entire process of stereo widening (and any other effects you can think of).
These 3 project files were created by professional producers to show you exactly how to create killer beats like the pros.
It’s invaluable for seeing how every element of a mix contributes to the most immersive, impactful stereo field possible.
They also come loaded with expertly designed tracks, sound sources, and techniques that demonstrate creative panning, stereo effects, and frequency balance.
Just remember mastering stereo widening takes time, but with the right approach, your music will stand out on any system.
So, make sure to keep experimenting, stay super creative, and never ever settle for anything less than an incredible mix.
Until next time…


Leave a Reply
You must belogged in to post a comment.