Vocal production is not just about making the vocals sound good 一 It’s about making them freakin’ unforgettable (not to mention super professional).
From the raw energy of a great recording session to the precise polish of mixing and effects, every single step matters.
As producers, the more you know about vocal production, the better you can bring out the best in a vocal performance and shape it to fit your track.
Plus, knock out a final product that hits your audience right in the feels.
That’s why mastering the process (from editing and tuning to layering and adding effects) is such a big deal, and I’ll be covering everything you should know, like:
- How to create clean, professional vocal tracks ✓
- Vocal pitch correction and tuning ✓
- Vocal editing (a deep dive) ✓
- EQ and compression settings/process ✓
- Creative layering techniques ✓
- Using reverb, delay, and other effects ✓
- Advanced music production tricks/techniques ✓
- Pro tips for mixing vocals & enhancing your skills ✓
- How to master your vocals ✓
- Much more about vocal production/music production musts ✓
By learning these vocal production techniques/tricks, you’ll have everything you need to make your vocals stand out in any mix.
And, take your music production skills to the next level, which never hurts.
You’ll know how to bring out the natural emotion in a vocal performance, fine-tune every detail, and add just the right amount of creativity to keep things fresh.
Plus, your tracks will sound more professional, more polished, and more engaging, every single time (never basic or amateurish).
Table of Contents
The Basics of Vocal Production

Vocal production is all about making the human voice shine and blow some people’s minds in the process (if that’s what you’re going for).
You have to make sure that your listeners really feel connected to them, emotionally and just when it comes to overall appeal.
To do this, you need to understand the creative and technical aspects of vocal production, and also how to bring the best out of each vocalist you work with.
And that’s not just limited to the recording session, but long after as well.
A great starting point is to think about how the vocal track interacts with other elements in the mix, complementing the frequency spectrum without getting buried/unbalanced.
Take, for instance, a lead vocal in a pop track…
You want it to feel upfront, clear, and powerful without overshadowing the backing vocals or other instrument layers.
To achieve this, you’ll use things like EQ and compression (which we’ll break down later) while leaving space in the mix for harmonies and other effects.
Every step of the vocal production process matters 一 from the initial recording to vocal pitch correction and mixing.
It’s the difference between a song that grabs your listener’s attention and one that gets skipped and never thought about again.
If you’re unsure where to begin, just focus on the vocal performance itself because a well-delivered vocal will naturally resonate better with your audience.
When a vocalist performs with confidence and emotional depth, you’ll find that even minimal processing can result in a balanced mix that hits with maximum impact.
Of course, this doesn’t mean skipping editing or tuning, but it’s a reminder to prioritize the raw performance before diving into technical tweaks.
But, I’m rambling, so just stay tuned because we’re going to be breaking down everything you need to know from start to finish.
Quick Recap: Understanding Vocal Tracks & Vocal Recording Techniques
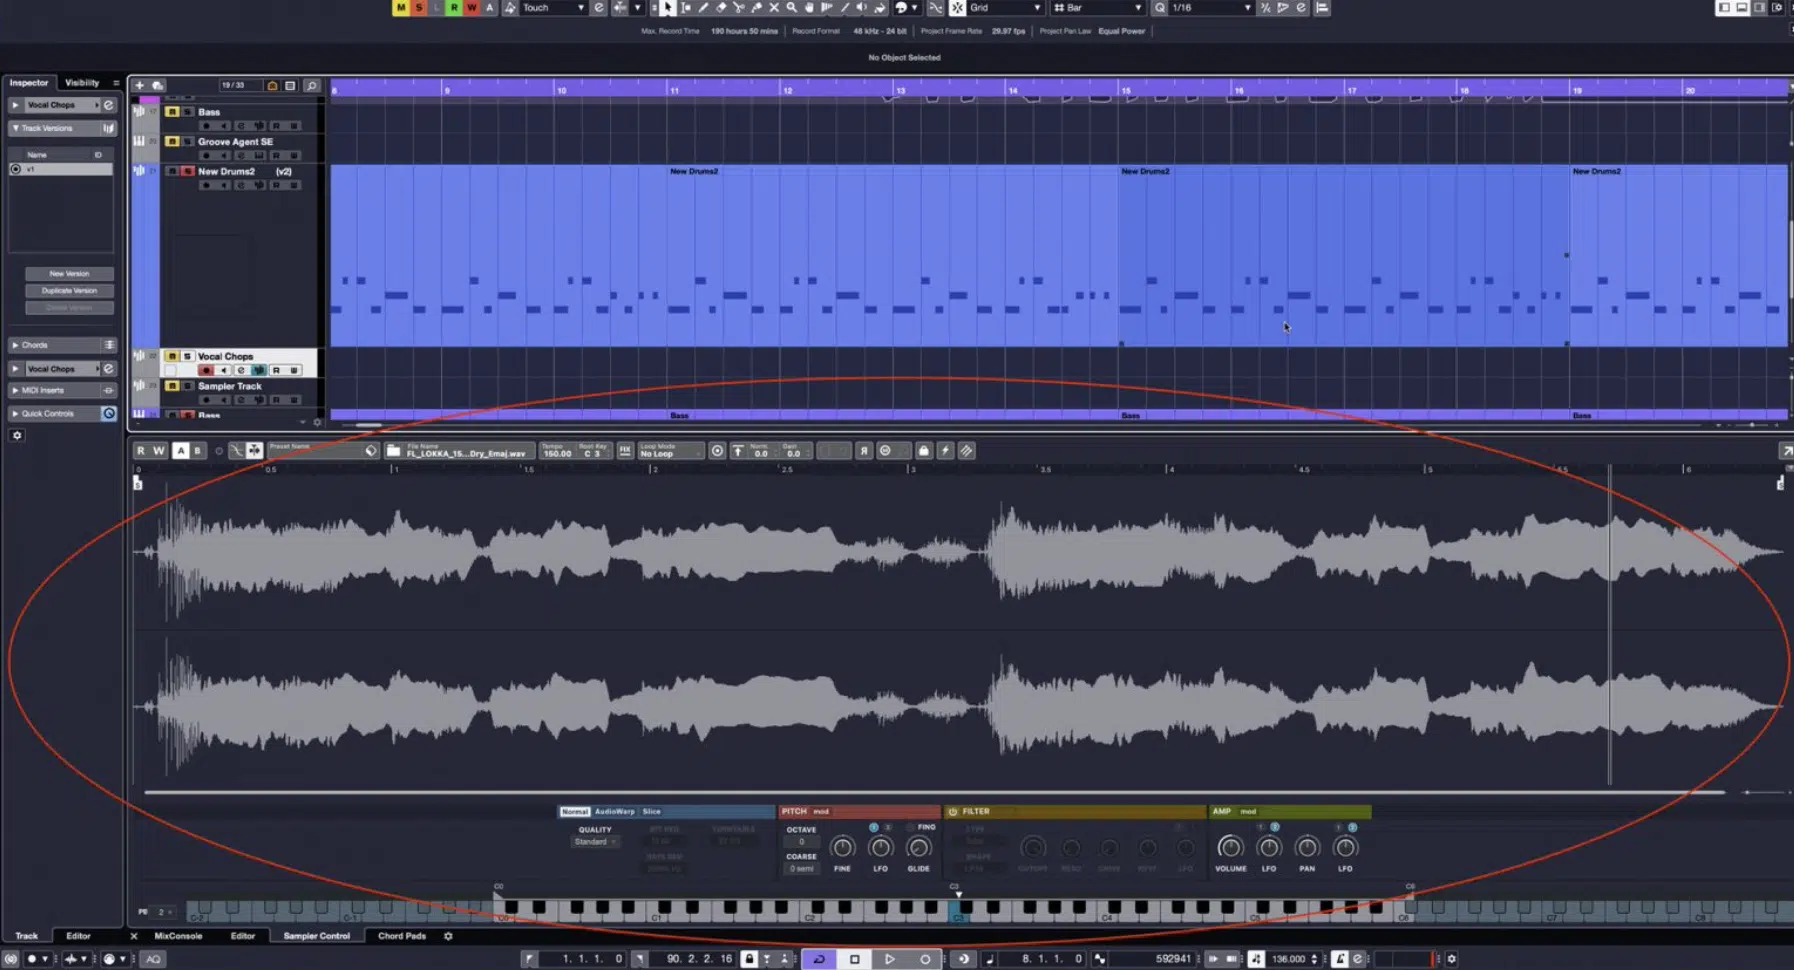
When it comes to vocal production, we have to start at the very beginning, which is vocal tracks, and there’s a lot to consider before hitting record.
This is for when you’re recording vocalists obviously, not using vocal samples, but it’s all relevant so stay with me.
A solid vocal session starts with the right microphone because not every mic will capture the nuances of a singer’s tone or dynamics.
For example, if you’re recording a soulful vocal, a condenser mic like the Neumann U87 works because of its sensitivity to the human voice and detailed frequency spectrum.
On the flip side, a dynamic mic like the Shure SM7B is a favorite for genres like hip-hop or rock, where you want to control harsh frequencies while still capturing raw energy.
Of course, getting the best sound also depends on the proper studio environment, which is why room treatment is so important.
This involves acoustic panels and diffusers so it reduces reflections 一 giving you a cleaner sound that’s easier to work with in the post-production process.
Also, don’t forget about mic placement.
For most vocalists, positioning the mic 6-8 inches away with a pop filter will help minimize plosives and make sure you’re getting a natural tone.
A strong vocal performance doesn’t just happen; it’s the result of a relaxed, confident singer and a supportive producer.
If your vocalist feels rushed or uncomfortable, their delivery will obviously suffer.
Take a cue from Post Malone or Kanye West, who are known for creating laid-back recording sessions where artists feel free to experiment and express themselves.
The best way I could describe it is by saying that it’s not just about capturing notes… It’s about capturing emotion.
Once you’ve nailed the recording, remember that a vocal track isn’t done until it’s edited.
This includes comping multiple vocal takes, cleaning up background noise, and aligning timing to create a flawless performance (or as close to it as possible).
Of course, we’ll go deeper into these techniques in the next section, but remember: the better your recording, the easier the rest of the process will be.
Vocal Editing
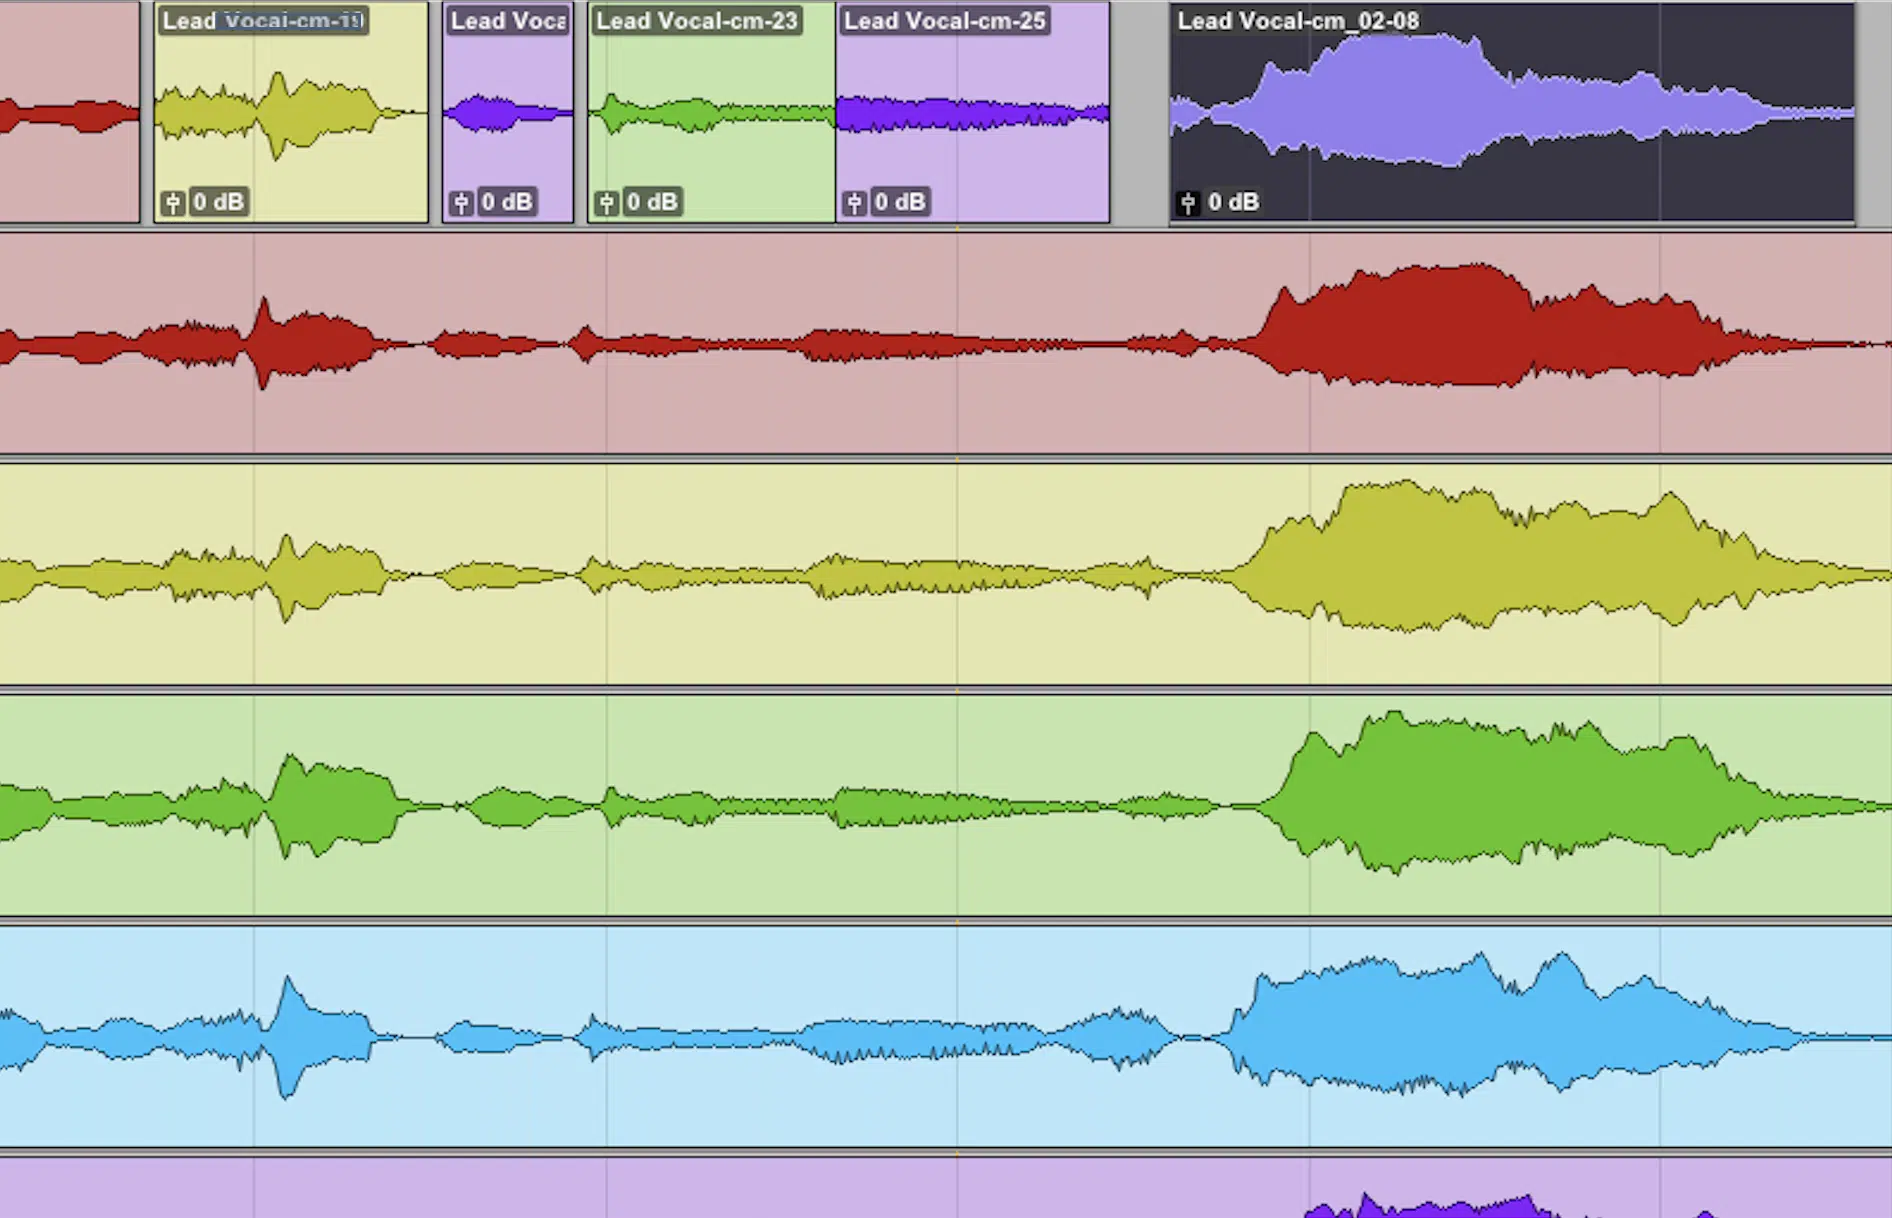
Next up in the overall vocal production process is vocal editing.
Vocal editing is a key step in vocal production that guarantees a clean and professional sound, so you’ll want to start with comping vocals.
This involves selecting the absolute best sections from multiple vocal takes to create a polished, cohesive vocal track (again, this is for if you’re recording)
For example, if you’ve recorded several takes of the lead vocal, compare each one closely and pick the lines where the pitch, timing, and emotion are strongest.
Most DAWs have tools for this process so you really don’t have to worry about smooth transitions because it’s all right there for you.
After comping, clean up the track by addressing any unwanted noises such as:
- Plosives
- Clicks
- Background hum
- Etc.
For this, you’re going to want to use your DAW’s built-in tools to manually silence or reduce these artifacts so they don’t distract from the vocal performance.
Also, you should apply a high-pass filter to remove low-end rumble (typically below 80 Hz) so the frequency spectrum is focused and free of any unnecessary clutter.
Timing adjustments are another important aspect of editing, naturally.
If certain phrases feel slightly out of sync with the beat, simply use your DAW’s time-stretching or warping features to align them.
Just be careful to make subtle adjustments that preserve the natural rhythm of the human voice, as overcorrection can lead to a robotic/unnatural sound.
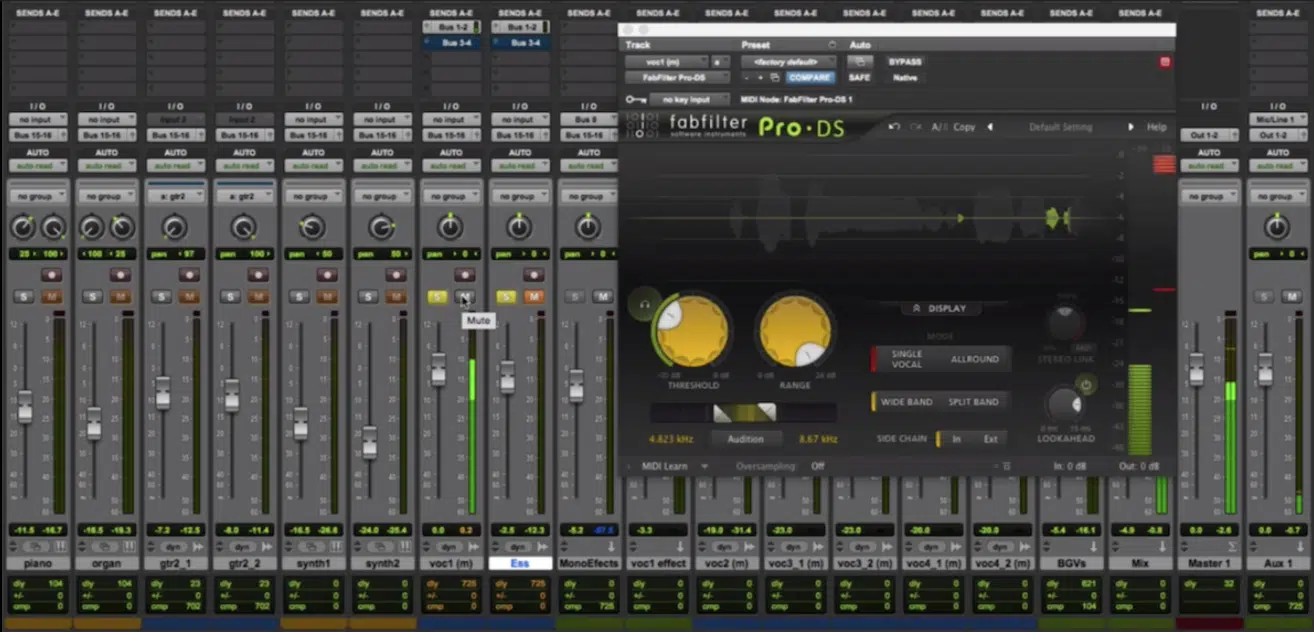
De-essing is another vocal production element you need to know like the back of your hand because it’s essential for taming harsh “S” or “T” sounds.
As you probably know, they can cut through a mix unpleasantly and destroy everything.
Focus on reducing these frequencies, typically between 4 kHz and 8 kHz, to make the vocal track easier on the ears while retaining clarity.
Finally, balance the volume across the entire performance by manually adjusting clip gain or using automation to even out dynamic inconsistencies.
When done the right way, these editing steps can transform raw vocal takes into a performance that’s on point ready for tuning and mixing.
NOTE: Make sure to click on all the links of the processes you’re curious about, because that’s where I break them all down in detail.
Vocal Pitch Correction Basics
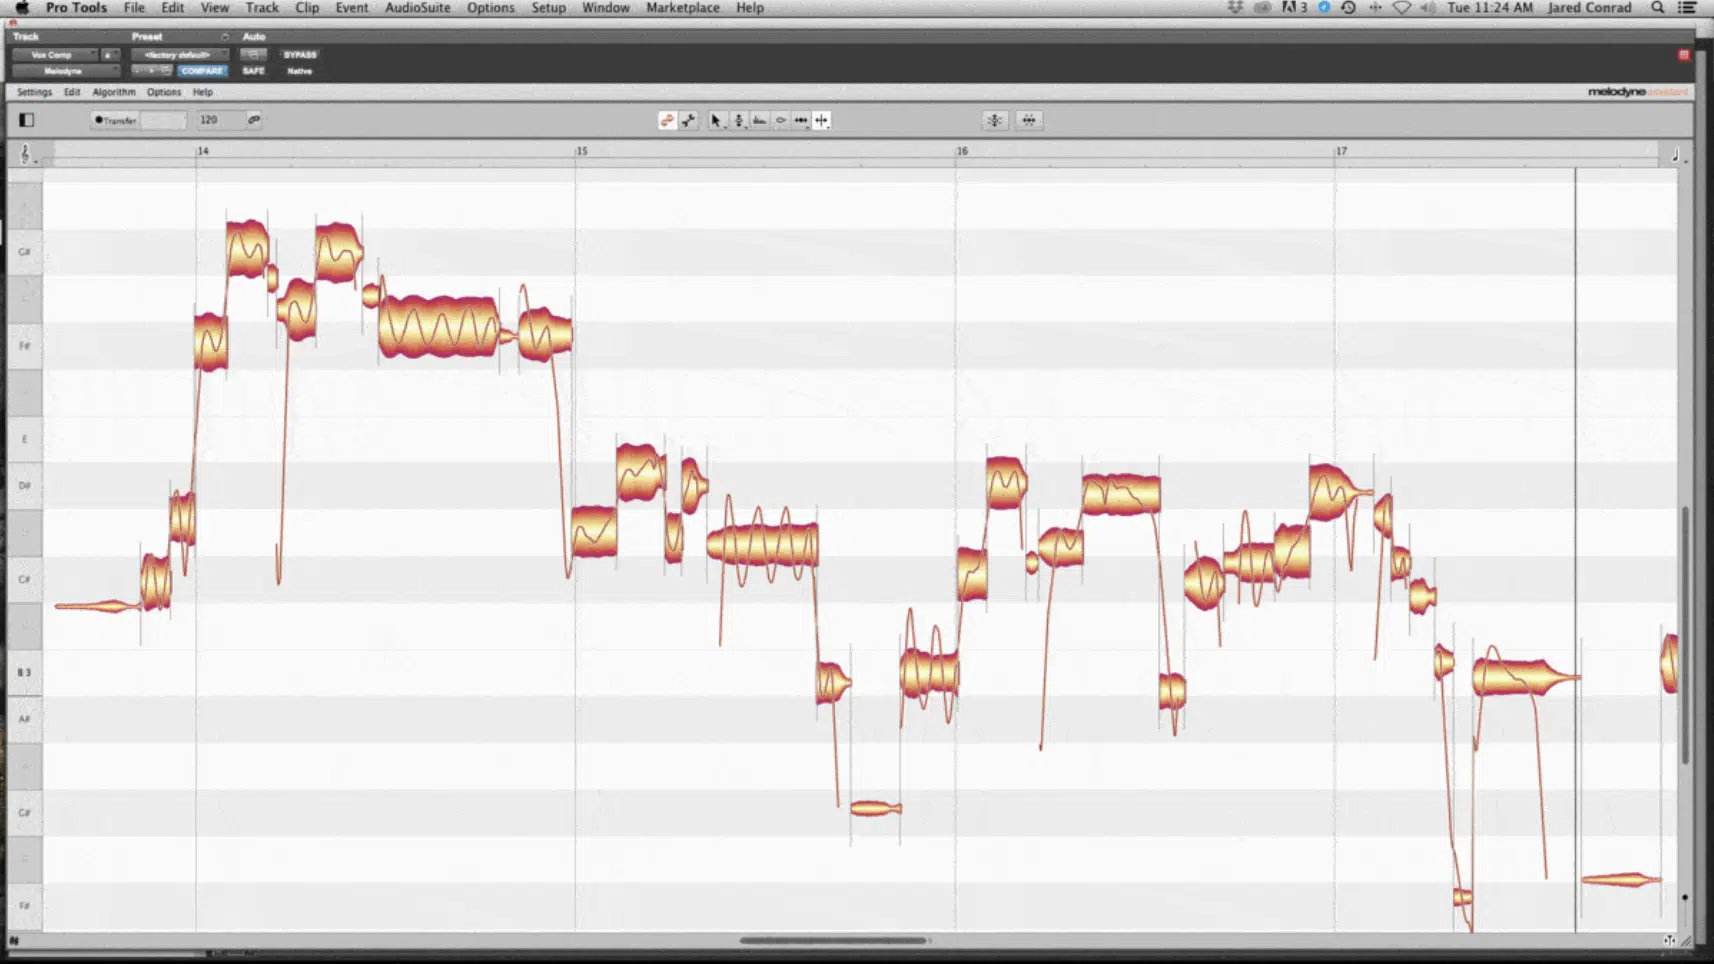
Vocal pitch correction is next up on our vocal production breakdown.
It’s all about cleaning up off-key notes while keeping the emotional authenticity of the vocal performance.
Start by setting your pitch correction software to match your song’s key (e.g., G major or A minor) and use a retune speed of 20-40 ms for natural results.
This will help you swerve that overly robotic effect I was telling you about.
Focus on pitch drift, making subtle adjustments within ±10-15 cents to maintain the natural movement of the human voice.
For even smoother transitions between notes, set the glide speed to 50-100 ms, especially for expressive passages with vibrato.
You could also play around with formant shifting to alter the tonal quality of a vocal:
- Lower the formant by 2-3 semitones for warmth
- Raise it by 1-2 semitones for brightness
And, to add harmonics, you should duplicate the vocal track 一 shifting it by a third or fifth, and detuning it slightly (±5-10 cents) to keep it natural.
Micro-tuning individual syllables can fix notes with sharp or flat beginnings or endings to improve the overall polish, so don’t overlook that either.
Finally, creative pitch effects like glides or drops (e.g., 1-2 semitones up or down) can emphasize key moments in a song and keep the vocals engaging for your listeners.
Just remember that everything should match the vibe you’re going for and that practicing with different creative effects is always advised.
Vocal Mixing
Now that the vocals are tuned to perfection and you got the basics of vocal production down, it’s time to mix them into the track. This step will help you make sure your vocal track connects emotionally with your listeners, balances well with the instrumental, and takes its place at the center of the song. So, let’s break down the key techniques for vocal mixing.
-
EQing Vocals
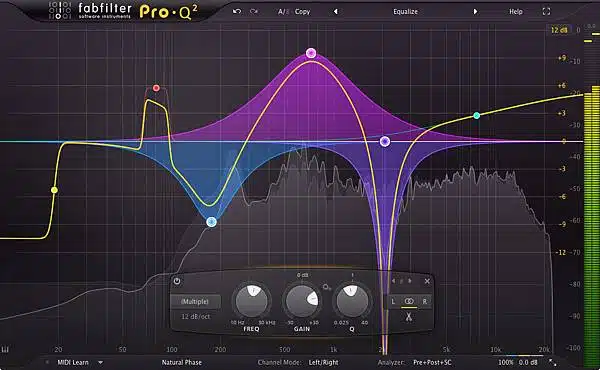
EQing vocals is all about carving out space in the mix while enhancing clarity and presence so they can really shine and you don’t sound like a noobie.
Start with a high-pass filter, cutting frequencies below 80-120 Hz for lead vocals and up to 150 Hz for backing vocals to remove low-end rumble.
Next, you’re going to reduce muddiness by cutting 2-4 dB in the 200-500 Hz range using a narrow Q, depending on the vocalist’s tone and the song.
For clarity, simply boost 2-3 dB in the 2-5 kHz range, which helps the vocals cut through the mix without sounding harsh.
For sparkle, I like to use a high-shelf boost of 1-2 dB around 10-15 kHz to add air, but be cautious not to overdo it because things can go south pretty quickly.
NOTE: If sibilance becomes an issue, tame sharp “S” or “T” sounds by cutting 4-8 kHz with a de-esser or EQ dip.
Just remember to always EQ vocals in the context of the full song…
Soloing is helpful for finding problem frequencies, for sure, but final tweaks should ensure the vocal blends naturally with the instrumental.
And also don’t forget to A/B your EQ adjustments all the time to confirm that your changes are improving the vocal track rather than over-processing it.
-
Vocal Compression Techniques
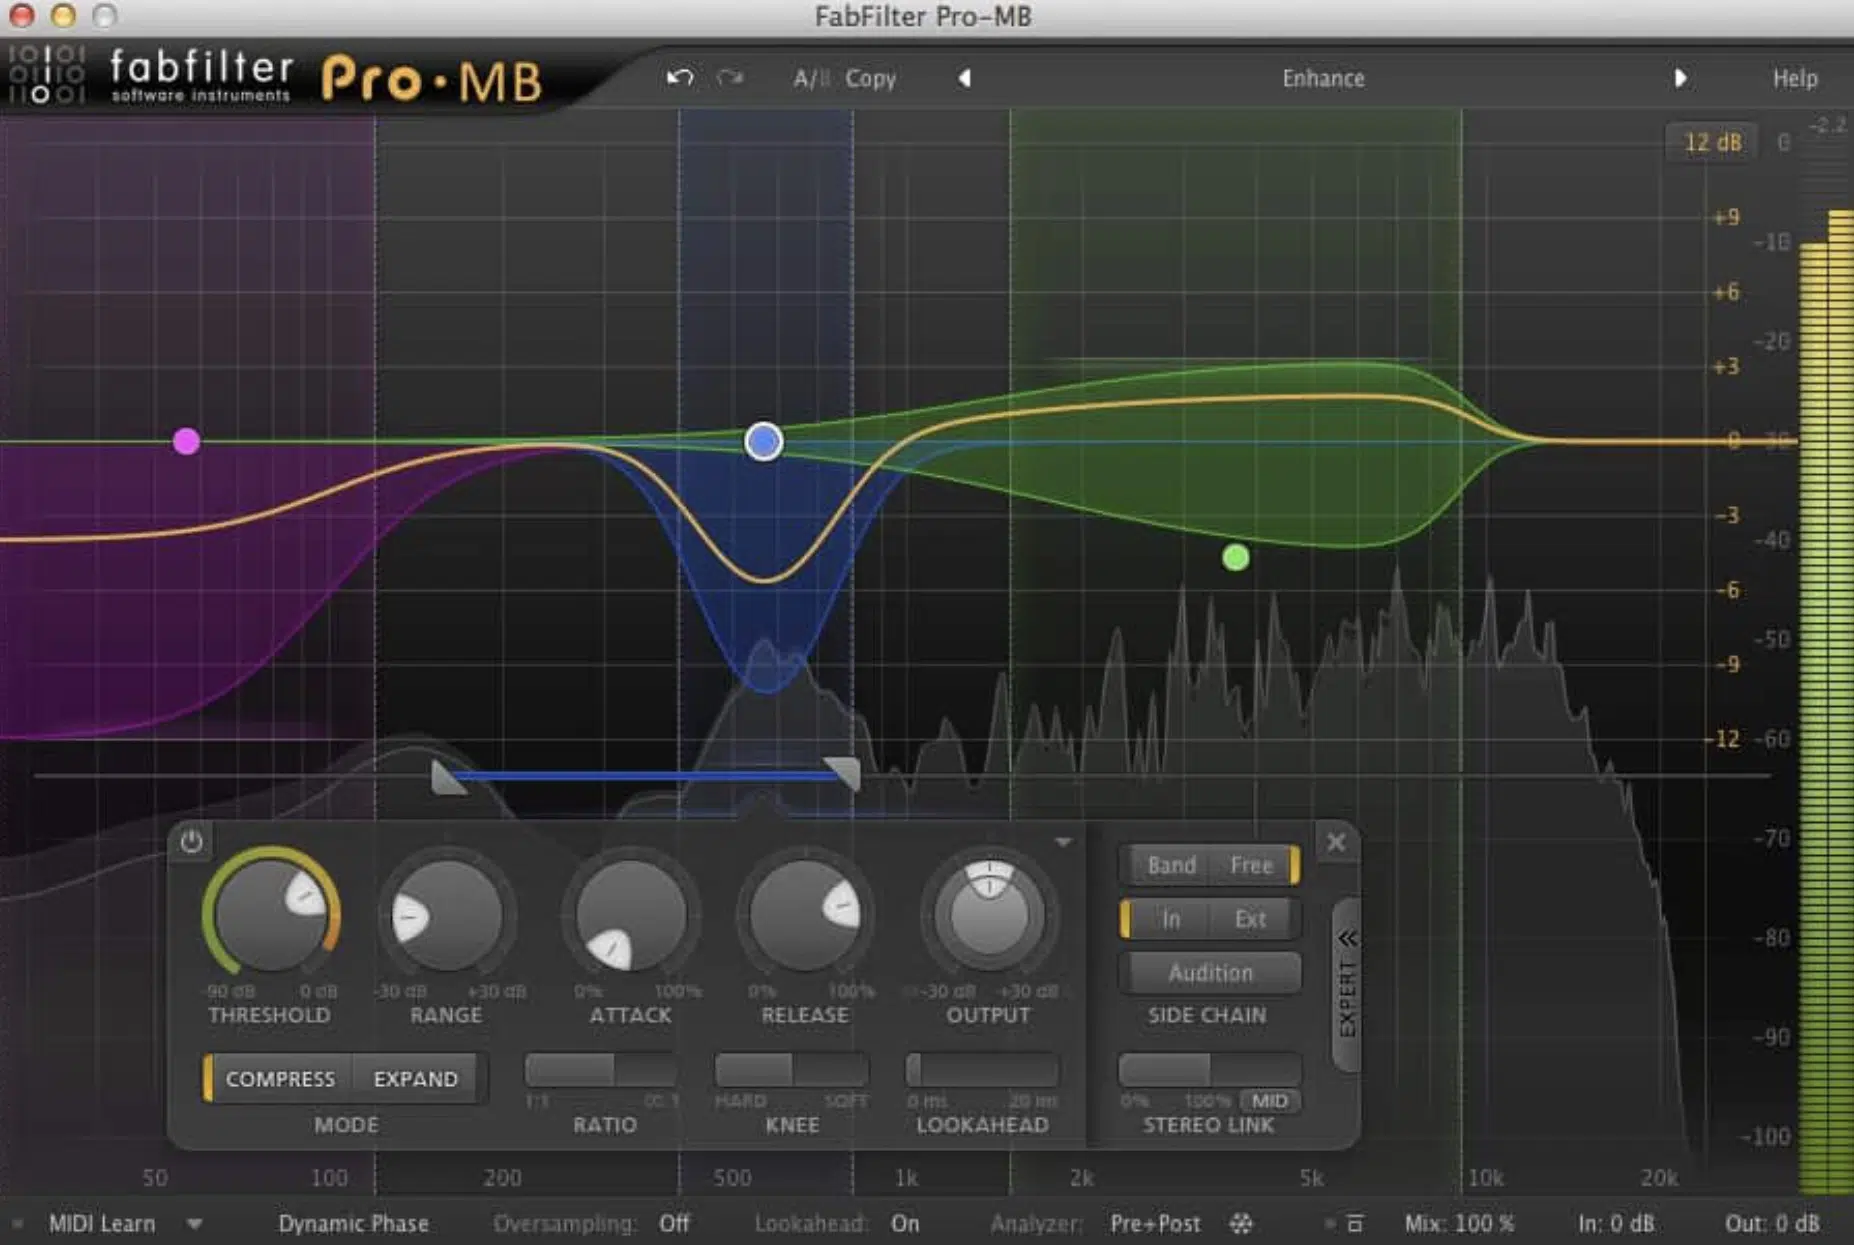
Compression helps control the dynamics of vocals so you keep a consistent volume throughout the track (you don’t want things to be all over the place).
To kick things off, start with a ratio of 3:1 to 4:1 for lead vocals 一 setting the threshold to achieve 3-6 dB of gain reduction to tame peaks without squashing the performance.
Use an attack time of 20-30 ms to preserve transients and a release time of 40-60 ms to maintain a natural flow.
For backing vocals, a higher ratio (e.g., 6:1) works well to keep them controlled and balanced behind the lead vocal.
Parallel compression is another vocal production process that’s great for adding energy, and to do this:
- Duplicate the vocal track
- Compress it heavily with a high ratio (10:1)
- Blend it back in at around 20-30%
Also, multiband compression is great for targeting specific frequency ranges.
For example, compress the 2-4 kHz range by 2-3 dB to reduce harshness during loud phrases so everything is on point.
My advice is to always check the gain reduction meter to avoid over-compression, and use makeup gain to restore lost volume.
Lastly, monitor your compressed vocals in both solo and full mix contexts to make sure they sit naturally and enhance the overall song when people hear it.
-
Adding Effects
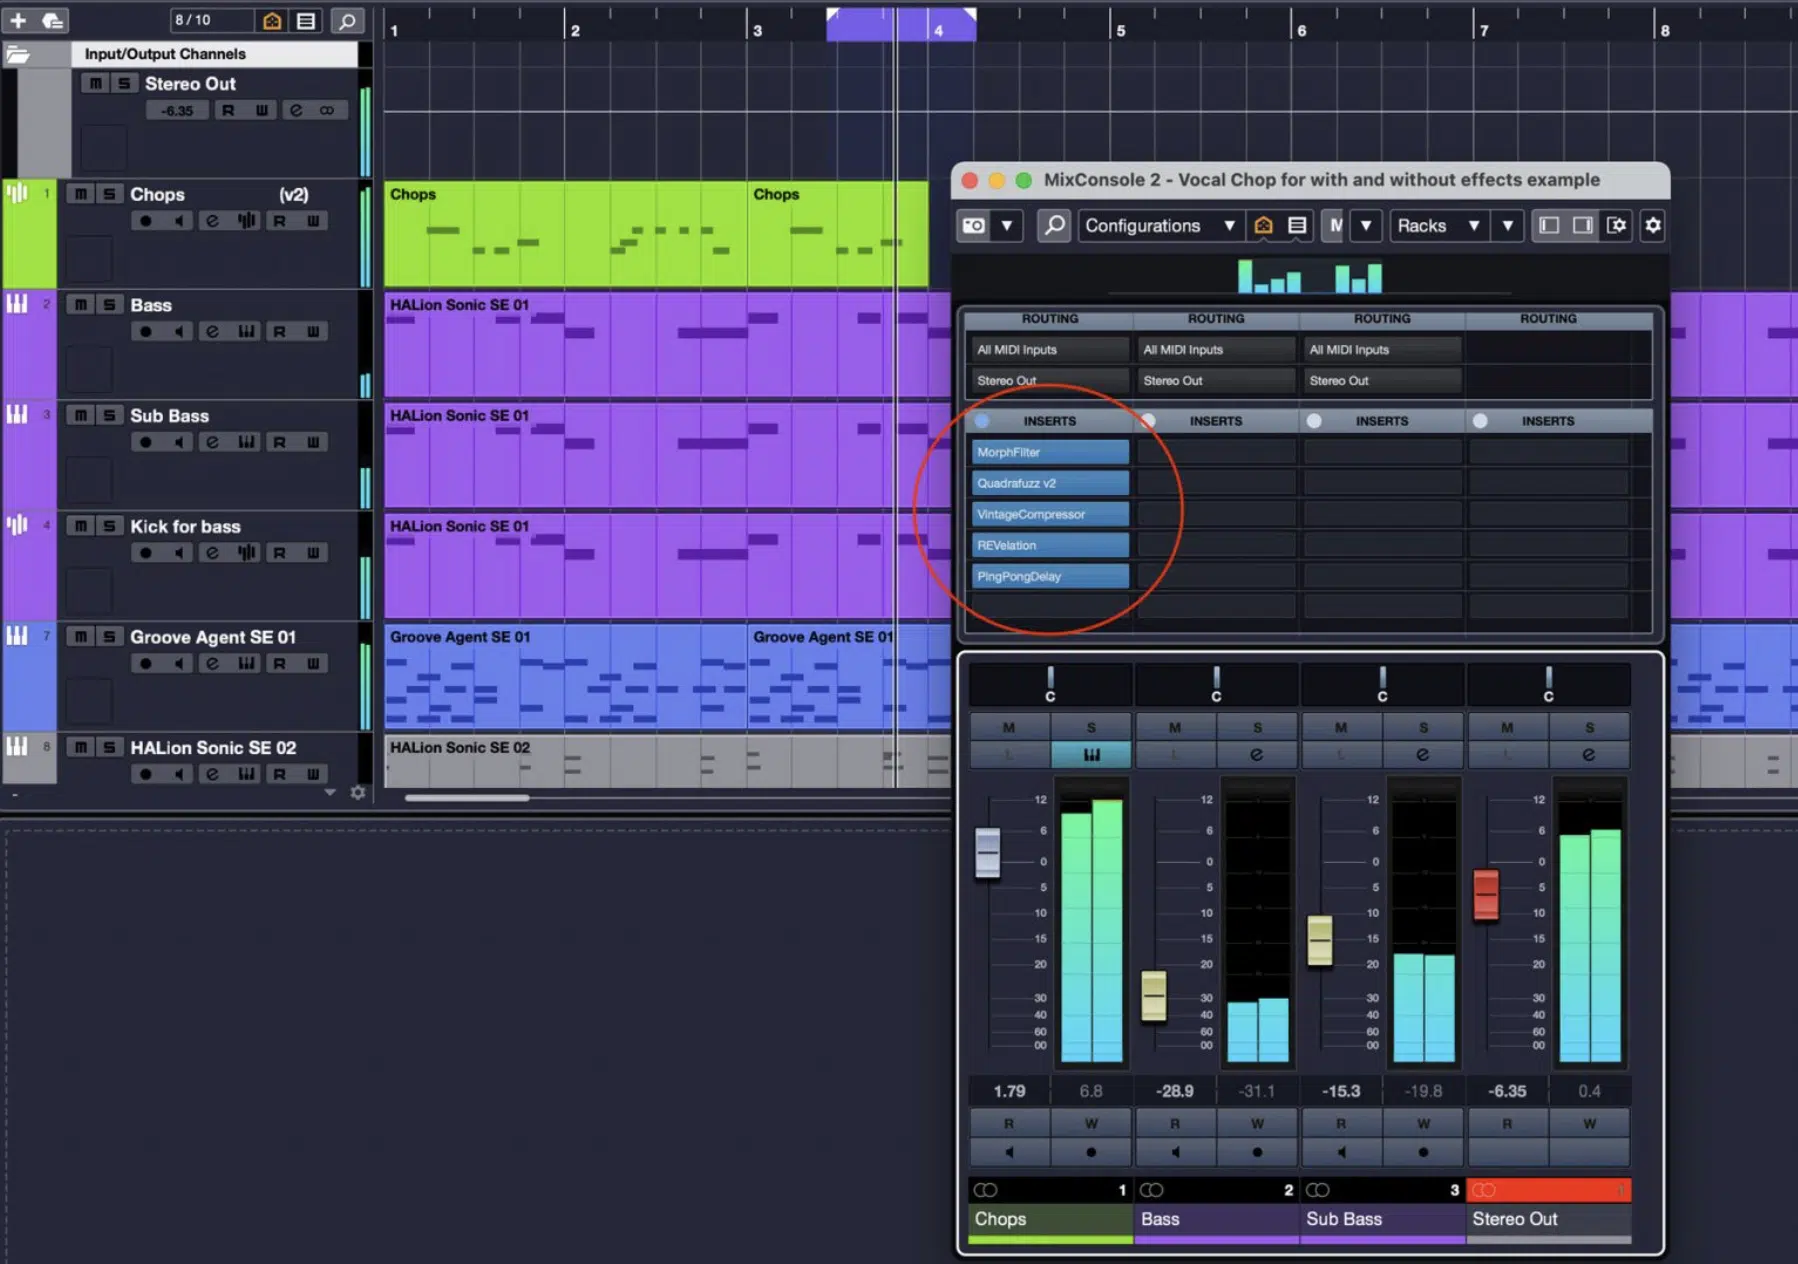
Vocal production isn’t complete without talking about vocal effects (one of my favorite topics), so let’s get into it.
Adding effects to your vocals is where you can get creative and make your vocal track stand out, so you’ll really want to master this.
Reverb is a go-to effect for adding depth, but the type and amount depend on the song.
For ballads or cinematic music, use a long plate or hall reverb with decay times around 2-4 seconds to create a lush, expansive feel.
For more upbeat genres like pop or hip-hop, stick to shorter decay times (0.5-1.5 seconds) to keep the vocals upfront and in-your-face.
Delay is another OG that you’ll definitely want to play around with.
A subtle slapback delay (60-120 ms with a low feedback setting) can add dimension to lead vocals without muddying the mix.
For rhythmic delays, sync the delay time to your project’s BPM…
For example, use a quarter-note or dotted eighth-note delay to complement the tempo of your song, and automate the feedback to build intensity in desired sections.
PRO TIP: Spatial effects like reverb and delay should usually never be applied directly to the vocal track itself.
That’s why you should always use sends/returns in this type of situation or else you can completely compromise the integrity of the original vocal.
Artificial vocal doubling is also perfect for adding thickness to your lead vocal.
This simply involves duplicating the vocal track, detune one slightly (±10 cents), and pan them left and right for a wide stereo effect.
It’s perfect for choruses because it makes them feel bigger and more impactful than all the other sections.
Side note, this is not only useful when there are not any vocal doubles to work with, but also instead of them (as a more focused, albeit less natural texture).
Another great effect is saturation, which will add some extra warmth and harmonics to the vocals you’re working with.
Just make sure to use it carefully/sparingly 一 applying just enough to give the vocals more character and presence in the mix.
A drive setting of 5-10% is usually a good starting point for subtle saturation.
For more movement, try modulation effects like chorus or flanger.
A slow, subtle chorus effect (rate of 0.5 Hz, depth around 20%) can add richness to backing vocals, while a flanger with a faster rate (1-2 Hz) can create a dreamy, swirling texture on layered parts.
It’s all about getting creative because, remember, nothing is too out-of-the-box when it comes to music production.
-
Pro Tip: Dynamic Automation
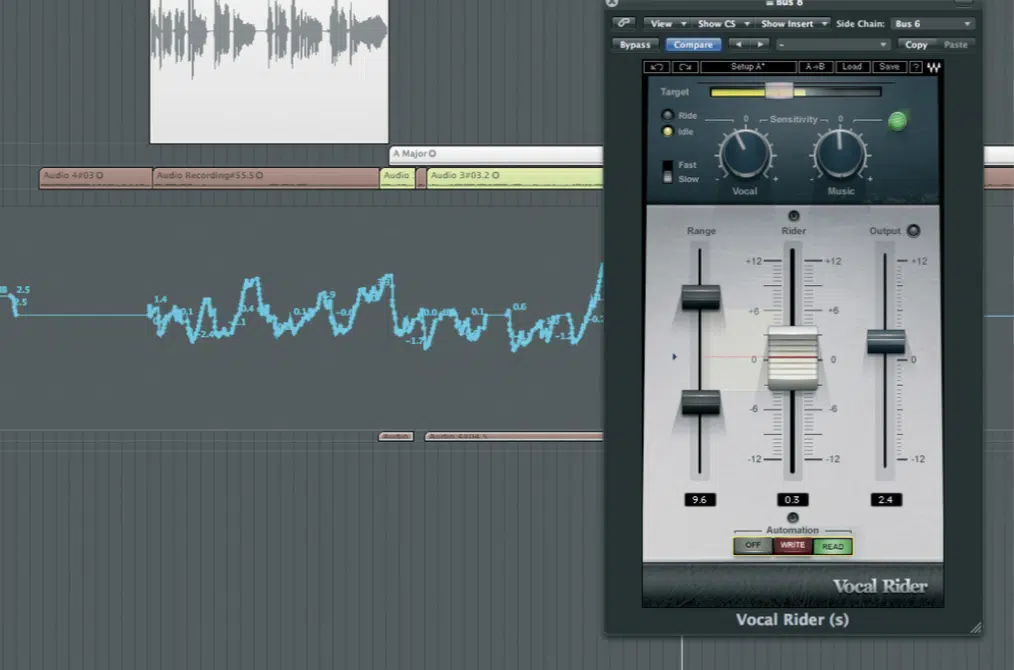
Dynamic automation is a game-changer in vocal production, letting you control volume, panning, and effects throughout the vocal track to keep the performance engaging.
Start by automating the vocal volume to balance out phrases that are too loud or too quiet, like reducing overly loud syllables by 1-2 dB.
And, boosting quieter ones by the same amount for a more consistent vocal performance all across the board.
All without relying solely on compression, which is kinda cool.
I also suggest that you automate the reverb and delay levels…
Add more during breaks or softer sections for a sense of space and pull them back during dense parts to maintain clarity.
For example, increase the reverb decay time by 50% on the final word of a chorus for an emotional impact.
Panning automation can also add some much-loved excitement.
Slightly pan ad-libs or backing vocals left and right (±20-30%) during specific moments to create movement in the mix.
To make the vocals stand out even more, try automating a high-shelf EQ boost of 1-2 dB around 10-12 kHz during key moments that you want to hype up.
This adds air and sparkle and keeps the human voice front and center.
NOTE: Don’t forget to automate effects like distortion or pitch shifts in small sections to emphasize emotional peaks or transitions.
Layering and Background Vocals
Layering and background vocals are super important for adding depth and edge to your vocal production process. When done right, they can transform a simple vocal track into a powerful and dynamic centerpiece that grabs your listeners’ attention. So, let’s break it all down so you can put another piece of your vocal production puzzle down.
-
Using Vocals as Synths with Resynthesis
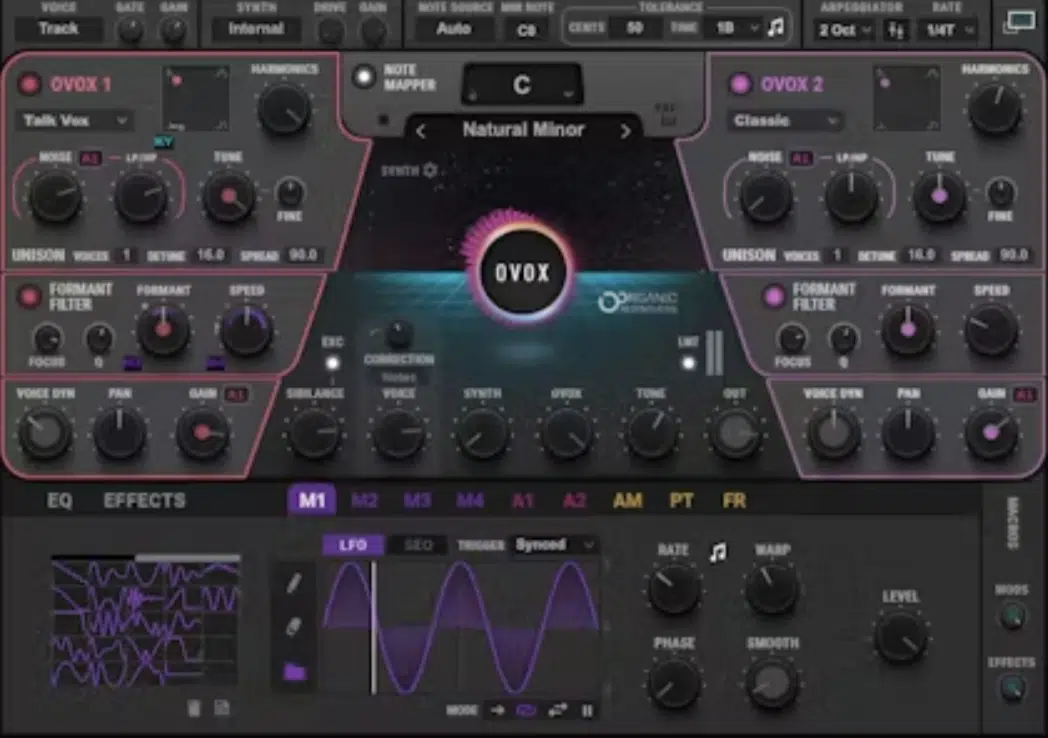
One of the most exciting ways to push your vocal production is by transforming vocals into entirely new instruments using vocal resynthesis.
This involves:
- Taking your vocal track
- Running it through a synthesizer capable of resynthesis (like a additive, wavetable or granular synth)
- Using the vocal as the core sound source for a new instrument
Start by exporting a clean vocal phrase as an audio file and importing this file into a synth that supports custom audio input.
For example, load the vocal into a granular engine and adjust the grain size to 50-100 ms for smooth textures or as low as 10 ms for glitchy, rhythmic effects.
Once the vocal is loaded, you can tweak/manipulate it in ways you wouldn’t typically associate with vocals, which is super cool.
For example, use the wavetable’s LFOs to modulate the pitch or filter cutoff 一 creating sweeping, dynamic tones.
Then, apply envelopes and ADSR controls to shape the resynthesized vocal into pads, plucks, or even rhythmic stabs that sync with the tempo of your track.
One extra creative technique is turning a resynthesized vocal into a melodic lead.
To do this, pitch the vocal across the keyboard and play it like an instrument.
This will successfully blend the humanized tone of the original vocal with the synthetic edge of a resynthesized sound.
Layer this lead under your vocals during key moments (like a chorus) to create an edgy, cohesive arrangement that’s very professional.
NOTE: This technique is incredibly versatile and can work for anything from creating ambient vocal pads in cinematic tracks to knocking out unique, EDM vocal-based basslines; dealer’s choice.
By repurposing your vocals as a sound source for synthesis, you can add a completely fresh and unexpected element to your song that’s entirely your own.
-
Using Vocoders and Synths
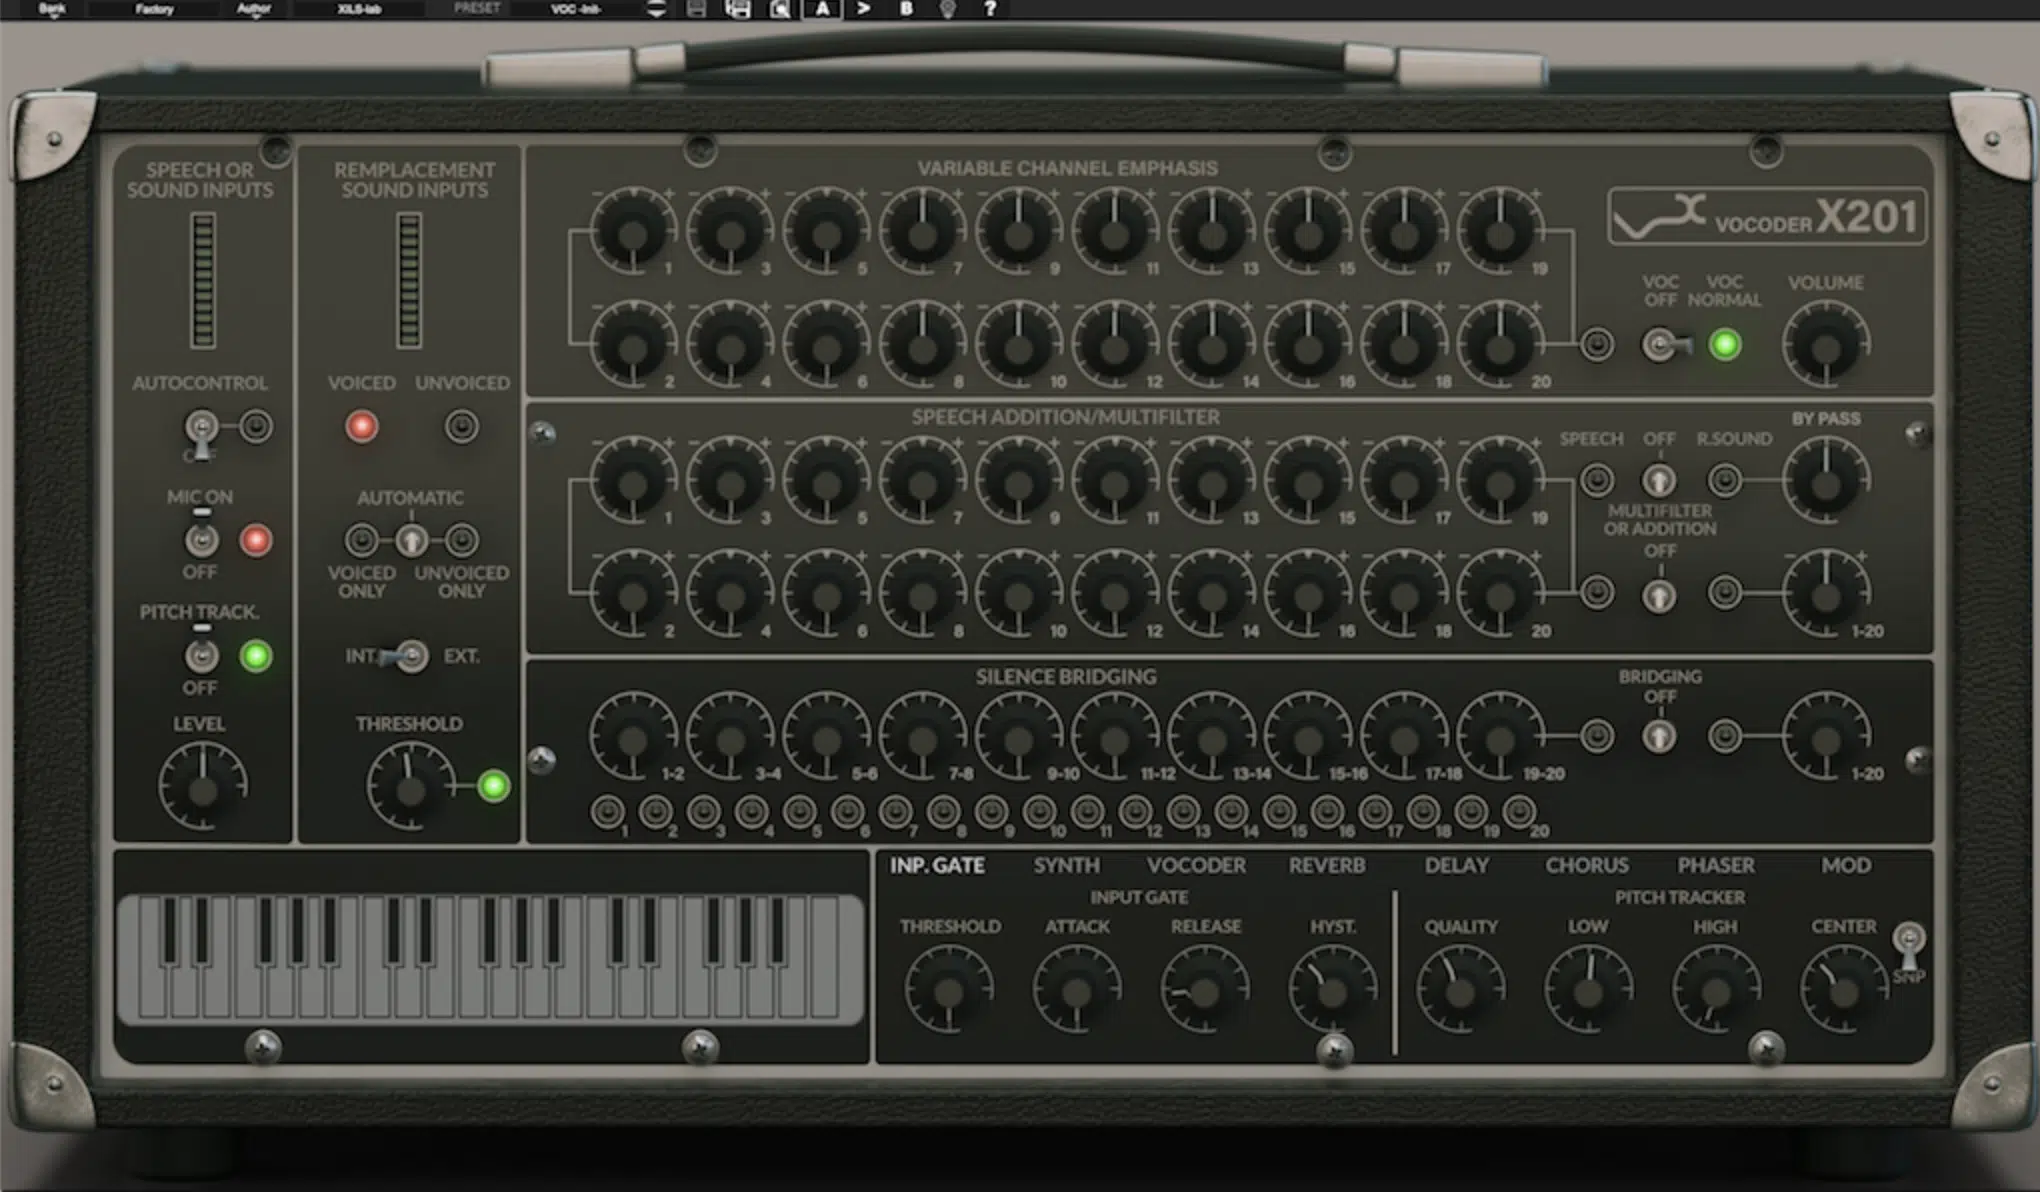
Using vocoders and synths in unique ways can take your vocal production to the next level for sure 一 giving your vocals a modern, electronic edge.
A vocoder simply works by blending the human voice with a synthesized sound source, usually creating a robotic or harmonic texture.
To get started, route your vocal track as the modulator and a synth pad or saw wave as the carrier.
Then, set the synth’s attack to around 10-20 ms for a smoother onset and adjust the release to match the vocal phrasing (usually around 200-300 ms).
Don’t forget to play around with the vocoder’s band settings to shape the sound.
For a clear, harmonic effect, use 12-20 bands, and for a grittier, more textured tone, drop the bands to 6-10.
Blend the vocoder signal with the original lead vocal at about 50-70% to maintain intelligibility while adding the synthetic layer.
You can also pan the vocoder slightly left or right (±10-20%) to create a sense of space.
Synths can also be used to reinforce vocal layers…
For example, duplicate the vocal track, use pitch correction to lock it perfectly to the key of your song, and layer it with a synth lead or bass.
Then, detune the synth slightly (±5 cents) to create a natural blend with the vocals.
Low-pass filtering the synth at around 3-5 kHz can help it sit beneath the human voice without competing for attention, so definitely play around with that as well.
For extra movement, apply LFO modulation to the synth’s amplitude or filter cutoff.
Sync the LFO rate to your project tempo for rhythmic effects that complement the vocal performance.
A rate of 1/8 or 1/16 works well for faster tempos, while a 1/4 rate is ideal for slower songs.
And finally, automate the vocoder or synth levels during key sections of the song as we talked about (bringing them up during choruses and pulling them back during verses can add dynamic excitement to your track).
Final Thoughts
And there you have it: everything you need to know about vocal production, plus some advanced tips to help you up your skills even more.
Just remember, it’s all about creating emotion, enhancing clarity, and finding the right balance for your vocals.
And don’t forget, experimenting with effects, techniques, and creative ideas is what makes a good track great.
Plus, by applying techniques like resampling, tuning, and automation, you’ll always have fresh, professional results that stand out.
This way, your tracks will always connect with listeners, sound polished, and leave a lasting impression.
As a special bonus, you’ve got to check out these mind-blowing Free Vocal Samples (20 professional-quality vocal loops, chops, and one-shots).
These can completely transform your tracks and give them that extra edge, especially using the techniques we talked about today.
They’re the perfect way to make your tracks catchy and irresistible.
Not to mention, these perfectly processed vocal samples were all created by expert vocalists and producers, so you know you’re getting top quality.
And yes, everything is 100% royalty-free, so you can use them however you’d like.
Remember, vocal production is something that takes some time to truly master so, even if it’s a little tricky at first, make sure to stick with it because trust me, it’s worth it.
By mastering these techniques, you’ll not only enhance your production skills but also create tracks that are uniquely yours, every single time.
Just never forget to keep practicing, pushing boundaries, constantly hustling, and never let anyone tell you you can’t achieve your goals.
Until next time…


Leave a Reply
You must belogged in to post a comment.