Remastering a track can completely transform its sound quality, giving new life to old recordings and aligning them with today’s modern standards.
It involves enhancing the original master recording, refining the dynamic range, and optimizing the stereo imaging to make the music shine on all playback systems.
As producers, learning how to remaster music like a boss can set you apart in the industry, helping you achieve that professional polish for your final mix.
And, ensure your tracks stand out across streaming services, of course.
That’s why I’m breaking down everything you need to know about what is remastering, including:
- The fundamentals of what is remastering ✓
- Key differences between analog and digital remastering ✓
- The remastering process step-by-step ✓
- Tools and software for digital remastering ✓
- Techniques for enhancing stereo imaging ✓
- Methods for optimizing dynamic range ✓
- Tips for limiting and maximizing loudness ✓
- Common pitfalls in remastering & how to swerve them ✓
- Advanced remastering tips & tricks ✓
- Remastering a song so well all record labels would dig it ✓
- Much more to help you understand, ‘what is remastering?’
By the end of this article, you’ll know everything about what is remastering like a true professional.
This way, you can breathe new life into old recordings ─ making sure your remastered versions meet both modern loudness standards and your listeners expectations.
You’ll understand how to use the latest digital tools and balance the overall sound without losing the essence of the original artist’s vision.
Plus, successfully deliver a remastered version that competes on all platforms and brings out the best of your or any artist’s favorite albums.
So, let’s dive in…
Table of Contents
- What is Remastering? Breaking it Down
- Remastering vs. Mixing and Mastering: What’s the Difference? (Quick Recap)
- The Remastering Process (Step-by-Step)
- Step 1: Analyzing the Original Mix
- Step 2: Cleaning Up the Audio (Noise Reduction, Click Removal, etc.)
- Step 3: EQ Adjustments and Enhancements
- Step 4: Dynamic Range Optimization
- Step 5: Stereo Imaging and Width Enhancements
- Step 6: Limiting and Maximizing Loudness
- Step 7: Final Quality Check and Comparison
- Pro Tip: What Remastering Can and Cannot Fix
- Advanced Tips for Professional Remastering
- What is Remastering: Final Thoughts
What is Remastering? Breaking it Down
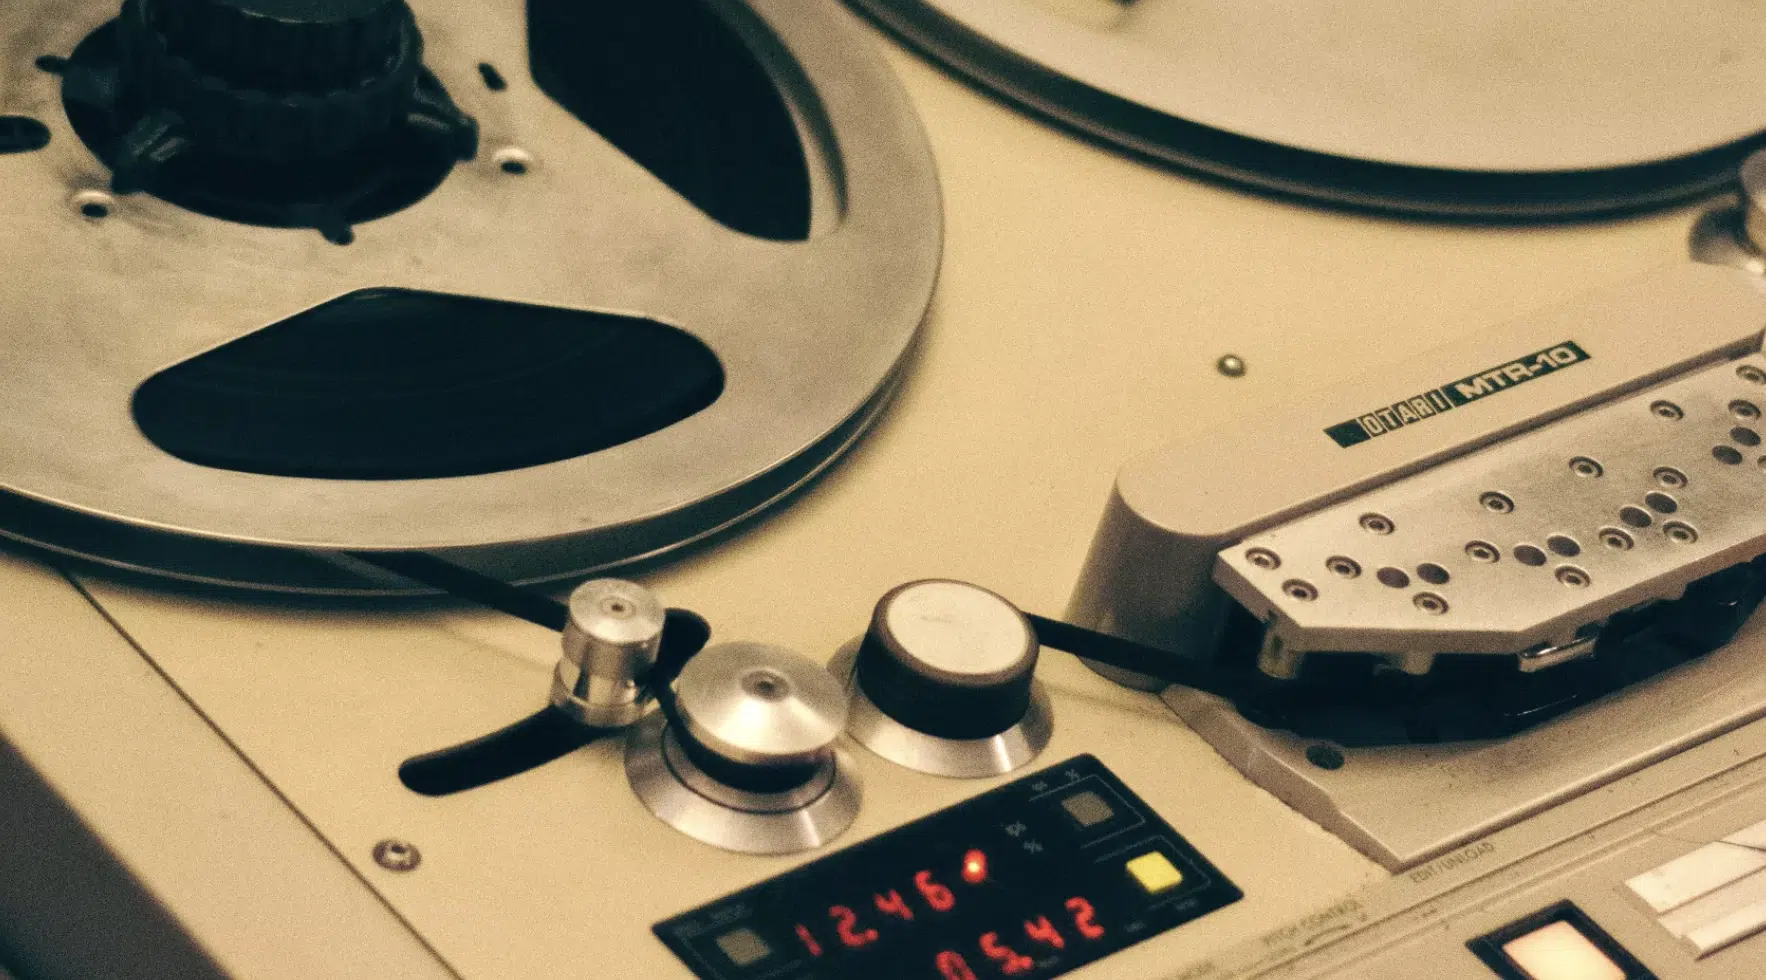
Remastering breathes new life into music by improving its sound quality using modern tools and techniques that don’t have any limitations.
Basically, remastering involves taking an original master recording and enhancing its sonic quality to align with current standards.
The goal is to create a remastered version that sounds fresher, more balanced, and ready for today’s listening environments, from vinyl records to streaming services.
Unlike the initial mastering process, which focuses on polishing a new song or album, remastering deals with pre-existing tracks, refining the audio tracks for clarity and dynamic range.
If you’re a producer looking to understand what is remastering, think of it as giving your favorite classic albums a modern makeover.
You’ll be enhancing the overall sound for new generations to enjoy (don’t worry, we’ll break it down in detail throughout the article).
-
Pro Tip: Analog vs. Digital Remastering: Key Differences

One of the first things to understand about what is remastering is the difference between analog and digital remastering.
Analog tape remastering uses master tapes to achieve a warm, vintage feel, often favored by fans of vinyl records and those nostalgic for the original release.
However, it also comes with limitations, such as inherent tape hiss and potential degradation of the master tapes over time.
Digital remastering, on the flip side, involves taking digital audio from the original master and using modern digital tools to enhance the sound quality.
For instance, digital remastering can:
- Reduce unwanted background noise
- Tighten the bass
- Add clarity to vocals
- Etc.
This way, from headphones to home theater setups and everything in between, it’ll sound on point.
It allows for more precise control over elements like high frequencies and dynamic range 一 catering to the best sound for today’s diverse playback systems.
With digital conversion techniques, digitally remastered tracks can achieve a higher resolution than their analog counterparts.
It makes them ideal for both refined listeners’ experience and all audiences.
So, while both methods aim to breathe new life into old music, the choice between them depends on the desired aesthetic and final mix.
If the goal is to retain a vintage vibe with an authentic, warm sound, analog tape remastering may be the way to go.
If the goal is precision, clarity, and versatility across various listening environments, digital remastering offers unparalleled control and flexibility.
Remastering vs. Mixing and Mastering: What’s the Difference? (Quick Recap)
Understanding what is remastering requires distinguishing it from mixing and the initial mastering process.
Mixing involves balancing individual audio tracks 一 adjusting levels, panning, and applying effects to create a cohesive final mix.
Mastering, on the other hand, enhances this final mix to make sure there is consistency and optimal playback across all systems.
Remastering music, however, focuses on enhancing the original recording or master recording with the benefit of new technology and modern tools.
The remastering process may involve re-equalizing frequencies, enhancing stereo width, or reducing unwanted background noise.
All of which will improve the overall sound quality of a track that was mastered decades ago like a track that may have sounded great on vinyl not translating well to digital.
By understanding these differences, artists remaster their work to ensure it meets modern standards and can be appreciated by new listeners.
The Remastering Process (Step-by-Step)
Now that you have a better idea of what remastering is, let’s break down the steps involved in the actual remastering process. Each step will help you understand what is mastering, focusing on enhancing and revitalizing a previously mastered record.
Step 1: Analyzing the Original Mix
The first step in any remastering process is a thorough analysis of the original mix.
This involves listening critically to the original recording to identify any weaknesses or areas that could benefit from enhancement.
You should ask yourself questions, like are the high frequencies too harsh? Or, does the dynamic range feel constrained or too wide?
The remastering engineer (you) might use digital tools like:
- Spectral analyzers
- Phase meters
- Dynamic range meters
They’ll help you pinpoint problematic frequencies or unwanted background noise that needs fixing.
For example, a classic album with excessive tape hiss from the analog tape days may require specific noise reduction techniques to match the sound quality expected today.
NOTE: You can use my favorite spectrum analyzers (iZotope’s Insight or FabFilter Pro-Q) to identify areas where the sound may be overly boosted or lacking.
For example, they can reveal a build-up of muddiness around the 200-400 Hz range that needs cutting or overly bright frequencies above 10 kHz that could be tamed.
Step 2: Cleaning Up the Audio (Noise Reduction, Click Removal, etc.)
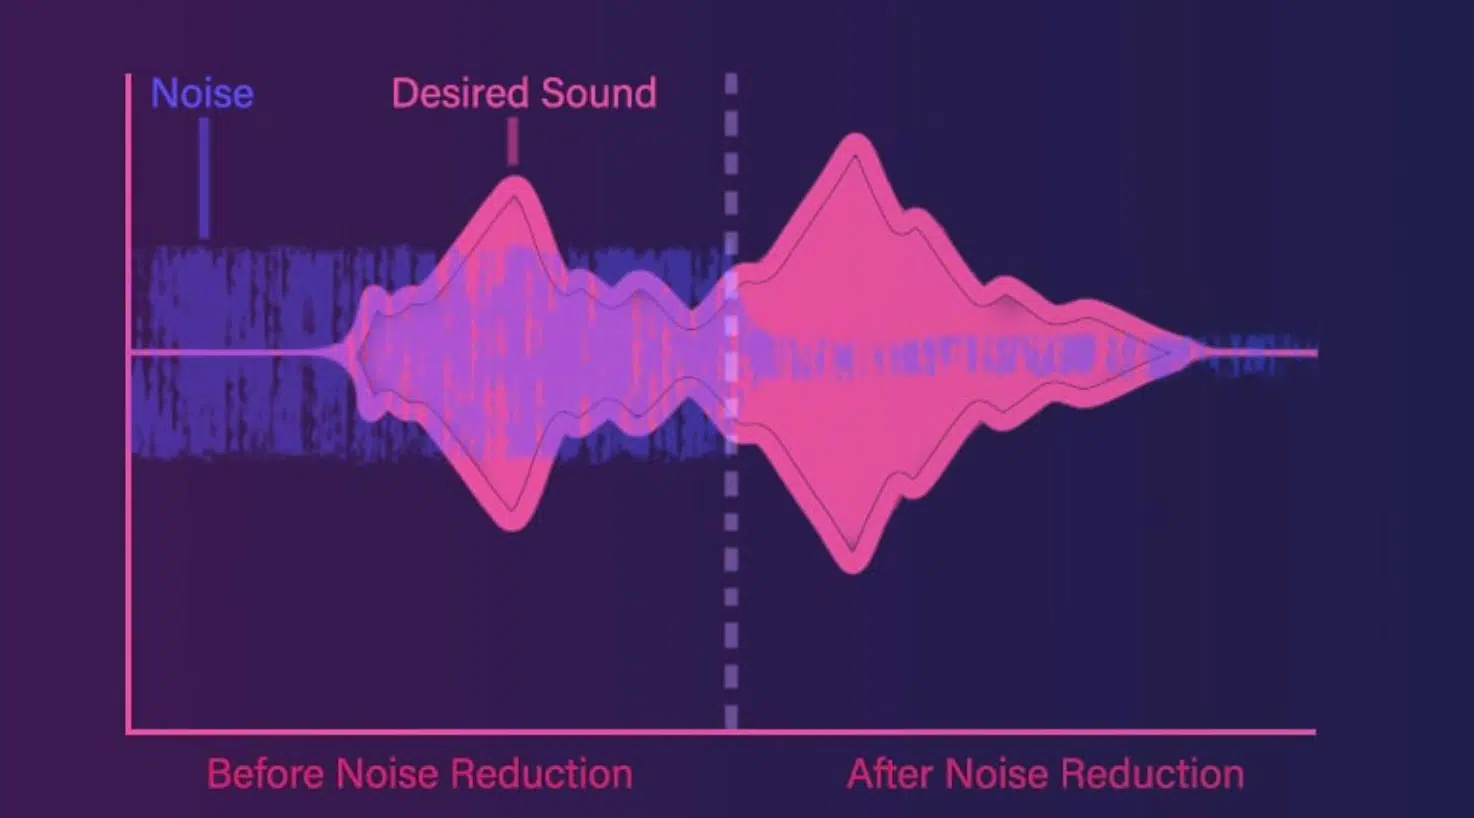
After analyzing the original master, the next step focuses on cleaning up the audio, which is a super important step in the remastering process.
This is especially true if you’re dealing with old recordings or tracks transferred from analog tape.
Noise reduction techniques focus on removing unwanted background noise such as tape hiss, hum, or static, which can degrade the overall sound quality.
For instance, removing vinyl crackles from a vinyl record that is being digitally remastered can make the track sound cleaner while maintaining its warmth.
Another common challenge in remastering old recordings is handling tape hiss or low-frequency hum that may have originated from poor grounding or outdated recording equipment.
NOTE: Reducing tape hiss or hum can also bring an old recording closer to the modern loudness standards that listeners expect today.
On the same note, de-clicking and de-crackling algorithms are applied to eliminate pops and clicks that are often present in original mixes from decades ago.
All without affecting the music’s natural dynamic range.
These clicks could come from splices in the tape or dust on a vinyl record, and their removal must be done carefully to avoid dulling the transients or altering the dynamic range.
By focusing on these small but significant clean-ups, the remastered version achieves a polished and refined sound, setting you up to dominate the following steps.
Step 3: EQ Adjustments and Enhancements
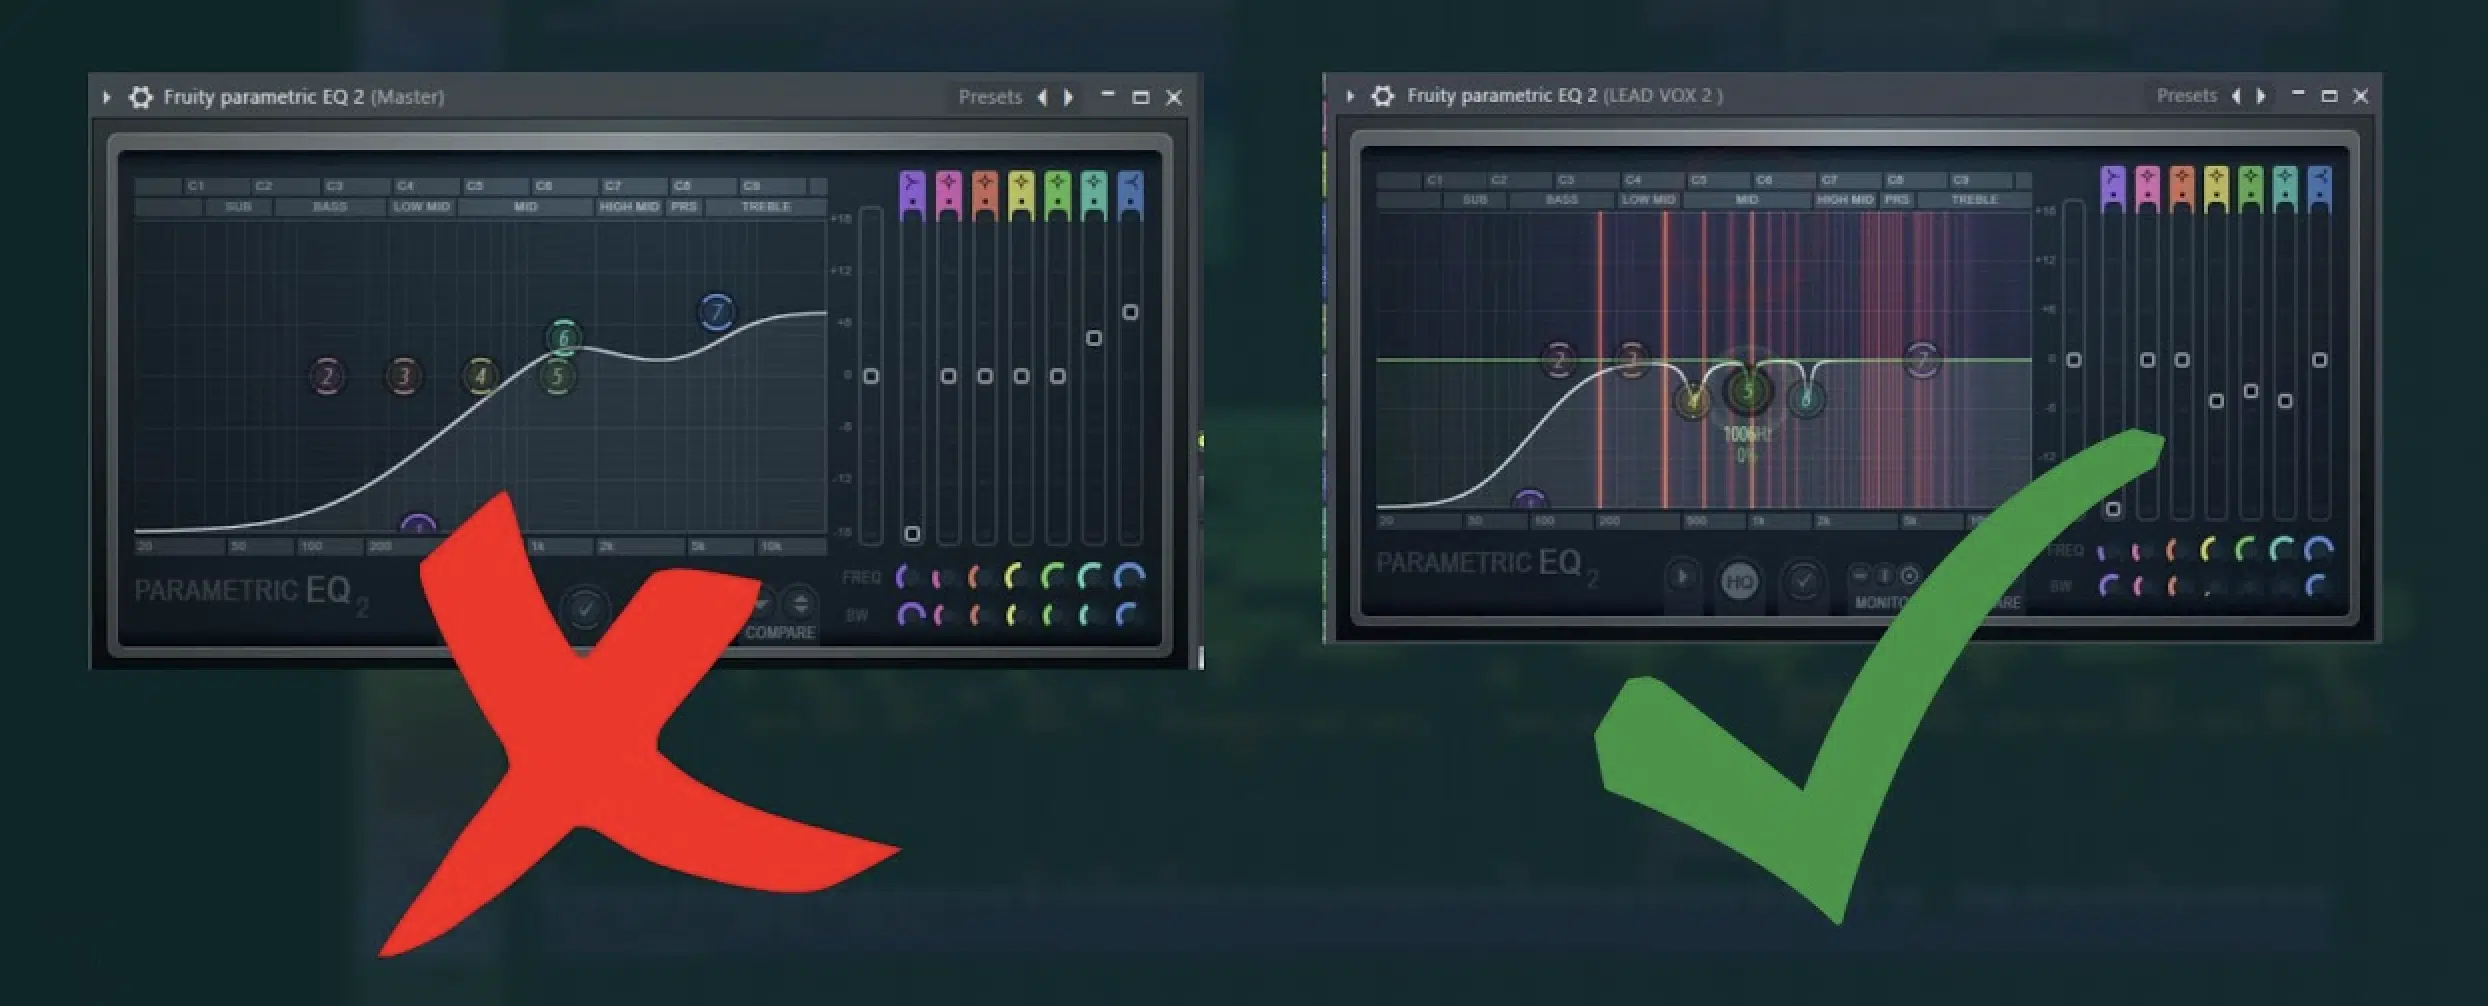
EQ adjustments are a fundamental part of any remastering process, naturally.
The goal here is to enhance the sound by balancing frequencies that may have been affected by the original mastering limitations.
For example, boosting certain high frequencies (around the 8-12 kHz range) can make a digitally remastered track sound more open and airy so it becomes a more refined listening experience.
Just make sure you apply them carefully because things could get harsh, fast.
Conversely, cutting unwanted low-end rumble or muddiness (typically in the 200-400 Hz range) can bring clarity to the original mix.
This is super important when it comes to genres like hip-hop or electronic music because they require a super tight bass response.
NOTE: Use low-cut filters or surgical EQ cuts to clean up these frequencies, especially if the original analog tape or vinyl records carried unwanted room noise or hum that wasn’t apparent in the initial mix.
The challenge is to apply these enhancements without deviating too far from how the original artist wanted it.
Bottom line, a well-adjusted EQ can transform old music into a remastered version that resonates well with both vintage enthusiasts and new listeners.
Step 4: Dynamic Range Optimization
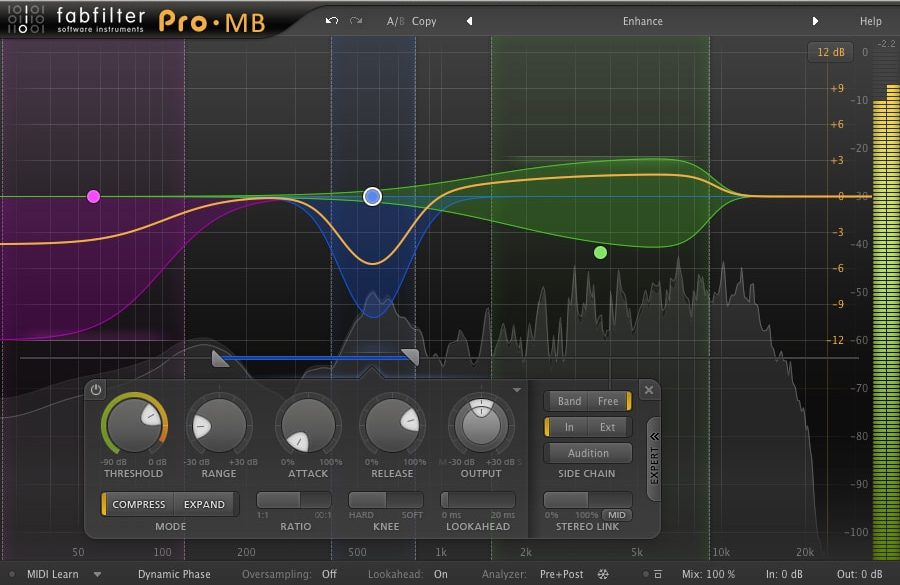
Optimizing the dynamic range, as we touched upon, is key when remastering to ensure the music sounds vibrant without becoming overly compressed.
This involves using multiband compressors and expanders to retain the original mix’s natural dynamics while adapting it to modern playback environments.
You’ll want to tighten the low-end (such as the kick and bass) while leaving the higher frequencies (like vocals and cymbals) more open and dynamic.
For instance, in the loudness war era, many tracks were heavily compressed 一 resulting in a loss of dynamic range that was just a total mess.
A good remastering engineer knows how to restore some of that range and ensure the music breathes and remains impactful.
NOTE: A dynamic range that is too narrow can sound flat, while too wide might not translate well across different systems.
The aim is to find the sweet spot that preserves the essence of the original record while enhancing the listening experience.
Step 5: Stereo Imaging and Width Enhancements
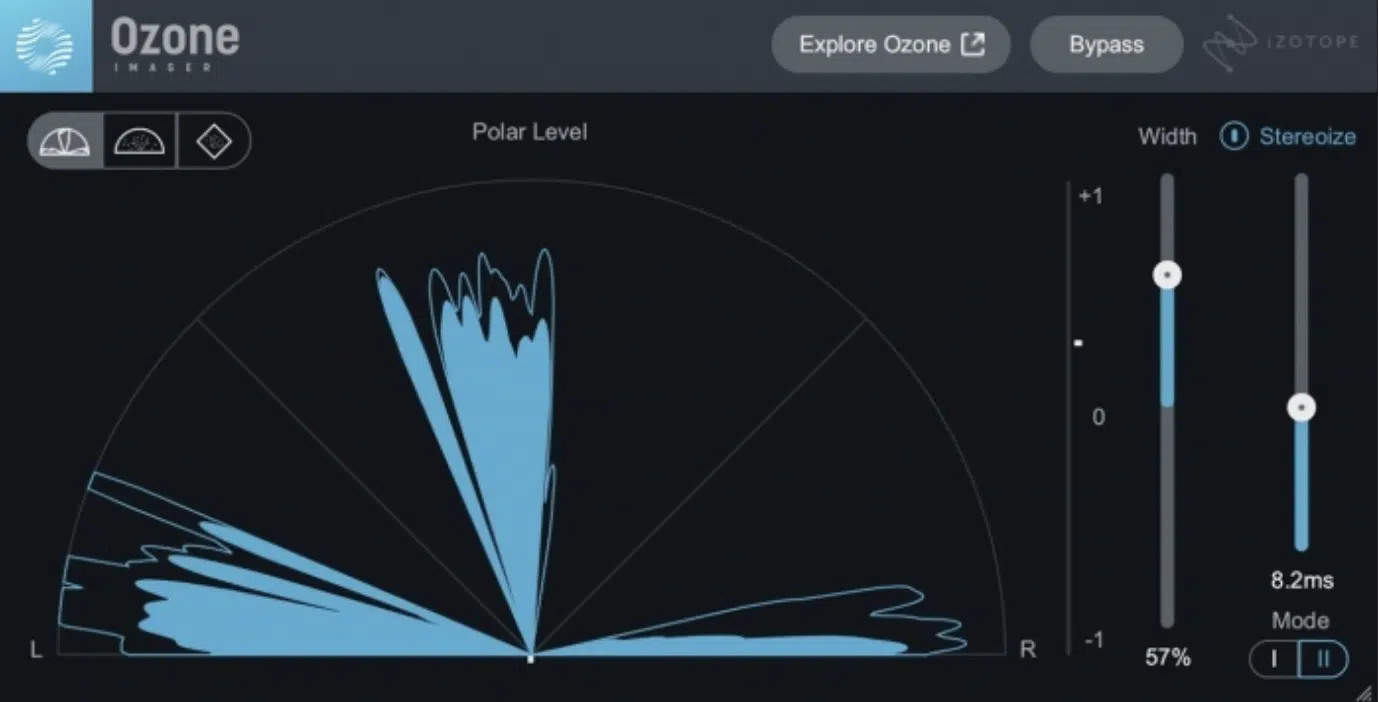
Enhancing stereo imaging and width is about creating a more immersive listening experience for the audience, whether on headphones or surround sound systems.
In digital remastering, tools like Ozone’s Imager or Waves S1 Stereo Imager lets all audio engineers manipulate the stereo field, making the sound feel wider and more spacious.
For example, in a digitally remastered version of an old recording, panned guitars can be spread wider for a more engaging spatial audio experience that feels modern/dynamic.
A subtle widening of background harmonies or synths, for example, can make a track sound more enveloping 一 drawing the listener deeper into the music.
This is ideal for electronic music, where enhancing the stereo image can add depth and movement and give a fresh perspective to an original mix.
However, it’s essential to ensure that these enhancements don’t result in phase issues or a hollow center, which can detract from the overall sound.
To prevent this, always check the mono compatibility of your remastered version to ensure it doesn’t sound thin or lose important elements when played back in mono.
By carefully adjusting the stereo width, remastering music brings out the best of the original recording, adding depth and dimension like never before (literally).
Step 6: Limiting and Maximizing Loudness
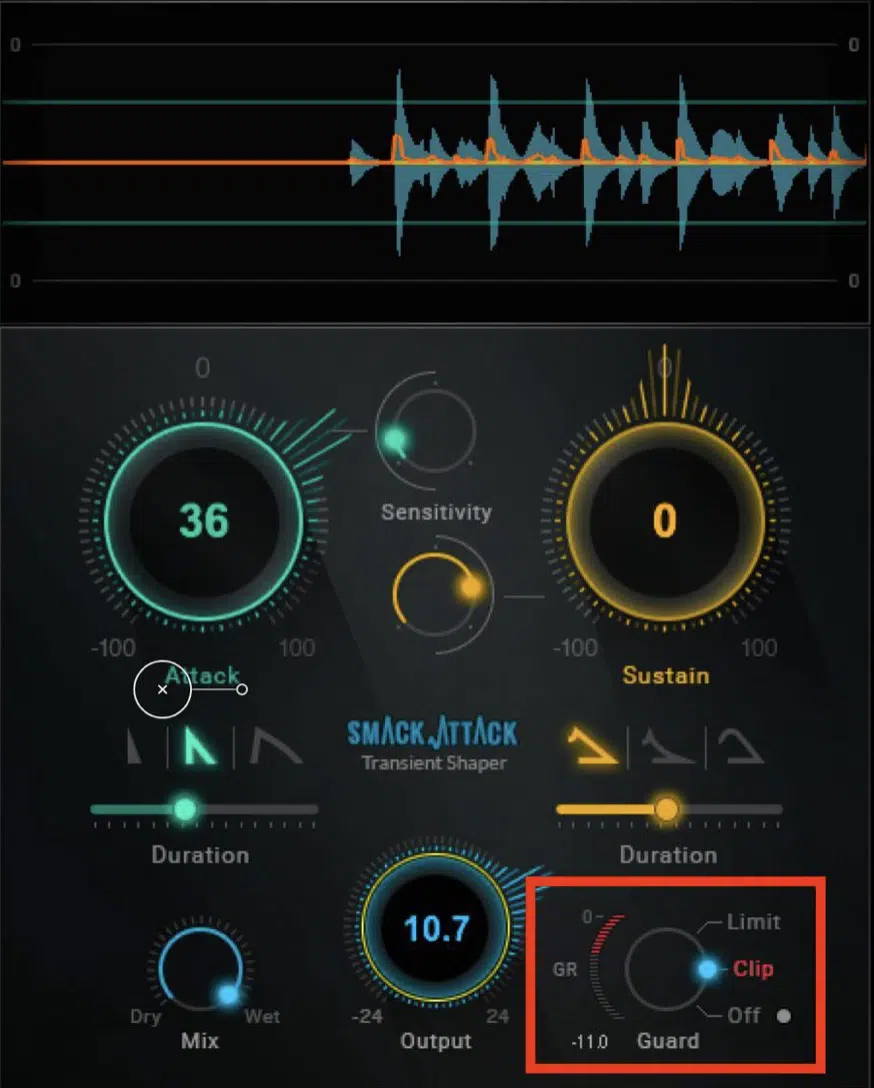
Limiting and maximizing loudness is one of the final and most critical stages in the remastering process.
You can use tools like FabFilter Pro-L 2 or Waves L2 (like professional mastering engineers do) to set a ceiling to control the peak levels.
This way, your new track will meet the desired loudness without distorting or losing clarity 一 and nobody has time for that, am I right?
For example, in the era of the loudness war, many original mixes were pushed to the extreme, often at the cost of losing dynamic range and detail.
In a modern remastering process, the goal is to achieve a balance where the remastered version is loud enough to compete on streaming services while retaining its punch.
This is where artists remaster their tracks, using digital tools to carefully control peaks, enhancing the final mix to sound full and powerful without being overly compressed.
Achieving this balance ensures that both the new master and the original master resonate with listeners, delivering the best sound experience across all playback systems.
Step 7: Final Quality Check and Comparison
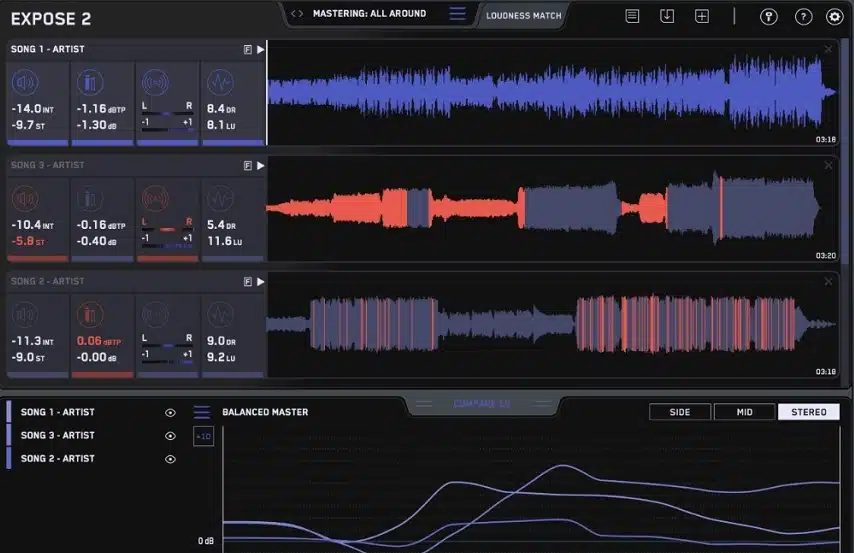
The final step in the remastering process is a thorough quality check and comparison, which is the easy part.
The mastering engineer will compare the remastered version against the original master and other reference tracks to ensure it meets modern standards.
We’ll talk about reference tracks in a minute, but just stick with me.
This involves:
- Checking for any unwanted artifacts
- Ensuring consistent loudness
- Verifying the dynamic range is optimized for both loudness and clarity
The goal is to deliver a final product that sounds polished and refined without losing the essence of the original music.
A successful remastering music session results in a new master that feels both familiar and fresh to both old fans and new listeners.
-
Pro Tip: What Remastering Can and Cannot Fix

It’s important to know the limitations of what is remastering.
While remastering can seriously improve sound quality, it cannot completely fix poorly recorded source files or badly executed original mixes.
For instance, if an original recording lacks clarity or has severe clipping, a remastered version can only do so much to clean it up.
Remastering shines in enhancing existing recordings by refining dynamic range, stereo imaging, and overall sound.
Understanding these boundaries will help set realistic expectations for what a remastered version can achieve.
Advanced Tips for Professional Remastering
To truly master what is remastering, you’ve got to try out some advanced techniques that professional mastering engineers use. These techniques go beyond the basic steps of what is mastering with subtle adjustments that can elevate a final mix.
-
Using Reference Tracks Effectively
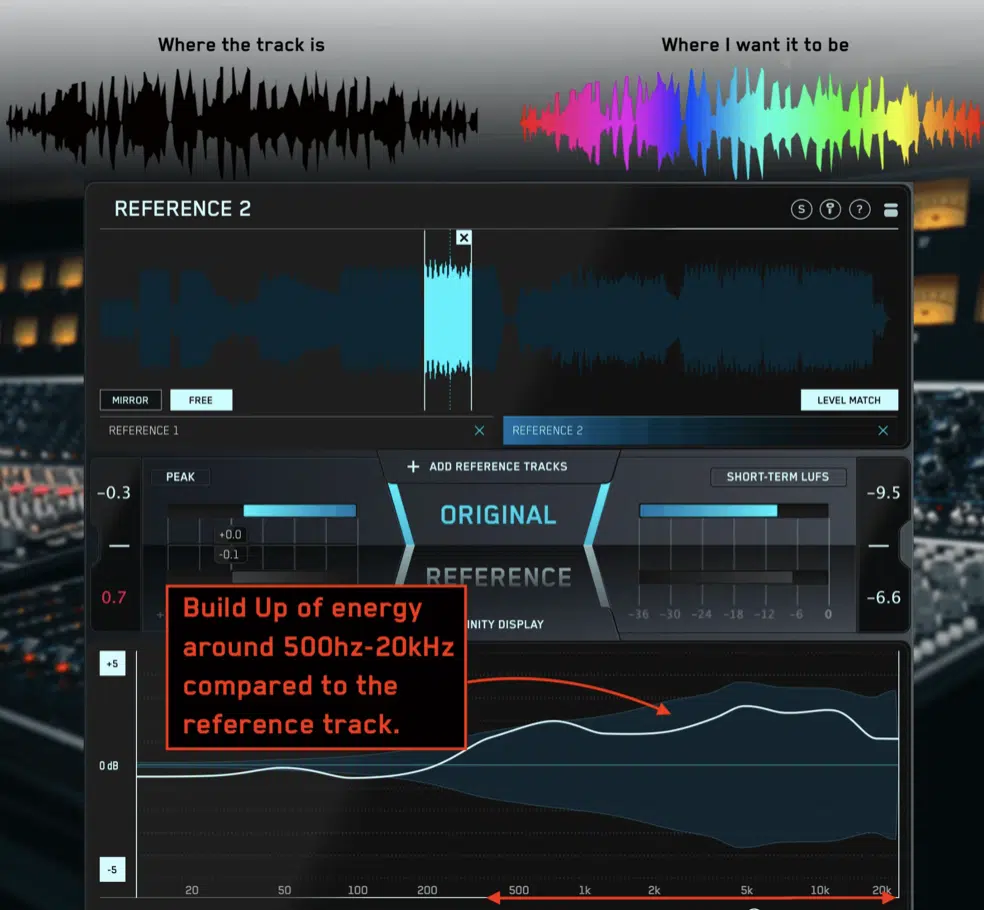
Using reference tracks is one of the most powerful techniques for achieving professional-quality remastered records.
Make sure to choose individual tracks that match the genre, mood, and instrumentation of your project, and load them into your DAW alongside your own mix.
By comparing these references to your music remastered version, you can gauge whether your EQ, dynamic range, and spatial audio are up to par.
It helps ensure your new mastering process captures the desired overall sound and avoids common pitfalls.
Working with the reference tracks will guide you in creating digital masters that are cohesive and polished so both audio engineers and record companies will respect it.
Pro Tip
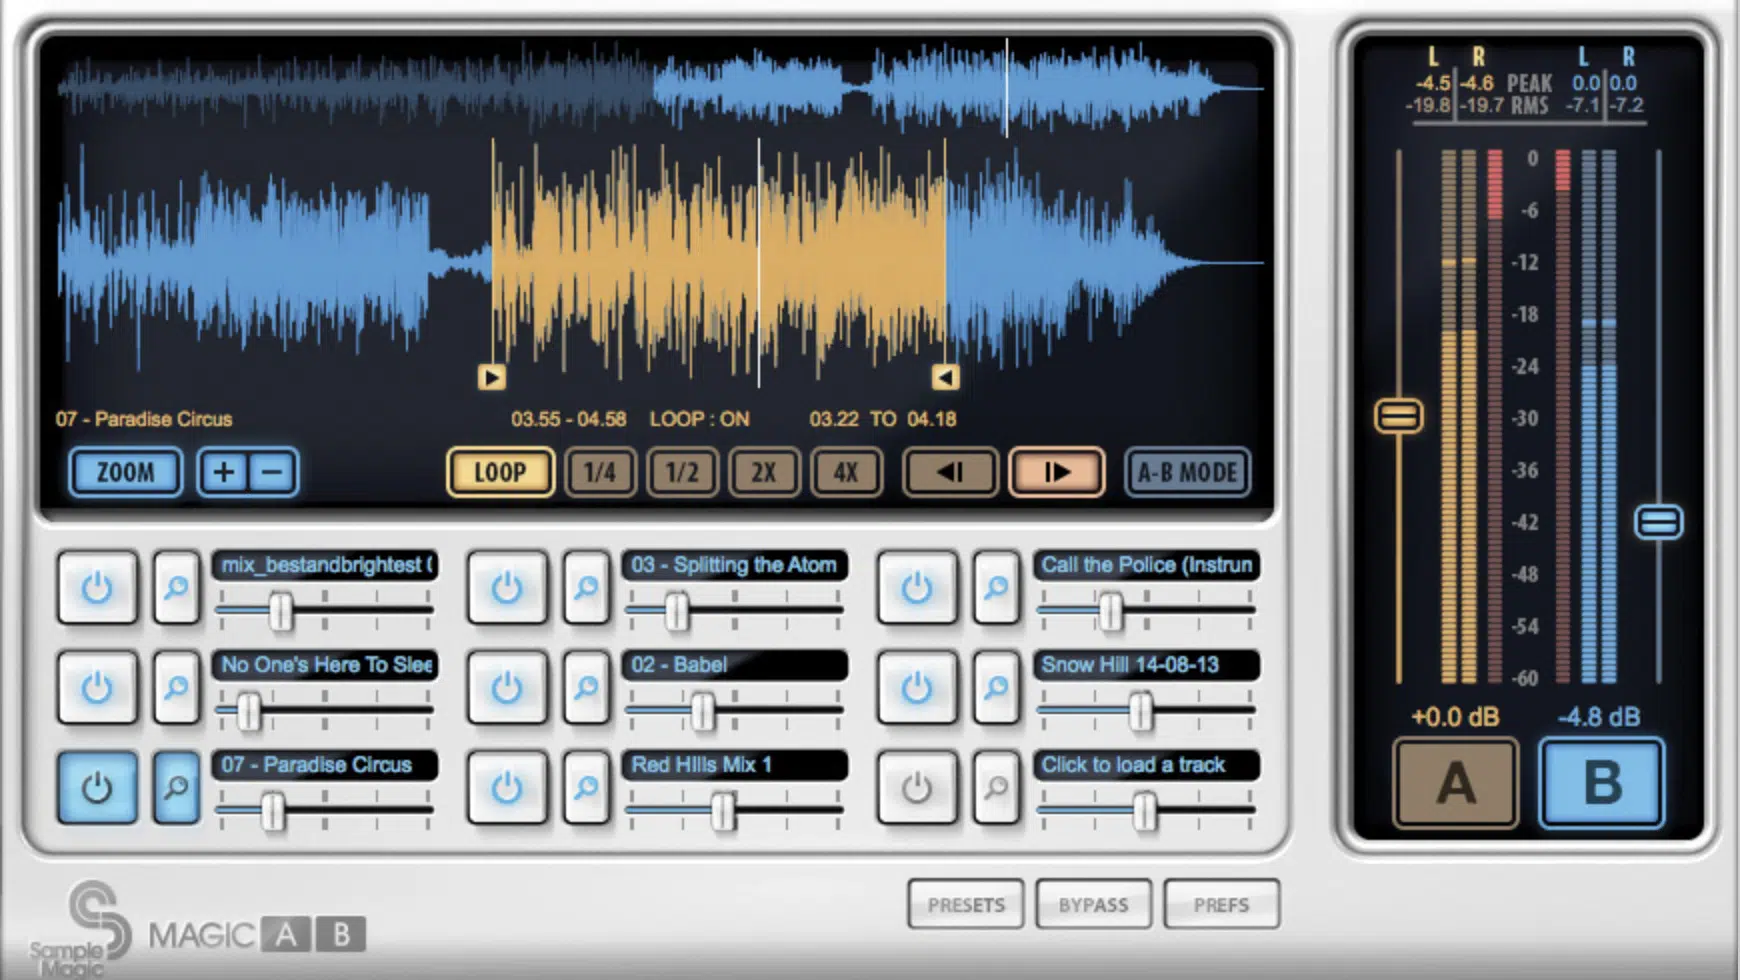
When working with reference tracks, pay attention to how different elements of the mix are treated.
For example, in a well-mastered pop track, the kick drum might have a precise, punchy quality that cuts through the mix without overpowering the vocals.
If your digital masters lack this balance, consider adjusting the EQ to give more presence to the kick around 80-100 Hz while using sidechain compression to make sure it doesn’t clash with the bass or other elements.
Also, listen for the use of spatial audio in the reference like are there subtle reverb tails or delays that create depth without cluttering the mix.
By doing so, it will enhance the stereo field and overall vibe of your remastered records.
-
Balancing Loudness and Dynamic Range
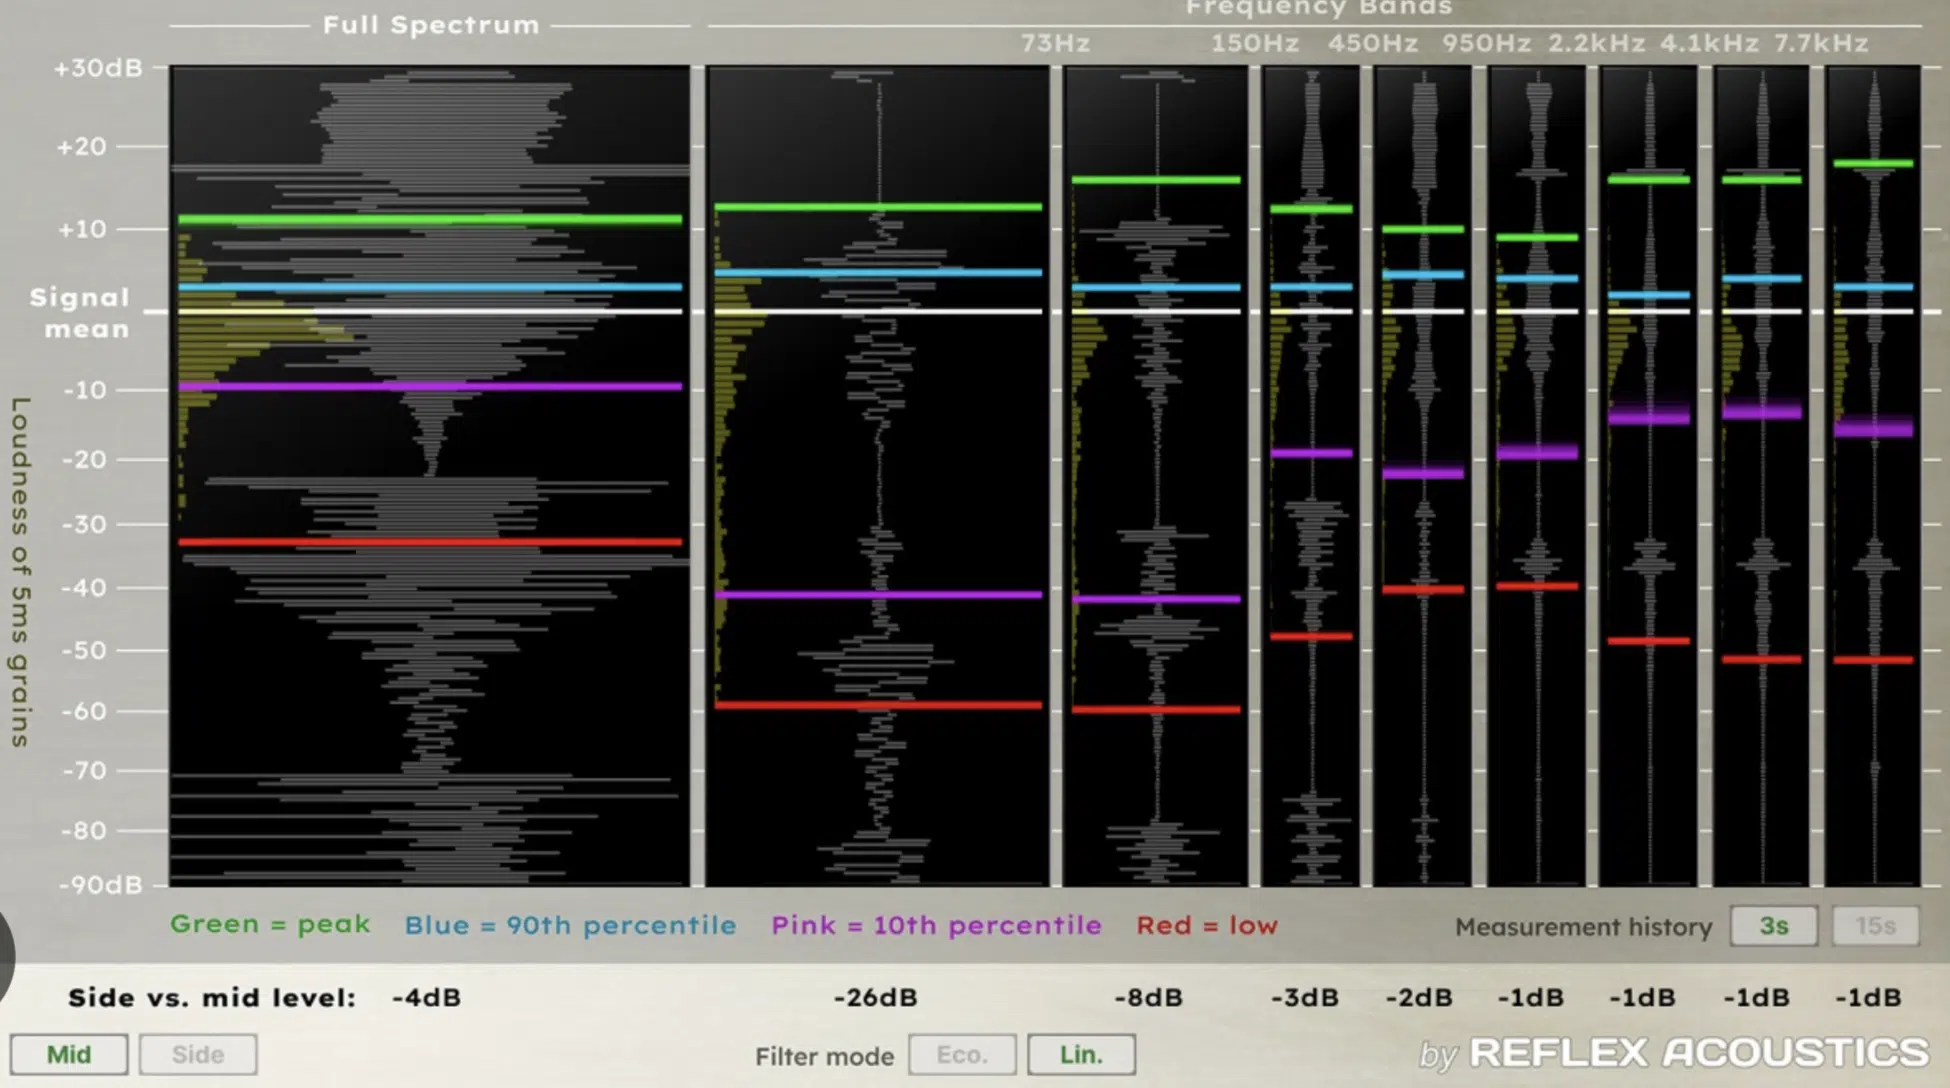
Balancing loudness with dynamic range is, of course, essential to knocking out remastered records that sound powerful yet dynamic.
When starting a new mastering process, you should start by carefully analyzing the peaks and valleys of their tracks using metering tools.
The goal is to maximize loudness without crushing the dynamics.
It’ll help your digital masters stand out on streaming services without causing listener fatigue.
A good tip is to use subtle compression and limiting 一 focusing on keeping transients sharp while maintaining the natural rise and fall of the music.
For instance, use a slower attack setting on the compressor to let the transients pass through and a faster release to maintain the groove and rhythm of the music.
This way, your music remastered retains the emotional impact of the original while meeting modern loudness standards.
Another great technique is to use parallel compression, where a heavily compressed version of the track is blended back with the uncompressed original.
It’ll help to add punch and power without over-compressing the entire mix.
This will transform an old mix into a polished, competitive product that record companies would proudly release.
Pro Tip
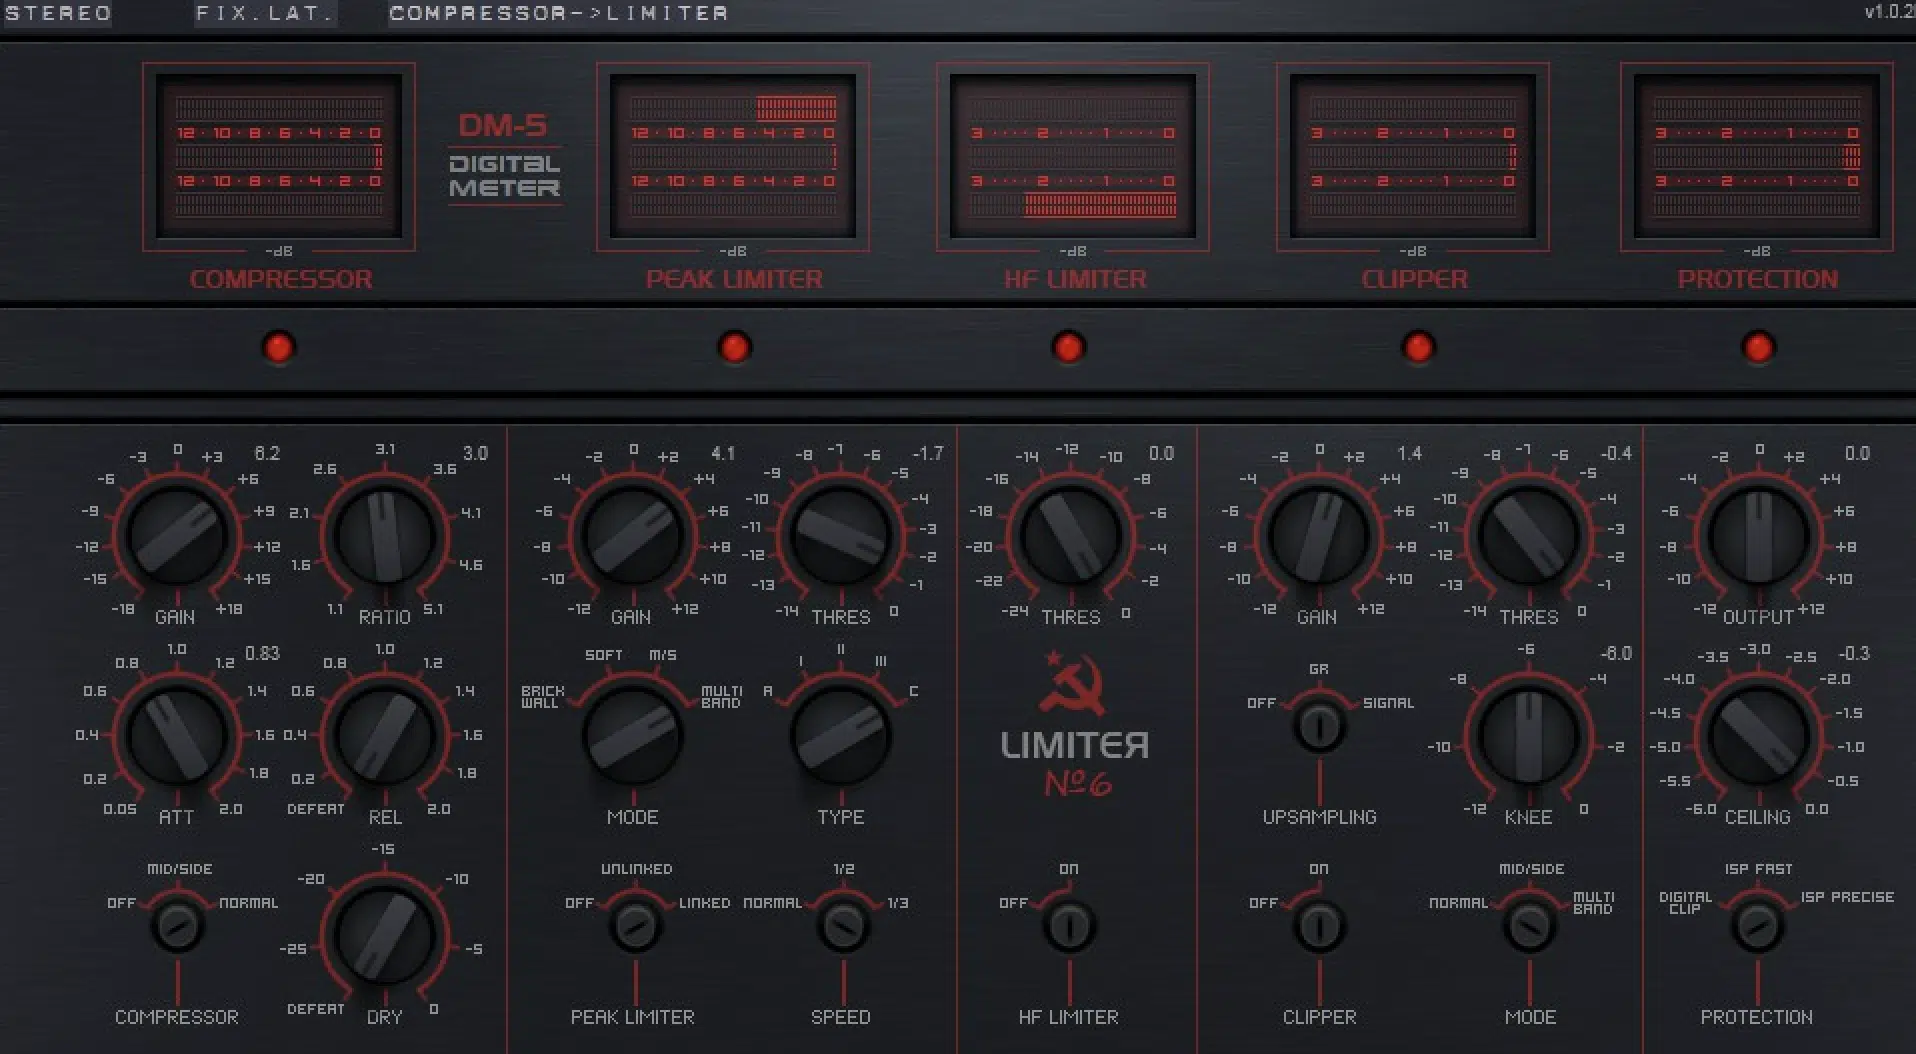
Pay attention to limiting in the final stage of mastering.
Set the ceiling just below 0 dB to prevent clipping, but avoid setting it too high, which could lead to pumping effects or reduced clarity.
The key is to apply limiting in small increments (often less than 2-3 dB of gain reduction) to keep the sound transparent and powerful.
What is Remastering: Final Thoughts
Understanding what is remastering is essential for any music producer or audio engineer looking to breathe new life into old recordings.
Just remember, remastering isn’t just about making a track louder or cleaner.
It’s about refining the sound quality and enhancing the listening experience without losing the essence of the original recording.
From analyzing the original mix to cleaning up unwanted noise, applying EQ adjustments, optimizing dynamic range, and enhancing stereo imaging, each step is key.
And if you follow all of the tips, tricks, and techniques we talked about today, you’ll achieve a polished, professional track every single time.
As a special bonus, you’ve got to check out these Free Project Files, which are an invaluable way to see how pro-level remastering and production are done in real-time.
They’re available for Ableton, FL Studio, and Logic Pro and show you exactly how to handle things like EQ tweaks, dynamic range management, stereo imaging, and other critical elements.
By diving into these projects, you can see how experts create polished tracks that sound great on all platforms, step by step.
It’s one of the best ways to learn how to remaster your own music by exploring what works and why (it’s like having all the cheat codes).
Until next time…


Leave a Reply
You must belogged in to post a comment.