Mixing is all about balancing elements, creating clarity, and making sure everything flows nicely and fits together flawlessly.
As producers, knowing how to mix is one thing, but knowing advanced mixing techniques can really take things to the next level.
With them, you’ll have unmatched control over your mixing process, enhance sound quality and add depth to your tracks.
You won’t ever have to worry about sounding like an amateur or overpowering any of your elements, which is where most producers lack.
That’s why I’m breaking down all of the advanced mixing techniques you need to know, like:
- Automation tricks to bring movement to your tracks ✓
- Mid/side processing for enhanced stereo width ✓
- Parallel compression for punchier drums and vocals ✓
- Creative multiband distortion to shape harmonic content ✓
- Advanced EQ strategies for complex mixes ✓
- Spatial effects to maximize stereo image and depth ✓
- Sidechain compression beyond the kick drum and bass track ✓
- Bus processing techniques to glue your mixing process together ✓
- AI-assisted mixing tools for faster mixing techniques ✓
- Much more advanced mixing techniques ✓
By knowing all the most creative advanced mixing techniques in the game, you can successfully control dynamics, refine harmonic balance, and optimize stereo space.
Plus, you’ll be able to fix problem frequencies, enhance clarity in different tracks/genres, and bring professional polish to your mixes all day.
Your sound quality will always be on point, and your skills as a mixing engineer will be next level (this way, you can dominate the competition!).
Don’t worry, we’ll be giving you an in-depth look at all the best advanced mixing techniques so you really get a super solid understanding of everything.
Table of Contents
- Advanced Mixing Techniques: Breaking it Down
- #1. Advanced Automation Techniques in Mixing
- #2. Mid/Side Processing for Enhanced Stereo Imaging
- #3. Parallel Compression: Enhancing Depth and Punch
- #4. Creative Use of Multiband Distortion and Saturation
- #5. Advanced EQ Strategies
- #6. Multiband Compression
- #7. Spatial Effects and 3D Sound Placement
- #8. Advanced Sidechain Compression Applications
- #9. Advanced Use of Reverb and Ambience
- #10. Using Analog Emulation Plugins
- #11. Advanced Bus Processing Techniques
- #12. Using Dynamic Range Compression Creatively
- #13. Advanced Techniques in Vocal Processing
- #14. Creative Use of Time-Stretching and Pitch-Shifting
- Final Thoughts
Advanced Mixing Techniques: Breaking it Down
Every mixing process is about balance, but when you’re working with complex mixes, small adjustments aren’t enough 一 you need precision. The right advanced mixing techniques will add depth, clarity, and movement, making sure every element sits exactly where it should. So, let’s get into the most advanced mixing techniques to enhance your skills and achieve a flawless mix.
#1. Advanced Automation Techniques in Mixing
Reverb automation
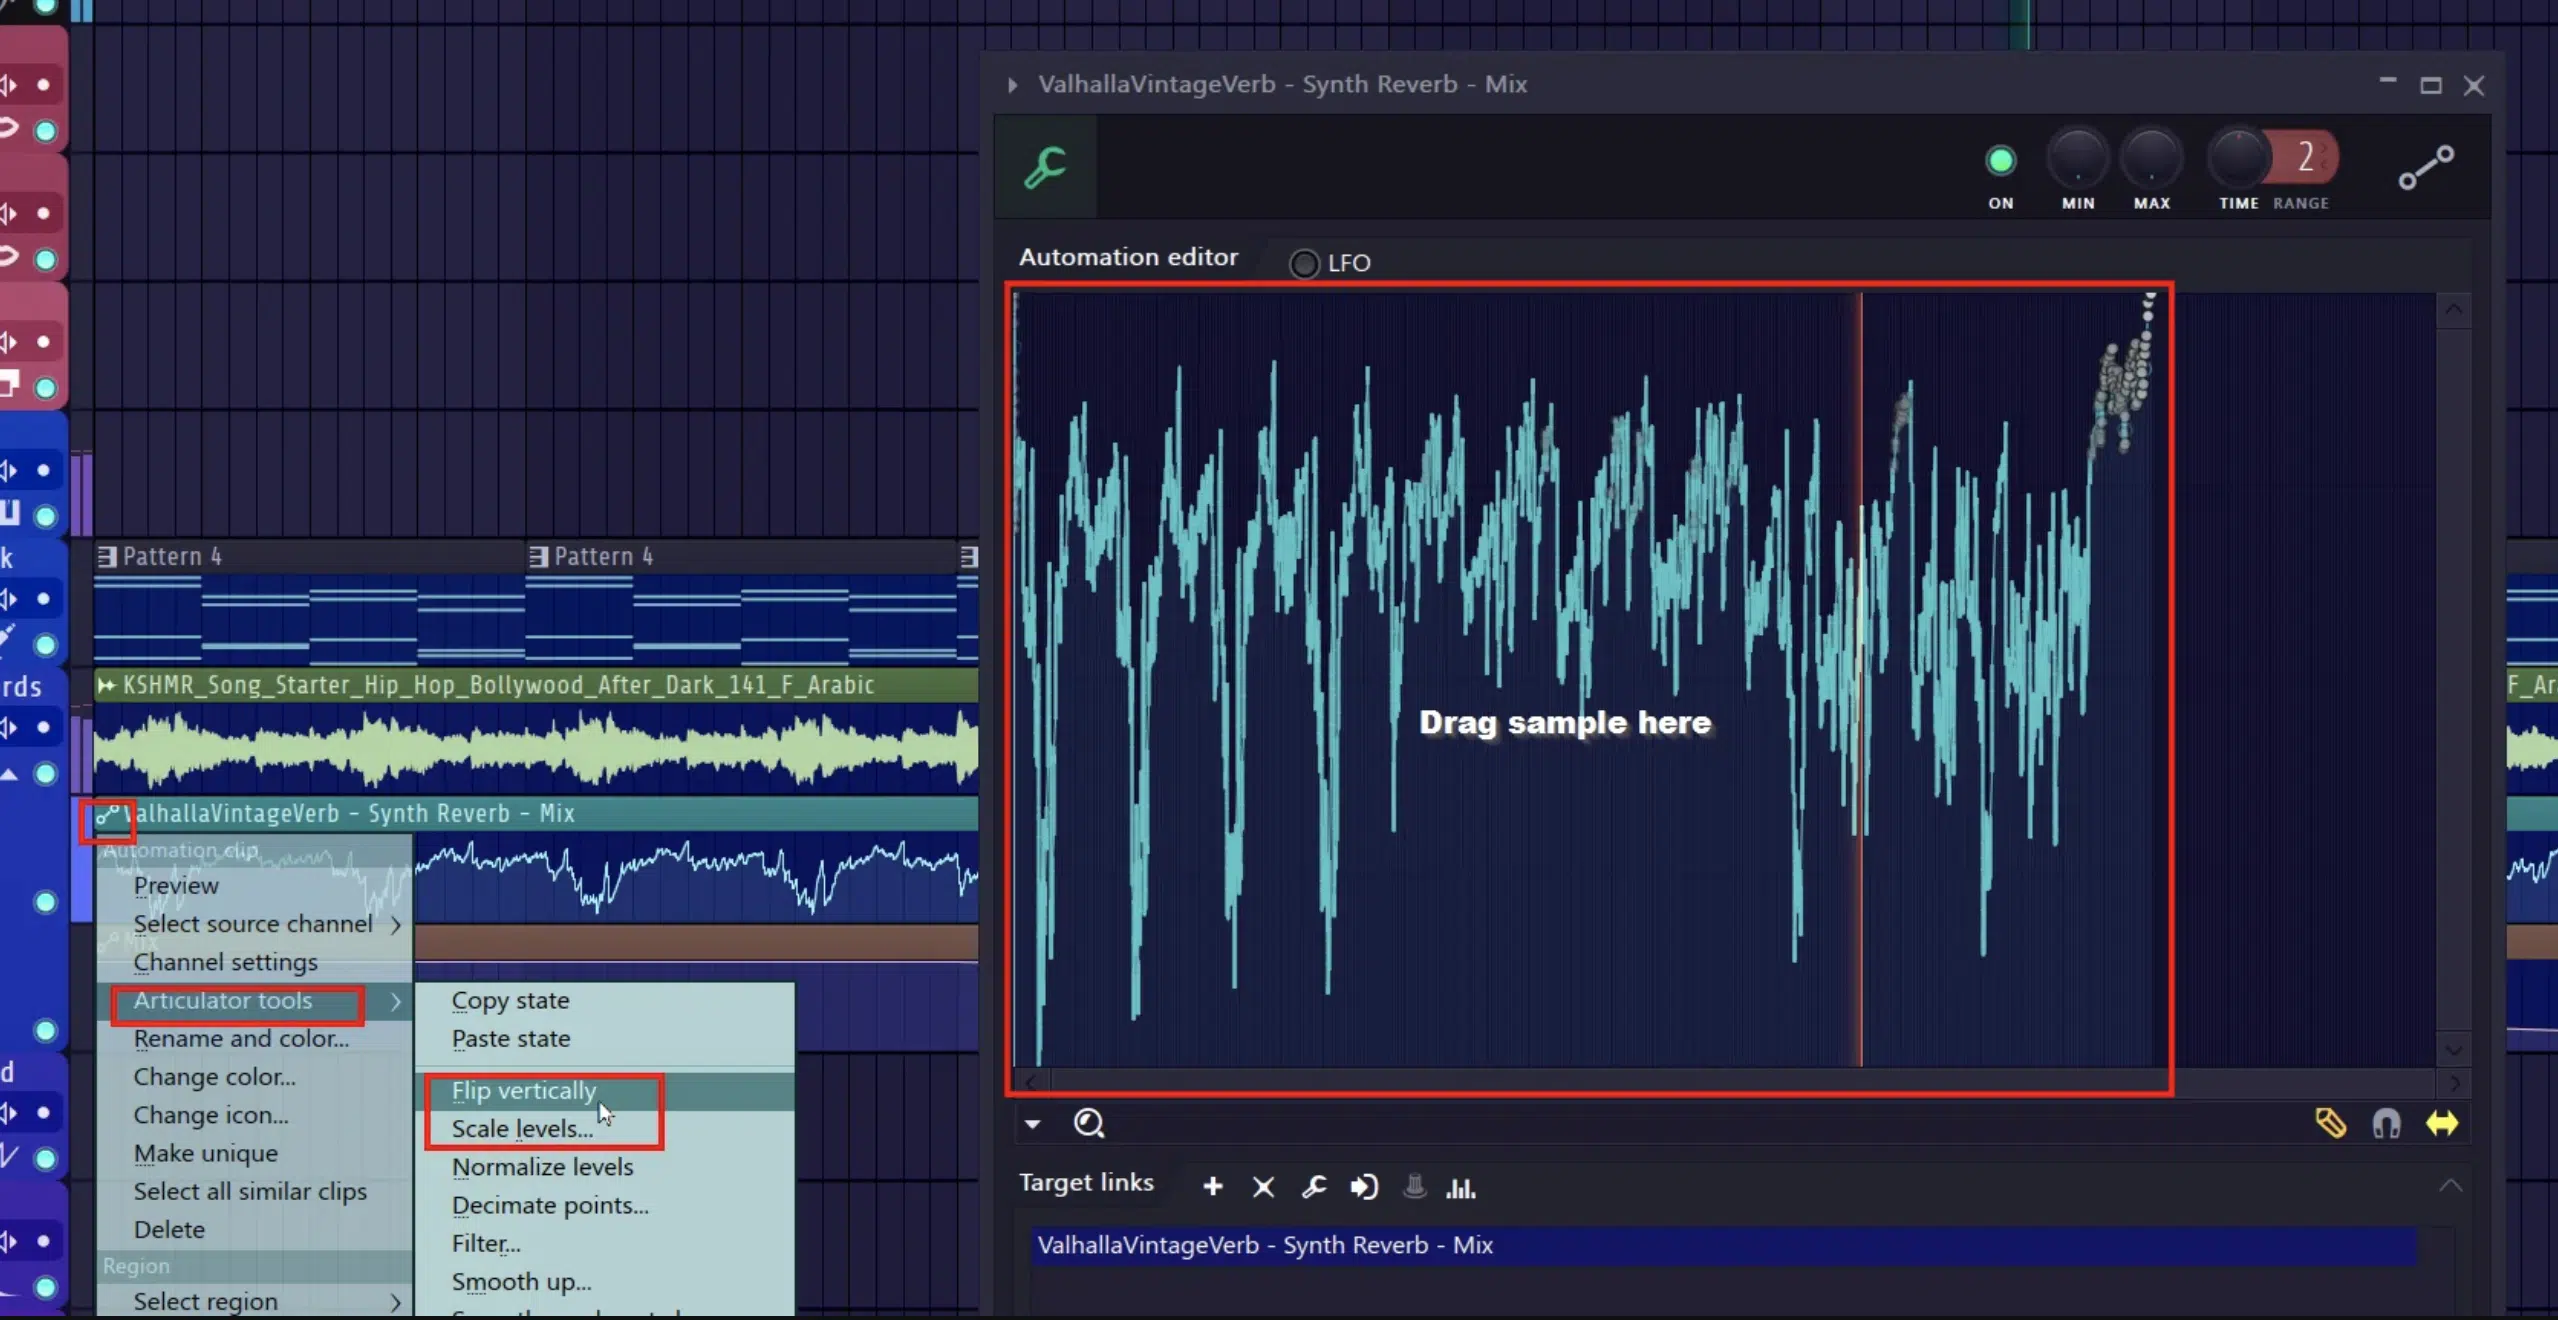
When it comes to advanced mixing techniques, automation is certainly invaluable because it helps you shape your sound dynamically instead of relying on static settings.
When working with vocals, automating the EQ can clean up problem areas only when they appear instead of applying broad cuts that affect the entire take.
For example, you can use a low-pass filter around 150 Hz that engages only during softer parts to remove unnecessary rumble.
While keeping the overall sound full during louder sections, of course.
For drums, volume automation on a kick drum and snare can help emphasize groove. Setting the kick drum 1 dB louder on downbeats and slightly lower on upbeats keeps the pulse hitting harder.
And, if you want even more impact, simply automate parallel compression to kick in only during heavy sections.
For example, set an auxiliary track with an 8:1 ratio, a fast attack (5ms), and a slow release (150ms) so it slams aggressively when needed.
Stereo movement can also be controlled with mid/side automation…
On reverb, you can widen the stereo field only during choruses by increasing the side gain by 2-3 dB using plugins like FabFilter Pro-Q 3’s mid/side control.
Another trick is automating saturation levels, which you can do by driving harmonic content harder during certain moments for contrast.
If you push a tape saturation plugin like Softube Tape to +3 dB of drive during drops and back it off during breakdowns, you’ll keep the energy dynamic without even having to touch the fader.
The same concept can be applied to the chorus of a song as well.
Having it just a little louder than the rest than the verse (depending on the style/genre of your track) can really hype up that energy during a transition.
It’s the same kind you’re aiming for with basic volume automation 一 simply increase it until it reaches the full 3 dB at the hook and you’re good to go.
When it comes to delays, you can use automation to shorten decay times in verses and expand them in choruses.
A 1/4-note delay at -10 dB in the verses can be pushed to -5 dB in the choruses for more space without making the mix muddy.
PRO TIP: Fine-tuning automation curves can make a mix feel dynamic and expressive instead of overly mechanical. On drums, using logarithmic volume curves to slightly fade in hi-hats over 8 bars makes transitions feel more natural, while a sharp exponential dip on snare reverb sends keeps it tight.
#2. Mid/Side Processing for Enhanced Stereo Imaging
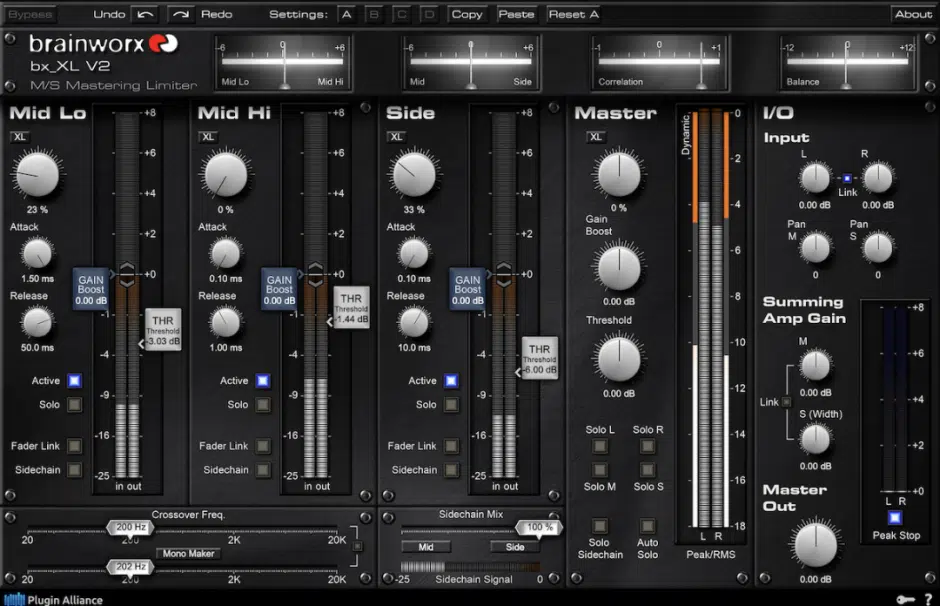
Mid/side processing gives you full control over the stereo field because, with it, you can process the center (mono) and side elements separately.
This is key in complex mixes, where we need clarity between:
- Vocals
- Drums
- Stereo elements (like synths and reverb)
Side note, while the processor in use usually needs to support mid/side processing to apply it, DAW developers have started integrating ways to enable this for any processor.
Logic’s Dual Mono mode is one of the most functional options, which lets you toggle any processor imaginable into mid-side mode.
Reaper, Studio One, Bitwig, Ableton, and others also provide ways to achieve mid/side processing, even if a particular plugin doesn’t natively support it.
Just keep in mind that for a tight low-end, the bass track should stay mono, while stereo elements can be widened.
Setting a low-pass filter at 120 Hz on the side channel removes unnecessary stereo low-end so the fundamental bass frequencies stay focused in the center.
At the same time, boosting high frequencies in the side channel by 2-3 dB around 8-10 kHz enhances airiness without making the song sound harsh.
Compression can also be applied in mid/side mode, depending on the compressor in use of course.
If the vocals need more punch, applying 2-3 dB of gain reduction with a medium attack (30ms) and release (80ms) on the mid-channel keeps them locked in place.
Yes, without affecting stereo width.
On drum tracks, parallel processing on the side channel, using an auxiliary track compressed at a 10:1 ratio, creates extra width without overpowering the mix, so definitely try that out as well.
And, when it comes to synths and rich soundscapes, harmonic mixing benefits greatly from widening the sides.
Applying a subtle stereo chorus effect at 30% wet and a 5ms delay offset keeps pads from clashing with the main instruments.
During a live set or DJ sets, widening the stereo field by an extra 3 dB on the sides can create an immersive experience on the dance floor while keeping the mids clear for punchy transients.
NOTE: For extra stereo movement, you can automate the mid gain down 1-2 dB during breakdowns while keeping the sides unaffected. This will create a subtle pulling effect that makes the drop hit harder when the mid-channel volume is restored.
#3. Parallel Compression: Enhancing Depth and Punch
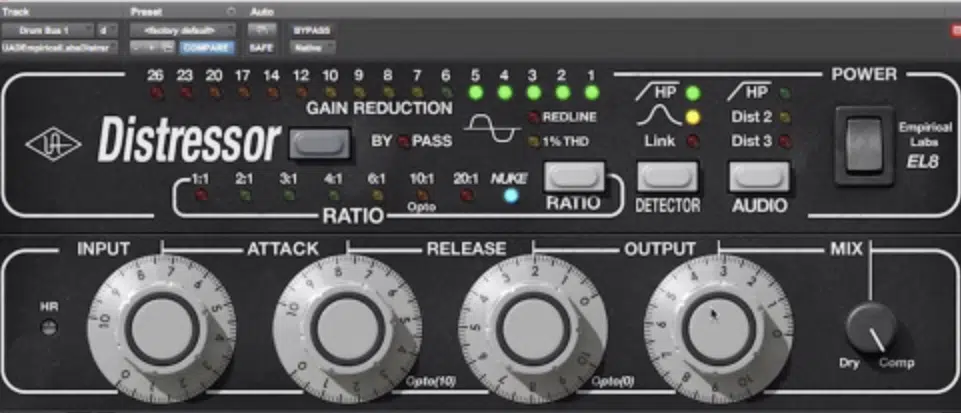
Next up on our list of advanced mixing techniques we have one of my personal favs: parallel compression.
Parallel compression adds density to tracks while keeping transients intact, so it’s one of the best advanced mixing techniques you can master.
The best way to set it up is by sending drum tracks to an auxiliary track with a 1176-style compressor:
- A 10:1 ratio
- Fast attack (1-5ms)
- Medium release (50-80ms)
- Crushing them with at least 10-15 dB of gain reduction
Blend this back in at -15 dB (but this is not set in stone) to add depth while keeping the dry track playing naturally; trust me, it sounds sick.
For vocals, a parallel chain with an Opto compressor, aiming for around 3-6 dB of gain reduction and mixed in at around -12 dB, adds presence without overpowering the mix.
If your bass track feels weak, process only the low frequencies (below 150 Hz) through an Opto compressor at a 3:1 ratio and a 60ms attack to tighten the sub frequencies.
Play around with adding parallel saturation using a distortion unit on a separate auxiliary track 一 pushing the drive to 5-6 dB for warmth and further processing if necessary.
If your song lacks impact, using parallel distortion on the side channel at -10 dB enhances stereo width without affecting the mid frequencies.
#4. Creative Use of Multiband Distortion and Saturation

Multiband distortion and saturation help control harmonic content differently across frequencies, giving you full control over tracks without overloading your mix.
Using FabFilter Saturn 2, you can split your signal into:
- Low bands (20-200 Hz)
- Mid bands (200-4 kHz)
- High bands(4 kHz+)
It will keep your low-end clean while adding tube saturation to the mids and tape saturation to the highs.
On a bass track, apply 20% tube drive in the 200-800 Hz range for warmth and 30% tape saturation above 5 kHz for clarity without making it harsh.
For drum tracks, focus on kick drum and snare; use a soft clipper at -3 dB threshold and 30% mix to keep transients snappy while adding controlled grit.
On vocals, using an analog tape saturation plugin at 10-15% drive between 800 Hz and 3 kHz hypes up presence while maintaining a natural tone.
If your song lacks weight, play around with multiband distortion on the side channel 一 boosting stereo width by 2-3 dB at 8 kHz for added brightness.
A great trick for rich soundscapes is applying harmonic mixing.
Use warm tube saturation at 40% mix on synths to enhance overtones and make them stand out in complex mixes.
#5. Advanced EQ Strategies
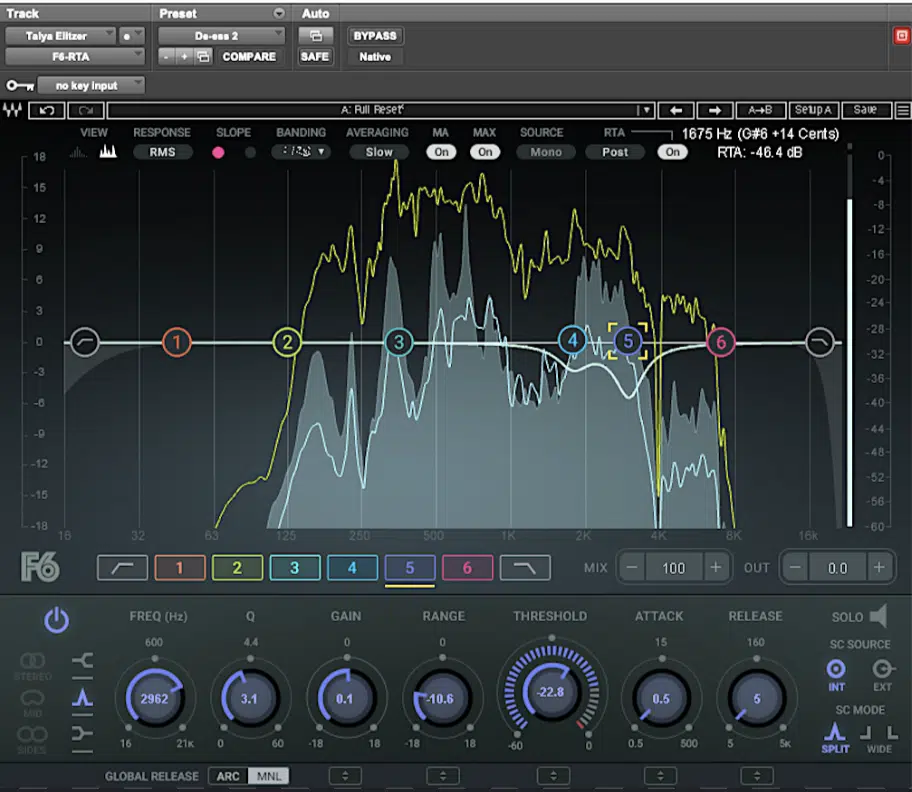
When it comes to advanced mixing techniques, EQ is all about precise control, dynamically adjusting individual tracks without affecting the overall sound.
For example, using FabFilter Pro-Q 3, set a dynamic EQ cut of -3 dB at 300 Hz on vocals 一 triggering only when muddiness builds up.
For drum tracks, you can carve space by cutting -2 dB at 400 Hz on the kick drum, while boosting +2 dB at 3 kHzon the snare for more presence.
If your mixing process lacks clarity, play around with a low-pass filter at 18 kHz on hi-hats to smooth harsh transients while keeping energy in the high end.
If we’re talking bass tracks, you can apply a narrow boost of +3 dB at 2 kHz to add clarity while keeping sub frequencies clean with a high-pass filter at 40 Hz.
NOTE: Harmonic mixing benefits from widening the side channel with a +2 dB boost at 8 kHz, enhancing stereo reverb tails without affecting the mid-channel, so keep that in mind.
If your complex mixes feel congested, cutting -1 dB at 200 Hz in the mid-channel clears space for vocals while keeping warmth in the side channel.
#6. Multiband Compression
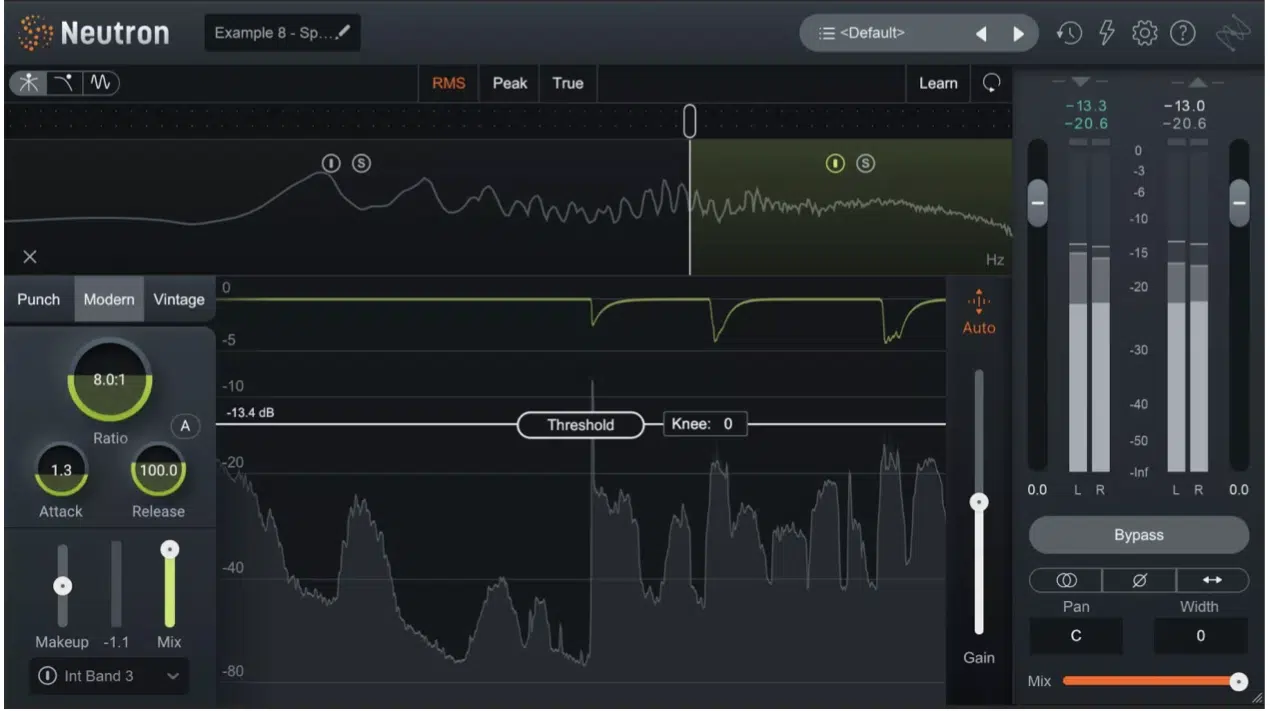
Multiband compression is another winner in advanced mixing because it lets you control different frequency ranges separately.
And, avoid over-compression of an entire track as well.
On a bass track, you can set a multiband compressor like Waves C6 to compress the 40-120 Hz range at a:
- 4:1 ratio
- Medium attack (20ms)
- Slow release (150ms)
The slow release is to keep the sub frequencies tight without affecting the mids.
For vocals, apply 2-3 dB of gain reduction on the 3-6 kHz range using a 2:1 ratio to smooth out harsh frequencies while keeping presence intact.
Sometimes the drum bus benefits from compressing only the snare and cymbal frequencies (2-8 kHz) with a 3:1 ratio, fast attack (5ms), and slow release (100ms) to control transient peaks without killing energy.
If your song feels unbalanced, you can always play around with expanding the midrange (300 Hz – 2 kHz) instead of compressing.
I recommend you use a 1.5:1 ratio with a 50ms attack to enhance warmth and clarity.
If you’re working on a super complex mix, reducing 2-3 dB in the mid-channel at 400 Hz prevents muddiness while boosting side frequencies at 10 kHz adds stereo air.
NOTE: Don’t forget about OTT, as it’s a unique form of upward compression and can add life to a particular signal that’s lacking or has a frequency range you’re really trying to bring to the forefront.
Just remember when dialing in settings, always listen in context because multiband compression is powerful but can quickly over-process a track if applied aggressively.
#7. Spatial Effects and 3D Sound Placement

One of my favorite advanced mixing techniques is using spatial effects because it adds some serious depth and dimension (without making things feel cluttered)
When applying reverb to vocals, you can set a pre-delay of 30-60 ms to maintain clarity so the dry signal remains upfront while the reverb pushes the vocals back naturally.
For drum tracks, a short plate reverb with a 0.6-0.8s decay on snares and hi-hats adds space without muddying the kick drum (which should remain mostly dry for impact).
Make sure to play around with panning automation…
Move background elements like pads and FX 5-10% left and right every four bars to make the stereo field way more engaging.
To widen stereo synths, applying a subtle chorus effect on the side channel (20-30% wet mix) spreads harmonic content across the sides for mono compatibility.
If you’re mixing live, adjusting the main auxiliary track’s reverb send to 30% wet in breakdowns and dropping it to 10% during heavier sections prevents excessive washiness while keeping clarity on the dance floor.
Also, spatial delay effects, such as a ping-pong delay set to 20-30% wet with a 1/4 note timing, help create movement and depth by bouncing between speakers.
NOTE: If you really want to take it up a notch, automating delay feedback levels to increase by 5-10% in transitions builds tension before drops.
It really makes the entire song feel more dynamic and immersive.
#8. Advanced Sidechain Compression Applications
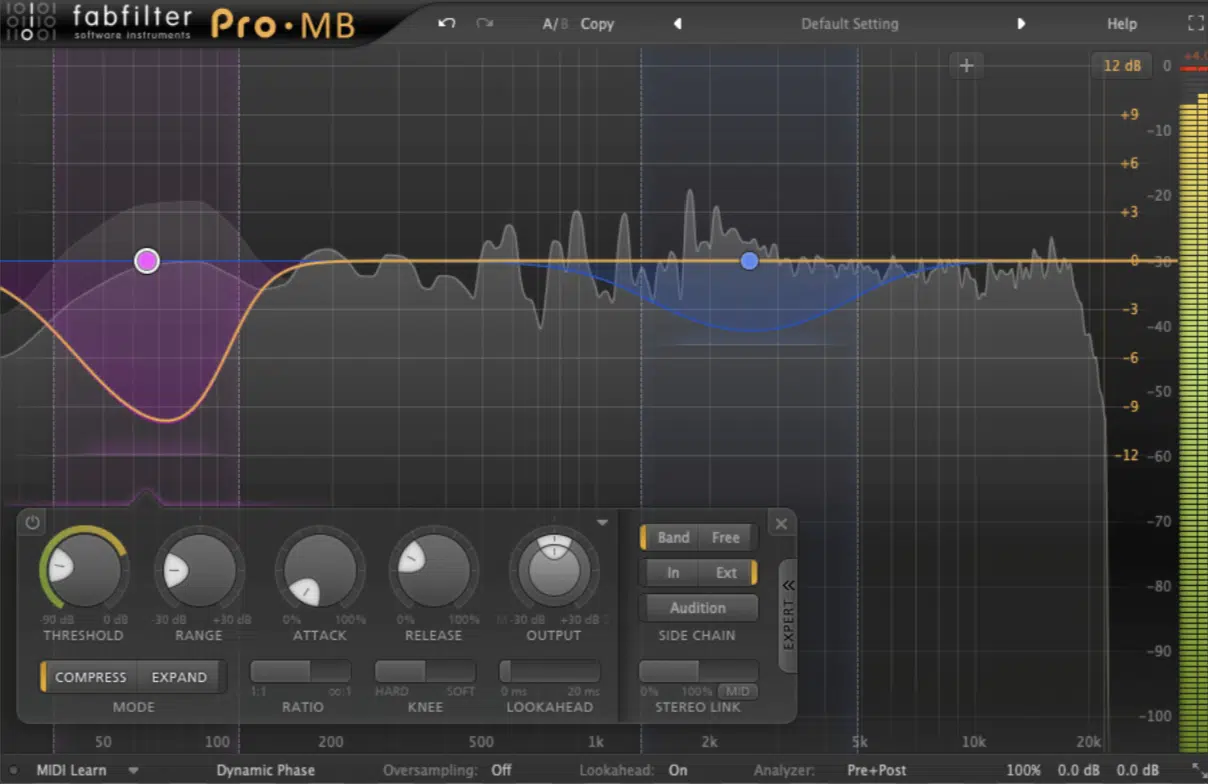
multiband sidechain compression
Sidechain compression is another one of my favorite advanced mixing techniques because it can be used beyond the classic kick drum and bass trick.
You can use it creatively to keep your mixes super balanced.
Instead of just sidechaining bass tracks to a kick drum, try sidechaining synth pads to the vocals at a 2:1 ratio with a 50ms attack to create space for lyrics.
Also, to keep your drum tracks clean, you can sidechain hi-hats to the snare with a 1.5:1 ratio so they duck slightly on every snare hit.
This will prevent frequency buildup in the high mids, which is key.
If you’re working on a song with heavy reverb, sidechain the reverb return track to the dry vocals with a:
- 3:1 ratio
- Fast attack (5ms)
- Medium release (120ms)
This way, the reverb will be successfully tucked behind the words themselves.
I also suggest you play around with sidechaining delay feedback so the delay volume increases only when the track playing gets quieter to create dynamic echoes.
If a complex mix feels crowded, applying mid-side sidechaining by ducking the mid-channel 2-3 dB at 300 Hz when the vocals enter keeps the center clean.
In dance music, setting a sidechain compressor on an auxiliary track controlling multiple elements (like synths, percussion, and FX) at 5:1 ratio, 15ms attack, and 100ms release locks everything to the groove while keeping clarity.
It can also give you that bounce you’re looking for without the ducking being applied to the entire track, so that’s a big plus as well.
#9. Advanced Use of Reverb and Ambience
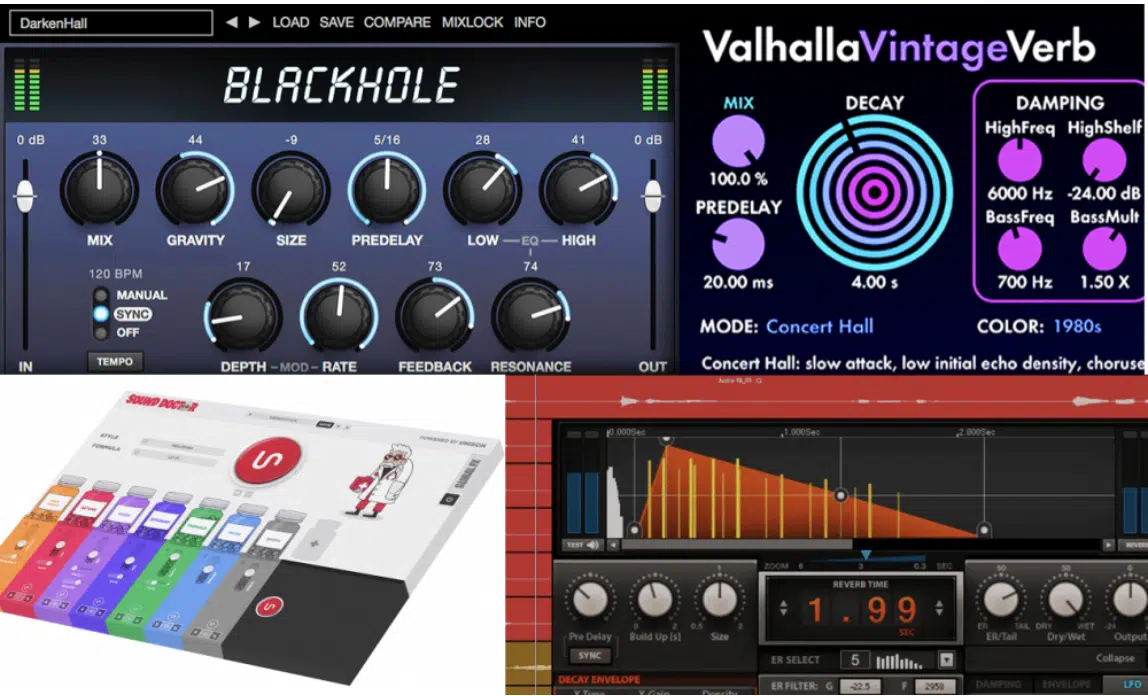
Reverb can also be some of the best advanced mixing techniques if you know what you’re doing because it can add depth to a good mix without excessive ‘washiness’.
For example, a pre-delay of 40-70 ms on vocals lets the dry signal cut through before the reverb kicks in 一 keeping intelligibility in the mix.
Also, if your drum tracks feel too sharp, setting a room reverb with 0.4s decay on snare and 1s on toms helps glue them together while keeping the kick drum mostly dry.
Make sure to play around with gated reverb on snares as well…
Use a 1.2s decay, fast attack, and a -10 dB threshold on the gate to add thickness without overwhelming the mix.
In complex mixes, controlling reverb tails with automation (reducing the wet mix by 5-10% during verses and increasing it in choruses) creates natural depth shifts.
When mixing for DJ sets, applying a high-pass filter at 250 Hz on reverb returns keeps the dance floor energy clean by preventing low-end buildup.
PRO TIP: Don’t forget that you can also process your reverb send/return signals just like any other audio signal.
It gives you the opportunity to sculpt the sound beyond what the reverb itself offers.
This includes using your favorite EQ to shape frequencies, adding compression to control dynamics, or, my personal favorite: applying saturation to introduce some grit.
Remember, saturation not only enhances warmth but also helps tame the buildup of unintended blur that excessive reverb can cause.
#10. Using Analog Emulation Plugins
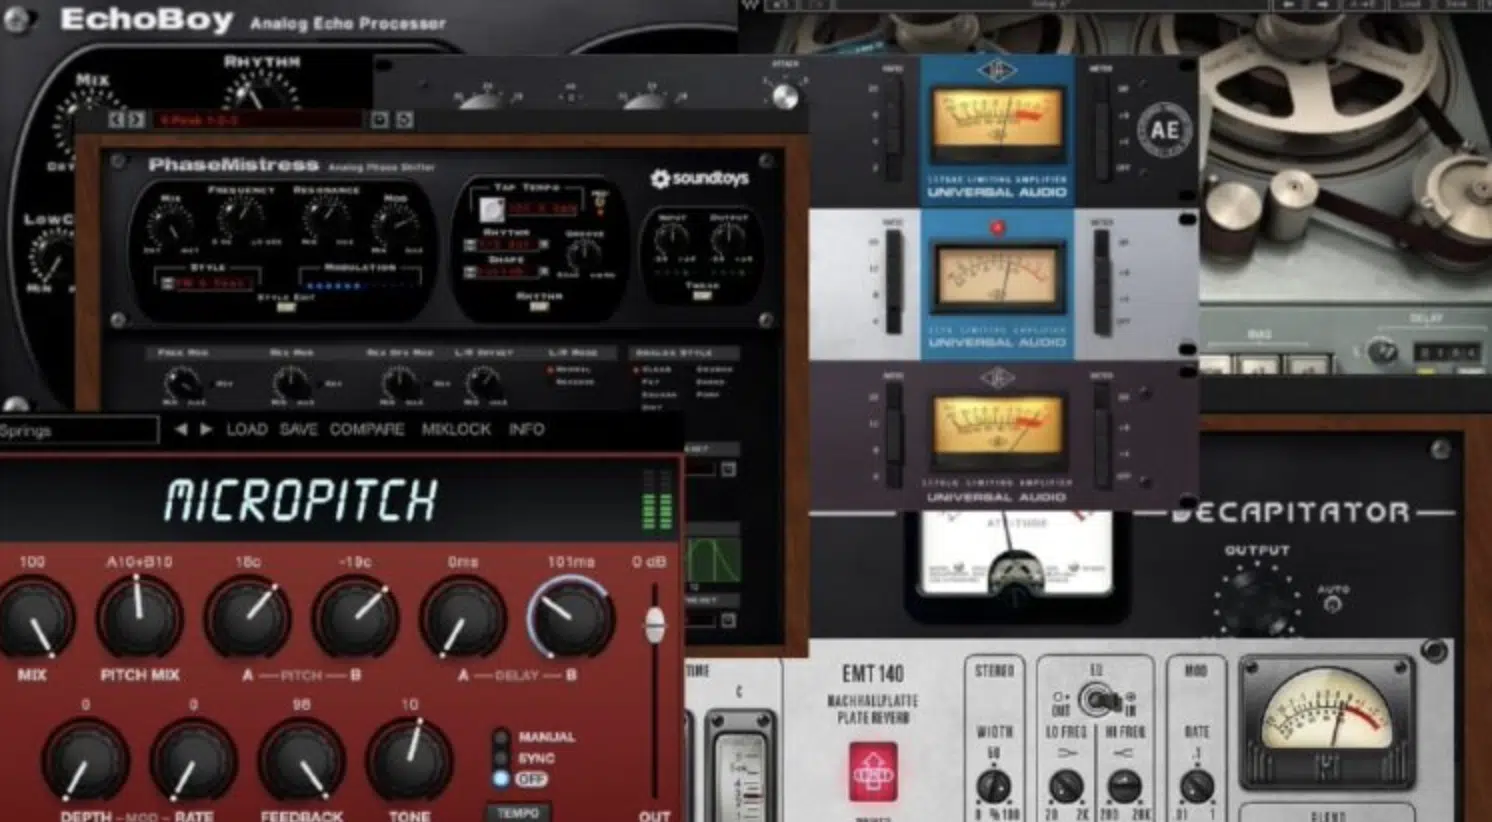
Bringing analog character into a mixing process can add depth, warmth, and some serious harmonic edge to your tracks so they feel less sterile.
For vocals, running them through a tube compressor emulation with a 3:1 ratio, slow attack (10ms), and medium release (80ms) smooths transients while introducing subtle saturation.
On a bass track, you can use a tape emulation with 15 ips tape speed, 20% saturation, and a gentle high-frequency roll-off enhances body while taming harsh overtones.
On the flip side, if your drum tracks sound too rigid, adding a console emulation with low drive (5-10%) and a slight 2 dB boost at 100 Hz thickens the sound.
It’s the musical key, so to speak.
You can also experiment with applying a transistor preamp emulation on individual tracks, driving it to 20-30% saturation on synths and guitars to make them sit naturally in complex mixes.
A great way to glue a song together is by placing an analog-style bus compressor with a 1.5:1 ratio, auto release, and -2 to -3 dB of gain reduction on your mix bus for subtle cohesion.
NOTE: If your mix feels too digital, adding a small amount of noise and harmonic distortion across auxiliary tracks keeps things warm without muddying the overall sound.
It might be a little time-consuming to master, but trust me it’s worth it if you want to be a master at advanced mixing techniques.
#11. Advanced Bus Processing Techniques
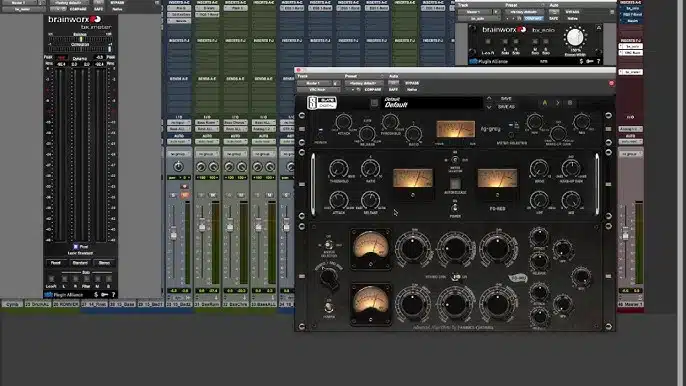
Bus processing is, hands down, one of the best ways to achieve a good mix because you get control over groups of elements without over-processing individual tracks.
Let’s say you were mixing drums and wanted to tighten up the groove while preserving transients… You can simply apply bus compression with a:
- 4:1 ratio
- Fast attack (10ms)
- Slow release (150ms)
Just keep in mind that a subtle tilt EQ boost of +2 dB at 10 kHz and a low-end cut at 30 Hz on the drum bus prevents muddiness while keeping the top end crisp.
On a vocals bus, using a de-esser set to -3 dB reduction at 6 kHz tames harshness, while a plate reverb at 20% wet mix adds air without drowning articulation.
For harmonic mixing, processing synths through a multiband compressor, compressing the midrange (200 Hz – 2 kHz) at a 3:1 ratio, helps balance warmth while keeping dynamics intact, which I personally do all the time.
Just make sure to play around with saturation on the auxiliary track 一 adding 5-10% harmonic drive to enhance overtones without making the song feel cluttered.
A limiter set to -1 to -2 dB gain reduction on the master bus glues everything together so the same process remains controlled without excessive loudness.
Beyond that, adding mid/side EQ adjustments at the final stage helps shape the stereo field and enhance clarity.
A +1-2 dB boost at 10 kHz on the side channel adds extra air, while a slight -1 dB cut at 200 Hz in the mid-channel prevents frequency buildup.
And, if you really want to enhance depth, you can automate the stereo width from 80% in verses to 100% in choruses to keep the mix dynamic and engaging.
Lastly, automation on the bus compression threshold (increasing gain reduction by 1 dB in high-energy sections) makes sure the mix naturally builds as the song progresses.
Trust me, these small details will make your overall sound polished, consistent, and professional, taking your advanced mixing techniques to the next level.
#12. Using Dynamic Range Compression Creatively
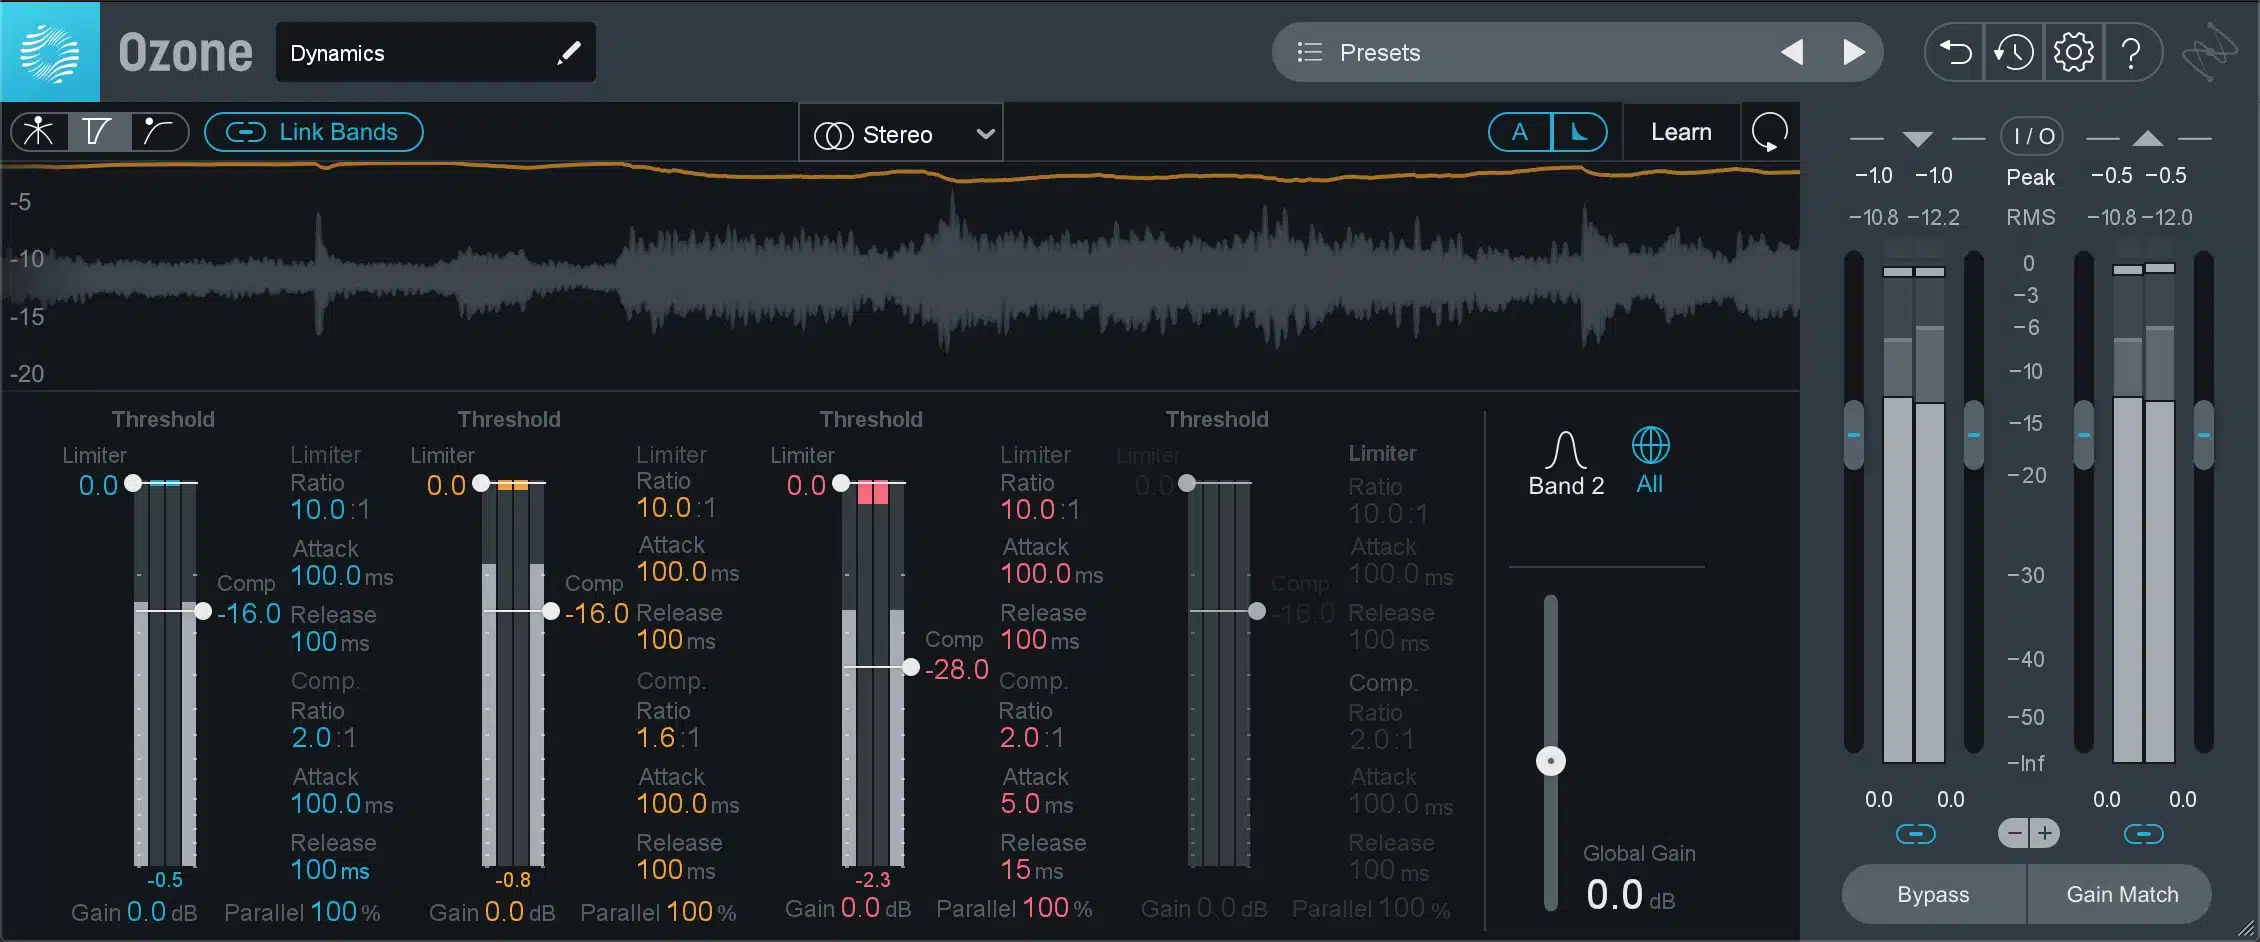
Instead of simply controlling volume, compression can also be used dynamically to shape the movement of tracks and keep your track feeling natural.
On vocals, you can apply upward compression at a 2:1 ratio with a -20 dB threshold to lift quieter phrases while leaving louder ones untouched.
When working with drums, you can use a transient shaper to apply soft compression with a 5-10ms attack on the snare’s transient enhances punch without over-compressing the decay.
And, for a tighter bass track, simply set a fast attack (5ms) and medium release (80ms) at a 4:1 ratio to control plucking inconsistencies while keeping groove intact.
Also, make sure to mess around with applying a low-ratio (1.5:1) compression to auxiliary tracks, which subtly evens out layers without making them sound squashed.
A parallel compression chain on the drum bus, with heavy compression (-12 dB reduction) and 50% wet mix, reinforces the backbeat without losing dynamics.
NOTE: If the overall sound of a mix feels flat, applying expansion with a 1.2:1 ratio on the side channel can widen stereo elements while keeping the mid frequencies punchy.
#13. Advanced Techniques in Vocal Processing
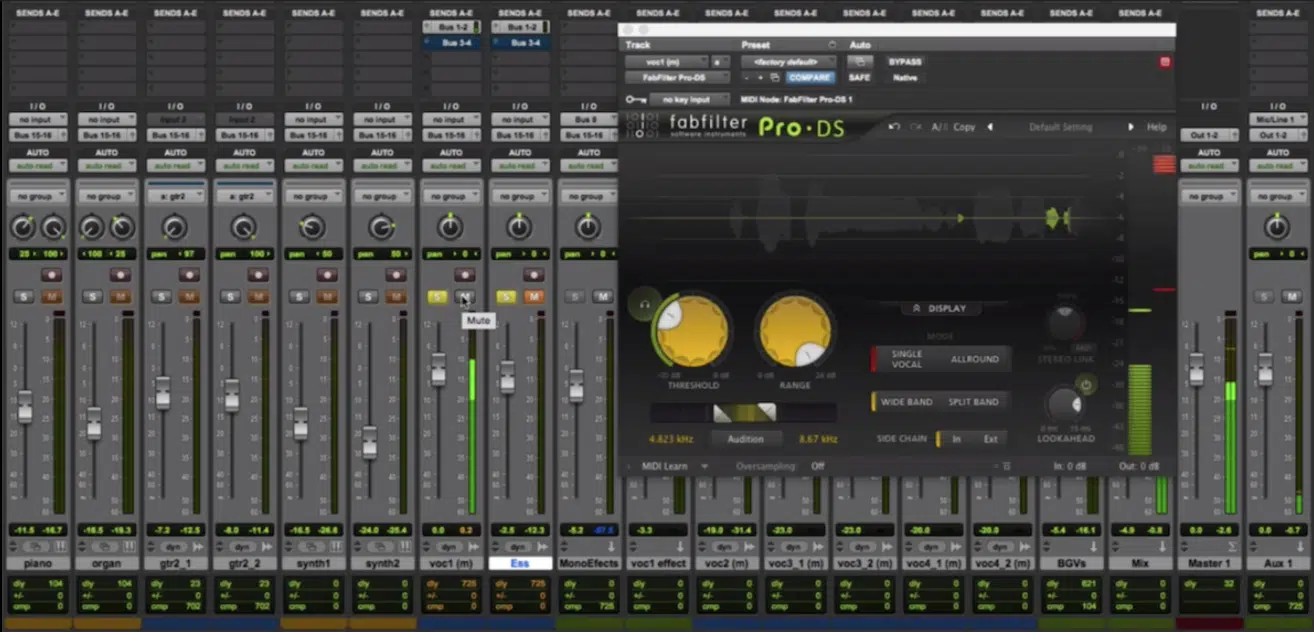
Processing vocals properly in your mixing process requires balancing:
- Compression
- EQ
- Spatial effects
While keeping them upfront too, of course.
I suggest a gentle high-pass filter at 80 Hz to remove unwanted low-end rumble, while a small notch cut at 250 Hz to reduce muddiness without losing warmth.
When using compression, you can use a 3:1 ratio, medium attack (25ms), and medium release (80ms) to keep the performance natural while adding consistency.
For clarity, play around with a dynamic EQ cut at 3-6 kHz that engages only when harshness builds, keeping sibilance under control without dulling the highs.
And, to add depth, a slapback delay at 10% wet mix, 100ms delay time, and low-pass filtering at 6 kHz creates a subtle stereo spread without overwhelming the vocals.
A short plate reverb at 15% wet mix with a 1.8s decay helps place the vocals in the mix while maintaining presence.
NOTE: If your vocal sounds disconnected, automating the reverb send level to increase by 5% on sustained notes blends it more naturally into the overall sound.
#14. Creative Use of Time-Stretching and Pitch-Shifting
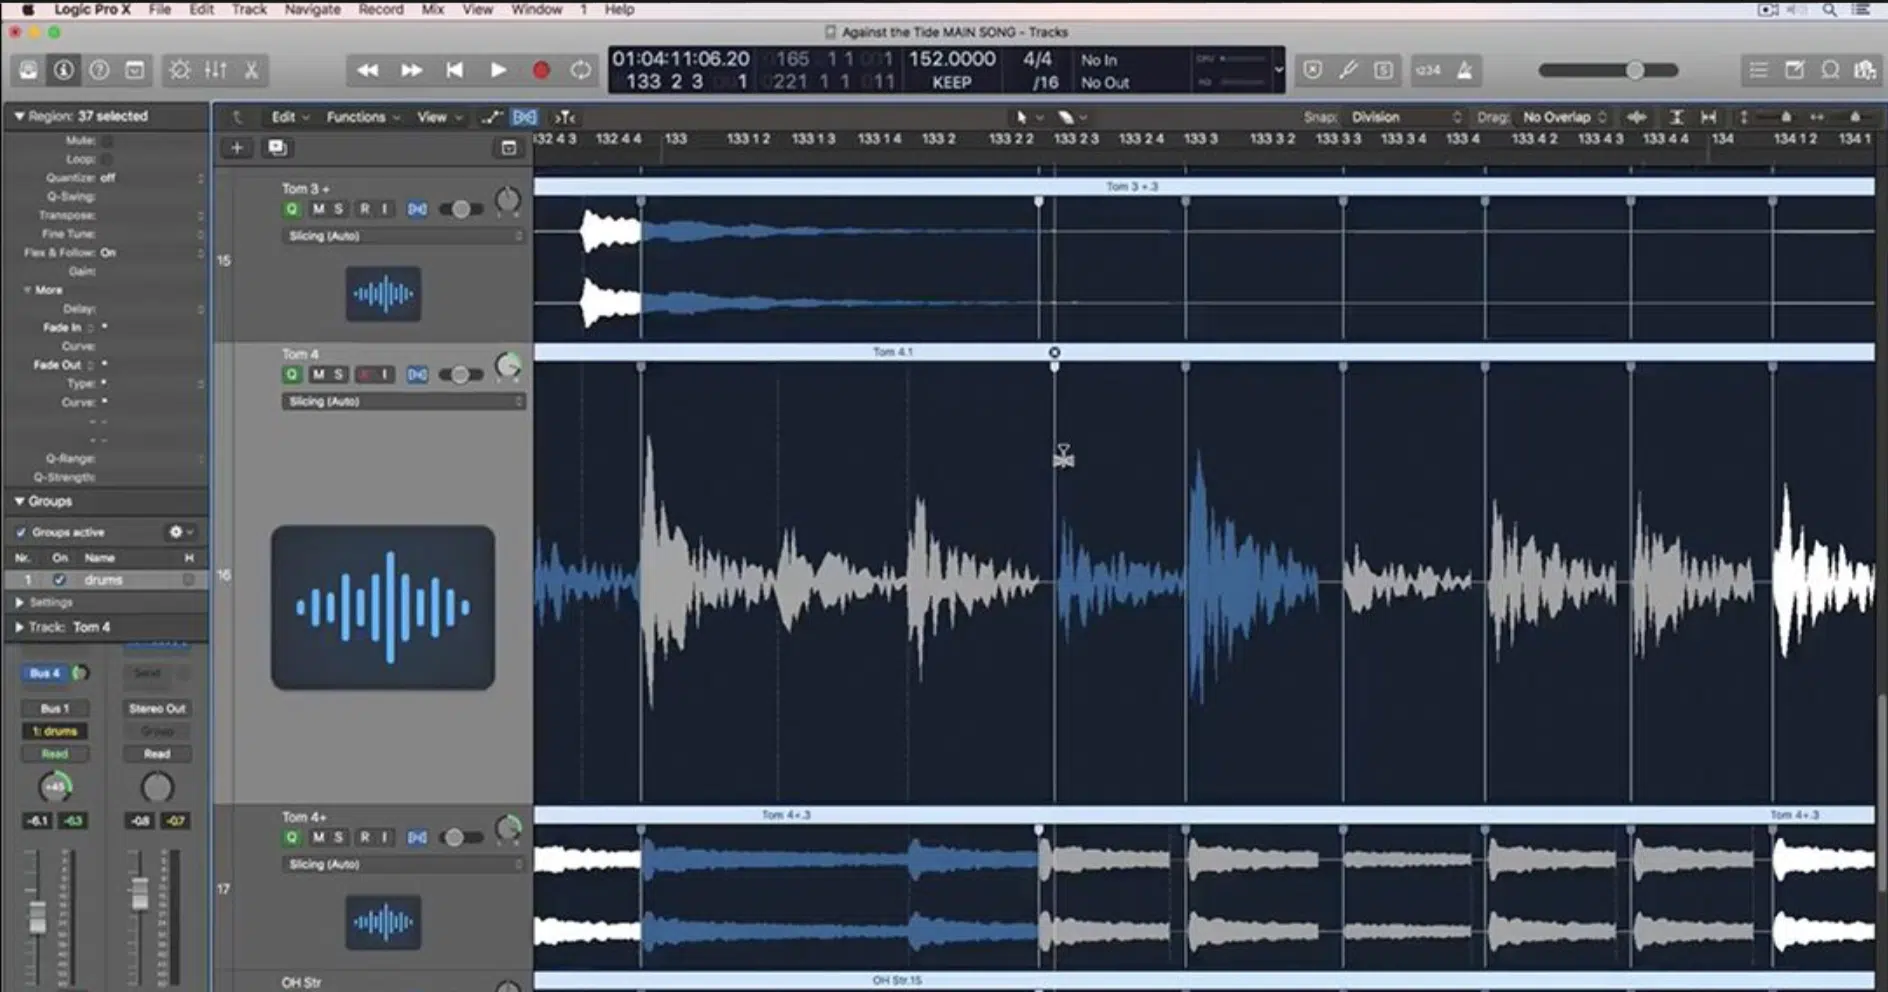
Time-stretching and pitch-shifting is another essential part when it comes to advanced mixing techniques, especially for reshaping samples, vocals, and instrument layers.
When tuning vocals, you can pitch-shift in small increments (±50 cents) to add natural texture/vibe to your tracks.
Formant shifting by ±2 semitones, on the other hand, can create unique tonal variations without altering pitch altogether, so that’s another great one.
Stretching drum tracks using elastic audio at 90% speed can create a swung groove, while tightening them to 110% speed makes the track play more energetic.
For bass tracks, you can try shifting sub frequencies down by -12 semitones while keeping the original an octave higher through layering to enhance weight in complex mixes.
Side note, harmonic mixing benefits from subtle detuned layers, such as:
- Duplicating a lead track
- Pitching it up 7 cents
- Panning it 10% left
- While shifting another down 7 cents, panned 10% right for stereo width
You can also experiment with stretching reversed reverb tails by 200% to create long ambient swells that add movement before new sections of a song drop in.
And, if your sample sounds too robotic after stretching, apply a low-pass filter at 8 kHz to smooth out artifacts while maintaining clarity in the overall sound.
Final Thoughts
And there you have it—all of the best advanced mixing techniques to help you enhance your skills and make sure your mixes are always on point.
Remember, it’s all about precision, balance, and movement, making sure every track sits perfectly while maintaining energy and depth.
Just don’t forget to experiment with automation, refine your stereo placement, and use dynamic processing creatively to maximize the sound quality of your mixing process.
This way, your mixes will always be flawless, punchy, and professional, no matter what genre you’re working in or vibe you’re shooting for.
And, as a special bonus, you’ve got to check out these epic Free Project Files that show you exactly how to mix a track to perfection.
These three project files literally give you the cheat codes to flawless mixes, advanced techniques, and expert knowledge on any effect/process you can think of.
With them, you’ll not only enhance your skills but take your entire production workflow to the next level.
They’re created by top producers in the industry, meaning you’re getting invaluable insights straight from the best.
Plus, they’re 100% royalty-free, so feel free to use them however you’d like.
Bottom line, when it comes to mastering the best advanced mixing techniques, you have to stay persistent and keep pushing your limits.
Remember, practice makes perfect, so never slack when it comes to putting in work and refining your mixing techniques.
Plus, it’s all about getting creative and thinking outside the box, so don’t be afraid to get crazy 一 that’s where the magic happens.
Until next time…


Leave a Reply
You must belogged in to post a comment.