The chorus effect is all about adding depth and dimension to your sound 一 thickening vocals, widening synths, and just making your tracks more show-stopping altogether.
As producers, knowing all about how to creatively use them will seriously elevate your music production game and skills.
Plus, it will open up creative possibilities and help you knock out unique sounds that stand out and dominate the competition.
That’s exactly why I’m breaking down everything you need to know about the chorus effect, like:
- What a chorus effect sounds like ✓
- Key chorus parameters and how to use them ✓
- The difference between chorus, flanger & phaser ✓
- How to enhance vocals, guitars, and pads ✓
- Tips for avoiding overuse of the chorus effect ✓
- Using automation to add movement ✓
- Combining the chorus effect with other effects ✓
- Creating custom chorus sounds ✓
- Using a chorus pedal ✓
- Advanced stereo imaging techniques ✓
- Much more about the chorus effect ✓
By knowing all about chorus effects and how to use them like a boss, you’ll really have a competitive advantage and take things to the next level.
Plus, successfully add depth, width, and character to your tracks.
This way, they’ll always sound polished, dynamic, and you’ll be able to master this popular effect in no time.
Table of Contents
What is a Chorus Effect Exactly?
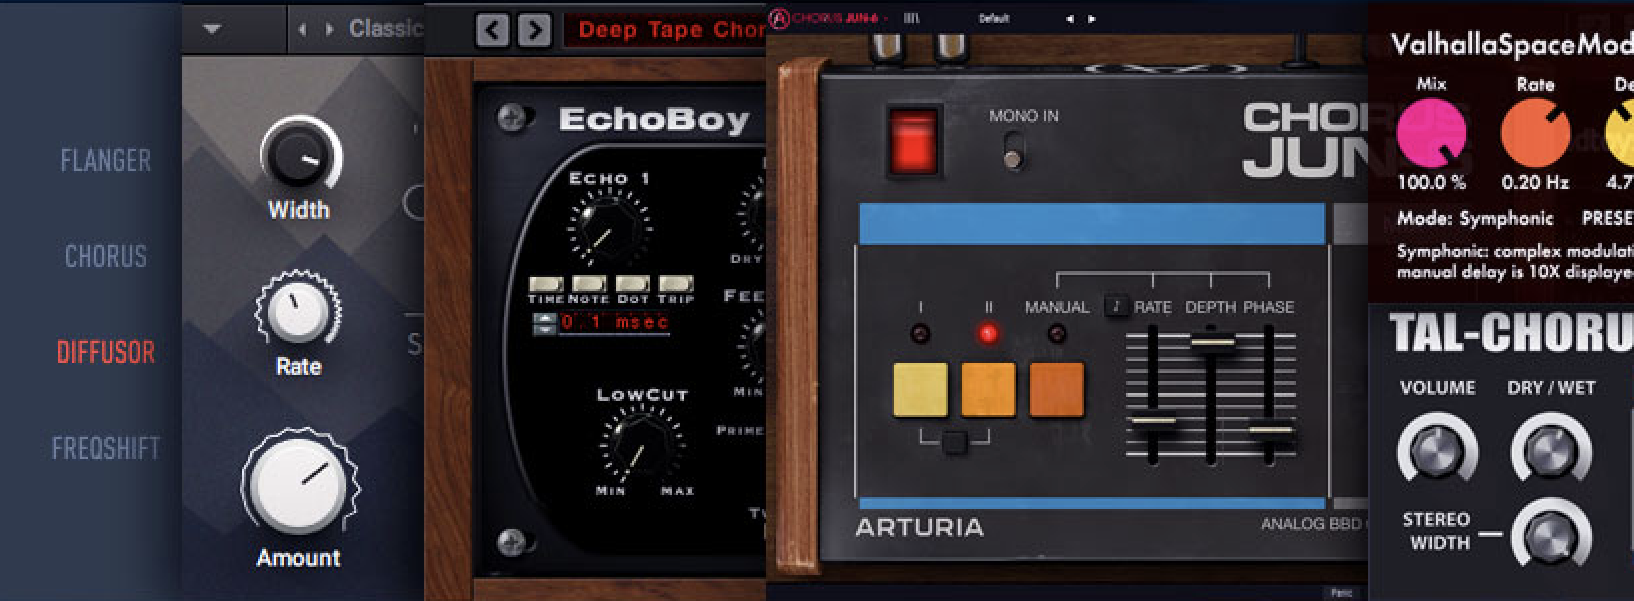
The chorus effect is a classic audio effect used to make a single instrument or vocal sound like multiple voices playing in unison.
It works by:
- Duplicating the original signal
- Slightly delaying and modulating its pitch
- Blending it back with the dry signal
This creates a lush, shimmering quality that adds depth to any sound, often compared to the natural vibrations of a choir or string ensemble (just for context).
It’s one of the most versatile effects 一 capable of enhancing vocals, thickening guitars, or adding width to synths.
Don’t worry, we’ll break down everything you need to know (in detail) so you can have a solid understanding of what a chorus effect is and how to use it like a pro.
Key Parameters: Breaking it Down
To use the chorus effect like a boss, you need to really understand the key parameters that control its sound. So, let’s kick things off by breaking them down so you can fine-tune your chorus parameters and really get creative.
-
Signal Processing Basics
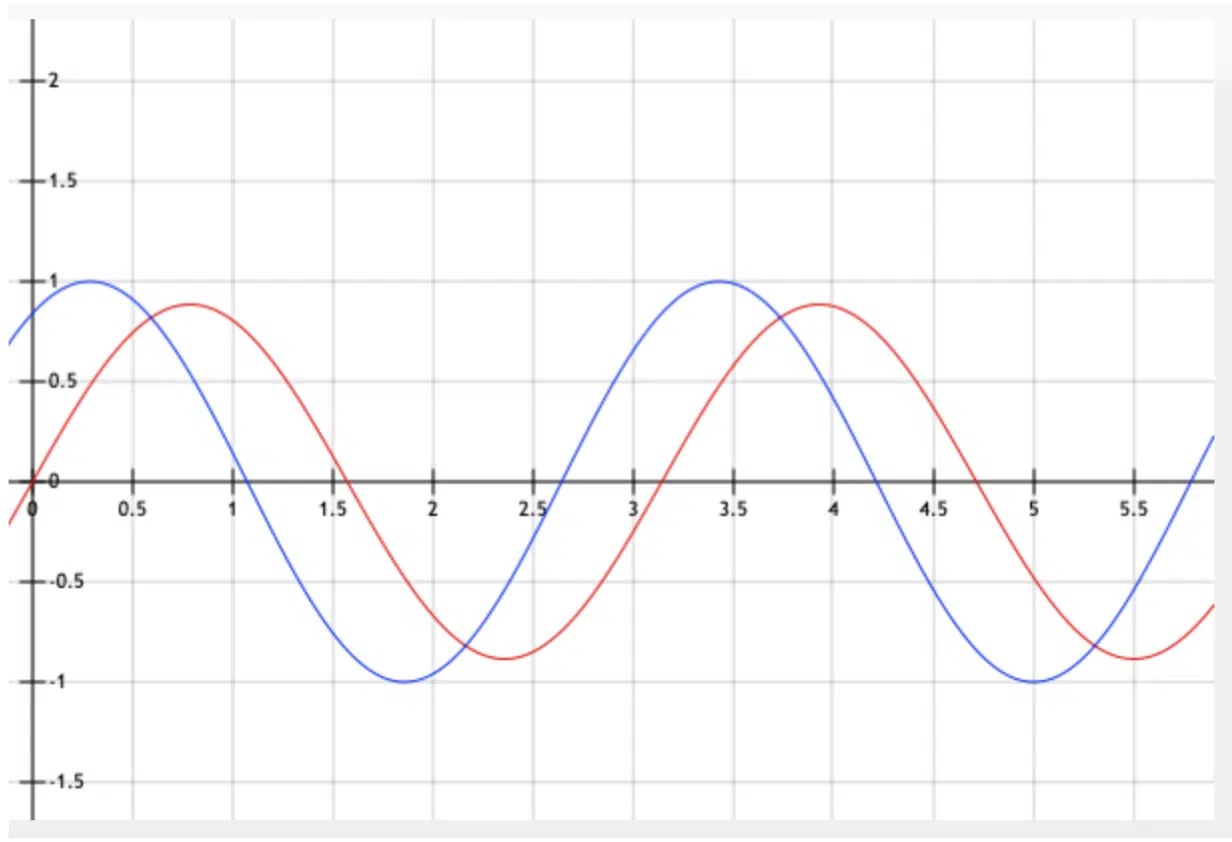
The chorus effect manipulates the audio signal by creating multiple copies of the original signal and applying slight delays and pitch modulation to each copied signal.
This process relies on variable delay times and phase modulation to produce the effect.
The delayed signals are blended back with the dry signal to create a ‘combined’ sound that’s cooler and more textured.
For example, a stereo chorus brings additional width to the table by applying slightly different modulations to the left and right channels; expanding the stereo image.
By adjusting parameters like depth controls or rate, you can make subtle or dramatic changes to the sound 一 dealer’s choice.
Think of it as taking a single voice and making it sound like a choir without losing the clarity of the original sound.
NOTE: When you play around with different sound waves, you’ll notice how the original signal interacts with the chorused signal.
It produces a similar sounds that feel dynamic and textured due to the effect’s gradually shifting pitch modulation.
-
Depth
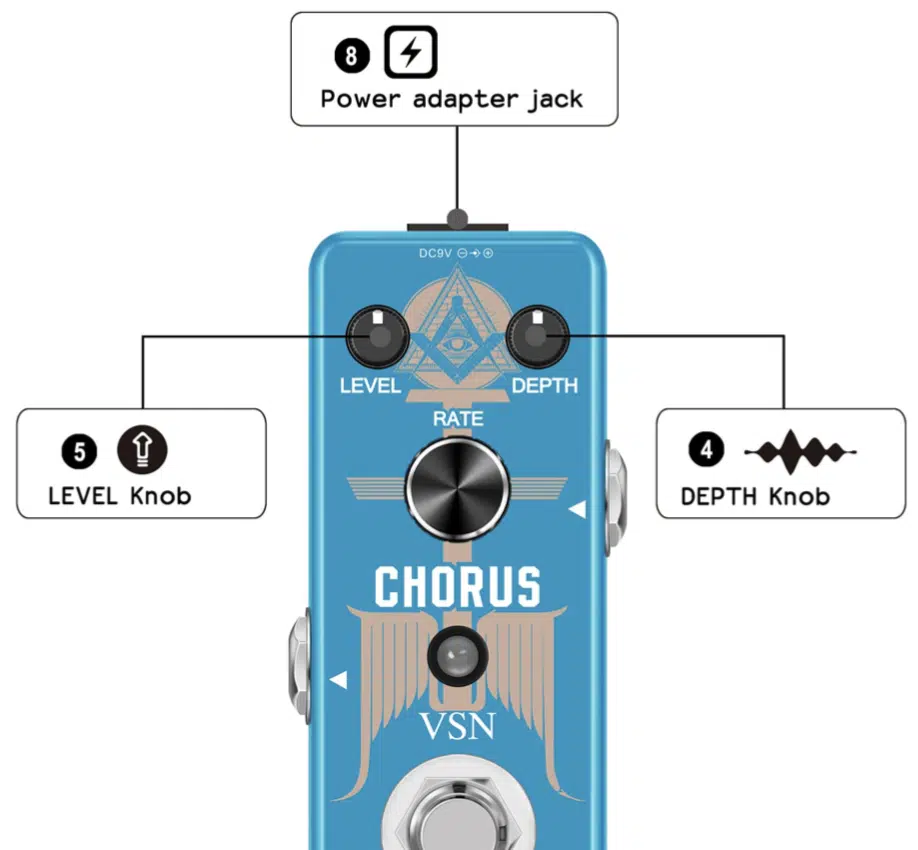
The depth parameter determines just how far the pitch modulation moves, controlling the intensity of your chorus effect.
For example, setting the depth controls to around 30-40% adds a subtle shimmer that’s perfect for layering vocals in a pop or EDM track.
If you want a more dramatic, wavy effect (like something you’d hear in 80s synthwave music), simply push the depth to 60-70%.
However, when working on guitars, a depth setting of 25-35% typically provides just enough modulation to thicken the sound without making it feel unnatural.
For a more ambient sound, like pads in a cinematic track, play around with high settings (depth), around 70-80%, to introduce more movement.
PRO TIP: When layering multiple tracks with chorus, avoid maxing out the depth controls on all of them…
Instead, stagger them slightly (e.g., 30% on one track and 50% on another) to maintain clarity while still achieving a balanced texture.
-
Rate
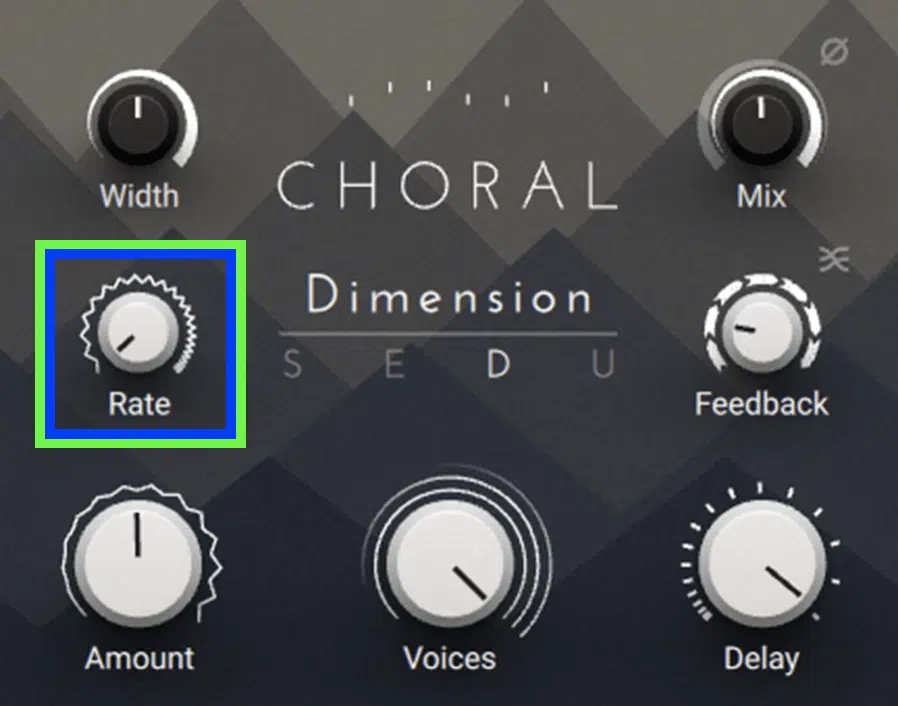
The rate parameter controls the speed of the modulation applied to the chorus effect, which directly impacts how fast the pitch variations occur.
A rate setting of 0.5 Hz (or slower) creates a smooth, gentle modulation—ideal for R&B or slow instrumental tracks.
On the flip side, faster rate settings, around 2-3 Hz, produce a more vibrant and noticeable effect, like what you might hear on the arpeggiated synths in EDM.
If you’re working with vocals, a rate of 1 Hz adds subtle richness without drawing too much attention to the modulation.
My advice when using a stereo chorus is to set slightly different rates on the left and right channels (e.g., 1 Hz on the left and 0.8 Hz on the right).
This will create a wider, more natural stereo image.
For guitars, start with 1.5 Hz and adjust by ear 一 you’ll know you’ve nailed it when the movement feels like a natural extension of the original sound.
-
Mix (Wet/Dry)
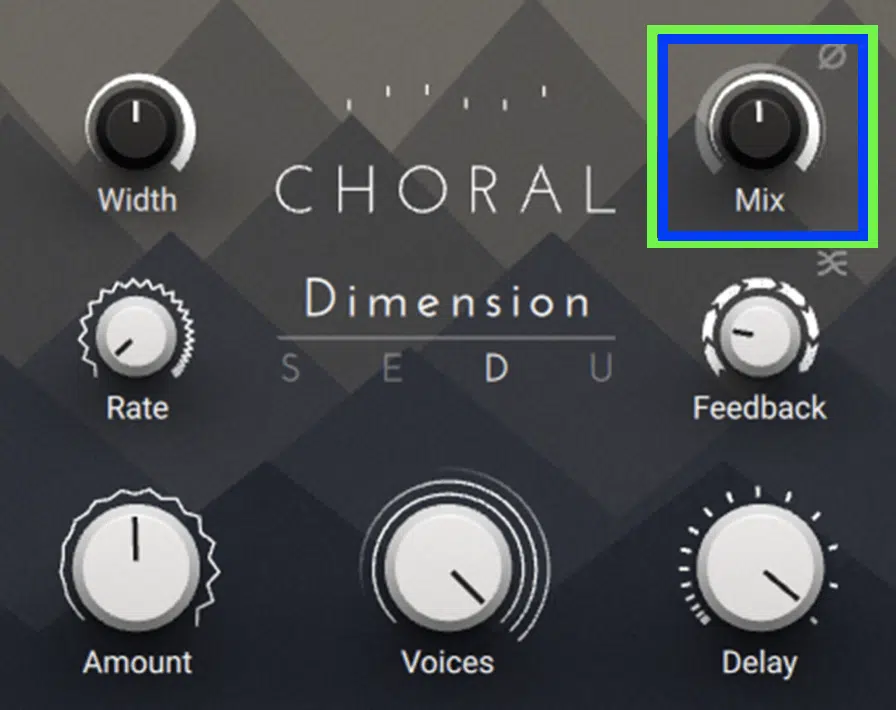
The Mix or Wet/Dry control blends the processed (wet) signal with the original signal to create the final chorus effect.
For a subtle enhancement, like adding width to vocals, set the wet/dry mix around 20-30% wet.
This ensures the chorused signal complements the dry track without overpowering it.
If you’re producing dreamy pads or ambient synths, a 50-60% wet mix often works well because it lets the effect take center stage.
PRO TIP: When working with dense mixes, use automation to gradually increase the wet/dry mix during breakdowns or intros to create a sense of movement and space.
On guitars, a 40% wet mix paired with a lower depth setting (20-25%) gives a classic “doubled” sound, especially effective for clean tones.
Just remember to always balance the wet and dry signals (two signals) to avoid masking important frequencies in the original sound.
-
Delay Time
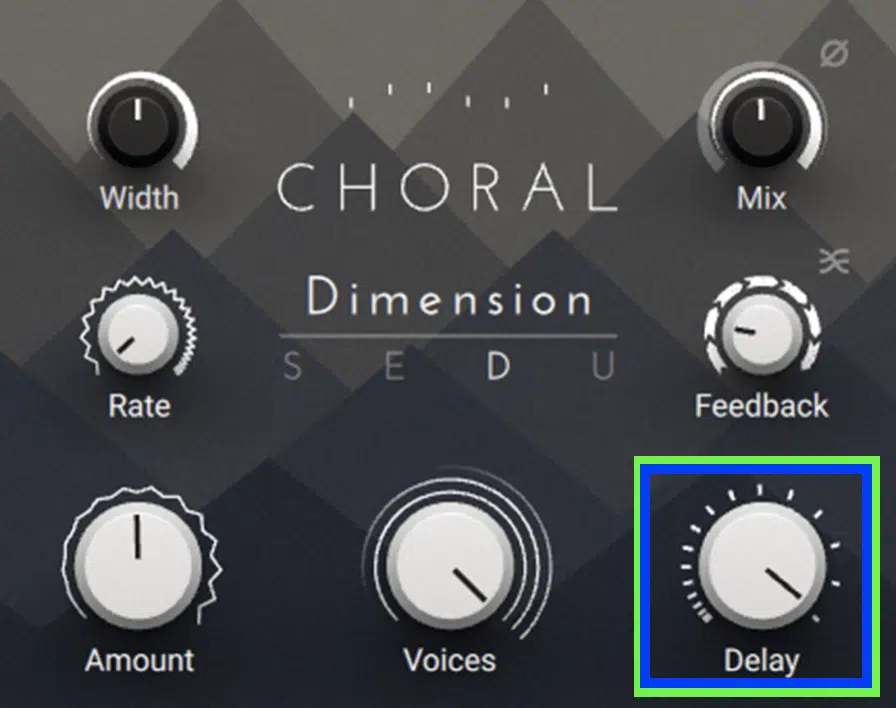
The delay time parameter controls the offset between the original signal and the duplicated signal, playing a key role in shaping the chorus effect.
- Short delay times, around 5-10 ms, create a subtle effect, often used to add width to vocals or guitar tracks.
- Longer delay times, such as 20-25 ms, produce a more noticeable modulation, which works well on synth pads or strings.
For an ethereal/wide stereo chorus, set different delay times for each channel (e.g., 15 ms on the left and 20 ms on the right) to expand the stereo image further.
When designing lead sounds, make sure to keep the delay time below 15 ms to avoid muddying the tone, because nobody wants that.
If you’re experimenting with extreme settings, like 40-50 ms, you’ll notice the effect starts to sound more like a flanger or even slapback delay.
This can be great for unique textures, so I certainly recommend doing so.
Also, make sure to play around with the delay time in real-time to hear how it interacts with your original sound and modulation and tweak to perfection.
-
Feedback
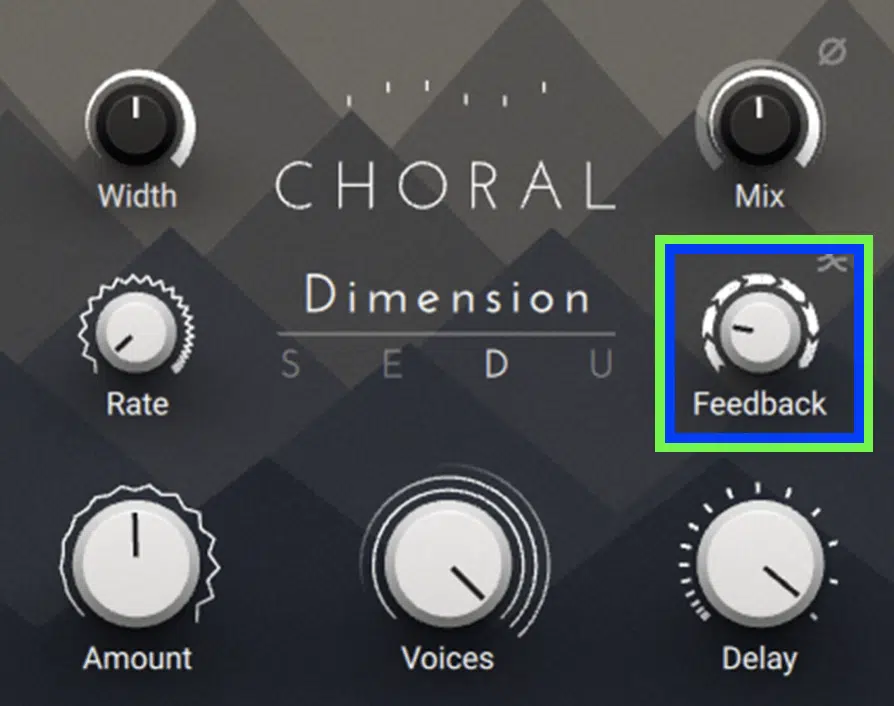
The feedback parameter determines how much of the processed signal is fed back into the input to create a more in-your-face effect.
For subtle enhancements (like adding a light chorus effect to vocals), keep the feedback knob set to around 10-15%.
This avoids any unwanted phasing artifacts while still providing that dope edge.
On the other hand, for more experimental sounds, like ambient synth pads or sound design elements, crank the feedback to 50-60% for a cascading, almost evolving texture.
Just be cautious with high feedback settings when using a stereo chorus… It can exaggerate phase issues in the stereo field if not properly balanced with EQ.
For guitars, a feedback level of 25-30% pairs well with a delay time of around 20 ms to create a classic, warm doubling effect.
NOTE: Always hear how the feedback interacts with the original signal, as higher levels can drastically alter the sound’s tonal balance.
Chorus Effect vs Flanger Effect vs Phaser Effect
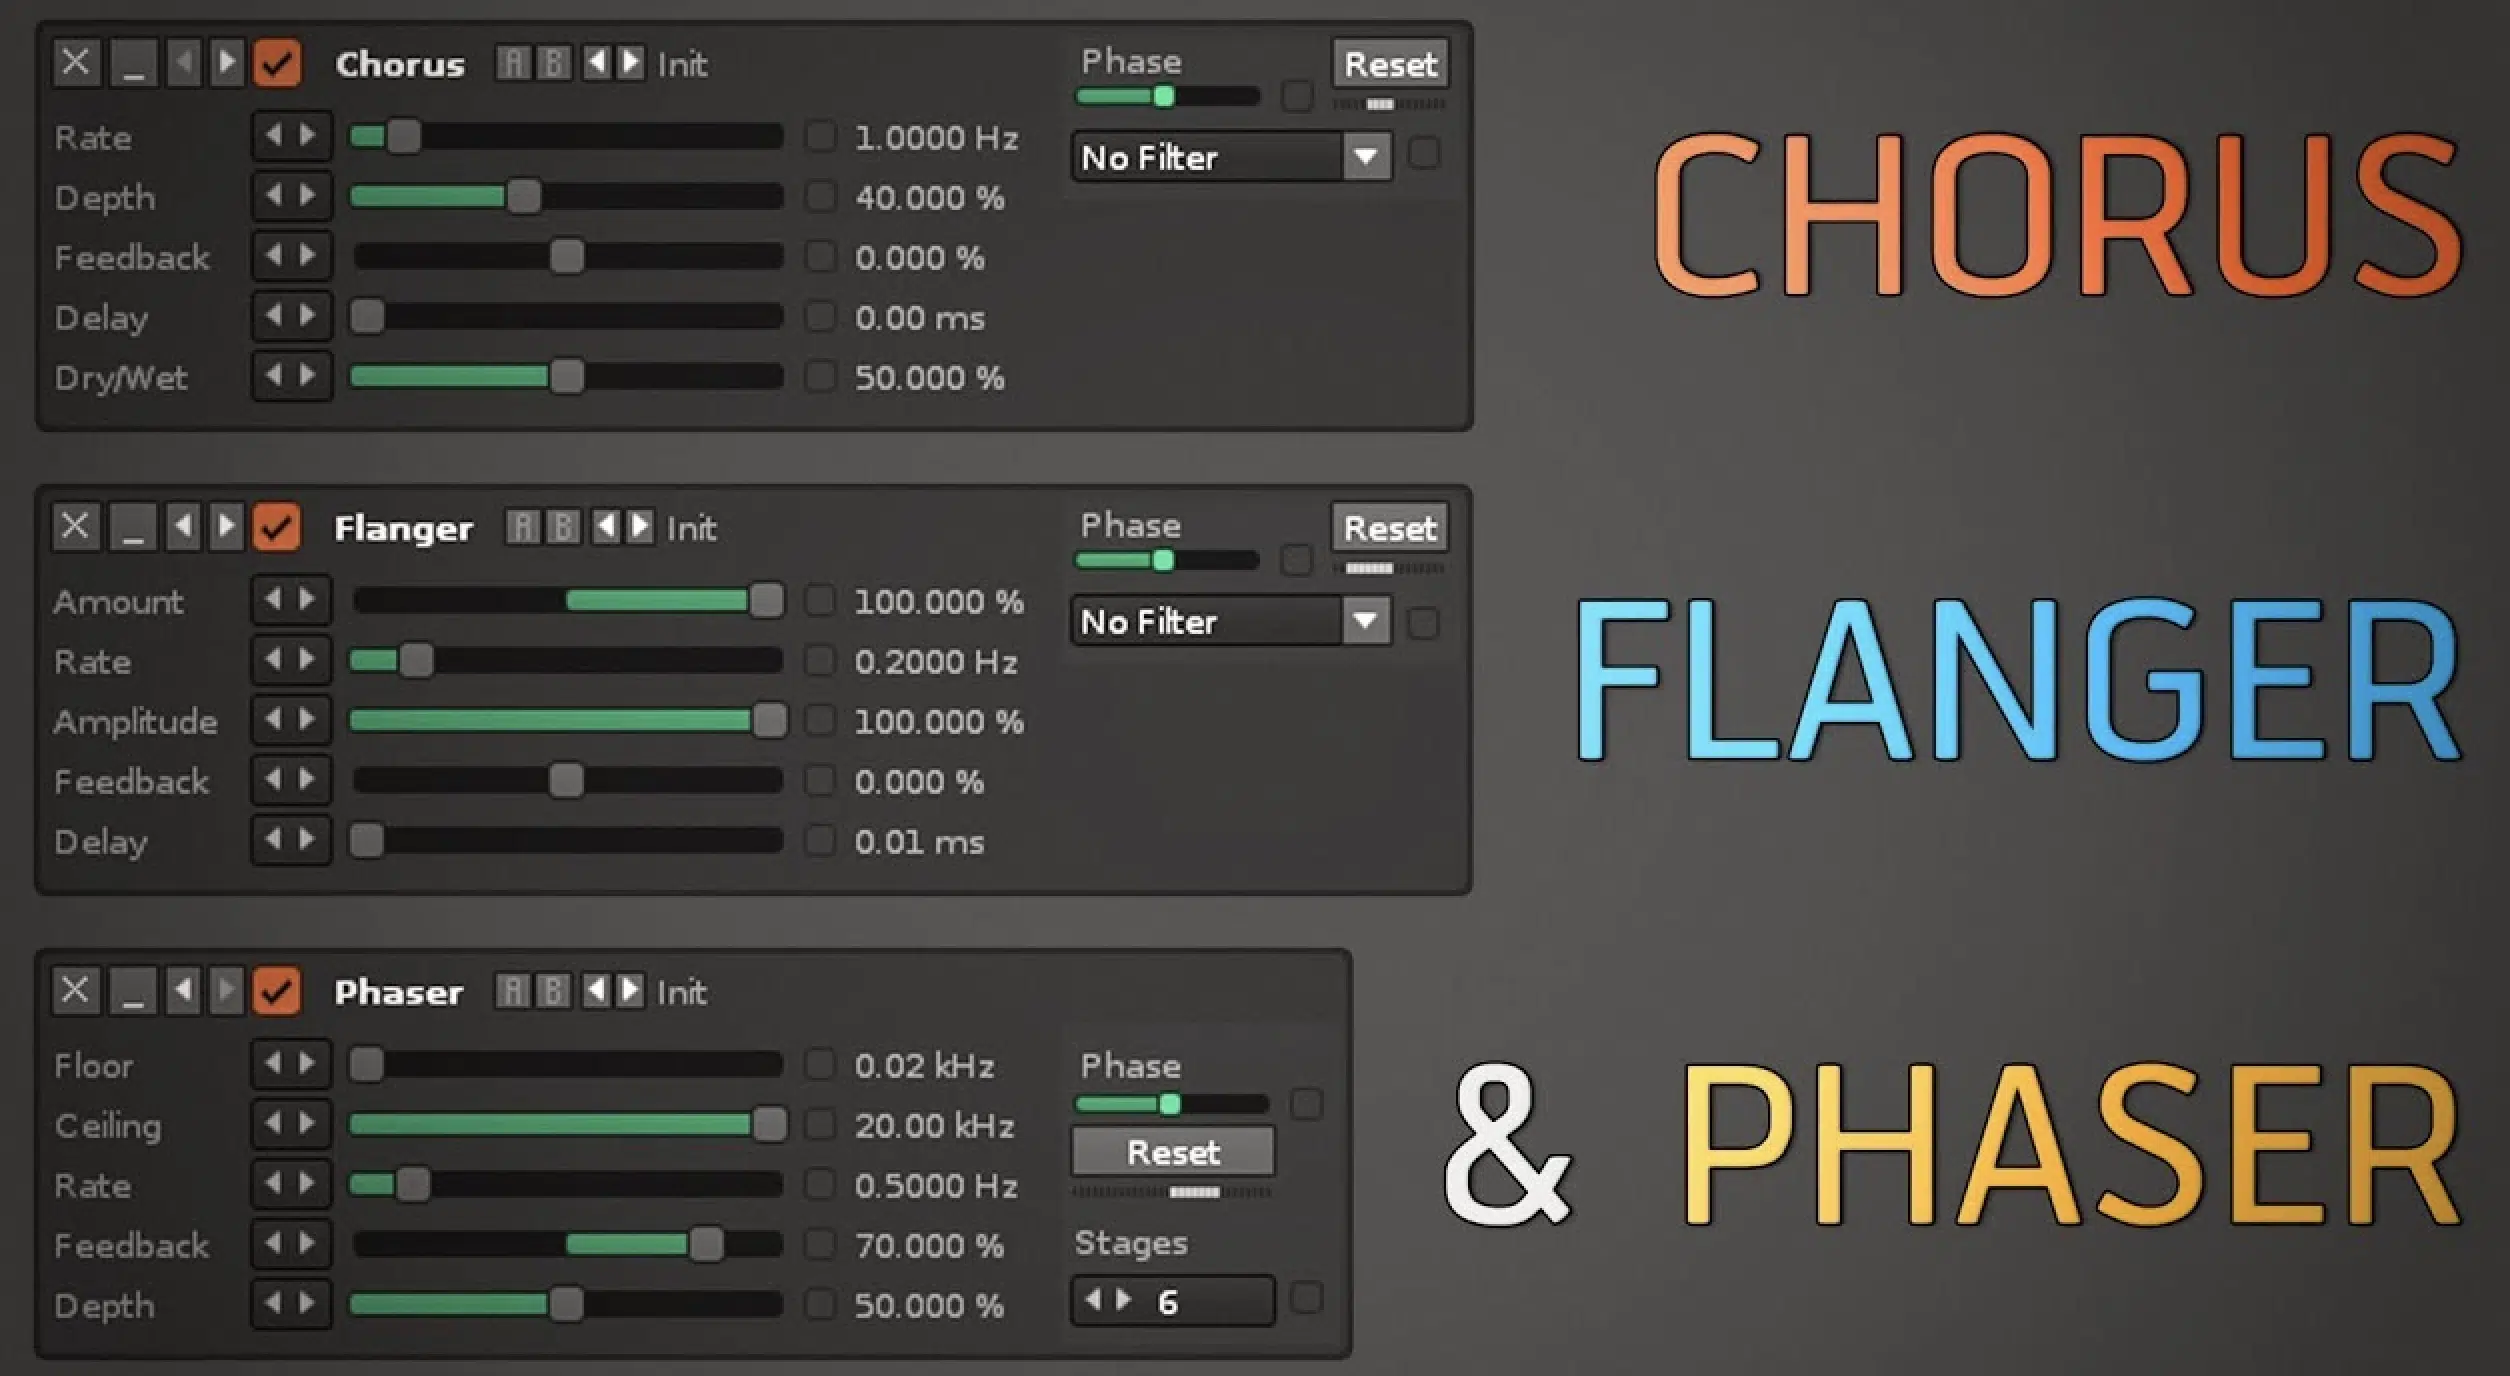
Before moving on I thought it would be helpful to break down the difference between a chorus effect, flanger effect, and phaser effect.
This is because understanding the differences will certainly help you master modulation effects in your tracks (and up your skills in the process, which is always a plus).
A chorus effect works by duplicating the audio example signal, slightly delaying and modulating it, and blending it back with the original signal.
For example, if you set the delay time to 15-20 ms and the depth controls to 30%, you’ll achieve a subtle doubling effect that enhances vocals or pads.
All without making them overly modulated.
As we talked about, this will create the illusion of multiple voices or instruments.
A flanger uses much shorter delay times (less than 10 ms usually), along with feedback, to create a distinct comb-filtering effect.
For example, crank up the feedback knob to 50% and use a delay time of 5 ms on a guitar track, and you’ll get that iconic swirling, jet-like effect (think classic rock tracks).
A phaser, on the other hand, shifts the phase relationship of the signal at specific frequencies 一 creating a more pronounced sweeping effect.
For instance, a phaser with a rate of 1 Hz and a depth of 40% on a lead synth can add subtle movement that keeps the sound dynamic.
If you want a lush, natural texture, stick with the chorus effect, and if you’re after something more dramatic and metallic, the flanger might be the right pick.
For subtle movement in pads or leads, the phaser can be a great choice.
But, in my personal experience: when in doubt, try combining these effects.
For example, adding a light phaser after a stereo chorus with slightly offset delay times (e.g., 10 ms on the left, 20 ms on the right) can produce complex/unique textures in your stereo image.
Bottom line, knowing these differences allows you to choose the right one for each track’s specific vibe, because they are always different.
How to Use Chorus Effects like a Boss
Now that you know the key parameters, let’s talk about using the chorus effect across different types of audio. This way, you’ll know how it can enhance your vocals, guitars, synths, and more (with pro tips for each)
-
Enhancing Vocals
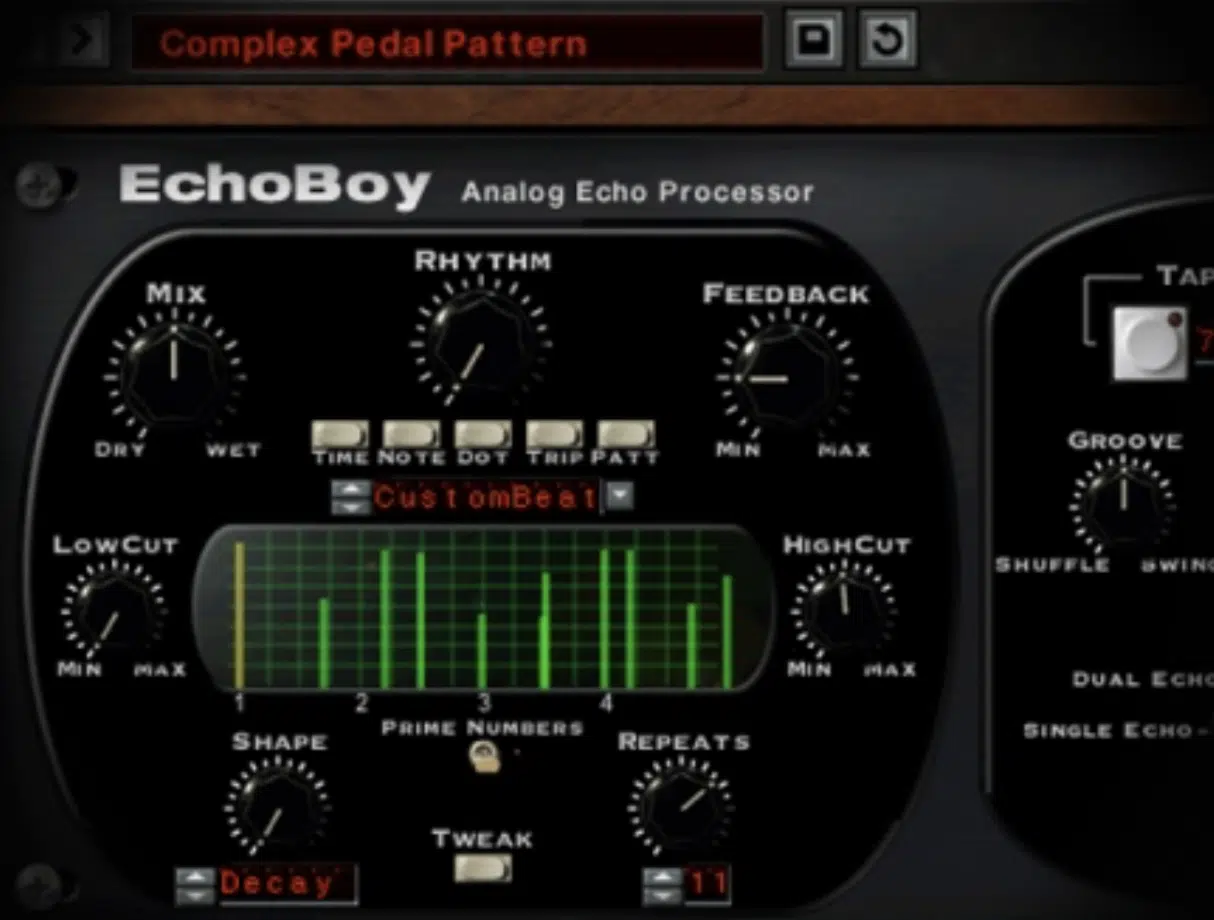
Using the chorus effect on vocals can add a subtle richness or create an entirely unique tone altogether (it just depends what you’re going for).
For lead vocals, set the depth controls to around 15-25% and the delay time to 10-15 ms for a subtle doubling effect that makes the voice stand out without sounding unnatural.
If you’re working on backing vocals, you’ll want to increase the depth to 40-50% and the wet/dry mix to 50% wet for a fuller, more spacious sound.
I suggest that you experiment with automation to gradually introduce the chorus effect during choruses or bridges to really hype up the emotional peaks of your song.
Also, using a high-pass filter on the processed signal can help preserve clarity by preventing low-end buildup, especially when layering multiple vocal tracks.
-
Thickening Guitars
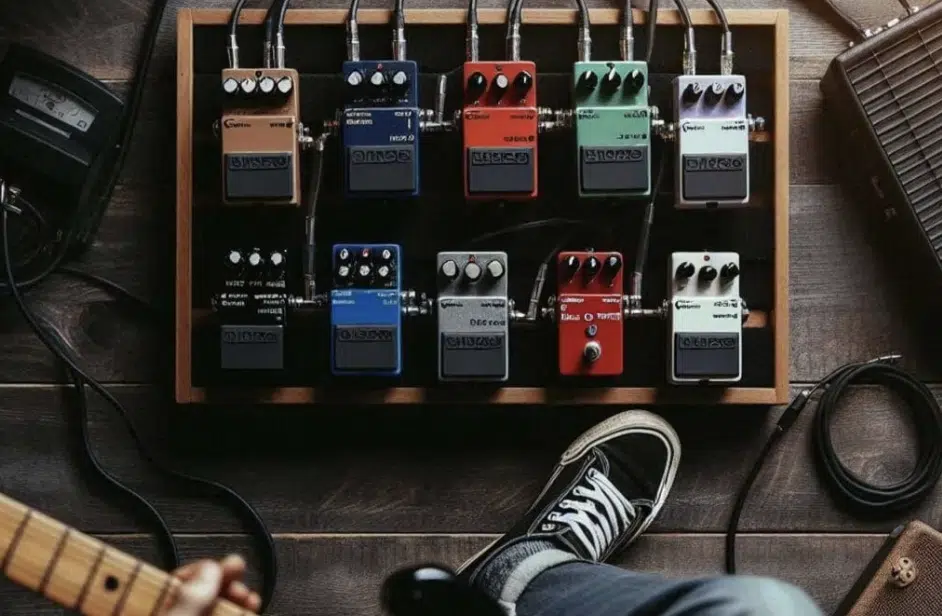
As we touched upon, a chorus effect is perfect for creating thick, epic guitar tones, especially when it comes to clean or slightly overdriven signals.
You’ll want to start with a delay time of 20-30 ms and a depth setting of 25-35% to achieve a subtle, shimmering quality.
For arpeggiated parts or clean rhythms, try a wet/dry mix of 40% wet to add movement and stereo width without overwhelming the original signal.
If you’re using a chorus pedal, experiment with placing it before or after distortion:
- Pre-distortion creates a more blended sound.
- Post-distortion emphasizes the modulation effect.
For a classic 80s-style tone, increase the rate to 1.5 Hz and push the feedback to 30-40% 一 this works super well on shimmering chords.
Finally, for lead lines, keep the rate slow and the wet/dry mix low (20-25%) to maintain clarity while still adding that polished, professional touch.
Remember, these numbers aren’t written in stone, so you can always tweak things to what you consider perfect.
-
Widening Synths and Pads

Aside from guitar, the chorus effect is also super powerful for adding width and flair to synths and pads 一 making them feel larger-than-life.
To create a lush, expansive sound, set the delay time to around 15-20 ms and the depth controls to 40-60%.
This ensures the modulation adds movement without becoming overpowering.
For example, if you’re designing an ambient pad, try combining a stereo chorus with a wet/dry mix of 50-60% wet to fill out the stereo image and create an immersive texture.
Also, use the width knob in your plugin (if available) to expand the stereo field, and apply a subtle high-pass filter to remove low-end mud while keeping the pad crystal clear.
When layering multiple pads, simply adjust the rate and depth settings slightly for each layer (e.g., 1 Hz for one pad and 0.8 Hz for another) to avoid phasing issues.
-
Adding Movement to Static Sounds
Static sounds (such as mono leads or drones) can benefit in a major way from the chorus effect because it can introduce subtle movement that keeps them engaging.
Start with a rate of 0.5-1 Hz and a depth of 20-30% for gentle modulation that adds life without distracting from the original sound.
For a lead synth in, let’s say, a progressive house track, try increasing the wet/dry mix to 40% wet and adjusting the delay time to 10-15 ms.
This will add dynamic interest while maintaining focus.
A super cool technique that I like to do sometimes is pair the chorus effect with automation to modulate the rate and depth controls over time.
If you’re looking for evolving textures that breathe throughout your track, this is the way to go, hands down.
NOTE: Adding a touch of feedback (10-15%) can also introduce a slightly detuned character, especially ideal on long, sustaining notes.
-
EQing the Effected Signal
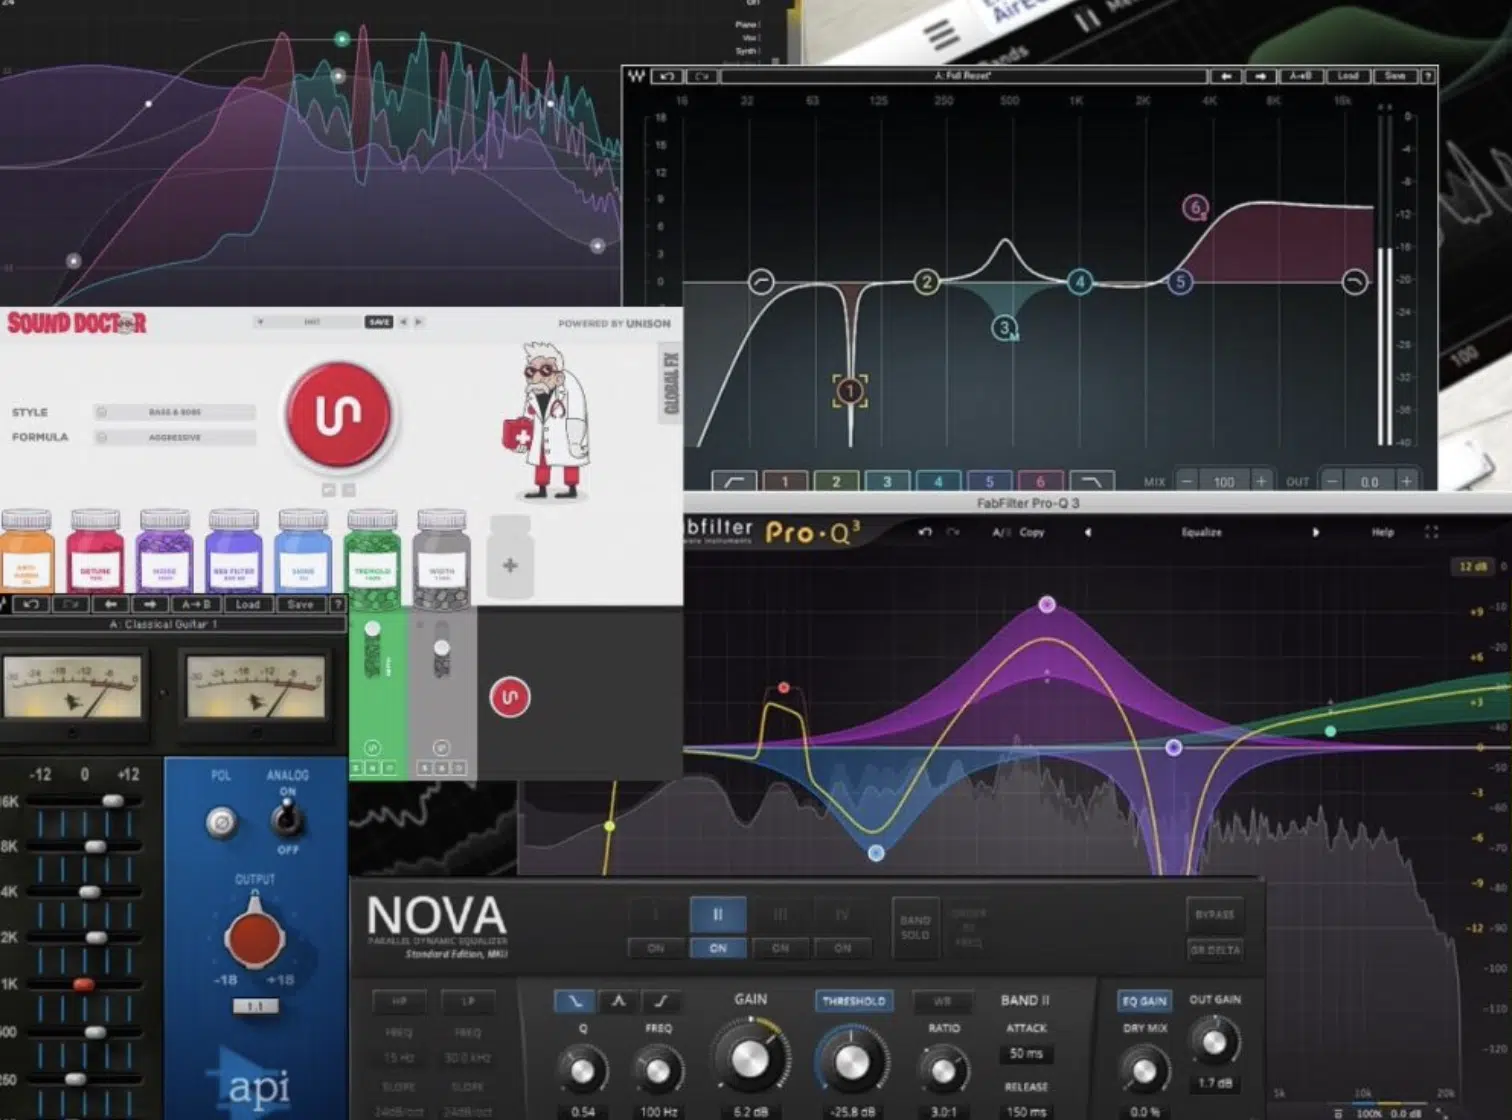
Applying EQ to the processed signal is super important for maintaining clarity, especially when working with dense mixes (I cannot emphasize this enough).
For example, a high-pass filter set to around 120 Hz can eliminate unnecessary low-end rumble in chorused vocals or pads 一 preventing them from clashing with the bassline.
On the same note, if the chorus effect introduces harshness in the upper mids, a gentle cut at 2-4 kHz can smooth out the tone.
If your plugin has the ability, make sure to apply EQ directly within the chorus effect chain to sculpt the sound before it’s blended with the dry signal.
It will give you more precise control over the final tone.
-
Automation Techniques
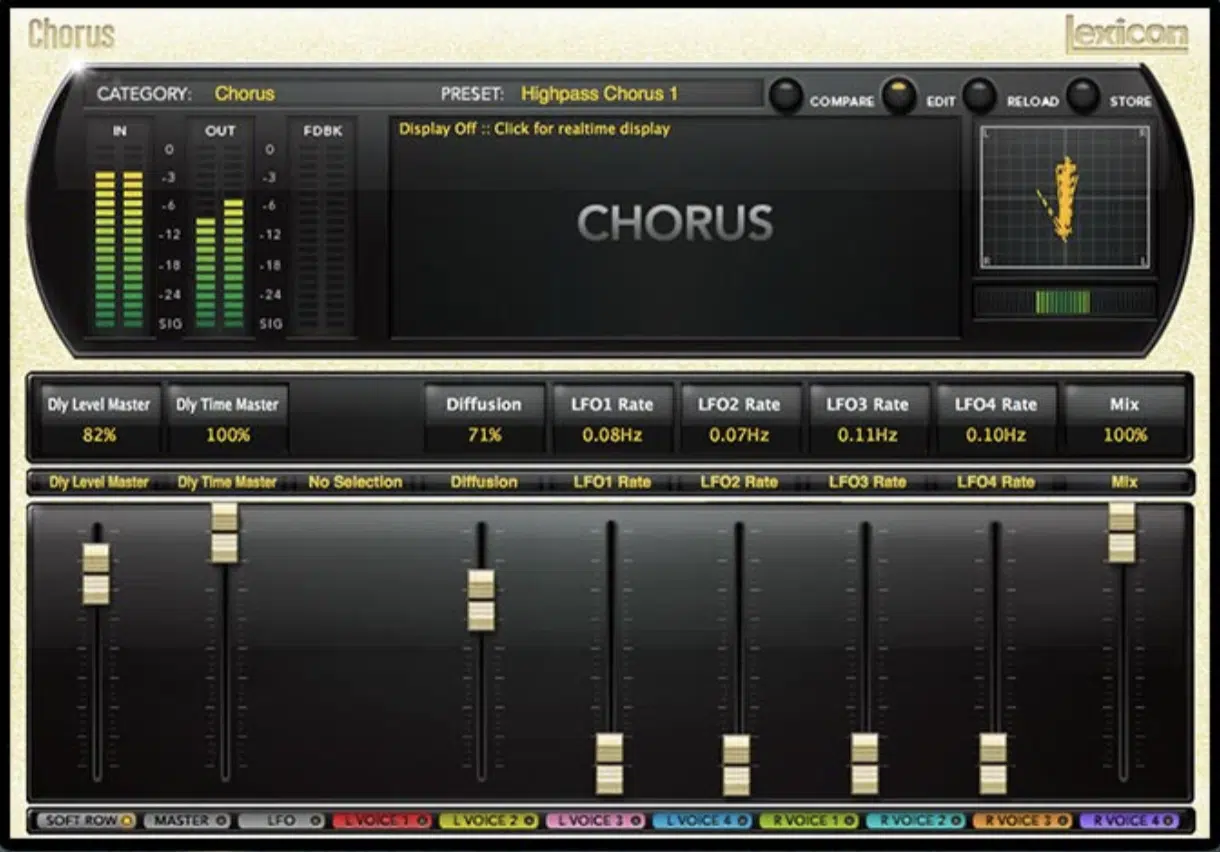
Automation transforms the chorus effect from a static sound to a dynamic tool that evolves throughout your track, adding movement and excitement.
For example, gradually increasing the wet/dry mix from 10% to 50% during a buildup can make pads or synths feel like they’re expanding, creating tension before a drop or riser.
On a vocal track, automate the rate control from 0.5 Hz in the verses to 1 Hz in the chorus to subtly emphasize emotional shifts.
PRO TIP: Experiment with automating the delay time (starting at 5 ms and extending to 20 ms over a phrase) for a sweeping effect that feels like it’s pulling the sound apart.
If your plugin includes a width knob, try increasing it during climactic moments to expand the stereo image dramatically, then narrow it for quieter sections for contrast.
For even more creativity, combine automation of the depth controls and feedback to gradually morph the sound from subtle to lush, perfect for cinematic or ambient tracks.
Bonus: Advanced/Creative Techniques
Once you’ve mastered the basics of the chorus effect, it’s time to take things to the next level with advanced techniques (my favorite part). So, to round things out, let’s dive into some super creative ways to customize the effect, combine it with other tools, and push it beyond its traditional uses.
-
Combining Chorus with Other Effects
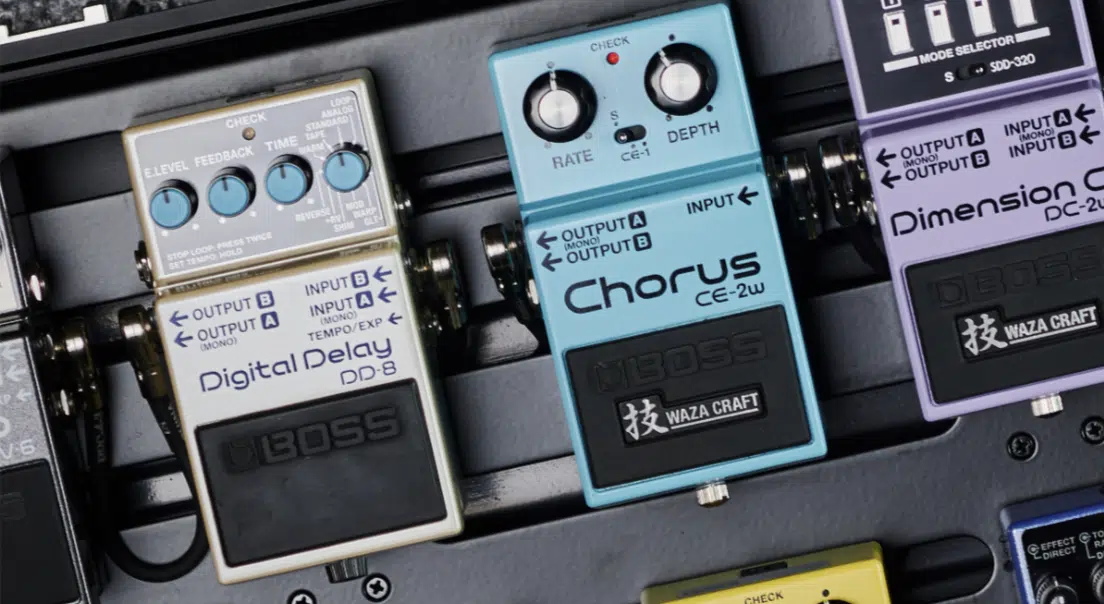
Pairing the chorus effect with other effects can add even more dimension and creativity to your sounds.
For example, placing a dimension module after a chorus pedal creates an awesome stereo field that works beautifully on guitar parts.
For vocals, combine the chorus effect with a touch of reverb and delay to produce killer ethereal tones.
PRO TIP: Add a phaser or flanger before the chorus effect to enhance the modulation further 一 creating intricate textures for synths or sound design elements.
Also, play around with routing a detuned version of your signal through distortion before applying chorus to create gritty, lo-fi tones.
This not only pumps up the original sound but also opens up new creative possibilities for layering and contrast.
-
Emulating Ensemble Sounds
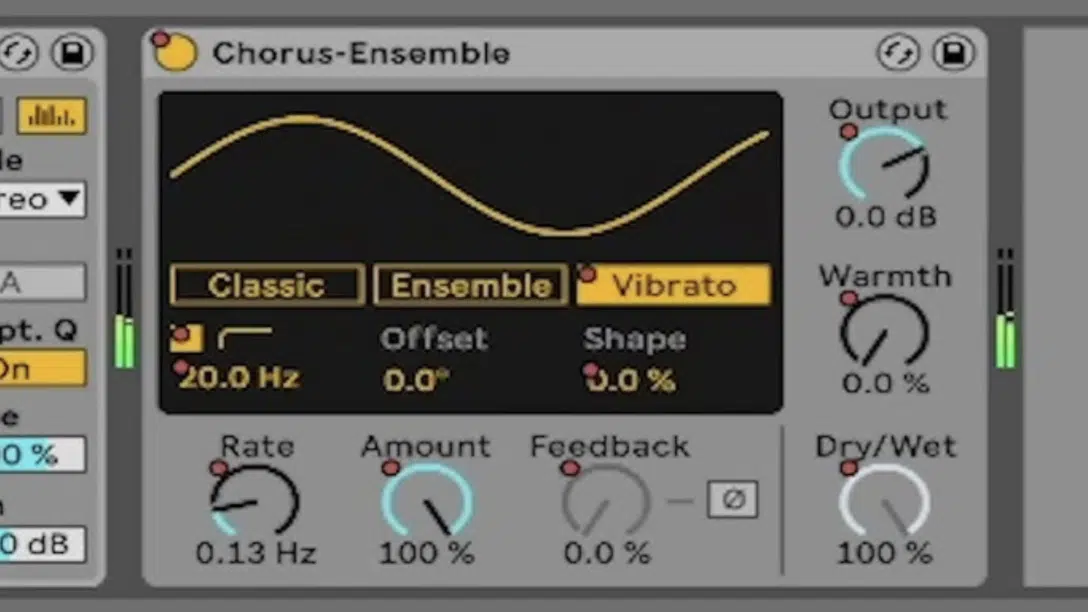
The chorus effect is also a fantastic way to emulate the sound of a group of voices or a string ensemble…
To achieve this, set the delay time between 15-25 ms and use depth controls around 40-50% to simulate the subtle pitch variations of multiple instruments.
For a fuller texture, layer a chorused signal with a slightly detuned version of the original signal, which always works pretty well.
My advice is to use a stereo chorus to pan slightly different modulations to the left and right channels, expanding the stereo width and mimicking the natural spread.
Don’t forget to apply a high-pass filter to remove unnecessary low-end frequencies 一 keeping the mix clean and balanced.
This technique is great for orchestral sounds or cinematic compositions, where lush, wide textures are key.
-
Stereo Imaging with Chorus

Using the chorus effect to enhance stereo imaging can transform the spatial feel of a track in a huge way.
For example, setting slightly different delay times (e.g., 10 ms on the left channel and 20 ms on the right) creates a wide and natural stereo image that works wonders on:
- Pads
- Leads
- Guitar
Increasing the width knob on a plugin like a dimension module adds thickness and even more space 一 giving the mix a three-dimensional quality.
For instance, try pushing the width knob to 80% for synth leads in a progressive house track to make them feel massive and spread across the stereo field.
Just be mindful of the phase relationship when using a stereo chorus, as misaligned phases can cause comb-filtering or muddiness.
If this happens, try narrowing the stereo field slightly or adjusting the rate to around 0.8 Hz and the feedback to below 15%.
PRO TIP: On pads or leads, apply a subtle high-pass filter at 120 Hz to remove low-end clutter while keeping the modulation clean and focused.
For a shimmering, airy quality, increase the wet/dry mix to around 60% wet and use a delay time of 15-20 ms with 40% depth controls to add sparkle.
Mix this with light reverb to push the sound further into the stereo image for a more polished finish that sounds super professional.
Bottom line, when applied with care, stereo imaging techniques can make your track sound polished and professional.
-
Modulation Source Madness
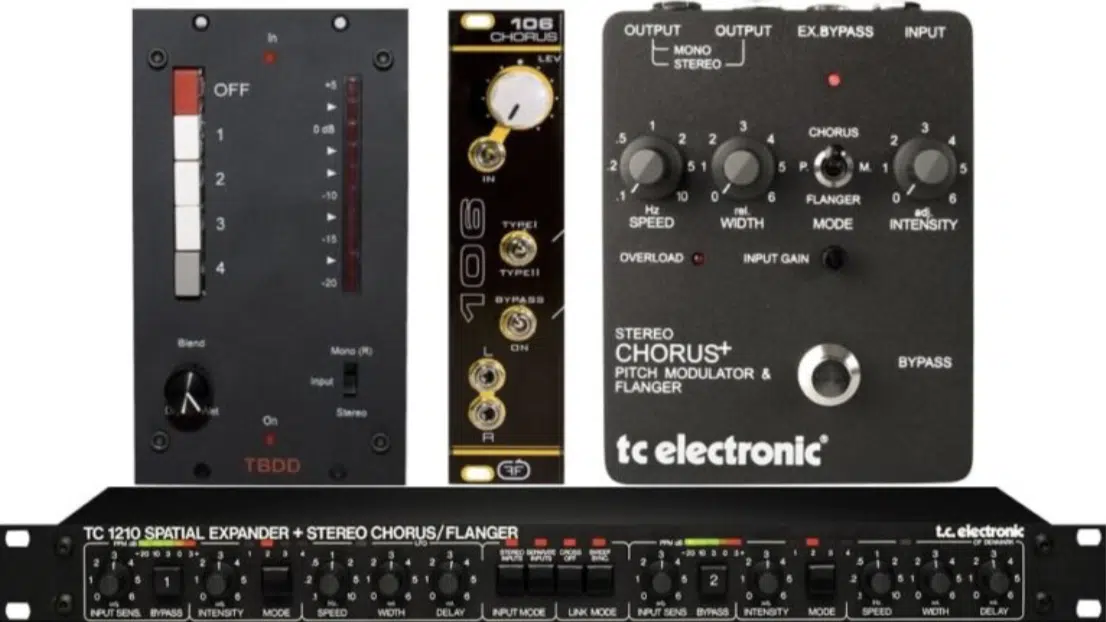
Experimenting with modulation sources can unlock entirely new uses for the chorus effect, which you guys know I’m all about.
For example, instead of relying solely on a standard LFO, use an envelope follower to modulate the rate and depth controls based on the amplitude of your audio signal.
This works great on percussive sounds if you’re looking to create a rhythmic modulation effect that adapts dynamically to the source material.
You could try applying this to a drum loop to make the chorus effect intensify during louder hits and mellow out during quieter moments.
PRO TIP: Route a MIDI-controlled LFO to the feedback or delay time parameters for precise control over the effect.
This lets you sync the modulation to your track’s tempo.
Also try combining multiple modulation sources (like random LFOs and keytracking) to create evolving and unpredictable sounds.
For example, a keytracking LFO could adjust the depth controls based on the pitch of your synth, while a random LFO tweaks the rate.
This creates an ever-changing effect that feels literally alive; it’s super dope.
If your plugin supports custom modulation shapes, simply draw your own to produce unique and complex motion.
For example, you could create a step-like shape to add a rhythmic pulse or a sine wave for smooth, sweeping modulation.
These techniques not only add movement to your sounds but also allow you to bang out effects that are truly one of a kind.
I mean, you don’t just want the same effect/similar sounds as everyone else, am I right?
Final Thoughts

So, there you have it: the chorus effect in a nutshell.
With everything you’ve learned today, you’ll be able to seriously elevate your tracks and add new dimensions to your tracks.
Plus, you’ll be able to use the chorus effect to thicken vocals, widen synths, and knock out unique textures that really stand out.
Just remember, it’s all about balance and intentionality, so make sure to always dial in the right chorus parameters and use the effect carefully.
Otherwise, things could get a little muddy, and nobody wants that.
And, as a special bonus, you’ve got to check out these 3 legendary Free Project Files.
They’ll show you exactly how to apply any effect you could think of 一 including the chorus effect, of course.
If you want to see exactly how a professional beat is produced from start to finish, these project files are like having the cheat codes.
They’re all available in Ableton, FL Studio, and Logic, plus created by the world’s top producers, so you surely don’t want to miss out.
And yes, they’re all 100% royalty-free, so you don’t have to worry about a thing.
Bottom line, adding the chorus effect to one of your beats can completely transform it and take it to a professional level in a major way.
It will help your tracks sound polished and dynamic, and really give them that larger-than-life feel.
Just remember to always stay motivated, think outside the box, and never let anyone tell you what’s possible in your music.
Until next time…


Leave a Reply
You must belogged in to post a comment.