The best EQ (equalizer) settings can completely make or break your track.
But, if done right, they can define your mix’s clarity, hype up your unique sound, and balance every element perfectly.
Plus, they make sure your music translates well across all playback systems, from headphones to car stereos, which is super important.
As producers, not knowing the right equalizer settings will seriously hold you back 一 making your tracks sound muddy, harsh, or amateurish (and nobody wants that).
This can lead to masking issues, poor stereo imaging, and beats that just don’t hit right, which is why I’m breaking down everything you need to know, like:
- How to shape individual instruments ✓
- Finding the perfect frequency range ✓
- Different frequencies (from high-mid frequencies to bass and treble) ✓
- Boosting clarity and removing harshness ✓
- Controlling frequency response in the mix ✓
- Enhancing tracks with the right EQ settings ✓
- Using filters to enhance or remove sounds ✓
- Avoiding clashes between frequency bands ✓
- Applying EQ dynamically for better results ✓
- What audio equipment will help you fine-tune your tracks ✓
- Much more about the best equalizer settings ✓
By knowing all about the best equalizer settings/EQ settings, you’ll be able to create mixes that sound polished, professional, and unique every single time.
And your tracks will always feel balanced, clear, and engaging no matter where they’re played, which will seriously make a difference.
This way, you’ll never struggle with muddy mixes or clashing instruments again, and you’ll truly look like a professional in the studio.
Table of Contents
Types of EQs: Breaking it Down
Before we get into the actual best equalizer settings, let’s talk about all the different types of EQ because it will help you understand their unique functions and how to use them like a boss. Plus, knowing the differences will help you up your skills and make sure, whether you’re mixing vocals, mastering a track, or shaping sound for creative effects, you’re always on point.
-
Parametric EQ
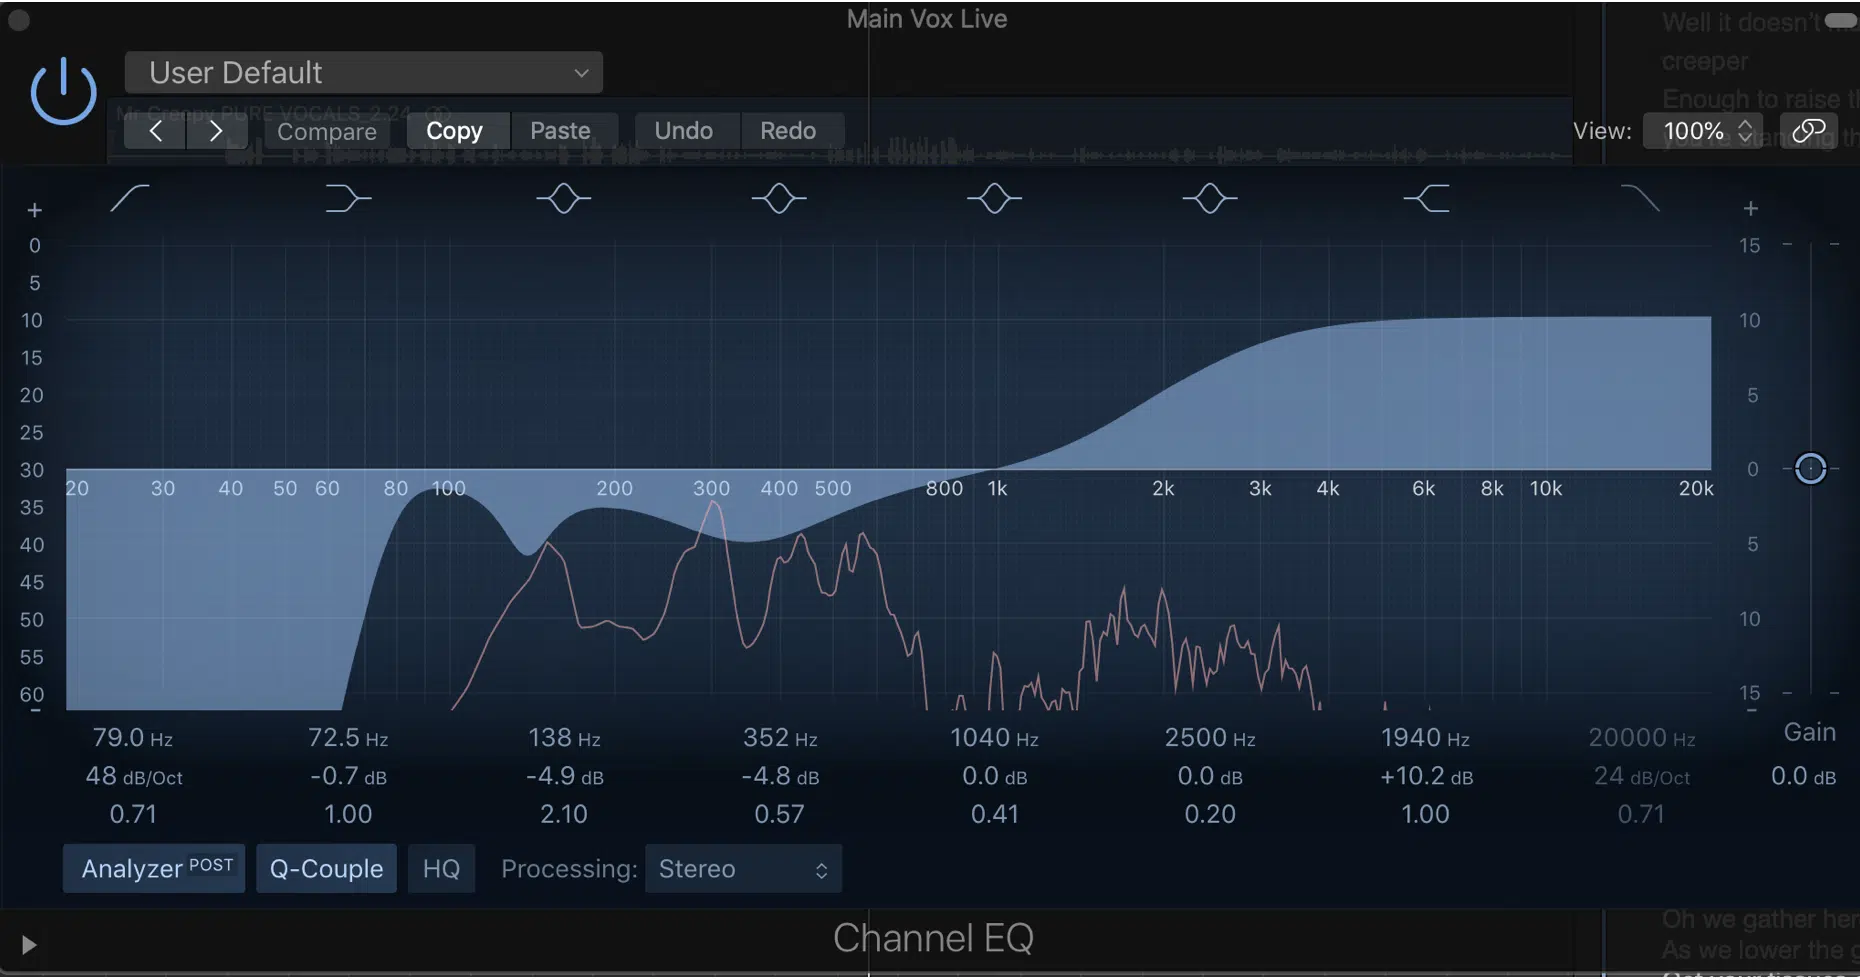
Parametric EQ is one of the most powerful tool for precise sound shaping because it gives you control over:
- Frequency
- Bandwidth (Q)
- Gain
For example, when a vocal has a nasal quality around 800 Hz, a narrow Q cut of -3 dB can smoothen the tone.
Many parametric EQs (like the FabFilter Pro-Q series) allow for dynamic adjustments, meaning they can react to specific audio changes in real-time.
Settings like a broad Q of 1.5 for boosting airy vocals at 10 kHz or a narrow Q of 0.8 to notch out unwanted ringing at 3.5 kHz are pretty common/standard.
Beginners can start with subtle changes (1-2 dB adjustments) to avoid over-processing, while pros often analyze frequency spectrums visually for pinpoint accuracy.
So, my advice is to always A/B test changes to ensure natural-sounding results.
Side note, if you want to learn all about parametric EQ and parametric equalizers, we got you covered.
-
Graphic EQ

Graphic EQs display fixed frequency bands that you adjust using sliders.
They’re perfect for live sound or quick fixes, such as taming feedback in a venue by reducing 1 kHz and 4 kHz by 6 dB.
For studio use, I have to say they’re less precise than parametric EQs but still effective for shaping broad tonal balance, so keep that in mind.
For example, boosting the low-mid bands (250-500 Hz) on a kick drum adds warmth, while cutting around 2 kHz on guitars reduces harshness.
A good tip is to make gentle adjustments (+/-3 dB) rather than dramatic ones to preserve the natural dynamics of your mix.
While not as flexible, graphic EQs like the API 560 are known for their musical character.
NOTE: There’s no visual aspect, so it can be harder to use with such pinpoint accuracy as with a parametric EQ if you don’t know the frequency spectrum that well.
-
Shelving EQ
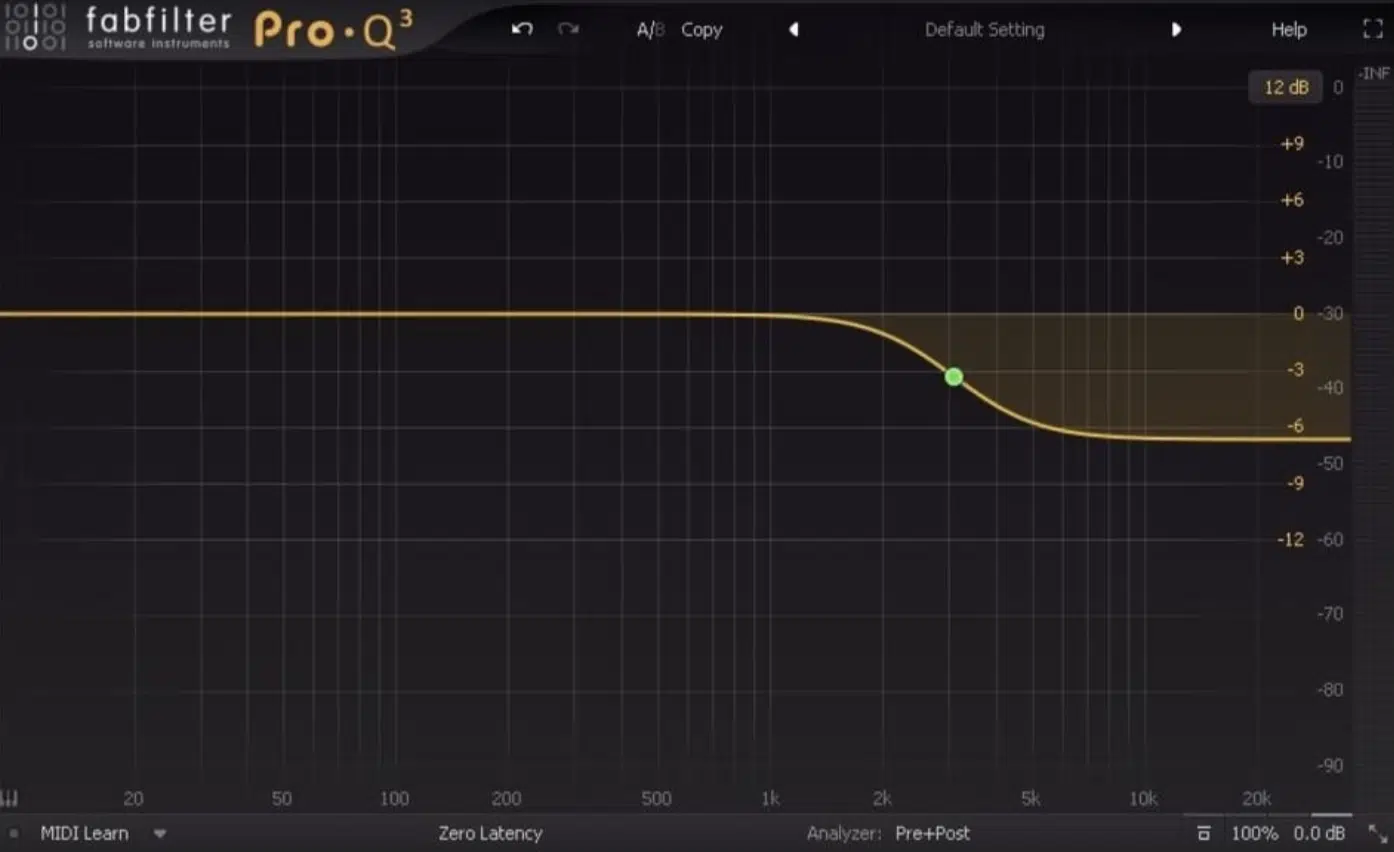
Shelving EQs either boost or cut frequencies above or below a set point, which also makes them perfect for broad tonal adjustments.
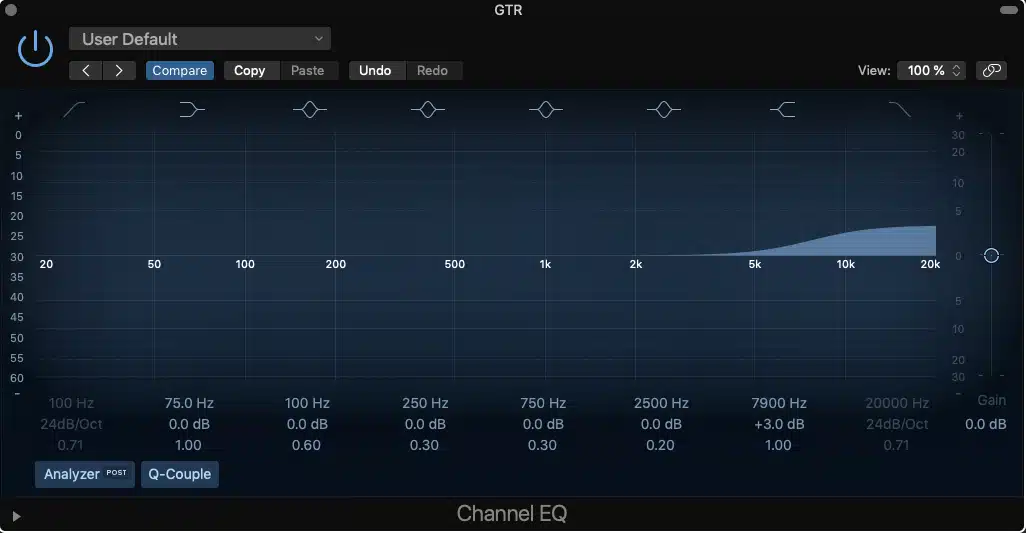
For example, applying a high shelf at 8 kHz with a gentle +3 dB boost adds brightness to vocals or cymbals so they’re even more on point.
On the flip side, a low shelf cut at 100 Hz can remove unnecessary rumble from guitars or vocals so they’re extra clear and pristine.
Plugins like SSL’s Channel EQ excel in applying shelves for smooth transitions without sounding harsh, so definitely check that out when playing around with this EQ type.
Remember to avoid overusing shelving EQ because boosting too much at the extremes can lead to unnatural or unbalanced mixes, and nobody has time for that.
NOTE: This means these EQs are generally strictly for broad strokes pertaining to the low and top end.
They are 100% not intended for boosting a certain area, such as a boost/cut at 1kHz, as they have no other curve types.
-
Multiband EQ
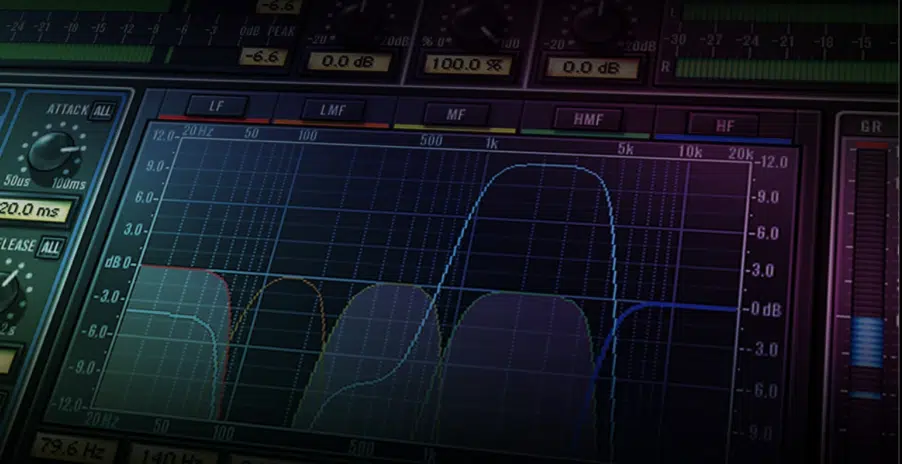
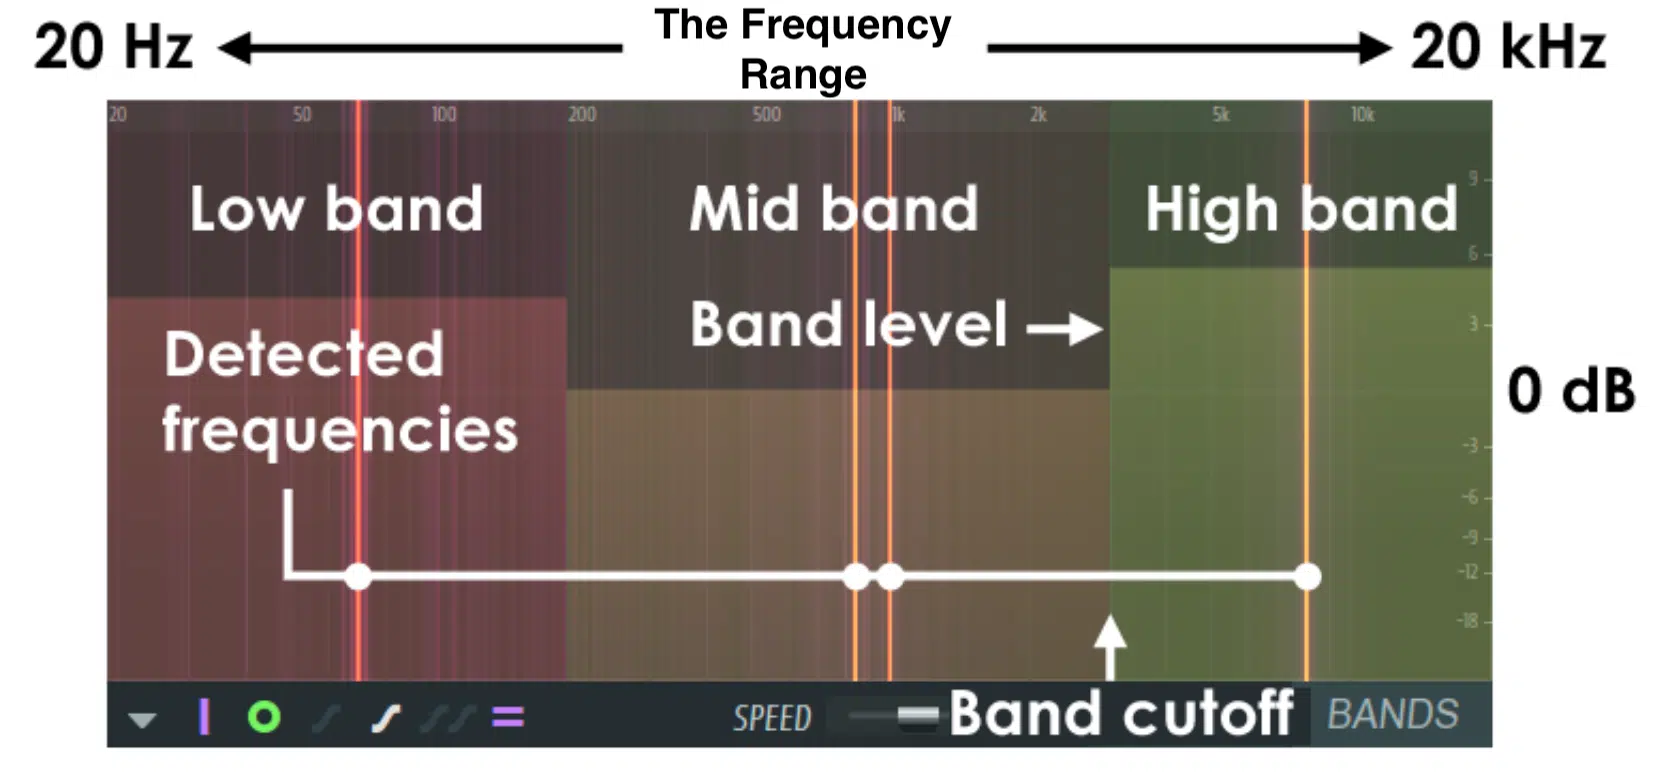
Multiband EQ splits the audio signal into multiple frequency bands so you can easily process each band independently.
For example, on a vocal track, you might compress the low mids (250-500 Hz) to reduce muddiness while boosting the highs (8-12 kHz) for added sparkle.
This can have a very similar effect as EQ but yields way more power in comparison.
A typical setting (that I personally implement) could involve:
- Dividing the signal into four bands
- Applying a -4 dB reduction to 300 Hz with a medium Q of 1.5
- Boosting 10 kHz by +2 dB with a soft knee compression setting
This is excellent when you’re working with complex instruments like synthesizers or guitars where different frequencies require unique treatment.
Multiband EQ is also helpful for mastering 一 subtle boosts and cuts across bands can refine the overall sound quality without drastic changes.
NOTE: When using multiband EQ, make small adjustments (+/-2 dB) and always A/B test the entire mix to avoid over-processing.
-
Dynamic EQ
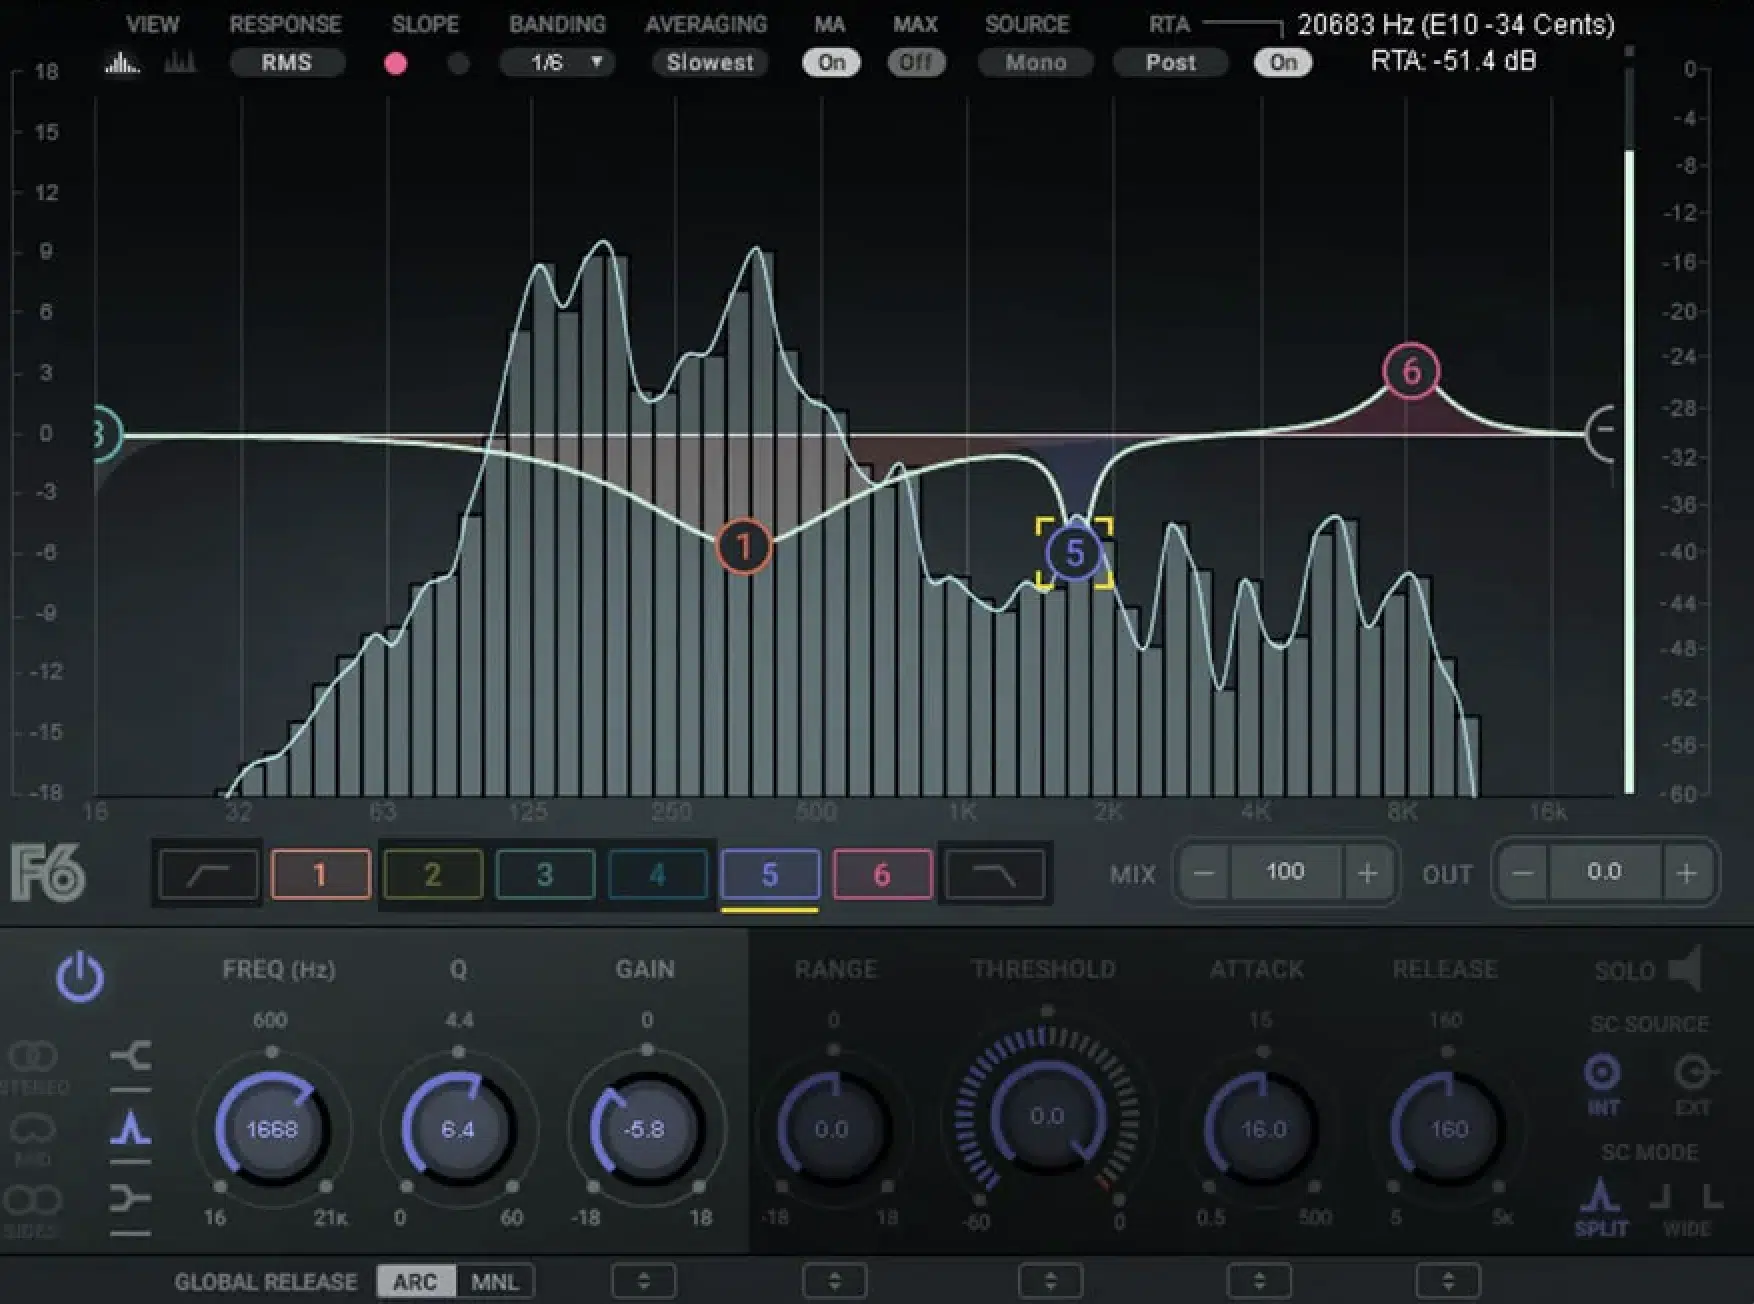
Dynamic EQ is a super popular EQ type that offers more control than traditional EQ by allowing frequency adjustments to respond dynamically to the input signal’s volume.
Because of this, it can be used as an alternative to compression in some cases and can also be used relatively interchangeably with multiband EQs.
Although they both have their place over the other in certain instances, of course.
For example, if a vocal track has occasional harshness around 3 kHz, you can set a dynamic EQ band to reduce that frequency only when it becomes too prominent.
A common setting might involve a:
- Threshold of -12 dB
- Q factor of 1.2
- Gentle ratio of 2:1 for smooth, transparent control
Unlike static cuts or boosts, dynamic EQ preserves the natural flow of the audio quality by adapting in real-time.
Tools like the FabFilter Pro-Q 4 (yes, it’s finally out!) or iZotope Neutron’s EQ are great for this and two of my personal favs.
You’re going to use dynamic EQ to clean up overlapping frequency bands during busy sections so you’ll get the perfect sound quality and mix clarity.
It can also be used with automation to clear up any phase issues that only occur at certain times due to a certain area in the particular frequency range.
One that a simple phase flip won’t fix, of course.
Instead of having to use more drastic time/labor-intensive options or having to remove the signal at that certain part entirely, dynamic EQ is your best friend.
It basically provides a non-destructive solution, so definitely get to know it.
-
Mid-Side EQ
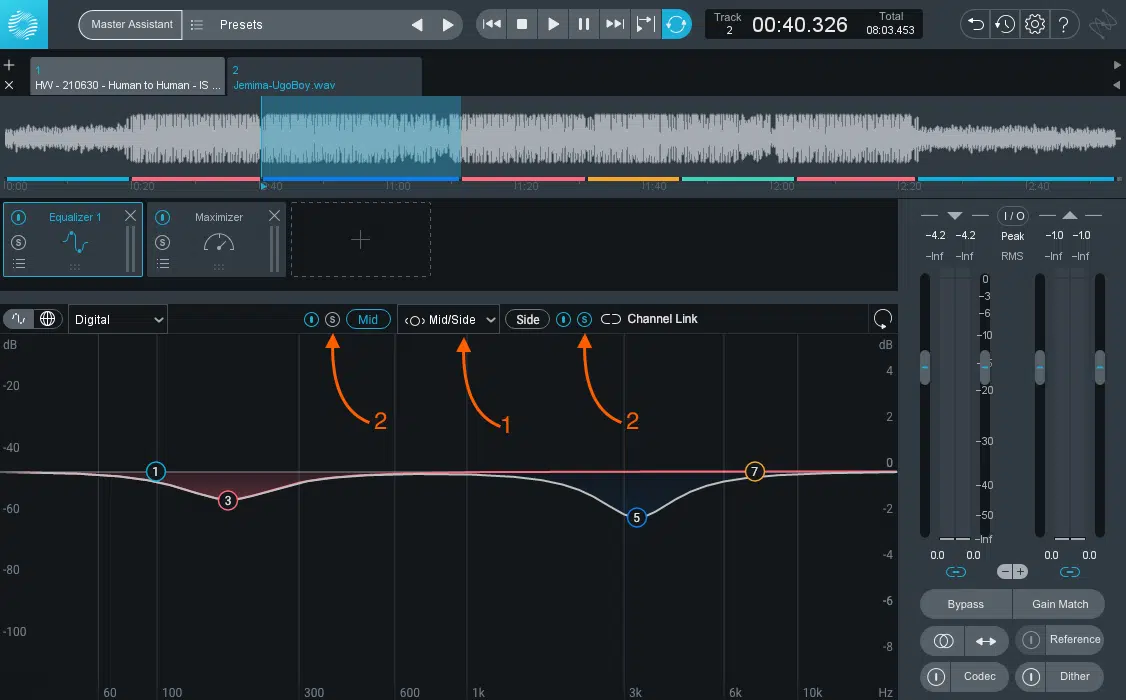
Mid-Side EQ is all about adjusting the center (mid) and sides (stereo) of your mix separately, giving you precise control over the spatial balance.
In many EQs, such as FabFilter’s, this is a function that can be easily enabled.
The good thing is that, other than having to EQ two separate signals, that’s really the only additional step to this process.
For example, you might boost 2 kHz in the mid channel to enhance vocal clarity while cutting 200 Hz on the sides to reduce unnecessary low-end rumble.
Settings could include a narrow Q and a gentle gain adjustment of +/-2 dB to maintain a natural sound (remember, it’s all about an authentic, natural sound).
Mid-Side EQ is super useful for mastering, where subtle stereo width enhancements can elevate the mix’s depth.
For a wide-sounding mix, boosting the sides at 10-12 kHz by +1.5 dB adds shimmer, while cutting the mids at 300 Hz tightens the low-end.
Tools like Brainworx bx_digital V3 make these adjustments intuitive and transparent.
Tip: Use Mid-Side EQ sparingly 一 overdoing it can create an unbalanced or artificial mix, and you always want more balance not less.
NOTE: The low end is not particularly fond of the side (stereo) signal, so you’re almost always better off applying cuts rather than boosting.
-
Linear Phase EQ
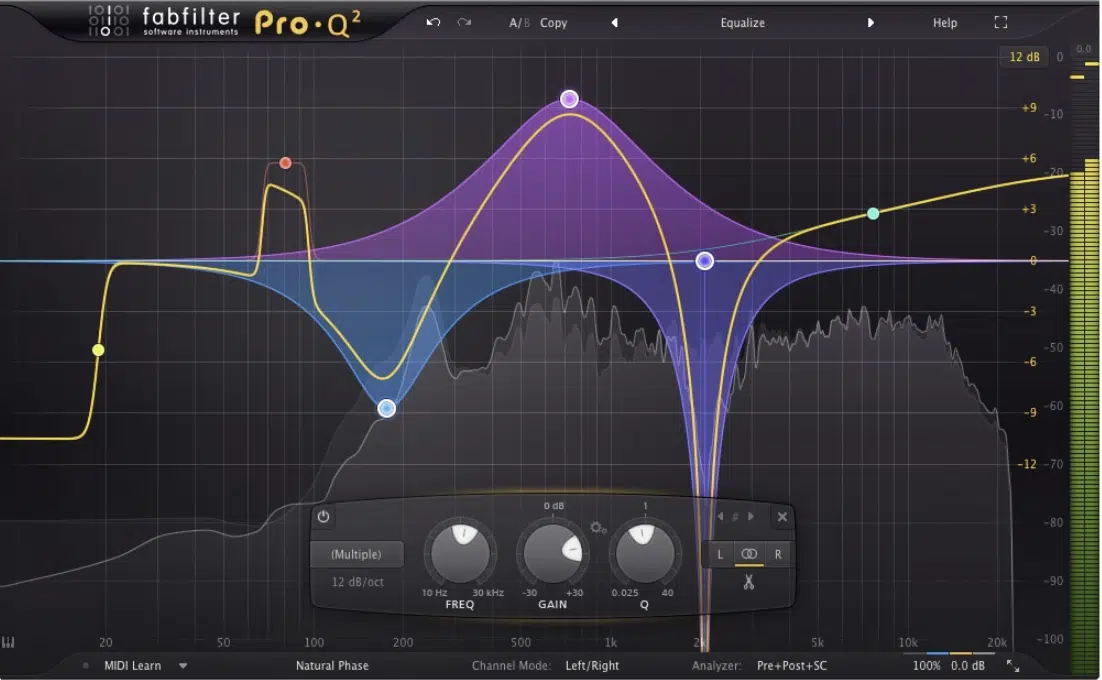
Linear Phase EQ preserves the phase relationship between different frequencies 一 making it ideal for mastering and processes that require transparency.
For example, when EQing a full mix, boosting 6 kHz by +2 dB with a wide Q of 0.8 ensures clarity without phase distortion.
This type of EQ is perfect for delicate tasks like removing harshness with a narrow Q at 2-3 kHz on vocals while keeping the rest of your mix intact.
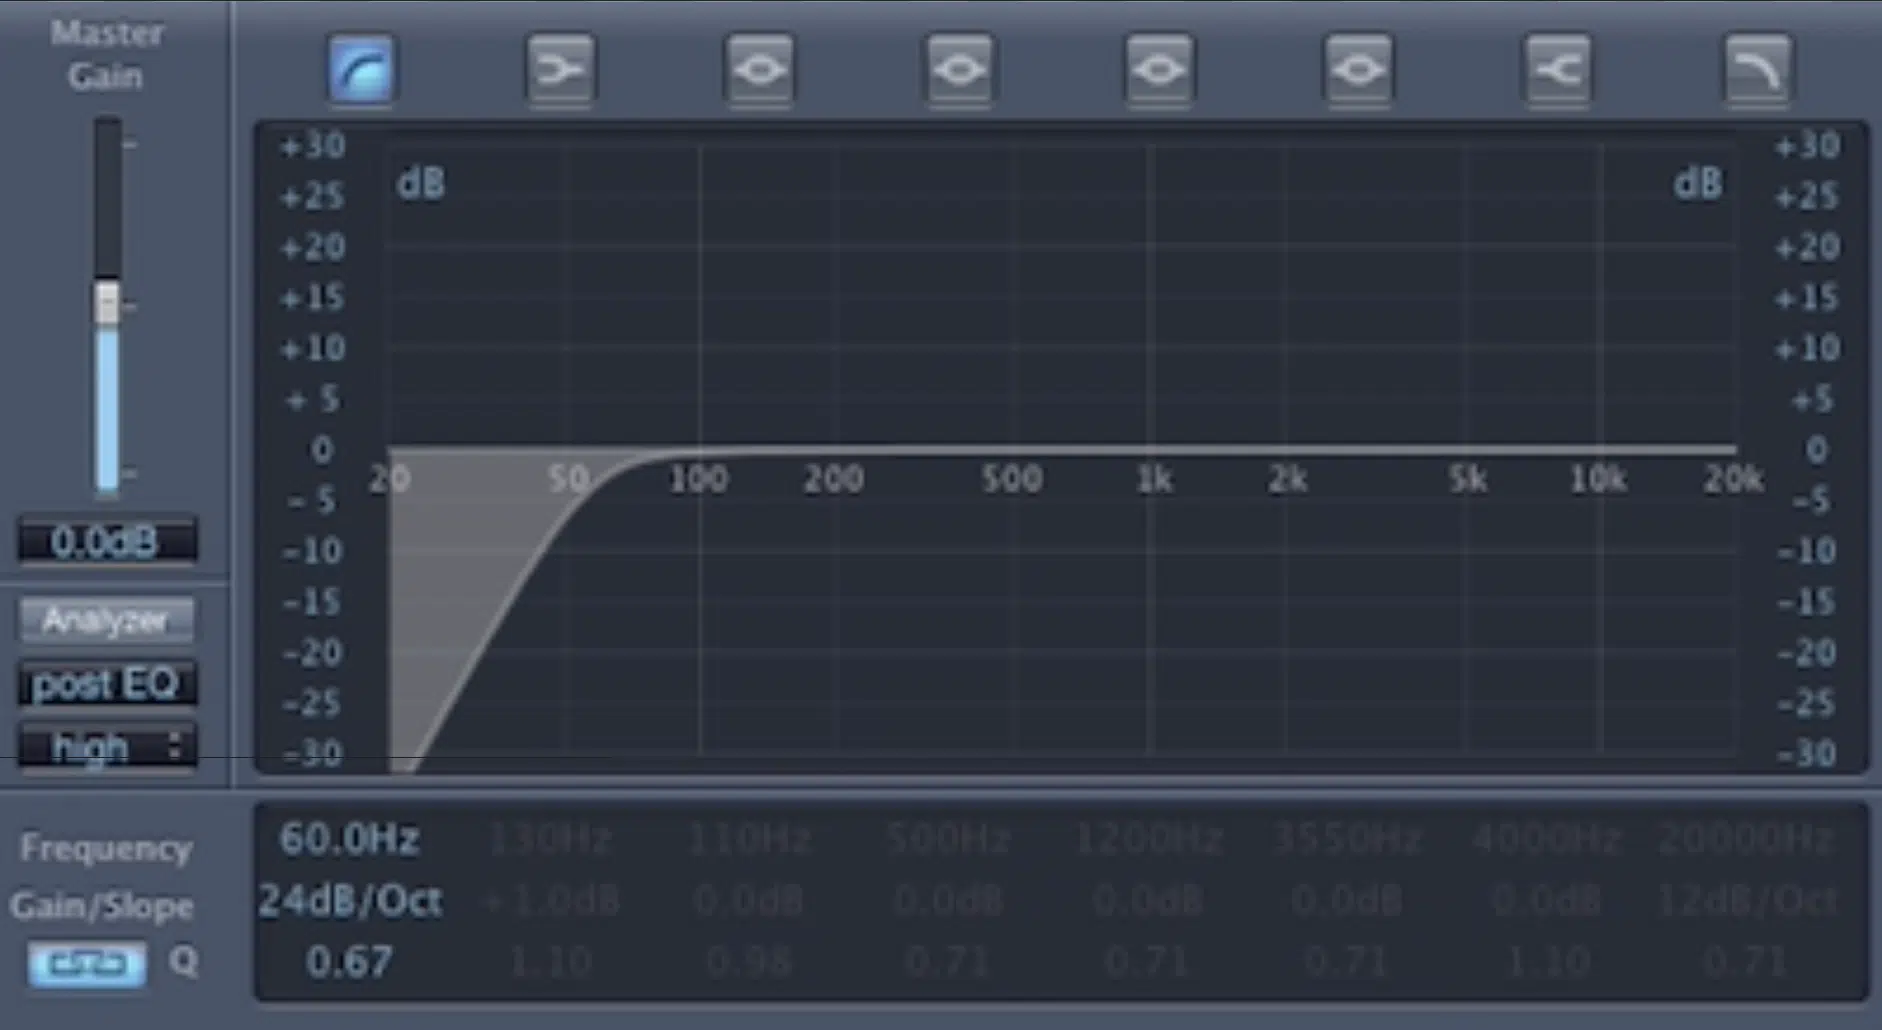
When working on bass-heavy tracks, a high-pass filter at 30 Hz using a steep slope (24 dB/octave) can clean up sub-bass rumble without affecting the punch of the kick drum.
Popular plugins like Waves Linear Phase EQ or FabFilter Pro-Q 4 in linear phase mode excel for this, so I suggest you check them out.
Make sure to avoid using Linear Phase EQ on transient-heavy material (like drums) at lower frequencies, as it can introduce what’s known as “pre-ringing” artifacts.
Always test the settings in context to maintain optimal sound quality.
Understanding the Different Frequency Ranges
Every sound you technically hear falls into specific frequency ranges, and understanding these is key to the best equalizer settings. Each range contributes a unique character to your mix, and adjusting these bands properly ensures your sound quality remains balanced and impactful. So, let’s break down each range and its role in shaping your track so your music sounds great and you can master the best equalizer settings.
-
Sub-bass (20-60 Hz)
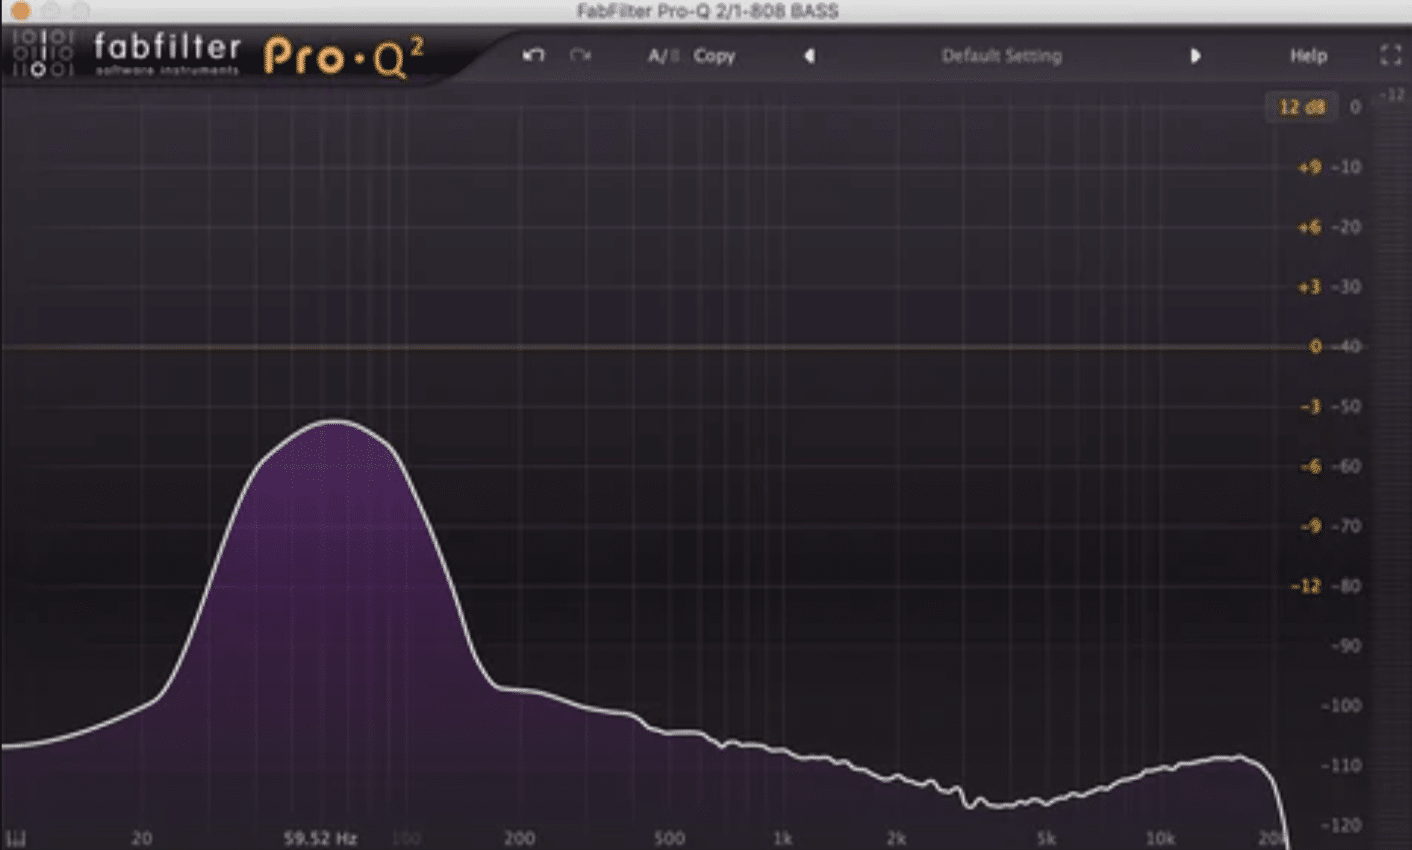
Sub-bass frequencies are going to be the foundation of your mix (often felt more than heard), adding depth and power.
You’ll hear them in popular genres like trap all day long.
For example, a kick drum or 808 might need a subtle boost around 50 Hz (+3 dB with a Q of 0.8) to enhance its impact.
You should use a high-pass filter below 25 Hz to remove inaudible rumble, setting a slope of 24 dB/octave to avoid interfering with the sub-bass clarity.
Just please be cautious because boosting too much in this range can cause your mix to sound muddy or overbearing (especially on systems with subwoofers).
My biggest advice here is to always:
- Use a reference track
- Use Spectrum analyzers
- Check sub-bass levels across as many mediums as possible
This way, you can guarantee they’ll translate well across different playback systems, and that’s really the signs of a professional producer right there.
Using tools like the Pro-Q 4 or Waves R-Bass can help emphasize sub-bass without overwhelming other frequency bands.
Also, it’s super important to switch between mono and stereo throughout, as the low end can sound like two very different things.
It all depends on what has been done and what needs to be adjusted.
Remember, no stereoizing this range!
-
Bass (60-250 Hz)
The bass range gives your mix warmth, weight, and groove, forming the backbone of instruments like bass guitars, low-end synths, kick drums, and more bass instruments.
For example, boosting 100 Hz by +2 dB with a Q of 1.5 can add depth to a bassline, while cutting 150 Hz by -3 dB can tighten the low-end of a kick drum.
A common issue in this range is muddiness, especially in dense mixes, so applying a gentle cut around 200 Hz with a Q of 1.2 on pads or vocals can improve more clarity.
NOTE: Soloing multiple individual tracks while making bass adjustments can prevent clashing frequency bands and guarantee the bass sits well with the kick.
With that said, you should never fully mix in isolation, so be sure to un-solo these tracks once you’ve done your quick double-check.
Although it can be tempting to continue mixing like this, don’t 一 mixing in context is always super important for balance.
Also, as mentioned above, test across any sound system you have access to and constantly switch the mix between mono and stereo.
And, don’t forget to use a spectrum analyzer to identify overlapping frequencies.
Focus on slight adjustments rather than drastic boosts or cuts to maintain a natural and fluid sound that sounds great.
PRO TIP: To get the best equalizer settings, always check the particular frequency response of your mix on different playback systems to avoid surprises.
Yes, I’m saying it again because it’s that important.
If you notice your mix has too much bass on some audio equipment, try cutting around 80 Hz by -2 dB and slightly boosting the mid-range frequencies (500 Hz – 2 kHz) to maintain clarity.
Also, while EQ presets can offer a good starting point, make sure to customize them to fit your specific track.
And, avoid simply adding more bass without balancing other elements, because it can sound ridiculous, overcrowded, and amateur.
-
Low Mids (250-500 Hz)
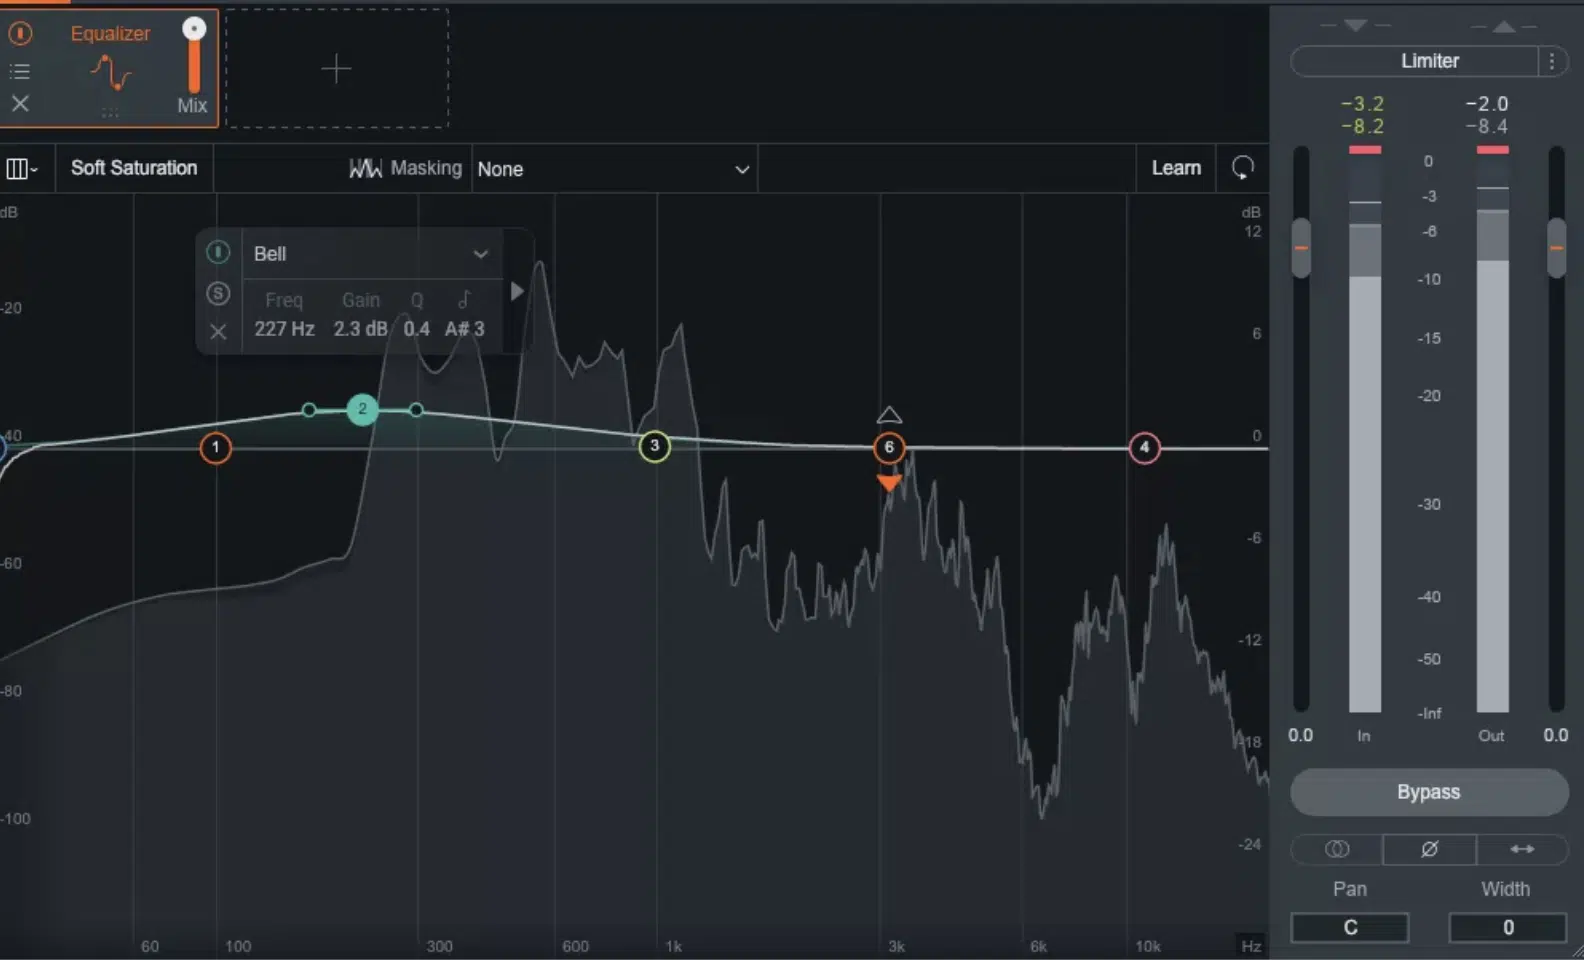
The low mids are where body and warmth live, but they can also be the source of boxiness or muddiness in your mix.
For example, reducing 300 Hz by -2.5 dB with a medium Q of 1.0 on a vocal can clean up a nasal tone, while boosting 400 Hz by +2 dB on a snare drum can add fullness.
Guitars often benefit from a slight dip in this range to avoid cluttering the mix 一 try cutting 350 Hz by -3 dB for a tighter sound.
When working with orchestral strings, a small boost around 450 Hz can add warmth without overwhelming other instruments.
My personal advice is to listen critically during EQ adjustments…
Overcutting in the low mids can make your mix sound thin, and you never want a bad listening experience for your audience.
Use a masking meter to identify conflicts in this particular frequency range.
-
Mids (500 Hz – 2 kHz)
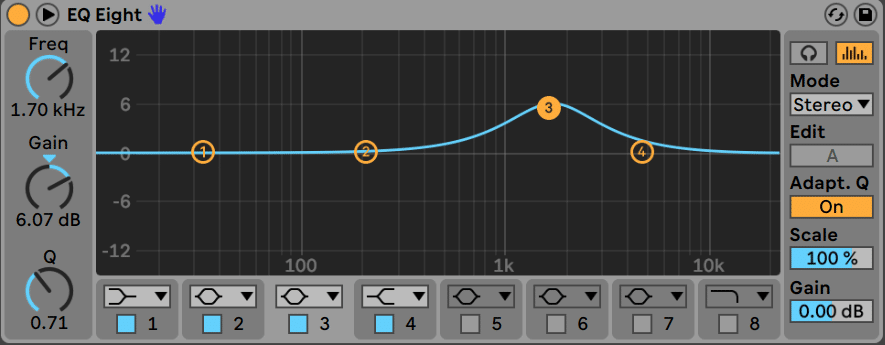
The midrange frequencies are the heart of your mix, where vocals, guitars, and many melodic elements chill.
For example, boosting 1 kHz by +2 dB with a Q of 1.5 can add clarity and presence to vocals, which helps them cut through the mix without sounding harsh.
However, too much energy around 800 Hz often creates a “boxy” sound, but cutting this frequency by -3 dB with a medium Q can smooth out guitars or drums.
When you’re EQing pianos, a subtle boost at 1.5 kHz (+1.5 dB with a Q of 2.0) can highlight melodic detail, so I certainly suggest doing that.
Also, when mixing crowded tracks or EQing a bus (drum, vocal, etc.), try to avoid boosting mids across multiple elements to prevent frequency masking.
Just prioritize what needs to be in the spotlight.
Again, use plugins like FabFilter Pro-Q 4 or Waves API 550 for surgical or musical adjustments in this critical range.
-
High Mids (2-6 kHz)
The high mids are where attack and presence shine, but it can also easily cause listener fatigue/ear fatigue if overdone, so the right equalizer settings here are key.
It’s also the most sensitive range to human hearing, so it should be treated as a temperamental area every single time you work with it.
Boosting 3 kHz by +2 dB with a Q of 1.2 on a snare drum can emphasize its snap 一 making it more prominent in a dense mix.
With that said, boosting these frequencies or neglecting to cut can also cause extreme harshness and even pain if overdone.
When it comes to vocals, a slight cut at 4 kHz (-1.5 dB with a Q of 1.8) can tame harshness without dulling clarity, so definitely try that out.
Guitars often need a careful balance in this range, so try boosting 2.5 kHz by +1 dB for added edge or cutting 5 kHz by -2 dB to avoid piercing frequencies.
Just remember to listen at lower volumes when adjusting the high mids because your ears are more sensitive here, as demonstrated by the Fletcher-Munson curve.
Using dynamic EQ in this range can help control spikes without affecting the overall sound quality, so go back to the earlier section to brush up on it if needed.
-
Highs (6-8 kHz)
The highs add extra definition and brightness to your tracks, bringing life to cymbals, hi-hats, and the upper harmonics of vocals and instruments.
A boost at 7 kHz (+2 dB with a Q of 2.0) can make vocals sparkle, while cutting 6.5 kHz by -3 dB can tame overly bright cymbals.
For acoustic guitars, a subtle lift around 6.8 kHz by +1.5 dB enhances the strumming detail without sounding harsh.
What I do is use shelving EQs for broad enhancements in this range, but make sure to keep your boosts under +3 dB to keep that natural sound quality.
This way you’ll be following a tried & true “3 dB rule.”
If you’re mixing drums, a small boost at 8 kHz on the overhead mics can bring out clarity and shimmer.
Just remember to avoid over-processing this range, as it can introduce unwanted hiss or exaggerate sibilance, and nobody wants to deal with that.
-
Air (8 kHz and Above)
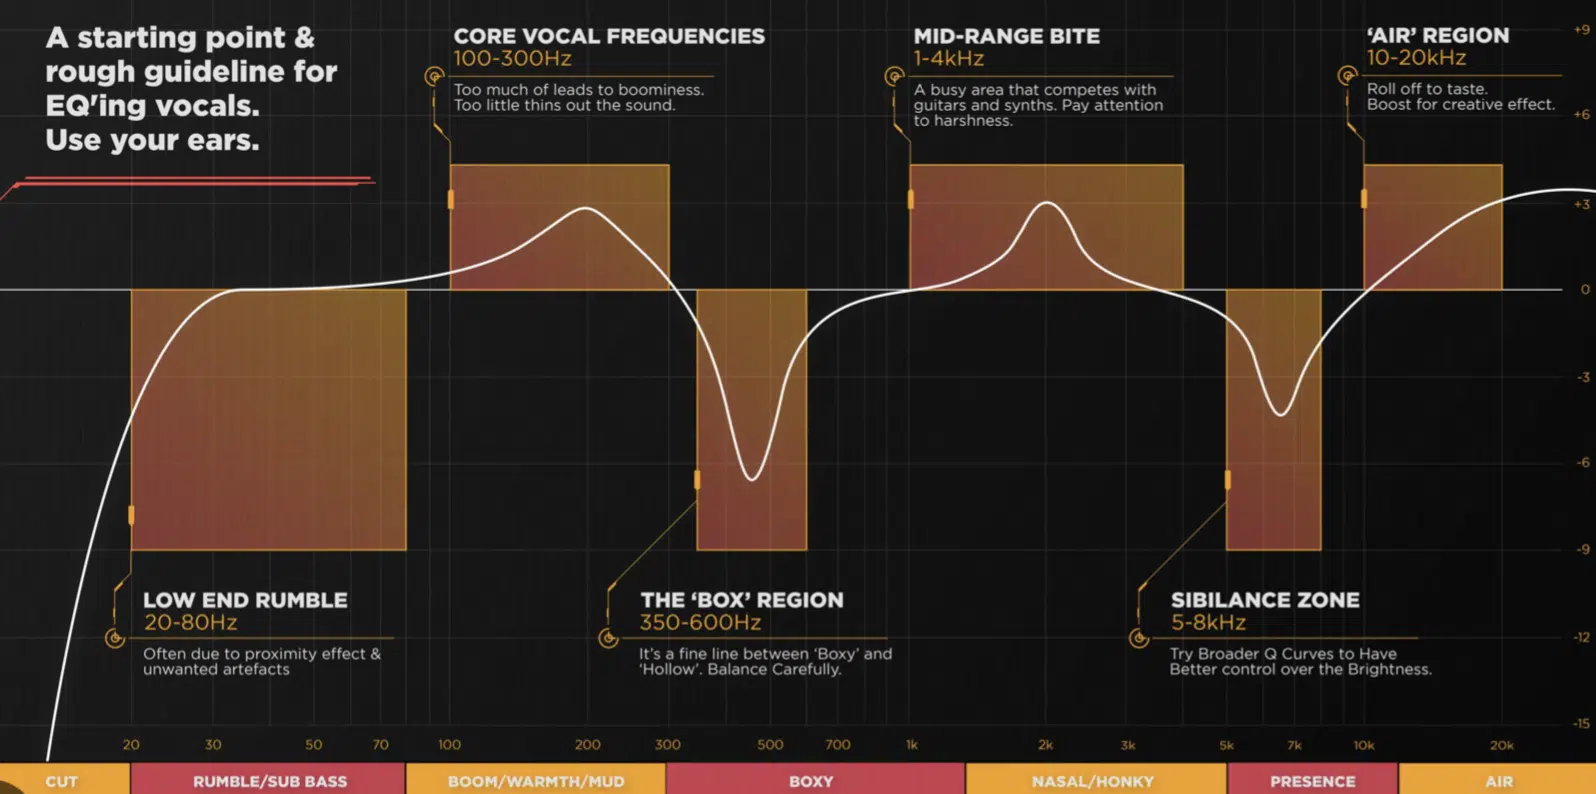
The “air” frequencies provide a sense of openness and space in your mix, so it’s obviously important for adding a polished, professional touch.
Boosting 12 kHz by +3 dB with a gentle Q can enhance vocal breathiness, while a high shelf starting at 10 kHz with a slope of 6 dB/octave can bring life to the entire mix.
When it comes to mastering, a small boost at 15 kHz by +1 dB often enhances the sparkle of high-end elements without overpowering.
On strings or pads, boosting 9 kHz by +2.5 dB can add a more ethereal quality.
My advice is to use plugins like the Maag EQ4 or Pultec EQP-1A for smooth, analog-modeled, musical adjustments in the air band (my favorite).
Again, make sure to always test these changes on multiple playback systems to ensure they don’t sound overly bright or unnatural.
NOTE: Slate’s free Air EQ is perfect for this task and also implements a proprietary algorithm that adds something unique and unheard of.
It somehow eliminates the harshness that can be introduced, regardless of how hard you push it, so it’s basically magic if you ask me.
You’ll see what I’m talking about when you play around with it for yourself.
Equalizer Settings/Applications for Individual Instruments
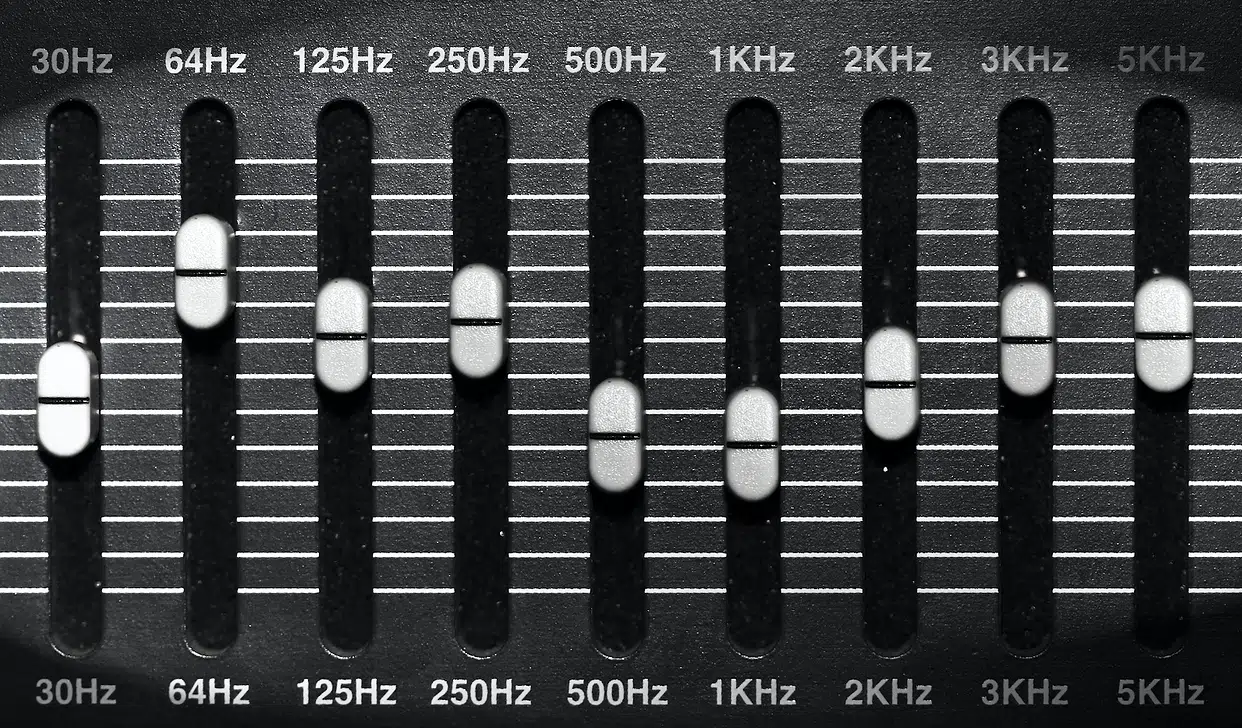
The best equalizer settings/best EQ settings vary for each instrument 一 depending on their role in the mix and the desired sound quality.
So, here’s a breakdown of different EQ settings for some key instruments you’ll be dealing with all the time:
- Best EQ Settings for Vocals: Boost clarity around 3 kHz by +2 dB with a Q of 1.5 to make the vocal cut through the mix. Add air at 10 kHz with a high shelf of +2.5 dB. Use a high-pass filter at 80 Hz with a slope of 24 dB/octave to remove rumble.
- Best EQ Settings for Kick Drum: Boost punch at 60 Hz by +3 dB with a Q of 1.2. Cut muddiness at 300 Hz by -4 dB with a Q of 1.5. Add a slight click at 4 kHz with a +2 dB boost using a Q of 2.0.
- Best EQ Settings for Snare Drum: Boost body at 200 Hz by +2.5 dB with a Q of 1.5. Add snap at 5 kHz with a +3 dB boost using a Q of 2.0. Use a low-pass filter at 10 kHz to tame harsh overtones.
- Best EQ Settings for Bass Guitar: Boost low-end at 80 Hz by +3 dB with a Q of 1.2. Cut muddiness at 250 Hz by -3 dB with a Q of 1.5. Add definition at 1 kHz with a +2 dB boost using a Q of 2.0. This will give you perfect bass sounds.
- Best EQ Settings for Electric Guitar: Boost presence at 3 kHz by +2 dB with a Q of 1.5. Cut harshness at 5 kHz by -2.5 dB with a Q of 2.0. High-pass filter at 100 Hz to clear unnecessary low-end.
- Best EQ Settings for Acoustic Guitar: Boost sparkle at 10 kHz by +2 dB with a high shelf. Add warmth at 200 Hz with a +2.5 dB boost using a Q of 1.8. Cut muddiness at 250 Hz by -2 dB with a Q of 1.5.
- Best EQ Settings for Piano: Add brightness at 4 kHz with a +2 dB boost using a Q of 2.0. Enhance body at 200 Hz with a +1.5 dB boost using a Q of 1.5. Use a high-pass filter at 60 Hz to remove unnecessary low-end.
- Best EQ Settings for Synthesizers: Boost presence at 8 kHz by +2 dB with a Q of 1.5 for leads. For pads, cut at 400 Hz by -3 dB with a Q of 1.8 to reduce muddiness and high-pass filter at 50 Hz to clean up the low-end.
Just remember that these equalizer settings are highly program-dependent and not one-size-fits-all, so just use them as a general guide.
The best equalizer settings are around that area of course, but it’s going to depend on your unique track and the vibe you’re going for.
Bonus: Common EQ Mistakes to Avoid
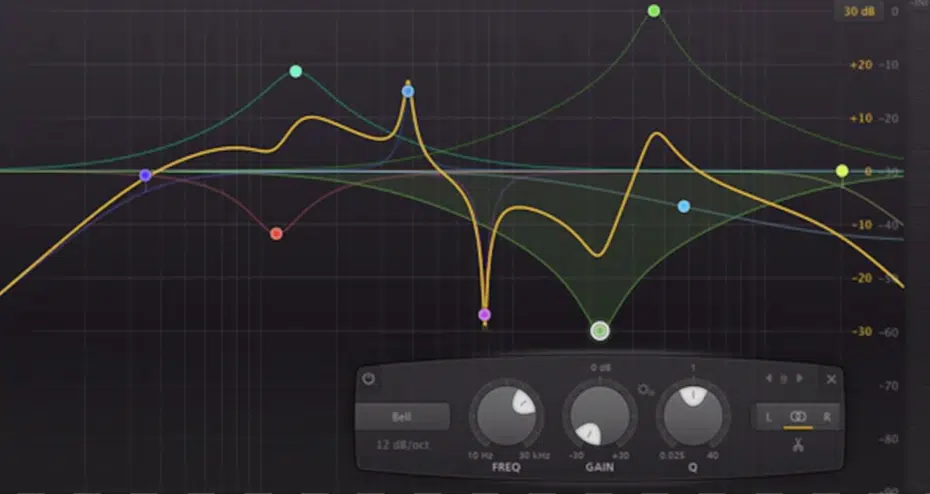
Now that you know all of the best equalizer settings/EQ settings and all the most important information about EQ in general, here are some mistakes you have to look out for and avoid at all costs.
#1. Over-Boosting Frequencies
Boosting too many frequencies or overusing high shelves can result in a harsh, unbalanced mix.
Instead, apply boosts sparingly (no more than +3 dB) and only where absolutely necessary.
#2. Neglecting Subtractive EQ
Many beginners that I teach focus on boosting frequencies only, but cutting unwanted frequencies will often give you a cleaner, more natural mix.
In fact, in some cases, due to phase and frequency masking, a cut can actually end up functioning as a boost, believe it or not.
This is because reducing a certain range that is being canceled out by phase issues can make the track at hand, or another track, come to the forefront like you were boosting it.
For example, cut 300 Hz on vocals to reduce boxiness instead of boosting the highs excessively.
#3. Ignoring the Context of the Mix
Always EQ in the context of the full mix… A bassline might sound perfect soloed but could clash with the kick drum once all tracks are playing.
This is why mixing in isolation (for the most part) is reckless.
#4. Relying Solely on Visual Analysis
Trust your ears more than spectrum analyzers (although you should use both). Just because a frequency spike is visible doesn’t always mean it’s audibly problematic.
#5. Using Extreme Settings
Avoid overly narrow Q settings or drastic cuts/boosts unless targeting very specific issues like feedback or resonances.
Subtle adjustments are more musical and transparent, which is why you should always stick to the 3dB rule as we talked about earlier.
Final Thoughts
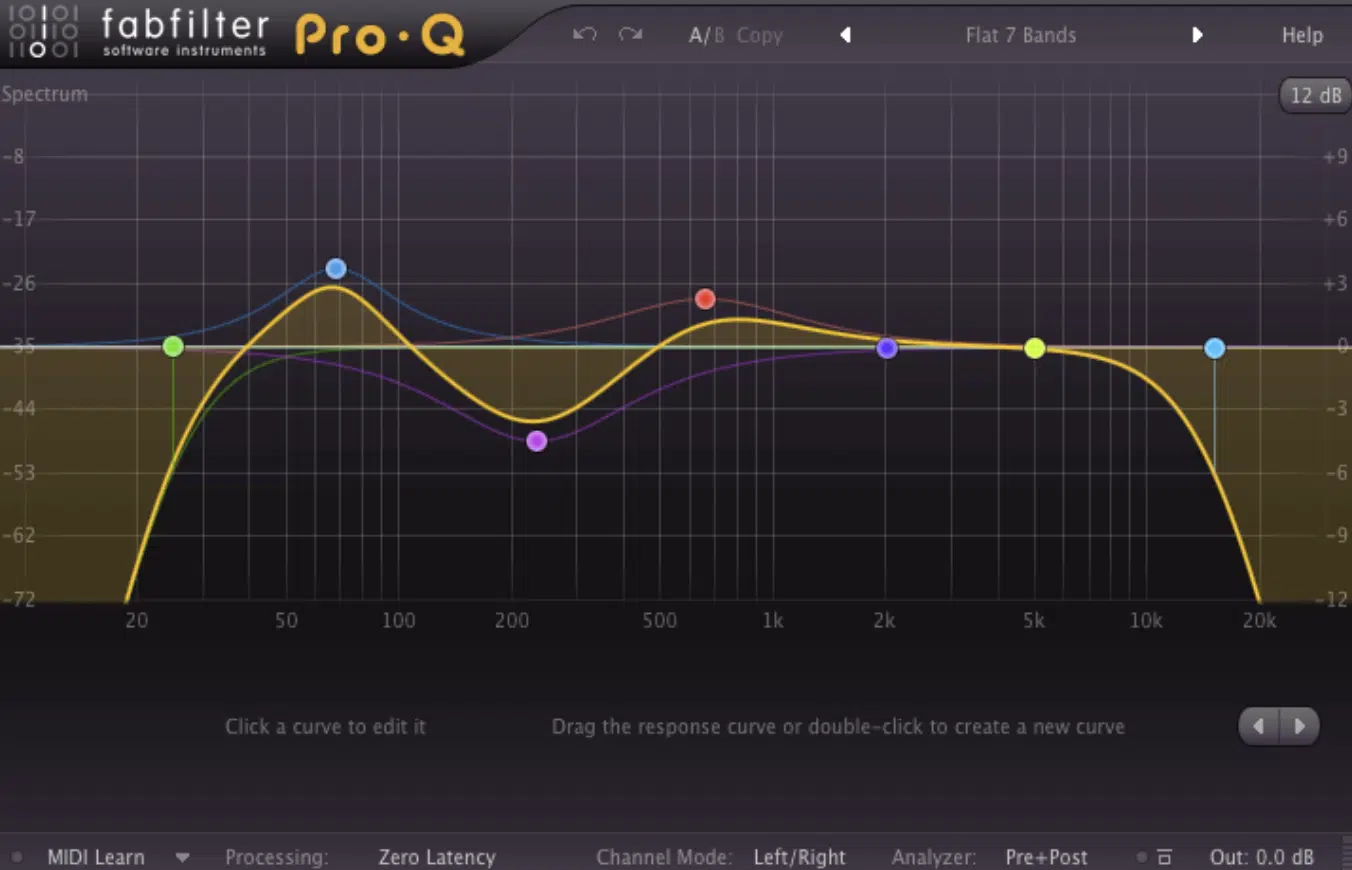
Mastering equalizer settings is a super important skill for any music producer trying to make it in today’s industry.
By understanding and applying the right equalizer settings, you can seriously enhance your skills and create super dynamic, clean tracks all day long.
They’ll bring balance, depth, and clarity to your music, but just remember it’s not just about adjusting frequencies; it’s about tweaking it just right so it matches the vibe you’re going for.
By using all the equalizer settings we talked about today and incorporating all the pro tips, tricks, and techniques, you’ll be banging out pristine-sounding tracks every time.
And, as a special bonus, you’ve got to check out these legendary Free Projects Files are the key to mastering the art of EQ and seeing the proper equalizer settings in real-time.
This invaluable pack includes 3 free project files that let you see exactly how to create professional beats from start to finish (like having the cheat codes).
Plus, all files are cleared for personal and commercial use, so you can use them however you want.
This is your chance to get inside access to professional music production and sound design techniques to enhance your tracks with the perfect equalizer settings, so I highly advise you don’t miss out.
And any other setting you’re interested in too, as well, of course.
Don’t miss out on this opportunity to learn from the best and take your music to the next level.
So, with your new knowledge, go make dynamically advanced, expertly fluid tracks that will stop people in their tracks and capture the ears and eyes of the industry.
Until next time…


Leave a Reply
You must belogged in to post a comment.