Patchbays are more than just a maze of jacks and cables; they’re the center of every professional studio setup.
These intricate devices help you streamline connections, provide unparalleled flexibility in signal routing, and ensure a clean and efficient studio environment.
Now, our focus has always been on digital music producers, but this article ventures into the studio space.
We’re diving into the delicate art of managing multiple connections, understanding the technical nuances, and mastering the power of patchbays.
In today’s article, we’ll be breaking down:
- Basics of patchbays ✓
- Anatomy & signal flow ✓
- Different patchbay types ✓
- Efficient setup techniques ✓
- Troubleshooting tips ✓
- Real-world patchbay uses ✓
- Expert patchbay tips, tricks, and secrets ✓
By the end of this article, you’ll be equipped to expertly navigate the intricate world of patchbays to ensure a seamless and efficient studio setup.
And here’s the thing…
Even if you’re rooted deep in digital music production, understanding how this analog technology works is super beneficial.
It broadens your horizon, enhances your adaptability, and might inspire new creative techniques for your next beat.
So, let’s dive in!
Table of Contents
What are Patchbays?
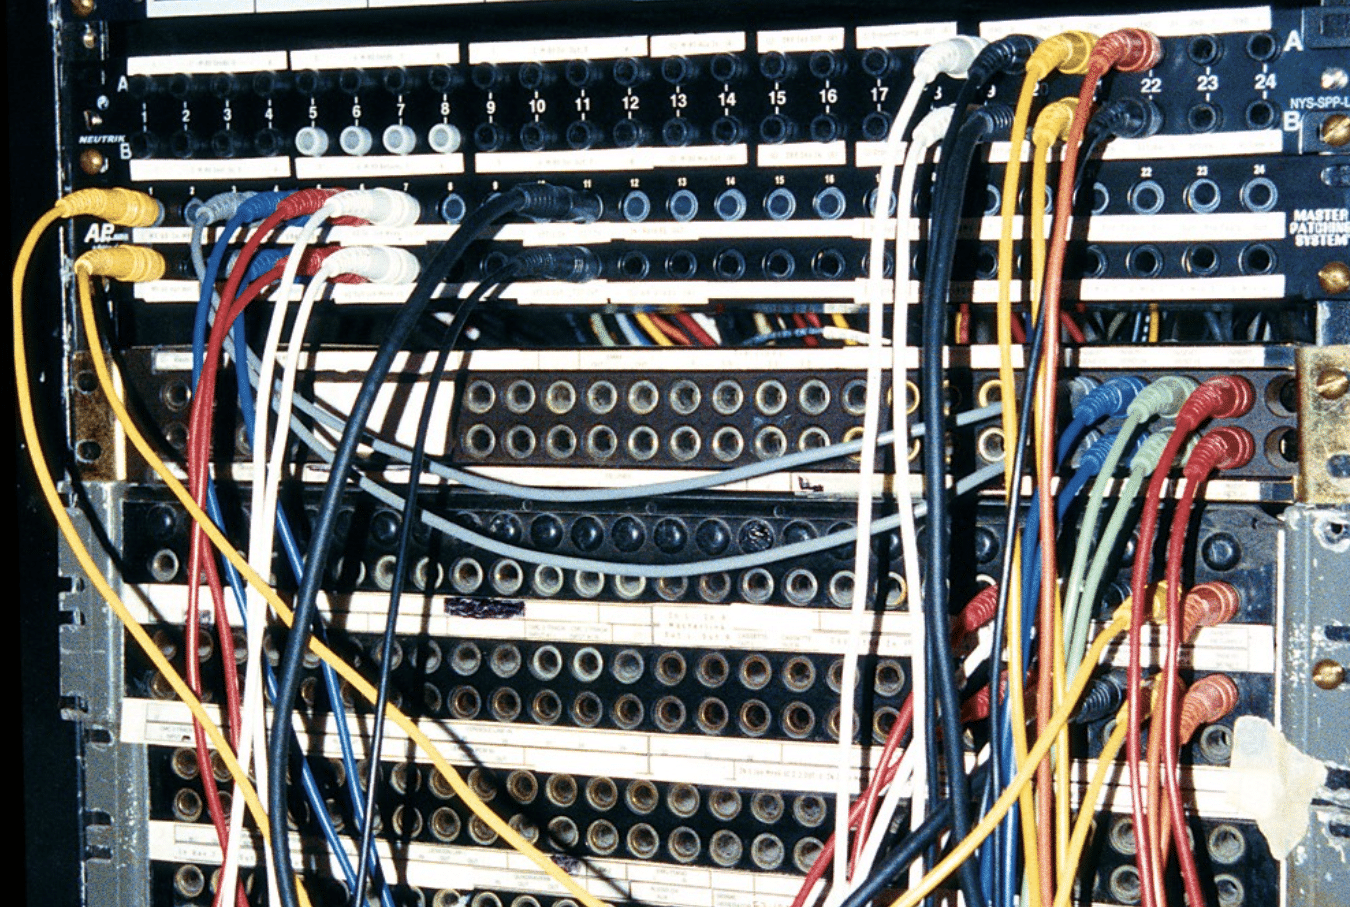
A patchbay, in its essence, is a central hub where all the inputs and outputs of your studio gear connect.
Imagine it as a massive switchboard. Instead of connecting and re-connecting gear directly, you route them through the patchbay using patch cables.
This centralized approach makes your studio setup cleaner and much more efficient.
With it, you can successfully:
- Reroute signals
- Combine outputs
- Even split inputs
This means you can easily change up your setup, try different signal paths, or integrate new gear without hassle.
It’s all about having a streamlined workflow without constantly reaching behind racks and fumbling with endless cables.
NOTE: Patchbays aren’t just for massive commercial studios.
With the increasing complexity and versatility of home studios, a patchbay can be a game-changer for your home studio.
It’s like having an organized desk: everything is within reach, neat, and ready for creativity to flow.
Anatomy of a Patchbay
Delving deeper into the patchbay, let’s uncover its core components so you can gain a better understanding of its intricacies, functions, and purpose.
Let’s begin with how many inputs to work with and what that means exactly.
-
Understanding Inputs, Outputs & the Audio Interface
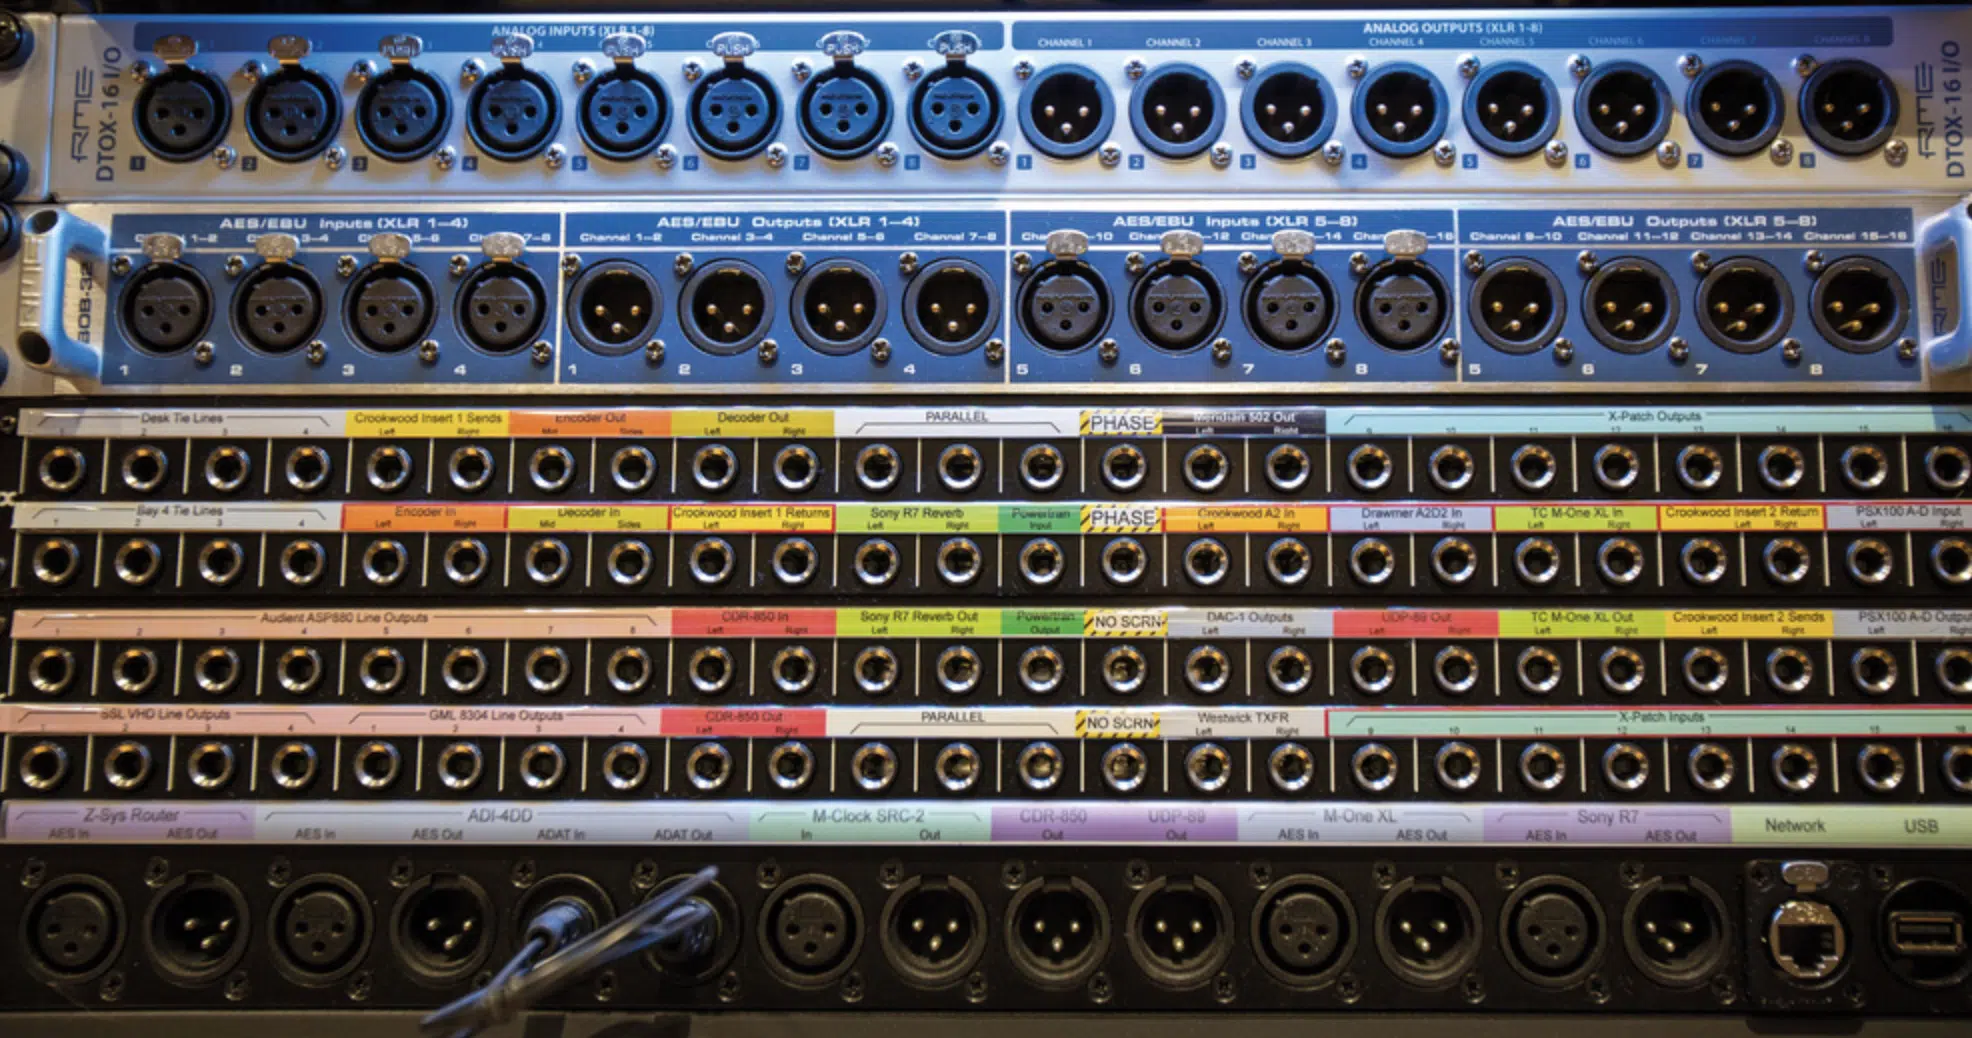
At its core, the patchbay is about routing, serving as the central location where inputs and outputs of studio gear meet.
These connection points (primarily jacks) are where the magic happens.
Through these jacks, you can route your audio interface channels 一 ensuring every sound source finds its right place.
Think of the audio interface as the musical bridge.
It’s where the signals from your gear are channeled before heading to the patchbay.
The audio interface channels capture the audio signals, which are then transferred via the audio patchbay to other gear or a recording interface.
So, when you look at a patchbay, you see a map of your studio’s inputs and outputs.
By connecting the right cables, you guarantee the signal from a synthesizer or a drum machine reaches the desired destination.
-
The Top Row, Bottom Row, and Audio Signal Flow
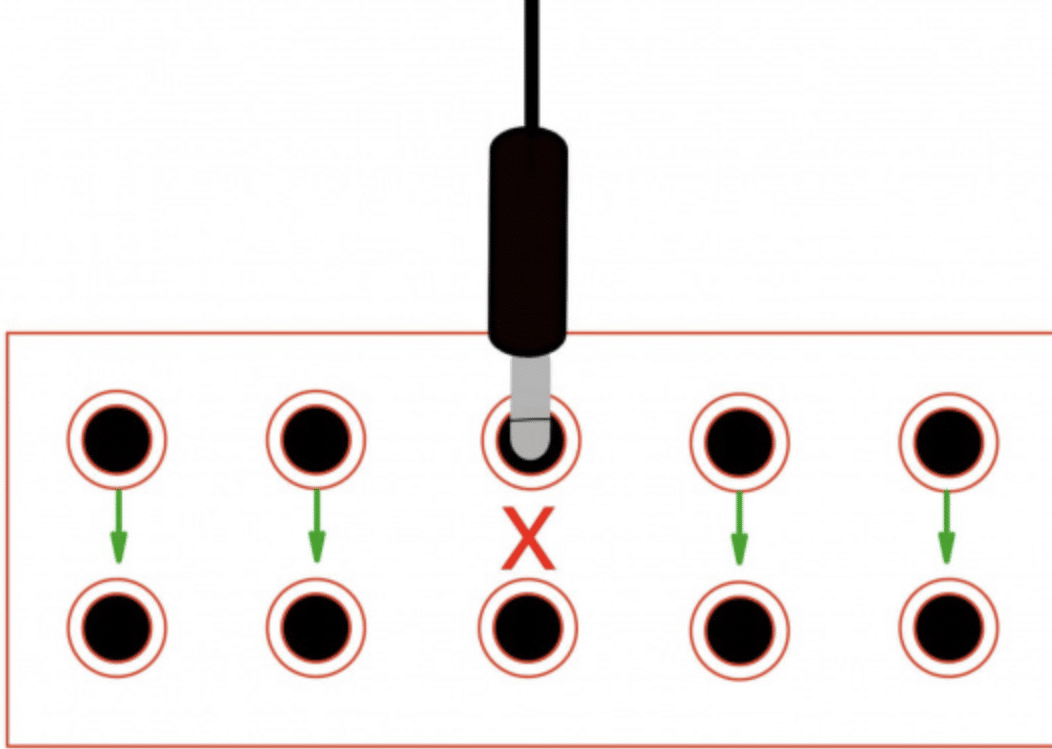
Each channel’s signal goes from top to bottom row unless a jack is plugged in.
For this next section, let’s break down some more essential elements of a patch bay so you can picture what it’s like to work with them.
When you look at a patchbay, you’ll typically notice two rows:
- The top row
- The bottom row
Here’s where things get interesting… The top row is traditionally the output row, and the bottom row handles the inputs.
This configuration ensures a logical and easy-to-follow signal flow.
When you want to connect a piece of gear, you’d take the output from the device and plug it into the top row.
The corresponding input on your audio interface or other equipment would go into the bottom row.
Side note, if you’d like to discover the best audio interfaces of 2023, we’ve got you covered.
For example, imagine you have a synthesizer and want its sound to pass through an effects unit before reaching the main mixer.
In that scenario you would:
- Route the synth’s output to the top row
- Connect the effect unit’s input on the bottom
- Route the effect’s output to the mixer’s input on the bottom row
By maintaining this structure, you can accurately set up even intricate signal chains.
But, it’s not just about inputs and outputs 一 it’s also about understanding the direction of your audio signal.
In a digital studio setup, where you may be juggling multiple synths, drum machines, and outboard effects, a clear visualization of your signal path is crucial.
The top-bottom configuration of a patchbay serves precisely this purpose, helping you maintain a flawless workflow.
Different Types of Patch Bays
Patch bays come in various flavors, each catering to specific needs.
Knowing the different types of patch bays can help you in mastering the entire process and setup.
-
Full-Normal Patch Bay: The Central Hub

Full-normal patch bays are similar to elephants; they have an impeccable memory.
When you connect an output from the top row, it automatically routes to the corresponding input on the bottom.
This setup is ideal for permanent connections.
For example, if you have a synthesizer that always routes to a particular channel on a mixer, the full-normal patch bay remembers this patch cable routing.
Therefore, it will accomplish the job without requiring a new patch cable each time.
However, the moment you decide to manually change the routing by inserting a new patch cable, the default connection breaks.
This offers unparalleled flexibility (not to mention, it’s super time-saving).
This automatic patch cable connection ensures that devices, especially those that are permanently connected like a compressor to an audio interface, communicate without the need to manually patch things up, so to speak.
Pretty cool patch cable fun fact, huh?
-
Half-Normal Patch Bays & Their Specific Uses

Enter the half-normal patch bay, the more flexible sibling.
Unlike full-normal, the half-normal configuration allows two simultaneous outputs from a single input.
For example, let’s say you have a keyboard output that you want to route to a mixer and simultaneously to an effects unit.
The half-normal patch bay lets you do this without unplugging cables 一 making sure your creativity isn’t hindered.
The primary advantage here is flexibility.
It lets you split signals and gives you more room for creative audio routing.
While it might seem complicated initially, once you’ve used it a few times, its convenience (especially in dynamic setups) becomes super apparent.
-
Non-Normal Patch Bay & Its Role in Your Setup

Non-normal patch bays are the wildcards, as they offer no automatic connections and require manual patching for every routing.
This type might seem tedious and time-consuming, but in reality, it’s a blessing for experimental producers.
You have the canvas, and you paint your audio signal flow as you see fit.
Imagine a scenario in which you’re working on a dynamic project and are constantly swapping out outboard gear.
The non-normal patch bay ensures that you have total control, as no connections are made unless you want them.
NOTE: For those looking for absolute control over their studio setup and are willing to invest the time in manual patching, the non-normal patch bay is the go-to choice.
Setting Up Your Patchbay Efficiently
A well-set patchbay can make your studio experience fluid and intuitive, which is vital if you’re attempting to keep things professional and pristine.
-
Positioning Your Gear & Planning Connections
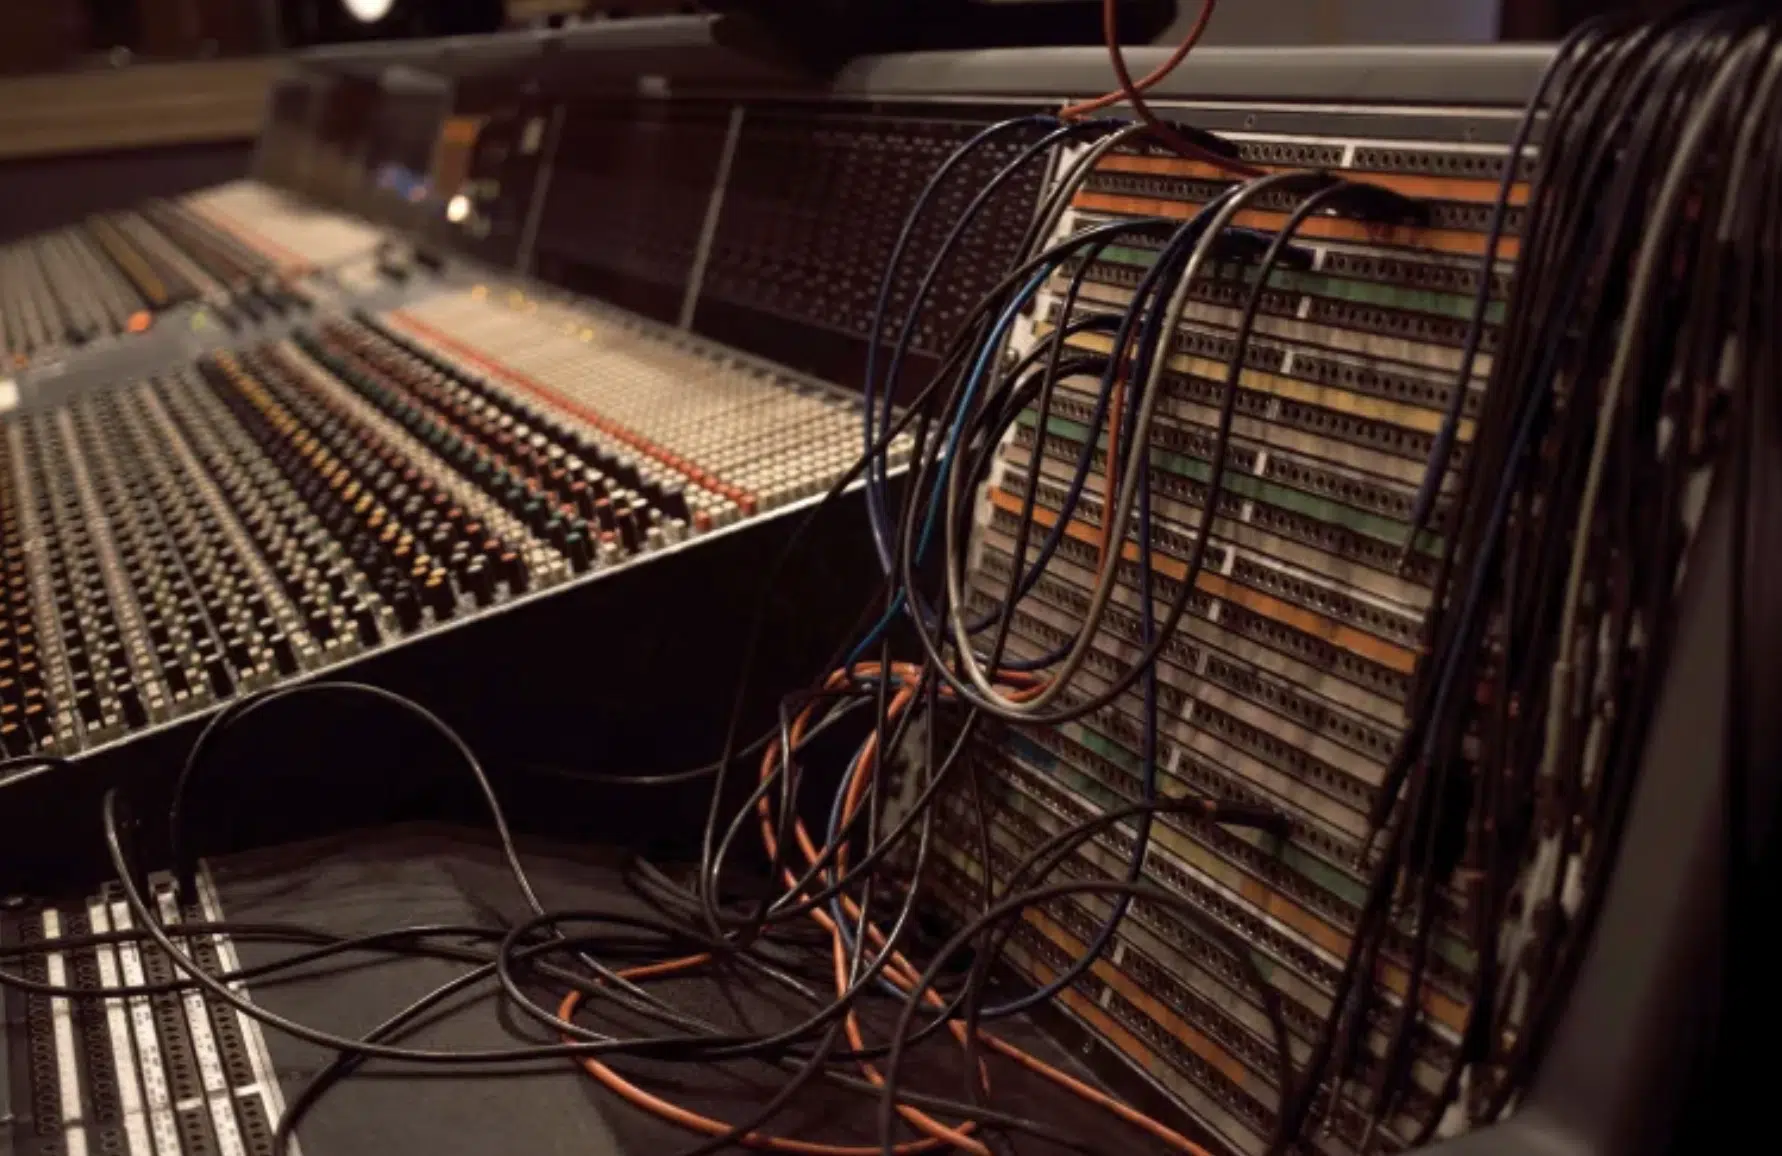
When introducing a patchbay into your studio, positioning becomes paramount.
Not all gear is created equal, of course, and some devices you’ll use way more frequently than others.
So, you should start by assessing which equipment you often tweak, adjust, and route differently; these should be positioned for easy access.
Your patchbay should ideally be:
- At a central location
- Easily accessible
- The nerve center of your studio
Planning your connections is equally essential, of course, which isn’t just a plug-and-play scenario.
Think about your production process: Which devices often interact with each other?
Maybe you frequently route your sampler through a compressor before it hits your main audio interface.
These connections should be close to each other on the patchbay 一 minimizing the length and tangling of patch cables.
NOTE: You should also consider future expansions.
Digital producers know that the world of gear is ever-evolving, and you’re going to want to add another synth or a new effects processor eventually.
Leaving some spare connections on your audio patchbay, both on the top and bottom rows, ensures you’re future-proofed and ready to incorporate new sounds and techniques.
-
Keeping Track with Labels and Blank Templates
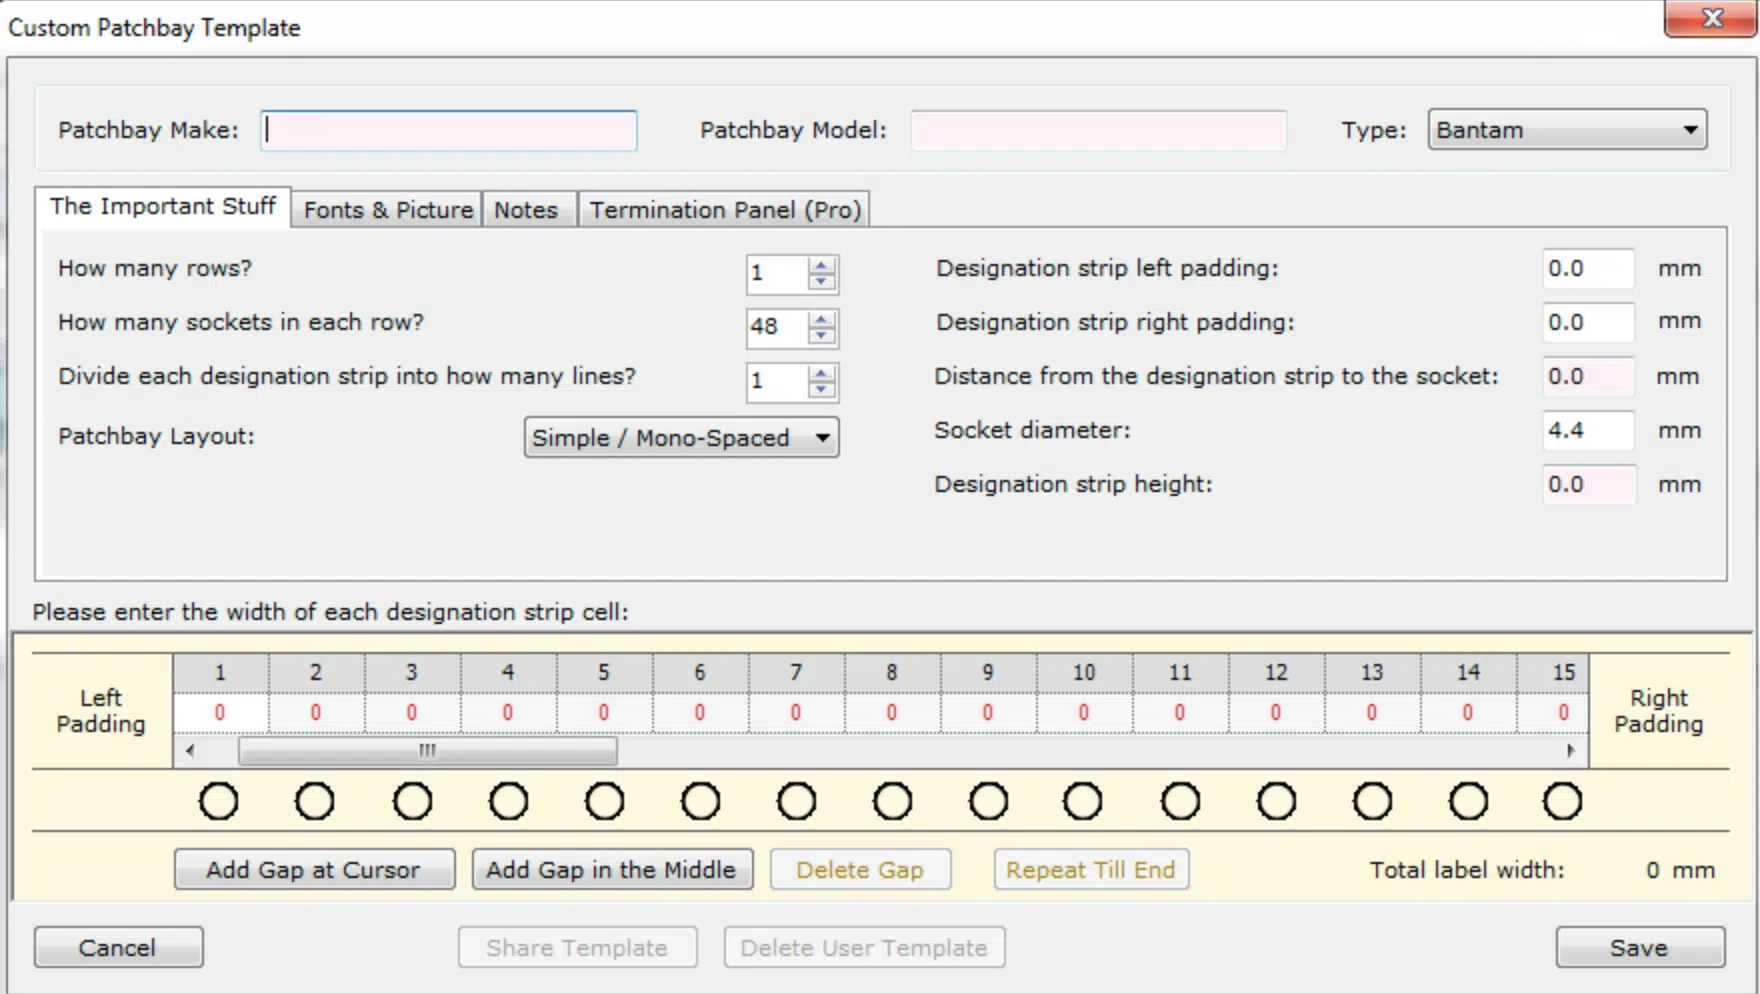
As your setup grows, you’ll find that remembering every connection becomes difficult, which is where labels come in handy.
Properly labeling each jack ensures you know precisely where each sound source and output is routed.
Blank templates, on the other hand, serve as a roadmap.
By sketching out your default connections, you provide an invaluable reference point.
This is especially beneficial if you have a dynamic setup where connections are frequently changing.
For instance, you could have one template for when you’re working on trap beats and another for ambient soundscapes.
Additionally, make it a habit to update your labels and templates as your setup evolves.
NOTE: Having updated reference points prevents accidentally sending phantom power to a device that doesn’t need it or routing a sound source to the wrong channel.
-
Phantom Power, Sound Sources, and Signal Protection
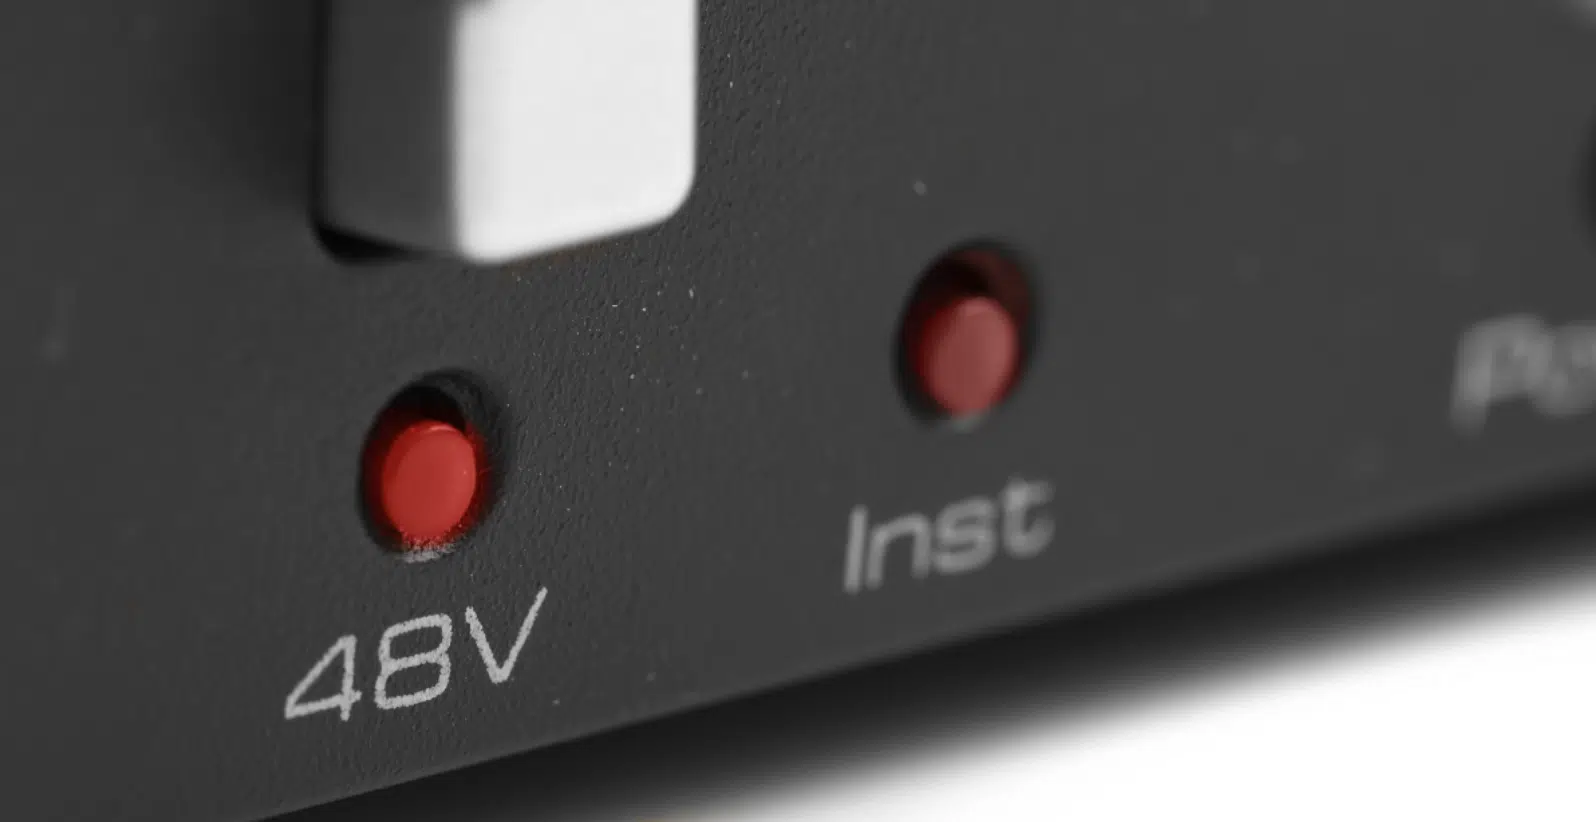
Phantom power is a DC voltage (typically 48 volts) sent through microphone cables to power certain types of microphones, specifically condenser microphones.
These mics need external power for their internal electronics, and phantom power provides just that.
NOTE: While it’s essential for condenser mics, it’s crucial to ensure it doesn’t reach dynamic mics or other gear not designed to handle it, as this can cause damage.
In a studio setup, a variety of sound sources come into play.
From vintage synths to modern drum machines, each source has its characteristics; some might require phantom power, while others might not.
A patchbay makes managing these different sound sources a breeze.
By connecting your mics and other sound sources to the patchbay, you can easily route them where they need to go 一 so only the devices requiring phantom power receive it.
Don’t forget that signal protection is also vital.
While phantom power is necessary for condenser mics, it can be detrimental to devices not designed to handle it.
Accidentally sending phantom power to a dynamic microphone or a vintage synth can lead to irreversible damage.
A well-configured patchbay helps in this aspect.
By clearly labeling and segmenting sections of your audio patchbay for devices that use phantom power, you safeguard your equipment.
This helps to ensure longevity and a consistent performance.
The Importance of Maintaining Connection Points & Cables
Maintenance is vital; dust, wear, and tear can compromise the connection quality.
Regularly clean the jacks and connectors 一 ensuring they’re free from debris and corrosion.
This will ensure a consistent audio signal flow.
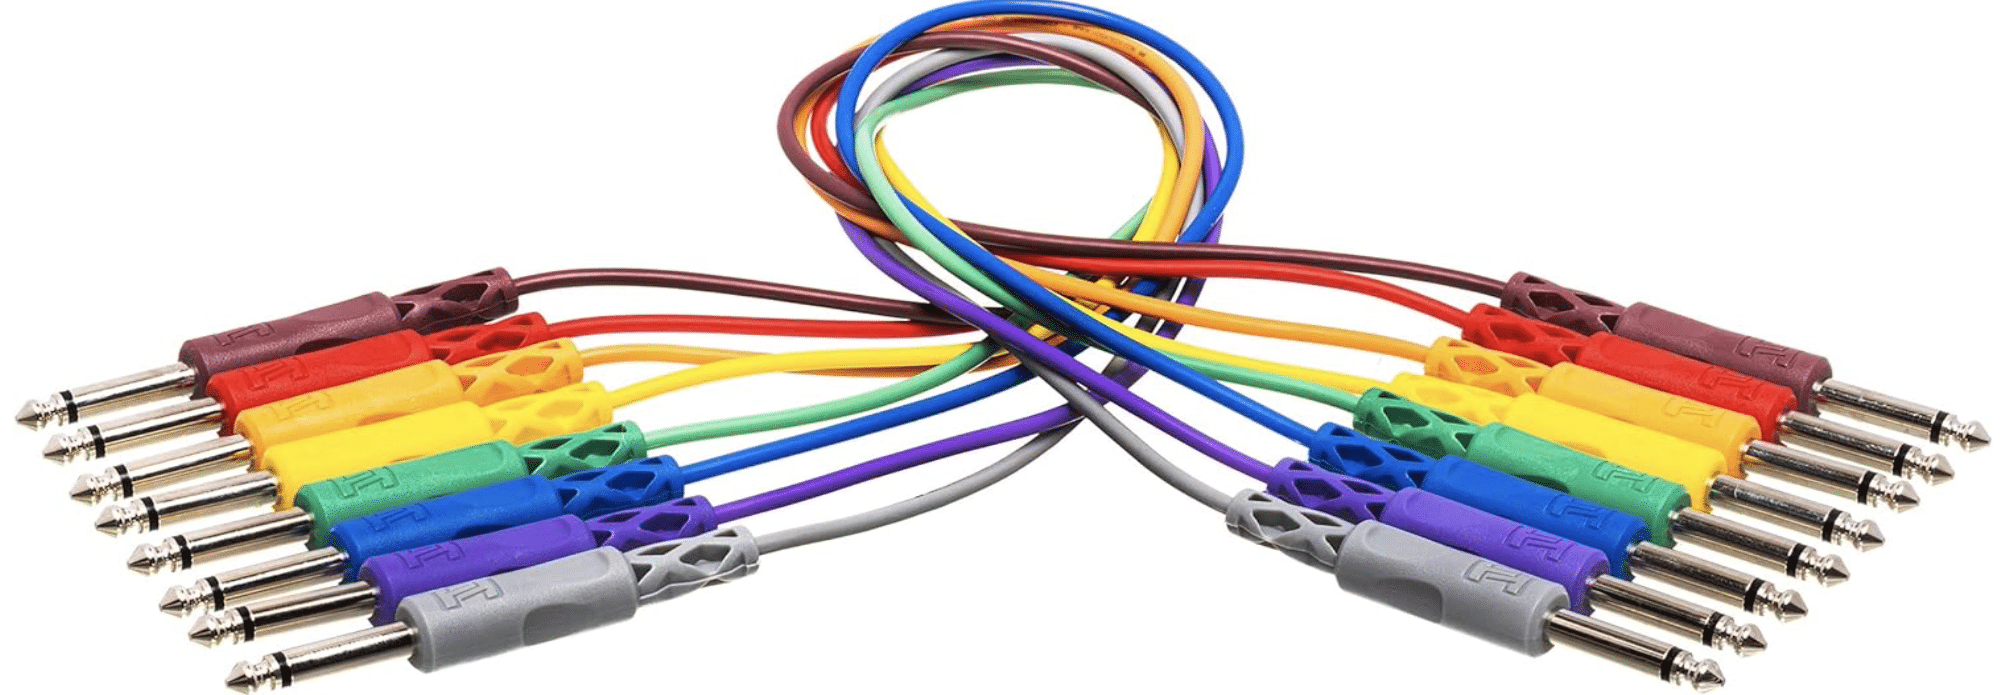
Patch cables are the lifelines of your patch bay, so make sure to regularly inspect them for signs of wear, especially at the connection points.
A compromised cable can introduce noise or even fail, disrupting your workflow.
Lastly, always have spare patch cables on hand.
In the heat of a legendary session, the last thing you’d want is to halt the process due to a faulty cable.
Bonus: Interesting Examples of Patchbays at Work
Ever wonder how patch bays function in real-life scenarios? Let’s break it down so you can see the wonders of patchbays at work.
-
Integrating Outboard Gear like Compressors
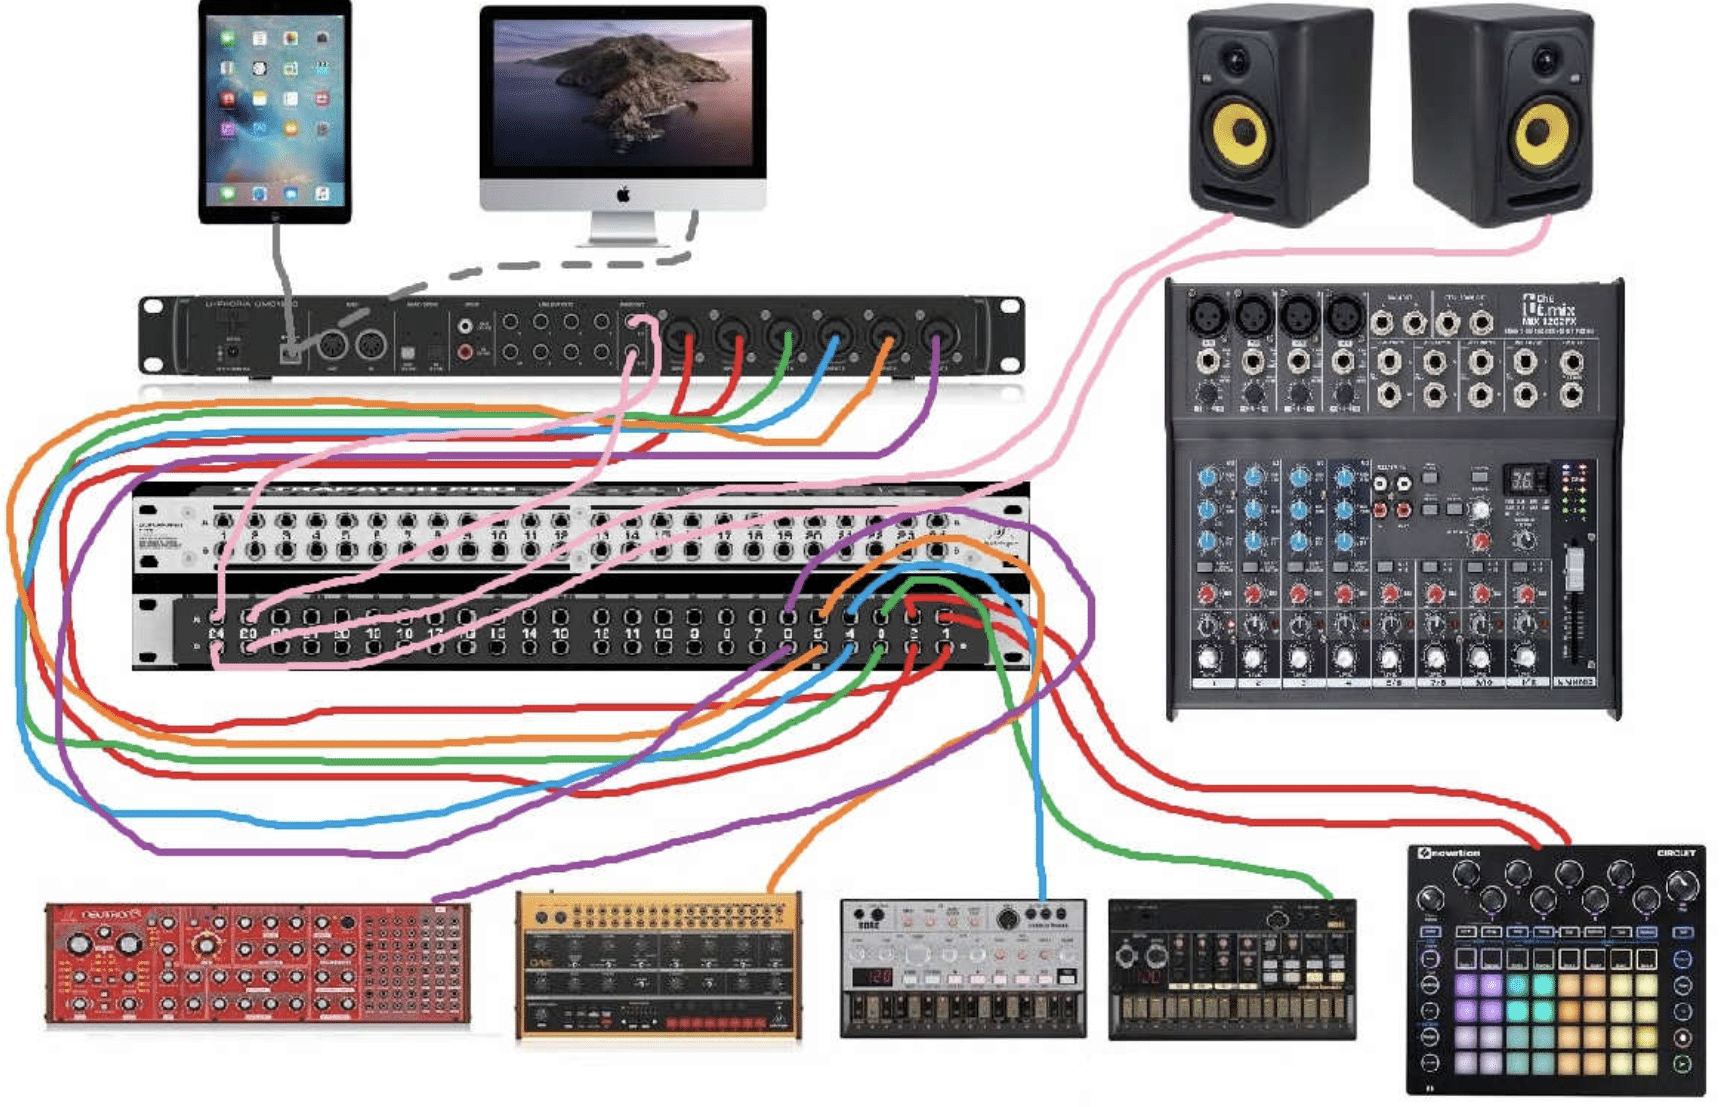
To kick things off, let’s take the example of integrating a compressor (a staple in any hip-hop production setup).
With a patch bay, you can quickly route your drum machine’s output to the compressor 一 adding that punchy feel to your beats.
The beauty of using a patch bay is in the flexibility it provides.
After compressing your drums, you might decide to add some reverb.
At that point, you can route the compressed signal to your reverb unit, all from the patch bay’s front panel.
This streamlined process lets you focus on what matters most; crafting that perfect beat.
-
Routing your Reverb Unit & Effects for That Perfect Beat
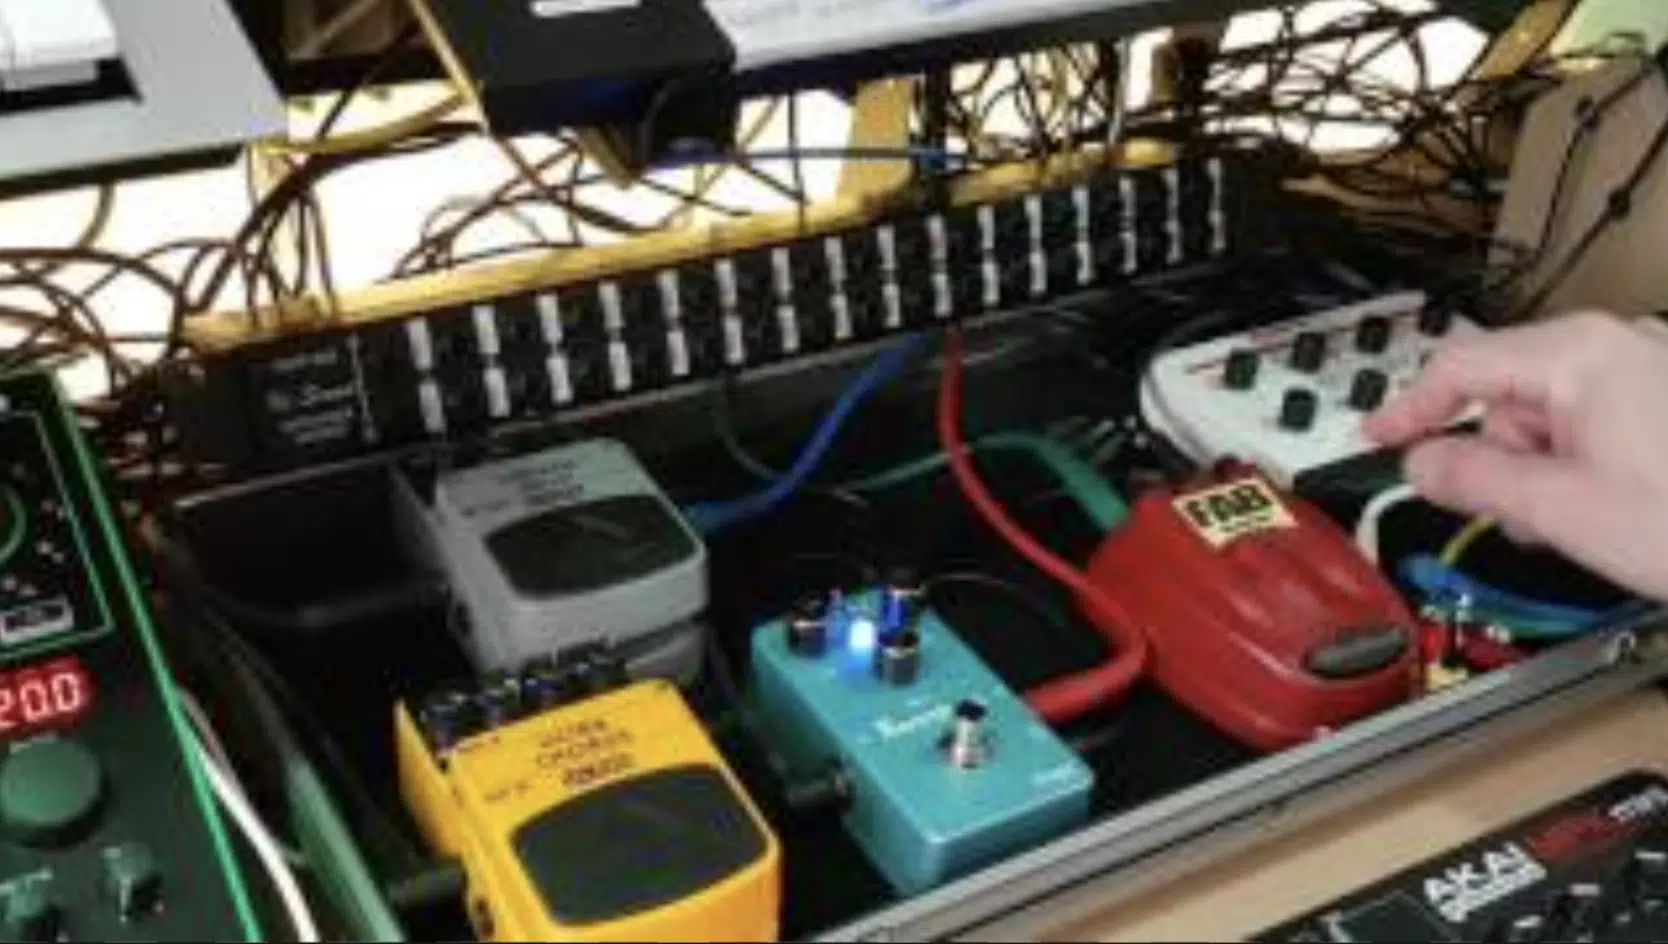
Reverb can add depth and space to your tracks… But what if you wanted to apply reverb to only specific instruments?
This is where the patchbay comes to the rescue.
Simply route the desired instrument’s output to your reverb unit, and then back into the mix.
This gives you the flexibility to sculpt the sound space without affecting the entire mix.
Another advantage of this setup is the ability to chain multiple effects.
After the reverb, you might want to incorporate a touch of delay or perhaps a flanger.
With the patch bay, you can daisy-chain these effects 一 crafting intricate soundscapes with ease.
And the best part? It’s all in real-time.
This means there’s no need to wait for processes or renderings; you can hear the changes instantly.
Therefore, you can make quick decisions and stay in the creative flow (which we all know is super important).
Patchbay: Final Thoughts
Patchbays might seem like a relic of the analog age to some, but the truth is they’re just as cool and indispensable today.
Whether you’re crafting a hip-hop beat, an EDM banger, or an ambient soundscape, the versatility and organization patchbays bring to your studio setup can’t be underestimated.
Even if you’re a producer who thrives in the digital domain, understanding the inner workings of physical hardware like patchbays can be immensely beneficial.
It enhances your adaptability and flexibility in diverse production environments.
Additionally, it can broaden your understanding of how sound travels, gets processed, and is manipulated.
As a token of appreciation for sticking with us till the end, here’s an added bonus: the highly-renowned Free Project Files pack.
This pack offers 3 Free Project Files that let you see precisely how pro-quality tracks are made.
Whether you’re into hip-hop, pop, EDM, or anything in between, these files are styled after the biggest hits in modern music.
They’re tailor-made to help you grasp the intricacies of today’s sound 一 giving you the tools and insights to elevate your own tracks to the next level.
Remember, music production is an ever-evolving art.
While digital tools and software are revolutionary, it’s equally essential to respect and understand the analog masters like patchbays.
After all, every tool in your arsenal (be it digital or analog) exists to help you express, create, and captivate.
Until next time…


Leave a Reply
You must belogged in to post a comment.