Time-based effects are all about manipulating the timing of an audio signal to add depth, create space, and shape the overall feel of your mix.
They can completely transform dry sounds, enhance stereo width, and add movement so your tracks are always on point.
Plus, they help you successfully build dynamic soundscapes, smooth out transitions, and make elements in your mix feel more mind-blowing/immersive.
So, if you’re trying to break into the music production world, you really have to know how to creatively use time-based effects (and bonus, you’ll seriously enhance your skills).
That’s why I’m breaking down everything you need to know about time-based effects, like:
- How time-based effects shape a mix ✓
- The different types of delay effects and how they work ✓
- How reverb can create a realistic or otherworldly sense of space ✓
- How to use modulation effects to add movement & stereo width ✓
- How to tweak delay settings for precise rhythmic control ✓
- When to use pre-delay for better mix clarity ✓
- The difference between analog & digital time-based effects ✓
- How feedback affects delay and echoes ✓
- Advanced techniques for sound design and mixing ✓
- Much more ✓
By knowing all the time-based effects and how to use them like a boss, you’ll be able to add depth to your mix and make every track sound polished and professional.
Plus, you’ll have the skills to use delay in sick new ways, shape reverb tails for perfect clarity, balance stereo width, and add movement that keeps a mix interesting.
This way, your tracks will always sound spacious and dynamic, and you’ll be able to produce professional-quality music every single time.
Table of Contents
What Are Time-Based Effects Exactly?
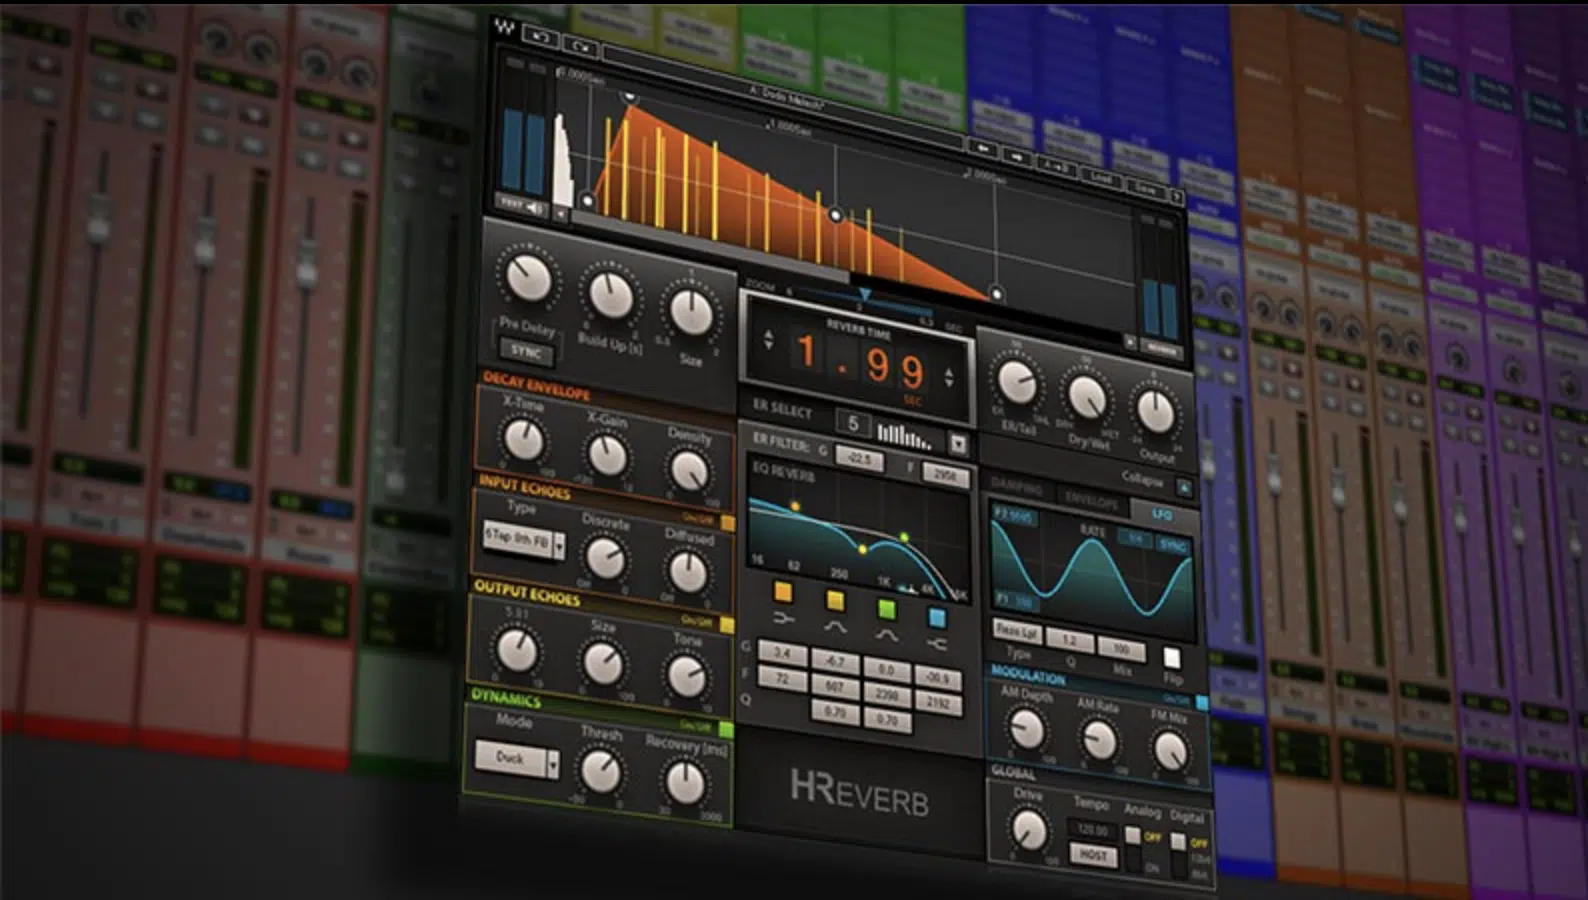
In music production, time-based effects manipulate the timing of audio signals to create a sense of space, depth, and movement in a track.
By introducing elements like delays, echoes, and different reverbs, these creative effects can completely transform a flat recording into a dynamic and immersive experience.
Think of them as the ingredients that add flavor and dimension to your music 一 making it more engaging for the listener (and hopefully capture the industry’s attention).
Understanding how to use these effects like a boss can elevate your individual tracks to a professional level.
Don’t worry, I’ll break down everything you need to know about time-based effects so you get a super solid understanding.
Delay Effects
Delay effects are among the most commonly used time-based effects in music production. They work by recording an audio signal and playing it back after a specified period, creating echoes that can add depth and interest to your tracks. Let’s kick things off by different delay effects.
-
Simple Delay
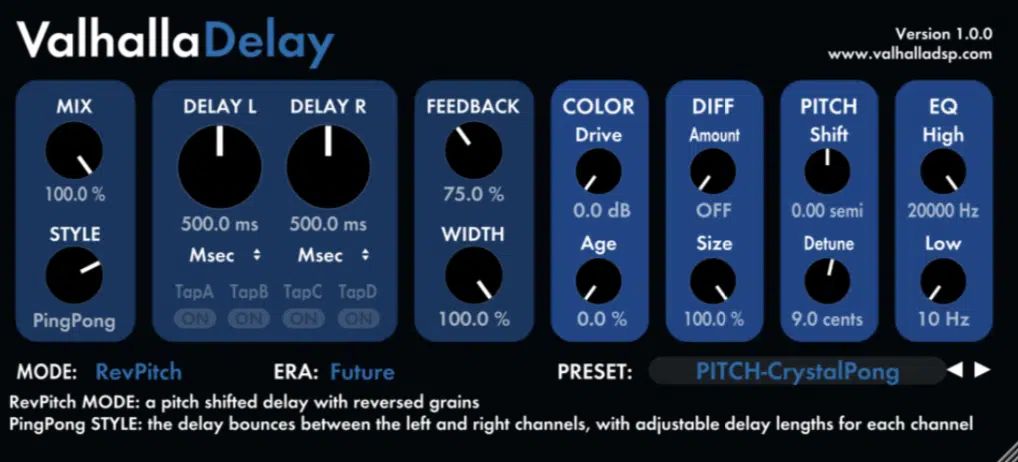
A simple delay is one of the most fundamental time-based effects, taking an input signal and playing it back after a specified time, which creates an echo-like repetition.
The delay time (typically measured in milliseconds) determines how long it takes before the delayed signal is heard:
- Short delay times (50-150ms) create doubling audio effects
- Longer settings (300-800ms) produce distinct echoes
For example, if you set a delay time of 400ms, feedback at 30%, and a wet/dry mix of 40%, the result will be a subtle, rhythmic echo that blends smoothly into the mix.
All without overwhelming the original sound, of course.
When it comes to vocals, a slightly lower feedback setting (15-20%) keeps the effect from being too noticeable.
Increasing the low-pass filter to roll off frequencies above 6kHz, on the other hand, can make the delay sit in the background.
For drums, a short delay (80-120ms) with 10-15% mix can add extra punch and stereo width 一 making snares and claps feel fuller without adding obvious echoes.
Just keep in mind that delay is one of the most versatile time-based effects in music production, and you have to practice to perfect it, but trust me it’s worth it.
And don’t forget that subtle tweaks to settings like feedback, delay time, and high frequencies can drastically change how it affects a track.
-
Ping-Pong Delay
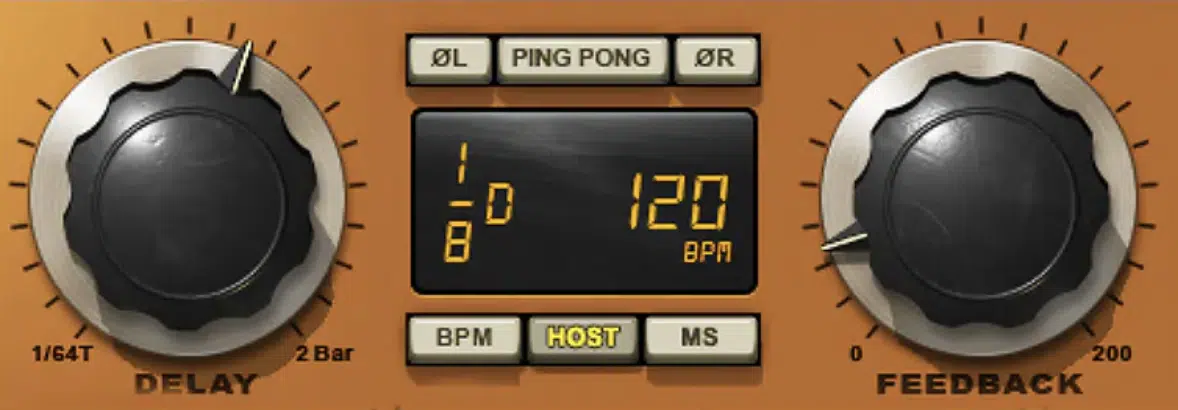
Ping-pong delay takes a regular delay effect and bounces the repeated sound between the left and right channels.
This creates a widened stereo image that makes a mix feel more immersive.
For example, a delay time of 350ms, feedback set to 40%, and a stereo width of 80% can make vocals sound more spacious without losing clarity.
For lead synths or guitar solos, increasing the delay time to 500ms, setting feedback to 50%, and adjusting the modulation depth to 20% can add a sense of movement.
And you won’t have to worry about making your track feel cluttered either.
Ping-pong delay works super well in pretty much all EDM genres, where adding ping-pong delay to hi-hats or snares at a 1/4 or 1/8 note delay time makes the rhythm feel more alive.
NOTE: If you want a cleaner mix, filtering out low-end frequencies below 200 Hz keeps the effect from clashing with the bass or kick drum.
Automating the delay mix level over time can make certain sections of a song feel wider and more expansive, which helps to build tension and release in the mixing process.
-
Tape Delay
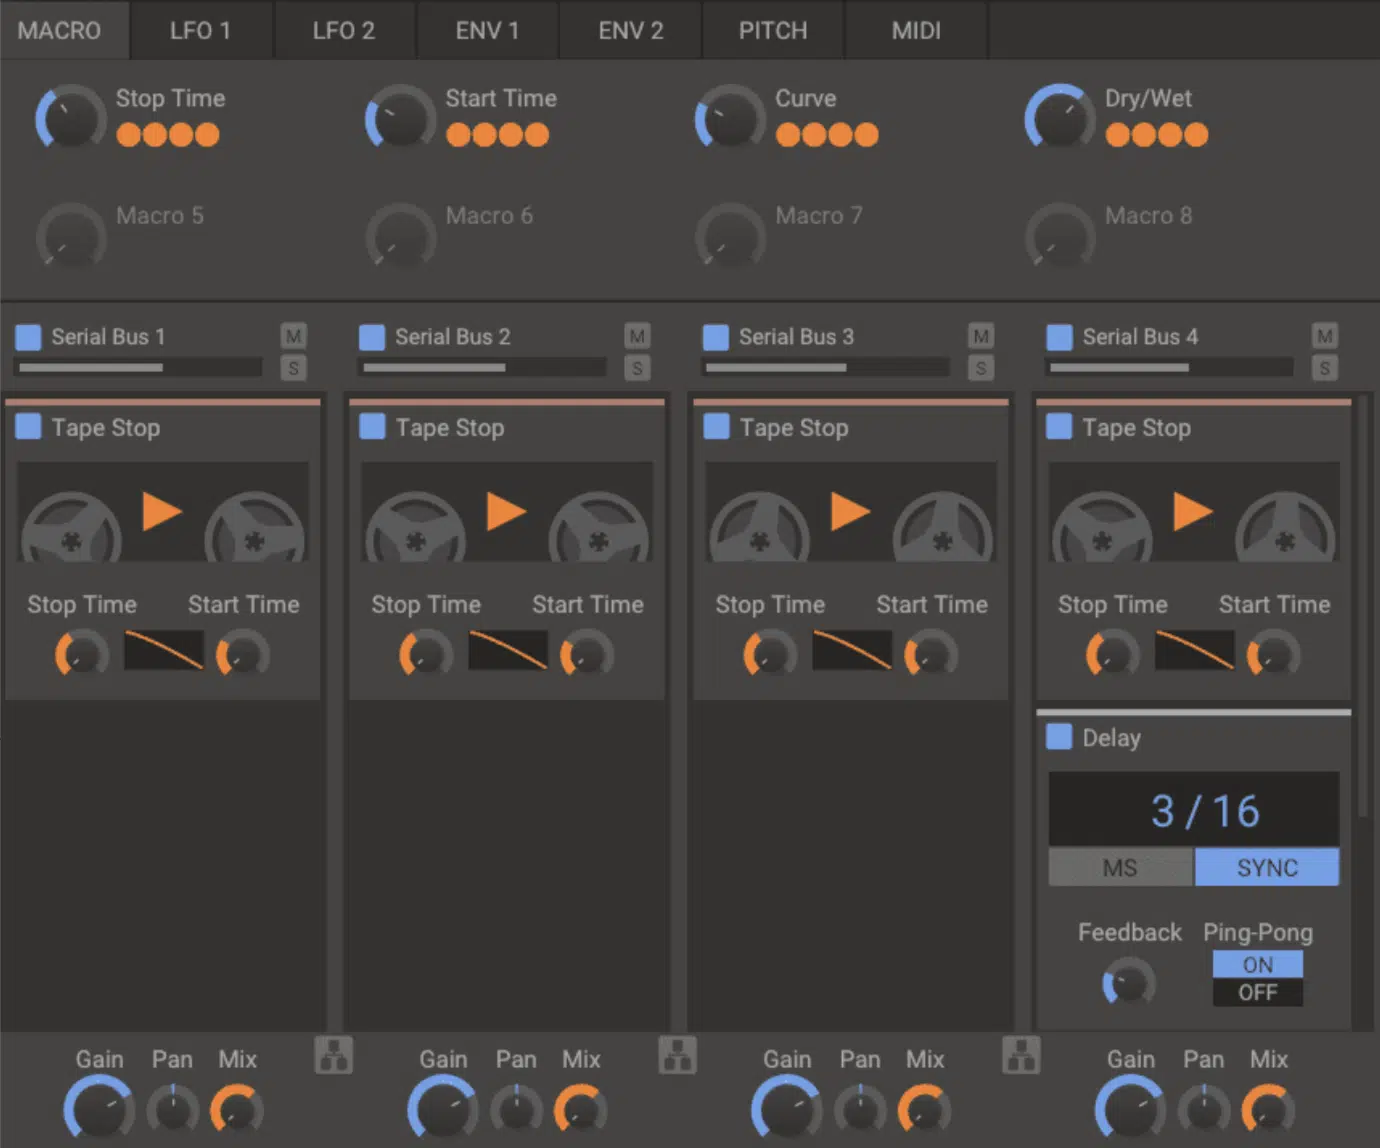
A tape delay emulates old-school analog delay units that used magnetic tape to create echoes, and (to the repeated signal) it adds:
- Warmth
- Saturation
- Slight pitch modulation
Unlike digital delay effects, which produce perfectly clean repetitions, tape delay introduces subtle imperfections, such as wow and flutter.
This gives you that natural, organic feel which is great in certain situations.
For example, setting a delay time of 300ms, feedback at 60%, and increasing the saturation level to around 40% can make a vocal or guitar track feel vintage and dope.
To add warmth, rolling off high frequencies above 8kHz keeps the delay from sounding too bright, while adjusting the input gain can push the delay plug-in into subtle distortion.
It basically mimics how real tape delays would behave for that extra sense of realism.
NOTE: If you’re working on lo-fi, rock, or reggae music, setting a slapback delay at 120ms with 25% feedback on vocals or drums can give them classic analog character without overwhelming the original sound, so definitely give it a try.
-
Slapback Delay
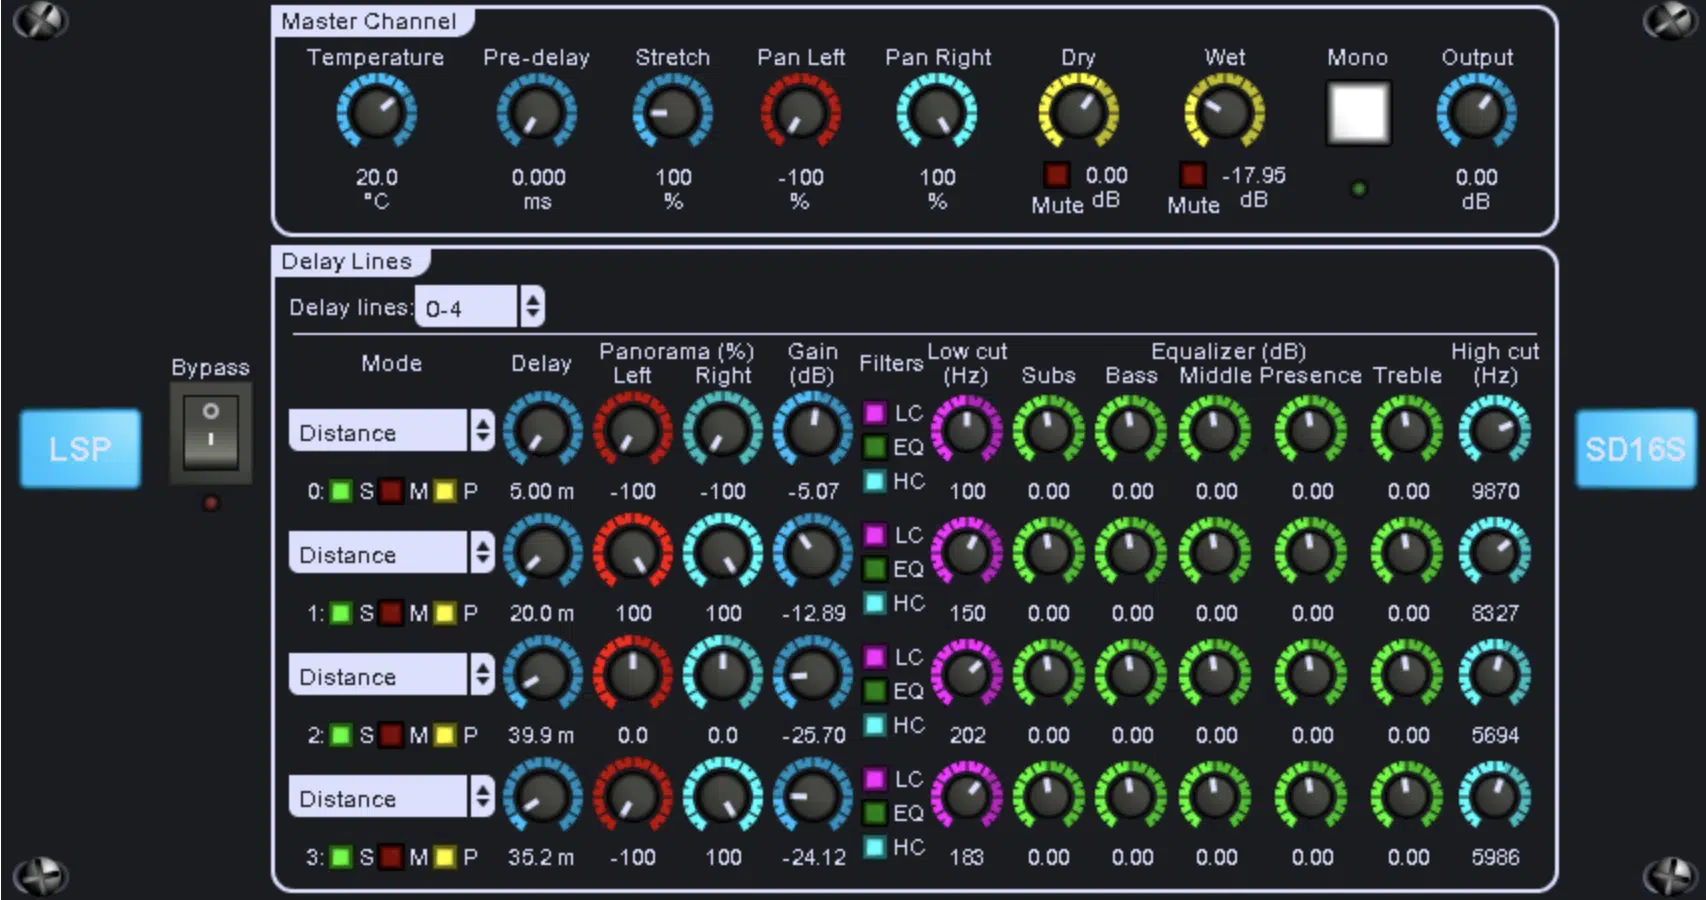
And last of these specific time-based effects we have slapback delay.
A slapback delay is a quick, single-repeat echo with a short delay time, typically between 75ms and 150ms, that adds a sense of space and depth.
It does not create a long trail of echoes unlike some of the other effects.
This effect has actually become popular in rockabilly, blues, and country music, where it gives vocals, guitars, and drums a thicker, more pronounced sound.
For example, if you set the delay time to around 120ms, feedback to 0-10%, and a wet/dry mix around 25-30%, it creates a tight, punchy effect.
It makes vocals sound more upfront in the mix, which is great.
When it comes to drums, applying a slapback delay at 90ms with 15% wet mix on the snare drum can add thickness without overpowering the rhythm.
A low-pass filter at 5-7kHz can smooth out high frequencies 一 preventing the delay from clashing with cymbals or vocals.
NOTE: If you’re going for a vintage feel, adding a slight bit of modulation and rolling off the low end below 200 Hz can replicate the sound of old-school analog tape delays heard in classic recordings.
Reverb Effects
Next up we have reverb, which is one of the most essential time-based effects in music production, used to create a sense of space, depth, and atmosphere in a mix. Whether you want a small, intimate room sound or a massive, cinematic ambiance, different reverb types can completely transform how an instrument or vocal sits in the mix. Let’s get into it.
-
Room Reverb
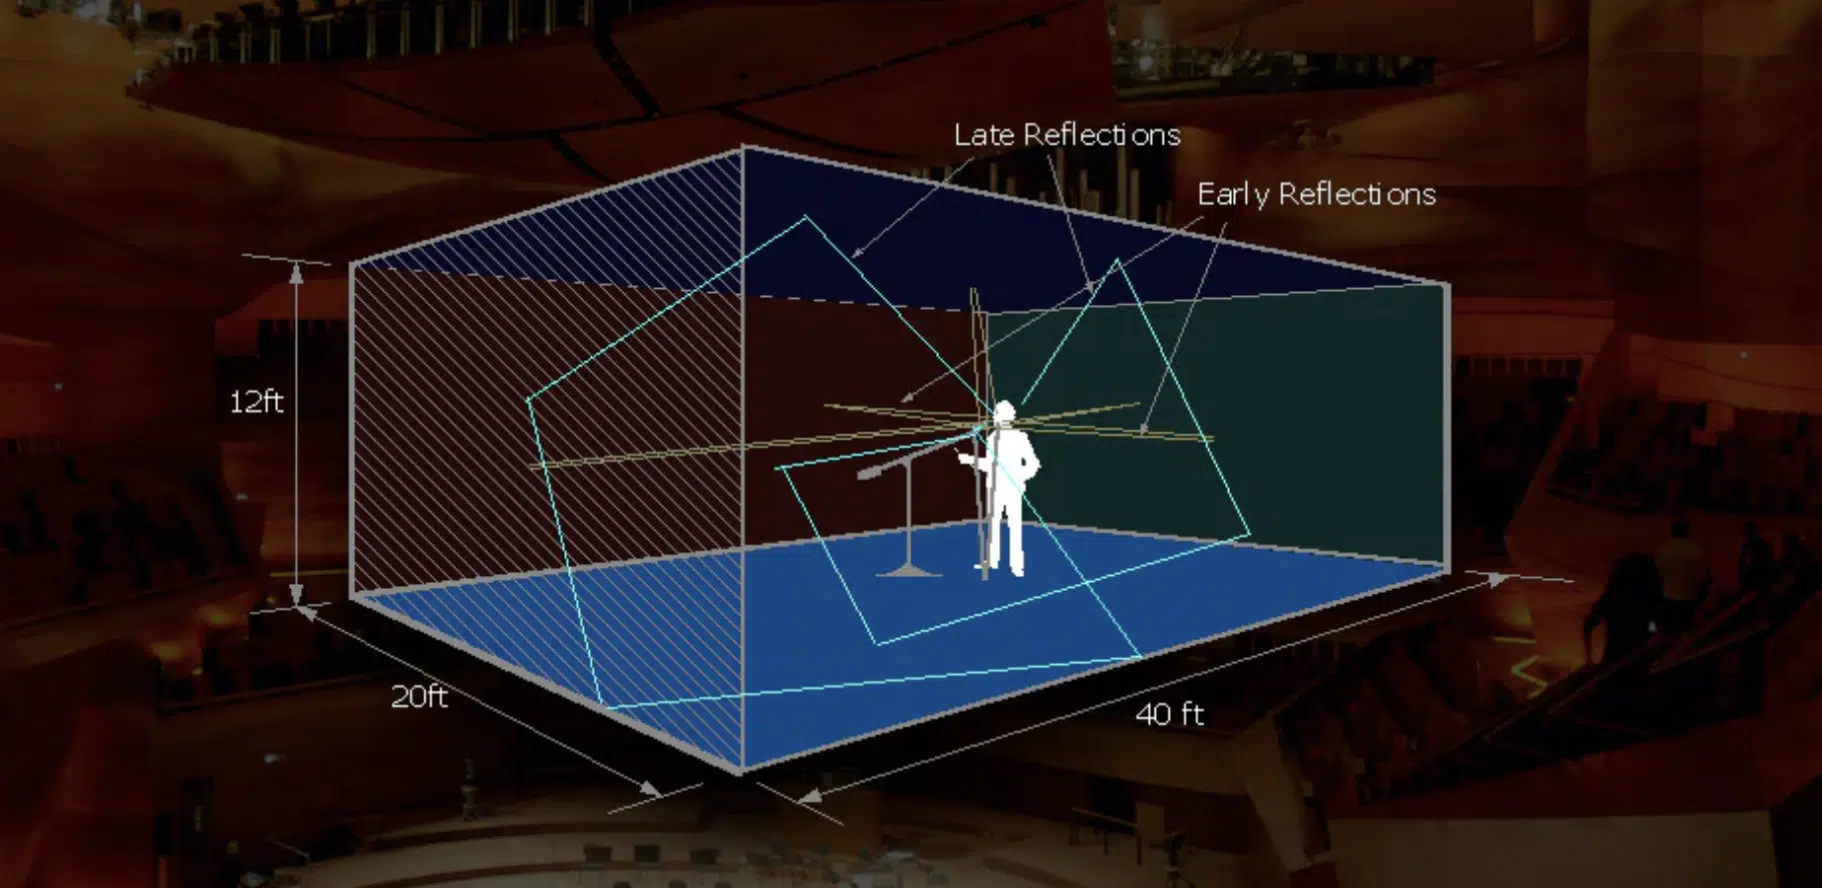
Room reverb replicates the natural acoustics of a small or medium-sized room, adding a realistic, short decay that makes sounds feel more natural/present.
Shorter reverb times (0.3 – 1.2 seconds) work well for drums, guitars, and vocals, keeping them clear and upfront.
They add just enough ambiance to make them feel alive and organic.
Longer reverb times (1.5 – 2.5 seconds) are perfect for adding a sense of space to ballads, cinematic music, or ambient productions.
If you’re shooting for a more immersive and atmospheric feel, it’s perfect.
They can make vocals sound more emotional and ethereal, guitars feel fuller, and drums blend smoothly into a mix without feeling too dry or unnatural.
If a vocal or snare feels too dry in a mix, applying a room reverb with a pre-delay of around 10-20ms can add depth while keeping the sound tight and defined.
Keep in mind that a high-frequency roll-off around 5-7 kHz can prevent excessive brightness 一 making the reverb sit naturally without clashing with other elements.
The great thing about room reverb is that it’s subtle but still effective, which makes it perfect for giving individual tracks a bit of dimension without washing them out.
If you’re aiming for a modern, dry mix but don’t want elements sounding completely isolated, this is one of the best reverb types to use than some other effects.
-
Hall Reverb

Hall reverb emulates the huge, open ambiance of concert halls and large spaces, creating a lush, spacious effect that works exceptionally well for:
- Vocals
- Strings
- Synths
Long decay times (2 – 5 seconds) make everything sound big and expansive, which is great for ballads, cinematic music, and ambient soundscapes.
Shorter decay times (0.5 – 1.5 seconds) are all about keeping sounds tight and controlled while still adding a sense of space and realism.
This works great for upbeat pop, rock, and hip-hop, where you want vocals, snares, and percussive elements to feel present but not get lost in excessive reverb tails.
It also helps maintain clarity in fast-paced mixes so each element remains distinct and punchy while still benefiting from a natural sense of depth.
If you’re using hall reverb on vocals, setting a pre-delay of around 30-50ms keeps the original signal clear before the reverb kicks in (preventing muddiness in the mix).
Dialing back the low-end (below 250 Hz) on the reverb prevents it from overwhelming bass-heavy tracks so you get a clean, professional sound.
Bottom line, hall reverb is ideal for creating depth and space, but too much can push a track too far back in the mix, so use it carefully when working with denser tracks.
-
Plate Reverb
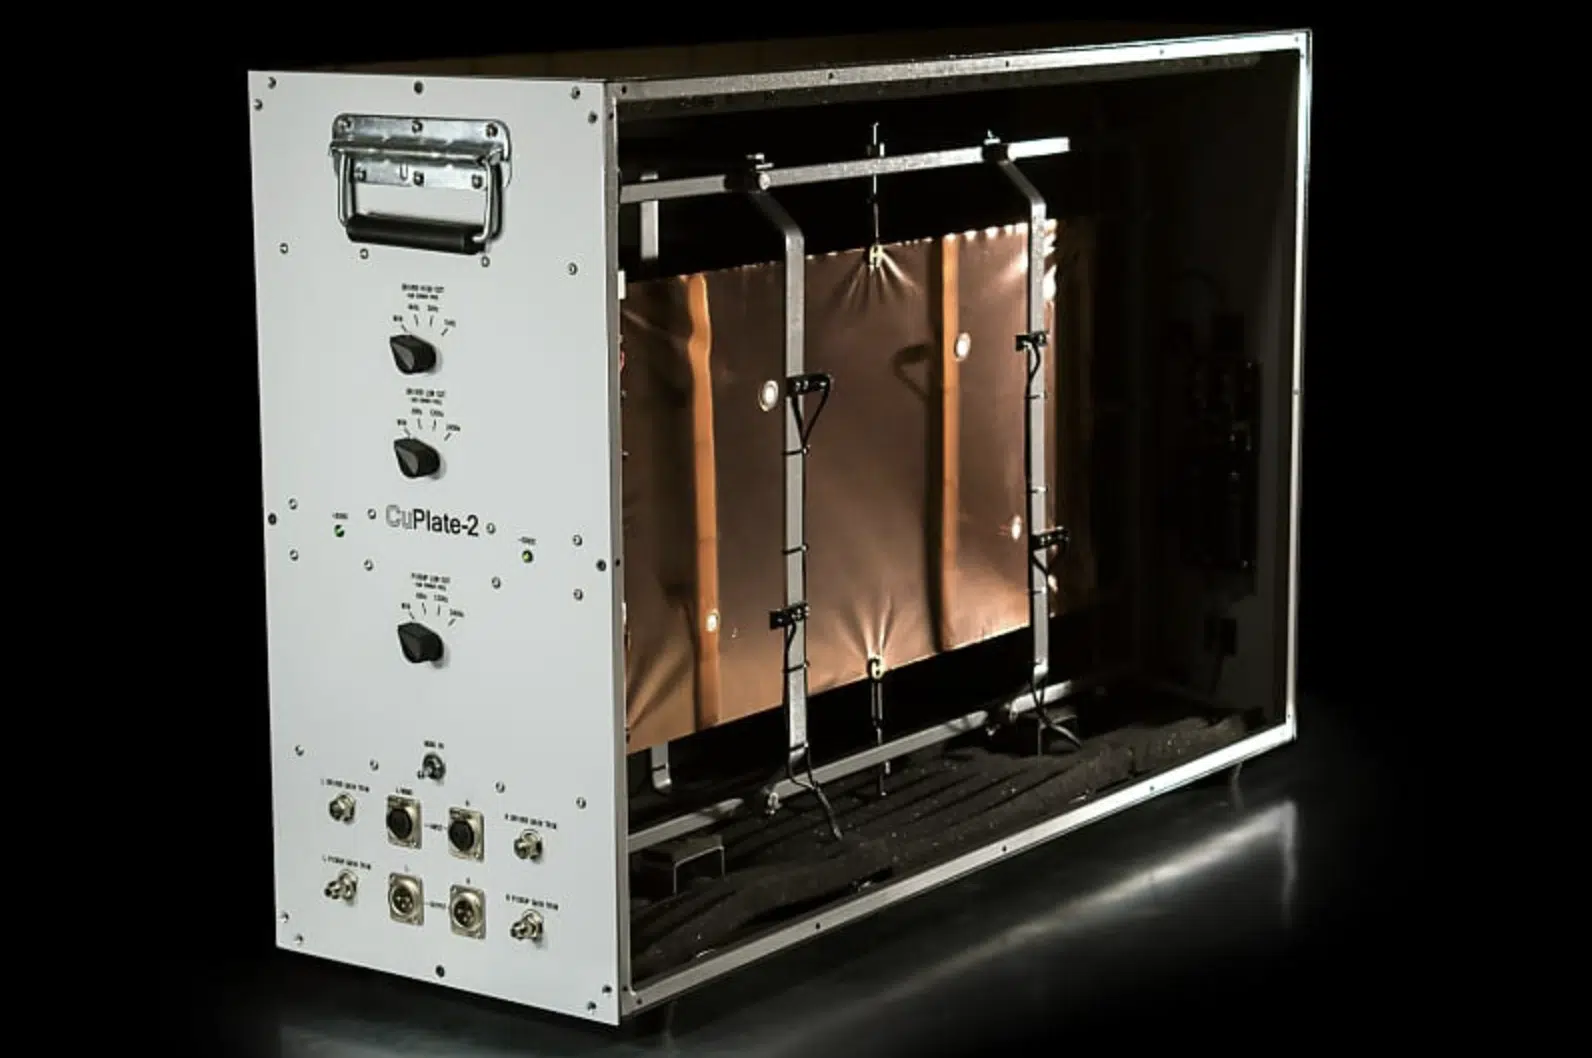
Plate reverb is one of the smoothest and most musical types of reverb.
It was originally created using metal plates inside a reverb unit to generate vibrant, shimmering reflections, which is awesome.
When it comes to vocals, snares, and guitars, it’s really a game-changer because it gives them a silky, polished sound that blends naturally into a mix.
Unlike hall or room reverb, plate reverb has a dense and even decay 一 making it feel consistent and smooth rather than realistic.
A medium decay time (1 – 3 seconds) with a 20-30 ms pre-delay helps add warmth and clarity to a vocal without washing it out.
If you want to add thickness to drums or lead vocals without losing definition, plate reverb is an excellent choice.
Pro Tip: If you’re using plate reverb on vocals, try setting the high-frequency roll-off around 6-8 kHz to keep the effect from sounding too harsh or artificial in the mix.
For snares, applying a shorter decay time (under 1.5 seconds) with a pre-delay of 10-20ms can help retain punch while adding a smooth, vintage character.
If you’re working with guitars, blending a plate reverb at around 30% wet mix with a subtle modulation effect can create a lush, dreamy quality.
And for an even more authentic analog feel, running your plate reverb through a tape saturation plug-in can add warmth and glue everything together naturally.
-
Spring Reverb
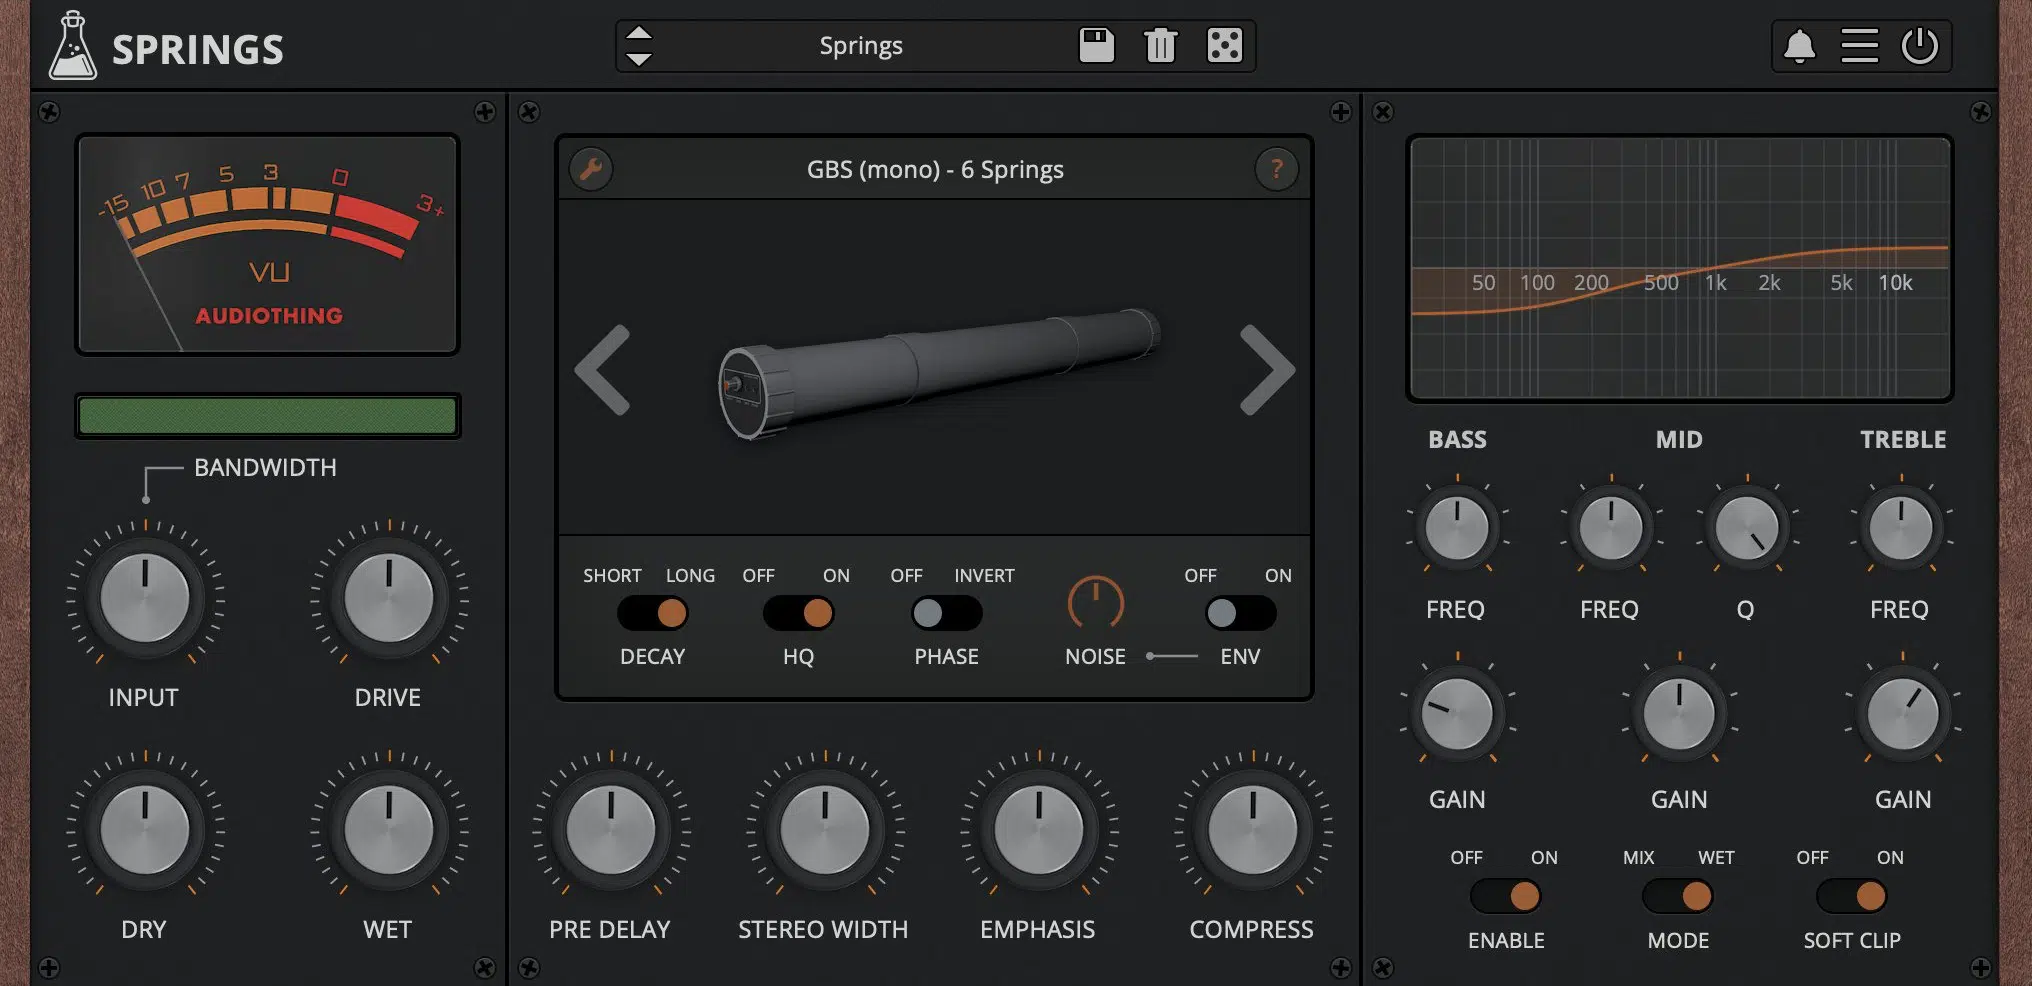
Well, you can’t talk about time-based effects without throwing spring reverb into the mix (no pun intended, but it worked out pretty well).
Spring reverb is a classic effect found in vintage guitar amps and outboard gear, known for its metallic, bouncy sound that can add a pretty unique character to your mix.
Unlike other reverbs, spring units use a set of metal springs to create reverberation, resulting in a distinct, slightly lo-fi texture that’s perfect for:
- Guitars
- Vintage keys
- Even drums
Short decay times (0.8 – 2 seconds) with a slight high-frequency boost make spring reverb pop in the mix, especially when applied to funk, reggae, and surf rock.
Longer decay times, on the other hand, (2.5 – 4 seconds) can create a washy, atmospheric effect that works great for psychedelic rock, ambient textures, or even experimental sound design.
For example, when used on guitars or vintage keys, it can give them a dreamy, almost haunting quality.
This is especially true when paired with a slight pre-delay (20-30ms) to keep the initial attack clean and clear.
And, if you’re working with drums, cranking up the feedback and saturation on a spring reverb plug-in can add a raw, distorted character that brings out a cool retro vibe.
For a gritty, old-school vibe, increasing the reverb mix level and adding a subtle modulation effect can emulate the sound of classic tape recordings.
If you’re looking to add warmth, vintage character, or some subtle grit to an instrument, spring reverb is not only creative, but super fun as well.
Modulation Effects
Next up we have my personal favs: modulation effects. Modulation effects take time-based effects even further by altering the pitch, phase, or amplitude of an audio signal over time, creating movement, depth, and stereo width in a mix. Whether you’re using them to add thickness to vocals, widen a synth, or create trippy, warping textures, modulation effects are a game-changer in music production. Let’s break it down.
-
Chorus Effect
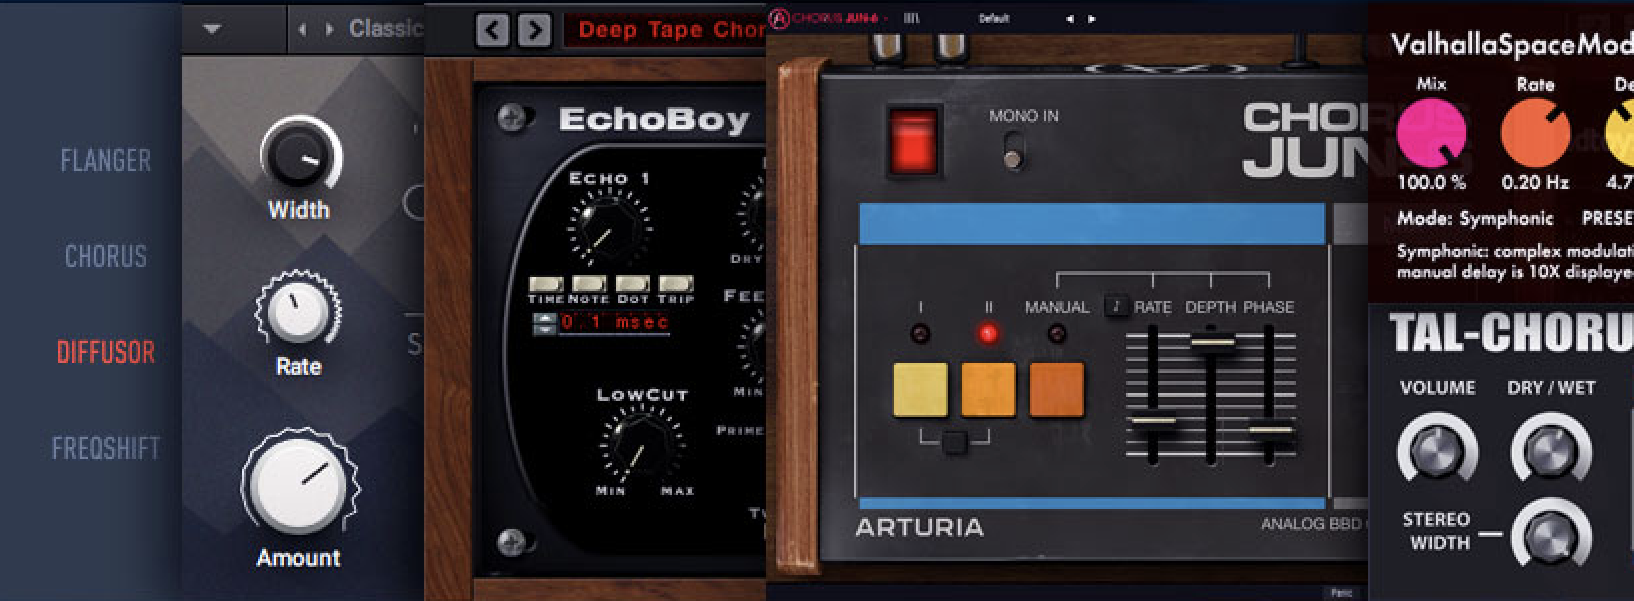
Chorus is a modulation effect that can add some real flavor to your tracks, which involves:
- Duplicating the original signal
- Slightly altering its pitch and timing
- Blending it back together for a thicker/wider sound
It’s used all day to add warmth and stereo width to things like vocals, guitars, synths, and even bass (if you know what you’re doing, that is).
A well-set chorus effect can make an instrument sound like multiple players are performing in unison, which is why it’s a go-to effect for fattening up a track.
For example, chorus effect with a rate of 0.5Hz, depth of 30%, and a mix level of 40%can give a subtle, lush stereo widening without making a track sound unnatural.
If you’re working with vocals, setting the stereo width to around 80% and rolling off high frequencies above 8kHz can prevent the effect from sounding too sharp or artificial.
Side note, adding a pre-delay of 5-10ms can also keep the original signal more defined before the effect kicks in to help avoid any muddiness.
If you increase the rate to 1Hz or more, the modulation gets more noticeable 一 making the sound warble and shimmer.
This one is perfect when used on dreamy synth pads or clean electric guitars.
NOTE: A great setting for clean electric guitars is a moderate rate (0.8Hz), depth at 40%, and a slightly lower mix level (30%). It keeps the movement natural while adding just enough width to make the guitar pop in the mix.
You can use a chorus effect in various ways, but my fav is by automating the depth or mix amount throughout my song.
Meaning, only certain sections feel more spread out and immersive while others stay dry and focused for the ultimate balance.
A trick I love is stacking two different chorus plug-ins with slightly different settings on a vocal to enhance stereo width without making it sound phasey or washy.
One chorus plug-in could have a slower rate with more depth, while the second one could have a faster rate but a lower mix level.
This will give you a sick, evolving stereo effect that still sounds natural.
All in all, if you’re looking for time-based effects to add thickness, movement, and stereo width to a mix, a chorus effect is one of the best ways to do it.
-
Flanger
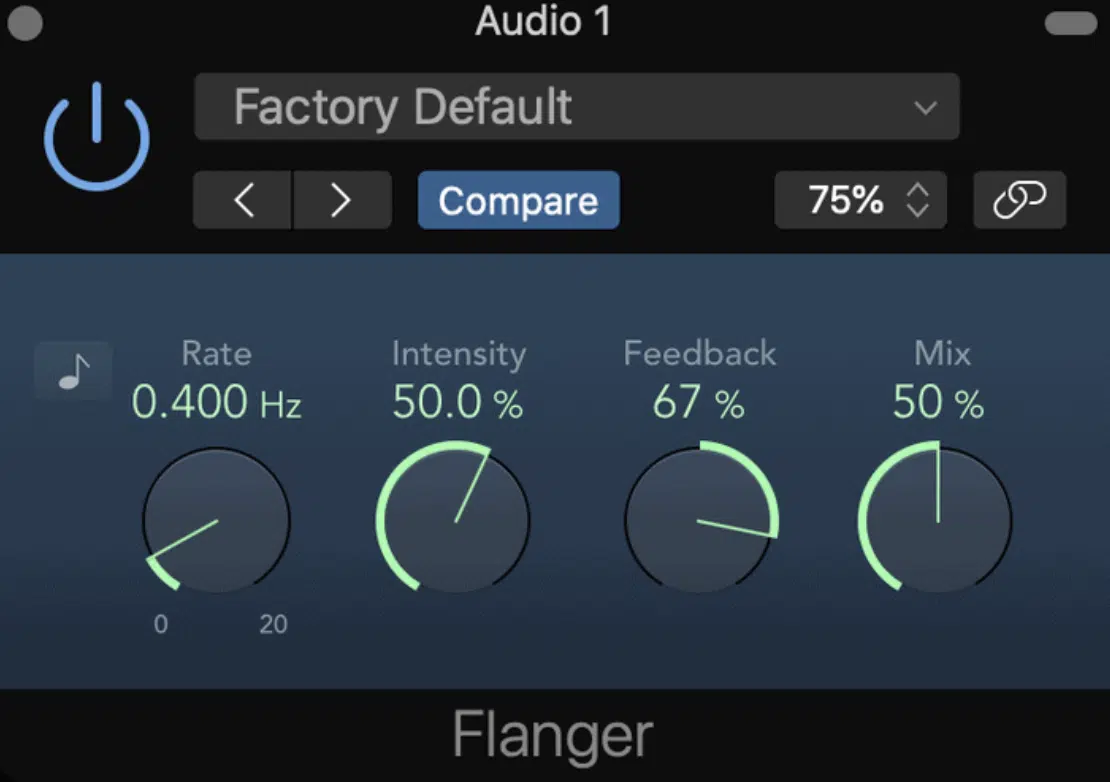
Flangers is a time-based effect that combines an audio signal with a slightly delayed copy of itself, creating a series of peaks and notches in the frequency spectrum.
It gives you a distinctive “whooshing” or “jet plane” sound.
To successfully achieve this effect you can modulate the delay time, typically between 0.1 to 10 milliseconds, which causes the comb-filtering effect to sweep up and down the frequency spectrum.
If we’re talking key parameters, they’re:
- Rate 一 Controls the speed of the modulation, measured in Hertz (Hz).
- Depth 一 Determines the intensity of the flanging effect by adjusting how much the delayed signal moves in time.
- Feedback 一 Feeds a portion of the output back into the input, increasing the resonance and making the effect more pronounced.
For example, setting a rate of 0.5 Hz, depth at 50%, and feedback around 20% can add a subtle movement to guitar tracks, which makes them sound wider and more dynamic.
On the flip side, pushing the rate to 2 Hz, depth to 80%, and feedback to 60% can create a deep, swirling effect that works well on synth pads, vocal layers, and even drum fills.
Flangers can be used to add movement and depth to various instruments, but it’s essential to use them carefully to prevent the mix from becoming saturated or phasey.
If you want a more subtle stereo enhancement, try using a flanger with a lower mix setting (20-30%) on background vocals or rhythm guitars.
This will give them a slight shimmer without overpowering the lead elements.
Remember, playing around with stereo panning and automation can further enhance the spatial characteristics of the flanger effect.
For example, automating the depth or feedback during a build-up in an EDM track can create a rising, tension-building effect, making the drop hit even harder.
On the same note, applying a slow-moving flanger to a reverb tail can add a dreamy, evolving texture to a track, which makes it feel more immersive and dynamic.
-
Phaser
A phaser is a modulation effect that filters an audio signal to create a series of peaks and troughs in the frequency spectrum 一 producing a sweeping, swirling sound.
It’s a go-to effect in music production when you want to add movement and depth to an instrument without altering its core tone too much.
This is successfully done by:
- Splitting the signal
- Phase-shifting one part
- Recombining it with the original signal
The primary controls include rate, which adjusts the speed of the sweep and depth to control the intensity.
Plus feedback, of course, which reinserts part of the output back into the input for a more pronounced effect.
For example, applying a phaser with a rate of 0.8 Hz, depth at 70%, and moderate feedback to a clean guitar can impart a dynamic texture reminiscent of classic psychedelic rock tones.
This type of setting is commonly used in 70s-style funk, blues, and psychedelic rock, giving guitars and electric pianos a liquid-like motion.
Phasers are also highly effective on synths, where setting a slow rate of 0.3 Hz, depth at 60%, and high feedback can produce a deep, evolving sweep.
One that adds space and stereo width to pads or leads.
Even drums can benefit from subtle phaser settings, where applying a phaser with low depth (20%) and a fast rate (2 Hz) to hi-hats or percussion can add a shimmering, organic feel to the rhythm.
Automating the rate and depth parameters over time can create evolving soundscapes, which is why phase effects can add interest and motion in a mix like no other.
NOTE: One of my favorite techniques is using a fast-moving phaser (around 3 Hz) on a vocal reverb tail, which makes it shift and morph subtly over time.
It can add a dreamy, ethereal touch to your track that sounds amazing.
Advanced Time-Based Effects
Beyond the foundational time-based effects like delay and reverb, there are more specialized tools that can add unique textures and dimensions to your tracks. These advanced (and creative) effects often combine elements of modulation and time manipulation to create complex and evolving sounds. So, let’s explore a few of these innovative audio effects and how they can enhance your music.
-
Granular Delay
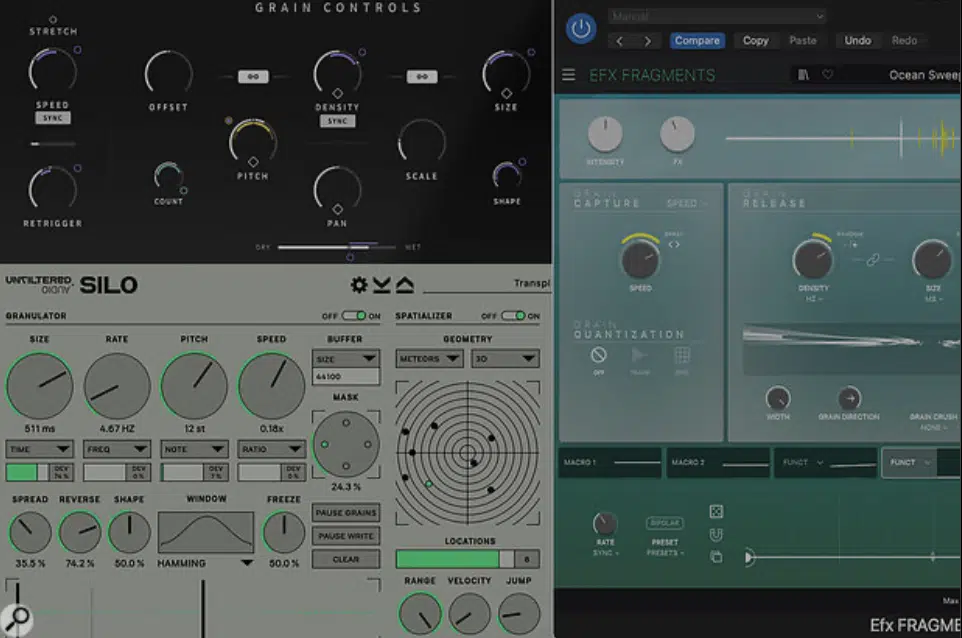
Granular delay is a time-based effect that fragments the audio signal into tiny segments called “grains,” each typically ranging from 1 to 50 milliseconds.
By manipulating parameters such as grain size, density, pitch, and playback direction, you can create intricate, evolving textures from even the simplest sounds.
For example, applying a granular delay with a grain size of 20ms, density set to high, and introducing a pitch shift of +12 semitones can transform a standard piano chord into a shimmering, ethereal pad.
This effect is great for ambient and experimental genres, where it adds depth and complexity 一 turning mundane audio signals into captivating soundscapes.
-
Multi-Tap Delay
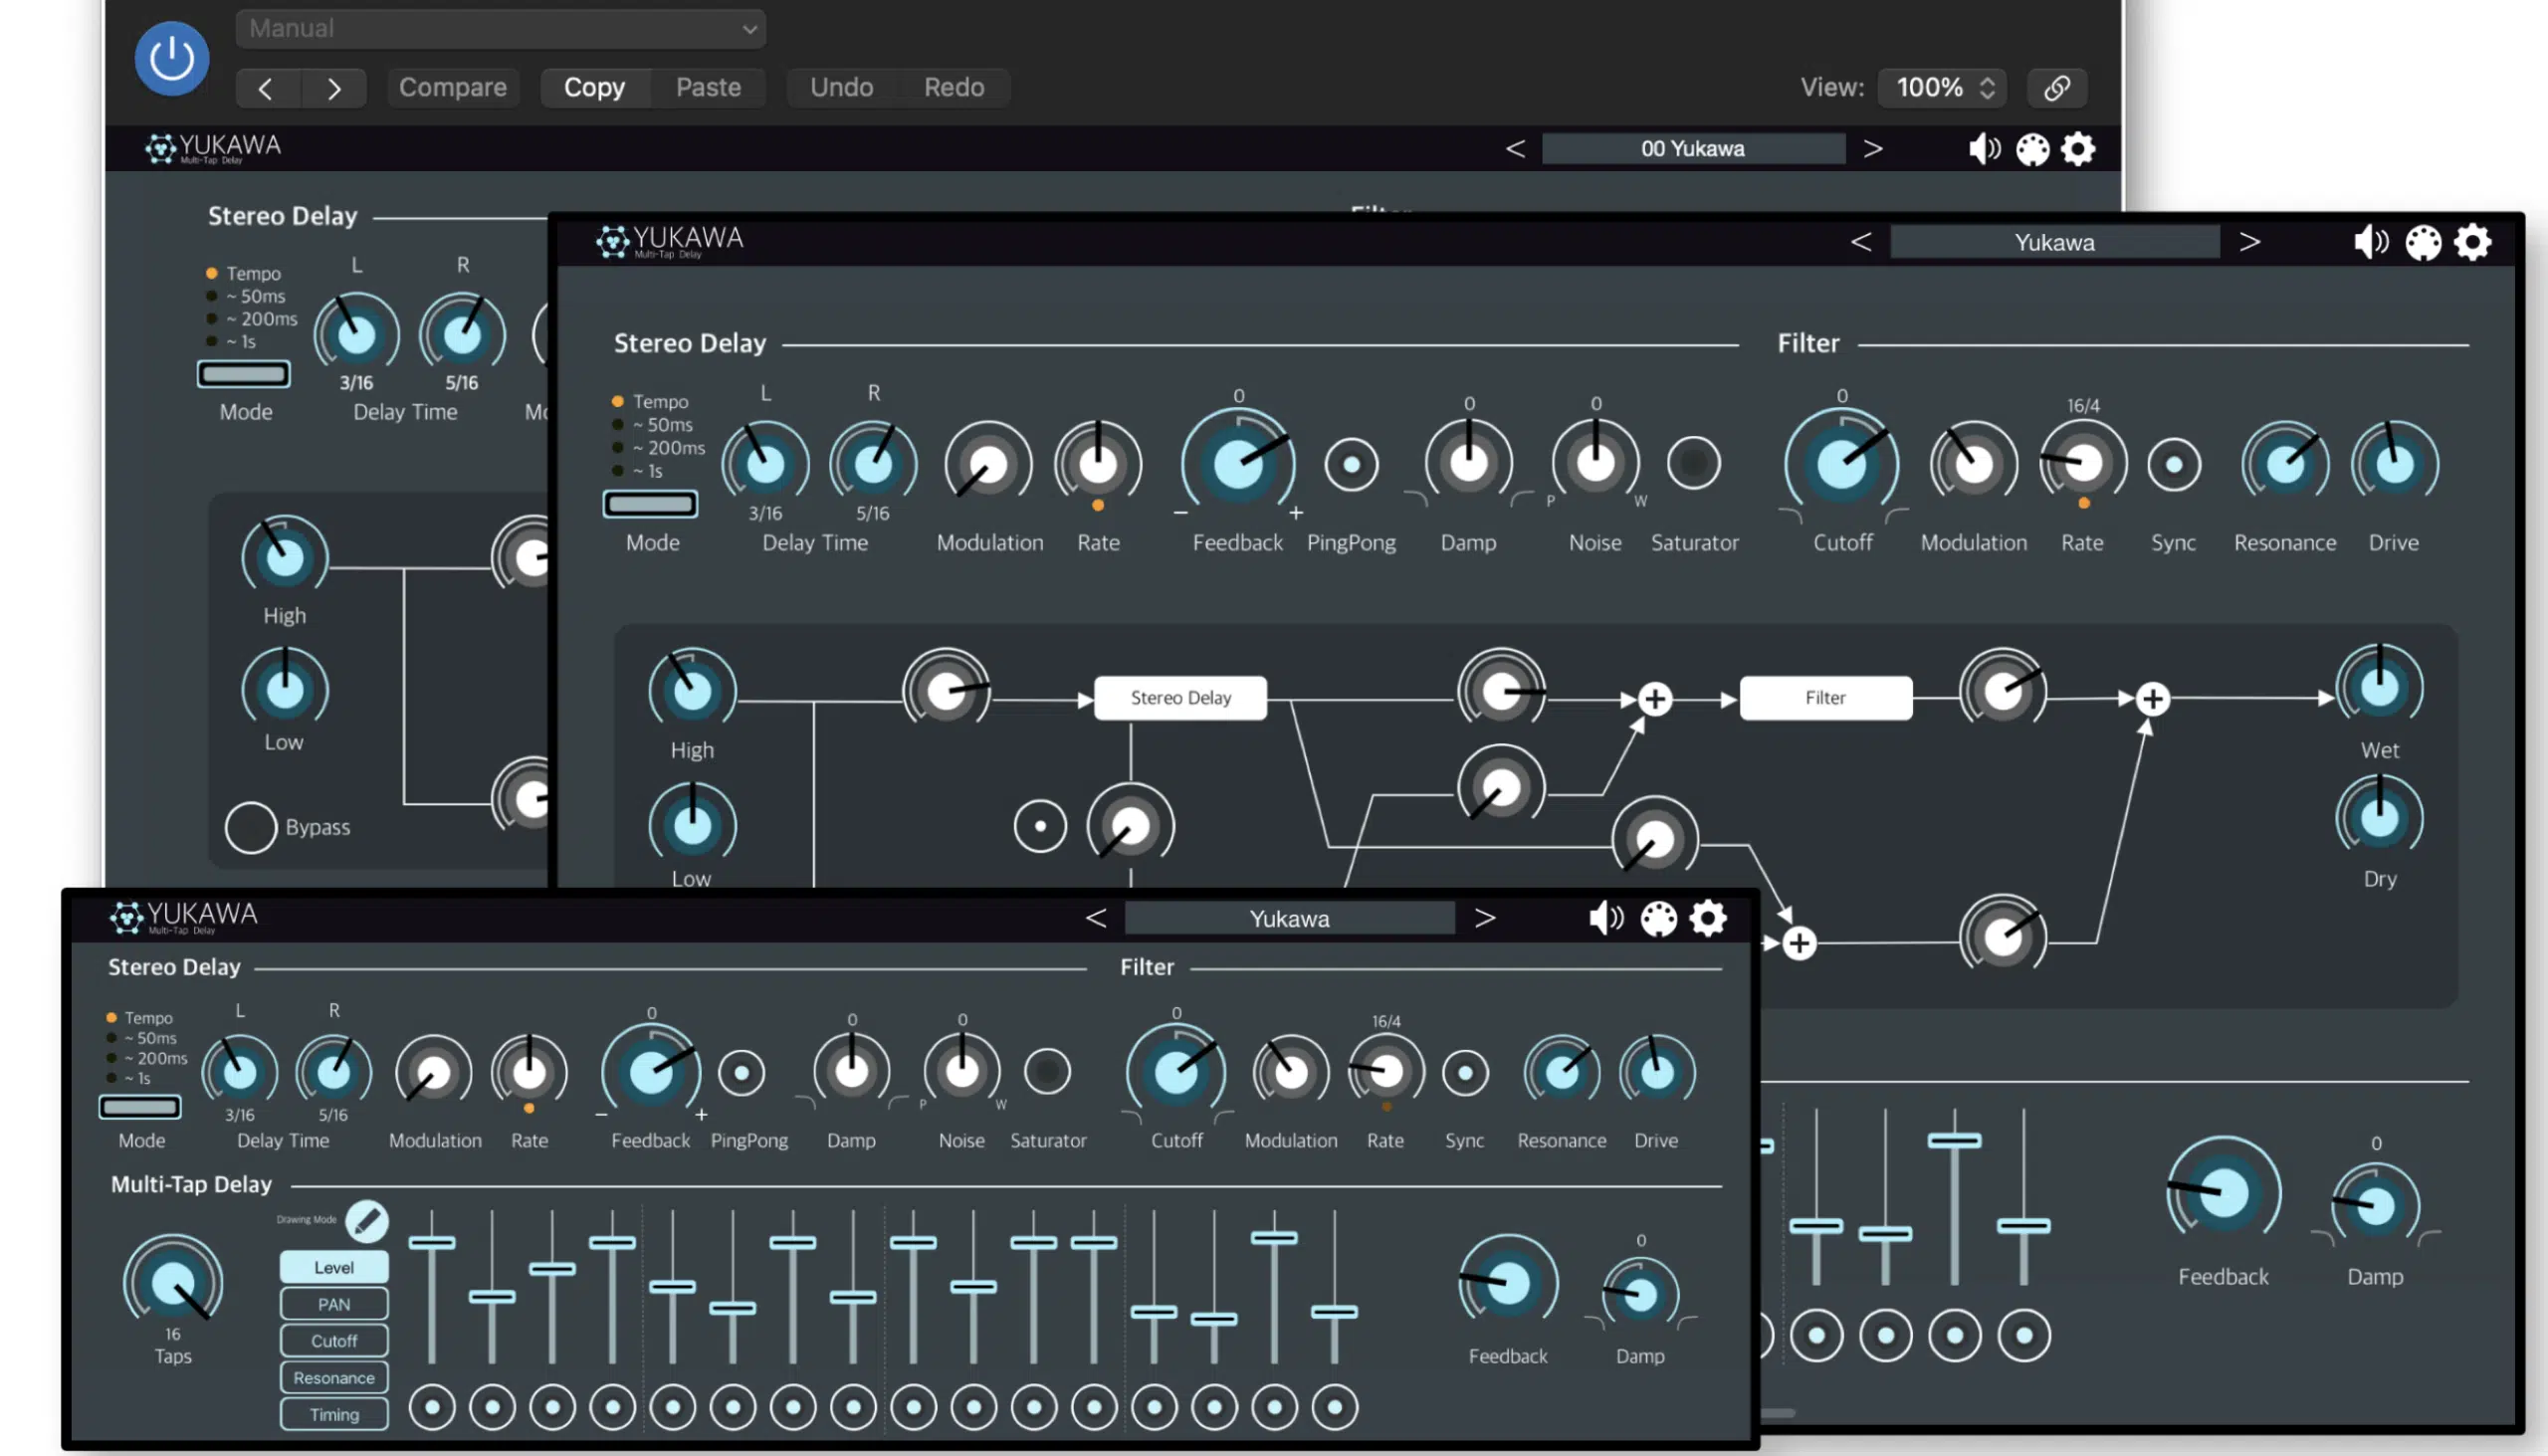
Multi-tap delay is a time-based effect that features multiple delay lines, or “taps,” each with independently adjustable delay times and feedback levels.
With it, you can really create some killer, complex rhythmic patterns and textures within a mix.
For example, you could set taps at:
- 250ms
- 500ms
- 750ms
Make sure each has varying feedback and panning positions, to produce intricate echo sequences that enhance the groove of a track.
Multi-tap delays are super versatile in the music production, so you can add depth, add movement, and add rhythmic interest to your tracks all day.
-
Reverse Reverb

Reverse reverb is a time-based effect that involves reversing an audio signal, applying reverb to the reversed signal, and then reversing it again.
It creates a swelling sound that leads into the original audio.
This technique produces a haunting, otherworldly effect often used to build anticipation or introduce elements in a mix (it’s actually pretty dope).
To achieve this, you can reverse the desired audio clip, apply a 100% wet reverb with a long decay time, and render the effect.
Then, reverse the processed audio back to its original orientation.
This results in a reverb tail that crescendos into the dry signal 一 adding a sense of depth and intrigue to the track.
Bonus: Creative Uses of Time-Based Effects
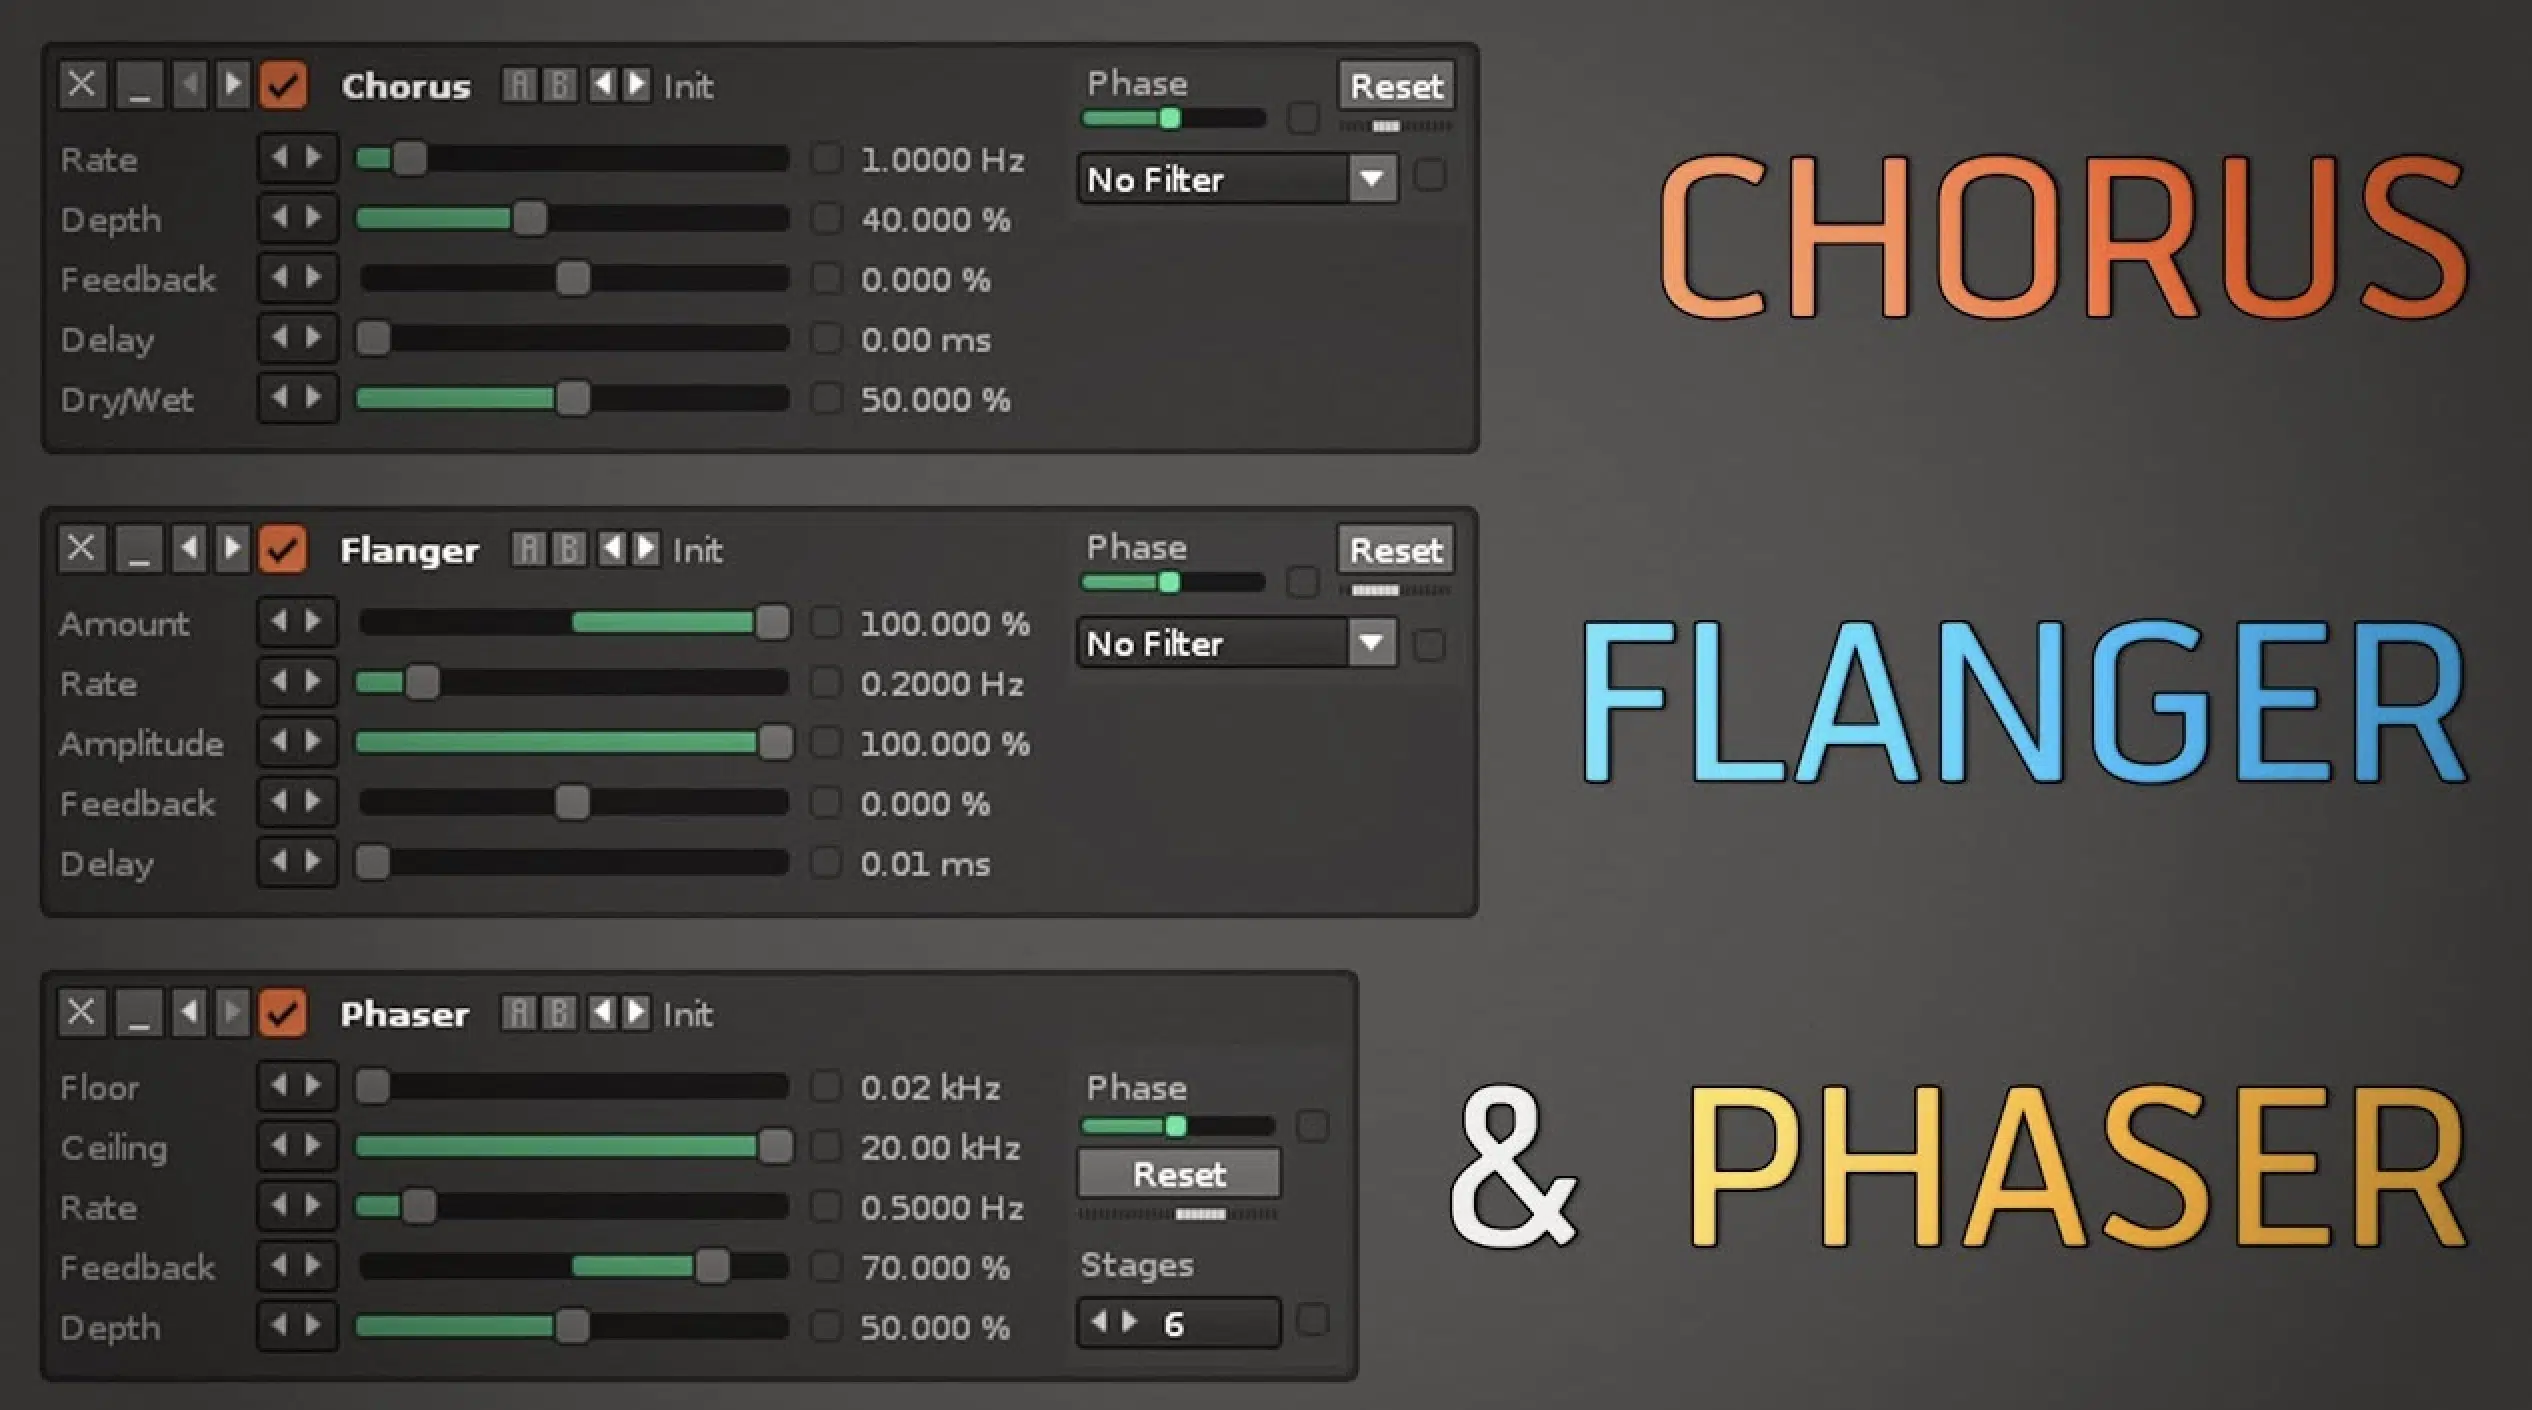
Using time-based effects in creative ways can add depth, enhance stereo width, and transform static sounds into immersive textures in music production.
For example, applying a ping-pong delay with a delay time of 300ms, feedback set to 40%, and a high-pass filter cutting below 250 Hz can make vocals or guitars float in the mix without muddying the low-end.
In sound design, layering a chorus effect with a flanger on a synth pad, adjusting the modulation rate to 0.3Hz, and widening the stereo field to 80% is amazing.
It creates this killer dreamy, cinematic atmosphere.
For drum processing, using a slapback delay on a snare at 80ms delay time with low feedback can add thickness while keeping the rhythm tight.
A reverse reverb with a pre-delay of 50ms on vocals or guitars builds tension, which makes it a powerful effect for transitions.
Automating delay time and feedback levels throughout a mix keeps instruments and individual tracks evolving to prevent the hearing experience from feeling repetitive.
Because, let’s be honest, nobody has time for that.
Combining time-based effects pedals (like a guitar pedal) with subtle compression can add warmth to guitars, drums, or even a lead vocal.
This smooths out dynamic peaks while maintaining presence.
Remember, the best way to use time-based effects is by balancing volume, tweaking settings like input signal strength, dry/wet mix, and modulation depth.
Plus, understanding how different creative effects interact with each other to create a sense of physical space in your mixing process, of course.
So just take it easy, make sure to practice all day long, and never be afraid to break the rules or think outside of the box (that’s where the magic happens).
And, as an added bonus to these game-changing time-based effects, you’ve got to check out these 3 invaluable Free Project Files.
It can show you exactly how to create a professional beat from start to finish, including all of the time-based effects that we talked about today.
From simple delay to reverse reverb, it’s all right there for you, basically like the cheat codes to getting on top in the production world.
Believe me, you do not want to miss out.
Until next time…


Leave a Reply
You must belogged in to post a comment.