Layering sounds is one of the most versatile and exciting music production/sound design techniques out there.
It involves combining various audio elements to build depth, texture, and complexity in your track.
Being able to manipulate and blend several sounds not only enhances the musical experience but also expands your creative horizons.
So, as a music producer or sound designer, it’s super important to know all about sound layering in order to elevate your tracks from good to breathtaking.
In today’s layering sounds article, we’ll be breaking down:
- Essential tools for epic sound layering ✓
- Frequency spectrum basics for clean layered sounds ✓
- Detailed drum layering techniques for unique sounds ✓
- Strategies for melodic element layering ✓
- Advanced music production techniques for an unmatched final result b=✓
- Stereo field manipulation for spatial depth ✓
- Techniques to handle phase cancellation & gain reduction ✓
- Methods for blending layers into a cohesive mix ✓
- Final EQ and compression adjustments ✓
- Layering secrets specific to electronic dance music ✓
- Common mistakes and how to avoid them ✓
- Much more to help you master sound layering ✓
After this article, you’ll have a solid understanding of everything about layering sounds so you can successfully create more dynamic and impactful music.
Plus, be able to apply these techniques like a true professional 一 ensuring every layered sound works together to create a cohesive track.
Whether you want to create a massive EDM track or a subtle R&B joint, the following insights will help you layer different sounds every time.
And enhance your production/sound design skills in the process, which is always great.
So, let’s dive in…
Table of Contents
- What is Sound Layering?
- Essential Tools & Setup for Pro Layering
- Understanding The Frequency Spectrum & Desired Sound Characteristics
- Music Production Techniques for Layering Drums & Percussion
- Layering Melodic Elements
- Advanced Music Production Techniques for Pro Layering
- Creating Spatial Depth with Stereo Field Manipulation
- Phase Cancellation and Gain Reduction
- Blending Layers for a Cohesive Mix
- Bonus: Successful Layering in Electronic Dance Music
- Layering Sounds: Final Thoughts
What is Sound Layering?
Layering sounds together is a fundamental production technique used to create show-stopping and complex audio tracks.
By combining multiple sounds, each new layer adds its unique tone and character, enhancing the overall texture and depth.
This process involves careful selection and manipulation of different sounds (from kick drums to synths) to ensure they complement each other without causing muddiness in the mix.
The art of layering is not just about stacking sounds 一 it’s about creating a cohesive and harmonious blend where each new layer serves a bigger purpose.
For instance, in electronic dance music, a kick drum might be layered with a sub-bass to emphasize the low-end frequencies.
While ensuring the kick cuts through the entire mix effectively, of course.
Similarly, layering different synths can fill the stereo field to add a fuller and more rich sound to your track.
To become a master of layering different sounds, it requires a good ear and a solid understanding of the technical aspects involved, such as:
When done correctly, layering sounds can transform a simple melody or rhythm into a mind-blowing experience that can instantly captivate your audience.
Strategic use of this awesome music production technique, you can create complex soundscapes that are both dynamic and emotionally powerful.
Remember, layering sounds isn’t to overcrowd your arrangement or drown things out, it’s about getting people invested through layers of intrigue.
Essential Tools & Setup for Pro Layering
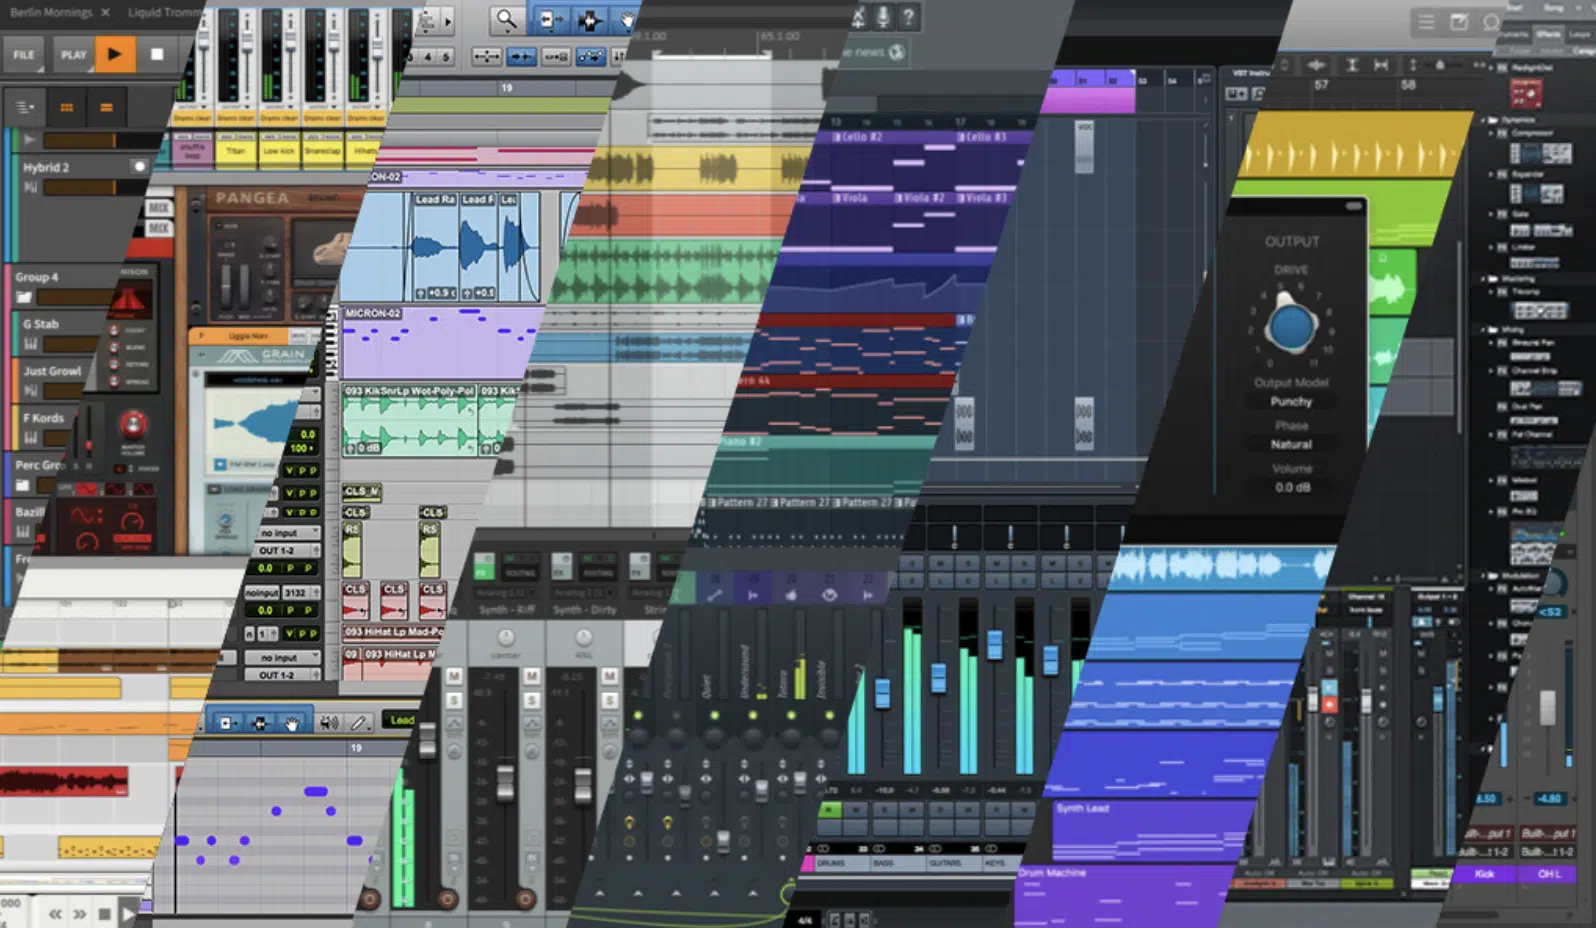
Mastering the art of layering sounds starts with the right DAW (digital audio workstation), like FL Studio or Ableton Live.
These two options are favorites for hip-hop and EDM producers thanks to their extensive feature set, which is perfect for audio layering.
You can throw multiple audio files/tracks into these DAWs without any issues 一 each hosting different sounds that can be edited and blended to perfection.
Next, the best plugins for sound design, music production, and sound layering include:
- EQs for frequency adjustment
- Compressors for dynamic control
- Spectral analyzers for visual feedback on frequency clashes
Also, a fire sample library is any key element as quality samples (e.g., kick drums/synths) provides the foundational elements needed for unique sound layering.
Proper monitoring tools, such as studio monitors and high-fidelity headphones, are crucial for gauging/tweaking the subtle interactions that come with layering sounds.
This ensures that each layer, whether a main layer or a subtle texture, contributes to the final sound without muddying the mix.
When you’re layering sounds, you have to prepare each track for this process…
Organizing tracks in your DAW by grouping similar sounds or using color-coded systems can drastically improve your workflow.
For example, grouping all drum tracks allows for collective adjustments, such as applying a single reverb effect to the entire drum group.
It will glue your sounds together while maintaining their individual characteristics.
Understanding The Frequency Spectrum & Desired Sound Characteristics
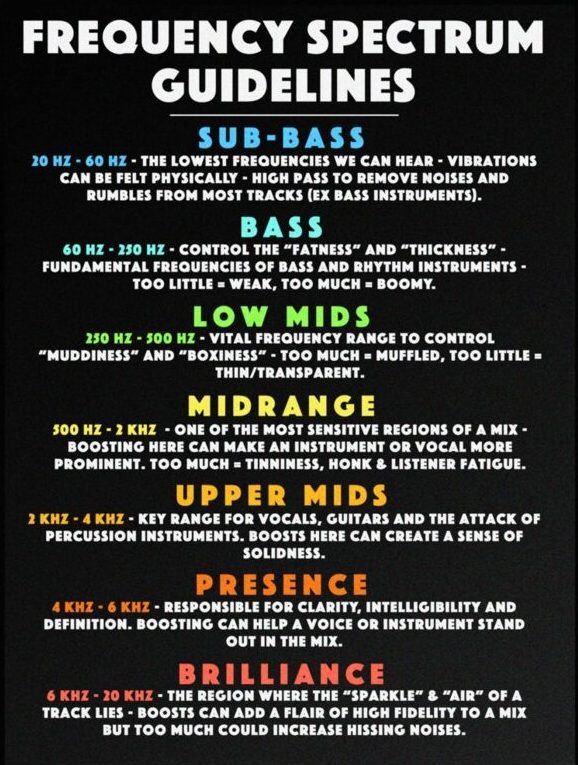
Understanding the frequency spectrum will help you master the art of layering sounds.
Each unique sound in your mix occupies a specific part of the frequency spectrum, from low-end frequencies like kick drums and sub-bass to high-end frequencies like cymbals and hi-hats.
For example, a kick drum typically dominates the lower frequencies around 50-100 Hz, while your hi-hats are much higher, around 6,000-12,000 Hz.
Knowing where each unique sound/layered sound resides will help you make EQ adjustments more efficiently.
Plus, help you layer sounds without causing frequency clashes that can muddy your mix, cause more harm than good, and potentially ruin your final sound.
Sound characteristics such as timbre and envelope also play significant roles in how multiple layers interact.
Timbre describes the unique quality or color of a sound, which can vary in a major way between different synths or samples even if they play the same note.
For example, a sawtooth wave synth has a much harsher, brighter timbre compared to a sine wave synth, which is smoother and more rounded.
When layering these different synths, make sure to consider their timbral differences to make sure each one maintains its character without overpowering the other.
-
Pro Tip

The envelope of a sound (ADSR) also affects its role in a layered sound arrangement, so keep that in mind when you’re layering sounds.
A sound with a fast attack and short decay, like a staccato pluck synth, can add rhythmic interest and punctuate a mix.
On the other hand, a sound with a slower attack and long sustain, like a pad, provides a wash of sustained harmony.
Adjusting these envelope settings can help you sculpt the dynamic interactions between layers.
This way, each element fits perfectly within the overall sonic vibe and enhances both the richness and clarity of your final mix.
Music Production Techniques for Layering Drums & Percussion

When it comes to layering sounds, let’s be real… the drums are the stars of the show.
Expert drum layering, like layering tight snare samples with a clap and subtle rimshot, will help you achieve a powerful impact in your mix.
- The snare 一 Provides the body
- The clap 一 Adds brightness
- The rimshot 一 Brings a distinct, high-frequency click that cuts through the mix
To synchronize these layers, align their waveforms so they hit at exactly the same moment, and make sure to adjust their pitch slightly if necessary.
It helps them sound like one cohesive drum hit, not just layering sounds gone wrong.
Velocity variation plays a key role in dynamic drum layering.
For example, in a trap track, you might program a hi-hat pattern where some hits are softer than others 一 creating a rhythmic shuffle that mimics a live drummer’s feel.
By adjusting the velocity of each hi-hat hit within your DAW (like FL Studio), like decreasing the velocity of every second and fourth hit in a rapid four-hit sequence, you add a swing that makes the beat groove harder.
NOTE: Pair this with a slightly delayed snare layer to enhance the laid-back feel.
Managing the relationship between kick drums and sub-bass is another key factor when it comes to layering sounds and getting those perfect percussion layers.
In electronic dance music, it’s common to layer a punchy, mid-range kick with a deep sub-bass.
Remember you have to make sure these musical elements don’t clash, so use side-chain compression on the sub-bass, triggered by the kick.
This music production technique makes the sub-bass momentarily duck every time the kick hits, maintaining clarity and allowing the kick to punch through powerfully.
Fine-tuning the release time of the compressor to match the tempo of your full track will keep the groove tight and energetic.
Layering Melodic Elements

Layering melodic elements seriously enhances the emotional and harmonic depth of your audio tracks, so don’t underestimate their power.
Let’s say you’re layering a soft piano melody with a synth pad and string section…
The piano will provide the primary melodic content, while the pad adds a lush, atmospheric background, and the strings bring a cinematic quality.
To achieve the perfect blend, simply adjust the volume levels to ensure the piano stands out, with the pad and strings supporting the background.
In genres like future bass or any other electronic dance music sub-genre, using different synths to layer a lead melody can enhance your track’s texture.
Try starting with a basic sawtooth wave synth for a fuller sound.
Then, add a second layer using a square wave synth with a higher octave and a slight detune to add brightness and sparkle.
Using panning and stereo width adjustments, you can position these synths across the stereo field 一 creating a more immersive listening experience/layered sound.
NOTE: For more complex arrangements like your hear in movie production, the interaction between different melodic layers is everything.
Layering a violin part over a cello section, where each has a different rhythmic pattern, can create a beautiful counterpoint that enhances the rhythm and melody of your song.
Balancing these multiple layers with careful EQ to carve out specific frequency spaces for each instrument ensures clarity and will prevent any one element from overpowering the others.
Advanced Music Production Techniques for Pro Layering
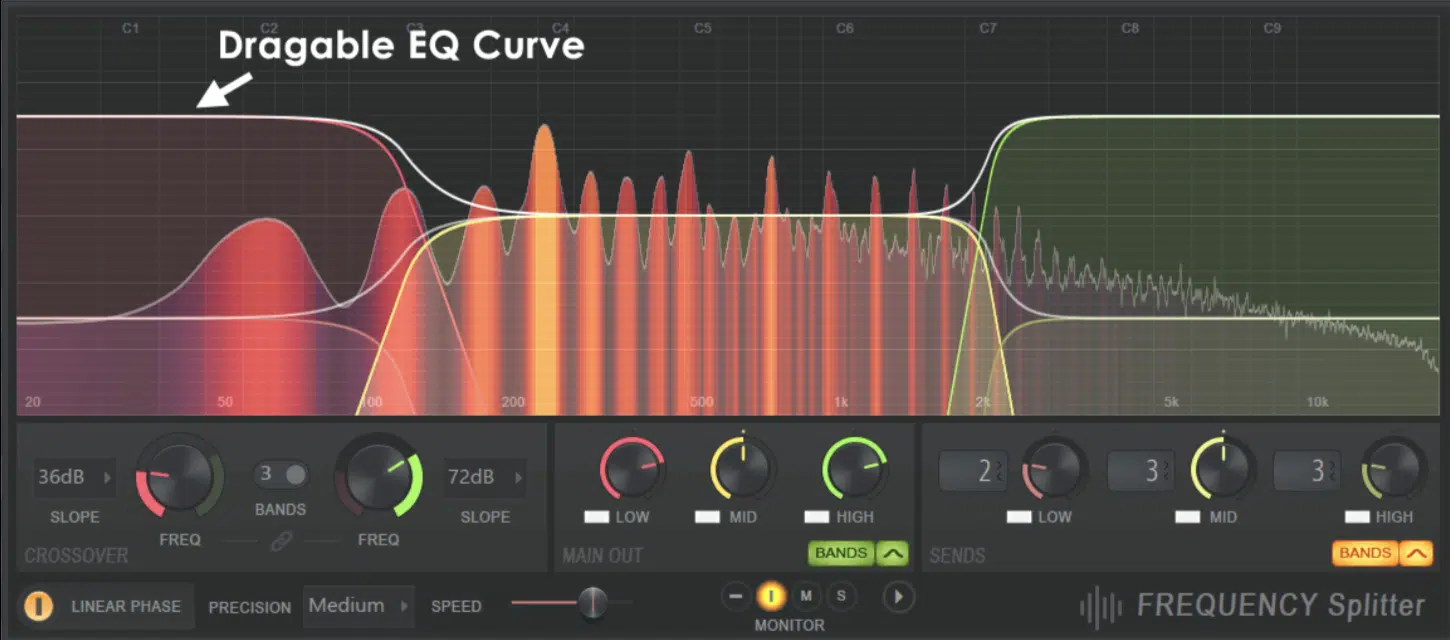
Advanced layering techniques are awesome, but they involve intricate attention to more detail and a deep understanding of music production and sound design.
Frequency splitting is a great option when you’re layering sounds…
This is where you divide a sound into various frequency bands and apply any sound effect you want, or process each band as desired.
You can take a synth line, split it into low, mid, and high frequencies, and apply a:
- Chorus effect only to the highs
- Mild distortion to the mids
- Leave the lows clean
This production technique allows for creative control over the texture of each frequency range without destroying the others.
Dynamic layering is where the layers change over time either through automation or modulation, like automating a filter sweep on a pad layer that slowly evolves throughout a track.
Or, modulating the amplitude of a background texture to rise and fall with the dynamics of other instruments to bring your track to life.
It will help it feel more authentic and engaging throughout.
Lastly, the use of transient designers and envelope shapers can drastically enhance the impact of layered sound variations.
By adjusting the attack of a pluck synth so it hits harder, or by softening the decay of a stacked clap to blend more smoothly with a snare, you can sculpt the dynamics of individual layers for a more polished and professional sound.
These little adjustments will help in refine the interaction between layers 一 ensuring that each one fits perfectly within the context of the track.
And like I said, when you’re layering sounds it’s all about cohesion.
Creating Spatial Depth with Stereo Field Manipulation
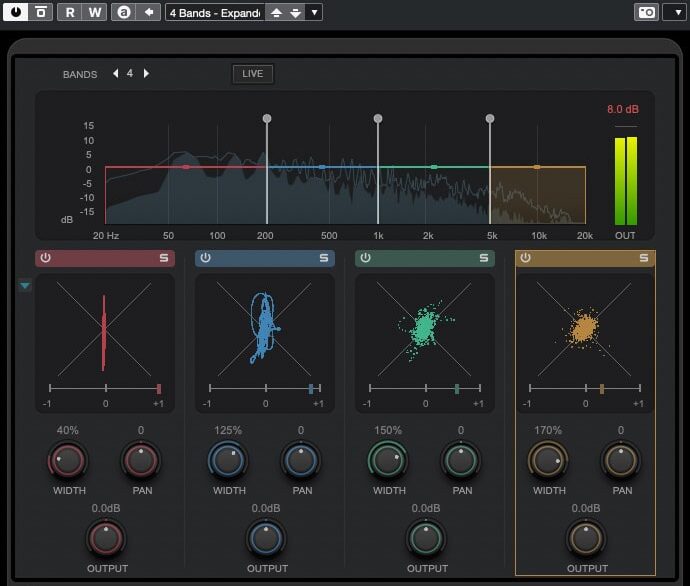
Manipulating the stereo field is a powerful technique for creating spatial depth in your mix, like taking one synth pad and using a stereo imaging plugin to widen its presence.
This can make it seem more immersive and captivating when you’re layering sounds.
On the other hand, keeping key musical elements (like the main synth lead) more centered ensures they remain prominent and focused.
By carefully adjusting the stereo width of each layer, you can create a spacious mix where each desired sound has its own distinct place.
It will enhance the overall three-dimensional feel of the track, trust me.
Another solid method involves using delay and reverb effects strategically.
Applying a slight ping-pong delay to a lead synth can make it dance across the stereo field 一 adding life and movement when you layer sounds.
Meanwhile, a hall reverb might be used on a background vocal layer to push it further into the space and create the illusion of extra depth.
Balancing these effects will ensure that your full track doesn’t become too crowded or washed out, maintaining clarity while still taking advantage of the stereo field.
Phase Cancellation and Gain Reduction
Phase cancellation is a serious issue to address when layering sounds/loops (like a drum loop), as it can cause certain frequencies to crumble or disappear altogether.
To avoid this, always check your audio tracks in mono when layering, especially low-frequency elements like kick drums and bass.
If you notice a reduction in volume or low-end punch, flipping the phase of one layer can often resolve the issue.
Tools like phase alignment plugins can automate this process and make sure that all musical elements coexist without canceling each other out.
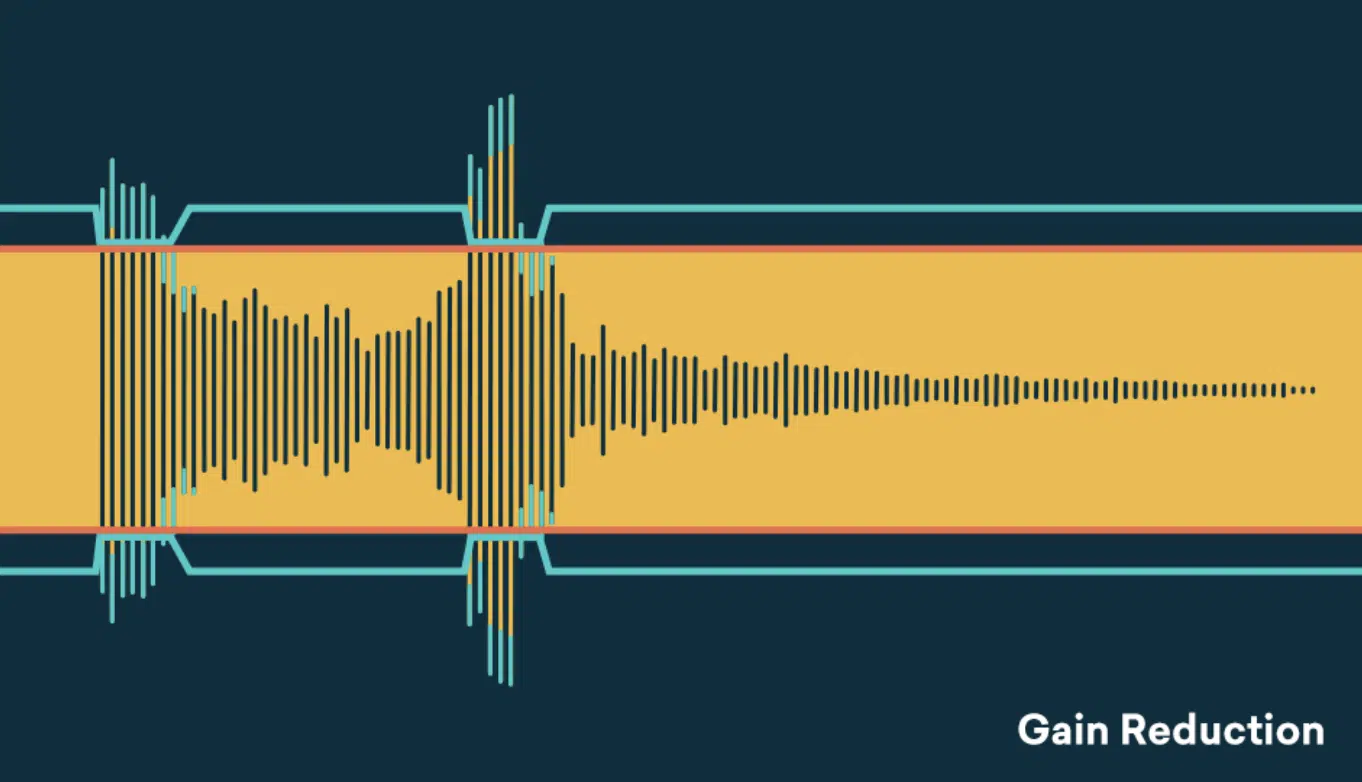
Gain reduction is another consideration when layering multiple elements.
As you add layers, maintaining control over the overall gain is key to prevent clipping and ensure headroom when mastering, so do not overlook gain reduction.
Using compression wisely on individual layers or groups can help manage dynamics.
For example, gentle compression on a drum group can glue the multiple layers together, making the beat more cohesive while preserving the dynamic range.
NOTE: You can use more advanced techniques like dynamic EQ to manage frequency-specific gain issues.
For instance, if a bass line becomes too dominant at certain/different points in a track, a dynamic EQ can be set to reduce only the problematic frequencies when they exceed a threshold level.
Therefore, you’ll maintain a balanced mix without affecting the bass line’s overall character, which you can learn about right here.
Blending Layers for a Cohesive Mix
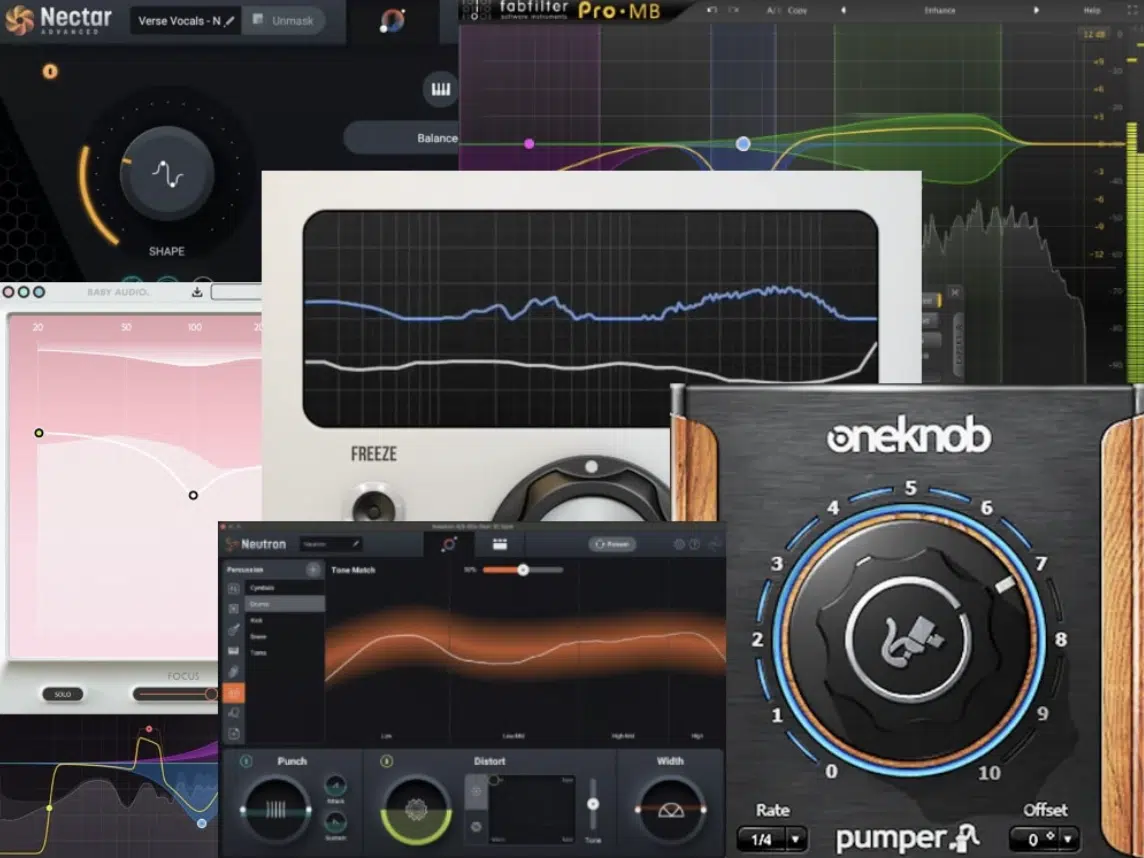
Blending layers effectively is about more than just balancing volumes… it’s about achieving a harmonic and dynamic balance.
For example, when layering vocals with a rich pad sound, you might use a sidechain compressor triggered by the vocal to subtly duck the pad.
This will help your vocals remain clear and prominent in the mix.
This one sound design/music production technique alone helps in maintaining focus on the main elements while still benefiting from the fullness of the background layers.
EQ, as we touched upon, is another essential tool for carving out space for each layer.
By applying a high-pass filter to remove low-end frequencies from non-bass elements, you can prevent muddiness.
Additionally, notch filtering can be used to cut specific frequencies that clash between layers, such as removing some mid-range from a guitar to make room for the clarity of a vocal melody.
Finally, consistency in sonic characteristics across layers can be achieved through matching timbres and textures.
This could involve selecting synth patches that share similar sonic qualities or using similar reverb settings across multiple instruments to unify the space they occupy.
When you’re layering sounds, matching ensures that the layers blend flawlessly to create a unified and compelling final mix.
-
Pro Tip
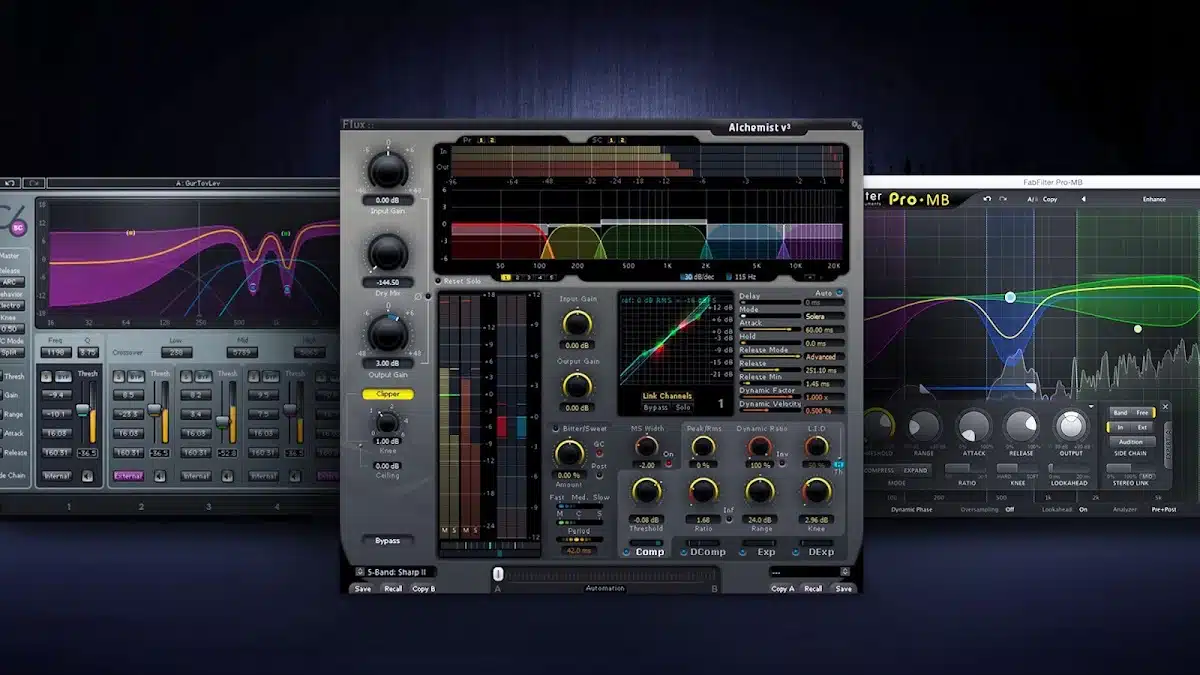
When you layer sounds, multiband compression allows you to compress different frequency ranges independently.
This is useful for a bus group of synths, where you may want to compress only the high frequencies to tame harshness while leaving the lower frequencies more dynamic.
Targeted adjustments like these will help you make sure every new layer adds to the bigger overall picture 一 giving you a balanced and professional-sounding mix.
Bonus: Successful Layering in Electronic Dance Music

In electronic dance music (EDM), layering sounds is an essential technique for creating powerful and immersive audio tracks that shut the dancefloor down.
Try layering multiple kick drums to achieve the perfect balance of punch and low-end weight, like a tight, clicky kick layered with a deeper, boomy kick will provide both attack and sub-bass presence.
This combination ensures the kick cuts through even in dense mixes (typical of EDM).
Synth layers are also key in EDM for creating complex soundscapes.
You could, for example, layer several synths playing the same melody but with different timbres and octaves to create a fuller and more engaging sound.
Applying slight detuning to one of the layers or panning them across the stereo field can enhance the sense of depth and width, making your track more dynamic/exciting.
Another technique in EDM is to use rhythmic layering, where different percussive elements are timed to complement each other, creating intricate rhythms.
For example, a shaker might be layered with a hi-hat pattern, with each playing off the other’s rhythm to enhance the overall groove.
These techniques are fundamental when you’re layering sounds to keep the energy dumb high and the audience engaged the entire time.
Bottom line is: layer sounds, layer sounds, layer sounds!
It will seriously enhance the appeal and professionalism of your tracks and keep people invested from start to finish.
Layering Sounds: Final Thoughts
Layering sounds, as you now know, is one of the most transformative and creative techniques in music production.
It can add depth, texture, and emotional complexity to your tracks like never before.
Remember, when it comes to standing out in the industry, your tracks have to have many layers (yes, pun intended).
Now, to take things to the next level, you’ve got to check out the highly-renowned Free Acoustic Drum Samples pack.
This invaluable sample pack is perfect for introducing new organic layers to your drums 一 providing clean and professional sounding results.
With 30 unique, big, punchy, acoustic drum samples, the level of groove and energy you can bring when layering sounds is insane.
It will instantly take your tracks to the next level.
As you continue to explore the art of layering sounds, remember to experiment and never stop refining your skills.
It’s all about constant growth and evolution, so try to embrace it.
Until next time…


Leave a Reply
You must belogged in to post a comment.