Mastering mid-side processing is all about having control over your stereo image and creating more dynamic sounds.
Plus, making sure you understand EQ, compression, and other techniques that can completely transform your music production workflow.
As producers, knowing all about mid-side processing (+ tips and techniques) can seriously up your skills and make your mixes stand out.
This way, you’ll be able to bang out a more polished, professional sound and add your unique touch to every track as well.
That’s exactly why I’m breaking down everything you need to know about mid-side processing, like:
- What is mid-side processing ✓
- Understanding mid and side channels ✓
- Enhancing stereo width and depth ✓
- Isolating and controlling mix elements ✓
- Correcting phase issues ✓
- Applying mid-side EQ & mid-side EQ tricks ✓
- Mid-side compression techniques ✓
- Using reverb and delay ✓
- Stereo processing must-knows ✓
- Understanding the stereo channel/stereo signal ✓
- Adding creative effects & mixing tips ✓
- Automating mid-side parameters ✓
- How to enhance your entire mix with M/S processing ✓
- Much more about mid-side processing ✓
By knowing all about mid-side processing, your mix will always be official and you’ll be able to experiment with different sounds all day.
Plus, you’ll have more control over the stereo image, which you’ll need to master it.
Trust me, your tracks (and skills) will seriously benefit 一 making you stand out in the music production scene and dominate the competition.
Table of Contents
What is Mid-Side Processing?
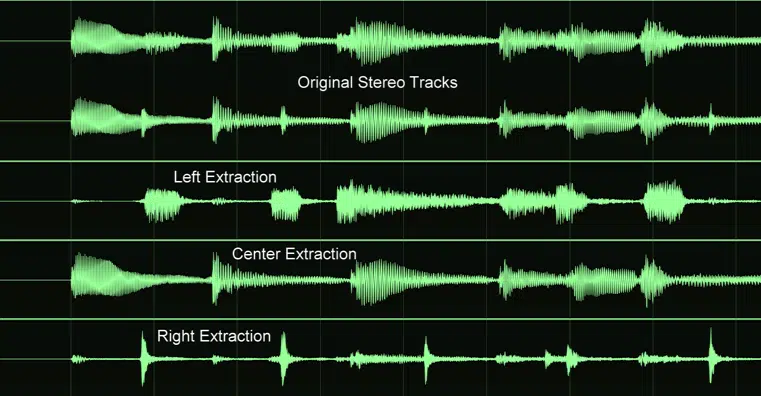
Mid-side processing is a powerful tool in music production that allows engineers to manipulate the stereo image of a track by separately processing the:
- Mid (center) components
- Side (stereo) components
This unique technique (developed in the early 20th century) provides more control over the stereo information of your mixes.
By converting the left and right channels into mid and side channels, you can easily target specific frequency ranges or elements within the stereo field.
It enhances the stereo width and depth of a mix, which makes it sound more dynamic and immersive (always a plus).
Knowing how to apply mid-side processing like a boss can elevate the clarity and impact of your music production.
It’s a technique that every modern music producer should master 一 don’t worry we’ll break it all down today so you can get a solid understanding of mid-side processing.
Understanding the Mid and Side Channels
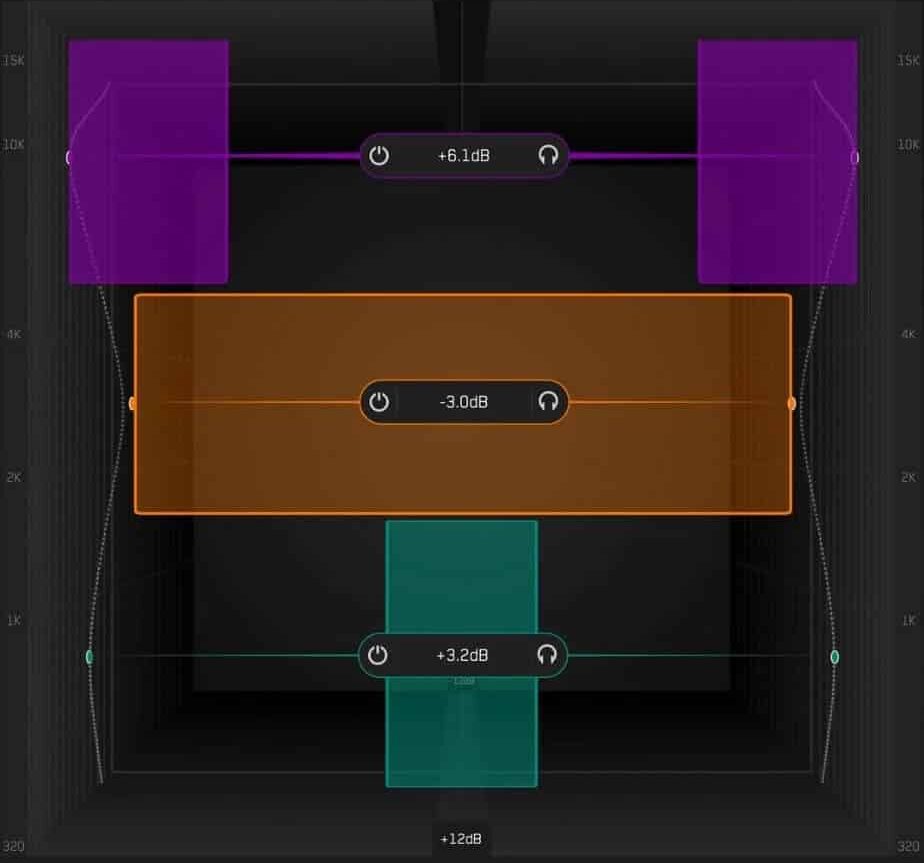
Mid-side processing lets you treat the center and side signals of a stereo channel independently for more control over your mix
The mid channel represents the sum of the left and right channels and contains the central elements of a mix.
These are elements like the bass drum, lead vocal, and other instruments placed in the center (center is the key here).
The side channel captures the difference between the left and right channels, emphasizing stereo width/peripheral sounds like reverb and hard-panned elements.
By controlling the mid-channel, you can make sure that all the key elements (e.g., lead vocal and bass guitar) remain prominent and clear, never amateurish or drowned out.
Adjusting the side channel allows for manipulation of the stereo image 一 giving the mix a more expansive and immersive feel.
This separation of mid and side channels provides more room for creative EQ and innovative compression techniques.
It will help you tackle any phase issues and improve mono compatibility.
Just remember understanding the balance between mid and side components is key to achieving a professional and polished stereo sound.
Key Uses of Mid-Side Processing
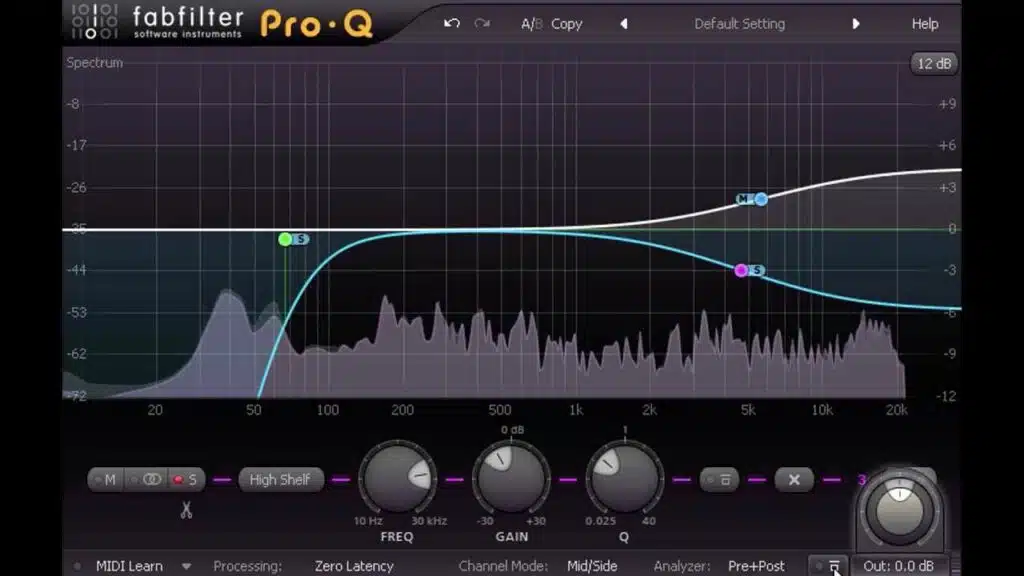
Mid-side processing can seriously enhance your skills and music production workflow if you know what you’re doing.
One of the key applications is enhancing stereo width and depth by selectively boosting or cutting frequencies in the side channel.
This can make your mix sound wider and more immersive as a whole.
For example, try boosting frequencies around 8 kHz in the side channel by 2 dB for added sparkle and shimmer.
You can also cut 300 Hz in the side channel by 3 dB to reduce muddiness and enhance clarity, which is a great idea.
Another one is isolating and controlling specific mix elements by processing the mid-channel independently…
You can set a high-pass filter at 80 Hz on the mid-channel to make sure any low-end information from the kick drum and bass guitar stays razor-focused.
Mid-side processing is another super one, important for correcting phase issues (so you have minimum phase) and improving mono compatibility.
For instance, using a linear phase EQ in the mid-channel while keeping the side channel in minimum phase mode is something I do all the time.
It helps you make sure that core elements in the mid-channel retain their clarity when the mix is collapsed to mono (remember to always mix in mono).
NOTE: Applying gentle compression with a ratio of 2:1 on the mid-channel can help maintain balance and prevent phase issues.
This technique allows for precise adjustments and creative manipulation 一 making your mixes sound polished and professional.
Mid-Side Processing Techniques: Breaking it Down
Now that you understand how mid-side processing works, let’s break down some specific techniques. They’ll help you nail down this process even more. We’ll start with mid-side EQ, compression, reverb, and delay techniques to help you master this powerful tool.
-
Mid-Side EQ Techniques
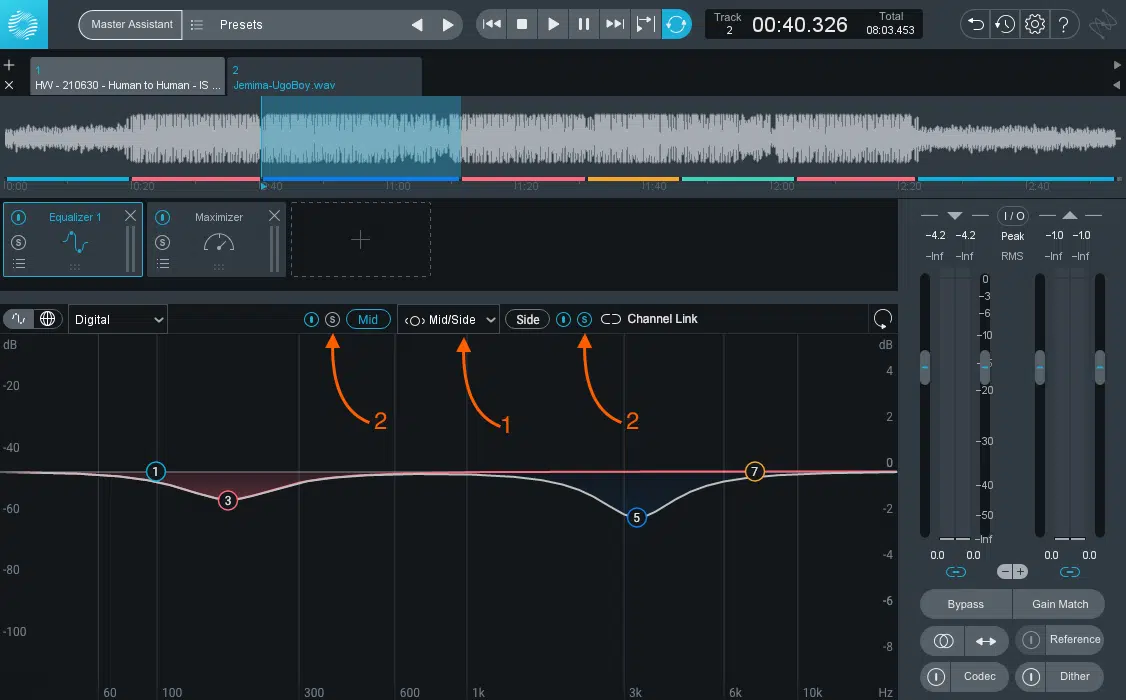
Mid-side EQ is all about shaping the overall sound of your mix.
Start by applying a high-pass filter to the side channel to remove low frequencies that can cause muddiness 一 set the cutoff at 150 Hz.
Boosting and cutting frequencies in the mid and side channels can help achieve a balanced mix, for example:
- Boosting 3 kHz in the mid-channel to enhance lead vocals.
- Cutting 1 kHz in the side channel to reduce harshness.
Use a low-pass filter on the side channel to focus the stereo image and set the cutoff at 8 kHz to remove unwanted high-frequency content.
My advice is to use a narrow Q factor (0.7) when making specific cuts to avoid affecting surrounding frequencies because that could turn ugly super quick.
When EQing different instruments, play around with boosting high frequencies in the side channel for instruments like hi-hats and cymbals to add sparkle and width.
Apply a notch filter at 200 Hz in the mid-channel to clean up the low-mids and create more room for the kick drum and bass guitar.
Mid-side EQ gives you precise control over the frequency spectrum, which lets you get crazy creative and add corrective adjustments that enhance the overall mix.
-
Mid-Side Compression Techniques
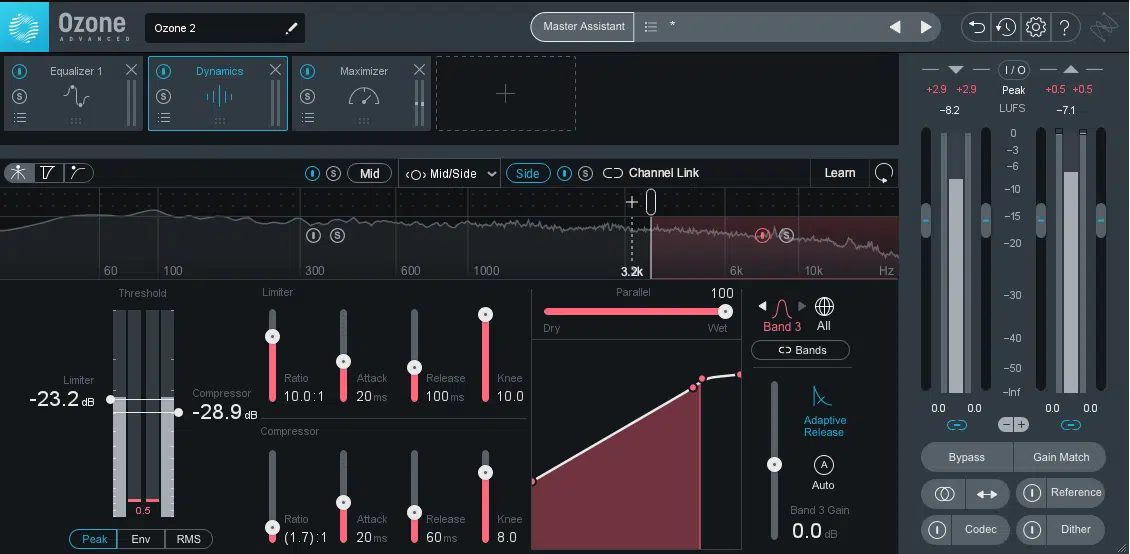
Mid-side compression can be a game-changer in achieving clarity and punch in your mix, and it’s one of the most effective mid-side processing techniques in the game.
Start by setting a threshold for the mid-channel at -15 dB and a ratio of 3:1 to control the central elements like the lead vocal and kick drum.
Adjust the attack time to 10 ms to allow the initial transients to pass through, and set the release time to 50 ms for a flawless recovery.
For the side channel, you’ll want to set a higher threshold at -10 dB and a ratio of 2:1 to gently compress the stereo field elements (enhancing the overall stereo image).
Try using parallel compression for mid-side processing by duplicating the track and applying heavy compression (ratio of 5:1) to the duplicated mid and side channels.
Then, blend the compressed and uncompressed signals together at a 50:50 ratio for added punch and control.
When compressing drums, set the attack time at 5 ms and release time at 25 ms to maintain the rhythm’s dynamics; it’s all about dynamics here.
Also, consider a threshold of -20 dB and a ratio of 4:1 for lead vocals to make sure they sit well in the mix without overpowering any of your other instruments.
These settings provide a strong foundation for using mid-side compression like a champ so your mix sounds polished and professional.
-
Reverb & Delay Techniques for Mid-side Processing
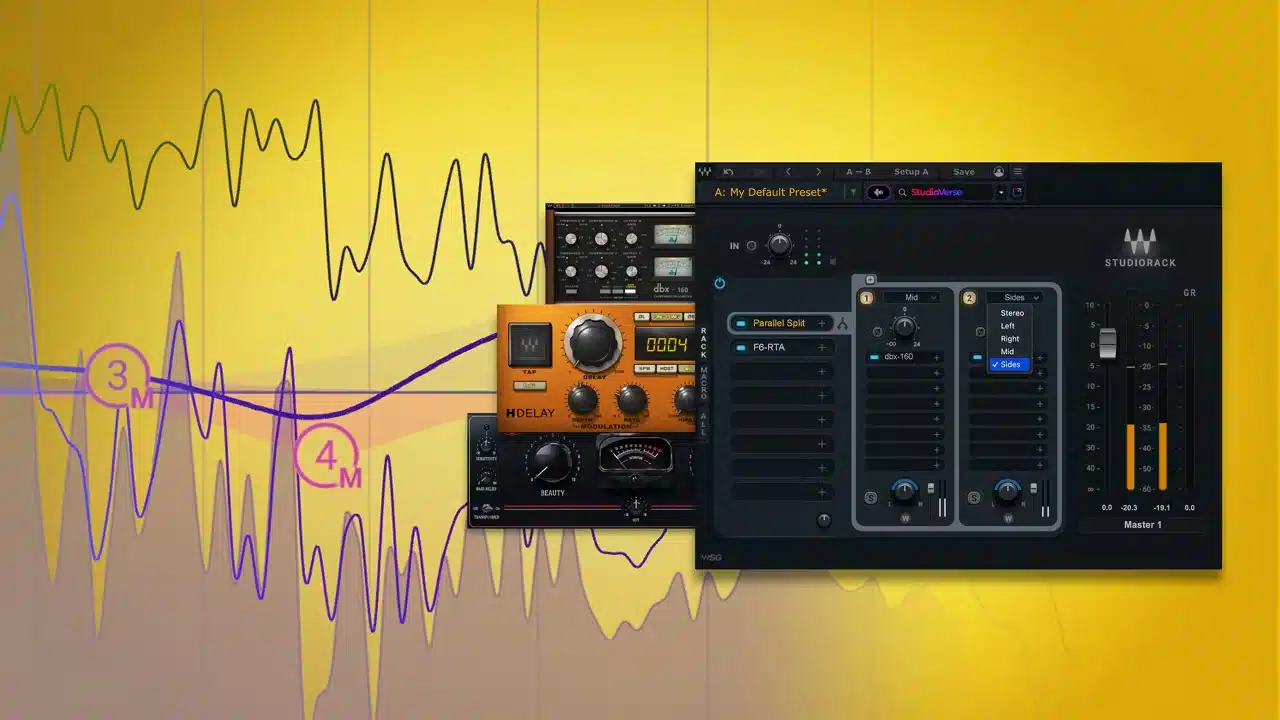
Reverb and delay are two star players also that can add a solid spatial dimension to your mix.
You’ll want to apply reverb to the side channel to enhance the stereo width and give your mix a sense of space 一 set the decay time to 1.2 seconds and the mix level to 30%.
For a more pronounced effect, place a reverb with a larger decay time (around 2.5 seconds) on the side channel.
But, don’t forget to keep the mid-channel reverb more restrained (0.8 seconds decay usually works perfectly).
When using delay, pan the delayed signal to the right channel for added width and set the delay time to 250 ms with a feedback level of 40%.
Don’t forget to use a high-pass filter at 200 Hz on the reverb to prevent low frequencies from becoming muddy.
Automate the send levels of the delay to create dynamic changes, such as increasing the delay effect during a chorus and reducing it during verses.
For mid-side delay processing, apply a ping-pong delay on the side channel with a delay time of 300 ms for one side and 450 ms for the other.
This will create that signature bouncing effect that enhances the stereo image.
PRO TIP: Automate the reverb and delay send levels to create dynamic transitions, such as increasing the reverb during a bridge to add a sense of space and reducing it during verses for more focus.
Creative Uses of Mid-Side Processing
Up next, let’s explore more creative uses of mid-side processing. We’ll get into adding effects like chorus and distortion, creating unique spatial effects with reverb and delay, and automating mid-side parameters for dynamic changes.
-
Adding Effects like Chorus and Distortion to the Side Channel
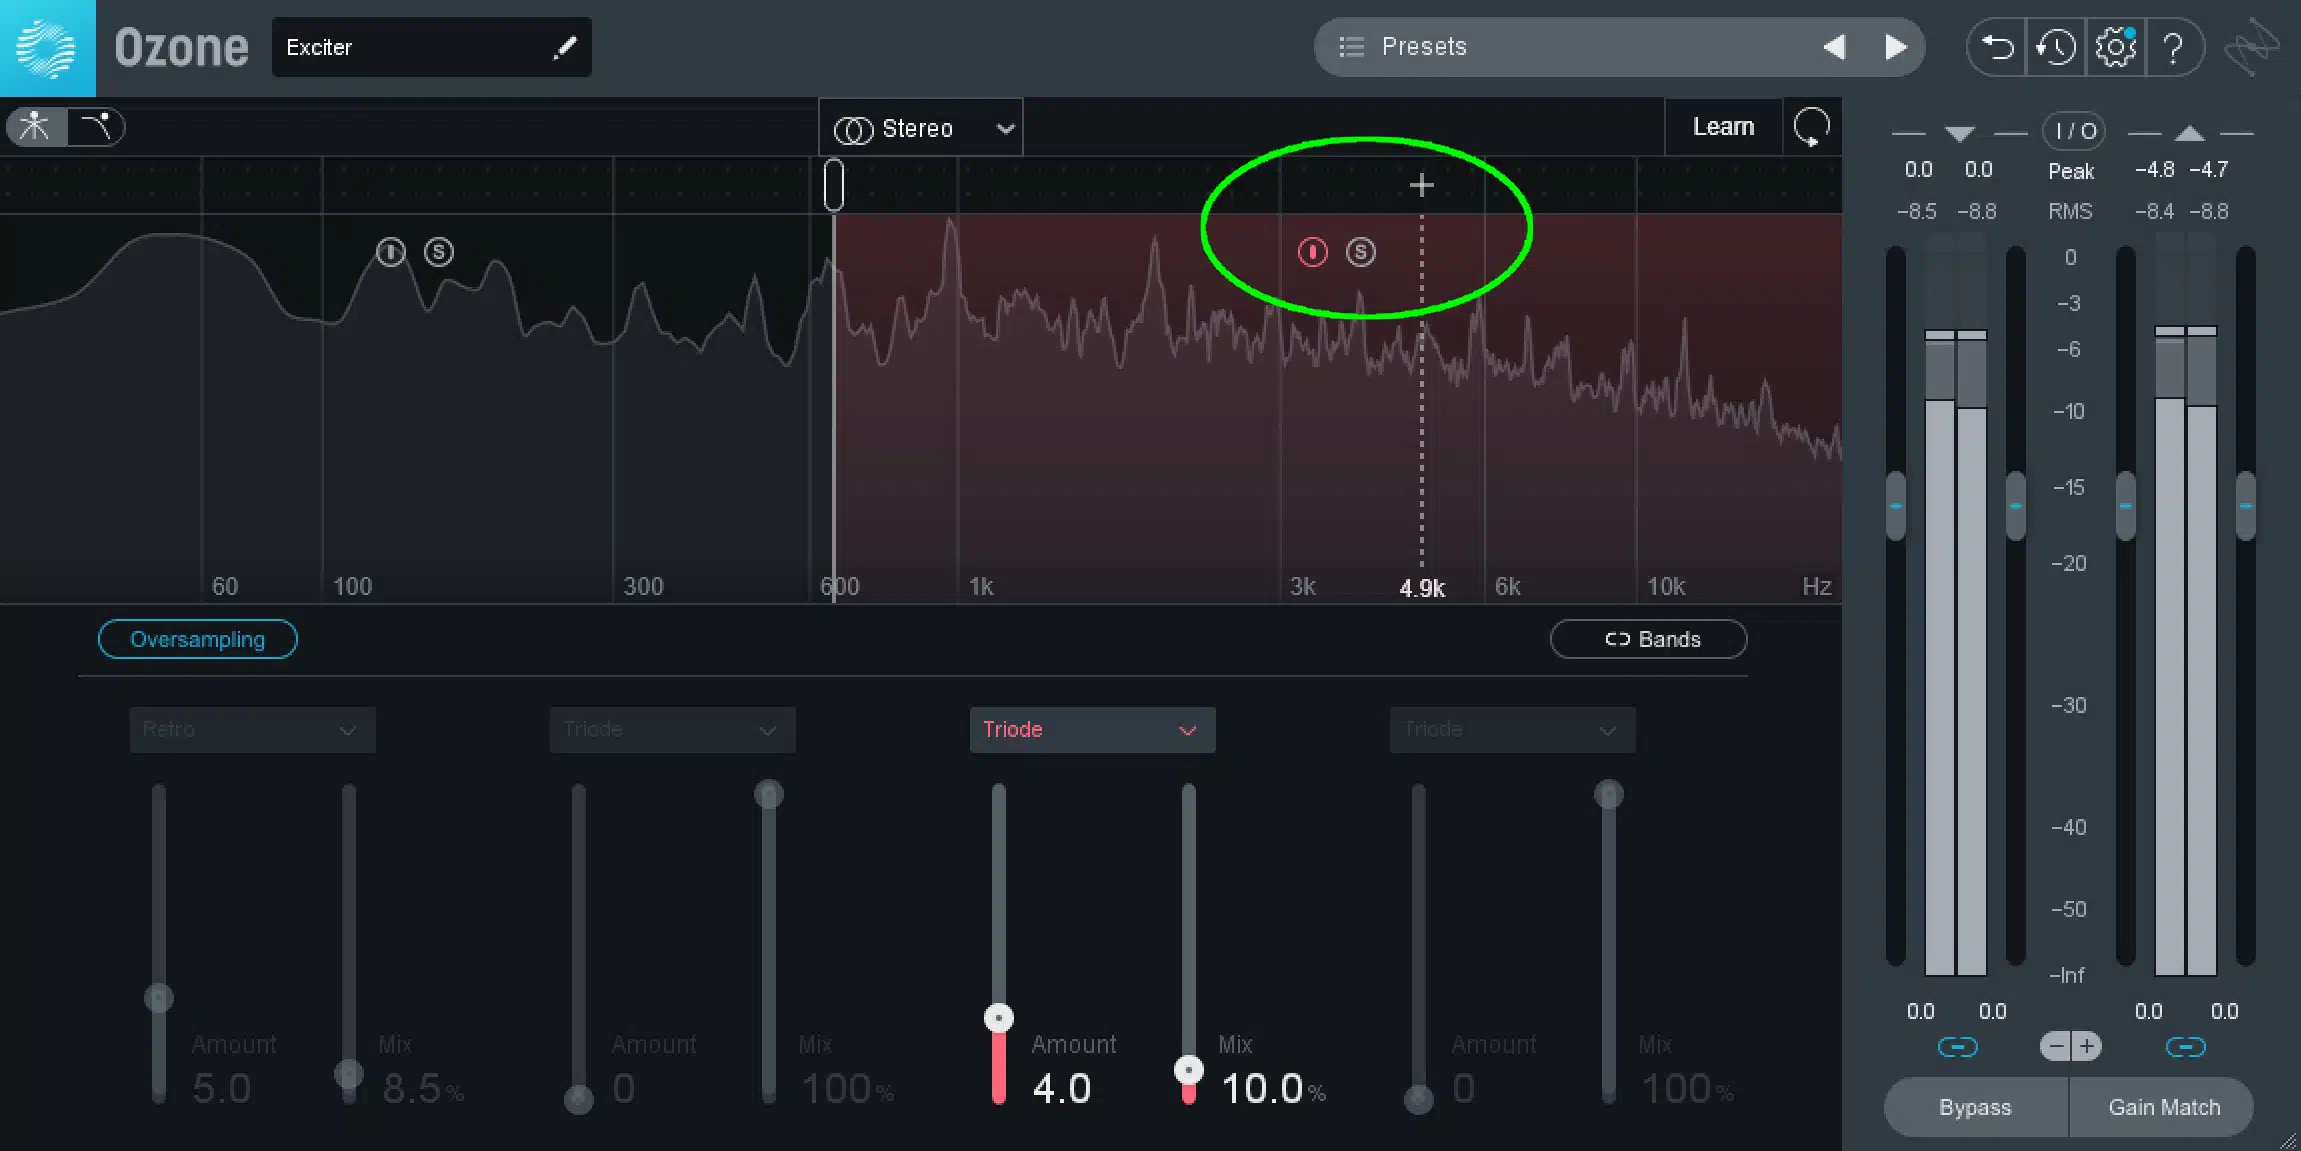
Adding effects like chorus and distortion to the side channel creates a killer and textured stereo image.
Start by applying a chorus effect to the side channel, setting the:
- Rate to 1 Hz
- Depth to 40%
- Mix level to 30%
This will add movement and shimmer to the stereo field just right.
Next, introduce a distortion effect with a drive setting of 15% and a mix level of 25% to add grit and character to the side elements without overpowering the mid-channel.
Don’t overlook using a low-pass filter with a cutoff at 8 kHz on the distorted side channel to keep the high frequencies from becoming way too harsh.
Then, automate the chorus and distortion parameters to create dynamic changes throughout your track.
This could be like increasing the depth and drive during the chorus for added intensity.
By selectively applying these effects to the side channel, you can enhance the perceived width and add a creative edge to your mix like a true professional.
-
Automating Mid-Side Parameters for Dynamic Changes
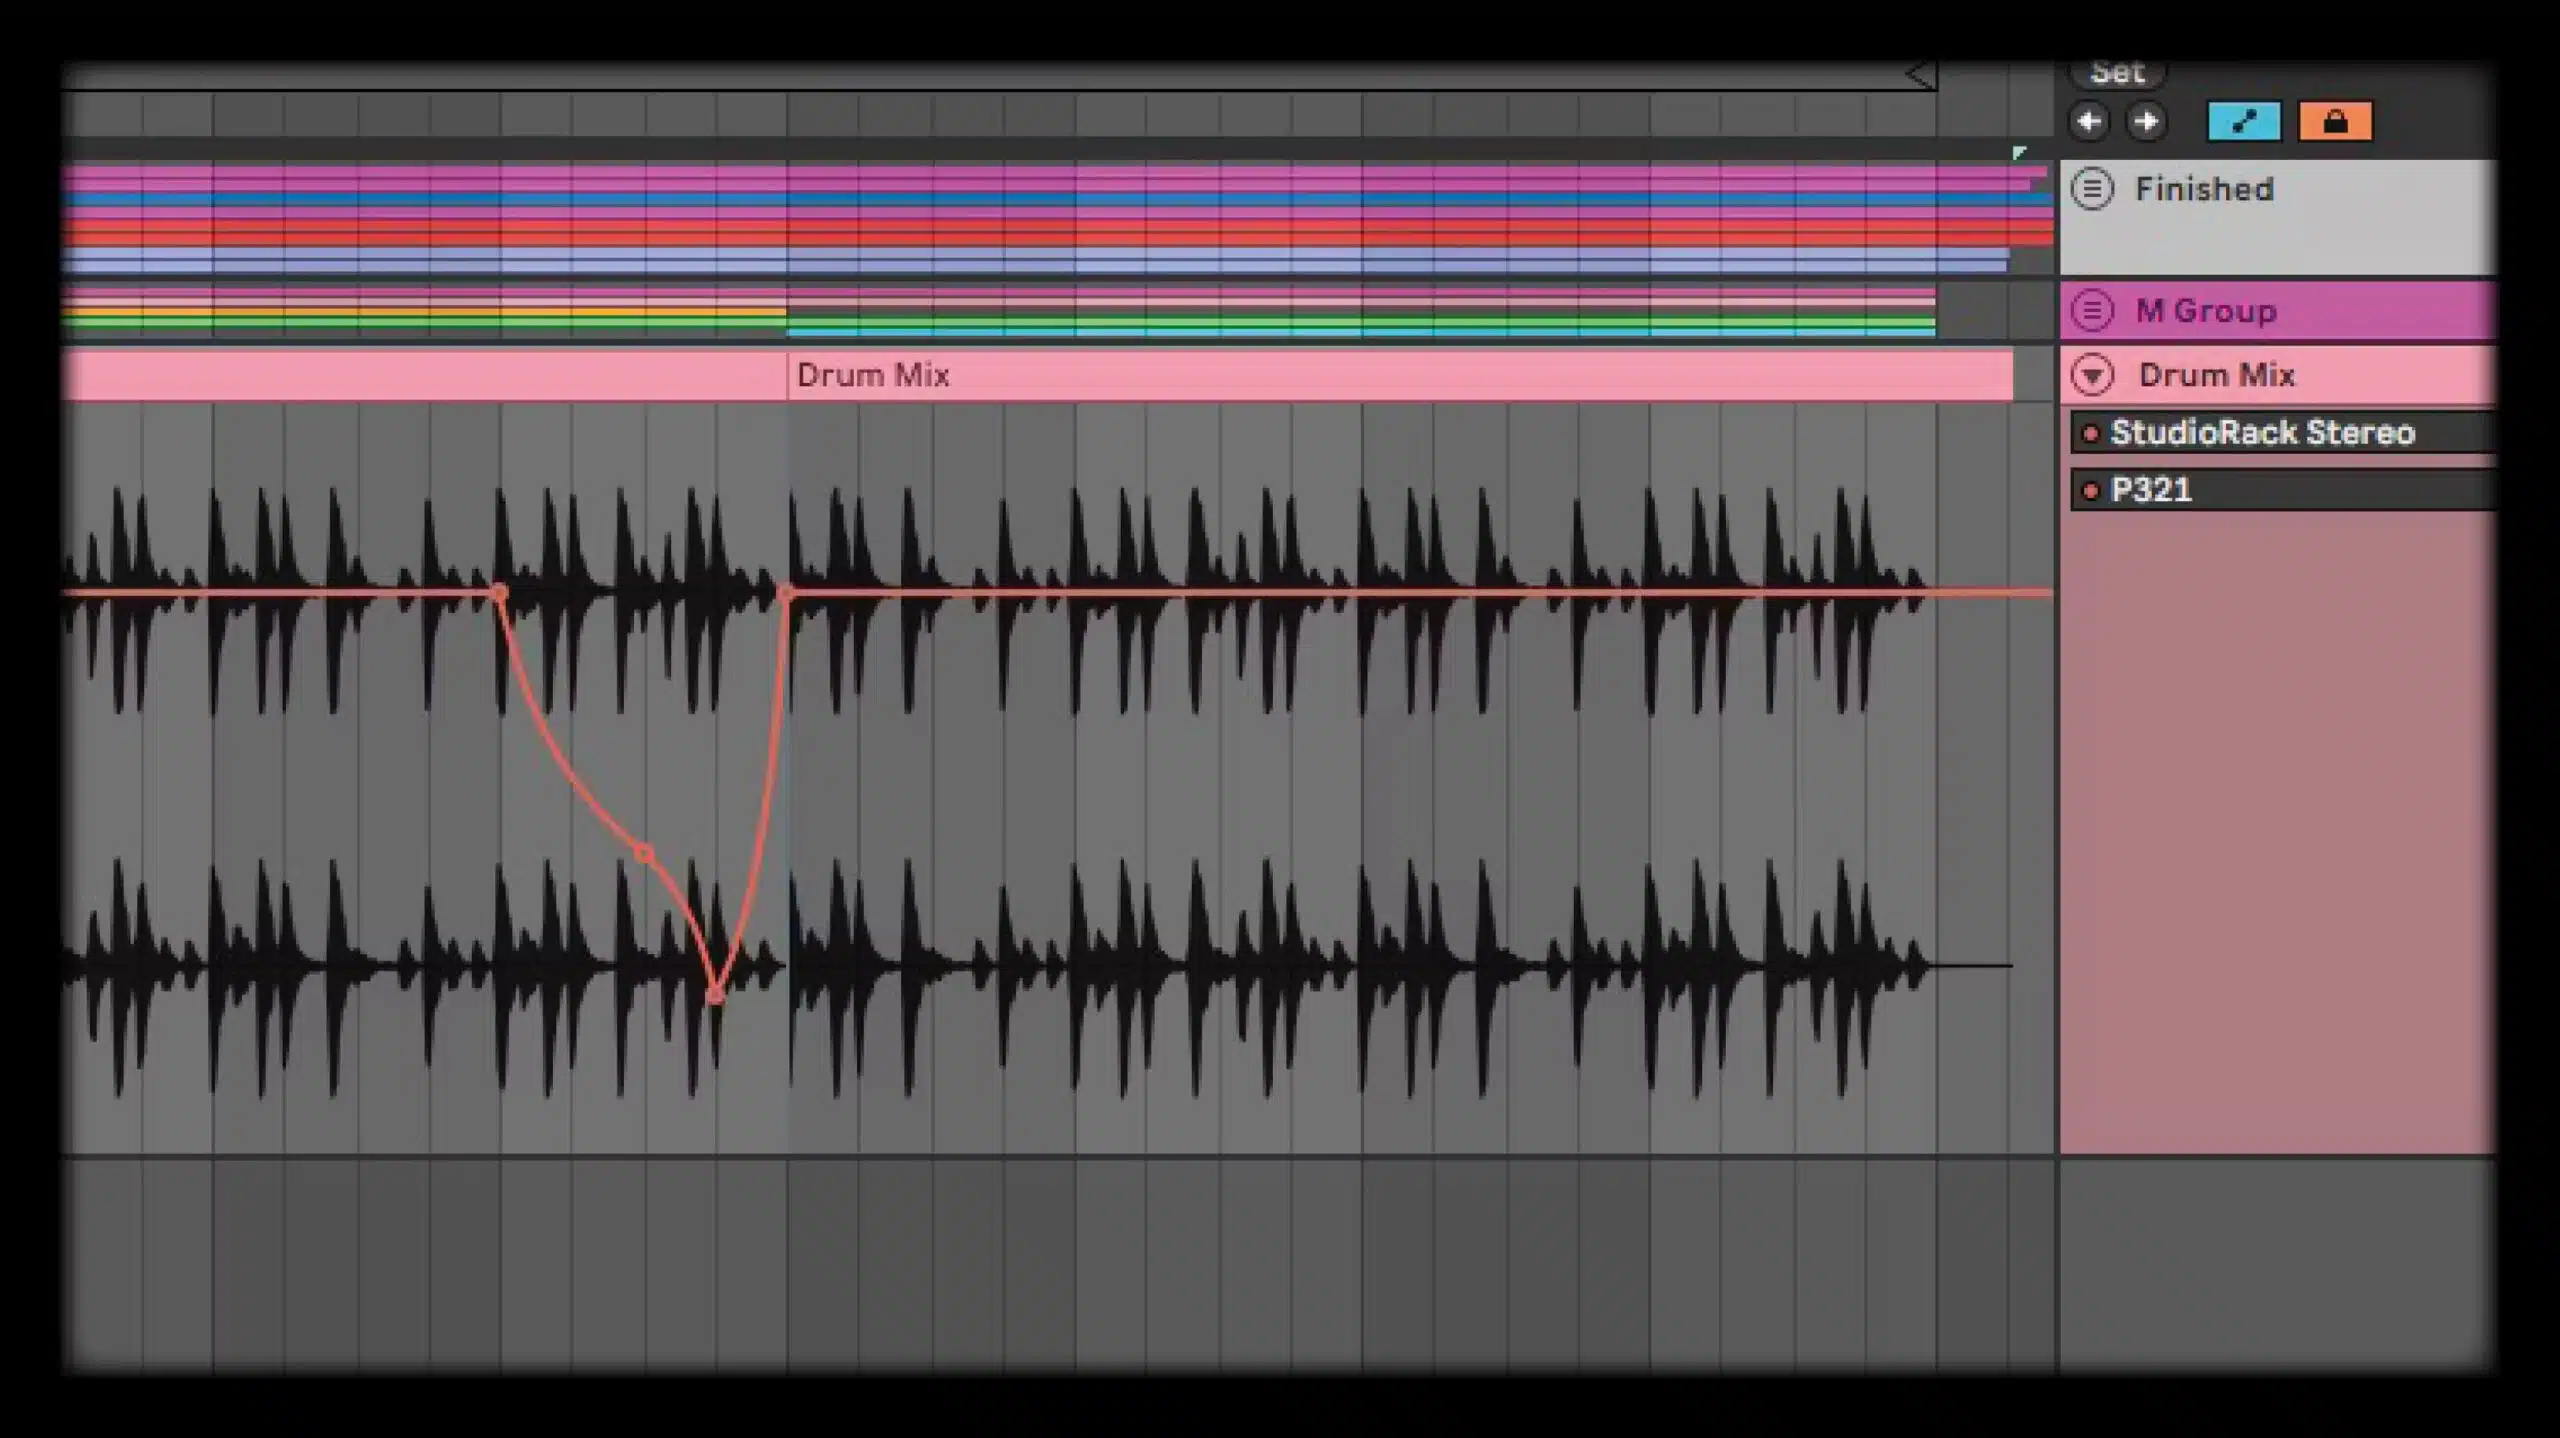
Automating mid-side processing parameters allows you to create dynamic and evolving mixes.
You’ll want to begin by automating the EQ settings on the mid and side channels.
For example, gradually boost the high frequencies (around 10 kHz) in the side channel during a build-up to add brightness and excitement.
Automate the panning of the side channel elements to create movement, like moving hi-hat from the left channel to the right channel over four bars.
Adjust the compression settings on the mid-channel by reducing the threshold from -10 dB to -20 dB during a drop to add punch to the lead vocal.
Apply automation to the reverb decay time 一 increasing it from 1 second to 3 seconds during a breakdown for a more spacious effect.
Use an LFO to modulate the pitch of the side channel elements for additional creative flair; set the rate to 0.5 Hz and depth to 2 semitones.
NOTE: Experiment with automating other parameters like distortion drive and chorus depth to add unique textures and dynamics to your mix.
Advanced Mid-Side Techniques
Now that we’ve covered the core concepts, let’s dive into some advanced mid-side techniques. These will take your mid-side processing to the next level, adding sophistication and depth to your mixes.
-
Using Multiband Mid-side Processing
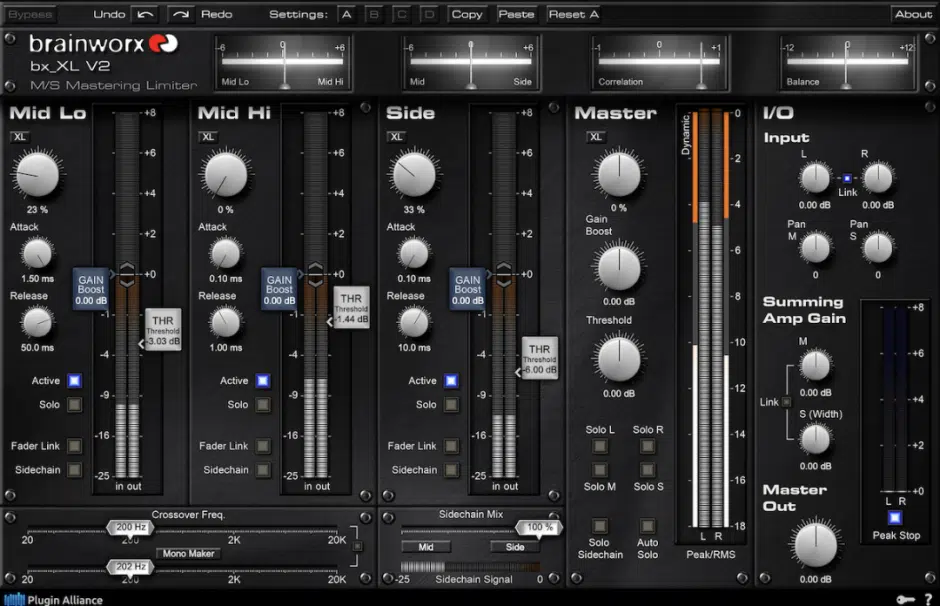
Multi-band mid-side processing allows you to target specific frequency ranges in the mid and side channels, providing even more control and flexibility.
Start by applying a multi-band compressor, splitting the frequency spectrum into three bands:
- Low (20 Hz – 200 Hz)
- Mid (200 Hz – 5 kHz)
- High (5 kHz – 20 kHz)
Set the compression ratio for the low band to 2:1, the mid band to 4:1, and the high band to 3:1, with a threshold of -10 dB for each band.
For even more control, use a multi-band EQ to boost or cut frequencies within each band; for example, boost the mid frequencies (1 kHz – 3 kHz) in the mid-channel to enhance the lead vocal.
Also, applying a multi-band reverb can create a lush and spacious effect…
So, set a short decay time (0.5 seconds) for the low band, a medium decay time (1.5 seconds) for the mid band, and a longer decay time (2.5 seconds) for the high band.
Personally, I use multi-band distortion to add harmonics to the mid and high bands, setting the drive to 20% for a subtle effect, so definitely give that a go too.
This advanced technique will guarantee that your mix has depth and clarity across the entire frequency spectrum and help you really understand mid-side processing.
-
Using Mid-side Processing for Sound Design and Effects
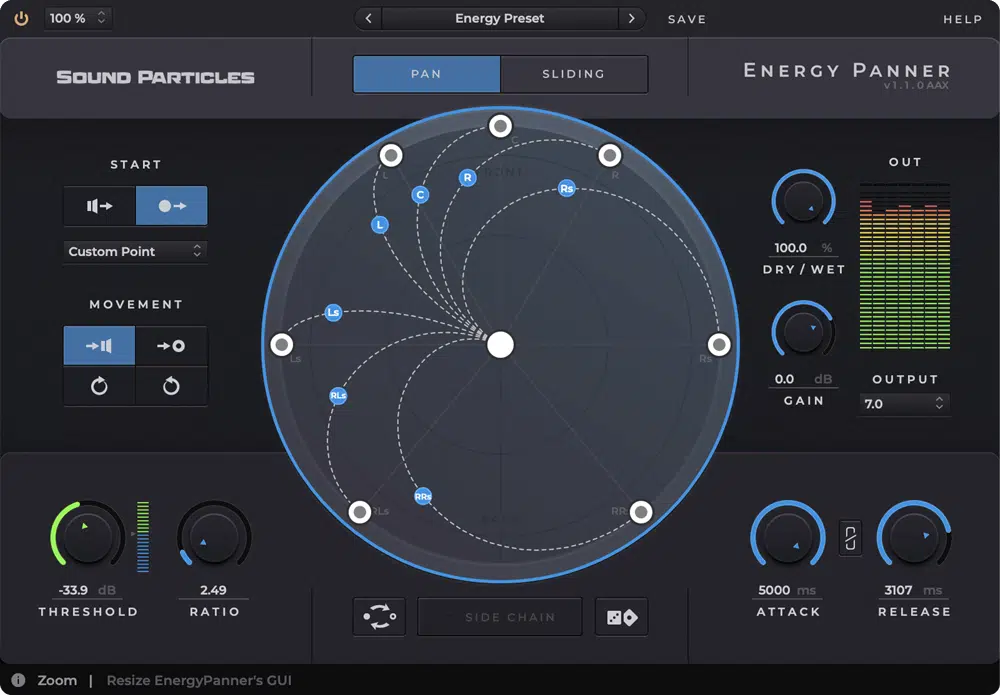
Using mid-side processing for sound design can unlock unique and innovative effects.
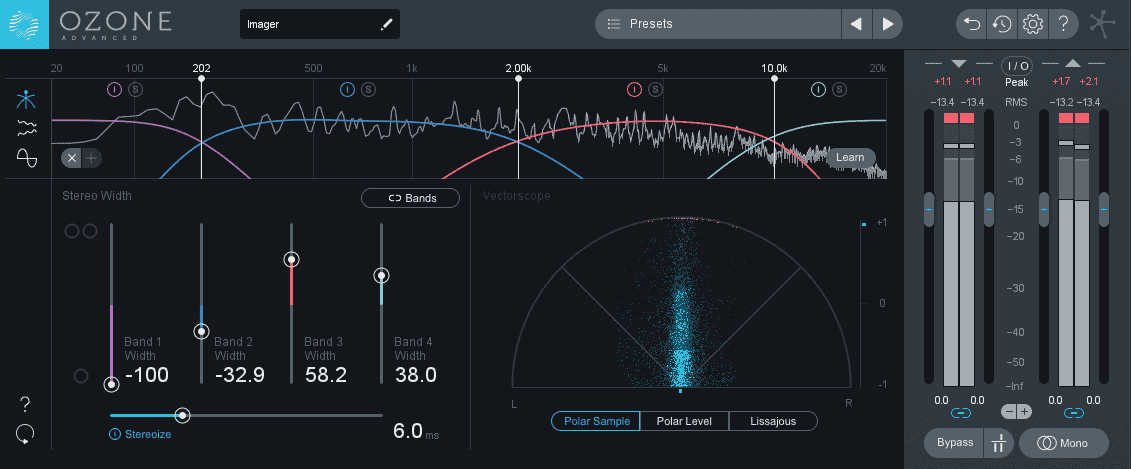
Start by applying a frequency-based width manipulation using a multi-band EQ to individually adjust the width of different frequency ranges in the side channel.
Again, you’ll want to set the:
- Low band (20 Hz – 200 Hz) to 50% width
- Mid band (200 Hz – 5 kHz) to 100% width
- High band (5 kHz – 20 kHz) to 150% width
Then, you can apply a pitch shifter to the side channel, setting the pitch shift to +3 semitones for a widening effect.
You can also use granular synthesis on the mid-channel to create glitchy and textured sounds 一 set the grain size to 50 ms and the overlap to 4 grains for a complex effect.
My advice is to use reverb with a long decay time (3 seconds) on the side channel to create an ethereal and ambient texture.
Apply a subtle distortion to the side channel with a drive setting of 20% and a mix level of 30% to add harmonics and character.
Experiment with automating the wet/dry balance of effects like chorus and flanger on the side channel to create evolving soundscapes.
For example, set the chorus rate to 1 Hz and depth to 50%, then automate the wet/dry mix from 20% to 80% over eight bars for a sick dynamic effect.
Combining these mid-side processing techniques allows you to bang out unique sounds that stand out in your music production workflow.
-
Creating Immersive and Dynamic Mixes: Summing it Up
Creating immersive and dynamic mixes involves using mid-side processing in combination with other techniques like parallel compression and reverb.
#1. Start by applying a parallel compressor to the mid-channel with a compression ratio of 3:1 and a threshold of -15 dB.
This will help you add punch to the lead vocal while maintaining natural dynamics.
#2. Use a parallel reverb on the side channel with a decay time of 2.5 seconds 一 blending it with the dry signal at a 60:40 ratio for additional depth and width.
#3. Automate the EQ settings on the side channel to gradually boost high frequencies (around 10 kHz) during a build-up for a dynamic and bright effect.
#4. Don’t forget to use a stereo widener on the side channel to enhance stereo imagery, setting it to 120% to achieve a wide and spacious sound.
#5. To add more control over your mix, use a multi-band compressor on the side channel, setting a ratio of 2:1 for the low frequencies (20 Hz – 200 Hz), 4:1 for the mid frequencies (200 Hz – 5 kHz), and 3:1 for the high frequencies (5 kHz – 20 kHz).
#6. Apply a subtle distortion effect on the high frequencies of the side channel, setting the drive to 10% to add harmonics without overpowering the mix.
When working with background vocals, apply a mid-side chorus effect with a rate of 1 Hz and a depth of 30% to create a shimmering and lush sound.
#7. Automate the reverb send levels on the side channel to create dynamic transitions (don’t forget to increase the reverb during any chorus and reduce it during verses).
Bottom line, blending these techniques ensures that your mix remains dynamic, engaging, and professional, with an expert stereo field that captivates listeners.
PRO TIP: When fine-tuning your mix, apply selective compression on the mid or side signals to control dynamics without affecting the balance.
For example, compress the mid signal with a threshold of -10 dB and a ratio of 2:1 for a tighter, more focused center, while using a gentler ratio of 1.5:1 on the side signals to maintain natural stereo width.
This technique ensures your mix retains clarity and depth in the mastering stage.
Final Thoughts
And there you have it: everything you need to know about mid-side processing.
By practicing and mastering everything we’ve talked about today, you’ll be able to successfully manipulate your stereo image and create more dynamic mixes.
Plus, make sure to experiment with different settings, parameters, and creative techniques for ultimate control over your mixes.
You’ll be blown away by how polished and professional they’ll sound.
And, if you want to see mid-side processing up close and personal, you’ve got to check out this legendary Free Project Files pack.
It includes 3 project files that break down how to make a show-stopping beat from start to finish.
And yes, that includes mid-side processing and any other effect you could imagine 一 it’s like having the cheat codes to creating killer beats every single time.
Plus, they’re all 100% royalty-free so you can use them however you’d like.
Bottom line, by mastering mid-side processing, you’ll elevate your music production skills to new heights and create tracks that truly stand out.
Just keep experimenting, stay creative, and never stop learning (it’s the key).
Until next time…


Leave a Reply
You must belogged in to post a comment.