Arpeggiators are, hands down, one of my absolute favorite tools in the music production/sound design realm.
They can transform a static chord into a captivating melody, add sick rhythmic complexity, and bring new life to any track.
Plus, they have the ability to create evolving patterns, dynamic rhythms, and mesmerizing soundscapes like nothing else.
As producers, knowing how to creatively use an arpeggiator can seriously enhance your skills and help you stand out over the competition.
Luckily for you, I’m breaking down all my absolute favorite arpeggiator tricks, tips, and techniques (plus secrets), like:
- Setting up MIDI FX plugins like a boss ✓
- Capturing arpeggiator output to shape melodies ✓
- Crafting polyrhythms that keep tracks unpredictable ✓
- Adding swing & shuffle for serious groove ✓
- Creating rapid-fire hi-hat rolls & triplets ✓
- Modulating octaves for evolving sounds ✓
- Reversing arps for unexpected twists ✓
- Arpeggiating unusual scales for unique vibes ✓
- Layering with pads to create lush textures ✓
- How to create arpeggios/generate arpeggios that aren’t basic ✓
- Building percussive fills that drive the beat ✓
- Automating arp settings to keep things fresh ✓
- How to use an arpeggiator like a true boss ✓
- Designing ambient textures for epic soundscapes ✓
- Much more arpeggiator tips/tricks/techniques ✓
After today’s article, you’ll be able to make melodies more captivating and rhythms more unpredictable so people really get excited when they hear them.
This way, your tracks will always be dynamic and your creative arsenal will expand, plus your arrangements will never feel basic/boring again.
And remember, we’re not just covering the basics (like other articles) 一 we’re getting super creative today.
Table of Contents
- What is an Arpeggiator? How Arpeggiators Work
- Using Your Arpeggiator Creatively: My Favorite Techniques
- #1. Configuring MIDI FX Plugins
- #2. Printing Arpeggiator Output to MIDI
- #3. Arpeggiator as a Step Sequencer
- Pro Tip: Swing & Shuffle Adjustments
- #4. Transforming a Chord Progression into Your Main Melody
- #5. Randomizing Arpeggiator Patterns/Sequences for Rhythmic Variation
- #6. Creating Polyrhythms with Dual Arpeggiators
- #7. Multi-Synth Arpeggiations
- #8. Experimental Sound Design with Arpeggiators
- #9. Rhythmic Gating & Filtering Your Arps
- #10. Arpeggiator-Based Percussive Rolls & Fills
- #11. Arpeggiators for Hi-Hat Rolls & Triplets
- 5 Bonus Tips for Creative Arpeggiator Use
- Final Thoughts
What is an Arpeggiator? How Arpeggiators Work
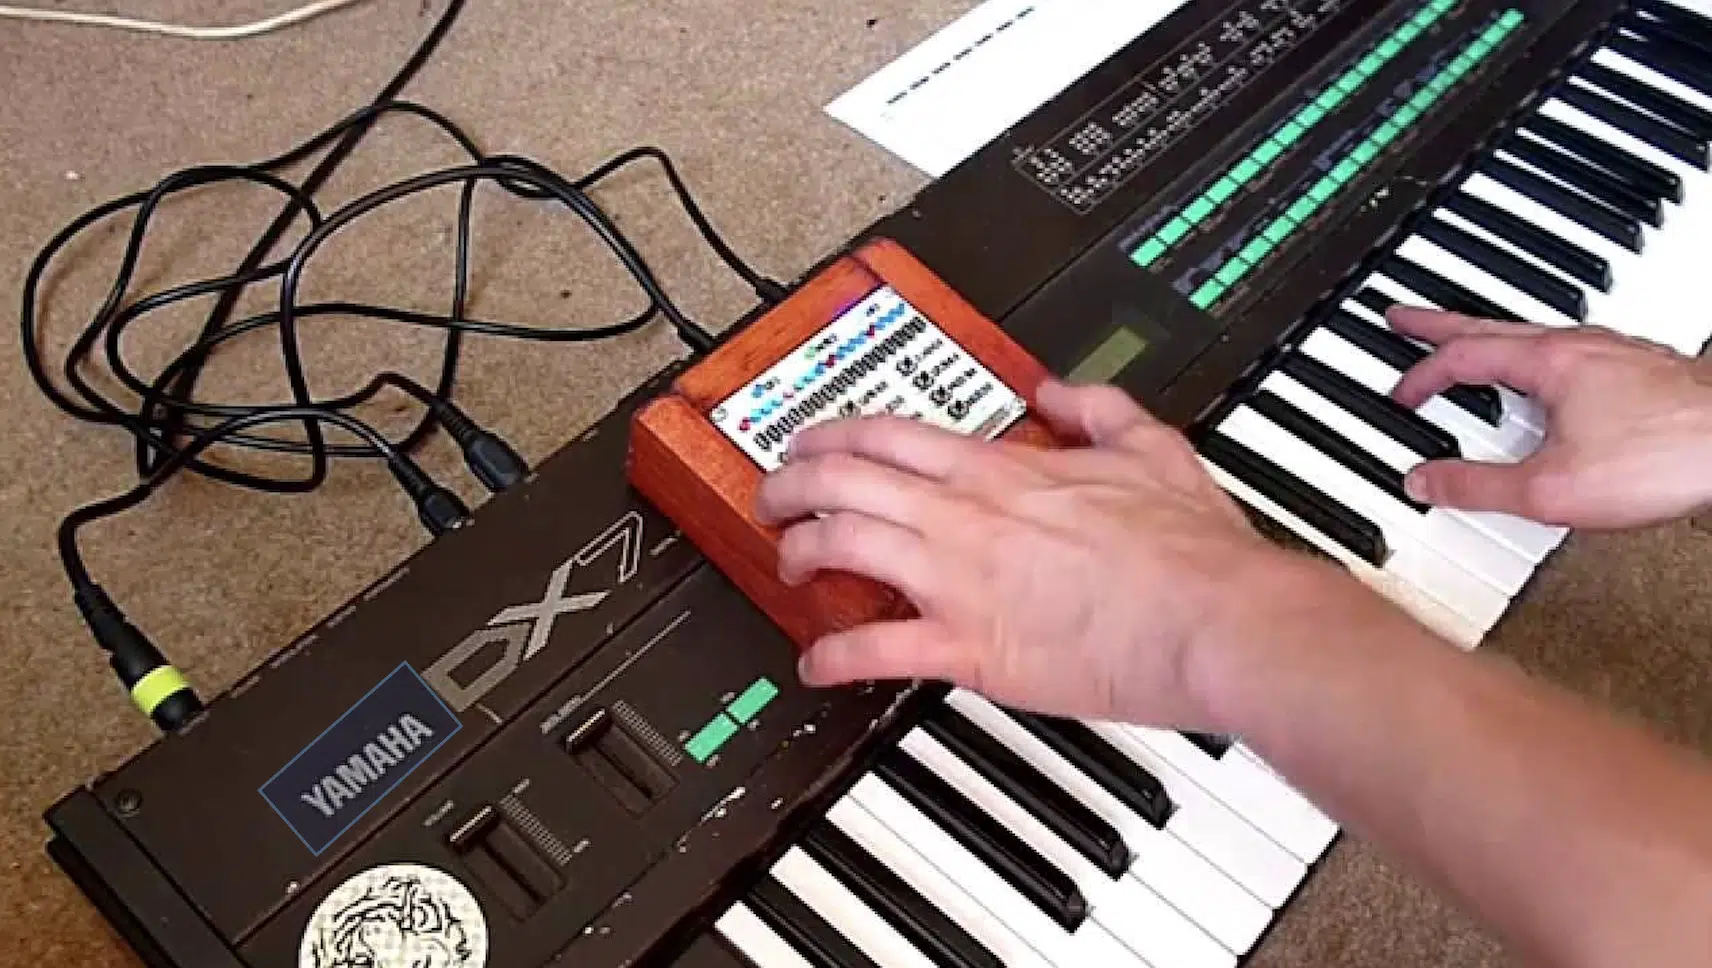
An arpeggiator is a tool that breaks chords into individual notes, creating rhythmic sequences that flow one note at a time.
Unlike playing all notes simultaneously, an arpeggiator cycles through them based on tempo and pattern settings that you can play around with.
You can shape its:
- Movement
- Direction
- Rhythm
This is done in order to create various melodies or harmonies that are all unique and can be absolutely legendary (if you follow the tips we’re talking about today).
Don’t worry, we’ll break down everything you need to know in detail throughout this guide to give you a solid understanding.
Using Your Arpeggiator Creatively: My Favorite Techniques
Arpeggiators aren’t just for basic patterns… They can be powerful creative tools. So, let’s kick things off with my absolute favorite arpeggiator techniques that will help you blow the competition away.
#1. Configuring MIDI FX Plugins
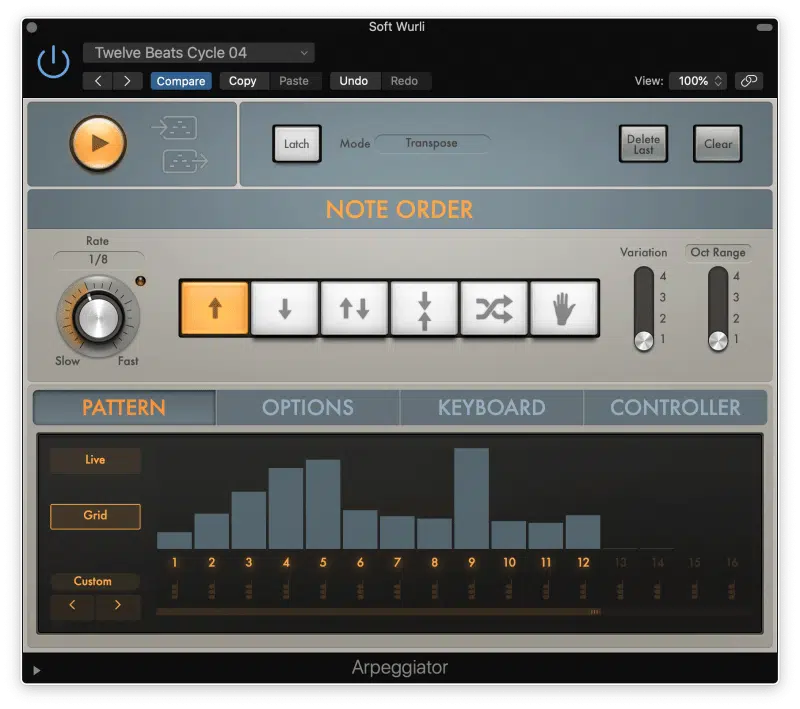
When working with arpeggiators, the first step is getting your MIDI FX plugin set up right, that’s a no-brainer.
So, open the MIDI FX section in your DAW and load up an arpeggiator plugin (like the stock arpeggiator in Ableton Live or Logic Pro).
Whatever arpeggiator plugins you like will work fine here.
Set the MIDI input to your MIDI keyboard/MIDI controller, so it triggers the arpeggiator in real-time, naturally.
I suggest starting with a basic “Up” pattern (ascending order as opposed to a descending order) set to a 1/16th note rate.
This creates a more classic arpeggiated sound.
Then, adjust the tempo to match your track 一 I usually begin around 120 BPM for a balanced feel and then take it from there depending on the vibe I’m going for.
For even more variation, play around with “random” patterns or swing settings, which we’ll break down in the following sections.
This will successfully get you started while leaving room to play around and get as creative as you’d like.
#2. Printing Arpeggiator Output to MIDI
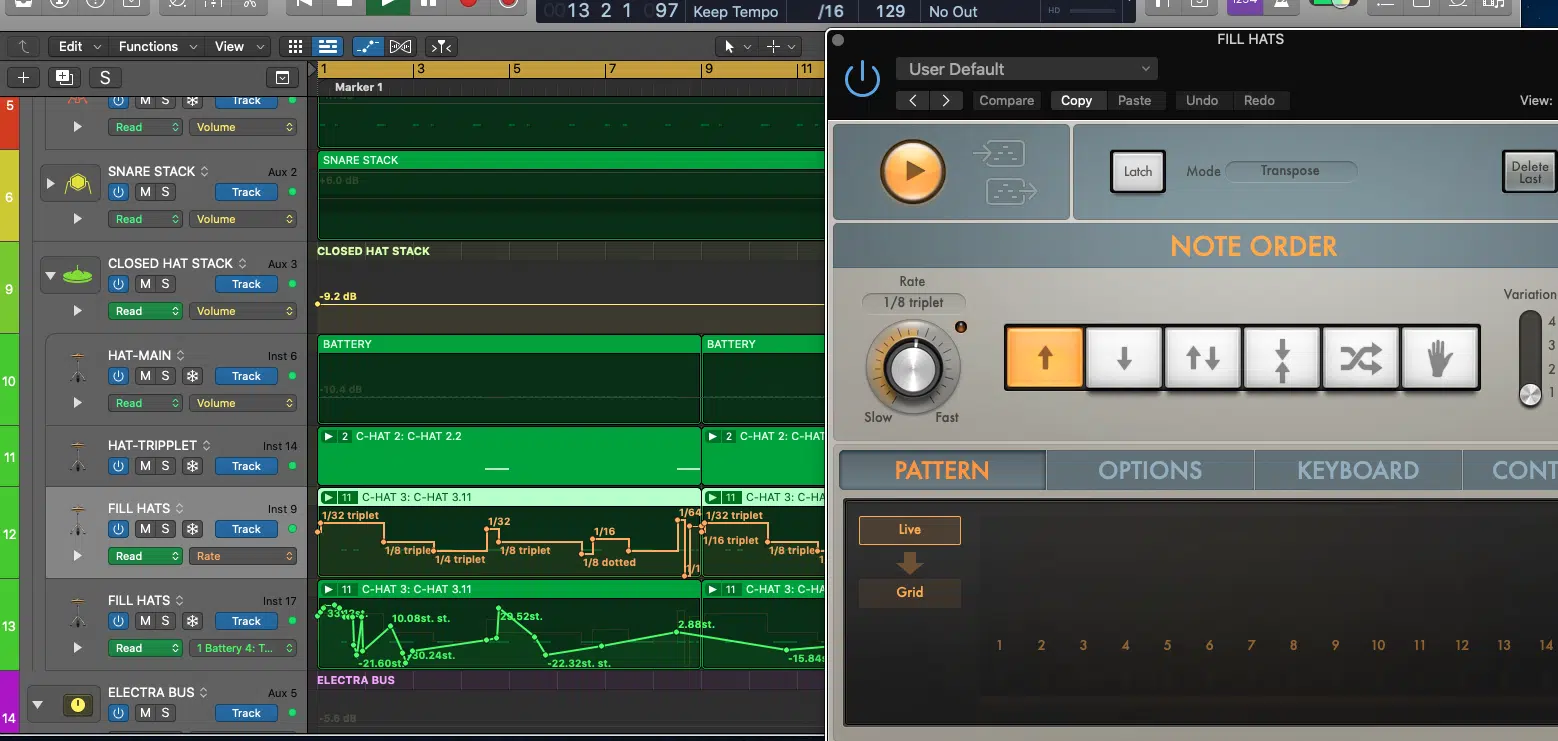
If you want more control over your arpeggiated patterns, print the output as MIDI.
To do this, start by recording the arpeggiator’s sequence in your DAW, then “freeze” or “bounce” the track to convert it to MIDI notes, which lets you:
- Edit individual notes
- Tweak velocities
- Transpose sections easily
For example, I like to duplicate the MIDI clip and shift it up an octave to add more harmony and edge.
Also, try varying note lengths within the MIDI track editor for added rhythmic interest; shortening a few notes while lengthening a few notes can create cool grooves.
Printing the output helps you customize the arpeggiated melody to fit the vibe of your song, so get as crazy as you’d like (the customization options are basically unlimited).
#3. Arpeggiator as a Step Sequencer
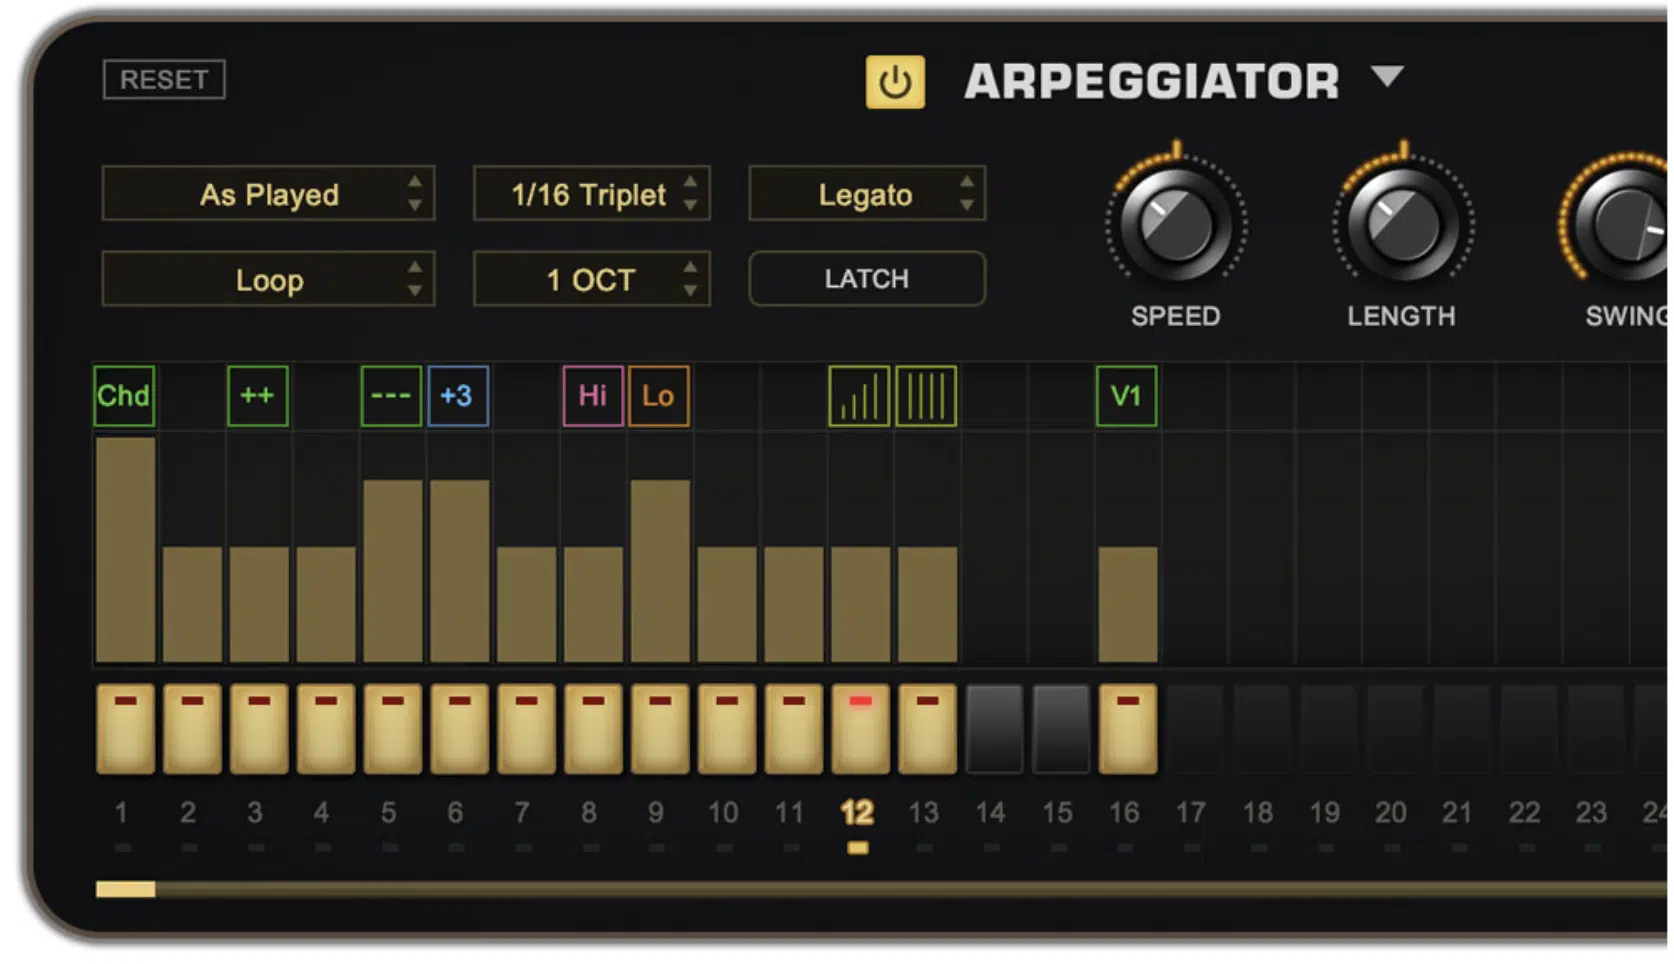
Arpeggiators are known for creating rhythmic patterns of course, but they can also be used as step sequencers to build sick melodies.
Set your arpeggiator to a specific scale like major, minor, or even a pentatonic scale if you’re feeling frisky.
Then you’re going to adjust parameters like gate length for different note durations:
- Shorter gates 一 Create a punchy feel.
- Longer gates 一 Make it more legato.
Add swing to the sequence to give it a more laid-back groove (I often set swing to 55% for a bit of bounce that I find super appealing).
You can automate the arpeggiator’s pattern subtle changes within your DAW to create evolving melodies during build-ups or drops.
For example, try shifting from an “Up” to a “Random” pattern over 8 bars for a surprising twist and add slight variations in gate length (e.g., from 60% to 80%).
This will make your arpeggio more dynamic and your melodies more energetic so people get instantly captivated.
-
Pro Tip: Swing & Shuffle Adjustments
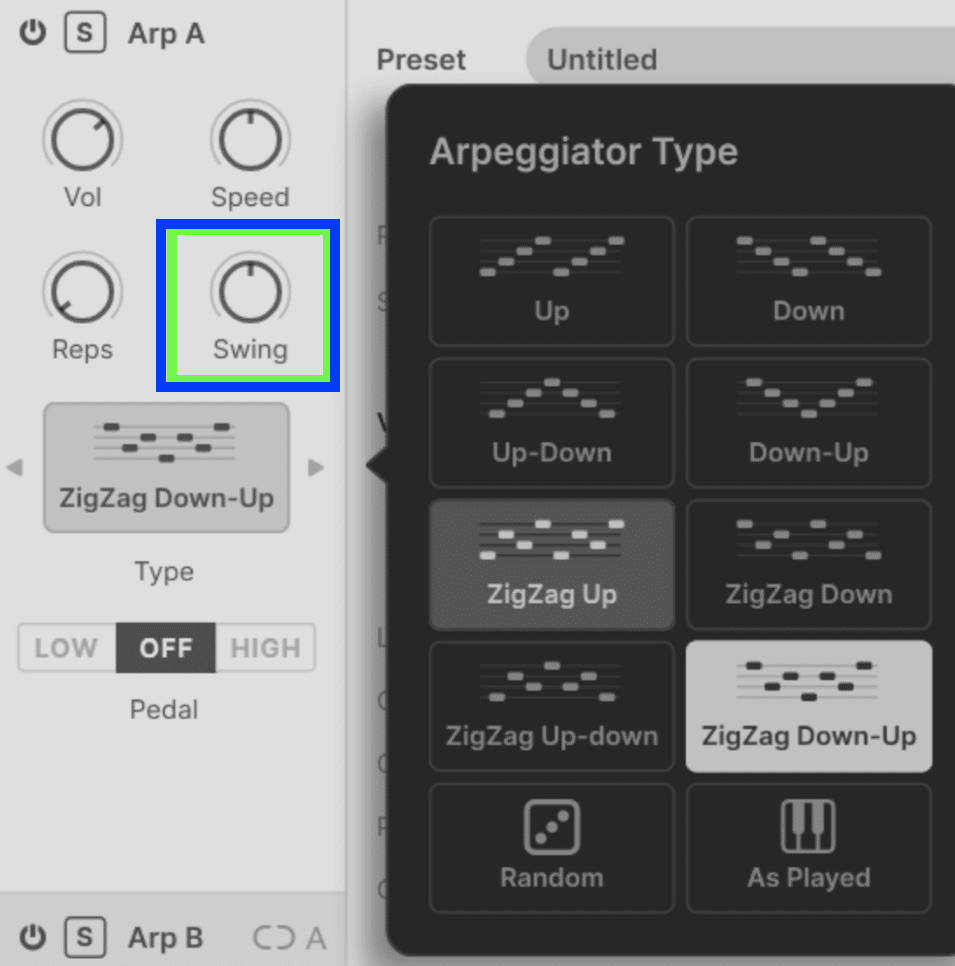
Adding swing or shuffle to an arpeggiator can transform a rigid, stale pattern into a groove-driven sequence.
Set the swing parameter between 50-60% to introduce a subtle delay to every second note individually 一 giving it a laid-back feel.
I usually add a bit more swing when working with slower tempos, around 90-110 BPM, for a lo-fi vibe.
Shuffle settings work in the same fashion, pushing certain arpeggiated notes off-grid to create a syncopated, human-like rhythm that blends well with hip-hop/house tracks.
It’s great when you’re looking for some quick inspiration as well or you’re suffering from beat-block.
#4. Transforming a Chord Progression into Your Main Melody
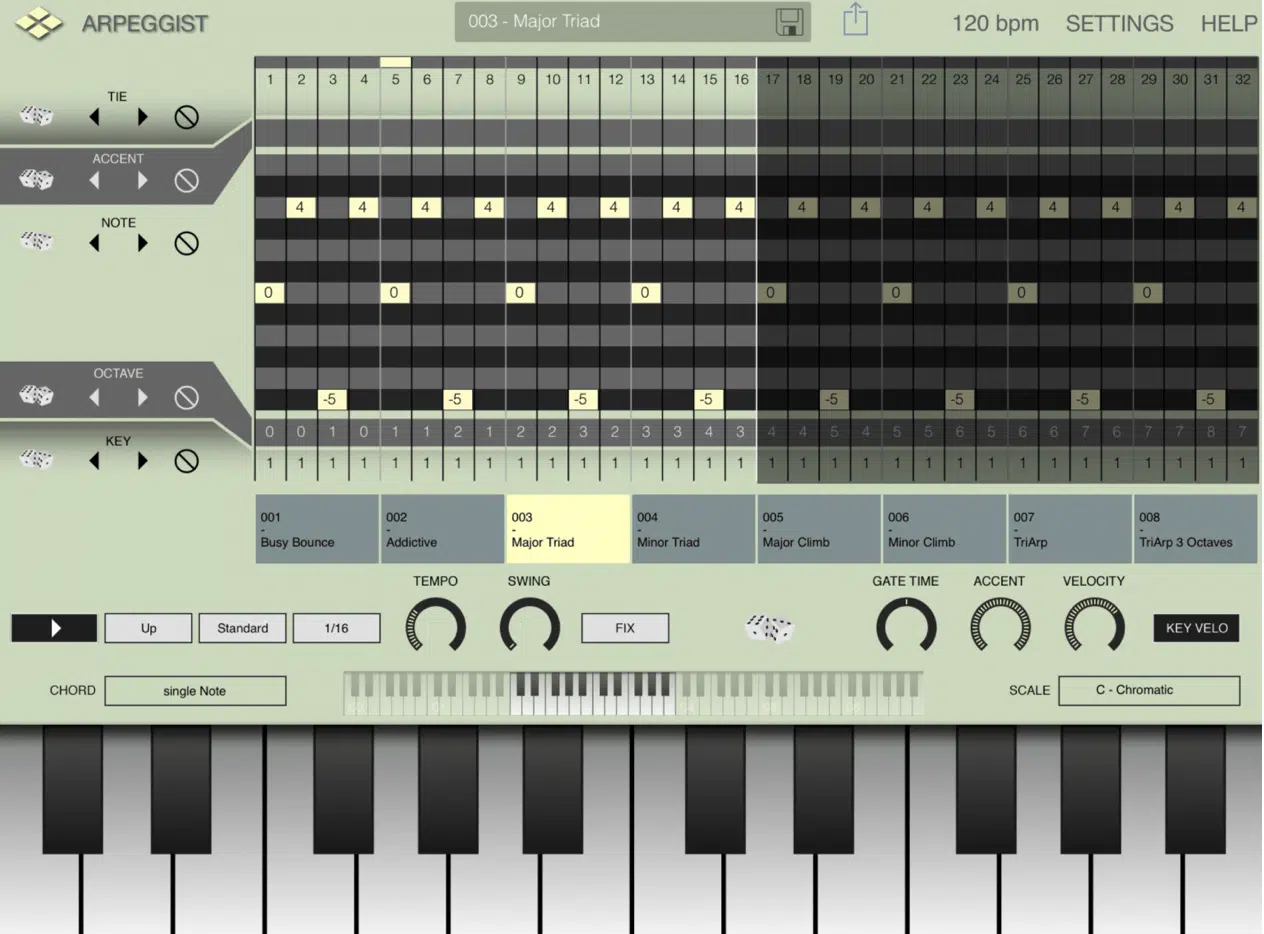
Turning simple chord progressions into show-stopping melodies using an arpeggiator is a creative game-changer (and one of my favs).
Start by inputting a basic chord progression into the arpeggiator, let’s say:
- Cmaj7
- Gmaj7
- Amin7
- Fmaj7
Set the pattern to “Up & Down” to explore a full range of notes from the chord played, and adjust the rate to 1/8th notes for a melodic flow.
Add variations by changing the pattern’s direction, like using “Reverse” or “Random.”
I like to play around with gate length for some unexpected twists, so you can start at 60% for staccato bursts, then increase to 80% for a more connected feel.
Layer this with a subtle phaser effect to add texture and make the melody even more compelling.
It successfully transforms chord broken shapes into compelling melodies that can drive the entire song and make people hit that repeat button all day.
#5. Randomizing Arpeggiator Patterns/Sequences for Rhythmic Variation
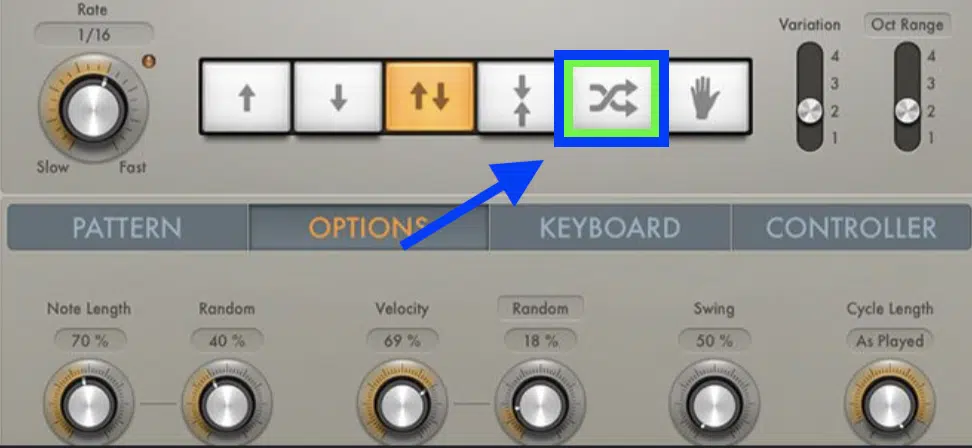
Randomizing arpeggiator patterns is one of the quickest ways to add unexpected rhythmic variation to your tracks.
Set the arpeggiator to “Random” mode, letting it select notes played unpredictably within your chosen scale or chord as we briefly talked upon.
This is especially effective at 1/16th note rates, as it creates rapid, unpredictable sequences that can fill the space in a mix.
I like to automate the randomization amount (from 50% to 100%) over 8 or 16 bars 一 gradually adding more chaos to build tension in a buildup section.
NOTE: I like adding pitch automation during this process, raising it by +2 semitones at the peak of a buildup for added intensity.
This technique is especially great for genres like trap or experimental electronic, where random order adds an element of surprise that the arpeggio covers.
#6. Creating Polyrhythms with Dual Arpeggiators
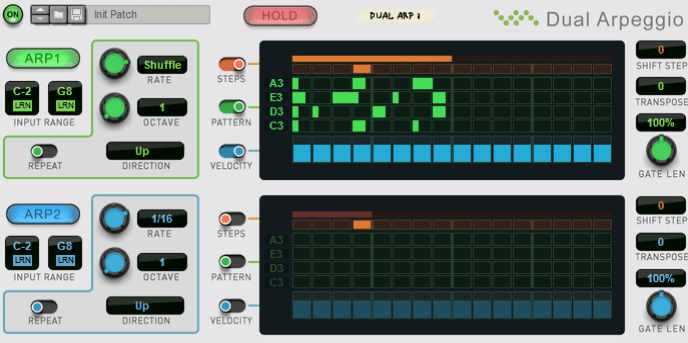
Using two arpeggiators at the same time will help you create complex polyrhythms that reel people in and get them super invested.
You’ll want to:
- Set one arpeggiator 一 To a 1/8th note rate.
- Set the second 一 To a 1/16th note rate.
Each one will be triggering a different synth, which adds a layered rhythmic interplay (making the song feel fuller and more immersive).
For example, In Reason’s Dual Arpeggiator, you can route each arpeggiator to separate instruments, creating unique polyrhythms that maintain harmonic cohesion.
I like to add a slight swing to one arpeggiator while keeping the other straight for some subtle unpredictability and groove (think: sweeping arpeggios).
You can also use a step sequencer alongside the arpeggiator to enhance your patterns.
While the step sequencer handles consistent rhythmic elements, the arpeggiator makes complex, evolving arpeggios that build depth.
Combining the two allows you to knock out arpeggios with unique accents/variations 一 adding dynamic movement to each individual arpeggio.
NOTE: Try alternating between the step sequencer and the arpeggiator to keep the arpeggio fresh throughout your song.
#7. Multi-Synth Arpeggiations
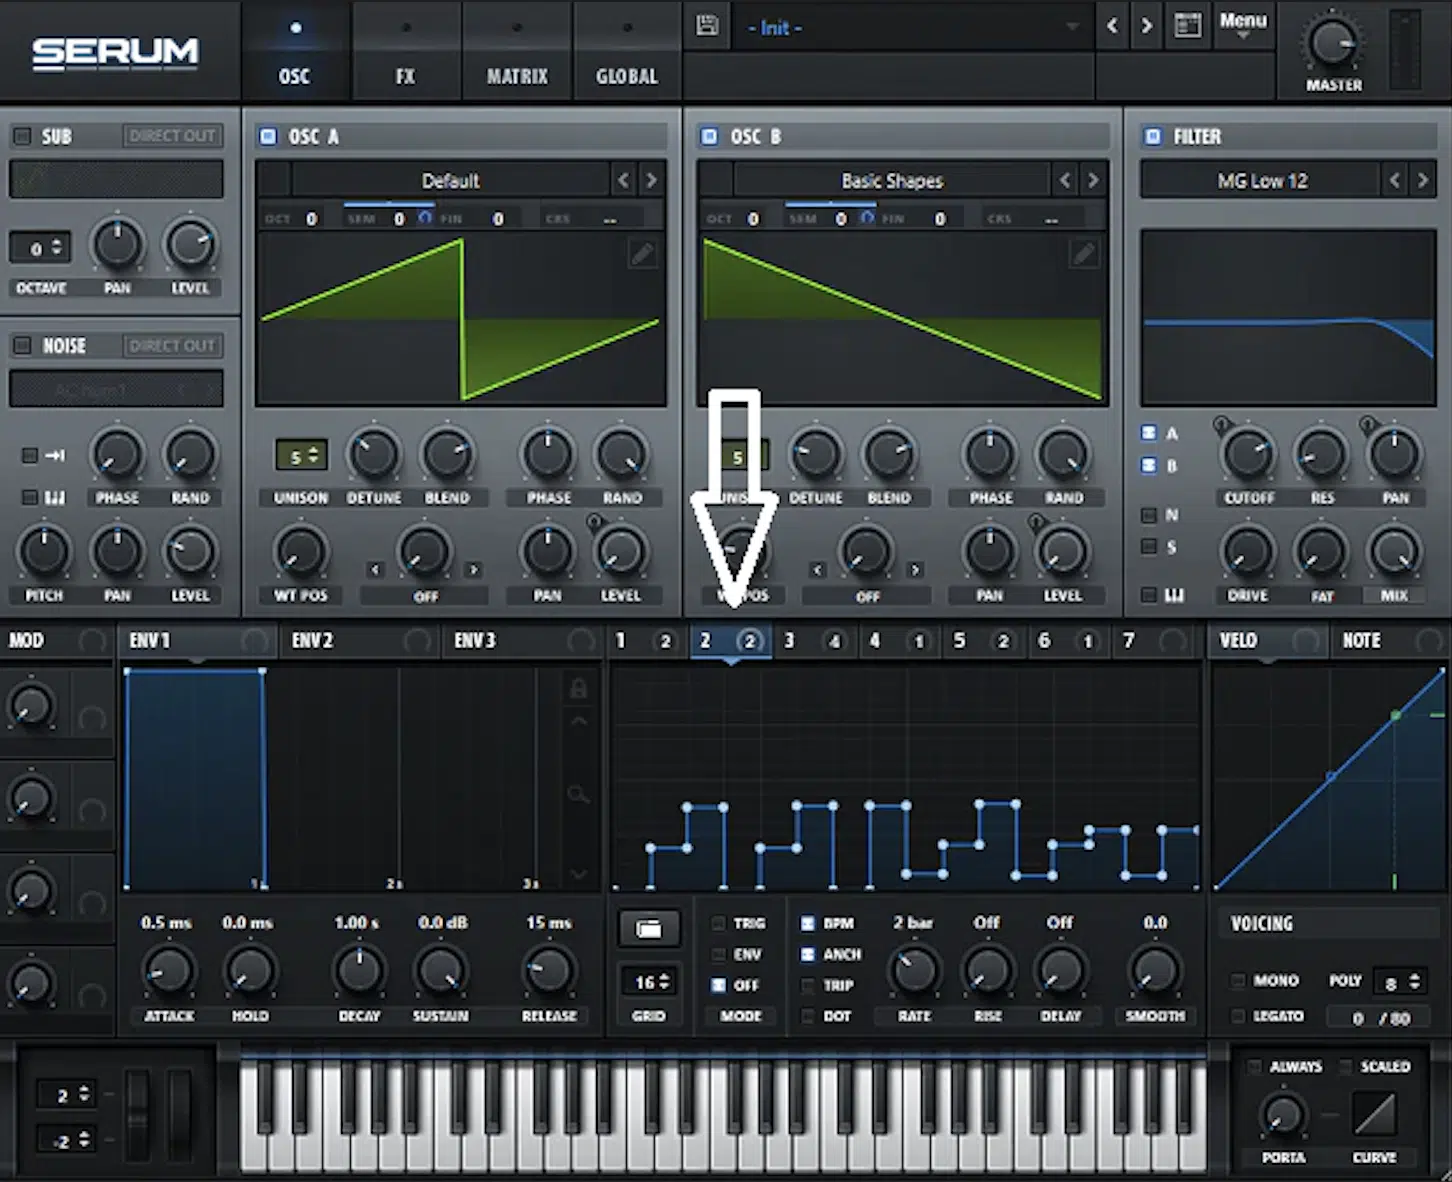
To create multi-synth arpeggiations, first set up your arpeggiator to generate a MIDI sequence, then duplicate the MIDI output across several tracks.
Load a different synth on each track and adjust their parameters to vary the textures, like:
- Attack
- Decay
- Filter cutoff
For example, use a bright lead synth for higher notes and a deeper pad for a few notes that are lower.
Make sure that each synth only triggers one note by deleting overlaps in the MIDI clip.
I prefer adding slight detuning (around ±5 cents) on each synth to create a wider stereo field and play around with panning each synth slightly left or right for more depth.
When you create arpeggios, this layering technique makes the entire arpeggiation sound fuller and more dynamic, perfect for build-ups or breakdowns.
Side note, if you want access to the dopest software synthesizers in the game, check out our best VST synths article.
#8. Experimental Sound Design with Arpeggiators
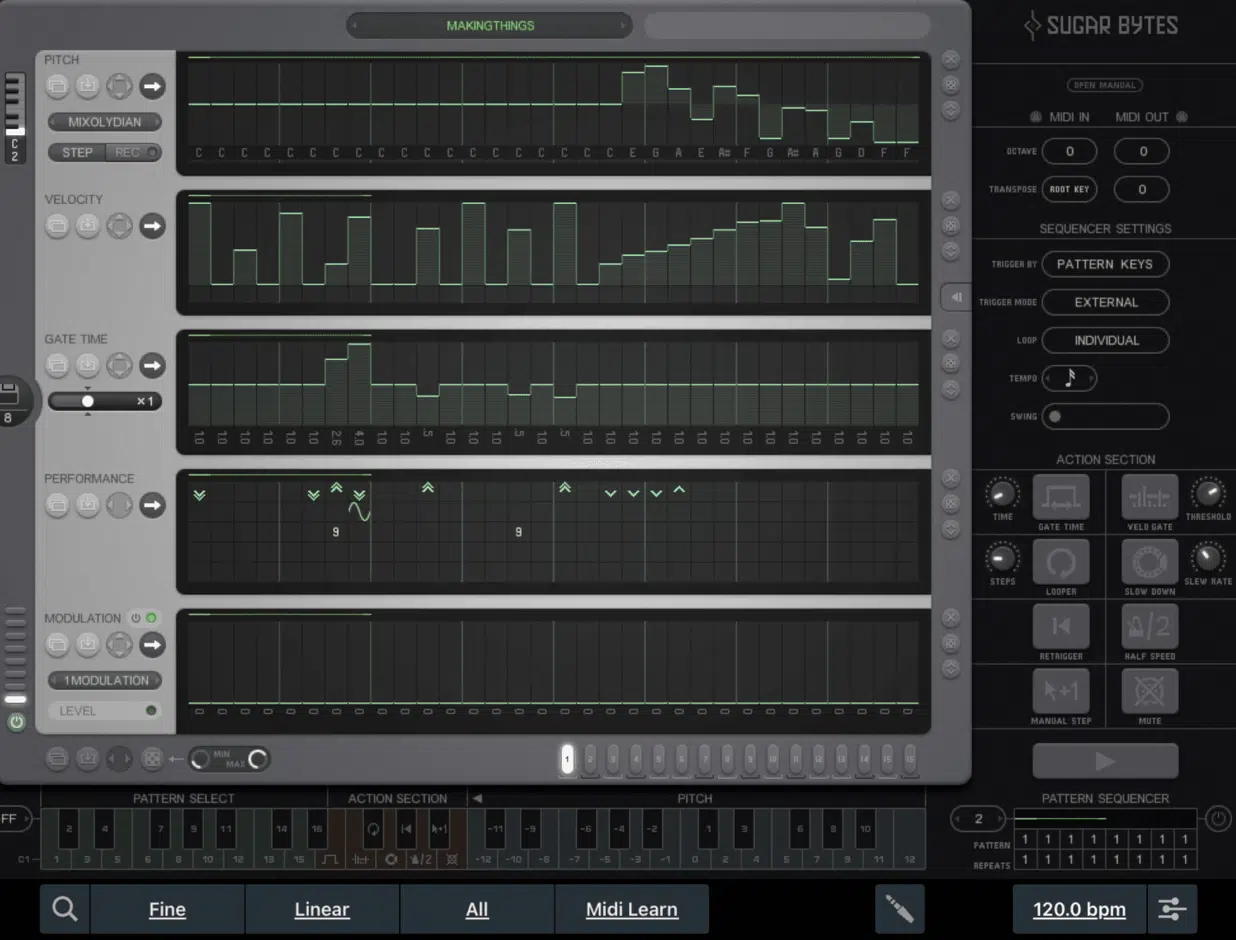
Arpeggiators aren’t just for melodies, as I’m sure you now know, so for this next section let’s talk a little bit about using them for experimental sound design.
Start by setting a slower rate, like 1/4th notes, and combine it with a synth that has a long attack (around 500ms) and release (up to 2s) to create evolving textures.
For added complexity, try routing the arpeggiator through an LFO-modulated filter (at 1/8T) for a dope wobbly effect that you probably hear all the time.
NOTE: I like to use granular delay in certain situations as well, setting feedback to 60-70% for a cascading effect, so try that out if you want to.
Then, pitch-shift the arpeggio upward over 8 bars to create eerie atmospheres perfect for breakdowns and you can also layer it with chorus too which is super ‘dreamy.’
I add reverb and delay to enhance depth sometimes too 一 adjusting the wet/dry mix to around 30-40% for some ambient layers.
It fills space in breakdowns or intros nicely, which I find great.
#9. Rhythmic Gating & Filtering Your Arps
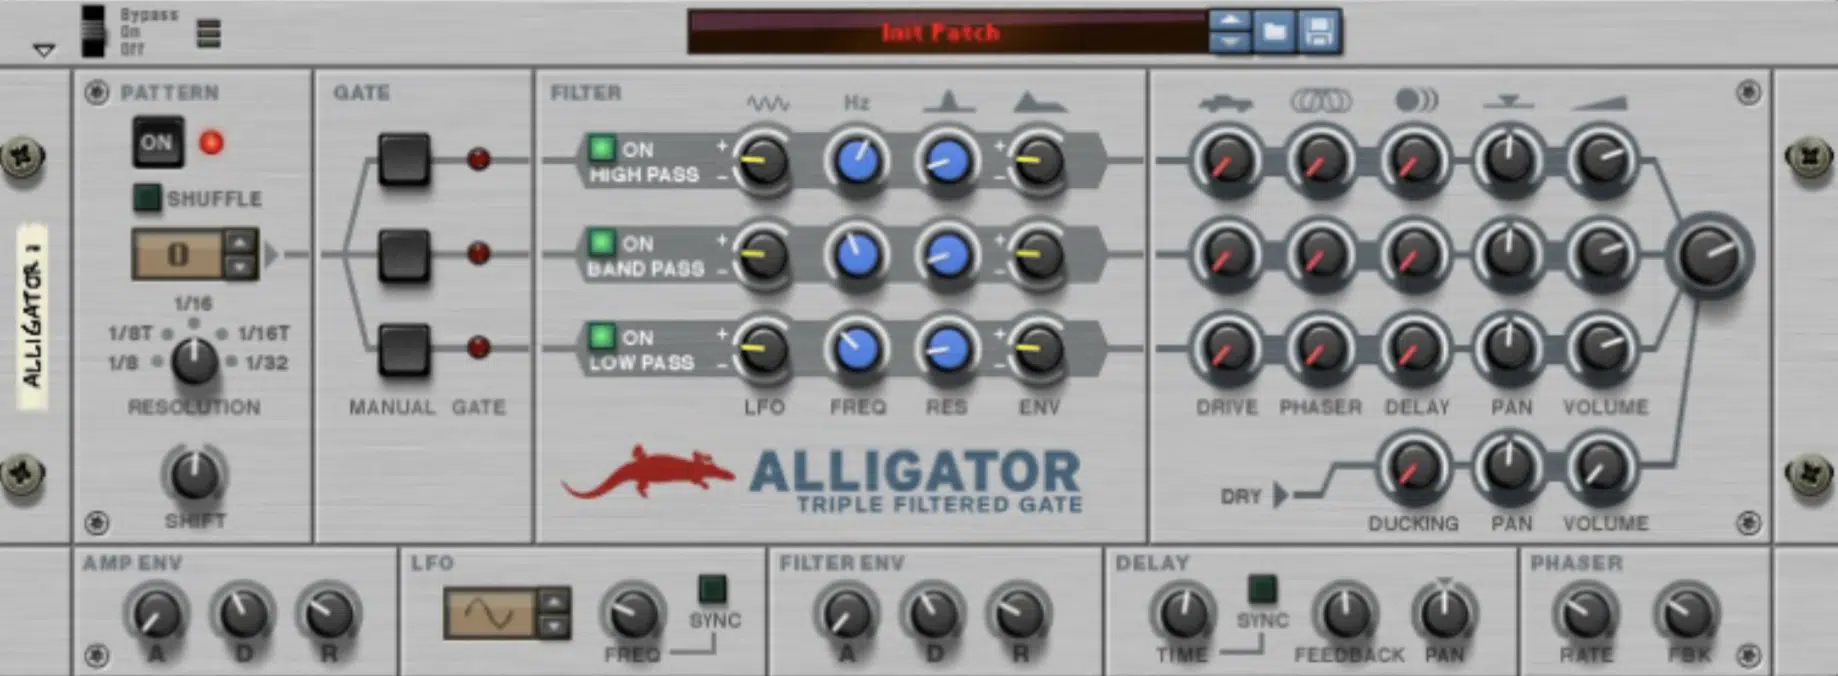
To create rhythmic gating with arpeggiators, set up a gate plugin post-arpeggiator, controlling it with a sidechain from a rhythmic source like a kick or hi-hat.
Set the gate’s threshold low enough to let through only the loudest notes to create a stuttered, gated effect that’s pretty interesting.
Adjust the gate’s attack and release to shape the rhythmic feel; shorter settings for sharper cuts, longer ones for smoother transitions.
NOTE: Adding a low-pass filter with a 12dB/octave slope can further shape the arp’s tone; try automating the filter’s cutoff to create movement.
When it comes to the arpeggiator function, I recommend setting the filter cutoff around 1-2 kHz for a darker, moodier vibe.
If you’re an EDM producer this ones great for you because these settings work amazing in genres like dubstep or trap 一 giving arpeggiators a rhythmic edge.
#10. Arpeggiator-Based Percussive Rolls & Fills
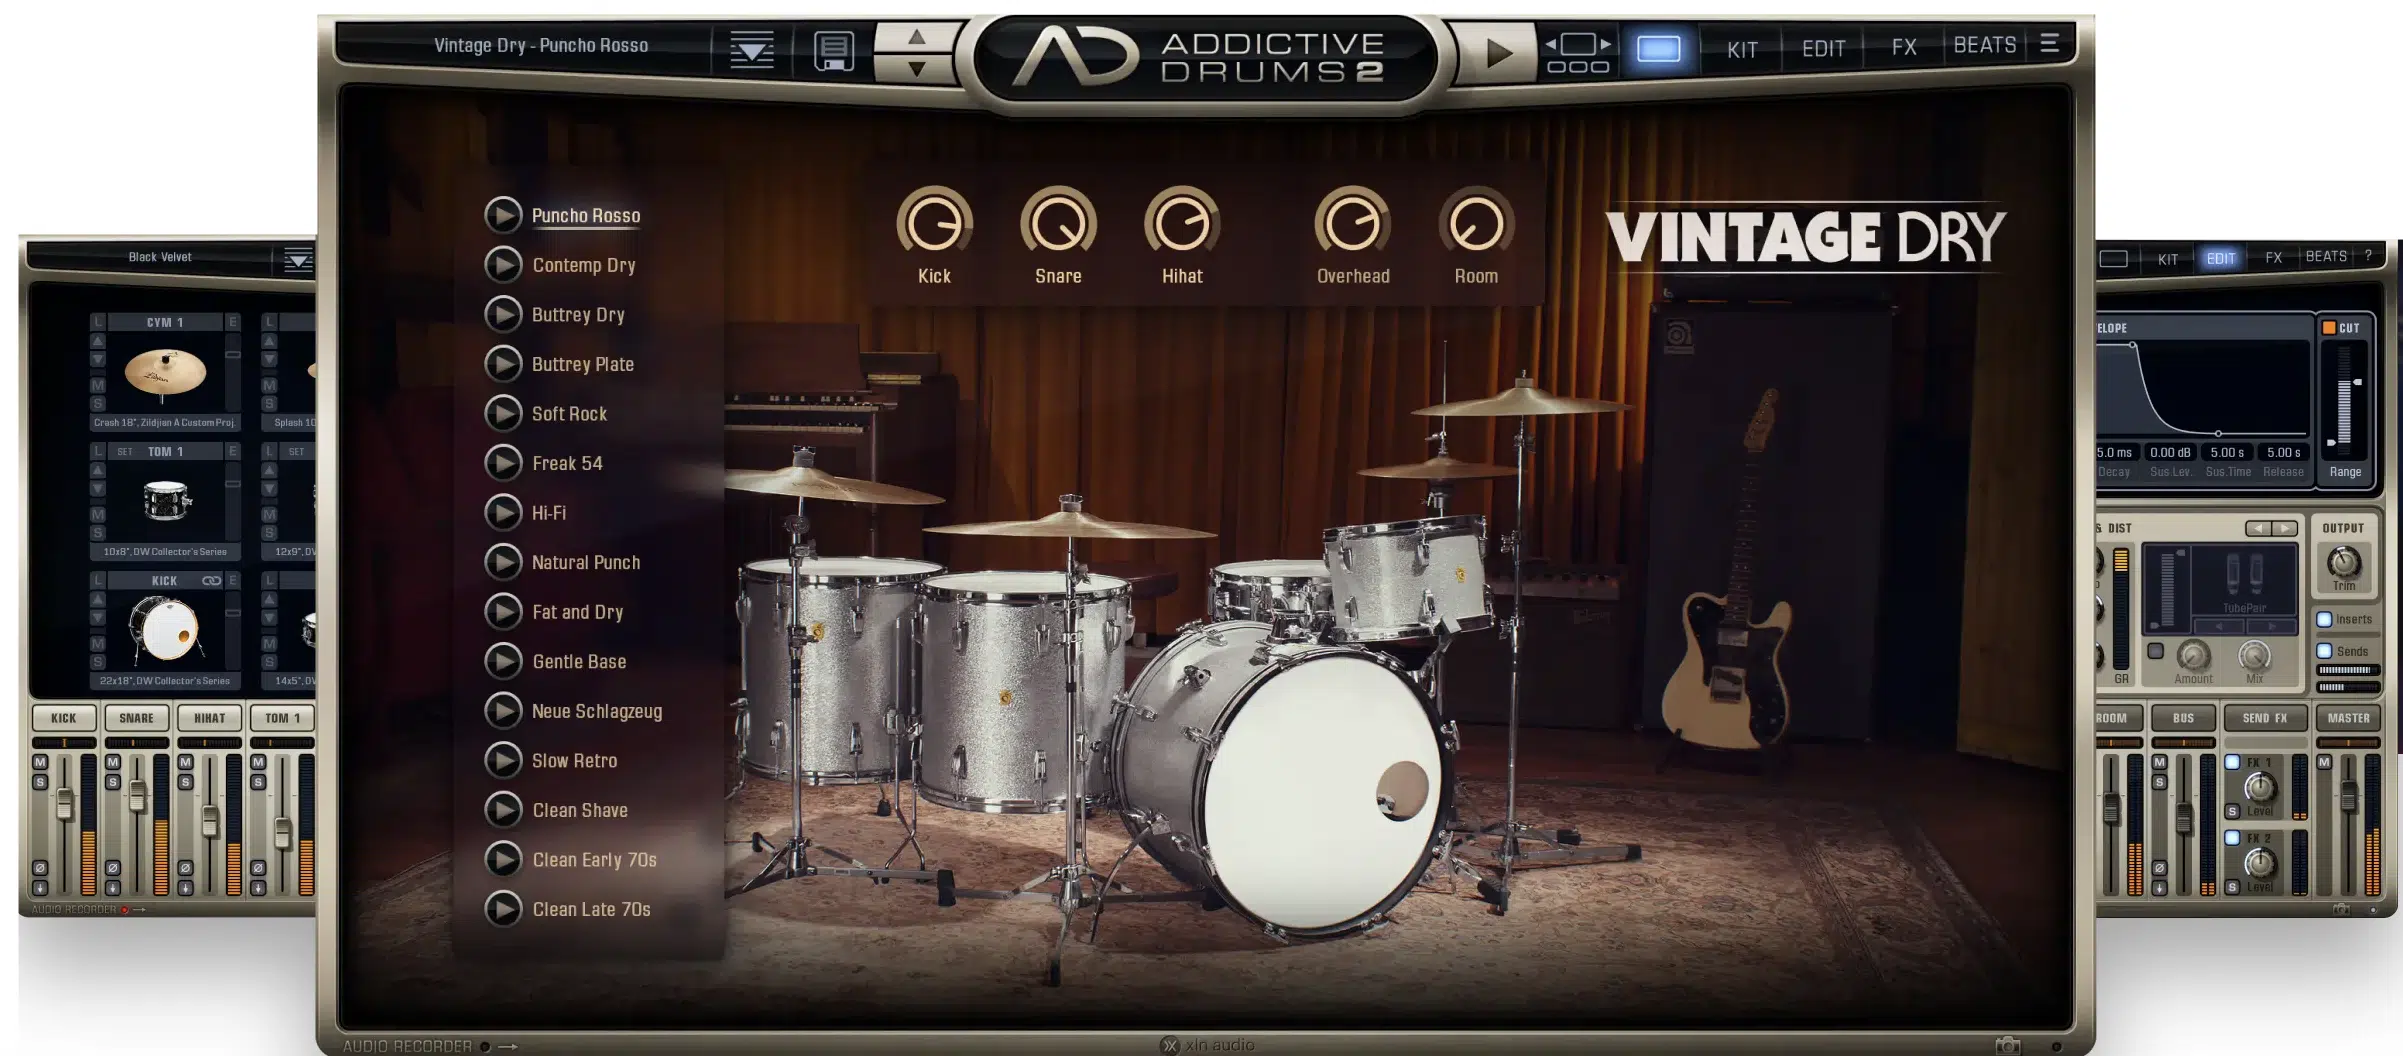
Route an arp to whichever drum element you intend to make the fill with & adjust the parameters as desired. Trigger it by automating the arp’s ON/OFF setting from 0% to 100%.
To create my favorite arpeggiator-driven rolls and fills, assign the arpeggiator to a drum synth or sampler that triggers individual hits like hi-hats, snares, or toms.
Set the rate to 1/64th notes for rapid, tight rolls, and adjust velocity settings to add dynamics 一 try starting at 50% and gradually increasing to 100% for crescendos.
You can also add a short reverb (200-300ms) to maintain tightness while adding space, and make sure to play around with panning automation too.
It’ll help your rolls move across the stereo field better.
NOTE: This one is perfect for trap buildups because it adds a sick intensity.
#11. Arpeggiators for Hi-Hat Rolls & Triplets
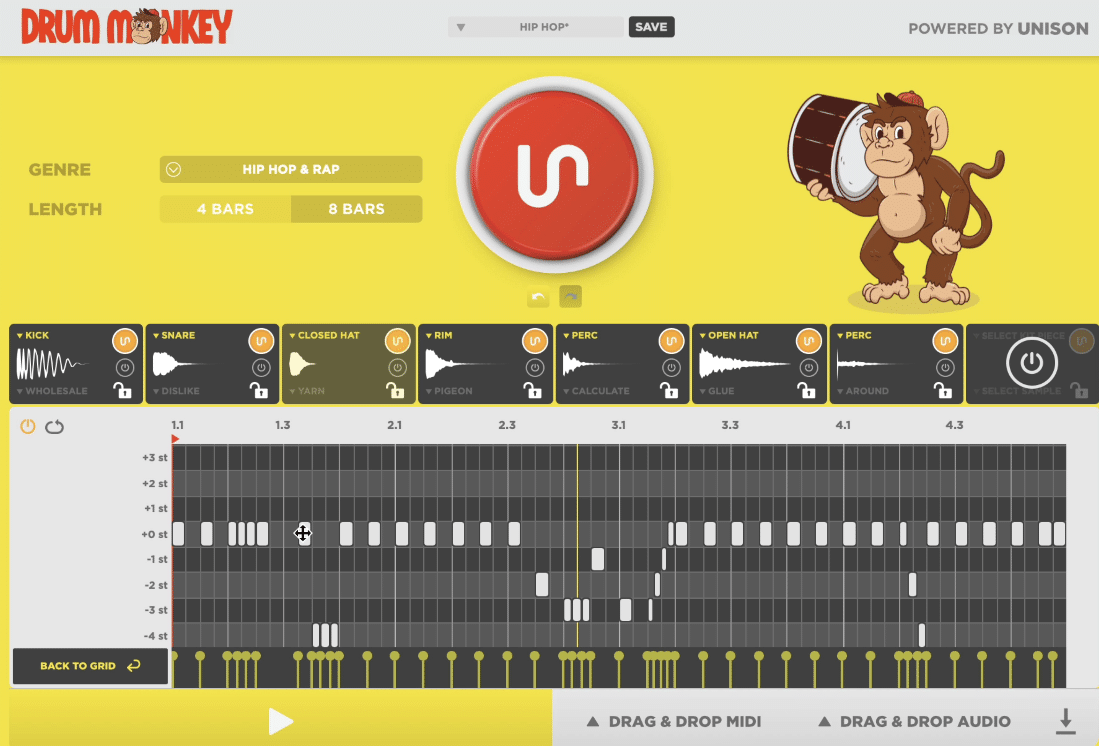
Use an arp to trigger a plugin like Drum Monkey for hi-hat rolls, trips, and any other time-division the arp offers (automate on command).
Using arpeggiators for hi-hat rolls and triplets can add serious energy to trap and hip-hop beats.
Start by routing the arpeggiator to a hi-hat sample in your sampler, setting the rate to 1/64th play notes for rapid-fire rolls or 1/8T for triplet grooves.
Adjust velocity to vary the intensity… I like to set the minimum velocity at 40% and the maximum at 100% to throw in some dynamic accents.
Automate the panning to shift rolls across the stereo field (alternating left and right every 1/8th note order for extra movement).
Then, add pitch automation for ascending or descending rolls, setting the pitch to rise by +2 or +3 semitones over 4 bars for buildup effects.
NOTE: To keep tightness, use reverb with a short decay (around 200ms) and low wet mix (about 20%). It keeps the rolls clean while adding depth and movement.
5 Bonus Tips for Creative Arpeggiator Use
Now that you know my 11 favorite arpeggiator techniques (which I hope you found super intriguing), I figured I’d include 5 bonus tips that are a bit more common. Let’s get into it.
Bonus Tip 1: Reverse ‘Down’ Arpeggiation
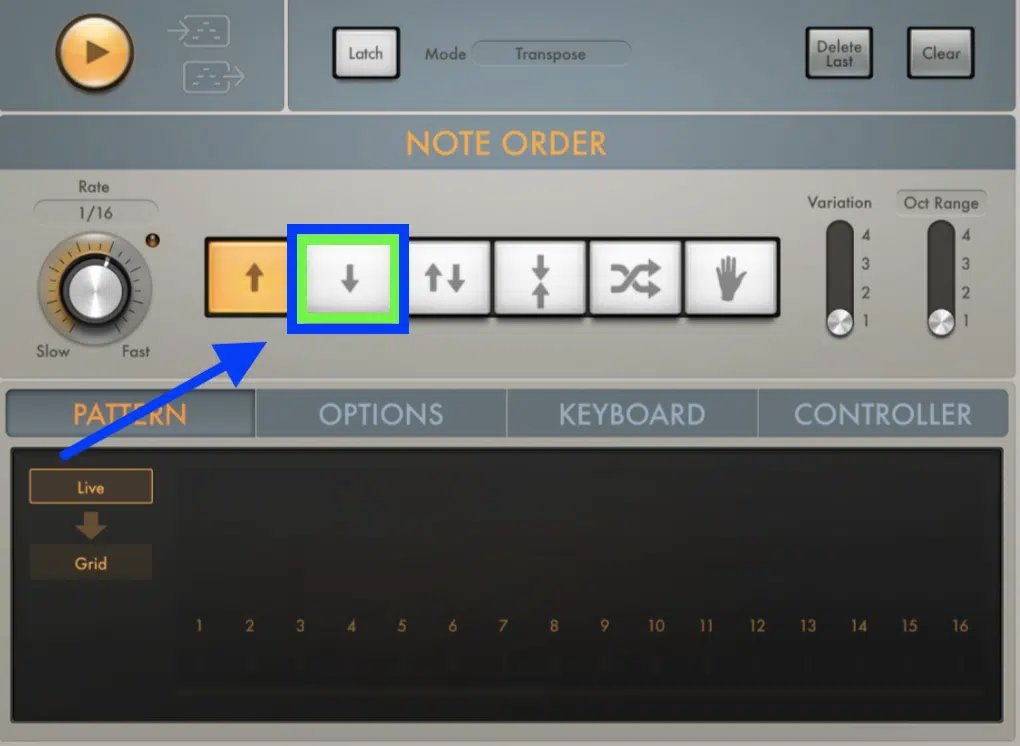
Reverse arpeggiation involves playing the sequence backward, just like it sounds like, which can create unexpected melodies.
Set your arpeggiator to “Reverse” mode (in Logic, it’s the ‘down’ arrow shown above) 一 ideally at a 1/8th or 1/16th note rate.
I use this technique in breakdowns, like a lot of these techniques are perfect for, as the reversed notes create a surprising twist that grabs attention.
Also, try layering a soft pad underneath the reverse arp to add a dreamy atmosphere.
Bonus Tip 2: Octave Modulation
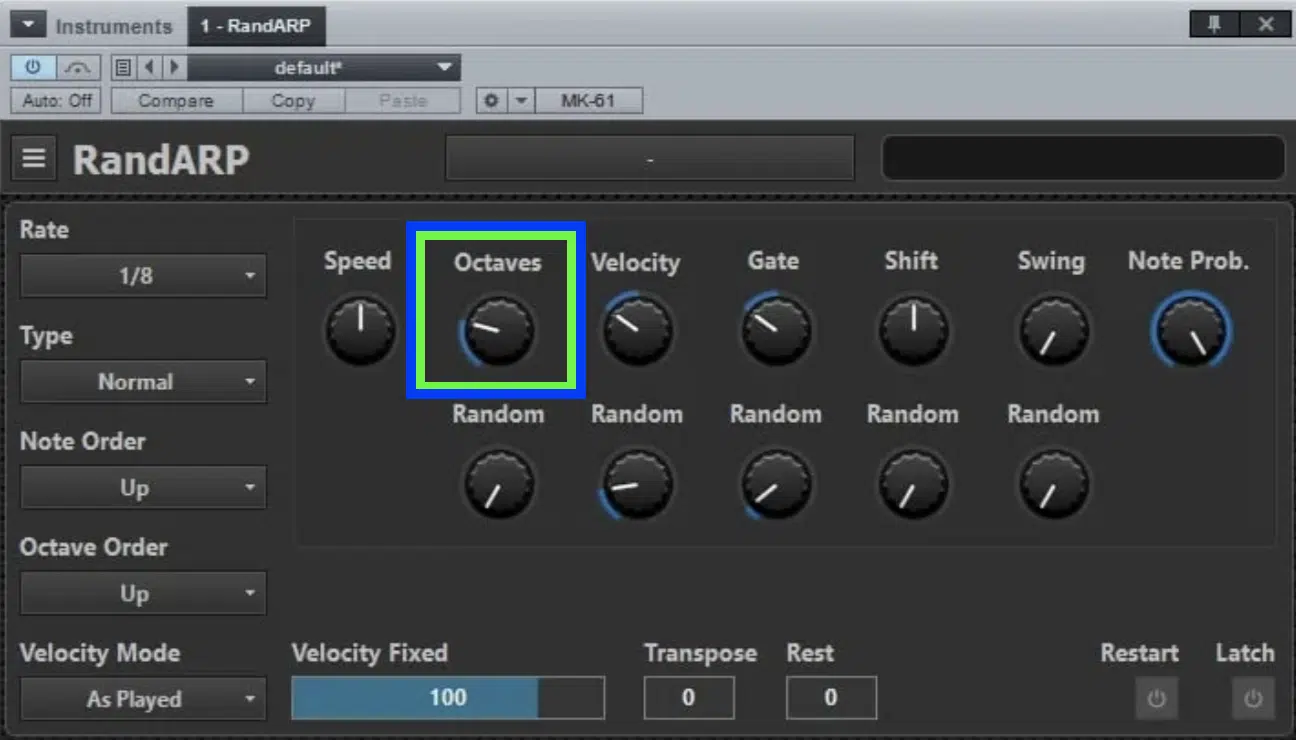
Octave modulation is great for adding some extra depth and energy as well because it expands the range of an arpeggiator.
To do this, simply set the arpeggiator to alternate between two or more octaves, starting with a basic 1-octave range setting and increasing to 2 or 3 octaves over 8 bars.
How many octaves you choose to incorporate are completely up to you.
This works super well in climactic sections 一 creating a fuller, more dynamic sound that can really transport your listeners to another world (very immersive).
NOTE: Try using a filter envelope as well because it opens up more as the octaves shift, for an evolving timbre.
Bonus Tip 3: Arpeggiator Automation
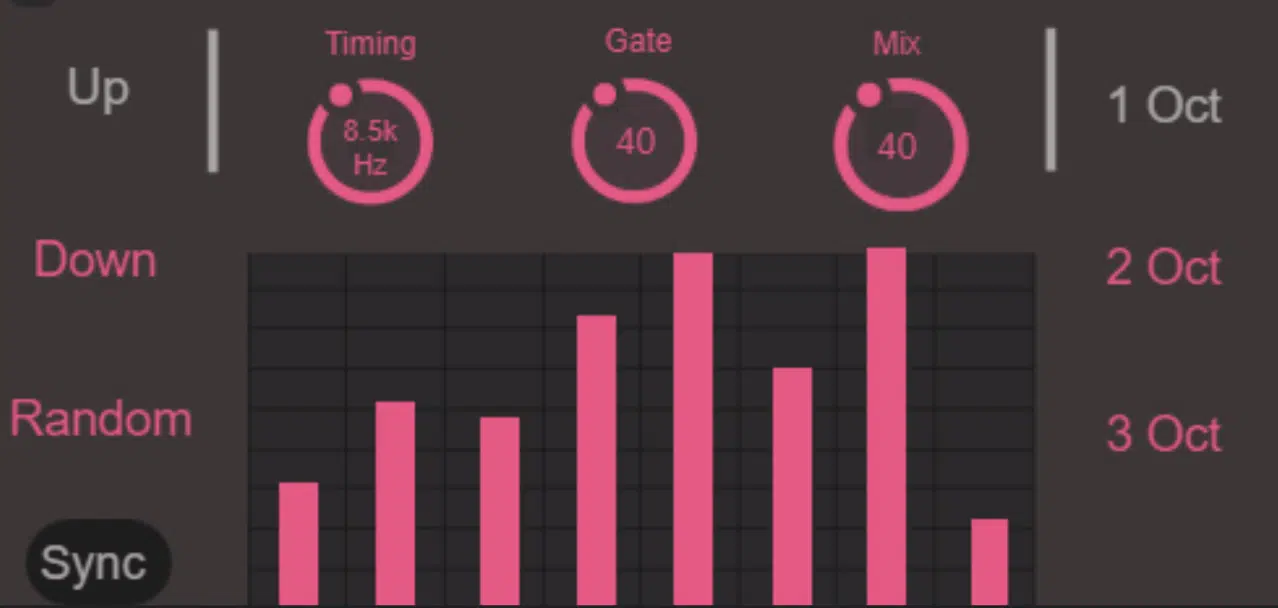
Automating arpeggiator parameters like rate, gate, or pattern variation can successfully add excitement to your tracks.
Start at a 1/16th note order/rate, then automate up to 1/32nd for high-energy transitions that will block your socks off, if done correctly.
Adjust the gate from 50% to 100%, transitioning from staccato to legato.
I personally love automating the pattern from “Up” to “Random” to add unpredictability to keep my audience engaged, but that’s me.
Bonus Tip 4: Arpeggiating Unusual Scales
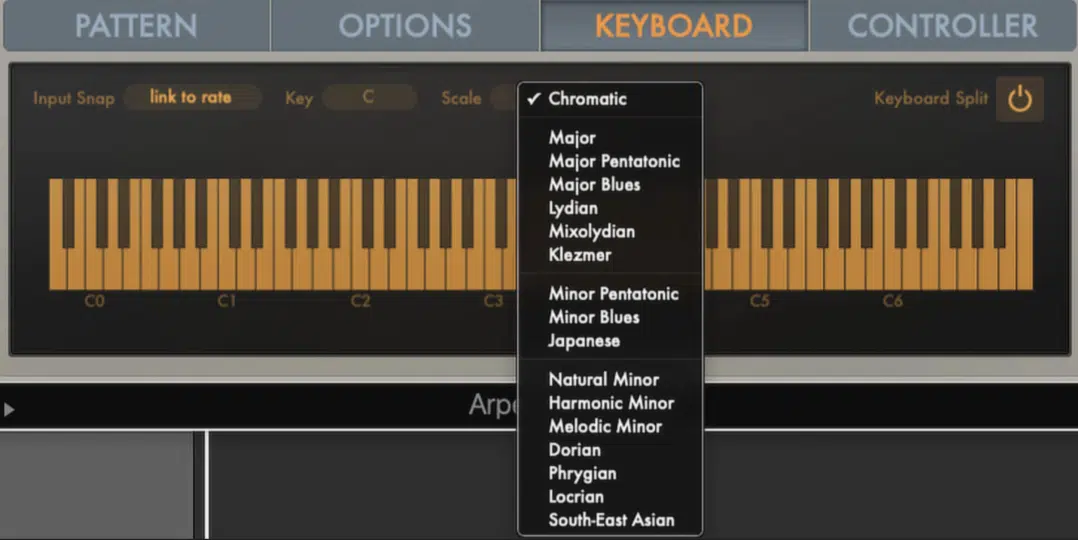
Arpeggiating unusual scales is a pretty interesting way to create unique melodies too.
You can play around with:
- Diminished
- Phrygian dominant
- Whole-tone scales
Set the scale in your arpeggiator’s plugin and try faster rates like 1/16th or 1/32nd to bring out distinct rhythmic variations.
I like using the whole-tone scale for a more dream-like vibe, adding delay at around 40% wet for extra atmosphere. Layering distortion also helps emphasize dissonant notes.
Bonus Tip 5: Layering Arpeggiators with Pads
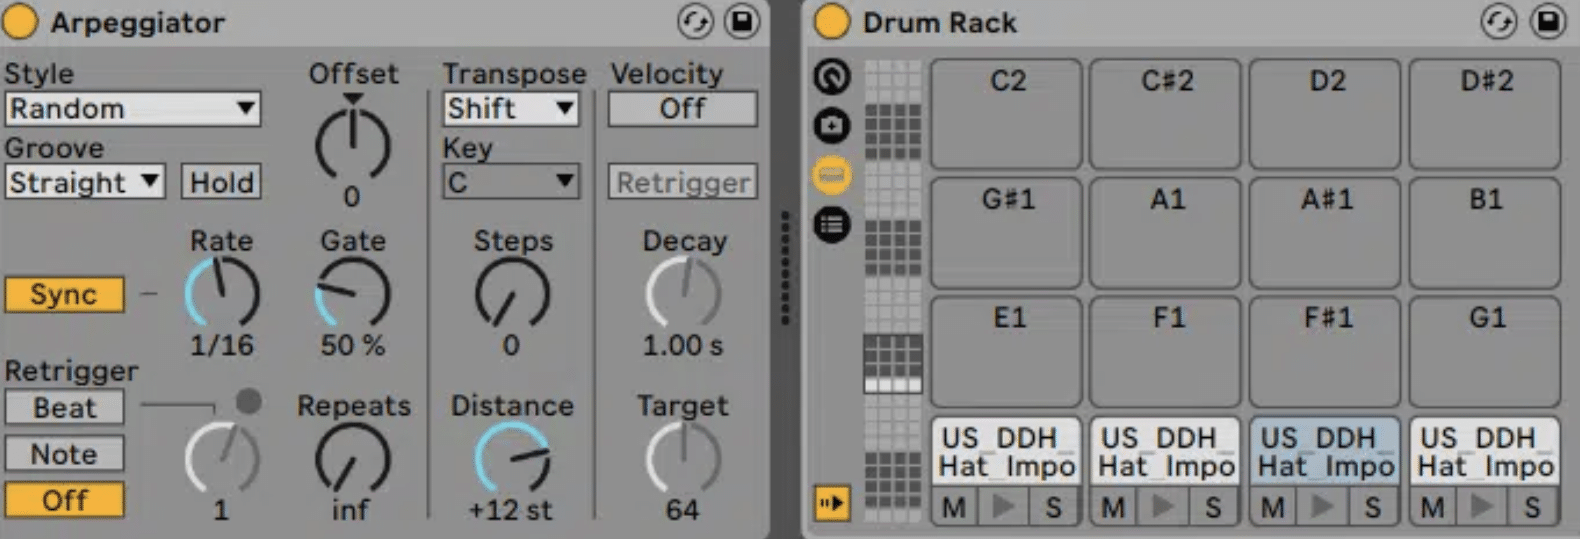
Layering many arpeggiators with pads can enrich a mix’s texture.
Start by creating an arpeggiated sequence of notes at a 1/8th note rate, then add a slow, evolving pad underneath with longer attack (e.g., 500ms) and release (e.g., 1-2s) settings.
NOTE: I usually blend the arp at 60% volume and the pad at 40% for a lush sound. Use stereo wideners to add a sense of space all day.
This makes it absolutely perfect for ambient or cinematic builds where certain notes can change everything.
Final Thoughts
Arpeggiators, as you now know, aren’t just for simple melodies; they can drive rhythms, add texture, and enhance sound design like never before.
You can transform chords, build dynamic rolls, and create captivating sequences like all the best in the industry do.
Remember, it’s all about thinking outside the box and getting super creative.
Now, with all the tips, tricks, and techniques we covered today, you’ll be able to use an arpeggiator like a professional.
Bonus tip: An arp’s potential is only as good as its source material 一 while stock arpeggiators are a solid option, stock presets usually fall short.
To get the cleanest, most polished sounds in the game, you’ve got to download these Free Serum Essentials.
It includes 2 presets each for 808s, basses, guitars, keys, leads, pads, plucks, and more.
Each preset is fully loaded with macros and flexible parameters, so when it comes to customization, there’s no better option.
So, make sure to try out these techniques and remember that mastering the arpeggiator takes practice, but the results can be game-changing.
Keep experimenting, stay creative, and make your tracks stand out.
Until next time…


Leave a Reply
You must belogged in to post a comment.