Distortion effects can add some real grit and character to your tracks 一 helping things sound bigger, warmer, and never dull.
As producers, knowing all about the different distortion effects can seriously enhance your production skills so your tracks always stand out and feel extra impactful.
That’s why I’m breaking down everything you need to know, like:
- The key types of distortion effects ✓
- The difference between all the types ✓
- How overdrive adds warmth and crunch ✓
- When to use distortion for energy ✓
- Why fuzz creates a saturated vintage sound ✓
- Adding subtle saturation for analog warmth ✓
- Using bitcrushing for lo-fi textures ✓
- Applying wavefolding for unique harmonics ✓
- Mixing distortion on different instruments ✓
- Advanced layering techniques for textures ✓
- How to make your tracks have extra power ✓
- Much more about different distortion effects ✓
By knowing all about the different distortion effects, you can really transform your sound and elevate your music to the next level.
Plus, you’ll get super creative when it comes to banging out unique textures, shaping dynamics, and adding some serious depth.
This way, your tracks will always sound dynamic, polished, and professional and you’ll have the ability to really blow people away like a boss.
Table of Contents
What Are Distortion Effects? Breaking It Down
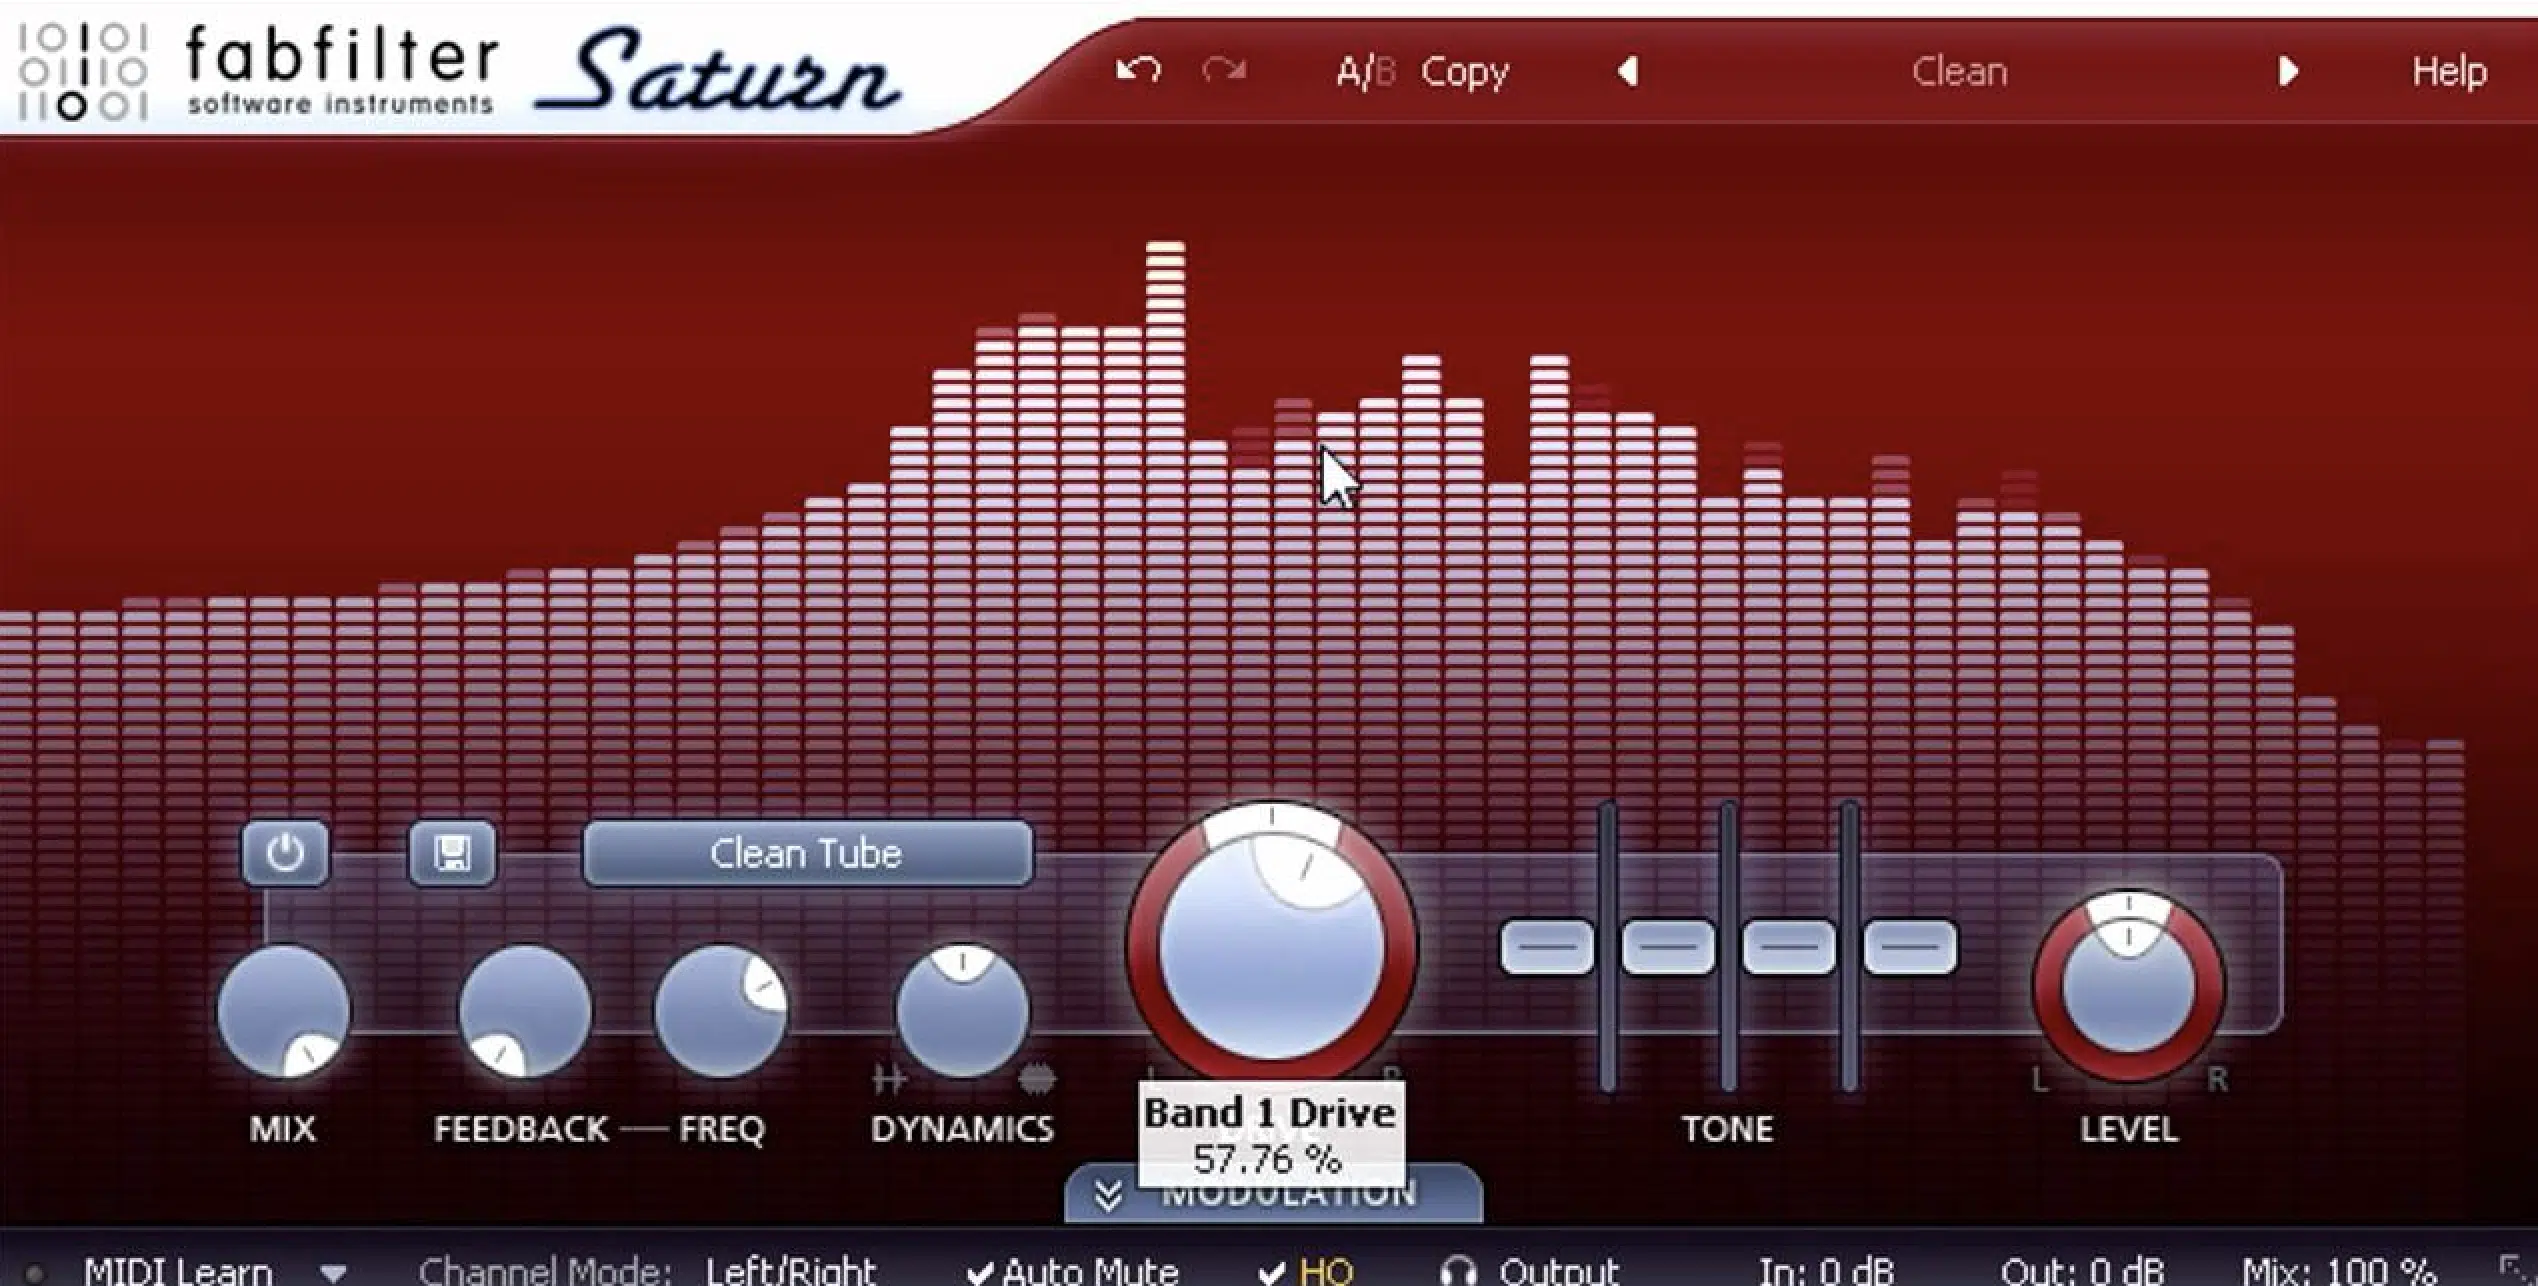
Distortion effects are sound-shaping tools that alter the original waveform of an audio signal 一 adding harmonics, grit, and texture.
In the old days of music, distortion happened naturally when analog equipment (like amplifiers or tape machines) was pushed beyond its limits.
Today, we use digital tools to mimic and expand on those sounds for more precise control over how distortion enhances our tracks.
For example, you might use distortion to make a synth sound more aggressive, a vocal more emotional, or drums more punchy.
If you’re working with 808 basslines, a touch of distortion, I’d say around 10% drive with a high-pass filter at 60 Hz, can help the bass cut through on smaller speakers.
It does this by adding harmonics in the midrange.
When it comes to electric guitars, distortion is often cranked up to around 60–80% drive to transform a clean tone into a roaring lead, which is awesome.
You can use the best distortion plugins like Soundtoys Decapitator or FabFilter Saturn 2 to control the intensity, tone, and character of the distortion.
Whether you’re aiming for subtle warmth or extreme grit, it’s all right there.
Think of distortion as a creative tool to help you add some extra energy, emotional weight, or even chaos to your tracks.
Don’t worry, we’ll be breaking everything you need to know about all the different distortion effects so you get a solid understanding.
Types of Distortion Effects
Distortion effects come in a bunch of various types, each with its own unique characteristics/uses. So, to kick things off, let’s dive into the most popular ones and explore how they can elevate your sound.
-
Overdrive
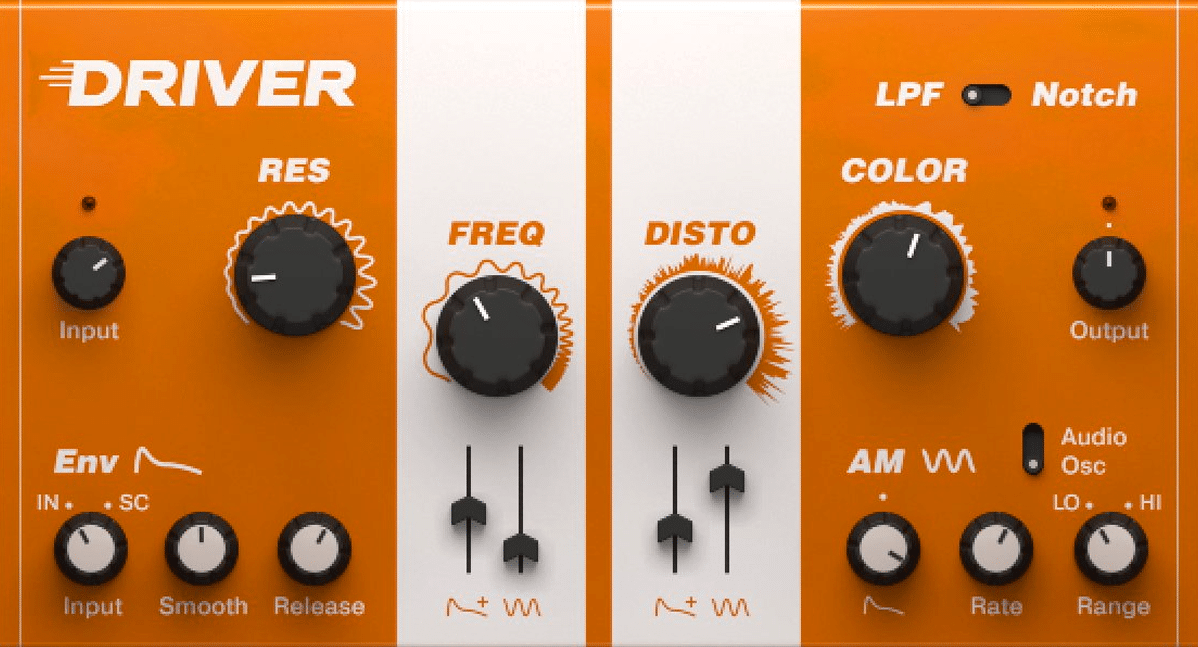
Overdrive is one of the most natural-sounding distortion effects that emulates the warmth and saturation of a tube amplifier pushed slightly past its clean limit.
When working with rhythm guitars, for example, start by setting the drive knob to 35% for a mild crunch and the tone knob to 50% to keep the sound balanced.
On basslines, overdrive can help emphasize midrange frequencies for clarity in dense mixes…
Set the drive to 20% and blend the clean and overdriven signals at a 60/40 ratio to retain that much-loved low-end punch.
Overdrive is also a great choice for adding energy to vocal lines in alternative or indie tracks (or whenever you’re feeling like it fits the vibe).
For vocals, keep the drive at 10–15% and apply a high-pass filter at 100 Hz to prevent rumble from muddying the mix and screwing things up.
When applying overdrive to synths, like plucks or leads, set the drive to 25% and automate it up to 50% during transitions for a more dynamic, evolving tone.
Drums also benefit from some subtle overdrive too 一 try applying it to a snare drum with 20% drive and a low-pass filter at 8 kHz to add warmth without harshness.
NOTE: Always, always, always A/B your mix to make sure the overdrive complements your elements without overwhelming them.
Also, layering overdriven sounds with clean versions, especially on guitars or synths, can produce power textures while maintaining clarity, which we’ll talk about later.
Side note, if you’re looking for the absolute dopest distortion effect that I’m pretty sure I came up with, I’ve got you covered.
-
Fuzz
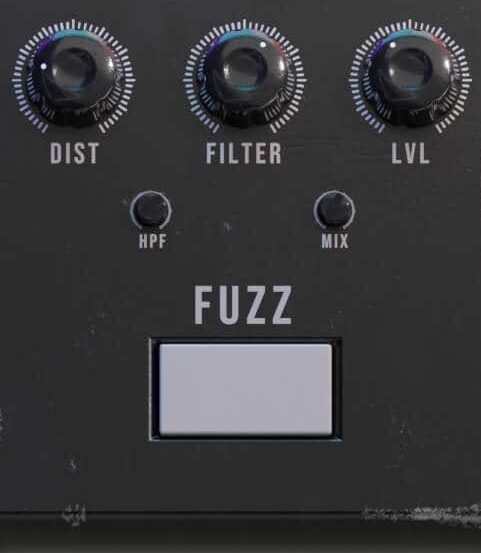
Fuzz is the wildest and most saturated form of distortion, compressing and squaring off the waveform to create a heavily distorted, almost synth-like tone.
It’s a classic choice for electric guitars, especially in classic rock and blues.
When first playing around with it, set the gain knob to 80% or higher and set the tone knob to around 25% for a dark, vintage sound reminiscent of the 1960s.
On bass, fuzz can create a gritty, aggressive tone that fills out the mix, so I’d definitely play around with that.
Blend the fuzz effect with a clean signal at a 50/50 ratio to maintain low-end definition.
However, fuzz isn’t just for traditional instruments 一 try applying it to pads or drones to add evolving, textured layers.
For example, set the gain to 60% and automate the fuzz intensity from 20% to 80% over the course of a bar for a dynamic, evolving texture.
On synth basses, fuzz can turn a clean sound into a roaring lead if you set the fuzz level to 70% and use a low-pass filter at 150 Hz to tame excessive harmonics.
I suggest that you play around with stacking fuzz with other distortion effects for even more extreme tones (again, we’ll talk about this technique later as well).
Pro Tip (if you use fuzz pedals)
To get the most out of fuzz pedals, try placing them earlier in your signal chain to preserve their raw character.
But, it’s super important to always watch for unintended distortion/unwanted distortion from overloading whack effects.
Unlike typical distortion pedals, fuzz pedals generate a unique, heavily compressed tone due to the specific type of distortion created by their circuitry.
So, if needed, use an EQ after the fuzz to tame any harsh frequencies and maintain clarity, like you would with anything else.
-
Saturation
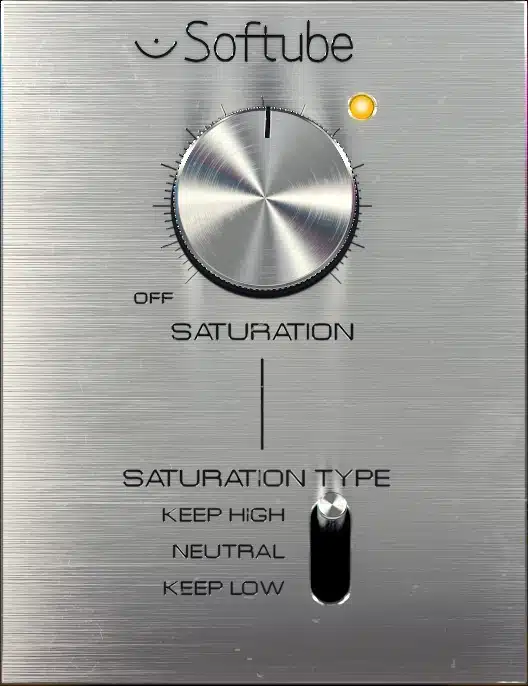
Saturation is a super common form of distortion that adds subtle warmth and harmonic richness by emulating the behavior of analog tape or tubes.
It’s used all day to enhance:
- Vocals
- Drums
- Entire mixes
On vocals, set the saturation amount to 15% and increase the input gain slightly, around +2 dB, to add presence/power without overloading the signal.
For drums, saturation works well on the bus, so set the drive to around 10% and adjust the mix knob to 50% wet for a fluid, lively drum sound.
When it comes to synths or bass, saturation can help bring out harmonics 一 making the sound fuller and more vibrant.
Try setting the drive to 20% on a pluck synth and apply a high-pass filter at 100 Hz to avoid muddying up the low end and sounding like an amateur.
Saturation is also a great tool for mastering, actually.
You’ll want to apply it subtly to the mix bus with 5–10% drive and a low-pass filter at 18 kHz to glue the elements together without adding harshness.
You can also automate saturation intensity on synth pads or leads to create subtle dynamic shifts in your track which is also a good technique.
NOTE: When working with distortion effects, try using a tube amp simulation on simple sine waves to create warm, harmonically edgy tones that can add depth and character to otherwise boring/basic sounds.
-
Clipping
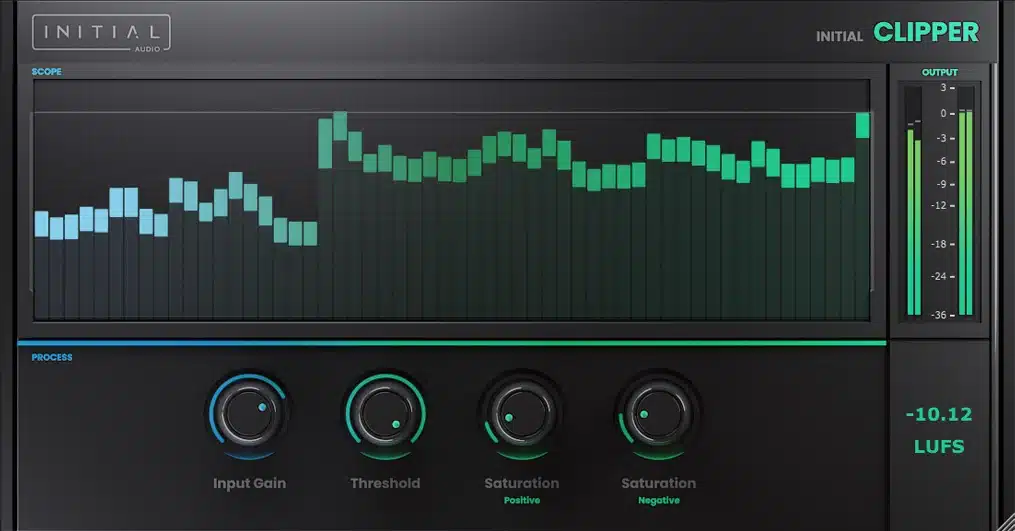
Clipping is a type of distortion that occurs when an audio signal exceeds the maximum level a system can handle, which causes the peaks of the waveform to be “clipped” off.
There are two main types:
- Soft clipping 一 Gently rounds off the peaks for a warm, musical effect
- Hard clipping 一 Creates a more aggressive, square-shaped waveform
Hard clipping works well when it comes to more aggressive genres like EDM or industrial, but you can really throw it in anytime it fits.
For example, on a bassline, you can set the input gain to +6 dB and use a soft clipper to retain the low-end punch without introducing any harsh artifacts.
If you’re clipping drums, start with the snare…
Apply 2–3 dB of hard clipping to enhance the attack and create a punchier sound, but avoid exceeding -6 dB on the master output to maintain ample headroom.
For mastering, soft clipping can act as a transparent limiter 一 set the threshold just below 0 dBFS and adjust the input gain to achieve a 1–2 dB reduction.
If you’re playing around with guitars, hard clipping at 8 dB of gain can create a crunchy tone that cuts through dense mixes that people really seem to like.
Just keep in mind that too much clipping can completely ruin dynamics, so always A/B your mix to ensure you’re enhancing, not destroying, your sound/music.
And yes, I’ll probably say it again a few more times to get it in your head.
-
Bitcrushing

Bitcrushing is one of my favorite distortion effects, reducing the resolution (bit depth) and sample rate of an audio signal to create a gritty, lo-fi effect.
For example, reducing the bit depth from 24 bits to 8 bits introduces audible quantization noise 一 giving your sound a vintage, video-game-like quality.
Use this effect sparingly on melodic elements like synths or vocals to make sure everything stays clean, pristine, and on point.
A good starting point is setting the bit depth to 12 bits and the sampling rate to 16 kHz for subtle degradation that still feels musical and full of power.
On drums, bitcrushing can give hi-hats a metallic, crunchy texture if you reduce the bit depth to 6 bits and set the sampling rate to 12 kHz (for a sharp, glitchy sound).
For bass, layering a bitcrushed track with a clean sub layer can create a unique combo of warmth and grit.
Just make sure to adjust the mix knob to around 30% wet, so the clean signal dominates while the crushed signal adds character.
NOTE: If you want your bitcrushing to evolve over time, automate the resolution or sample rate to sweep gradually during a breakdown or transition.
For example, start with the bit depth at 16 bits and the sample rate at 44.1 kHz, then gradually reduce them to 8 bits and 12 kHz over four bars.
This will give you that grit and lo-fi texture for added tension, so if you’re looking for that, definitely play around with this technique.
-
Wavefolding
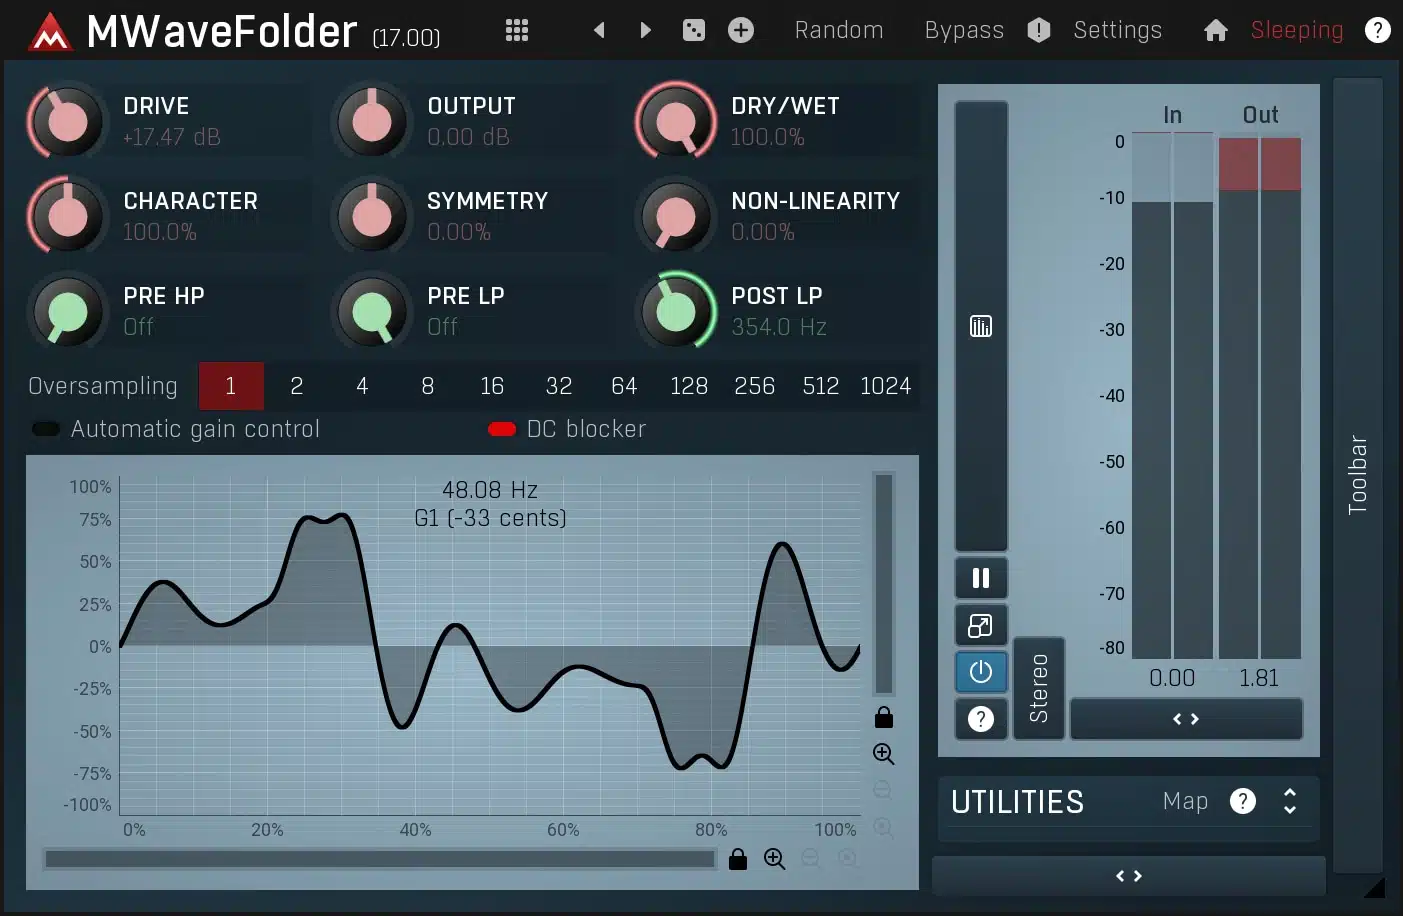
Wavefolding is one of those distortion effects that are rare and complex, but certainly very interesting if you ask me.
It actually folds the waveform back onto itself when it exceeds a certain threshold, giving you a full harmonic content (it’s perfect for sound design and experimenting).
For example, on a lead synth, set the fold threshold to 20% of the waveform’s peak amplitude and increase the fold amount to around 50% for a bright, metallic tone.
Wavefolding works best on simple waveforms like sine or triangle waves, as it generates unique overtones without destroying the signal.
On basslines, wavefolding can kick things up a notch for ultimate grit, definition, and overall dopeness…
To achieve this, set the threshold lower, around 15%, and the fold amount to 40% for a more subtle effect that doesn’t overpower the low-end.
Pair this with a low-pass filter at 150 Hz to tame high-frequency harmonics and maintain a tight bottom end, and you got gold.
For pads, wavefolding can create evolving textures 一 automate the fold amount to rise from 10% to 70% over a long note to create movement.
NOTE: If you’re layering, try applying wavefolding to just one layer of a synth stack to keep the other layers clean and balanced.
Applying Distortion in Your Mix
Distortion effects can be applied in countless ways, that’s a given, but the real key is to use it with purpose to enhance your mix. Whether you’re adding subtle warmth or pushing the boundaries with aggressive textures, distortion’s versatility is perfect. So, let’s break down how to use distortion creatively on different instruments, layer effects for complex sounds, and blend clean and distorted signals using parallel processing. This way, your tracks will be full of power.
-
Using Distortion on Different Instruments (Recap)
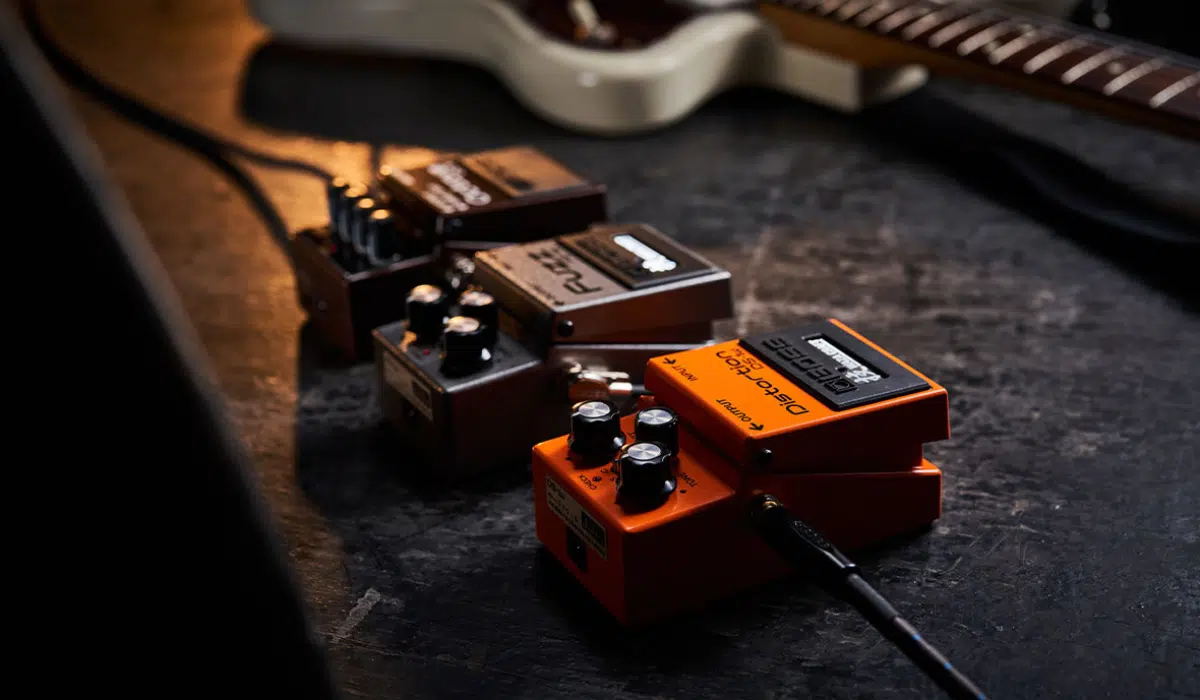
As I mentioned before, distortion isn’t just for guitar sounds… It can be applied to nearly any instrument to add character and excitement.
For a guitar, start by applying 40% overdrive to the rhythm music track to thicken the tone, then adjust the tone knob to 50% for a balanced sound.
On bass, distortion can help your low end stand out without overpowering the mix.
Use soft clipping at 20% drive and apply a low-pass filter at 200 Hz to retain clarity in the sub frequencies.
When distorting drums, focus on the snare or kick.
For the snare, apply hard clipping at +6 dB to make it punchy, and roll off high frequencies above 8 kHz to avoid harshness.
Vocals can get some real edge from saturation or gentle distortion, so set the drive to 10–15% and automate the intensity during choruses to hype up emotional peaks.
For synths, try applying distortion to leads 一 start with 30% drive and automate the mix knob from 20% to 60% during transitions to create a dynamic build-up.
Just keep in mind that these distortion effects and their settings that I’m giving you are all starting point, you can certainly tweak them to fit your vibe.
-
Layering Distortion Effects for Complex Textures
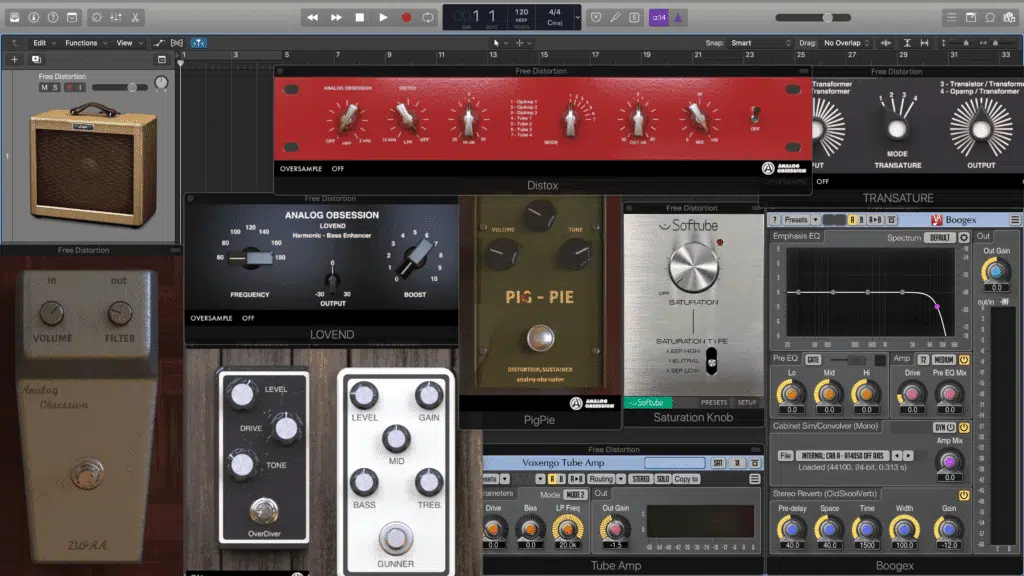
Layering distortion effects is not only super fun, but it will help you achieve multi-dimensional sounds that really stand out and shine.
You’ll want to start by applying soft clipping (like we talked about) at 10% to the base signal for warmth.
Then, simply layer hard clipping at 30% on a duplicate track to add aggression.
For synth leads, try combining bitcrushing at a 12-bit depth with wavefolding at a threshold of 25% to introduce both vintage and modern characteristics.
It’s actually the perfect balance if you ask me.
On drums, layer a saturated version of the snare with a heavily distorted duplicate, then blend them at a 70/30 ratio to retain punch while adding grit.
Pads also benefit from layered distortion…
So, you can use gentle saturation at 15% on one layer and fuzz at 50% on another to create a textured sound that evolves over time perfectly.
Just remember that when you’re layering, it’s very important to EQ each layer individually to avoid any frequency clashes.
Roll off the low end on one layer using a high-pass filter at 120 Hz and focus the distortion on the midrange of the other.
And don’t forget to use a low-pass filter on the second layer to tame any harsh high frequencies above 8 kHz so the layers blend without overpowering the mix.
-
Parallel Processing to Blend Distorted Signals
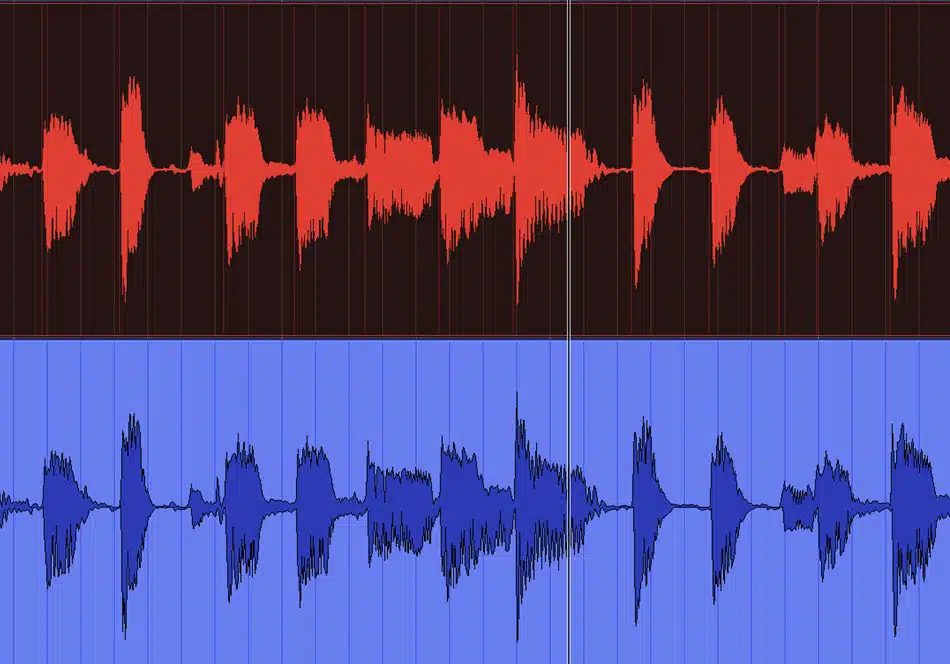
Parallel processing lets you blend clean and distorted signals for maximum control, clarity, and character.
For a bassline:
- Duplicate the track
- Apply distortion to the second layer
- Set the drive to 40%
- Use a high-pass filter at 80 Hz to keep the low-end clean
Then, blend the two tracks at a 60/40 ratio (clean/distorted) to achieve a balanced tone.
On drums, parallel processing can make your kick drum punch harder when you send the kick to an AUX track, apply hard clipping at +5 dB, and blend it back in at 50% wet.
For vocals, use parallel saturation to add warmth without losing clarity.
Set the saturation to 20%, high-pass the distorted signal at 100 Hz, and blend it with the clean vocal at 70/30.
Also, automating the blend can add energy during choruses or transitions.
Parallel processing is also great for synths 一 try using bitcrushing at a 10-bit depth in parallel to add texture while keeping the original signal intact.
-
EQ Musts
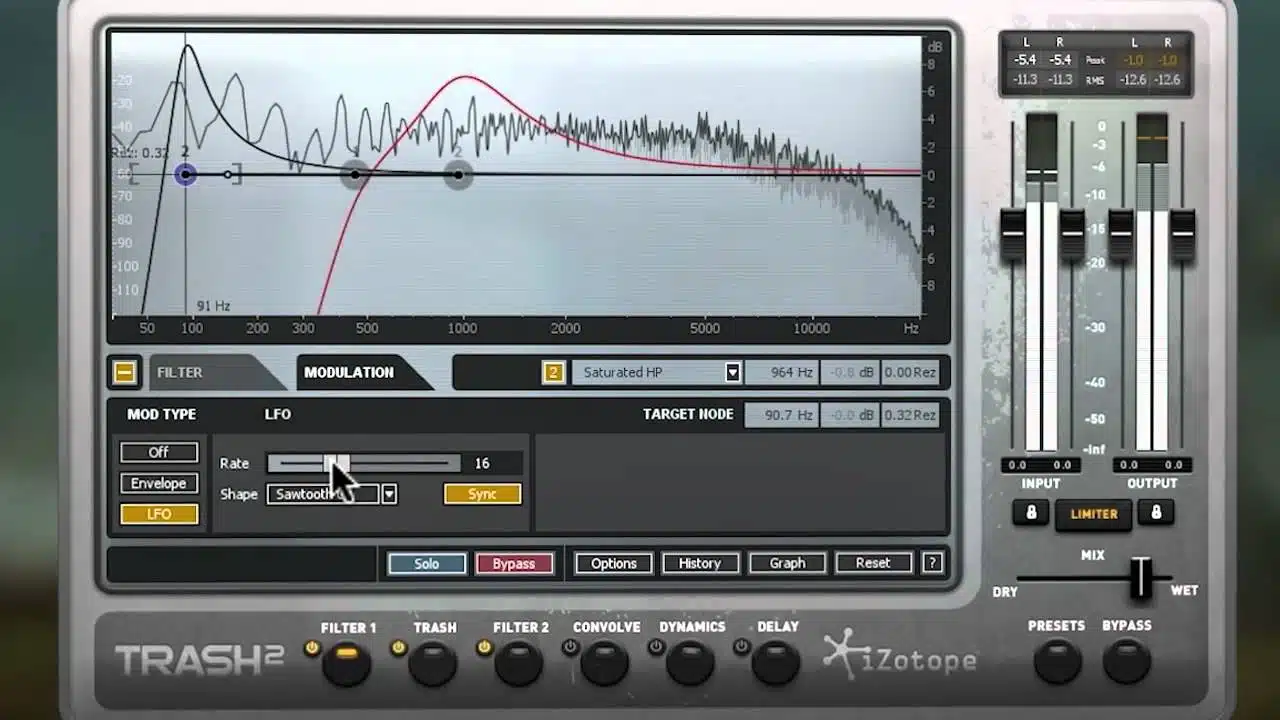
Equalization (EQ) is key when working with distortion effects, as distorted signals often introduce excessive frequencies that can muddy your mix.
You can begin by applying a high-pass filter at 80 Hz to remove any rumble from distorted guitars or synths.
For basslines with heavy distortion, use a low-pass filter at 150 Hz on a parallel clean layer to preserve sub frequencies while the distortion adds harmonics in the midrange.
On vocals, distortion can sometimes boost harsh sibilance around 5–8 kHz; use a narrow EQ cut of -3 dB to control this region.
If you’re distorting drums, again, you’ll want to focus on the snare and kick…
Boost the fundamental frequencies (around 200 Hz for the snare and 50–60 Hz for the kick) to enhance their punch.
Just don’t forget to notch out any resonances above 8 kHz to swerve harshness.
For distorted pads or leads, a wide +2 dB boost at 1 kHz can help bring out their presence and power in the mix, so that’s a great starting place.
NOTE: Always use a spectrum analyzer to identify problem frequencies introduced by distortion, and adjust with precision.
And again, remember to EQ each layer separately when layering distortion effects 一 roll off lows on the distorted layer using a high-pass filter at 120 Hz to keep the mix clean.
-
Pro Tip: Automation for Dynamic Distortion Effects
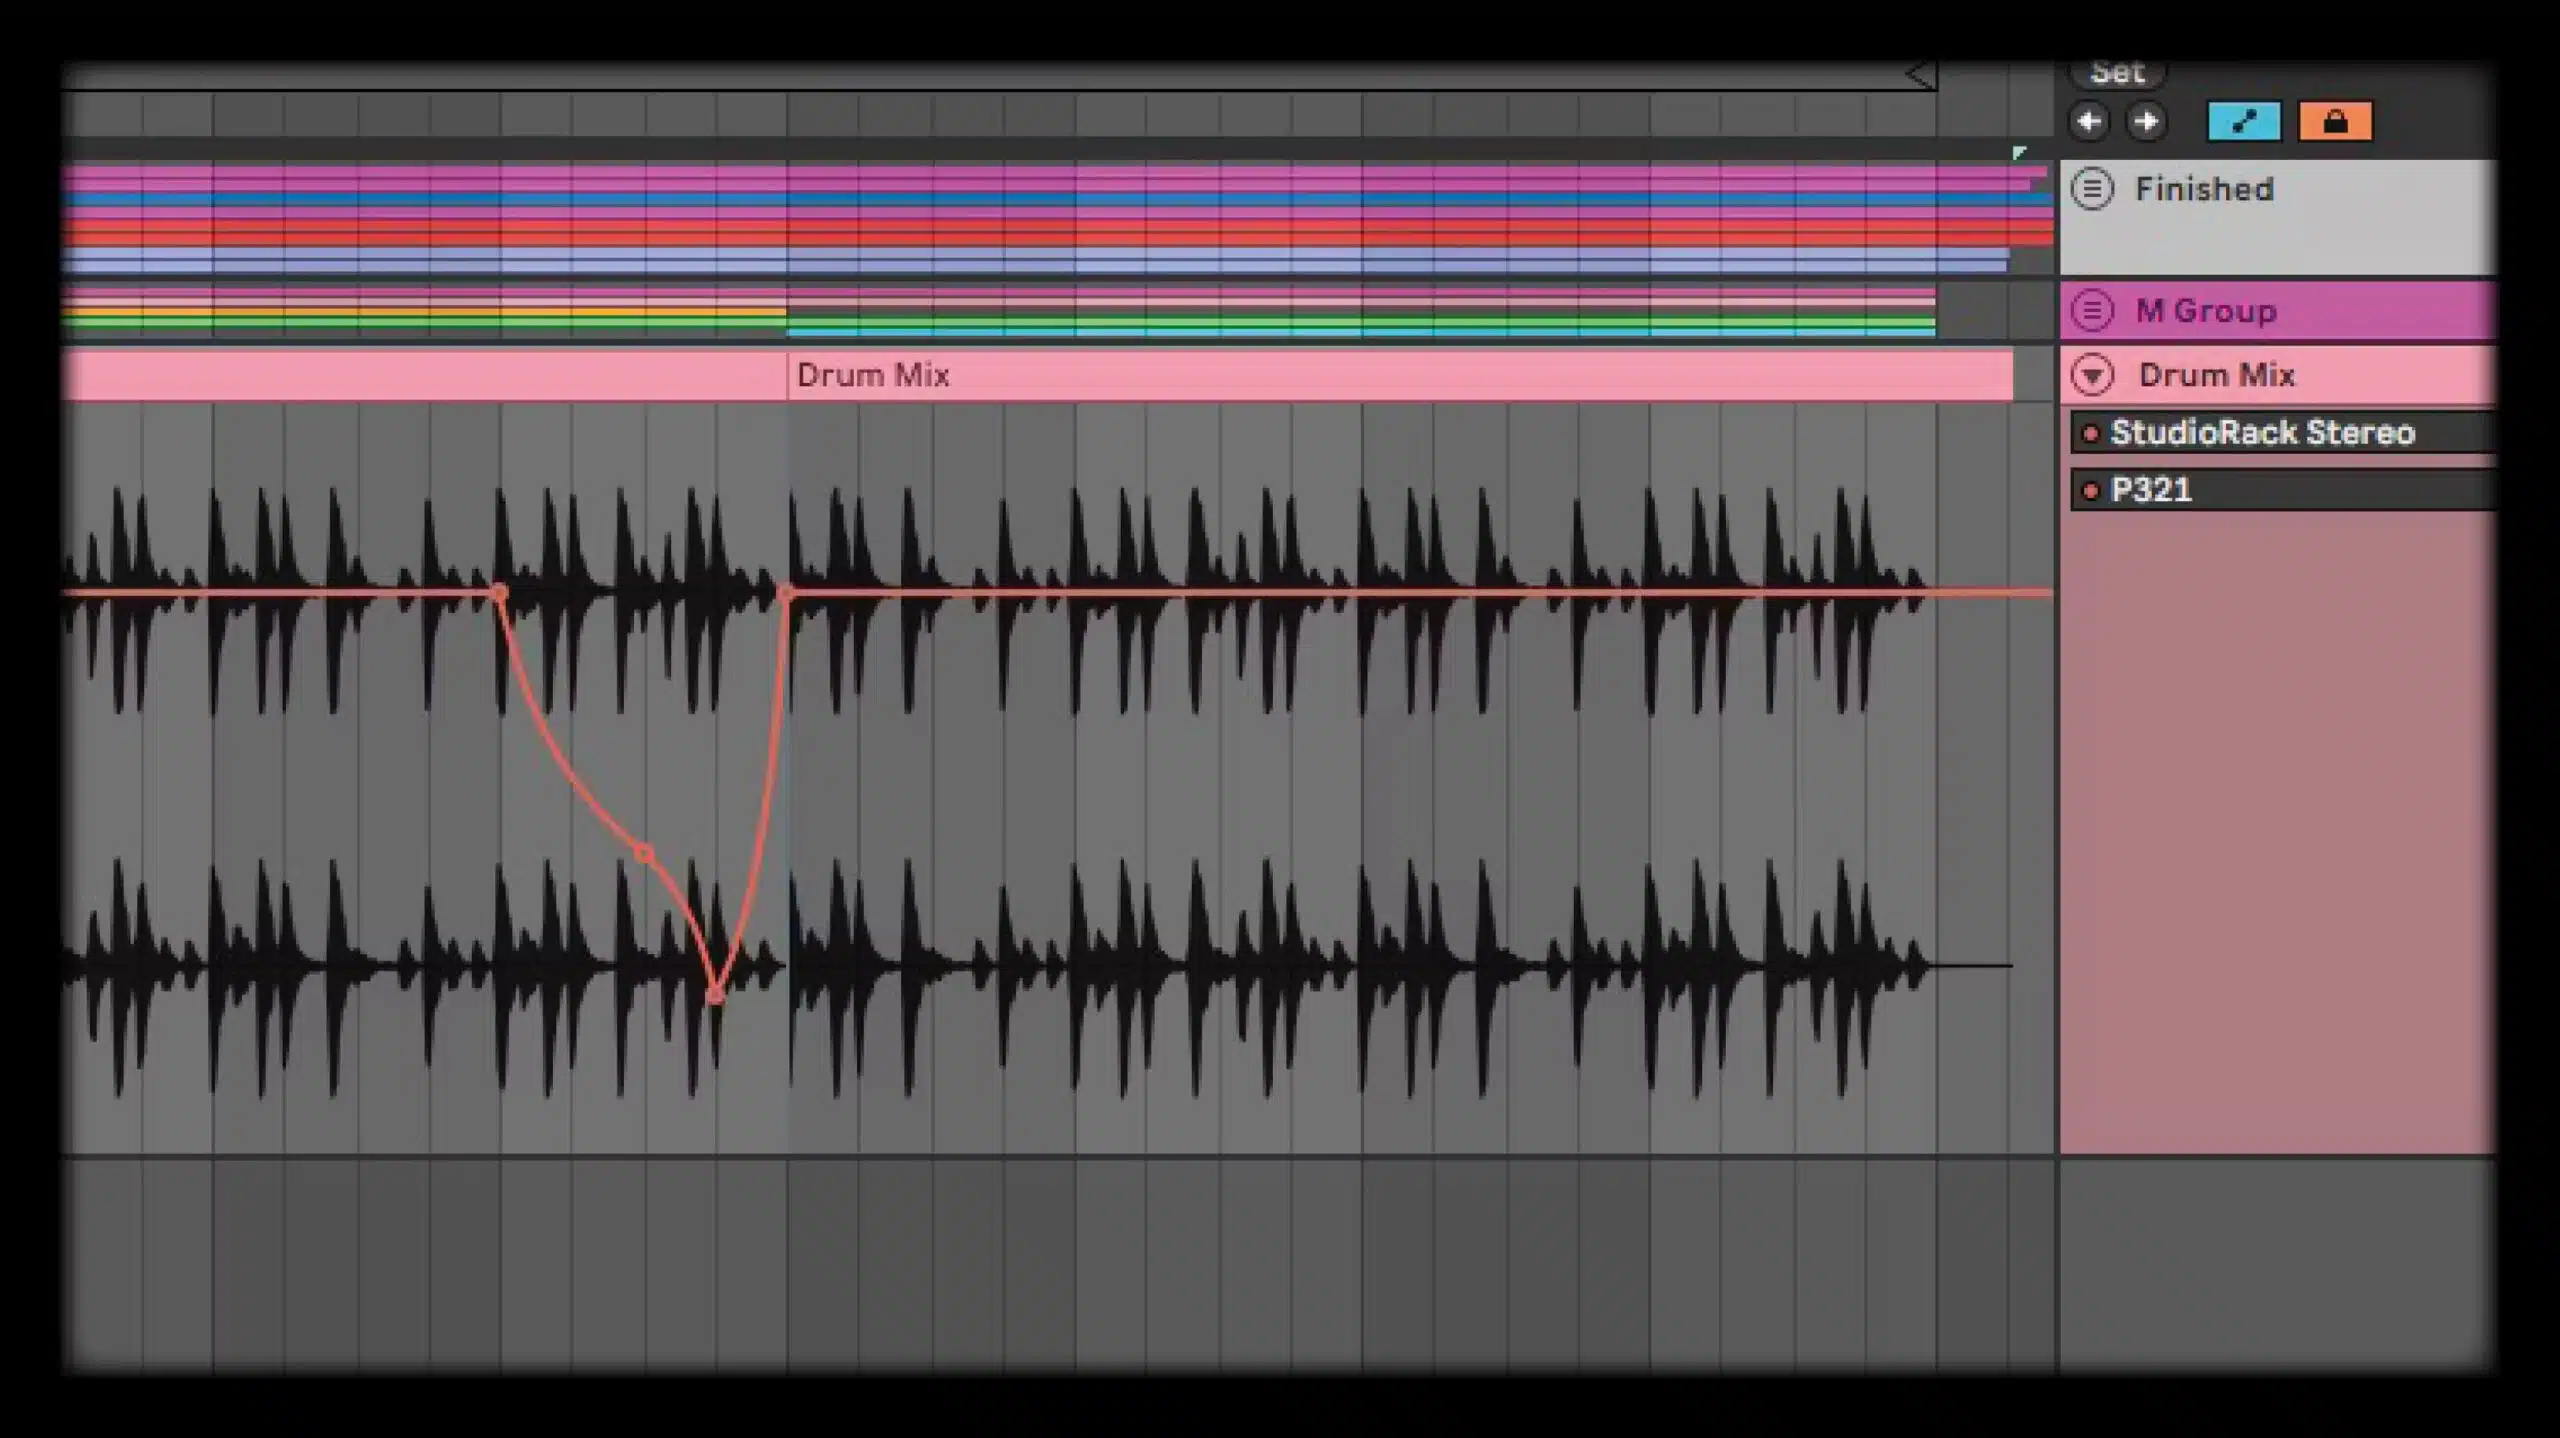
Automation can transform distortion effects into dynamic, evolving elements in your mix, adding excitement and variation over time.
For a guitar lead, automate the drive knob of an overdrive effect, starting at 20% in the verse and gradually increasing to 50% for the chorus to create a more aggressive tone.
On basslines, you can use automation to blend clean and distorted layers, starting with a 30% wet mix and ramping up to 70% wet in the buildup to enhance intensity.
For drums, automate the saturation intensity on a snare drum to rise by 5% during a fill 一 making it hit harder and stand out.
Synth leads can also benefit from automating the tone or mix knob of a distortion effect if you start with a bright tone at 70% and gradually darken it to 30% over four bars.
This will add movement and variation that will help things sound on point.
You can also use clip-based automation to precisely adjust distortion intensity on specific notes or beats, such as increasing fuzz on accented kicks in a drum loop.
To avoid unwanted artifacts, keep the output level stable by automating the gain to compensate for changes in distortion intensity.
Always test your automation at different volumes to make sure your distortion effects translate properly across all different playback systems.
5 Advanced Tips for Working with Distortion Effects
More distortion effects are great, but when you take things to the next level they can turn mind-blowing. So, for this last section, let’s talk about some more advanced techniques that will push your distortion skills even further.
1. Resample with Distortion
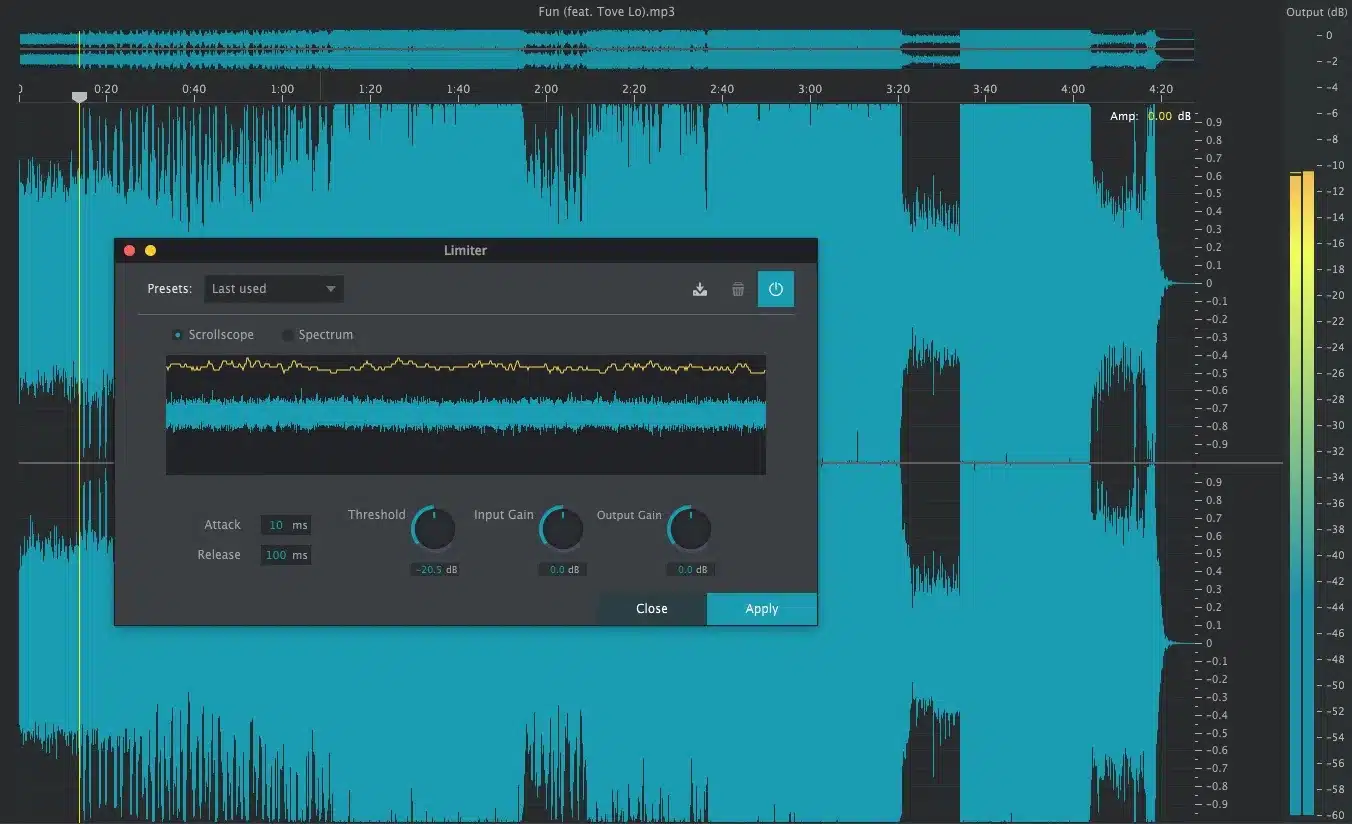
Resampling is a great technique that lets you push distortion further while maintaining control.
Apply distortion, like hard clipping with +6 dB of gain, to a synth or drum loop, then bounce it to audio.
Once resampled, simply apply additional effects such as EQ to sculpt the tone further or even layer it with the original to create a richer texture.
Boost the 2–5 kHz range to bring out the distortion’s bite, or cut frequencies above 8 kHz to smooth out any harshness.
Layer the resampled version with the original, blending them at a 70/30 ratio (original/distorted) to create a fuller, more dynamic texture.
For example:
- Distort a bassline
- Resample it
- Process the resampled version with a HPF at 100 Hz
Just make sure to leave the original layer clean for a solid low-end foundation.
You can also play around with time-based effects like reverb or delay on the resampled layer to add depth and movement.
Set the reverb decay to 2 seconds for atmospheric results.
This technique works great for creating unique textures in genres like glitch or experimental electronic music.
To take things to the next level, you can even try reversing the resampled audio and blending it with the original for otherworldly effects that evolve over time.
2. Distortion as a Drum Bus Effect
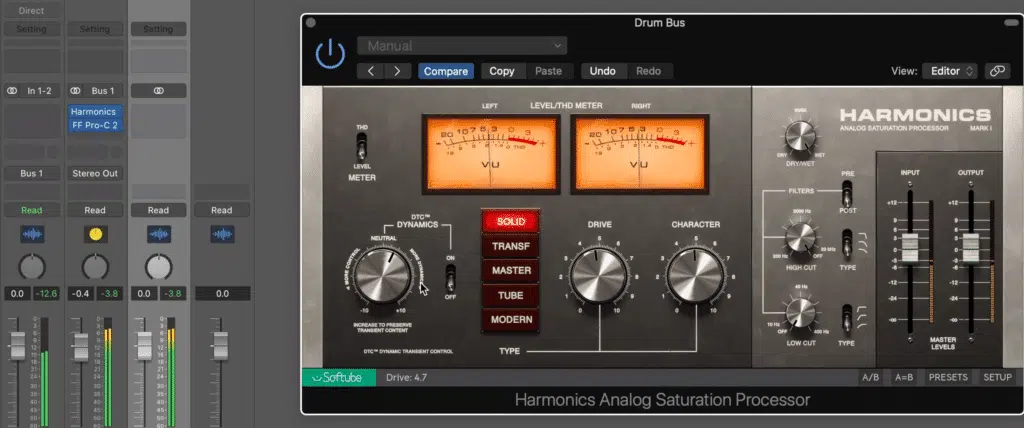
Applying distortion to your drum bus can unify the percussion and add energy to your mix.
You’ll want to use a soft clipper and set the drive to 15% with a mix knob at 50% wet to retain the clarity of your transients.
Whenever you need some extra rock, this one is perfect (it’s actually like a staple in genres like classic rock or EDM because it’s so cool and effective).
After applying distortion, use a high-pass filter at 80 Hz to prevent the kick from becoming too boomy and muddying the mix.
Also, try adding a low-shelf boost at 100 Hz to keep the bassline full.
During breakdowns, automating the wet/dry balance from 30% to 70% can dynamically shift the drum tone 一 creating tension and excitement as the track builds.
If you want to experiment even more, try using mid/side processing to apply the distortion only to the side channels.
This will widen the stereo image of your drum bus without affecting the punch of the center elements.
3. Drawing Custom Waveshape Curves or Wavetables
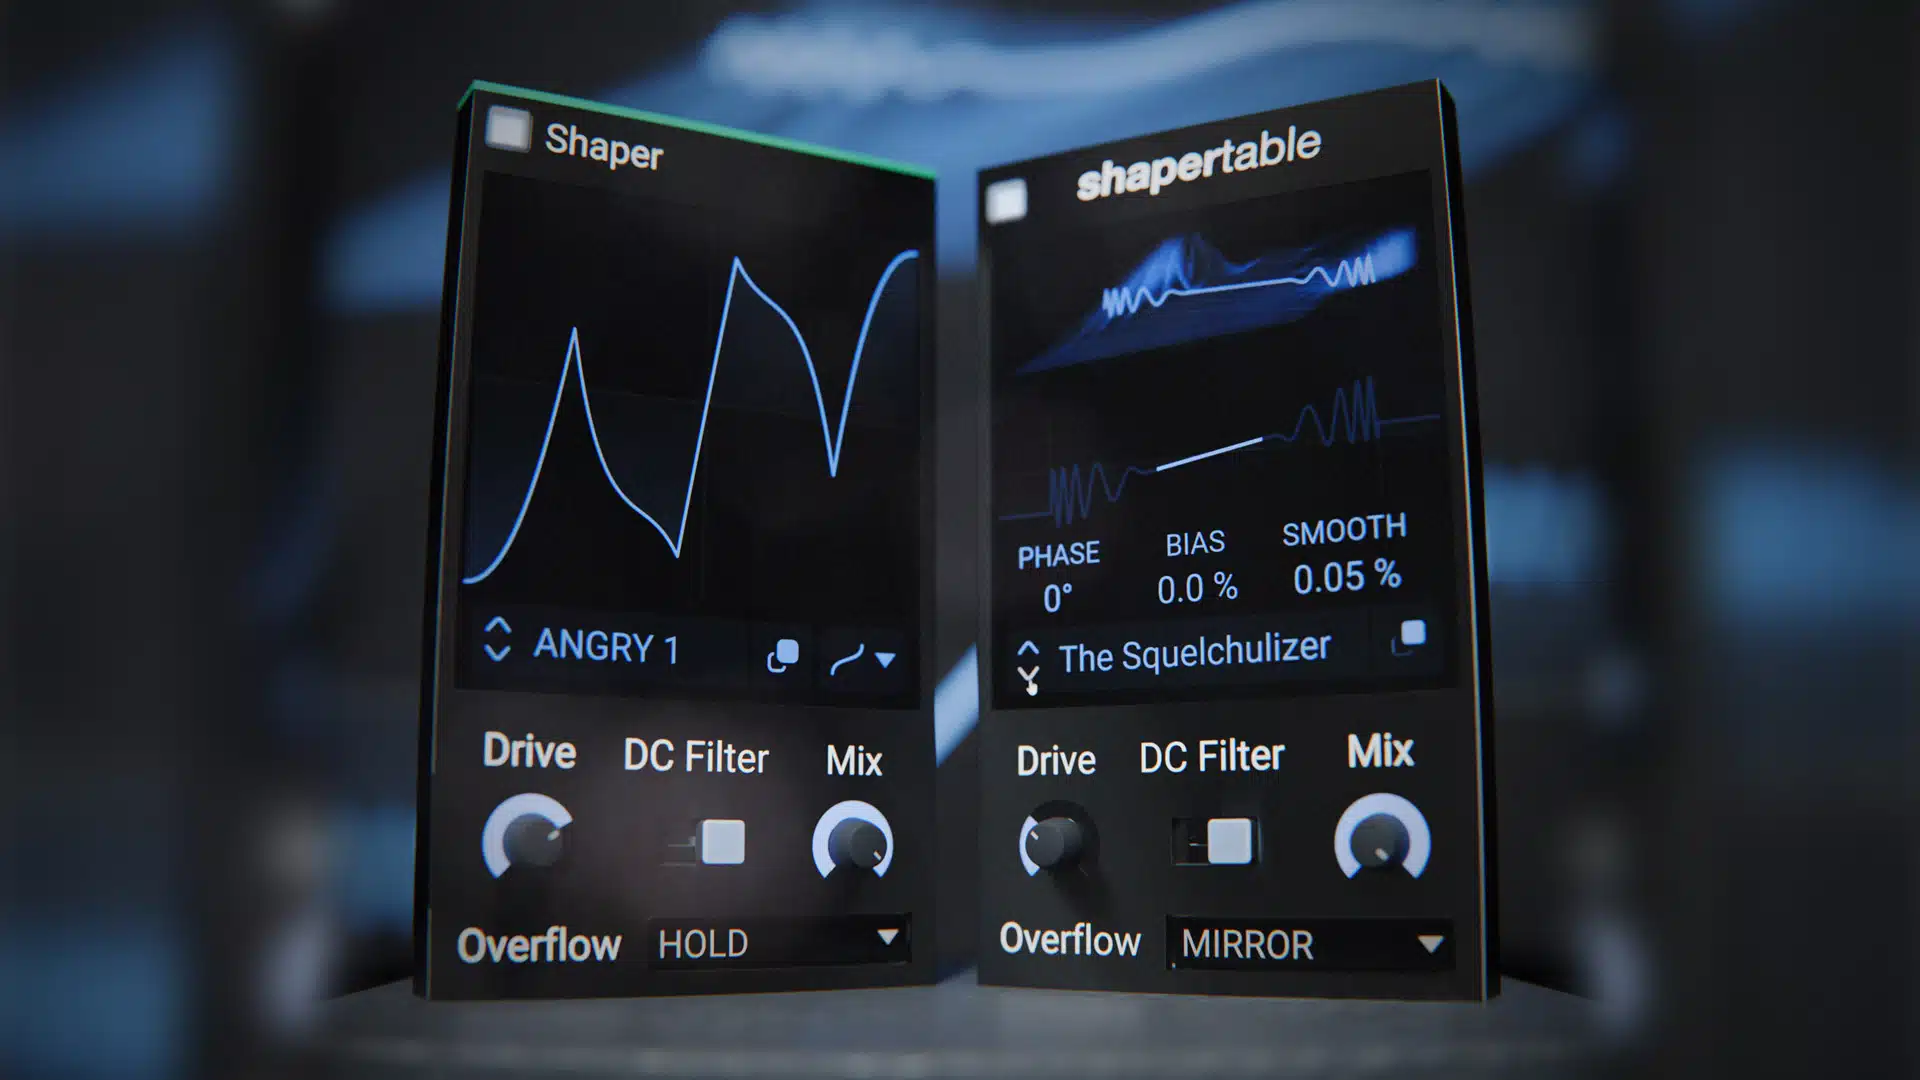
Custom waveshaping is one of the most creative/different ways to design distortion effects, letting you sculpt the harmonic character of a sound all day.
In an advanced waveshaper plugin, start by drawing a gentle curve that compresses peaks and valleys slightly, which creates a subtle, musical saturation.
For more aggressive distortion, use steep curves or zigzag patterns that introduce harsher harmonics (set the input level to -10 dB to avoid clipping before the effect).
On basslines, a custom curve that emphasizes odd harmonics can add grit without having a negative effect on the low-end…
Apply a low-pass filter at 150 Hz after shaping to clean up excess noise.
This also works great for pads and drones if you use curves with gradual rises and dips 一 creating a dynamic, show-stopping texture.
Remember to automate the wavefold amount from 10% to 60% over a long note to bring some added movement to the table.
For leads, use sharp peaks in the curve to create a biting tone, and blend the distorted signal at 30% wet for a more balanced result.
Whenever you’re looking for some super distortion effects that can actually define the vibe of your music, this one is perfect.
4. Dynamic Distortion Techniques
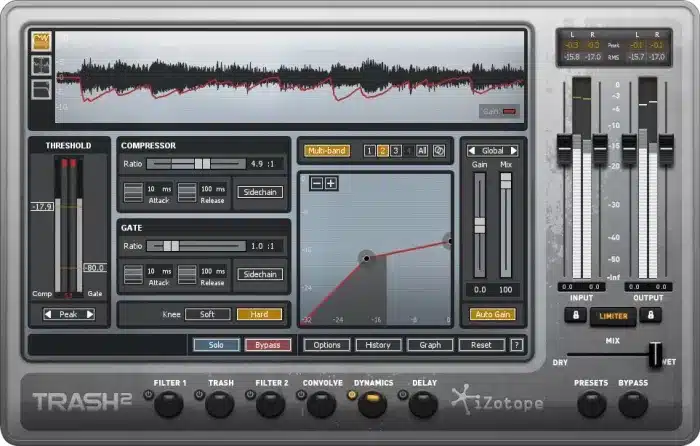
Dynamic distortion links the effect’s parameters to the input signal to create a more expressive result that can instantly capture your audience.
For example, use an envelope follower to tie the distortion’s drive knob to the amplitude of a drum loop 一 increasing the distortion intensity on louder hits.
Set the drive range between 10% and 50% to keep the effect musical rather than chaotic and all over the place because people really dislike that.
This is great for drum fills or transitions where dynamic variation is key.
You can also sidechain distortion to another music track, like a kick drum, to create rhythmic pulsing effects in your distorted sound.
5. Sidechain Distortion Effects
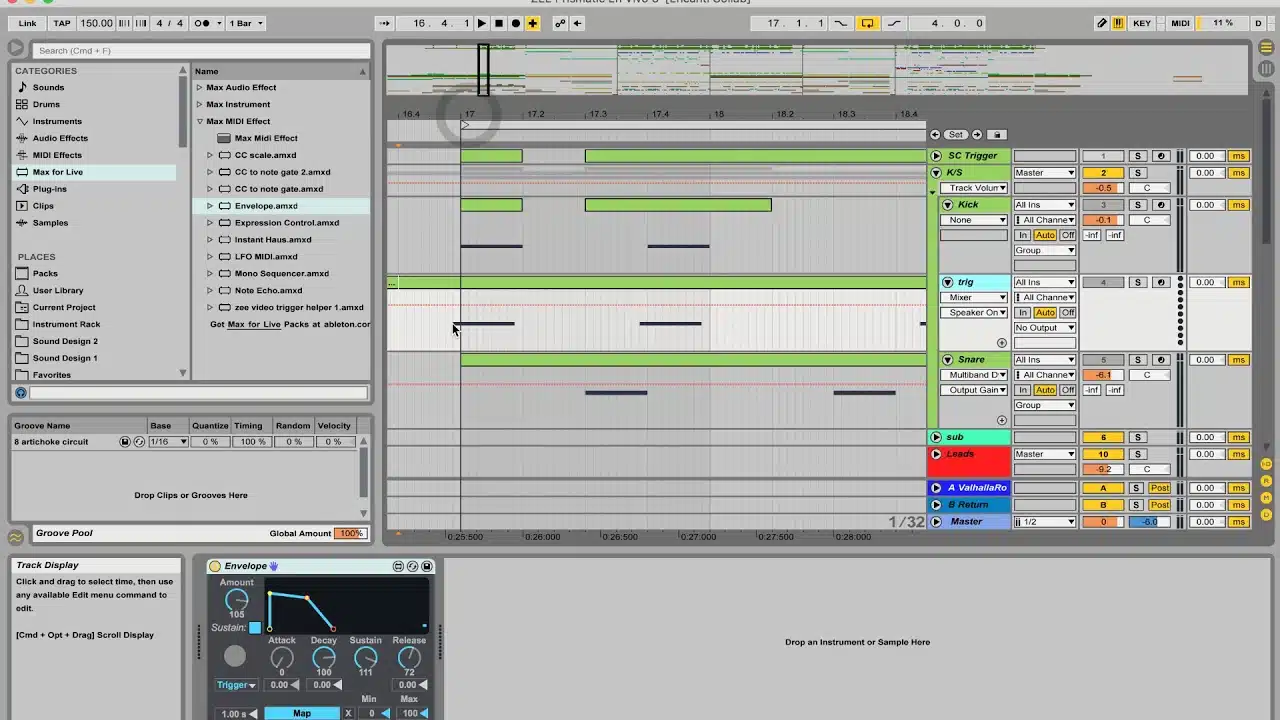
Sidechain distortion helps you create rhythmic variation by tying the distortion intensity to another signal, such as a kick drum.
It injects movement and energy into your track by making the distortion “breathe” in time with the rhythm.
Start by setting up a sidechain compressor on the distortion effect and routing the kick as the sidechain input…
Don’t forget to tweak the threshold so the distortion decreases with each kick hit 一 creating a pumping effect that syncs with the beat.
Start with a drive setting of 30% and play around with the attack and release times to control the fluid smoothness of your distortion effects (matching your tempo).
For example, set the attack to 10 ms for a quick response and the release to 50 ms for a snappy, rhythmic recovery.
If you’re producing slower tracks, increasing the release time to 150–200 ms can create a smoother, more flowing effect that feels less sudden.
Distortion effects like this one always work great when it comes to electronic music because it enhances the groove.
And, gives you precise control over how distortion interacts with other elements.
You can even try applying sidechain distortion to a synth pad or lead and routing a hi-hat loop as the trigger instead of a kick drum if you’re feeling frisky.
It will give you some intricate rhythmic variations that are super creative.
Bottom line, not only does this method add dynamic interest, but it also helps maintain clarity in your mix by ensuring the distortion adapts to the track’s overall pulse.
Final Thoughts
And there you have it: everything you need to know about all the different kinds of distortion effects you’ll be dealing with on the day-to-day.
Each and every type is unique, with its own tonal qualities and vibes, from subtle warmth to aggressive textures.
So, by following the advice in today’s article, you’ll be able to use different distortion effects that elevate your tracks, add depth, and bring unmatched energy to your mixes.
As well as experiment all day to discover new textures and push creative boundaries, which is what production is all about if you ask me.
Just make sure to keep balance and clarity in mind so every element shines through.
And, since we’ve talked about vocals all throughout the article, you’ve got to check out these legendary Free Vocal Samples.
It contains 20 professional-quality vocal loops, chops, and one-shots for any genre or style (all polished and on point, created by expert vocalists and producers).
So, needless to say, you’ll be getting top-of-the-line quality at literally no cost at all 一 talk about invaluable.
And yes, they’re all 100% royalty-free, so you can use them however you’d like without worrying about a thing.
They can add that extra edge so your beats will really dominate the competition.
Bottom line, distortion effects are all about creativity and control, giving you endless opportunities to shape your sound however you want.
By mastering them, you can completely transform even the simplest elements into something unforgettable and truly show-stopping.
Just remember to never stop pushing boundaries, and your tracks will always stand out in the best way possible.
Until next time…


Leave a Reply
You must belogged in to post a comment.