As producers, the right home studio setup can completely change the game.
If you don’t have the ideal setup, you’ll just end up being frustrated all the time and your music will sound amateurish, and nobody wants that.
It’s not about having the right gear 一 it’s about creating a space that makes you feel super inspired and you can work in for endless hours.
You’ll need a solid computer, the proper audio interface, the ideal acoustic treatment, and all the other accessories that put the cherry on top.
The problem is that a lot of producers (especially if it’s your first studio) usually overlook some key things.
This can lead to problems like unwanted noise, inconsistent levels, or just a cluttered, inefficient space that kills your vibe altogether.
That’s why I’m breaking down everything you need to know about building a home studio that works for you, covering essentials like:
- Key components for recording, mixing & mastering ✓
- Power and connectivity options ✓
- Soundproofing and acoustic treatment ✓
- Accessories for clean, professional recordings ✓
- Tips on cable management to keep things organized ✓
- Ergonomic furniture for comfort during long sessions ✓
- Top software & plugins to expand your sound ✓
- Reliable backup and storage ✓
- Audio interfaces, studio monitors, headphones, mics, etc. ✓
- Software and hardware instruments ✓
- Tricks for keeping your studio clean and updated ✓
- Pro tips on setting up a space that matches your style ✓
After, you’ll know exactly how to set up your home studio just the way you like it, matching your unique workflow.
It’s all about picking the right gear and ensuring everything works well together.
That way, your sound stays clear, you’ll stay in your zone, and you can knock out polished beats that hit hard all day.
Table of Contents
- The Importance of Having a Solid Home Studio Setup
- #1. Getting Essential Music Production Equipment
- #2. Acoustic Treatment
- #3. Music Production Furniture & Ergonomics
- #4. Cables and Connectivity
- #5. Power Supply and Conditioning
- #6. Software and Plugins
- #7. Backup and Storage Solutions
- #8. Instruments and Sound Sources
- #9. Recording Equipment Accessories
- Final Thoughts
The Importance of Having a Solid Home Studio Setup
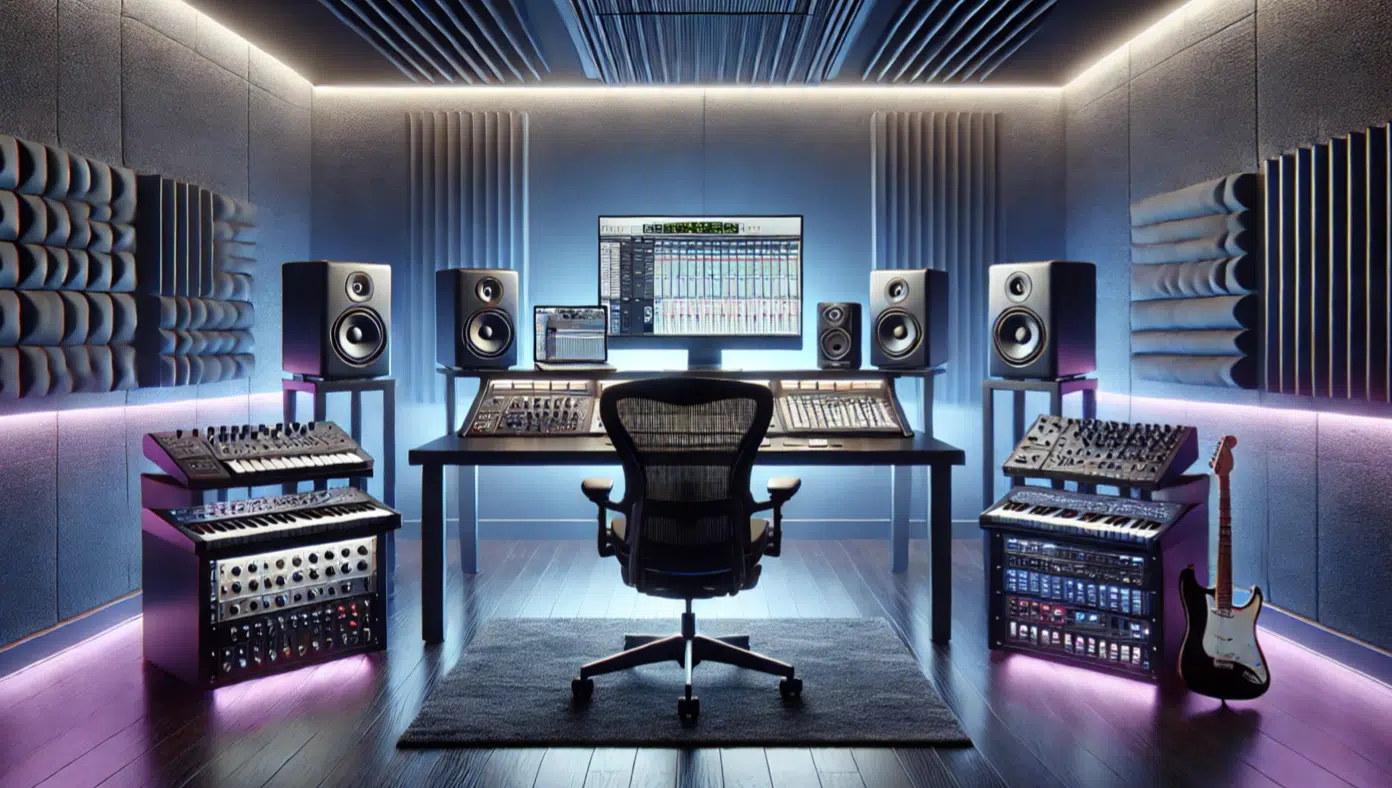
A solid home studio setup isn’t just about collecting gear… It’s about creating a space that lets you fully focus on making music as I just mentioned.
With quality recording equipment and good sound isolation, you’re able to capture clean, detailed audio without interference from outside noise.
A well-planned out music studio also improves your workflow 一 keeping everything from your MIDI controller to your audio interface organized and within reach.
This way, you can dive into sessions without any distractions (because, let’s be honest, nobody has time for that).
When you tweak everything the right way, home studio setups can truly help your music sound polished and professional.
It makes it way easier to produce tracks that translate well on any speaker.
Bottom line, investing in the right gear will elevate your sound and ensure consistency/clarity with every project.
Don’t worry, we’ll be breaking down everything you need in detail throughout the article so you can build the perfect home studio setup for you.
Everyone is different, so you’re obviously going to want to tweak it to fit your specific vibe/workflow, but these are the basics every music producer needs.
#1. Getting Essential Music Production Equipment
Getting the right gear is the first step in building a home recording studio that meets your needs. So, let’s kick things off by breaking down each essential item and why it’s important for a complete, professional home studio setup.
-
Music Production Computer/Laptop
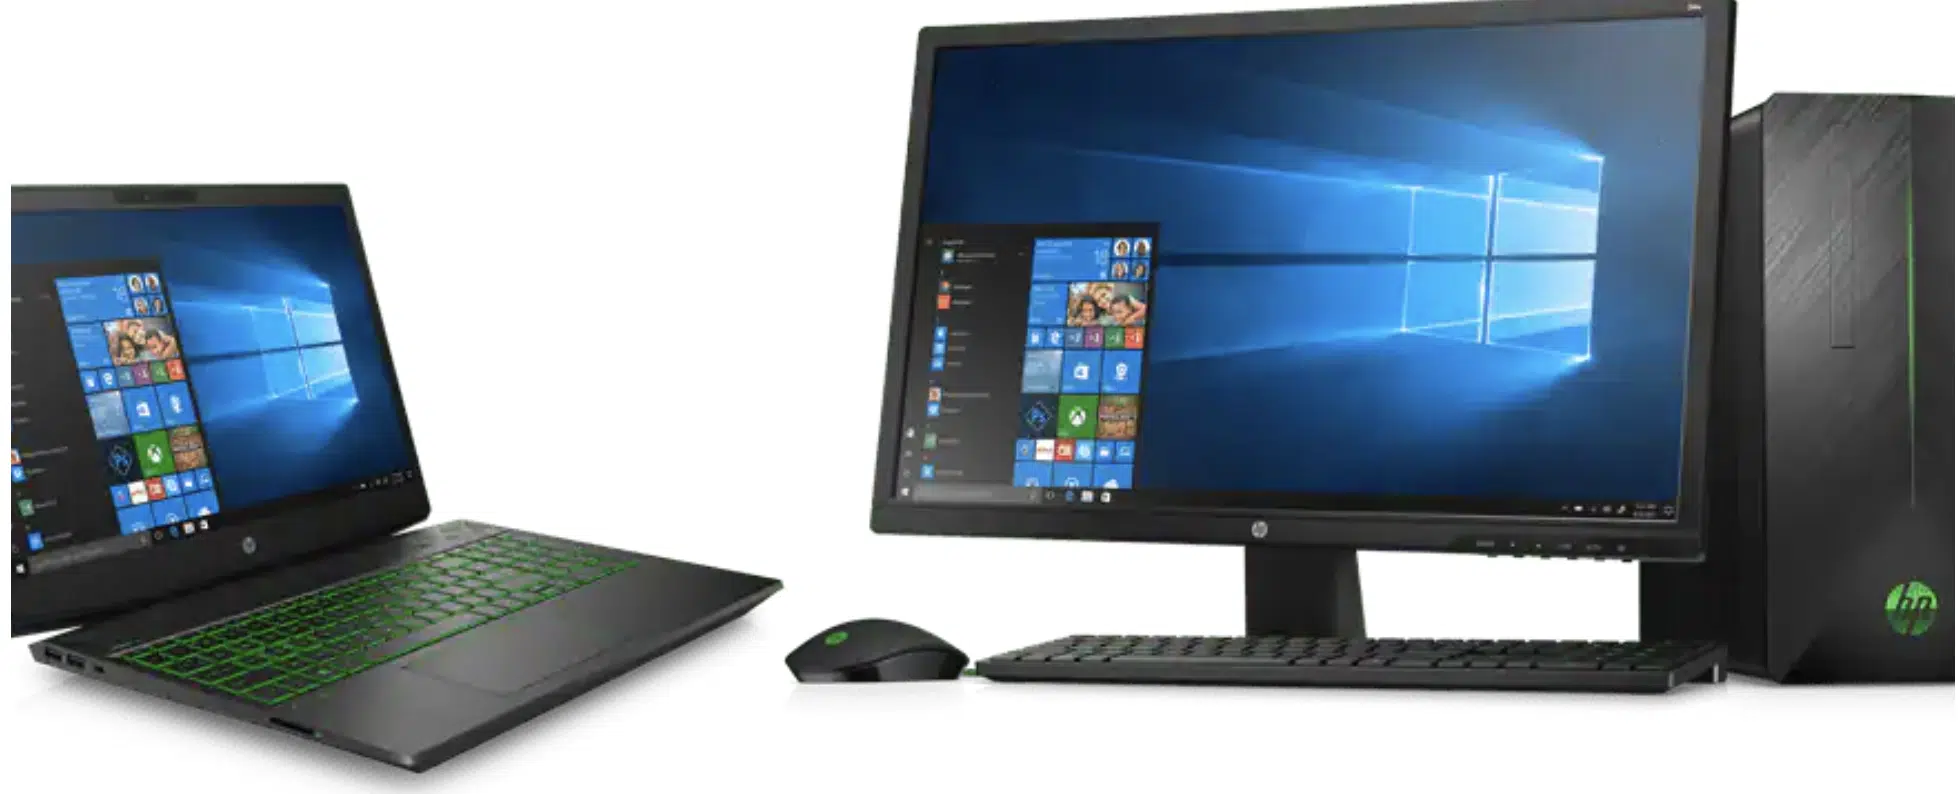
Your computer is going to be the core of your home studio setup because everything from recording to editing relies on it.
For serious music production tasks, I’d recommend a setup with at least:
- An Intel i7 or AMD Ryzen 7 processor
- 16GB of RAM
- SSD storage
These specs give you enough power to run DAW software like Logic Pro or Ableton Live without lagging, and you certainly don’t want to be lagging.
If you’re aiming to keep noise levels down, try getting a desktop or laptop with a quieter fan, otherwise you’ll go crazy.
Nothing, and I mean nothing, can destroy your focus like a loud fan kicking in during a vocal take or when trying to edit audio very intricately.
MacBook Pros are popular in home recording studios for their reliability and compatibility with industry-standard music production software.
However, there are also powerful Windows options if that’s more your style.
Ultimately, a strong computer is the foundation that keeps everything in your studio setup running smoothly, so don’t skimp out.
-
The Right DAW (Digital Audio Workstation) For You
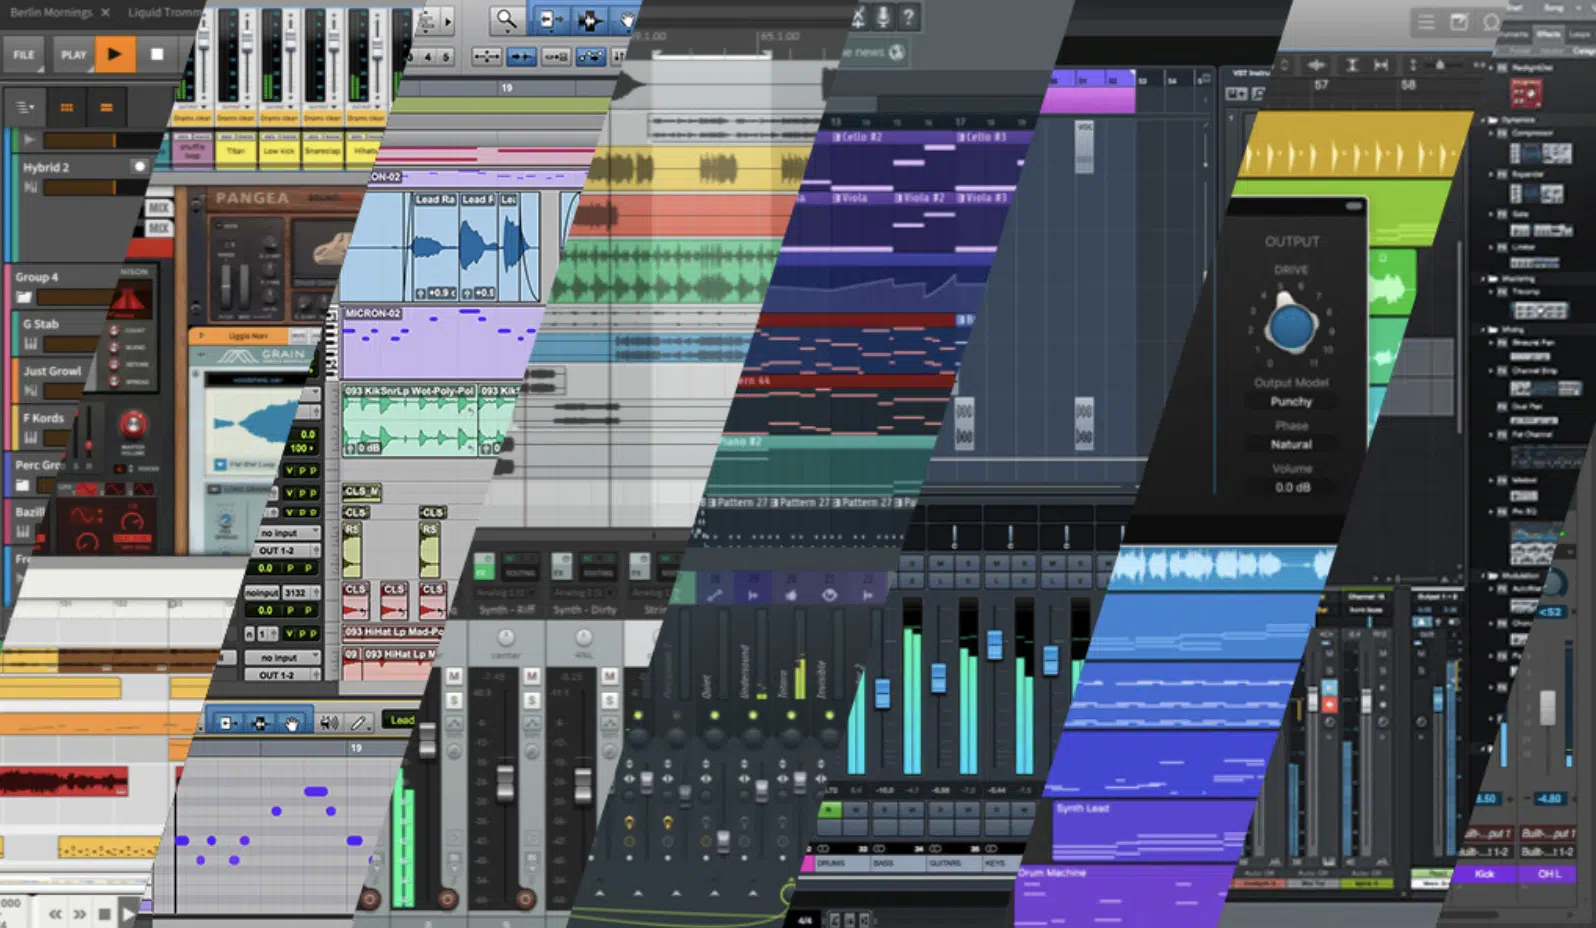
Your DAW (digital audio workstation) is going to be the place where you spend the most time as it’s your main software for:
- Beat-making/creating
- Editing
- Mixing tracks
- Etc.
So, needless to say, choosing the right one is make-or-break.
Each DAW has its own strengths, and some are better fitted to specific genres and music production styles.
For example, Ableton Live is famous for its intuitive layout, especially in the Session View, where you can experiment with loops and ideas in a grid format.
This is perfect for electronic and hip-hop producers who work with endless samples and MIDI packs.
Logic Pro X, on the other hand, is loved for its powerful suite of built-in virtual instruments and effects, as well as its clean interface.
This one is ideal for recording and editing audio and certainly a favorite among pop and rock producers.
If you’re new to music production, FL Studio is a very popular choice because it’s easy to pick up and has a huge library of built-in sounds and loops.
It’s perfect for you to start knocking out beats right away even with zero experience (but don’t count it out for more serious production either, it’s super solid).
Pro Tools is also worth mentioning as well because it used to be the go-to DAW in professional recording studios, although not really any more to be honest.
It’s known for its pristine audio quality and advanced editing features, but keep in mind it does have a steeper learning curve.
At the end of the day, the best DAW is the one that fits your style, so I’d recommend trying a few free trials to find what feels right for you in your home studio setup.
-
Audio Interface
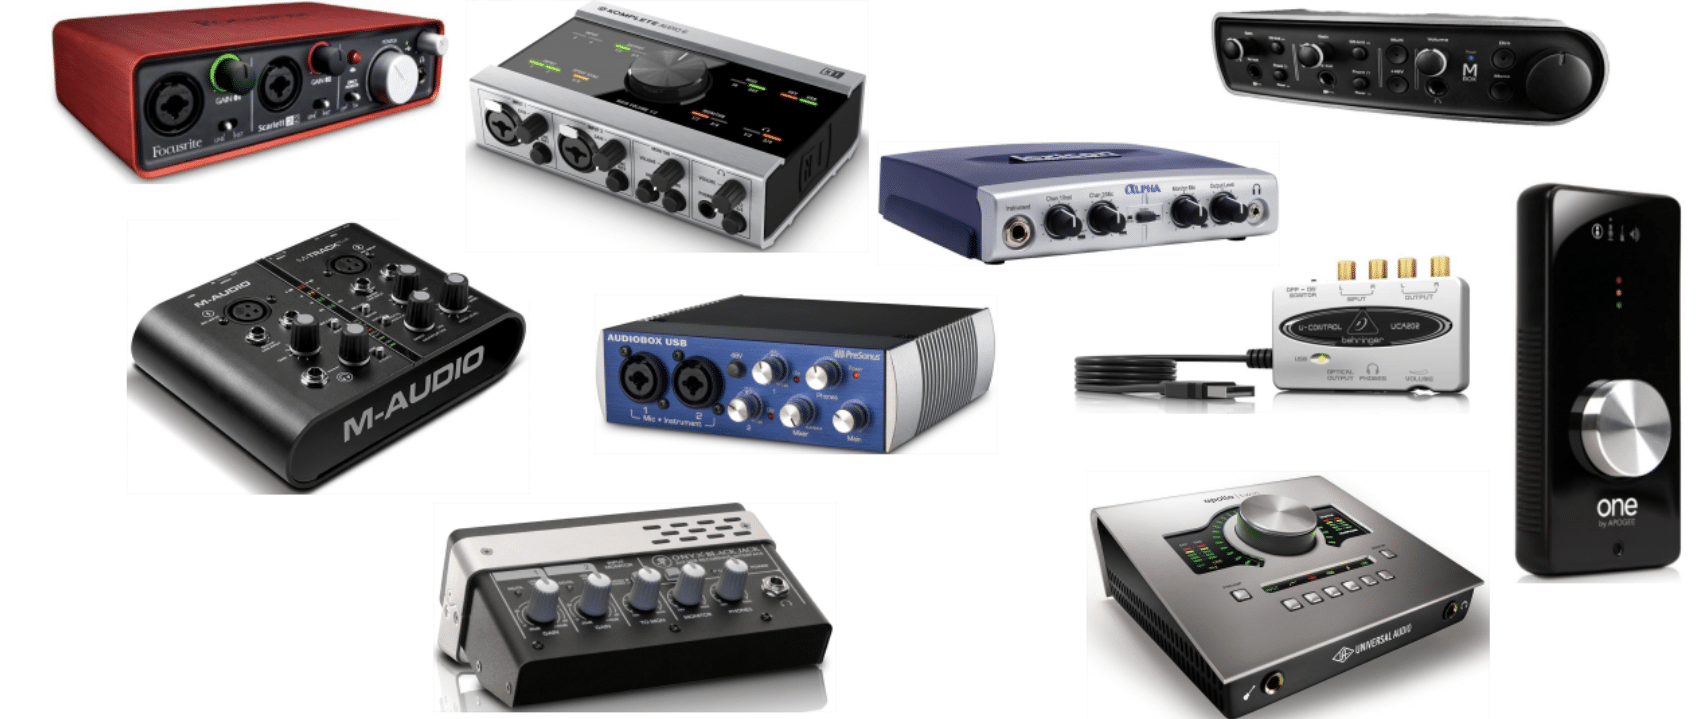
An audio interface is a must-have in any home studio setup because it converts analog audio signals from microphones and instruments into digital signals.
This way, your computer and digital audio workstation (DAW) can process them.
It essentially lets you capture clean, professional-quality recordings, whether you’re recording vocals, instruments, or using a MIDI controller.
For most home studios, an interface with two inputs provides enough flexibility to record both a vocal mic and an instrument at the same time.
Like the Focusrite Scarlett 2i2 or the PreSonus AudioBox, something along those lines.
When choosing an audio interface, I’d recommend looking for models with 24-bit depth and at least a 48kHz sample rate.
It will give you more accurate sound capture that can be pin-pointed right away, especially in very detailed audio work.
Personally, I prefer interfaces with built-in preamps, as they boost microphone signals without adding unwanted noise (talk about clear, natural sounds).
But again, completely up to you.
NOTE: Some interfaces also offer MIDI input, which allows you to connect a MIDI keyboard directly to the interface, which is a super helpful feature if you’re working with virtual instruments, which you certainly will be.
Having a solid audio interface acts is one of the most key steps in achieving that polished, studio-grade quality we all aim for in a home recording studio.
If you want to check out the absolute best audio interfaces in the game right now, we got you covered.
-
Studio Monitors
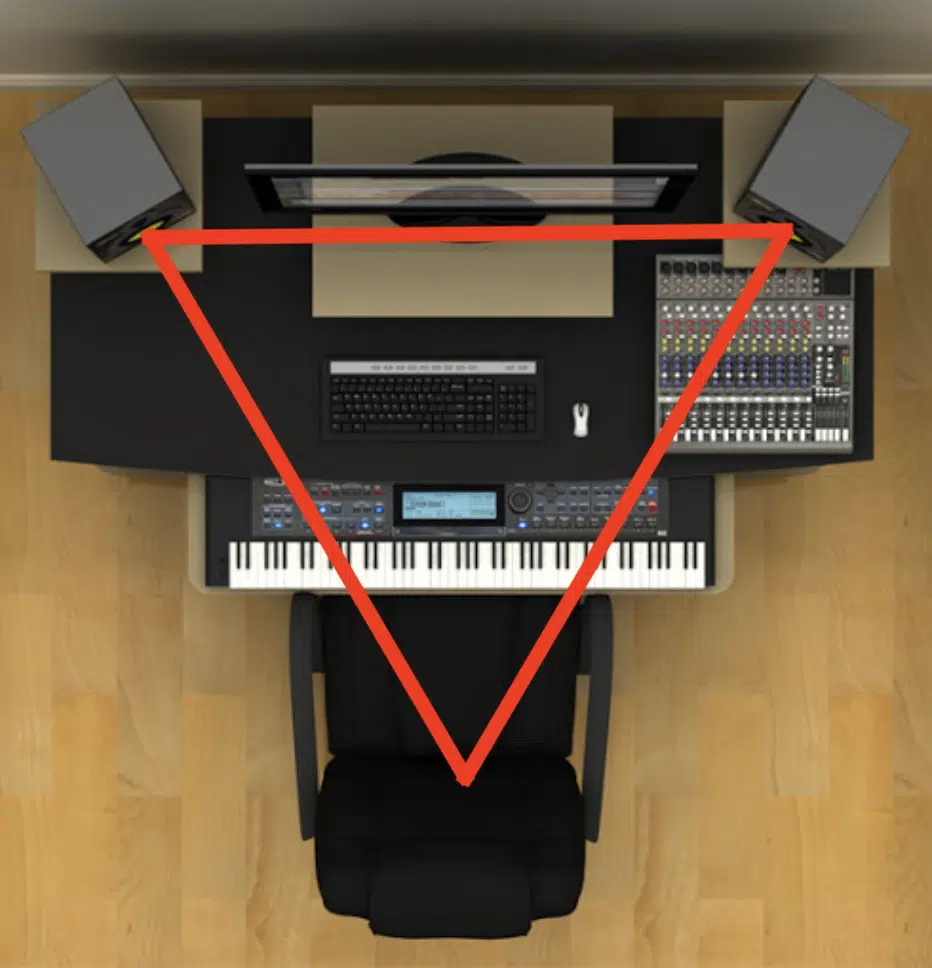
Studio monitors are designed to give an accurate, uncolored sound that helps you hear every detail in your mix.
Unlike consumer speakers (which often emphasize bass or other frequencies), studio monitors offer a flat frequency response.
This lets you hear the true, actual sound of your recordings.
For a typical home studio setup, a pair of 5-inch or 7-inch monitors, like the KRK Rokit series or Yamaha HS5, can provide excellent clarity without taking up too much space.
If your room is small, going for smaller monitors may obviously help prevent overwhelming the space with low frequencies.
In my experience, room size is something to consider carefully when picking monitors, so make sure to take that into consideration before choosing one.
Positioning is also key, of course…
You’re going to want to set up your monitors at ear level and in an equilateral triangle from your listening position for optimal sound clarity.
It’s also worth investing in isolation pads or monitor stands to reduce vibrations from your desk, which can distort the sound and interfere with accurate mixing.
Your monitors will make a huge difference when it comes to mixing decisions and hearing even the smallest details that you might otherwise miss.
Side note, if you’re on a budget, I got you covered with these budget-friendly monitors.
-
Studio Headphones
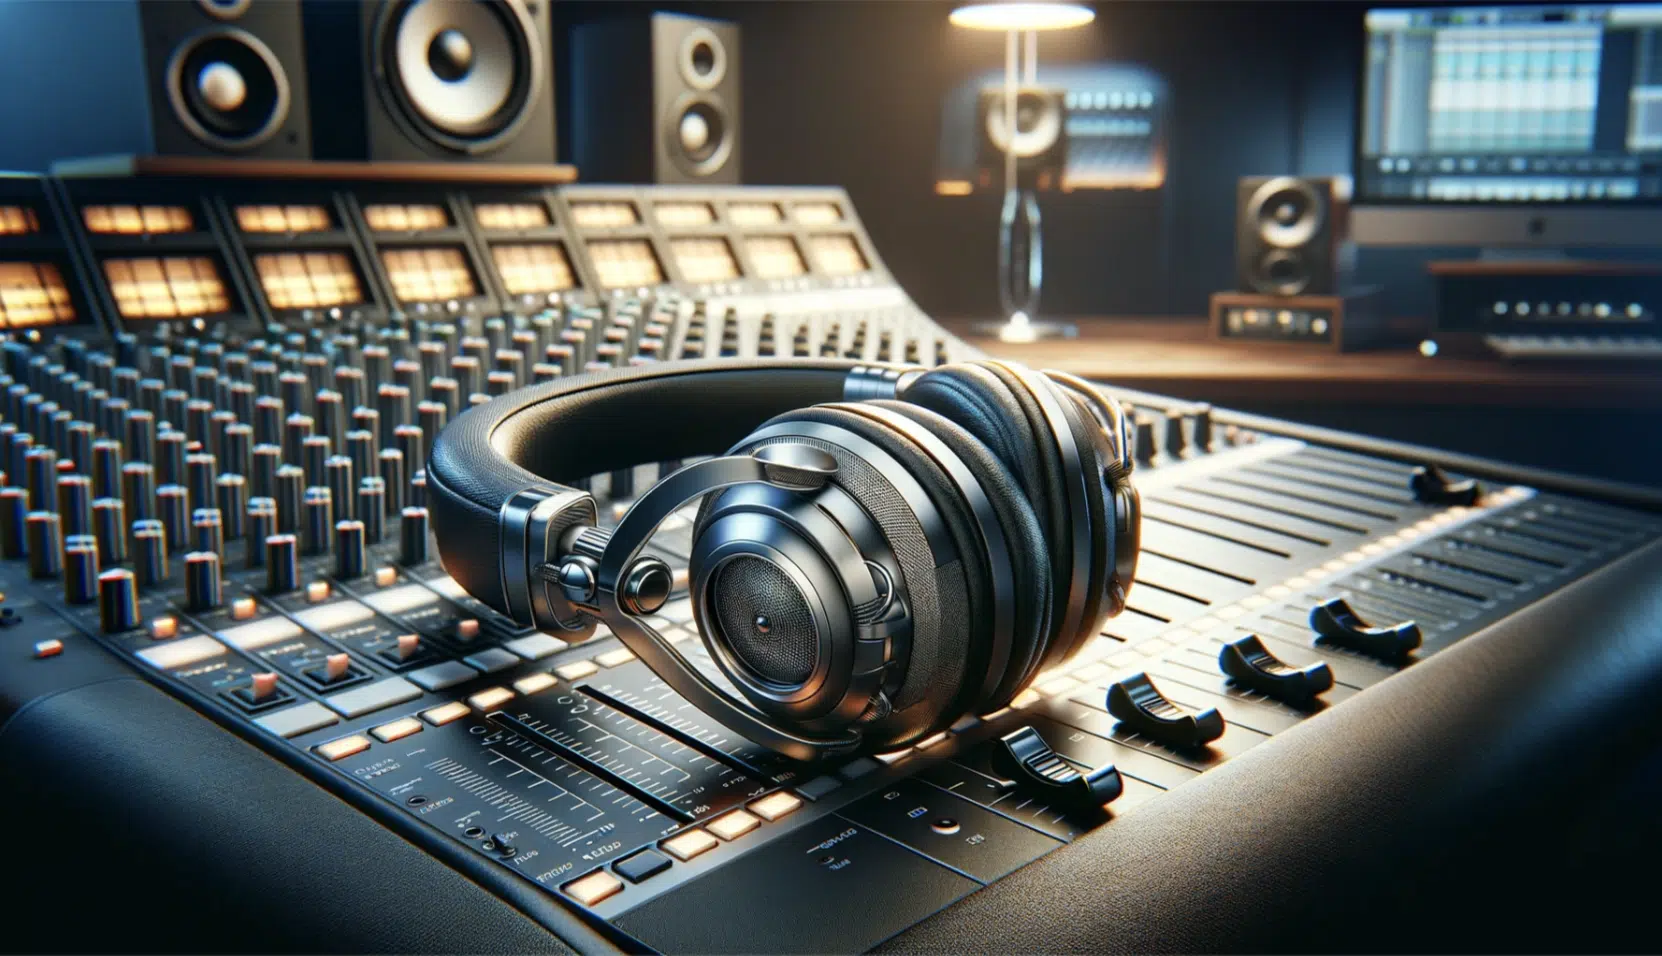
Studio headphones are another key player when it comes to your home studio setup because they’ll help you hear your mix in detail.
This is especially true when you’re working late or need to keep noise levels down.
Unlike regular headphones, studio headphones are built for accuracy and often come in two types:
- Closed-back headphones for tracking.
- Open-back headphones for mixing.
Closed-back headphones, like the Audio-Technica ATH-M50x, are great for recording vocals since they prevent sound from leaking into the microphone.
Open-back models, such as the Sennheiser HD 650, have a more natural sound and are better suited for mixing because they let some air flow through.
This creates a sense of space that will help you when mixing.
In my experience, having both types is ideal because each one serves a specific purpose in the home studio setup and you don’t want to miss a thing.
When working on a mix, I’ll often switch between my monitors and headphones to get a second perspective, which helps me catch any details I might miss in the room.
You actually should listen on as many playback systems as possible, even iPhone speakers because that’s where your listeners most likely listen.
A good pair of studio headphones also allows you to work on mixes when you can’t rely on studio monitors 一 making them an invaluable backup in any home music studio.
-
Microphones
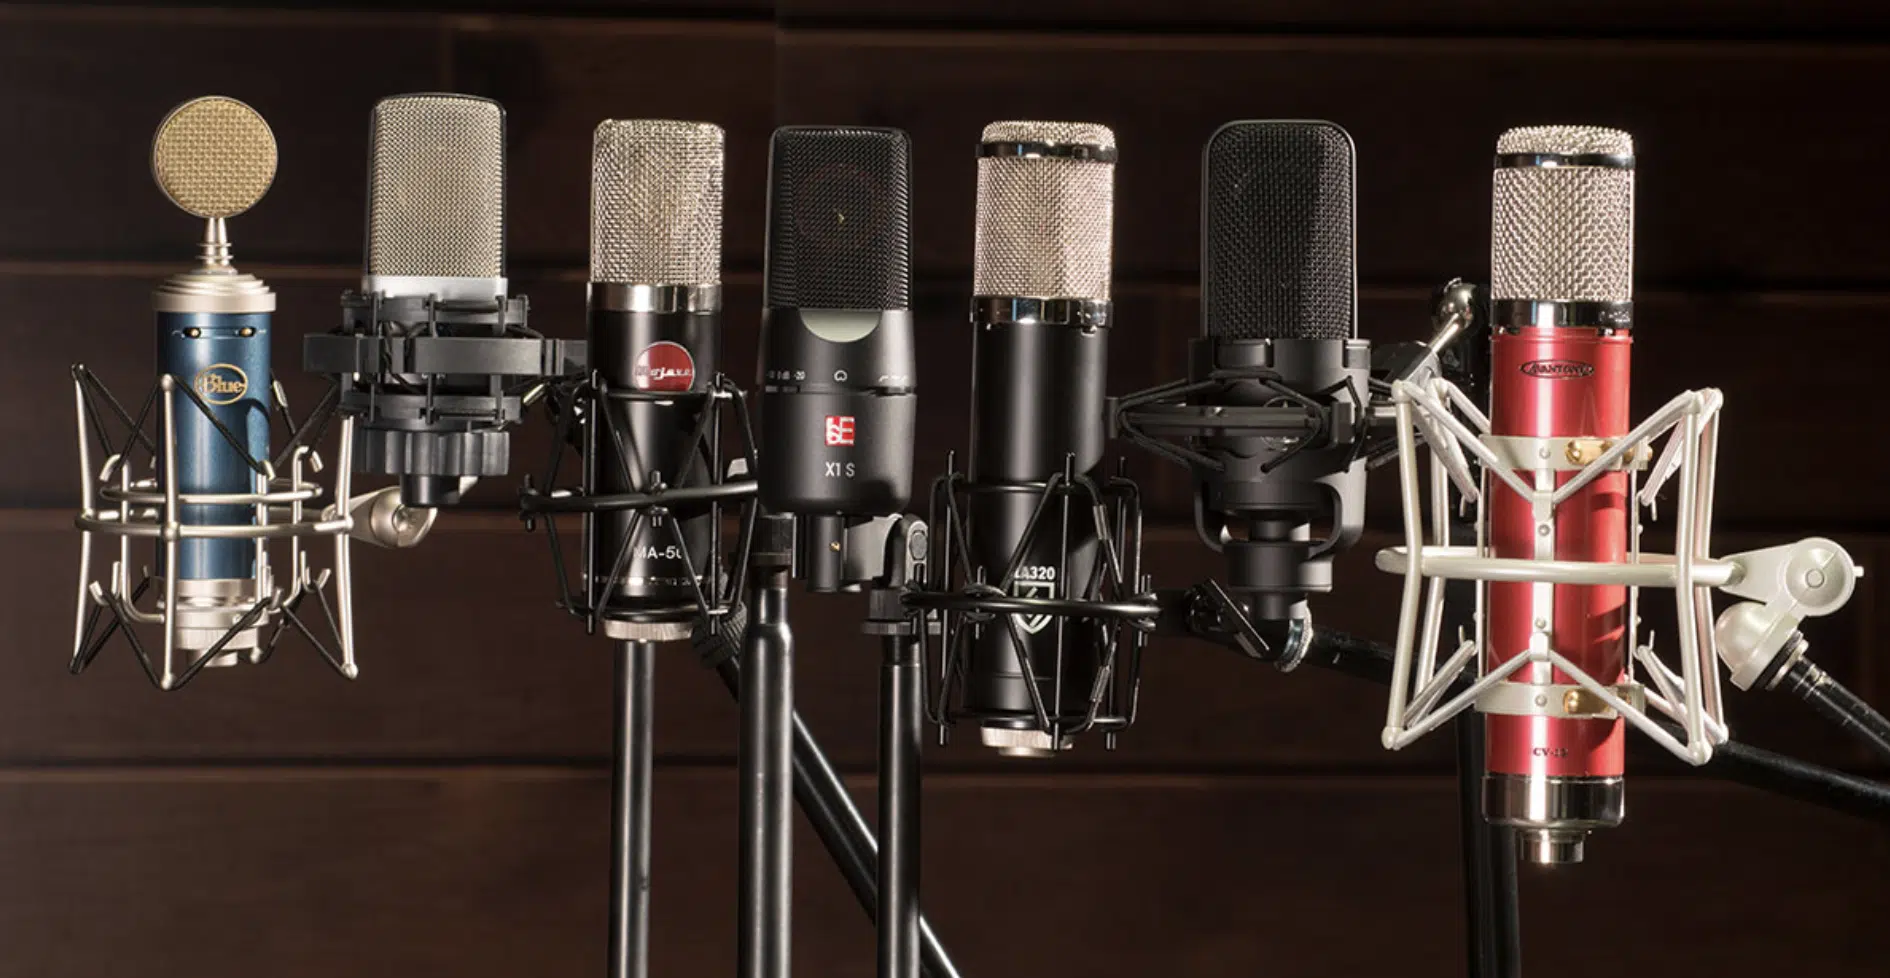
Microphones are all about capturing high-quality audio in your home recording studio, whether you’re recording:
- Vocals
- Acoustic instruments
- Even amplifiers
There are several types to choose from, each suited to different purposes.
The most common one being a condenser microphone, which is very sensitive and picks up fine details 一 making it ideal for studio vocals and acoustic guitars.
For example, a classic condenser like the Audio-Technica AT2020 delivers a crisp, clear sound that’s great for capturing every little detail of a vocal performance.
Dynamic microphones, on the other hand, are less sensitive and more rugged, which makes them perfect for louder sound sources like guitar amps or drums.
The Shure SM57 is one of the most popular dynamic mics known for its durability and versatility, especially with electric guitar amps and snare drums.
But again, it’s all about what you like best, so pick the dynamic mic or condenser mic that works best for you (or the artists you record).
Then there are ribbon microphones, which have a warm, vintage sound due to their unique construction.
While they’re more delicate, and less popular than condenser mics or a dynamic microphone, ribbon mics like the Royer R-121 add a unique character.
It works beautifully on acoustic guitar cabs and some vocal styles.
PRO TIP: Use a sturdy microphone stand that allows you to position the mic exactly where you need it 一 a quality mic stand with an adjustable boom arm is invaluable for getting the best mic placement without hassle.
Also, consider a shock mount to reduce vibrations, especially if you’re working with sensitive condenser mics.
-
MIDI Controllers/MIDI Keyboards
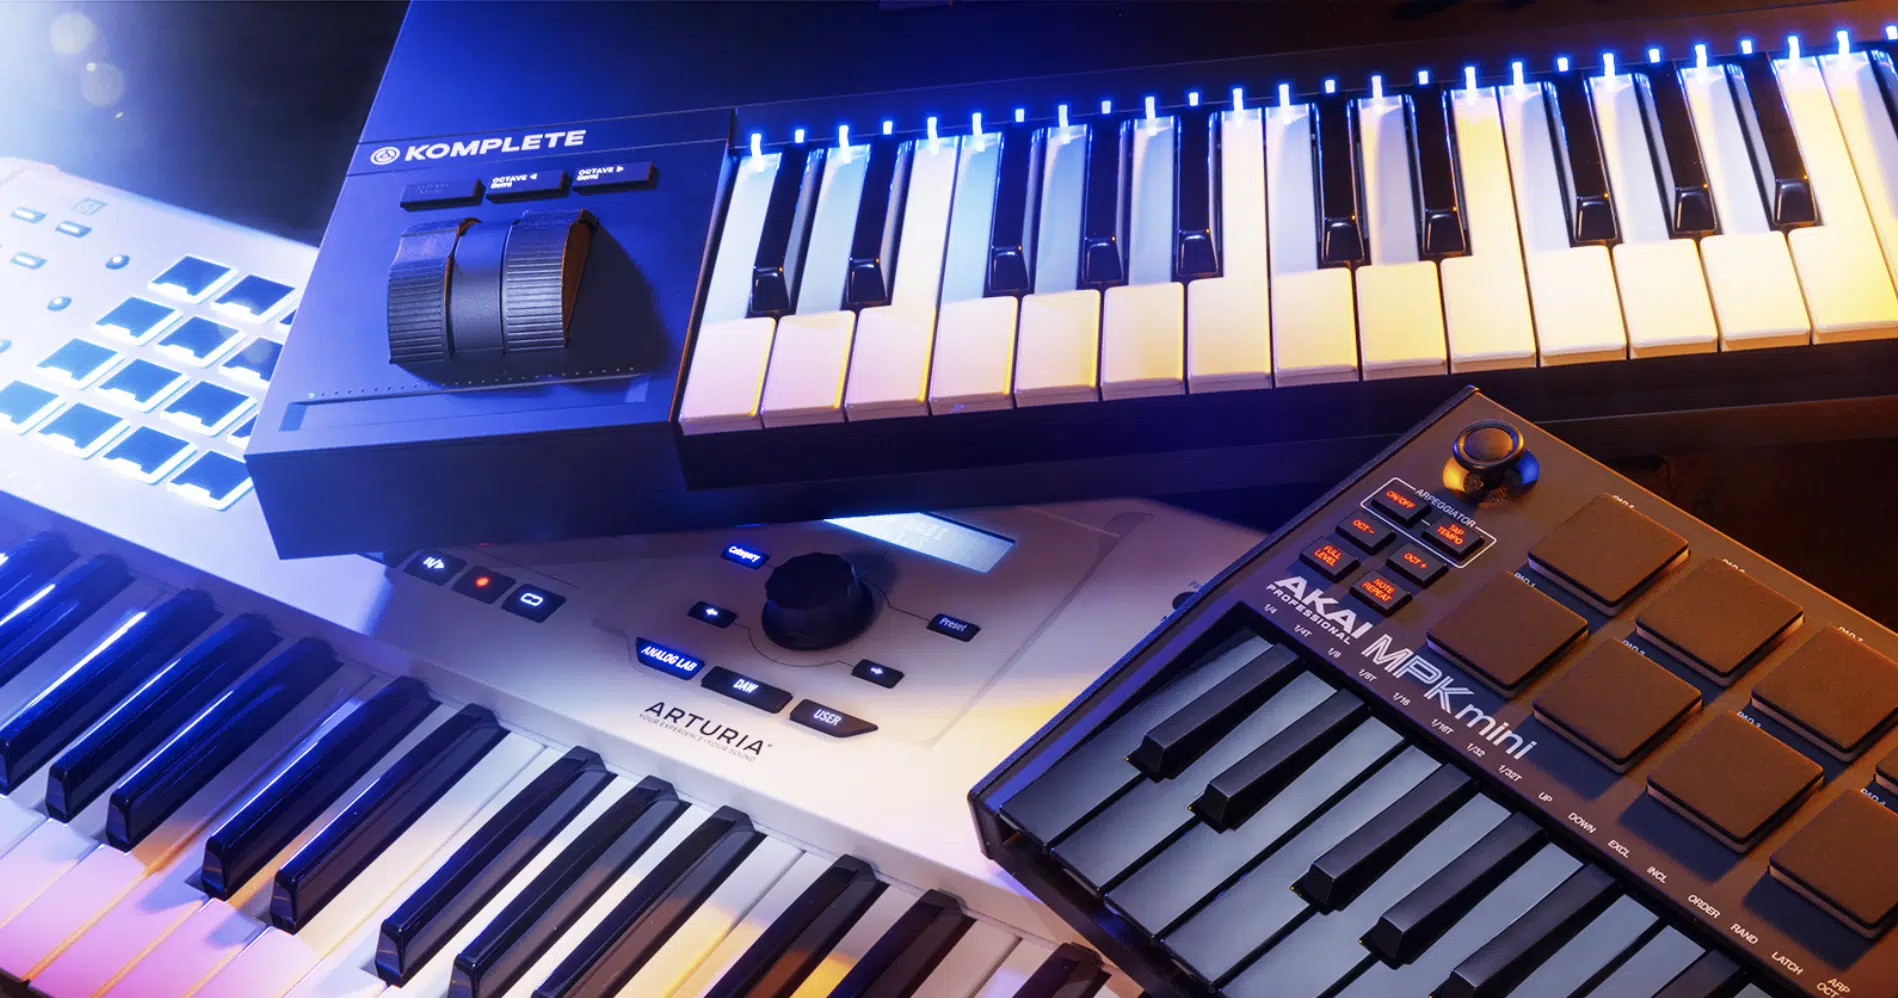
A MIDI controller is one of the most versatile/beneficial tools in a home studio setup because it lets you play and control virtual instruments within your DAW.
Most producers go for a MIDI keyboard, which is a keyboard-style controller that can trigger sounds in software like synthesizers, drum kits, or pianos.
For example, the Novation Launchkey series is popular because it has pads, knobs, and sliders that give you control over multiple elements of your production.
I’ve found that having at least a 49-key MIDI keyboard strikes a good balance between space and playability when playing around with different chords and melodies.
For beat-making, some producers prefer pad-based controllers, like the Akai MPD series, which make triggering drum samples intuitive and hands-on.
A MIDI controller can also be set up to control other aspects of your DAW, like adjusting levels or triggering loops 一 making it a multifunctional tool in a home recording studio.
NOTE: Having a MIDI input option on your audio interface can also simplify your setup, allowing you to connect the controller directly for smooth use with virtual instruments.
#2. Acoustic Treatment
Next up is acoustic treatment, which is super important for achieving professional sound in your home studio setup. So, let’s dive into how to properly soundproof your recording studio and all the tools needed to control how sounds work in your personal space.
-
Soundproofing vs. Acoustic Treatment
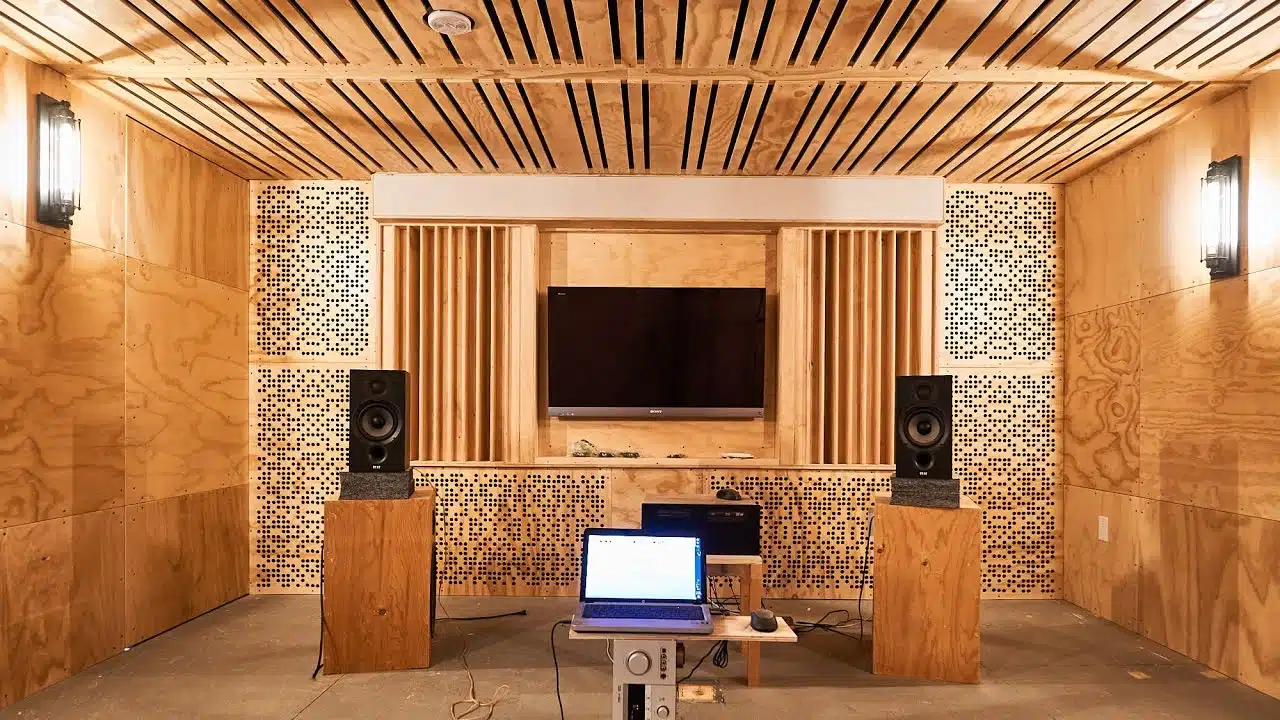
First and foremost, it’s important to understand that soundproofing and acoustic treatment serve different purposes in a home recording studio.
Soundproofing focuses on keeping sound from entering or leaving your studio—essentially isolating your space to minimize external noise.
This is achieved with heavy-duty materials like mass-loaded vinyl, acoustic panels, and door seals to block and absorb sound.
Acoustic treatment, on the other hand, is about controlling how sound behaves within the room to ensure a balanced listening environment.
While soundproofing isolates, acoustic treatment is all about creating a space where sound waves don’t bounce around excessively.
This helps improve optimal sound quality for mixing and recording.
Key elements in acoustic treatment include:
- Foam or fabric panels that absorb mid-to-high frequencies
- Bass traps for low frequencies
- Diffusers to spread out sound reflections for a more natural feel
If your budget is limited, start with bass traps and acoustic panels in the corners of the room and at reflection points along the walls to reduce echo and reverb.
I’d recommend the Auralex Studiofoam for affordable acoustic panels and a DIY approach with dense materials for bass traps, especially in smaller home studios.
By setting up proper acoustic treatment, you’ll help ensure that the sound you hear in your studio setup is accurate, which is essential for making solid mixing decisions.
-
Acoustic Panels and Bass Traps
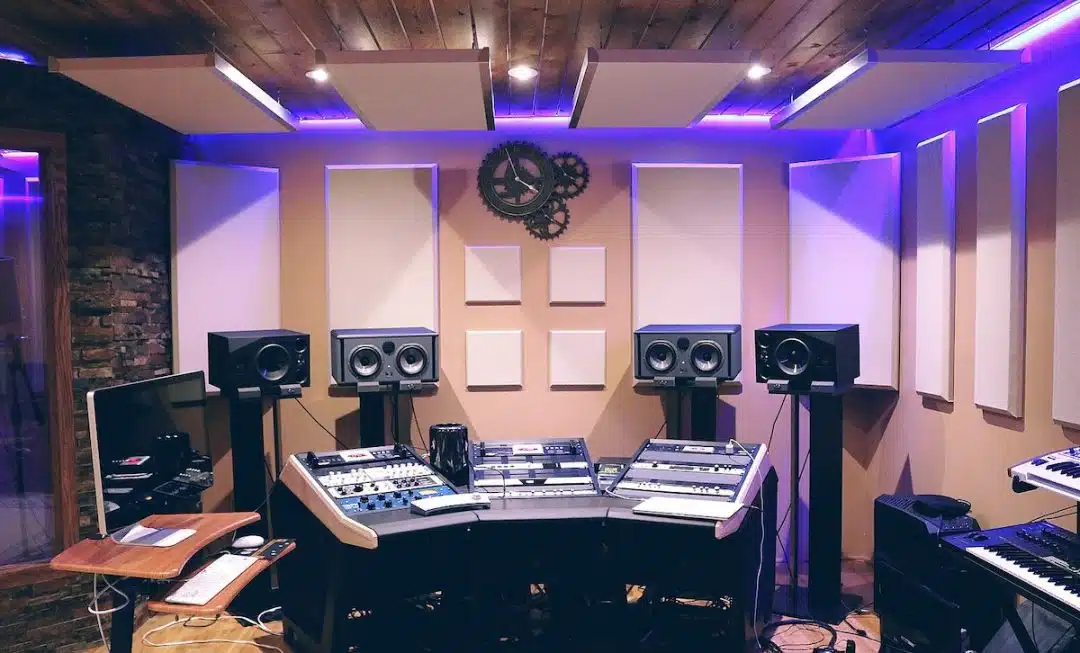
To expand, acoustic panels and bass traps are two of the most important components in acoustic treatment for a home studio setup.
Acoustic panels are designed to absorb mid-to-high frequencies 一 helping to reduce echo and prevent sound waves from bouncing around the room.
Panels are typically made of dense foam or fabric-covered fiberglass, materials that effectively soak up sound.
For example, panels like the Auralex Studiofoam or GIK Acoustics panels are popular because they’re easy to install and come in various sizes.
Bass traps are thicker and denser, designed specifically to tackle low frequencies, which can build up in corners and cause an unbalanced, “boomy” sound.
Placing bass traps in the corners of the room is what you’ll want since that’s where low frequencies tend to accumulate.
A good tip is to place acoustic panels at “first reflection points,” which are spots where sound waves from your studio monitors bounce directly to your ears.
This is typically on the side walls and ceiling.
Investing in both acoustic panels and bass traps will make a huge difference in creating a controlled, clear sound environment.
If you want accurate mixing and monitoring in your home recording studio, they’re non-negotiable, as I said.
-
Diffusers
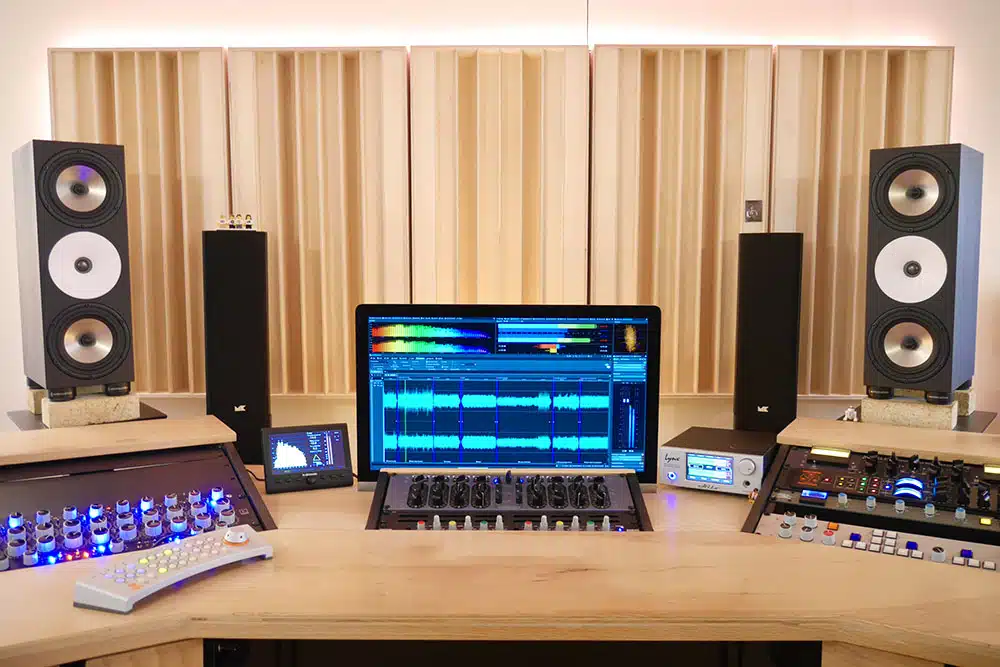
Diffusers are another key element in acoustic treatment but serve a different purpose from acoustic panels and bass traps.
While panels and traps absorb sound to prevent reflections, diffusers scatter sound waves evenly around the room.
This helps create a balanced sound without over-deadening the space.
Made from wood or plastic in geometric shapes, diffusers break up sound reflections 一 giving the room a more natural and open feel.
For instance, QRD (Quadratic Residue Diffuser) diffusers are a popular type that scatters sound in multiple directions, which is ideal for home studios where you want a spacious, natural sound but can’t afford a large room.
NOTE: Diffusers are super useful behind the studio monitors or on the back wall to spread out sound waves and avoid a flat or “boxy” sound.
From experience, I find diffusers really helpful in mid-sized rooms, as they maintain the liveliness of the sound.
Adding a few diffusers in the right spots, along with your panels and traps, can give your home recording studio a balanced, professional-quality acoustic space.
-
Isolation Pads
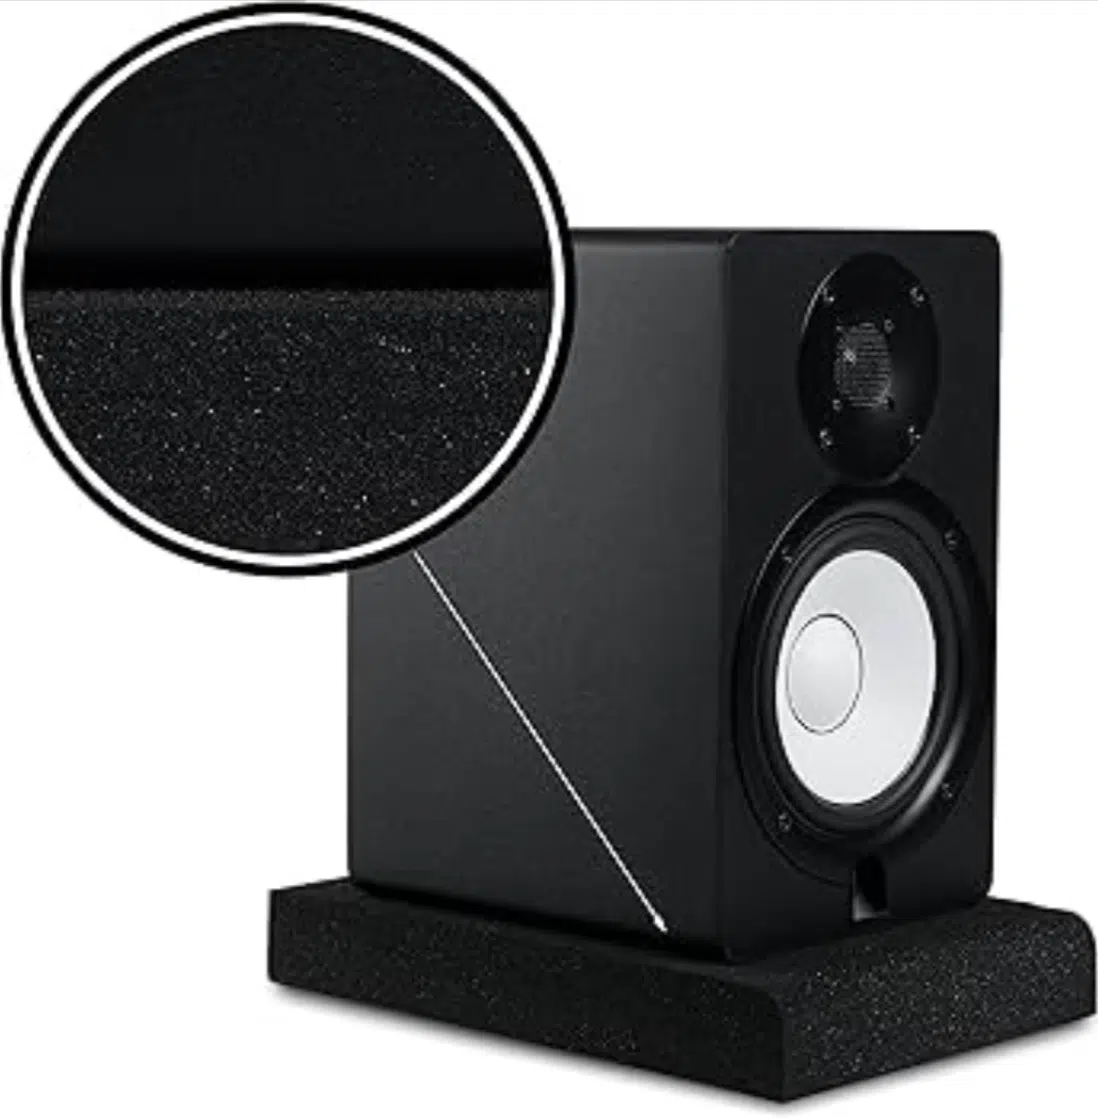
Last but not least, isolation pads are small but essential additions in a home studio setup, especially for improving the performance of your studio monitors.
These pads are designed to sit under your monitors and prevent vibrations from transferring to the surface they’re resting on, such as your desk or monitor stands.
Without isolation, vibrations from the monitors can cause a “muddy” sound, as the surface amplifies unwanted low frequencies.
Isolation pads, like the Auralex MoPads or ISO Acoustics stands, decouple your monitors from the desk 一 giving you a clearer, more accurate bass response.
This clarity is especially important for mixing, where precision in the low end can make or break a track.
In my experience, adding isolation pads was a small tweak that made a noticeable difference in the clarity of my mixes.
The bass sounded tighter, and I could hear the details more accurately without any rumble or resonance from my desk.
If you’re serious about getting a clean, reliable sound in your home recording studio, isolation pads are a worthwhile investment for anyone using studio monitors on a desk or hard surface.
#3. Music Production Furniture & Ergonomics
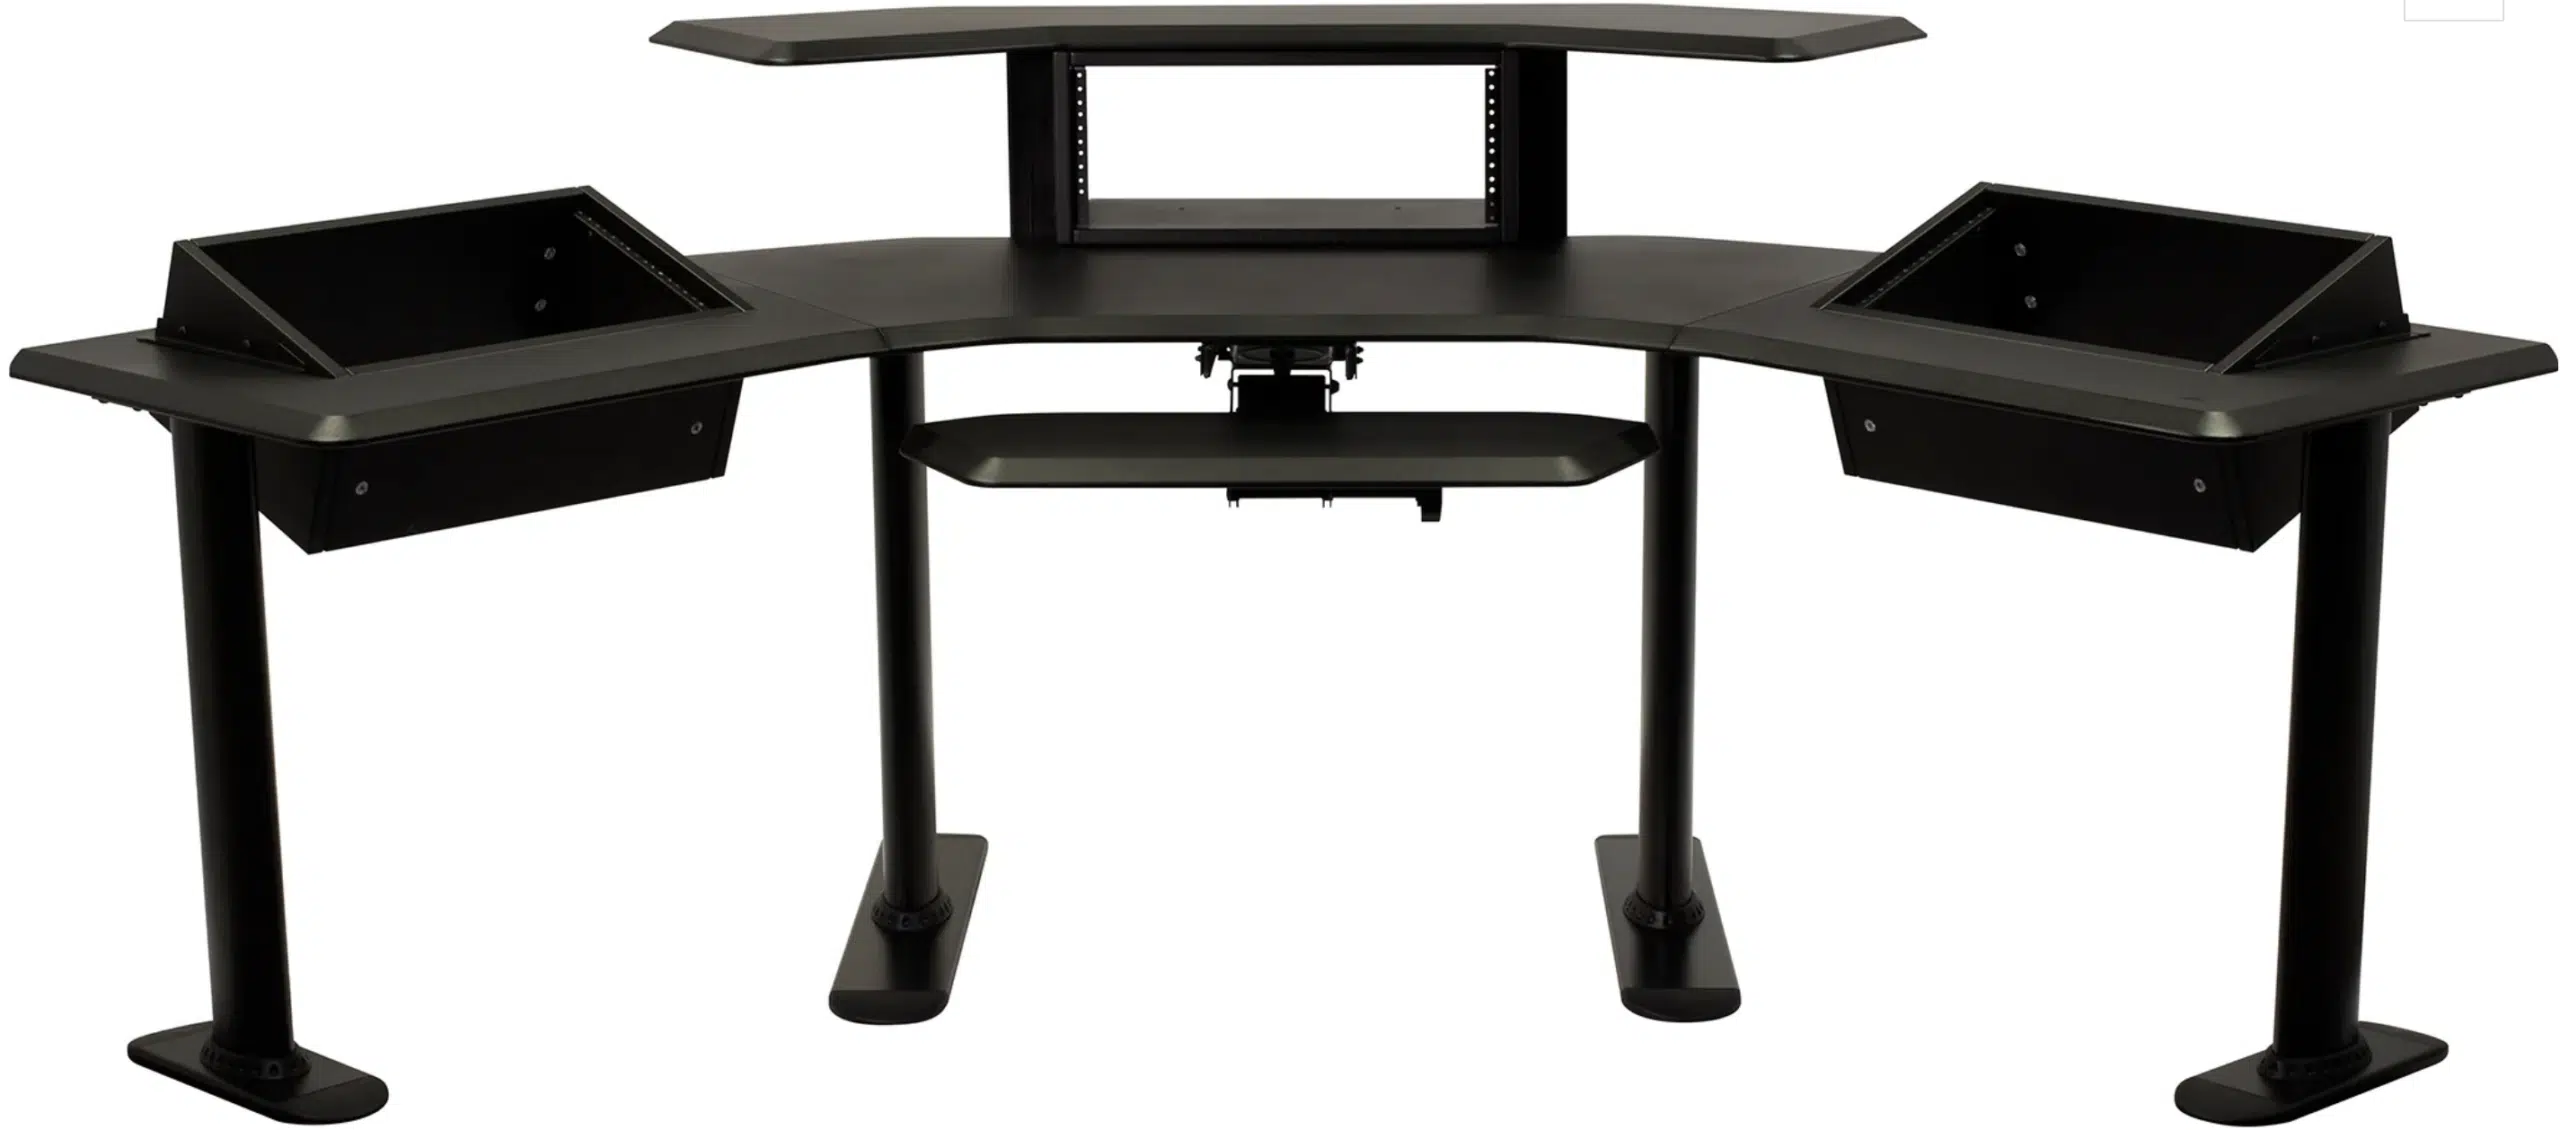
Moving right along, let’s jump into the furniture side of things.
The right furniture and ergonomic setup in your home studio can make all the difference in comfort and efficiency during long production sessions.
You’ll want a sturdy studio desk with enough space for your:
- Audio interface
- MIDI controller
- Studio monitors
- Etc.
Everything should always be organized and within reach at all times.
Look for desks that include built-in racks or cable management features to minimize clutter (I promise it sounds like a small thing, but it makes a huge difference).
A comfortable, adjustable chair with proper lumbar support is also essential for reducing strain and helping you stay focused.
Ergonomic office chairs are a great investment for studio work.
Adding monitor stands ensures your speakers are positioned at ear level 一 giving you an accurate listening experience without interference from your desk.
Finally, consider a keyboard tray to keep your MIDI keyboard accessible without taking up valuable desk space, which is great if you switch frequently between your computer and playing keys.
Altogether, these ergonomic choices help create a productive, organized, and comfortable home studio setup that supports creativity and focus.
#4. Cables and Connectivity
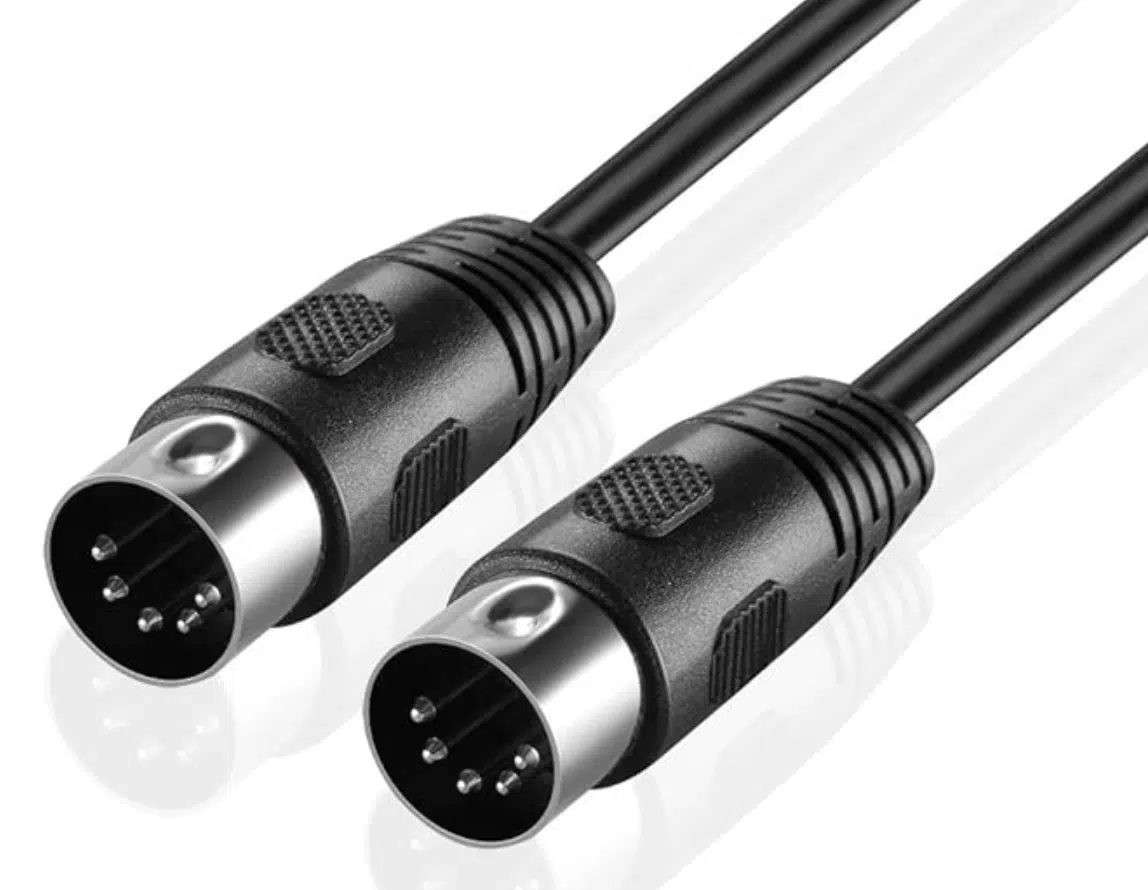
Audio cables in your home studio setup connect everything from your audio interface to your studio monitors and MIDI controllers.
XLR cables are especially important for recording vocals and connecting condenser microphones; they provide balanced connections that reduce noise interference.
This way, it keeps your recordings clear and professional like you want.
For instruments like guitars, 1/4-inch TRS cables are commonly used, though they aren’t as immune to interference as XLRs, making XLR cables ideal for sensitive audio signals.
USB cables play a huge role in connecting modern gear, including MIDI keyboards and external hard drives, directly to your computer.
So, needless to say, it promotes flawless data transfer and control over all your virtual instruments.
Dedicated MIDI cables (with 5-pin connectors) are essential for older or specialized equipment, especially if your audio interface includes MIDI inputs.
I’ve also found that shorter cables help minimize signal loss, so keep that in mind.
Remember, keeping cables well-organized with Velcro ties reduces clutter and prevents tangles 一 making everything more accessible all around.
I also suggest labeling each cable at both ends, which makes it easy to identify and troubleshoot connections quickly (very helpful!).
Good cable management keeps your home recording studio efficient and ensures that every connection is reliable and free of unwanted noise or interference.
#5. Power Supply and Conditioning
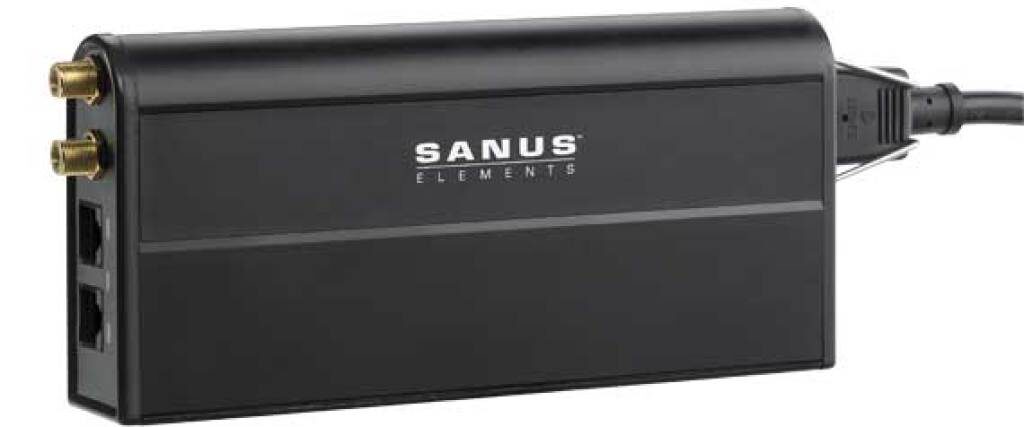
Having a stable and protected power supply is essential for any home studio setup to safeguard your equipment and ensure uninterrupted sessions.
A surge protector is one of the first things I’d recommend…
It shields your gear from sudden power spikes that could damage sensitive electronics like your audio interface or studio monitors (which will absolutely devastate you).
I prefer models like the APC SurgeArrest because it not only offers high joule ratings (which indicates protection capacity) but also has multiple outlets.
You can power various devices, which is really beneficial.
An Uninterruptible Power Supply (UPS) is another valuable pick, especially if you live in an area with frequent power outages or fluctuations like I do.
A UPS provides a backup battery that kicks in when there’s a power cut 一 giving you time to save your project and safely shut down your equipment.
Personally, I’ve found the peace of mind from a UPS invaluable, particularly in the middle of recording sessions where losing progress could mean re-recording hours of work.
A power conditioner can be a solid addition to filter out noise from your power lines, which can sometimes interfere with audio quality in your recordings.
For even more refined power management, they are very useful.
Brands like Furman make excellent power conditioners that smooth out fluctuations and help provide consistent power, which is great for keeping everything running smoothly.
And, extending the life of your gear too, of course.
Having all three (surge protection, a UPS, and a power conditioner) helps create a stable, reliable environment for home recording without worries about power issues affecting your work, and trust me, it’s better to be safe than sorry.
#6. Software and Plugins
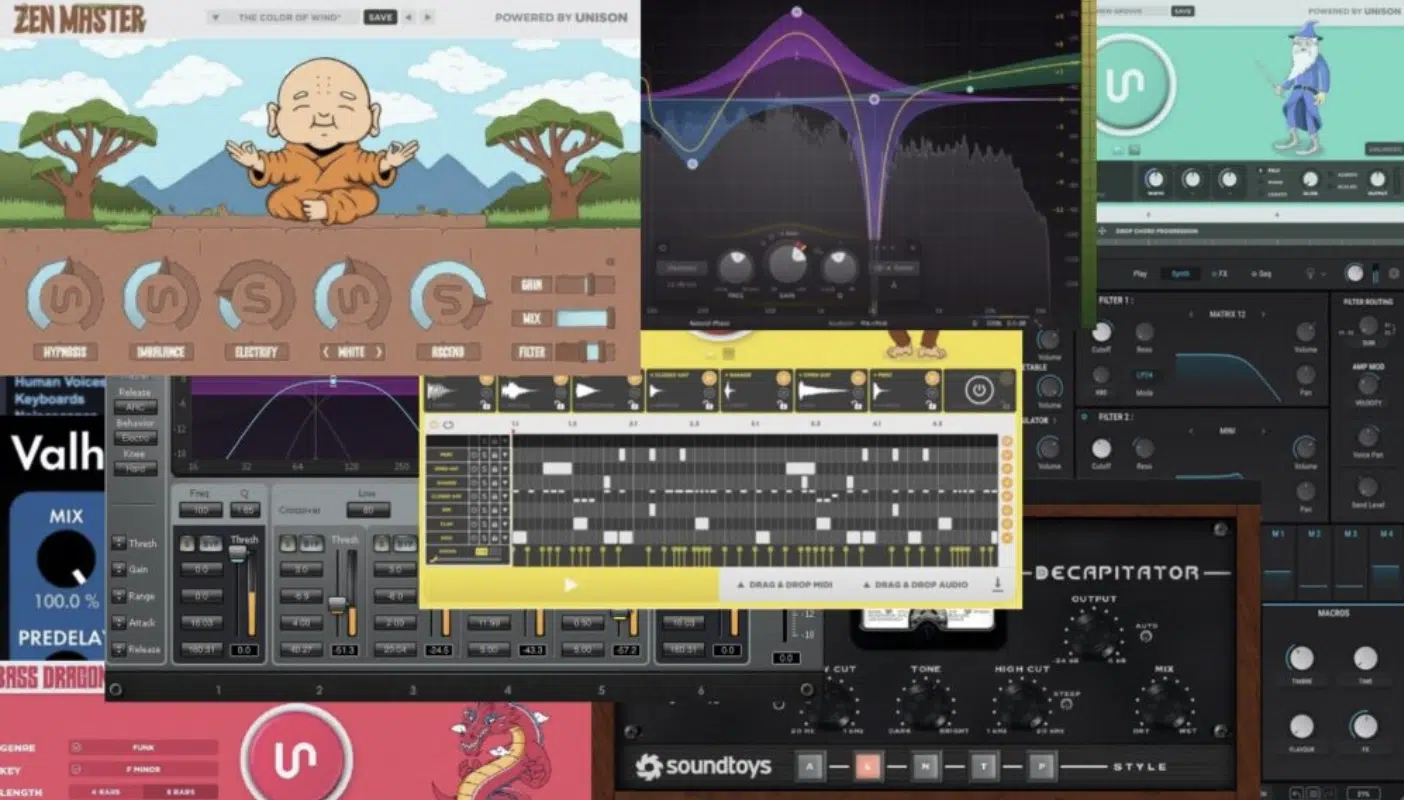
After everything physical is set up, music software and plugins are next (like virtual instruments, effects, and utilities) to help your music sound on point.
Virtual instruments emulate real-world sounds or generate entirely new ones, letting you play everything from pianos to synthesizers without needing physical instruments.
Many virtual instruments are integrated directly within your digital audio workstation (DAW) and can be controlled using a MIDI controller or MIDI keyboard.
You can lay down sounds in real-time all day.
For instance, you can blend synthesized basslines with sampled strings for a textured mix that’s hard to replicate with hardware alone.
In addition to virtual instruments, effects plugins like reverb, EQ, and delay add depth/dimension to your tracks, letting you shape your recordings to match your vision.
Utility plugins, including metering tools and gain control, help you monitor and fine-tune your mix 一 ensuring balanced levels and optimal sound quality.
Many music producers like myself rely on these plugins to layer audio samples, manipulate drum loops, and create custom sounds from scratch.
With the right combination of software instruments and plugins, you’ll be golden.
This way, your home recording studio can deliver the same level of production capability as a professional home music studio.
You’ll be able to experiment, customize, and refine your sound with ease, just don’t forget about ear fatigue, which is a very real thing.
#7. Backup and Storage Solutions
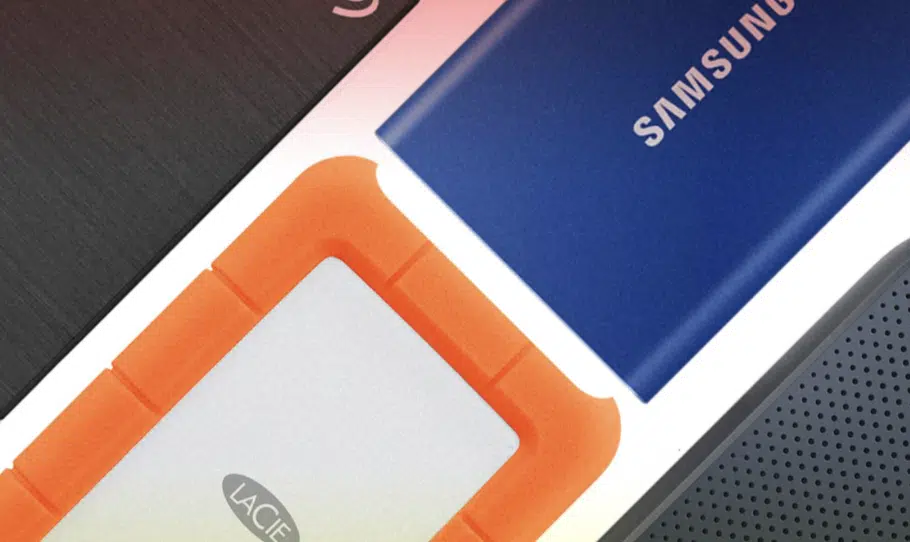
Having a reliable backup and storage solution is vital in any home studio setup to protect your projects and make sure you never lose valuable recordings or mixes.
External hard drives are a popular choice because they provide portable, high-capacity storage that can be easily disconnected when not in use.
I recommend SSD (Solid State Drive) external hard drives (e.g., the Samsung T7) for their speed and durability, which is super useful when working with large audio files.
Cloud storage is another excellent option for backing up your files remotely, with services like Google Drive, Dropbox, or Apple iCloud.
This obviously gives you easy access to your files from anywhere.
Cloud storage adds peace of mind because, even if something happens to your physical drives, your projects are safe online.
For even more security, a RAID (Redundant Array of Independent Disks) system allows you to mirror data across multiple drives.
Meaning, if one fails, your files will still remain accessible on another.
NOTE: RAID setups can be more complex and costly, but for serious music producers with large amounts of data, they’re an effective long-term backup solution.
In my audio production experience, combining at least two of these methods, like an external SSD for quick access and cloud storage for redundancy, provides a solid backup strategy that protects your work from unexpected data loss.
#8. Instruments and Sound Sources
Once your basic gear and home studio setup are ready, the next step is to fill it with versatile instruments and sound sources that inspire creativity. From software instruments to hardware synthesizers, let’s explore the tools that add unique textures and tones to your music production.
-
Software Instruments
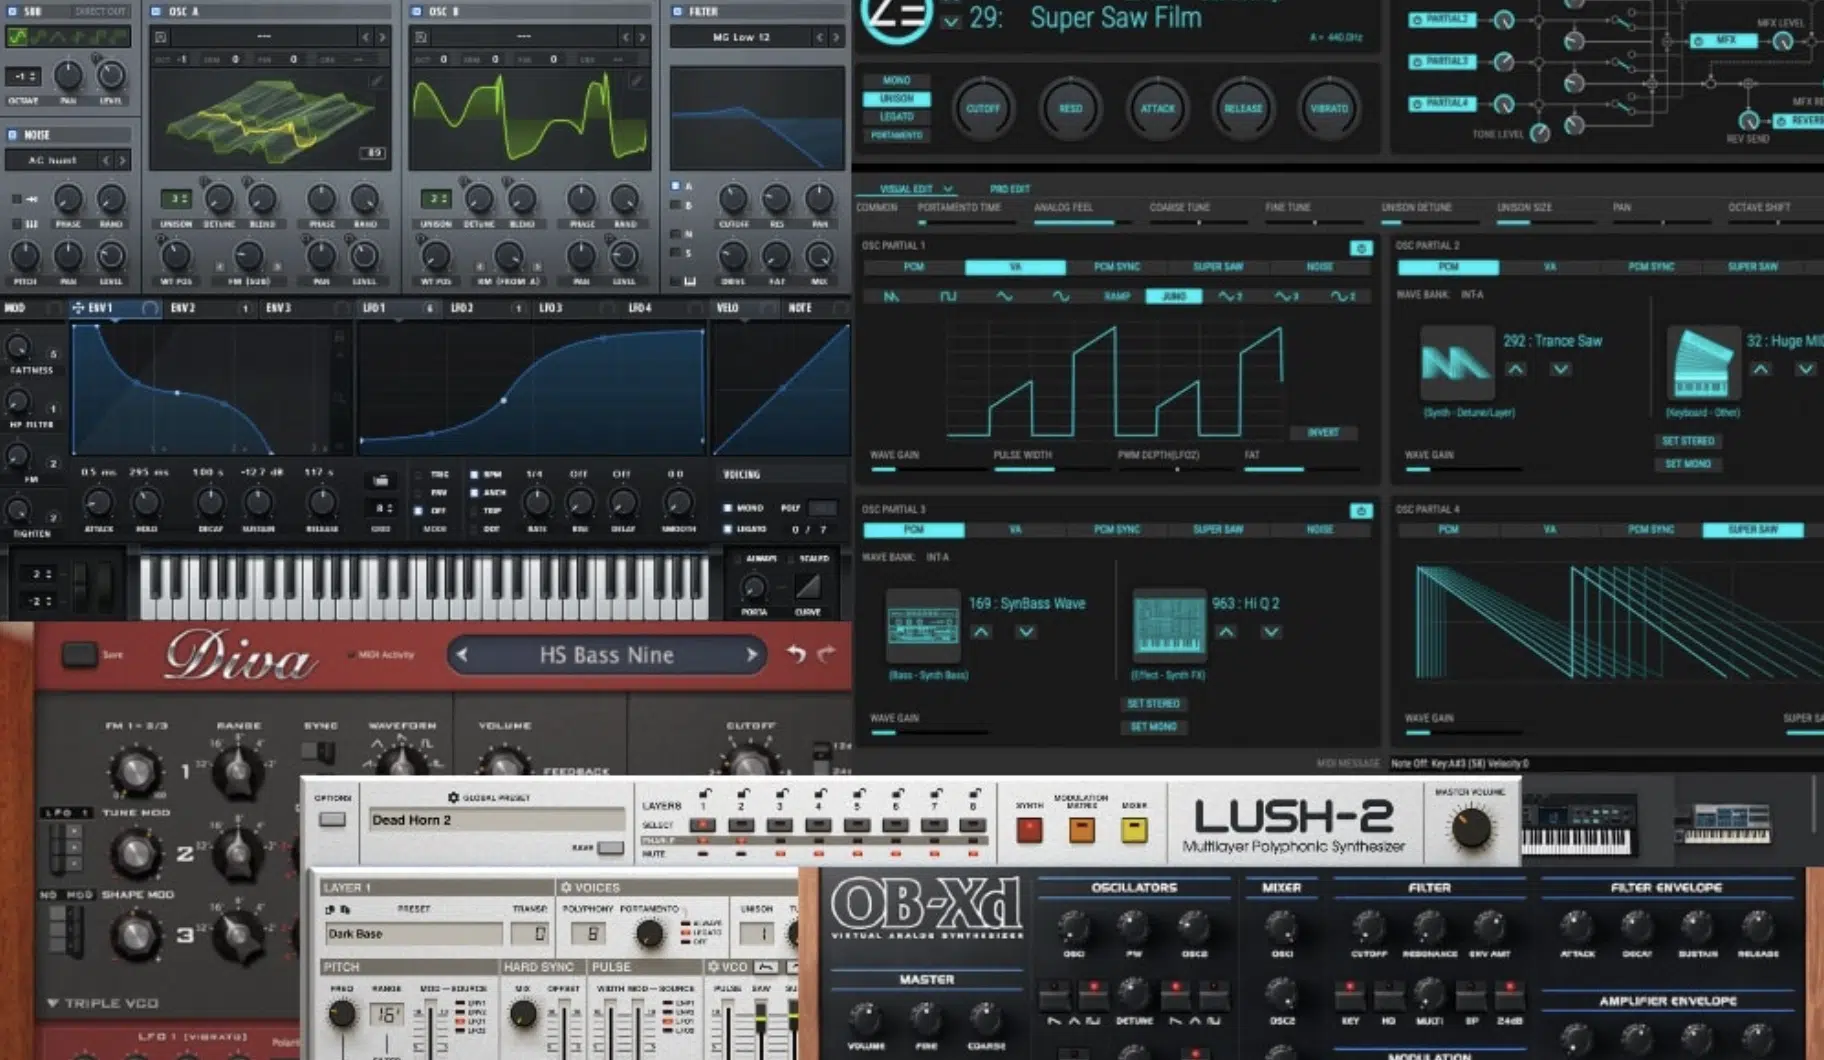
Software instruments are virtual versions of real instruments or synthesizers, accessible directly within your digital audio workstation (DAW).
One of the main advantages here is flexibility, of course…
With software instruments, you’re not limited by physical space, and you can explore everything from grand pianos to futuristic synths all on your computer.
For example, Kontakt is a go-to for me because it offers such a massive library of realistic instruments, from violins to electric basses and everything in between.
If you’re into electronic music, soft synths like Serum and Massive are invaluable because they let you design complex, evolving sounds using various:
- Waveforms
- Filters
- Effects
Personally, I love how Serum offers endless sound-shaping options 一 I often layer it with other plugins to create epic, textured sounds that feel unique.
With MIDI keyboards or MIDI controllers, you can play software instruments just like traditional ones, giving you hands-on control for a more expressive performance.
Another perk of software instruments is the ability to save presets.
I keep sample libraries of my favorite custom sounds to recall in future sessions, which helps streamline my workflow, and I suggest you do the same.
If you’re just starting out, most DAWs come with some built-in software instruments, so it’s really not that complicated.
Ableton Live, for example, includes an excellent electric piano and drum rack that cover a lot of ground for beginners.
Overall, software instruments are essential in a home recording studio because they’re budget-friendly, versatile, and give you a huge range of sounds to experiment with.
-
Hardware Synthesizers
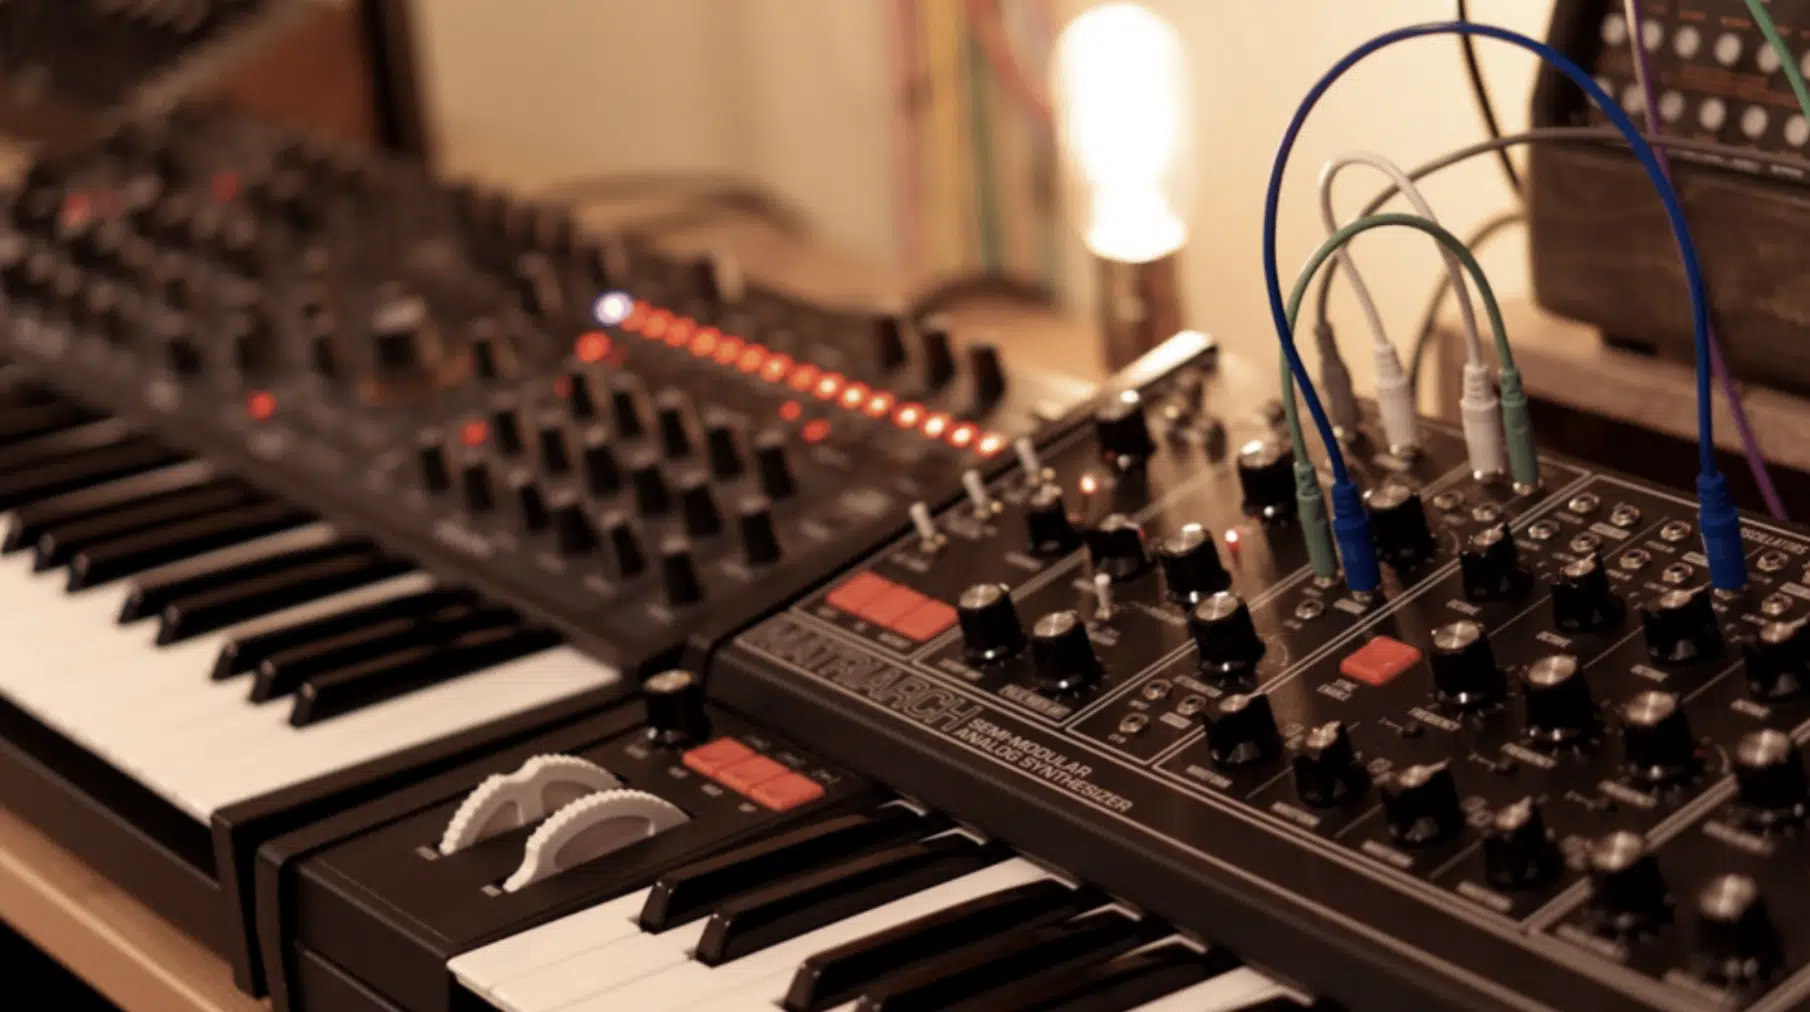
Hardware synthesizers are physical instruments that generate sounds using analog or digital circuitry, giving you a more hands-on approach to sound design.
Unlike software instruments, which rely on your computer, hardware synths like the Korg Minilogue or Roland’s TR-8S are standalone devices.
It gives you immediate tactile control over knobs, buttons, and sliders.
Analog synths, like the Moog Sub 37, produce rich, warm tones through voltage-controlled oscillators, which many music producers find impossible to replicate in digital formats.
Digital synthesizers, on the other hand, such as the Elektron Digitone, use complex algorithms to create a wide range of sounds, from crystal-clear bells to gritty basses.
They usually come with advanced sequencing capabilities as well.
In my experience, hardware synths offer a different creative experience compared to software, as they invite experimentation and make it easy to “play” the sound directly.
If space and budget are on your side, adding a hardware synth to your home studio setup can be a great way to introduce organic, hands-on sound design.
One that’s way more intuitive than using plugins alone, but again, going down that road is super pricey, so if you can’t afford it, it’s all good.
Remember, it’s all about how you play your cards, not the hand you were dealt.
-
Drum Machines
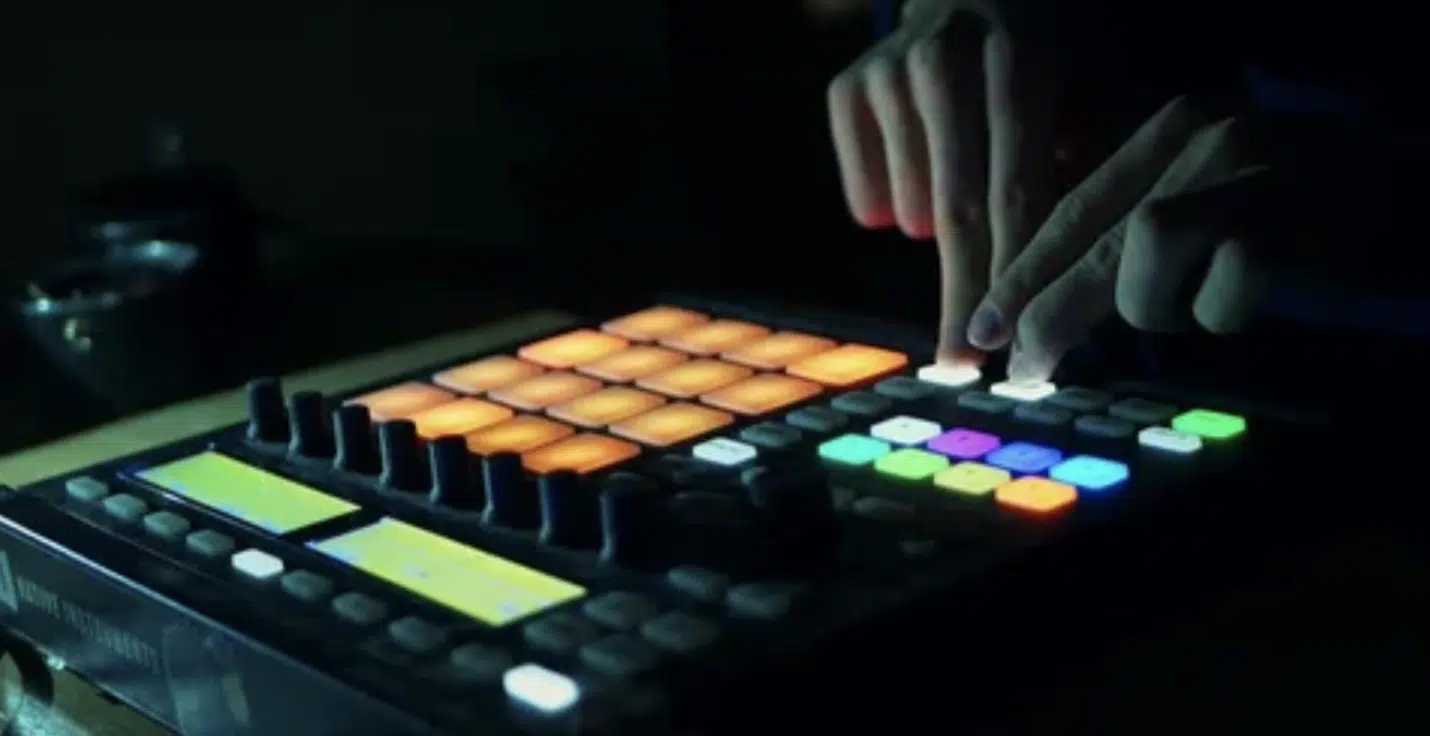
Drum machines are some of my personal favorite production tools in the game.
Unlike playing virtual instruments that require a MIDI controller or MIDI keyboard, drum machines are often self-contained.
Meaning, they have pads and controls that let you shape beats directly.
Classic models like the Roland TR-8S offer classic drum sounds (like the famous 808 and 909) that are widely used in today’s music, but with the versatility to program custom beats and effects.
Many drum machines also come with built-in sequencers, which allow you to program beats on the spot.
This is dope when you’re jamming out or creating in the moment.
In my experience, using a drum machine adds an organic element to my home recording studio setup that is truly unmatched.
If you’re just starting, the Korg Volca Beats is a compact, budget-friendly drum machine that still delivers solid, punchy sounds.
It’s a good starting point for producers exploring beat-making.
Overall, drum machines can enhance your music production by providing realistic, customizable percussion that you can tweak and layer.
They’re a legendary addition to any home studio setup that can really enhance your skills.
#9. Recording Equipment Accessories
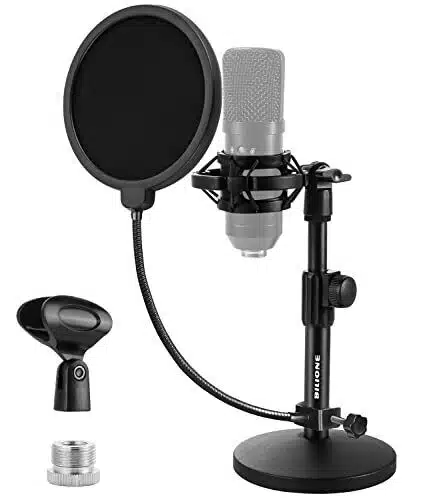
And finally, to round off our list, we have recording equipment accessories.
They are essential to achieving clean, professional-quality sound in your home recording studio so you never sound like an amateur.
Pop filters are one of the most important accessories, period.
If you’re not sure, a pop filter is a small screen placed in front of the microphone to block harsh “P” and “B” sounds (known as plosives) from distorting your recordings.
Pop filters like the Stedman Proscreen XL Pop Filter are excellent for recording vocals because they reduce plosives without affecting the actual sound of your voice.
A shock mount is another valuable tool for microphone stands.
It isolates the microphone from vibrations, which is essential for avoiding unwanted rumbles or handling noise in your recordings.
I’ve found that pairing a shock mount with a condenser microphone helps maintain clarity, especially when recording softer vocals or acoustic instruments.
A reflection filter is also helpful in untreated spaces.
It’s a small, semi-circular screen that surrounds your mic to block out room reflections 一 creating a more isolated recording environment.
Reflection filters like the Aston Halo are great for home studios where acoustic treatment may be limited, as they focus sound directly toward the mic.
With these accessories, you can improve the quality of your vocal and instrumental recordings so every detail comes through clearly in your home studio setup.
Final Thoughts
And there you have it… everything you need to build the perfect home studio setup from the ground up, tweaked to your unique style.
Whether you’re just starting out or looking to upgrade your existing space, these tips will help you achieve a professional sound (without breaking the bank).
Remember, it’s all about selecting the right equipment, optimizing your environment, and maintaining an efficient workflow.
Plus, making sure your gear is organized, your acoustics are treated, and your software is up-to-date will make a significant difference, so don’t overlook those things.
As a special bonus, since we’ve discussed the importance of quality samples and staying within budget, you’ve got to check out these epic Free Sample Packs.
They all offer high-quality sounds, from crisp drum loops to hypnotic melodic elements 一 giving you everything you need to stand out and make your beats shine.
They’re all created by the world’s top producers and sound designers, so trust me you’ll be getting only the highest of quality.
By using these completely free sounds, you’ll instantly capture the attention of not only your audience, but the industry as well.
Bottom line, with the right tools and a well-thought-out setup, you’re well on your way to producing music that dominates your competition.
Just remember to always stay creative, keep experimenting and learning, and let your home studio be the launchpad for mind-blowing beats every day.
Until next time…


Leave a Reply
You must belogged in to post a comment.