Different saturation effects can be total game-changers for your beats 一 they bring warmth, depth, and unique textures to your tracks.
Plus, adding analog warmth, subtle distortion, and harmonic richness can make your tracks sound less generic and more pro-level.
As producers, mastering various saturation techniques can seriously elevate your mixes. That’s why I’m breaking down everything you need to know, like:
- Understanding saturation (and key components) ✓
- Types of saturation effects ✓
- Applying saturation to drums ✓
- Using saturation on bass ✓
- Enhancing vocals with saturation ✓
- Adding saturation to synths ✓
- Techniques for parallel saturation ✓
- Subtle drive settings ✓
- Using saturation for harmonic enhancement ✓
- Creative uses of saturation & using saturation plugins ✓
- Tips to enhance your music production skills ✓
- Much more about different saturation effects ✓
By mastering these saturation effects, you won’t just add warmth and depth but also bring your tracks to life and help you dominate the competition.
Your music will be vibrant, engaging, and incredibly addictive.
Plus, you’ll mix and produce like a real pro, creating tracks that truly stand out in the digital realm.
Table of Contents
What Exactly is Saturation?
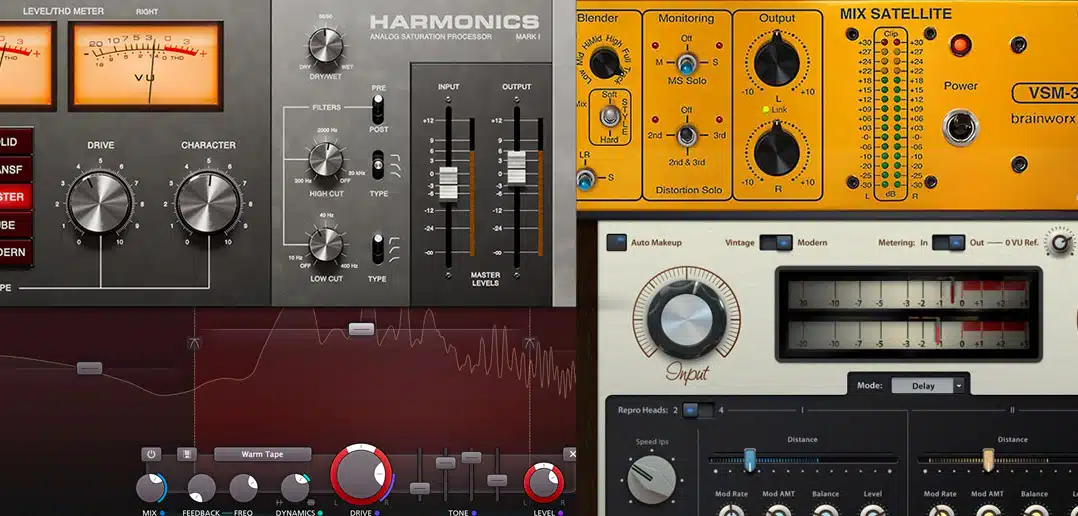
Saturation is, of course, an essential tool in digital music production that adds harmonic distortion to give your sounds a warm and interesting texture.
It’s all about emulating analog equipment, which adds some extra color and depth to otherwise amateur or boring digital recordings.
When audio signals are pushed hard beyond their limits, they saturate 一 creating additional harmonics (aka overtones) that enhance the overall mix.
This gives you audio that sounds more dynamic and lively, perfect for both subtle and dramatic effects; dealer’s choice.
You’re going to use saturation in various stages of your music production process to add character to either individual elements or the entire mix as a whole.
Basically, whether you’re enhancing vocals, guitars, or even drum buses, saturation can make things sound more professional and way less boring or basic.
It’s a go-to technique for achieving a polished and engaging final product.
Just remember, experimenting with different types of saturation can bring a unique flavor to your music, and yes, we’ll be talking about that later on.
Side note, if you want to check out the absolute best saturation plugins in the game, we’ve got you covered.
Types of Saturation Effects: Breaking it Down
Now that you know what saturation itself is and have a better understanding of its role, let’s break down some of the different, most popular types of saturation effects that you’ll be dealing with. Understanding these saturation effects will help your tracks really stand out.
-
Tube Saturation
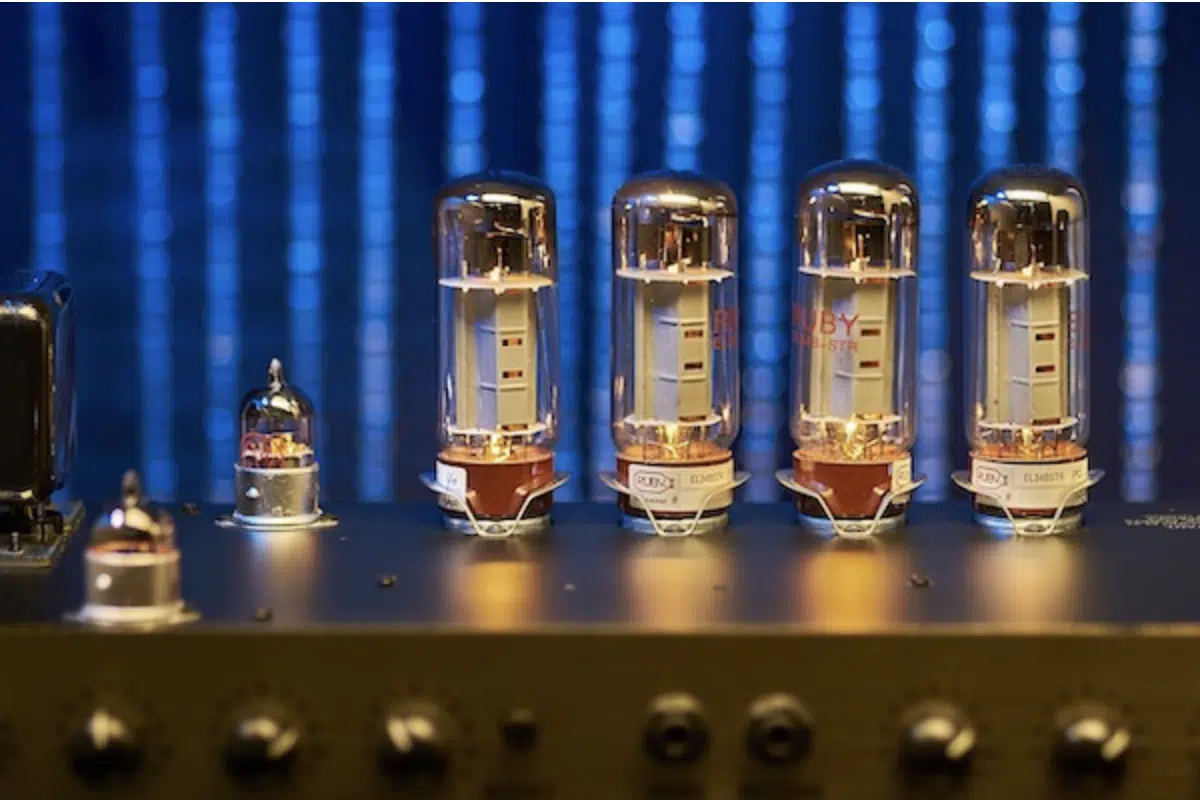
Analog tube saturation runs audio signals through vacuum tubes to create even-order harmonics that add warmth and richness to your mix.
Yes, you’ll most likely be using digital plugins that are carefully modeled to emulate this effect (with stunning accuracy I should add), but it’s important to know the history.
This effect can be subtle but impactful, and is usually used to enhance vocals and electric guitars by adding a pleasant color.
A good starting point is to set the drive to around 15% and blend the wet/dry signal to 50% for more balanced saturation.
If you’re working on a vintage-themed track, tube saturation can give it that authentic analog feel that people absolutely love.
In digital music production, it’s also excellent for anything from low levels of adding glue to your master bus for a cohesive mix to extremes…
This can give you a range of new and interesting sounds for you to play around with like dirty overdriven distortion to some lo-fi grit or warmth (it’s all awesome, truly).
NOTE: Tube saturation is super versatile and can be used on individual tracks, the entire mix or even both, believe it or not.
For example, you can apply it to synths to subtly enhance the mids and highs while maintaining clarity and some low-end bubble.
Just remember to monitor your levels to avoid unwanted distortion as too much can negatively impact the harmonic balance and actually end up reducing the low end.
-
Tape Saturation

Tape saturation mimics the sound of analog tape machines by emulating the non-linearities of magnetic tape recording.
It adds unmatched warmth and slight compression to audio.
This effect introduces a gentle saturation curve 一 creating a smooth, more ‘musical’ distortion that’s absolutely perfect for drums and bass.
It works best on bass though, adding both thickness and warmth to the low end.
Tape saturation is also super useful in genres like rock and EDM, or any other genre where a rounded and cohesive sound is desired.
My advice is to add it to your mix bus to give your tracks that sought-after analog vibe (when that’s the vibe you’re going for, of course).
Using tape saturation can also help glue the elements of your mix together for a greater sense of unity and depth, which is always a plus.
Just don’t forget to play around with different settings to find the sweet spot without over-saturating your mix.
-
Digital Saturation
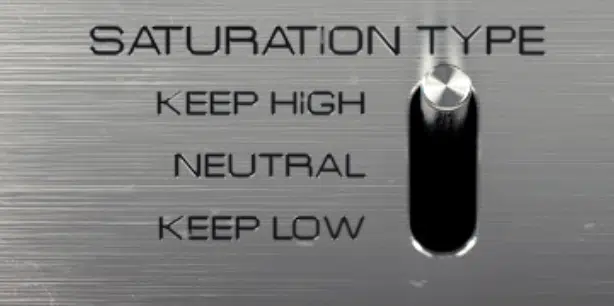
Digital saturation uses complex algorithms to give you a clean and versatile form of distortion for more modern music genres.
Unlike analog saturation, it doesn’t aim to emulate specific hardware but it does provide precise control over harmonic content.
Although analog lovers and those who know about different saturation types, sub-types, and processors mostly consider its effect flat/sharper and less forgiving than analog.
However, that’s not to say it can’t play a major role in anybody’s mix, including the critics, because it can bring real clarity and precision to the table.
It adds brightness and edge to elements like synths and electronic drums to make them stand out in your mix.
Digital saturation can also be used to hype up specific parts of the mix, such as vocals, without introducing unwanted noise.
But, just remember to apply it sparingly to avoid over-saturation, which can lead to a harsh or brittle sound that nobody wants to hear.
NOTE: Using a low-gain setting like 10% and gradually increasing it while monitoring the frequency response can help in maintaining the quality.
Bottom line, this type of saturation enhances the finer details in your mix, giving it a polished and professional finish if you implement it correctly.
-
Transistor Saturation & Transformer Saturation
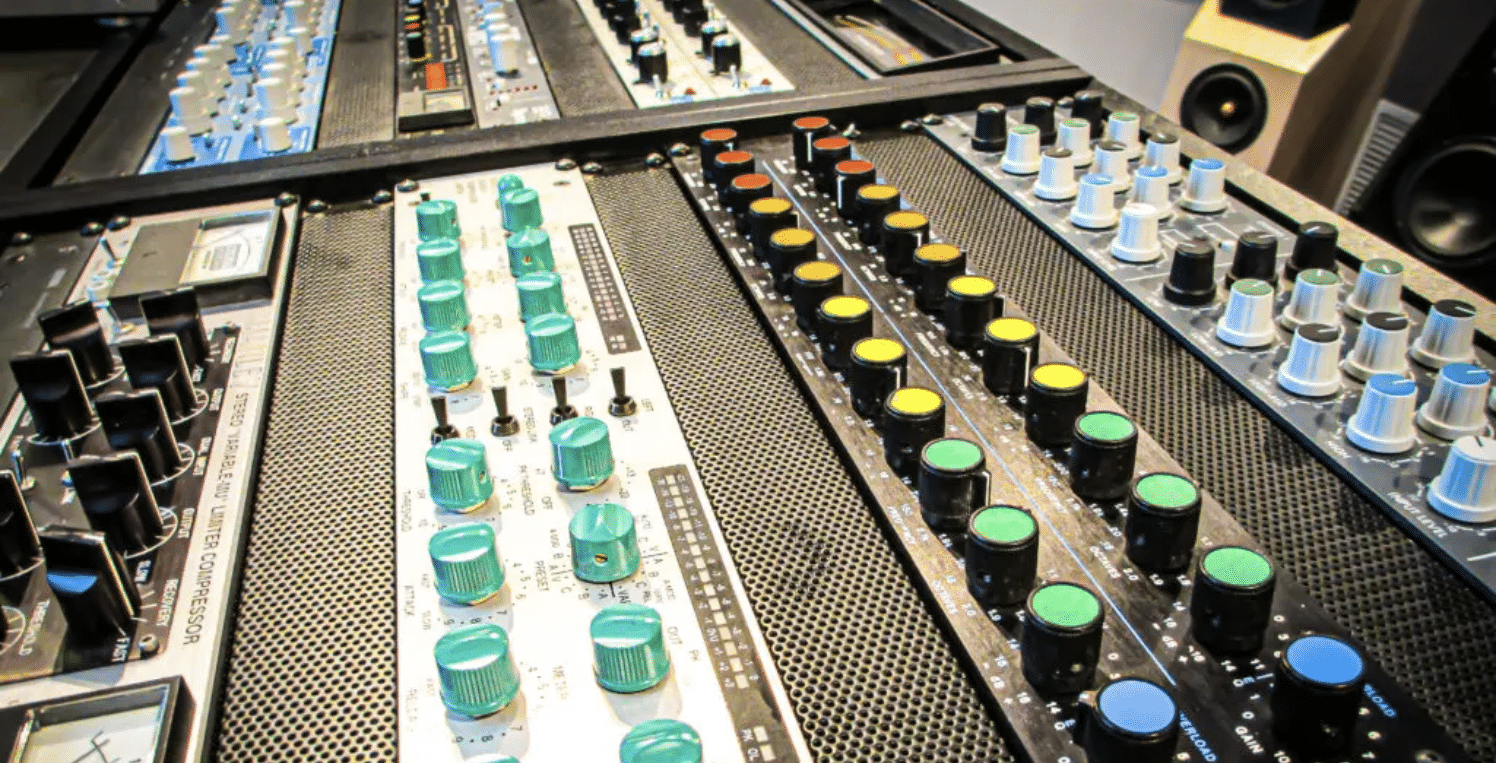
Transistor saturation is achieved by driving audio through transistors, resulting in odd-order harmonics that add grit and edge to your sounds.
This type of saturation effect is great for guitars and bass because it provides a sharper and more aggressive tone that’s perfect for that kind of vibe.
Start with a drive setting of around 15% and adjust to taste based on the desired amount of grit, though because every track is different.
Transformer saturation, on the other hand, is created by running audio through transformers 一 generating even-order harmonics that add warmth/thickness.
It’s also perfect for thickening up drums and adding body to vocal tracks by setting the drive to approx. 20% for a warm, harmonic boost without overloading the mix.
Combining these two saturation types can actually give you a dynamic, unique sound that enhances elements of your mix while keeping a balanced frequency spectrum.
But again, always play around with different settings and blends to find the ideal combination for your unique tracks.
Applying Saturation Effects to Different Instruments
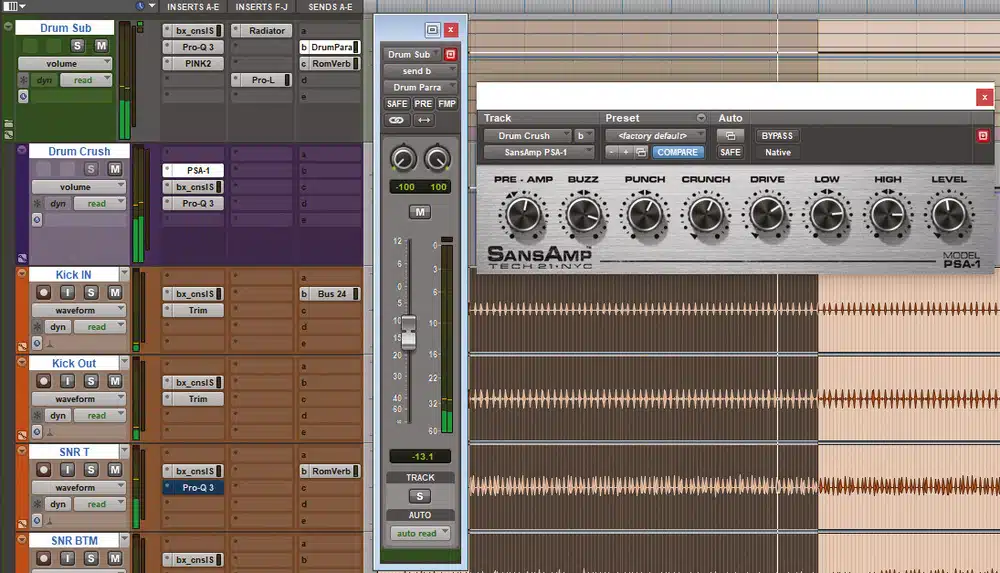
Applying saturation effects to individual instruments can add even more warmth, depth, and character to your mix.
For drums, a subtle tape saturation can add punch and cohesiveness 一 set the drive to 20% and blend with the dry signal at around 40%.
Bass instruments benefit greatly from tube saturation to give them that much-needed warmth and thickness (aim for a drive setting of 15% to start off).
Guitars, both electric and acoustic, can be enhanced using transistor-based saturation, adding a bit of grit and presence…
Try a drive of 10%, adjust to taste, blending the mix until you achieve the right tone and balance even if it takes a little extra tweaking.
When working with vocals, digital saturation can help add clarity and brightness without introducing unwanted noise.
Set the mix drive to 25% and monitor levels to avoid distortion.
For synths, combining subtle saturation types can create a more textured sound; experiment with different settings and blends.
Adding saturation to each element ensures a more fluid and dynamic mix that will flow perfectly for that extra, razor-sharp precision.
This helps you maintain balance while injecting life into your tracks.
Techniques for Subtle Saturation
To achieve a polished and professional sound, subtlety in your saturation effects is key. It really makes a huge difference, trust me. So, now let’s dive into some techniques that will help you achieve that perfect balance without overpowering your mix.
-
Blending with Dry Signal (The Mix Parameter)
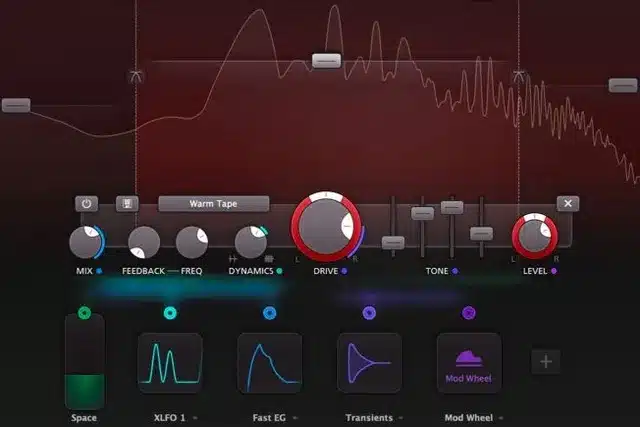
Blending the saturated signal with the dry signal is the absolute most important control and allows you to retain the natural dynamics of your mix.
All while adding warmth and character (do I sound like a broken record? Sorry about that).
You’re going to start by applying saturation to the instrument or track of your choice and set the drive to a moderate level, around 20%.
But, you may want to start lower depending on the track at hand.
Next, adjust the Mix parameter 一 aiming for a balance that enhances the sound without overpowering it.
A good starting point is at around 20%, and then you can increase from there depending on the signal, the utility, and the effect you are trying to achieve.
Remember, saturation effects need to be tweaked based on your unique style.
-
Subtle Drive Settings
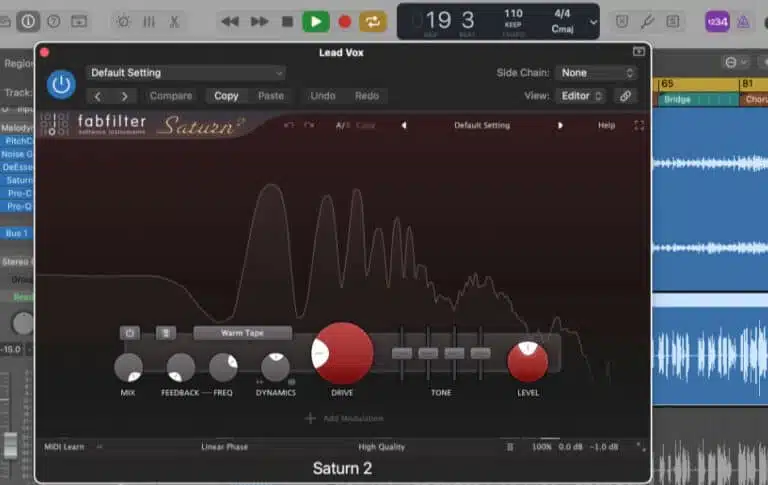
Using subtle drive settings can add harmonic richness without overpowering your mix, so you’re going to start with the drive setting around 10% to 15% for a gentle touch.
This works great on bass instruments to enhance warmth and thickness without any unwanted distortion being thrown into the mix.
Next, apply a touch of drive on the mix bus to add cohesion and glue the mix together 一 setting the drive to around 12%.
For vocals, a drive setting of 15% is good because it can add clarity/presence while maintaining the natural dynamics and knocking any fakeness right out of there.
My advice is to experiment with different drive levels to find the sweet spot, adjusting depending on the genre and instrument.
Always monitor the levels closely to avoid clipping and ensure a balanced mix.
NOTE: Subtlety in saturation effects ensures that the mix retains its professional quality while adding harmonic color (and yes, I’m saying it again because it’s so important).
-
Adding Texture and Grit
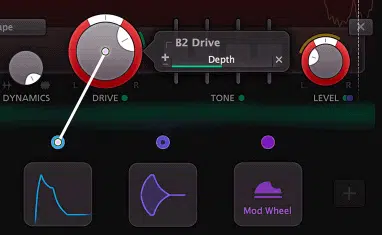
When it comes to saturation effects, texture and grit is the name of the game because it can give your mix a unique and more engaging sound.
Start by applying moderate saturation to instruments like electric guitars and drums to add a bit of edge that can instantly captivate.
Set the drive to around 20% to 25% for noticeable grit and then simply adjust the blend to taste 一 pretty straightforward once you get the hang of it.
This is great for rock and alternative genres, where a raw and energetic sound is needed (you can get creative and blend whatever you want, never forget that).
For vocals, adding grit can add character and attitude, so aim for a drive setting of 15% to 20% and blend carefully and to taste.
Use transistor-modeled saturation for a more aggressive tone, especially on electric guitars and bass.
Monitor the levels to ensure the grit enhances rather than overwhelms the mix, and remember tweaking the amount of grit can give each track its own distinctive character.
-
Using Parallel Saturation
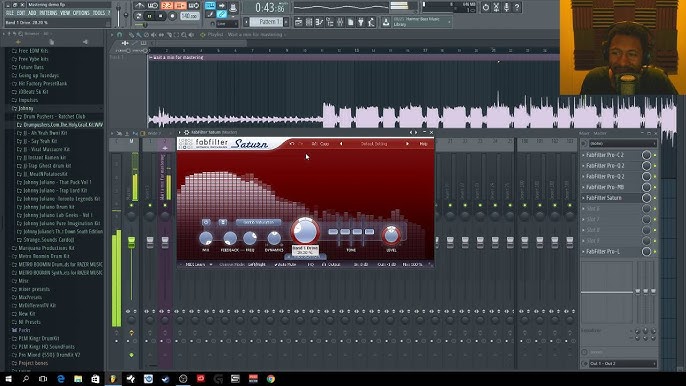
You can use a parallel processing approach by duplicating the track and applying audio saturation to one with the mix level of the saturation at 100%.
Just make sure to keep the other track dry, and then blend the levels of the two signals to taste.
Start with the drive signal at just below its current level and the wet signal relatively low or zeroed out, then play back and gradually increase the wet signal however you want.
Remember, less is more since the wet signal is so over-saturated.
Then, increase the saturation’s drive higher than you normally would to really push one wet signal hard (yes, even if it feels a little excessive for the moment).
This technique works wonders by adding brightness and presence while maintaining clarity, which is what it’s all about.
Blending in small amounts of the overdriven saturated signal can add punch and cohesion without muddying the mix.
NOTE: Always use your ears to find the sweet spot, as the ideal blend will vary depending on the instrument and context.
Also, keep in mind that fine-tuning the blend along with the drive level can improve the overall texture of your mix.
For example, applying parallel saturation to vocals can add brightness and clarity without losing the natural quality of the original recording (score).
On drums, this technique can add punch and cohesion 一 enhancing the overall rhythm section altogether.
Too much, however, such as an improper ratio of the wet and dry signal can have the opposite effect, so you really have to be careful.
So, tweak the mix levels to taste so the saturation doesn’t screw anything up.
Parallel saturation is a versatile and powerful tool in digital music production, allowing you to achieve a professional and dynamic final mix, so never overlook it.
-
Using Saturation for Harmonic Enhancement
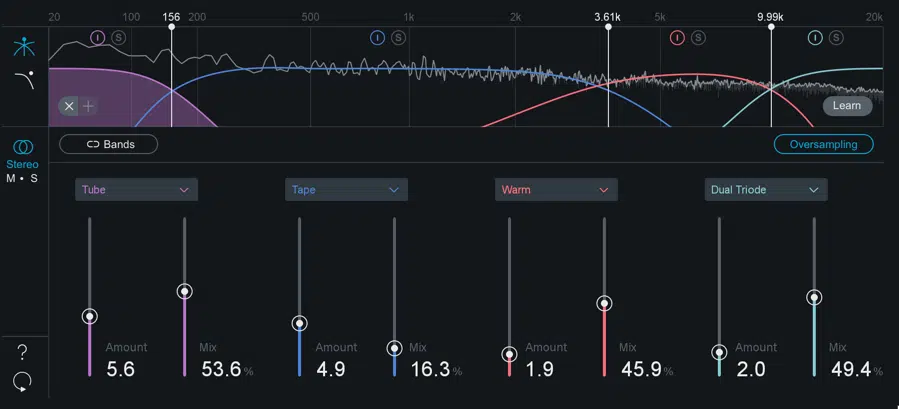
Applying saturation for harmonic enhancement is everything, and each type of saturation effect introduces different harmonics so it’s important to know their impact.
Something known as a “harmonic exciter” is preferred for a mix or master bus since it’s on point but also relatively subtle and transparent.
On the flip side, tape saturation can be used in the same way, just adding a little more weight, analog warmth and bottom to the low-end.
You’ll want to start with even-order harmonics for a warm and musical tone (again, perfect for vocals and acoustic instruments).
Odd-order harmonics, on the other hand, add a more aggressive edge (this one is perfect for electric guitars and drums).
Set the drive level to around 15% to 20% for noticeable harmonic enhancement without overpowering the original signal.
Then, make sure to use a high-pass filter to remove any unwanted low frequencies and keep the sound clean.
Play around with different saturation effect types to find the right harmonic balance for each and every element of your mix…
It will make a significant difference as one is usually preferred over the other for a unique track and use case.
Remember: enhancing harmonics with audio saturation can make your tracks sound fuller and more engaging, so don’t overlook it.
While overdoing it can alter the harmonic content and balance, so don’t over-cook it (damn, that’s a really good one lol).
NOTE: When any saturation effect occurs, you’ll want to always keep an ear on the fundamental frequency of each instrument.
This way, you can make sure you’re not losing any important harmonic content.
Check the frequency response using an analyzer to see how the saturation impacts different frequency ranges like a true professional would.
Integrate the saturation effect within your channel strip to maintain a cohesive workflow and leverage the power of analyzation plugins for precise control over your mix.
Creative Uses of Saturation Effects
Saturation effects aren’t just for adding warmth and character… They can also be utilized in super creative ways to achieve unique sounds and textures. So, let’s break down some more innovative ways to use saturation in your tracks.
-
Creating Chill Lo-Fi Effects
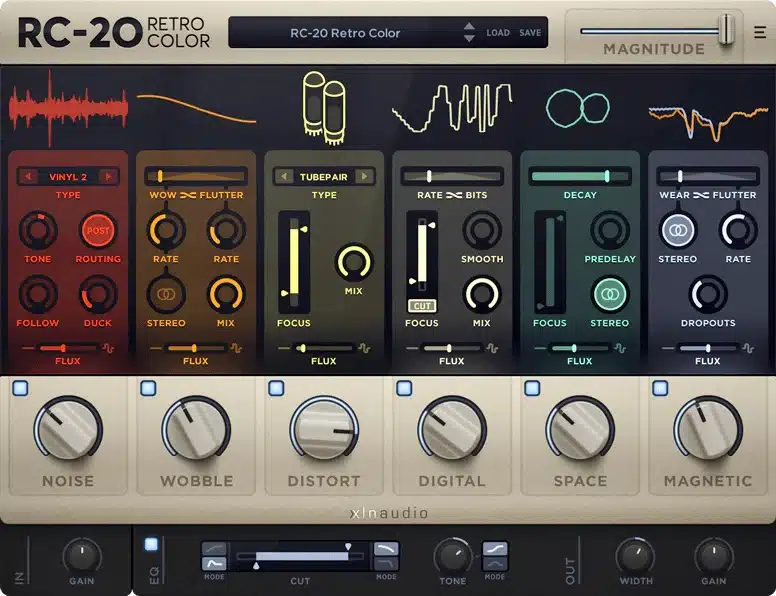
Creating lo-fi sounds with saturation effects can give your mix a nostalgic and gritty feel that’s actually super popular right now.
To do so, apply a saturation effect of the analog variety with a moderate drive setting 一 around 30% so the distortion is the star.
You’ll want to use a low-pass filter to roll off the high frequencies to mimic the sound of old recordings as well.
Adding subtle hums and tape hiss can enhance the lo-fi vibe, so a tape machine plugin is ideal for this effect, just sayin’.
Apply the tape effect on your drum loops or guitar tracks to give them a vintage vibe.
Blending the lo-fi saturated signal with the dry signal can enhance that desired retro feel while maintaining clarity, so definitely give that a go too.
NOTE: If you want to add some wobble, warble, and drift, really going hard on the lo-fi effect, experiment with the many settings found on a tape machine.
You can make it subtle to keep it somewhat modern or make it sound like a broken record by setting these settings relatively high; dealer’s choice.
-
Pro Tip: Emulating Analog Gear Like a Boss
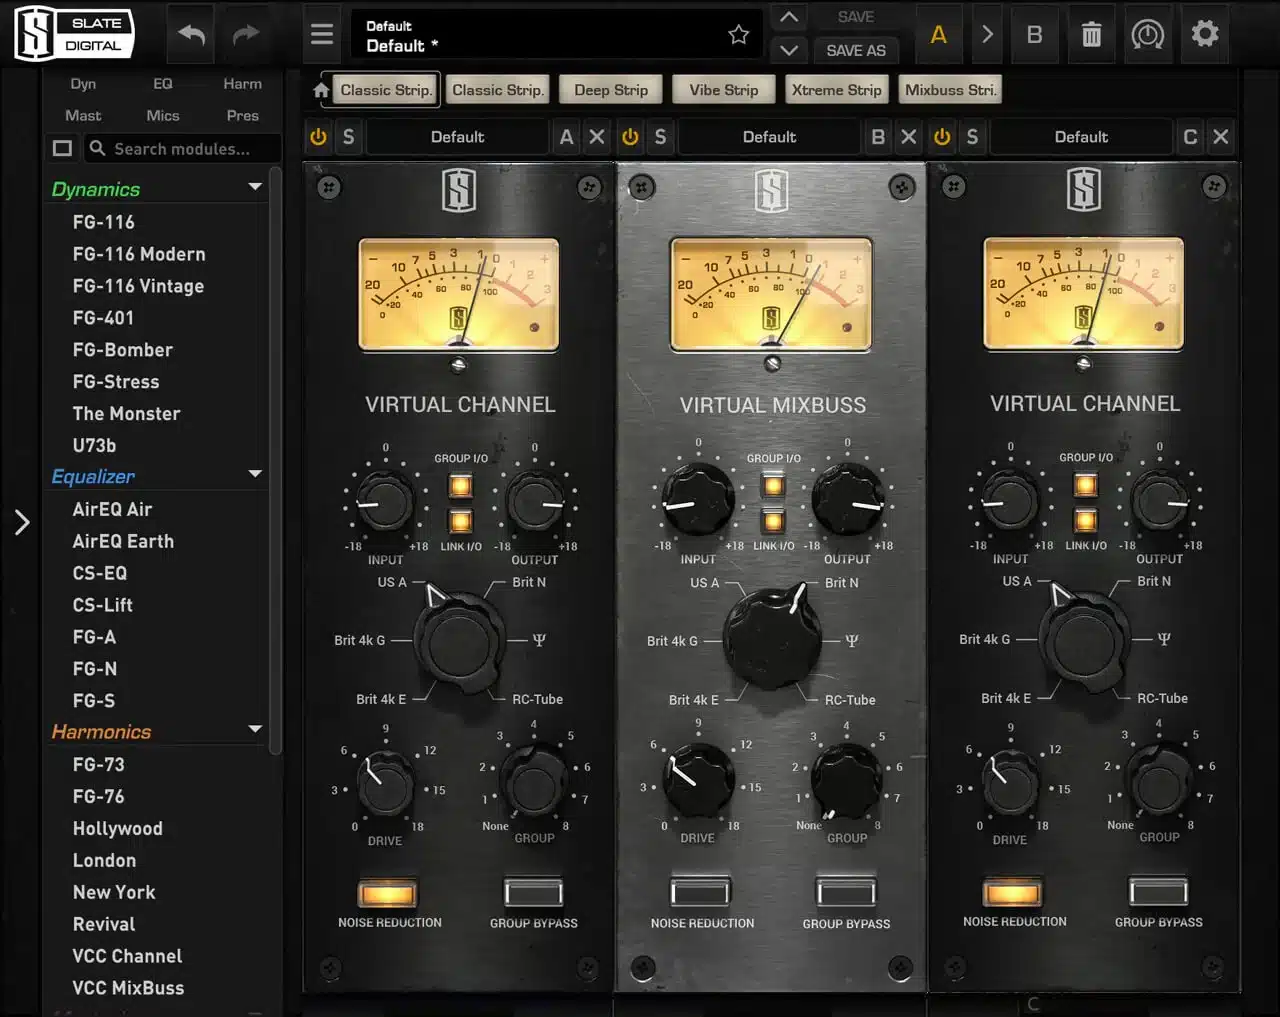
Emulating analog gear with saturation effects can really help you bring an authentic feel to your track (I mean, who doesn’t love an analog sound, am I right?).
You can use transformer saturation and transistor saturation to simulate the sound of vintage hardware super easily
To do so, apply around 15% to 20% drive for transformer saturation to add a warm, tube-like quality that’s actually pretty intriguing.
For transistor saturation, aim for 10% to 15% drive for a slightly more aggressive tone and then blend things until you feel like it’s perfect.
This will make sure your final mix retains clarity while gaining the analog sound.
Using these techniques during sound design, which we’ll talk about in the following section, nails down the nuances of analog equipment.
So, if you want to achieve that coveted analog sound with digital saturation effects (all without needing expensive outboard gear), you’ve got it with this one… Pretty cool, right?
-
Saturation Effects + Sound Design = Match Made in Heaven
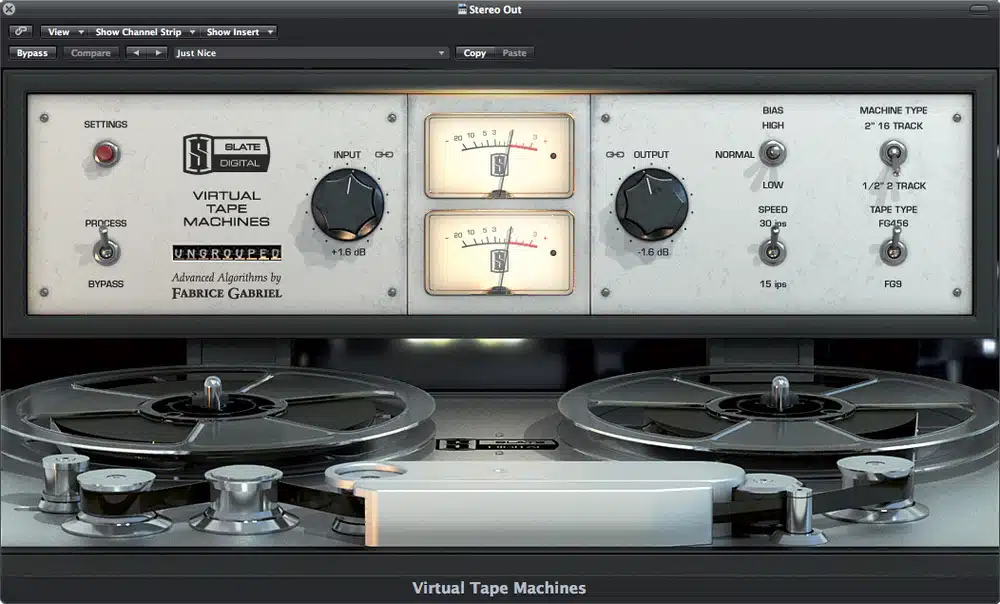
For all my fellow sound design enthusiasts, using saturation effects in your workflow can really bring some unique, captivating textures to any audio.
Start by applying a saturation effect on lead synths with a drive setting of 25% to add harmonic richness and make them stand out.
When it comes to drum loops, use tape saturation at 30% to introduce subtle compression and warmth 一 targeting around 2 dB of gain reduction.
Apply transistor saturation to create gritty effects for sound design elements like risers and impacts (a starting point could be a drive of 20%).
Then, use a high-pass filter at 40 Hz to remove any unwanted low-frequency rumble.
When working with atmospheric pads, layering a combination of multiple saturation effects with different harmonic content can create lush and evolving textures.
Also, I suggest that you try combining tube and tape saturation with a 60:40 wet-dry blend, setting the input gain to -2 dB to prevent hard clipping while adding saturation.
By doing this, you’ll be able to tweak each element’s texture in your sound design 一 making your audio truly unique and professional.
Bonus: Combining Different Saturation Types for Epic Sounds
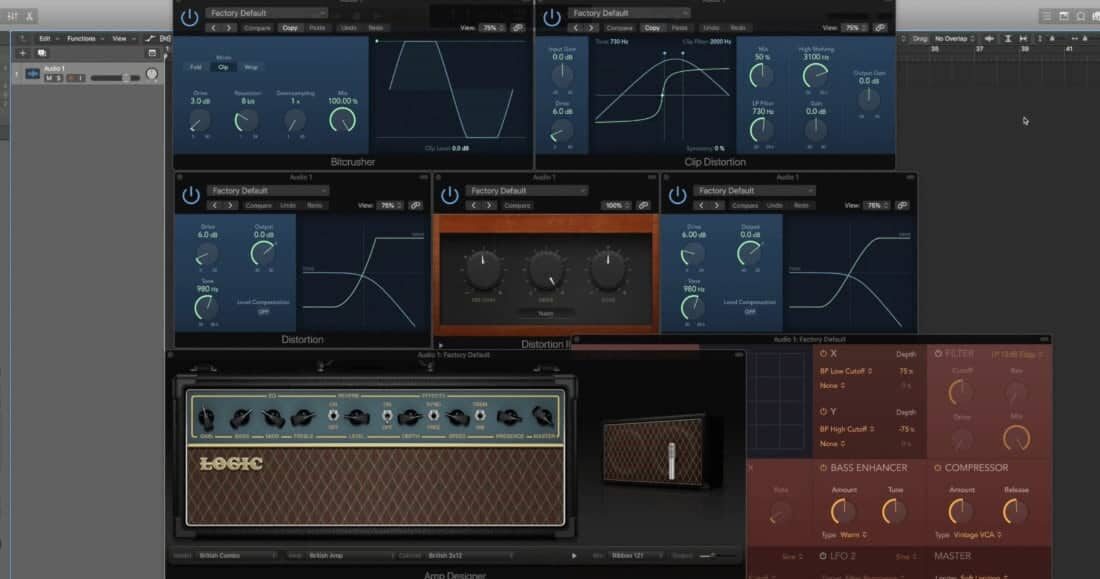
As we touched on earlier, combining different saturation types can create an insanely powerful and multi-dimensional sound.
Begin by applying tube saturation with a drive setting of 15% on your bass tracks to add warmth and even harmonics.
Layer this with digital saturation set to 20% on your synths to add brightness and edge.
For vocals, use tape saturation at 15-20% to introduce subtle compression and harmonic richness, making sure to aim for around 1 dB of gain reduction.
Remember, some saturation types (like tape saturation) offer their own kind of compression and unique dynamic shaping tool.
So it’s perfect if you need just a little compression, instead of using a designated dynamic processor.
Play around with parallel saturation for guitars, using transistor saturation at 20-25% and blending it with the dry signal at a 50:50 ratio for a balanced tone.
To add depth to your drum bus, combine tape and tube saturation with a 70:30 wet-dry blend 一 adjusting the drive for each to around 15%.
Also, use stereo widener plugins to enhance the spatial characteristics of the saturated signal, targeting a width increase of 20%.
Then, add saturation to just the side signal using mid-side processing.
NOTE: Some plugins, such as iZotope’s Ozone and FabFilter’s Saturn, allow you to add different levels to the mid and side signal with ease.
This will help you create epic, dynamic sounds all day long.
Final Thoughts
And there you have it: everything you need to know about saturation effects and how they can add some serious width and edge to your tracks.
Remember, it’s all about understanding different types, playing around with various settings, and adding character to your sounds in a way that matches your vibe.
Plus, applying these techniques can enhance your mix, bring depth and warmth, and make your music truly stand out, which is always a plus.
Luckily, with the tips, tricks, and techniques we talked about today, you’ll certainly be able to create tracks that are professional, captivating and polished.
And, bonus, you can recreate that analog sound people absolutely love.
Just don’t forget to keep experimenting and always listen critically to make sure your saturation effects are enhancing your mix in the absolute best possible way.
And, speaking of, if you want to see how epic saturation effects can really be firsthand, you’ve got to check out this legendary Free Project Files pack.
It includes 3 invaluable project files that break down exactly how to make a professional beat (from start to finish).
And yes, that includes all saturation effects and any other effect you could imagine.
It’s like having the cheat codes on how to knock out killer beats every single time, plus they’re all 100% royalty-free so you can use them however you’d like.
Bottom line, mastering saturation effects (and understanding how those saturation effects work) can take your music to the next level so it always sounds clean, on point, and engaging.
Just make sure to keep experimenting with different saturation effects and pushing the boundaries of your sound every single day 一 you never know the magic you can create.
Until next time…


Leave a Reply
You must belogged in to post a comment.