Master Bus Processing is your secret weapon as a digital music producer.
This powerful technique can bring a sense of cohesion to your tracks, add polish, and ensure they translate well across a range of playback systems.
However, if not applied correctly, it can leave your mixes sounding flat, over-compressed, unbalanced or unnatural.
It’s a fine line to walk, but I’m here to guide you every step of the way.
Today, we’re going to break down everything you need to know about master bus processing, including:
- Understanding the Master Bus and its importance ✓
- Setting up your Master Bus, using AUX channels & your DAW’s mixer ✓
- Digging into the nitty-gritty of Mix Bus Processing ✓
- Applying Mix Bus Processing to your entire mix ✓
- Enhancing the Mixing Process ✓
- Navigating advanced Mix Bus Processing techniques ✓
- Grasping the finer details of Master Bus Processing ✓
Whether you’re a seasoned producer or just starting out, this guide will provide a wealth of practical advice, tips, and techniques.
You’ll learn how to make the most of your DAW, how to achieve a great mix, and how to use master bus processing.
This way, you can create dynamic, polished tracks that sound great on any system.
By the end of this article, you’ll have a clear understanding of what the master bus is, how to use it effectively, and how it can revolutionize your mixes.
So, let’s dive in…
Table of Contents
What is a Master Bus?
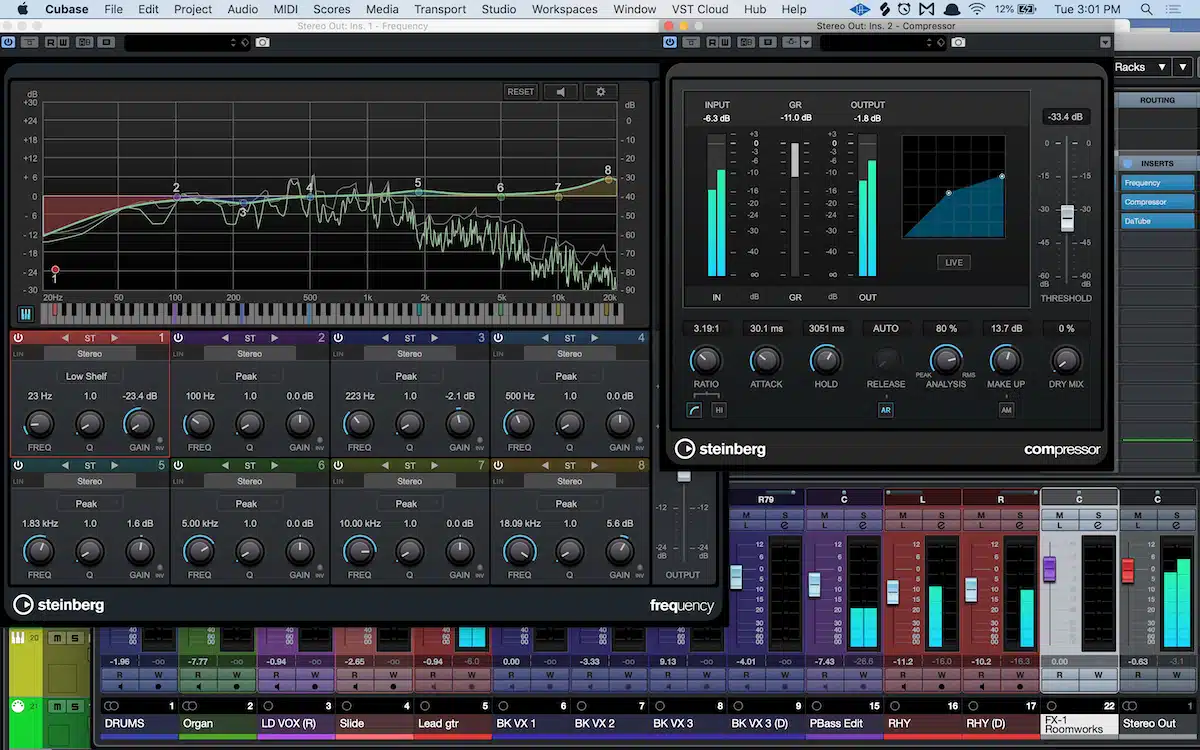
You’ve probably heard the term “master bus” tossed around in the music production community.
But what does it really mean?…
Simply put, the master bus is the final path that your entire mix travels through before hitting the output of your audio interface.
It’s like the last checkpoint where you can apply any overall processing to your mix, and it plays a crucial role in determining how your music will sound at the end.
In your DAW, whether it’s Logic Pro, Pro Tools, or other DAWs, you’ll find a channel, typically labeled something along the order of “Master Bus/Out” or “Stereo Bus/Out.”
That’s your master bus.
It’s usually located on the far right in your mixer.
Here is where all your tracks, after passing through any AUX channels (sends) and buses you’ve set up, come together as one.
Think of it as the boss who takes a look at the final product and gives it a thumbs up.
NOTE: Speaking of Logic Pro, if you’d like to learn everything about Logic Pro, we’ve got you covered.
The Importance of the Master Bus: An Overview
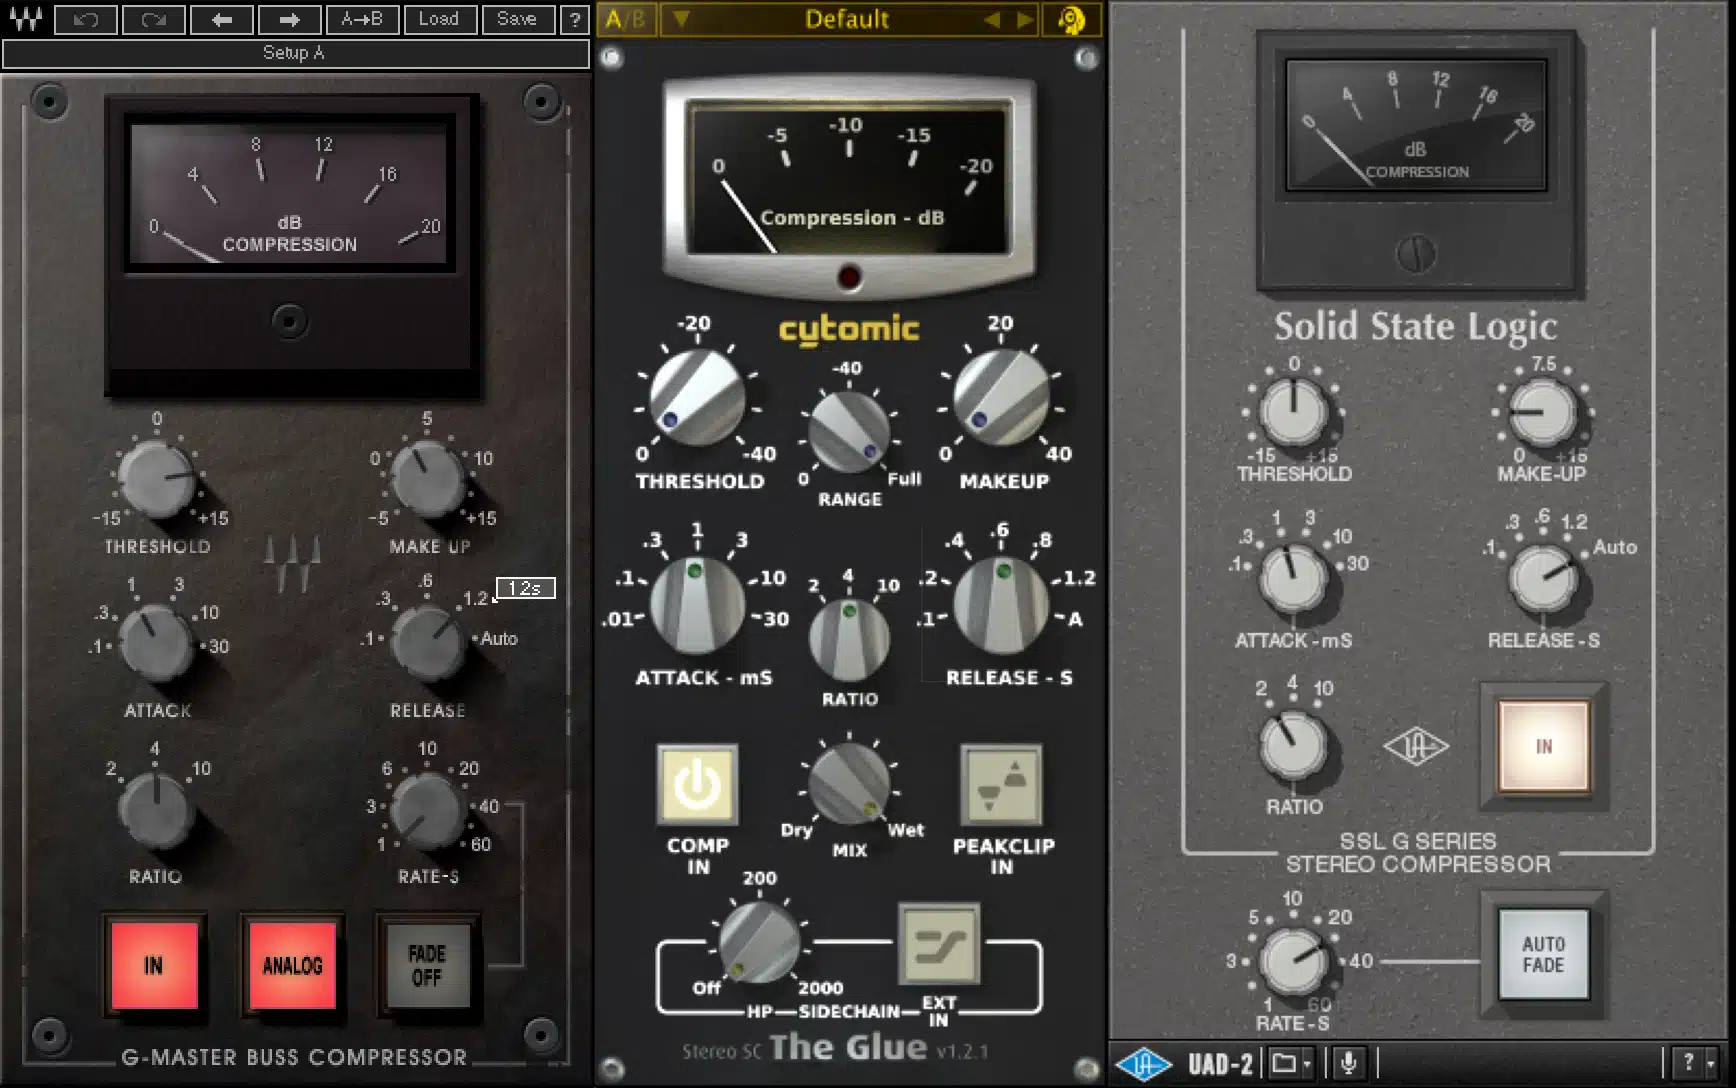
You might wonder, why bother with a master bus when you could focus on each individual track?
That’s where the beauty of the master bus comes in.
It allows you to control, enhance, and manipulate the overall character of your entire mix, rather than getting lost in the minutiae of individual tracks.
This is where the concept of mixing and mastering differentiate, as the mix is done primarily on an individual track level to ensure it’s ready for the mastering stage.
Remember, the master does not consist of mixing on an individual track level 一 it’s exclusively tied to processing on the master bus (the track as a whole).
This ensures it translates properly on any playback system and service.
Using the master bus effectively can help achieve cohesion and consistency in your mixes, giving them a professional touch.
It’s an essential tool for audio engineers and producers to apply broad stroke processing across all the tracks.
Also, it helps you to create a well-balanced and unified sound.
This isn’t about fixing major problems, as you should handle those at the track level.
But it does allow you to put the finishing touches on your mix and get it as close to perfect as possible.
NOTE: You don’t always need a mastering engineer to achieve this nowadays, either.
However, their professional mastering knowledge and experience can save you a lot of time and frustration if you’re first learning how to produce music.
Setting up Your Master Bus
Setting up your master bus (different from your mix bus) properly is a fundamental step in your mixing process.
So, make sure to pay close attention to this first section if you want to make your track sound professional, and not even a bit dull.
-
The Role of AUX Channels (Sends & Mix Buses)
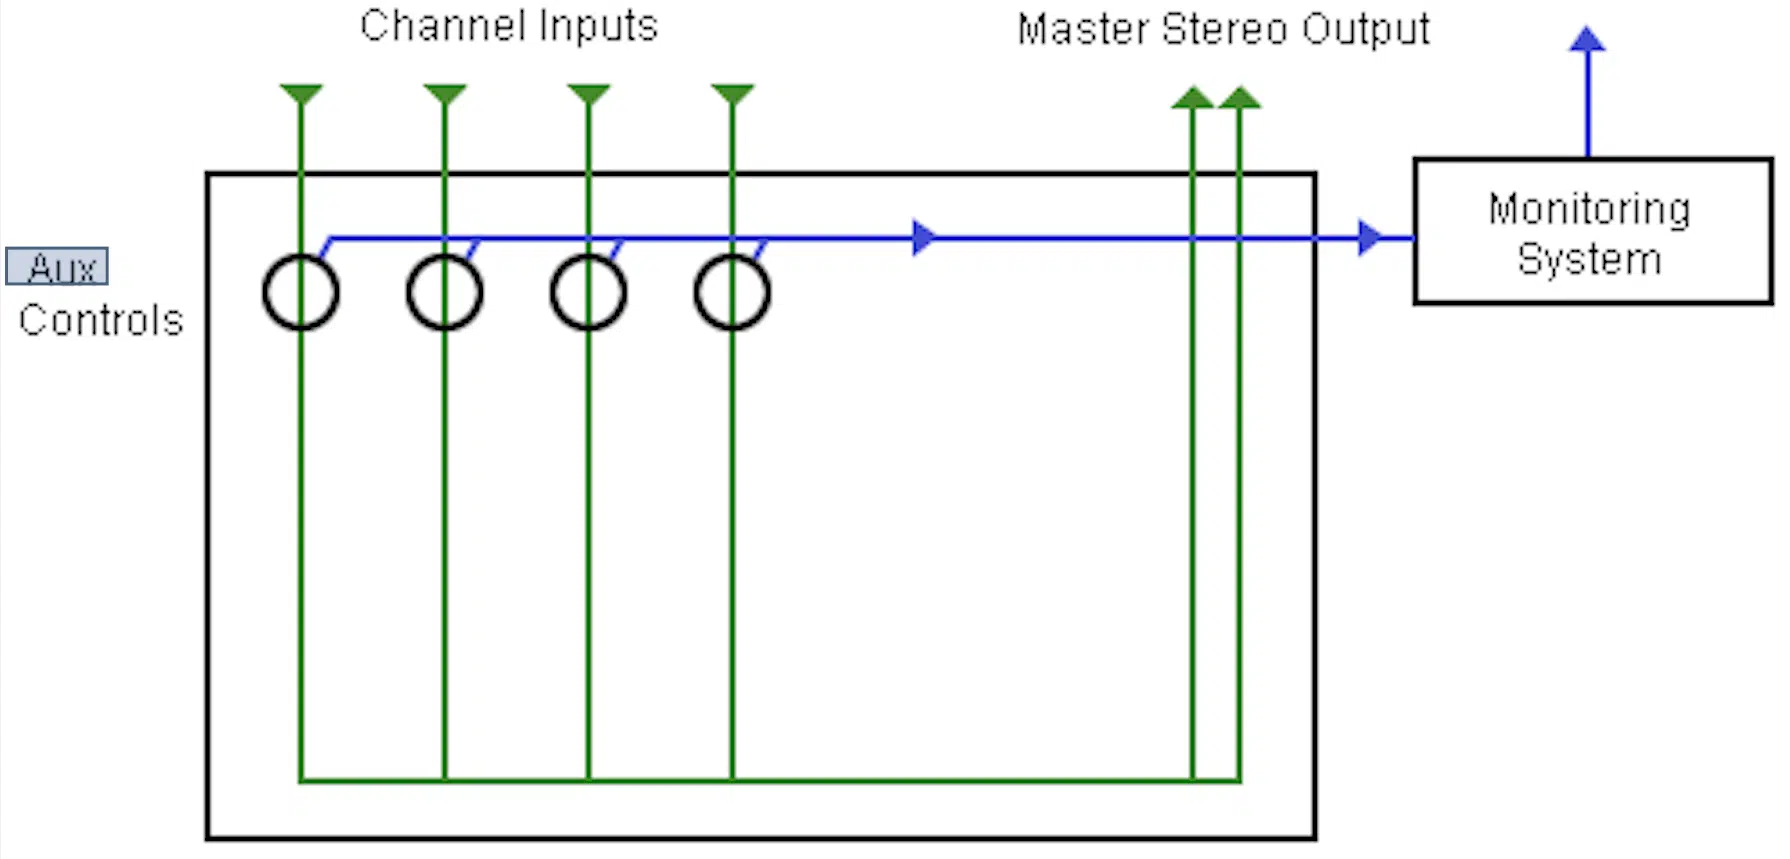
An AUX channel plays a crucial part in your mix and the overall signal flow towards the master bus.
They act like digital versions of physical sends on an old-school mixing console.
Meaning, they allow you to route signals from multiple tracks to a single destination (such as certain effects like a reverb or delay plug-in).
Why are they so important for your master bus?…
Well, an AUX channel allows you to:
- Group together similar sounds, like all your drums or all your vocals
- Apply shared processing to them
- Control their overall level with a single fader
In other words, it’s all about control.
Make sure to have your tracks neatly grouped and processed through mix groups/buses and sent to AUX sends for delay, reverb, and other effect processing.
This way, you’re able to feed a more cohesive and controlled sound into your master bus.
Finally, using AUX channels effectively can provide more headroom on your master bus, an essential aspect of gain staging.
By balancing the levels of your grouped tracks, you can ensure that your master bus isn’t being overloaded 一 which could lead to distortion (the bad kind) and create a poor-quality mix.
-
Master Bus Compression
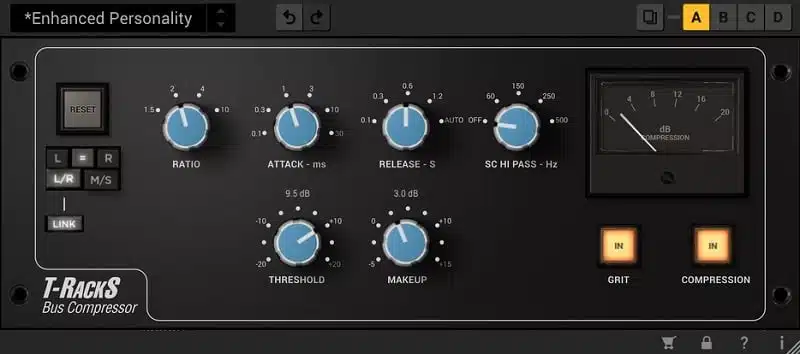
Master bus compression, different from mix bus compression and the compression applied to individual tracks and mix buses, is a powerful tool in your mixing arsenal.
This process involves applying compression to the master bus, affecting the entirety of your mix.
This is a balancing act, as it allows you to:
- Glue together different elements of your mix
- Enhance the overall punch and perceived loudness
- Preserve the dynamic range that gives your mix life and energy
The secret to effective master bus compression is subtlety.
We’re not looking to heavily squash the mix, but rather to gently tame the dynamics and bring a sense of cohesion.
Too much compression can make your mix sound over-processed and lifeless, while too little may leave it sounding disjointed.
The key to this is a relatively high threshold and a rather low ratio (around 1.5).
- A slow attack time 一 Allows transients through and preserves the punch of the mix.
- A fast release time 一 Ensures the compressor recovers quickly and doesn’t suppress too much of the body of the sound.
It’s about enhancing the sonic characteristics of your music without compromising the dynamic interplay between the elements.
-
Pro Tip

Many studio engineers like to apply a bit of master bus compression early in the mixing process, which can help shape the overall direction of the mix.
But remember, every mix is unique and what works for one may not work for another.
So, keep experimenting, keep learning, and let your ears be the final judge, so you don’t make any production mistakes.
When it comes to compression, one rule to follow is don’t apply it just because you think you’re ‘supposed to.’
If you feel like it doesn’t need to be applied or is already sonically pleasing, don’t worry about it.
-
Parametric EQ

Another vital tool in your mix bus processing arsenal is the parametric EQ.
This is an equalizer that allows you to:
- Select the frequency you want to adjust
- How wide or narrow you want the adjustment to be
- Whether you want to boost or cut that frequency
Using a parametric EQ on your master bus allows you to make broad, subtle strokes to correct any imbalances in the frequency spectrum of your entire mix.
It can help clear up muddiness, tame harshness, or bring out clarity and depth, depending on what your mix needs.
Remember, when EQing on the master bus, maintain that subtly.
Dramatic boosts or cuts can alter the character of your mix and potentially introduce frustrating problems.
Aim to enhance and refine, not drastically change by massively boosting the top-end or low-end.
-
Saturation
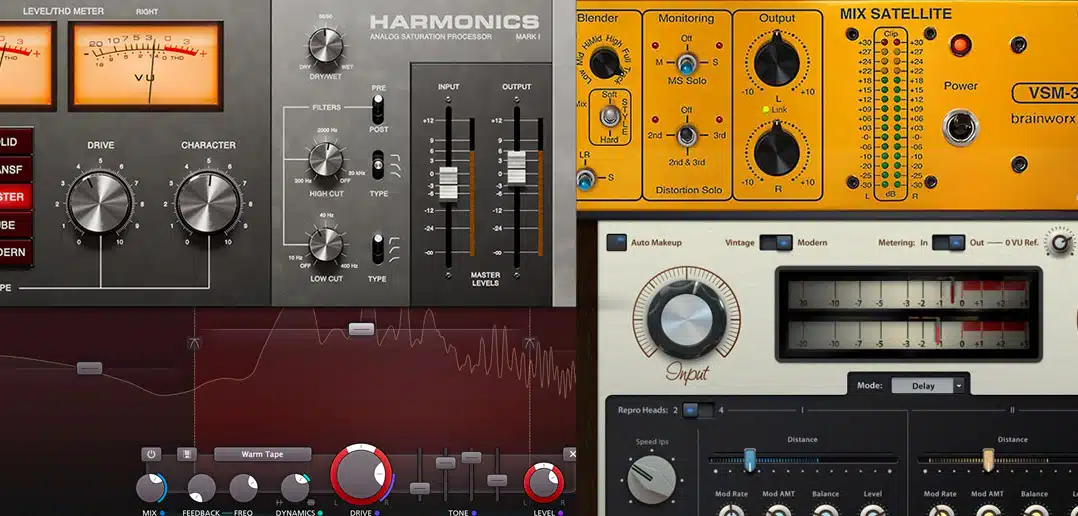
Saturation is a form of mild distortion that can add harmonic complexity, warmth, and character to your tracks when used correctly.
On a master bus, subtle saturation can also help “glue” the mix elements together.
This makes them sound more cohesive and pleasing.
There are many types of saturation plugins available, each with their own character and uses:
- Tape saturation 一 Can add warmth and reduce harshness.
- Tube saturation 一 Can create a smooth, analog feel.
- Transistor saturation 一 Can introduce a more aggressive, gritty vibe.
Again, subtlety is key when applying saturation on the master bus.
You’re not trying to heavily distort your mix; you’re just adding a touch of color and character.
If you’d like to discover the best saturation plugins of 2023, we’ve got you covered!
-
Stereo Widening
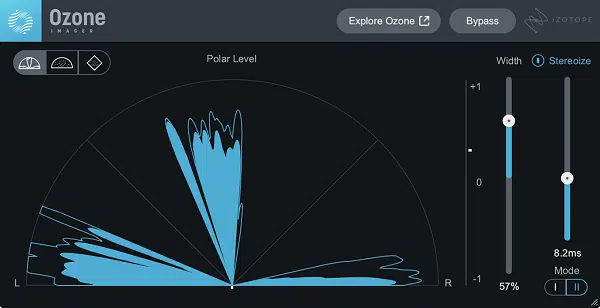
Stereo widening can make your mix sound larger and more immersive.
However, it should be used sparingly and carefully on the master bus, as overuse can lead to phase issues and a mix that falls apart when summed to mono.
Many stereo widening plugins work by manipulating the phase, panning, or level differences between the left and right channels.
Some also allow you to properly widen or narrow specific frequency ranges.
In turn, this can provide more control over the stereo image.
When used judiciously, stereo widening can add a sense of space and depth to your mix 一 making sure it sounds more engaging for the listener.
In order to do this, you’ll have to be familiar with the Haas Effect.
Creating a Balanced, Full Mix
Creating a balanced, full mix is the ultimate goal of mixing.
It involves adjusting the levels, panning, EQ, and other aspects of each track to ensure they all work together harmoniously.
It’s about making sure no single element overpowers the others and everything has its own space in the mix.
A balanced mix should sound good on a variety of playback systems 一 from high-end studio monitors to laptop speakers and headphones to car stereos, for example.
This is where your master bus comes into play.
The processing you apply on the master bus affects the entire mix and helps to ensure it translates well across different systems.
NOTE: It’s common to complete the mastering process within a mix session using your master bus, as opposed to starting an entirely new session dedicated to mastering your mix.
Once you’ve bounced it to a single track, that is, which is neither wrong nor right, just common nowadays.
It’s important to keep checking your mix in mono as well as stereo.
This can reveal any issues with:
- Phase cancellation
- Frequency masking
- Balance that might not be apparent in stereo
Most DAWs have a mono button on the master bus or master fader.
It’s there for a reason, so be sure to take advantage of it!
Using Reference Tracks
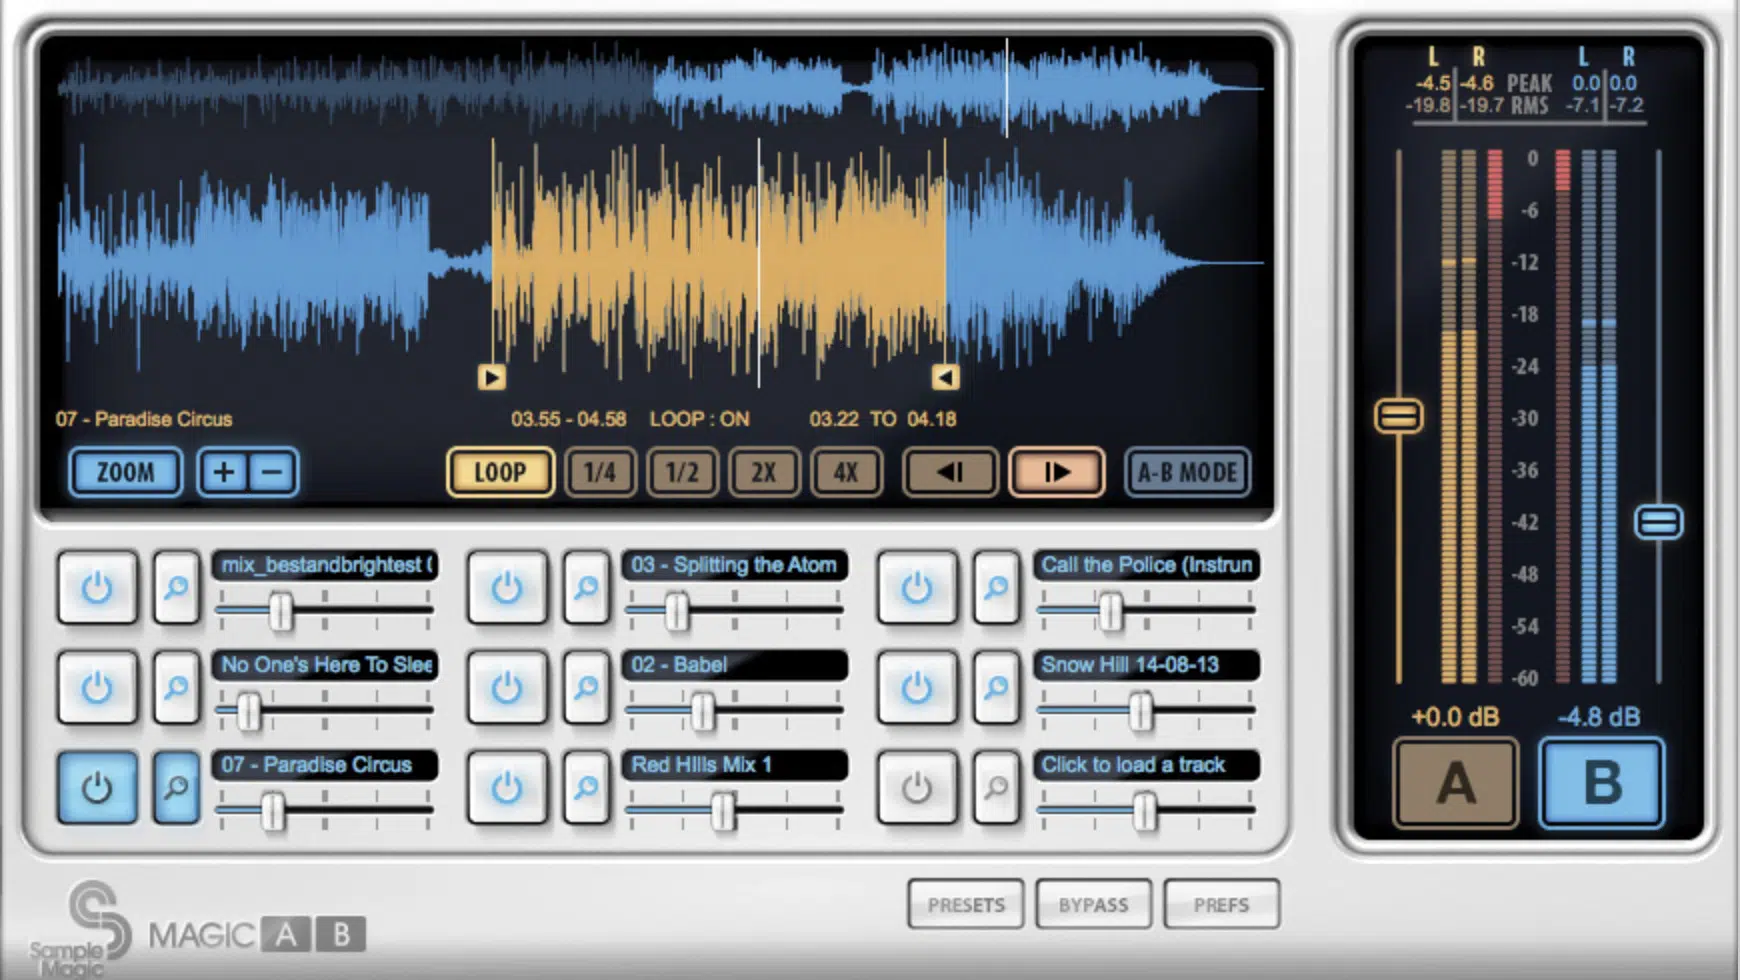
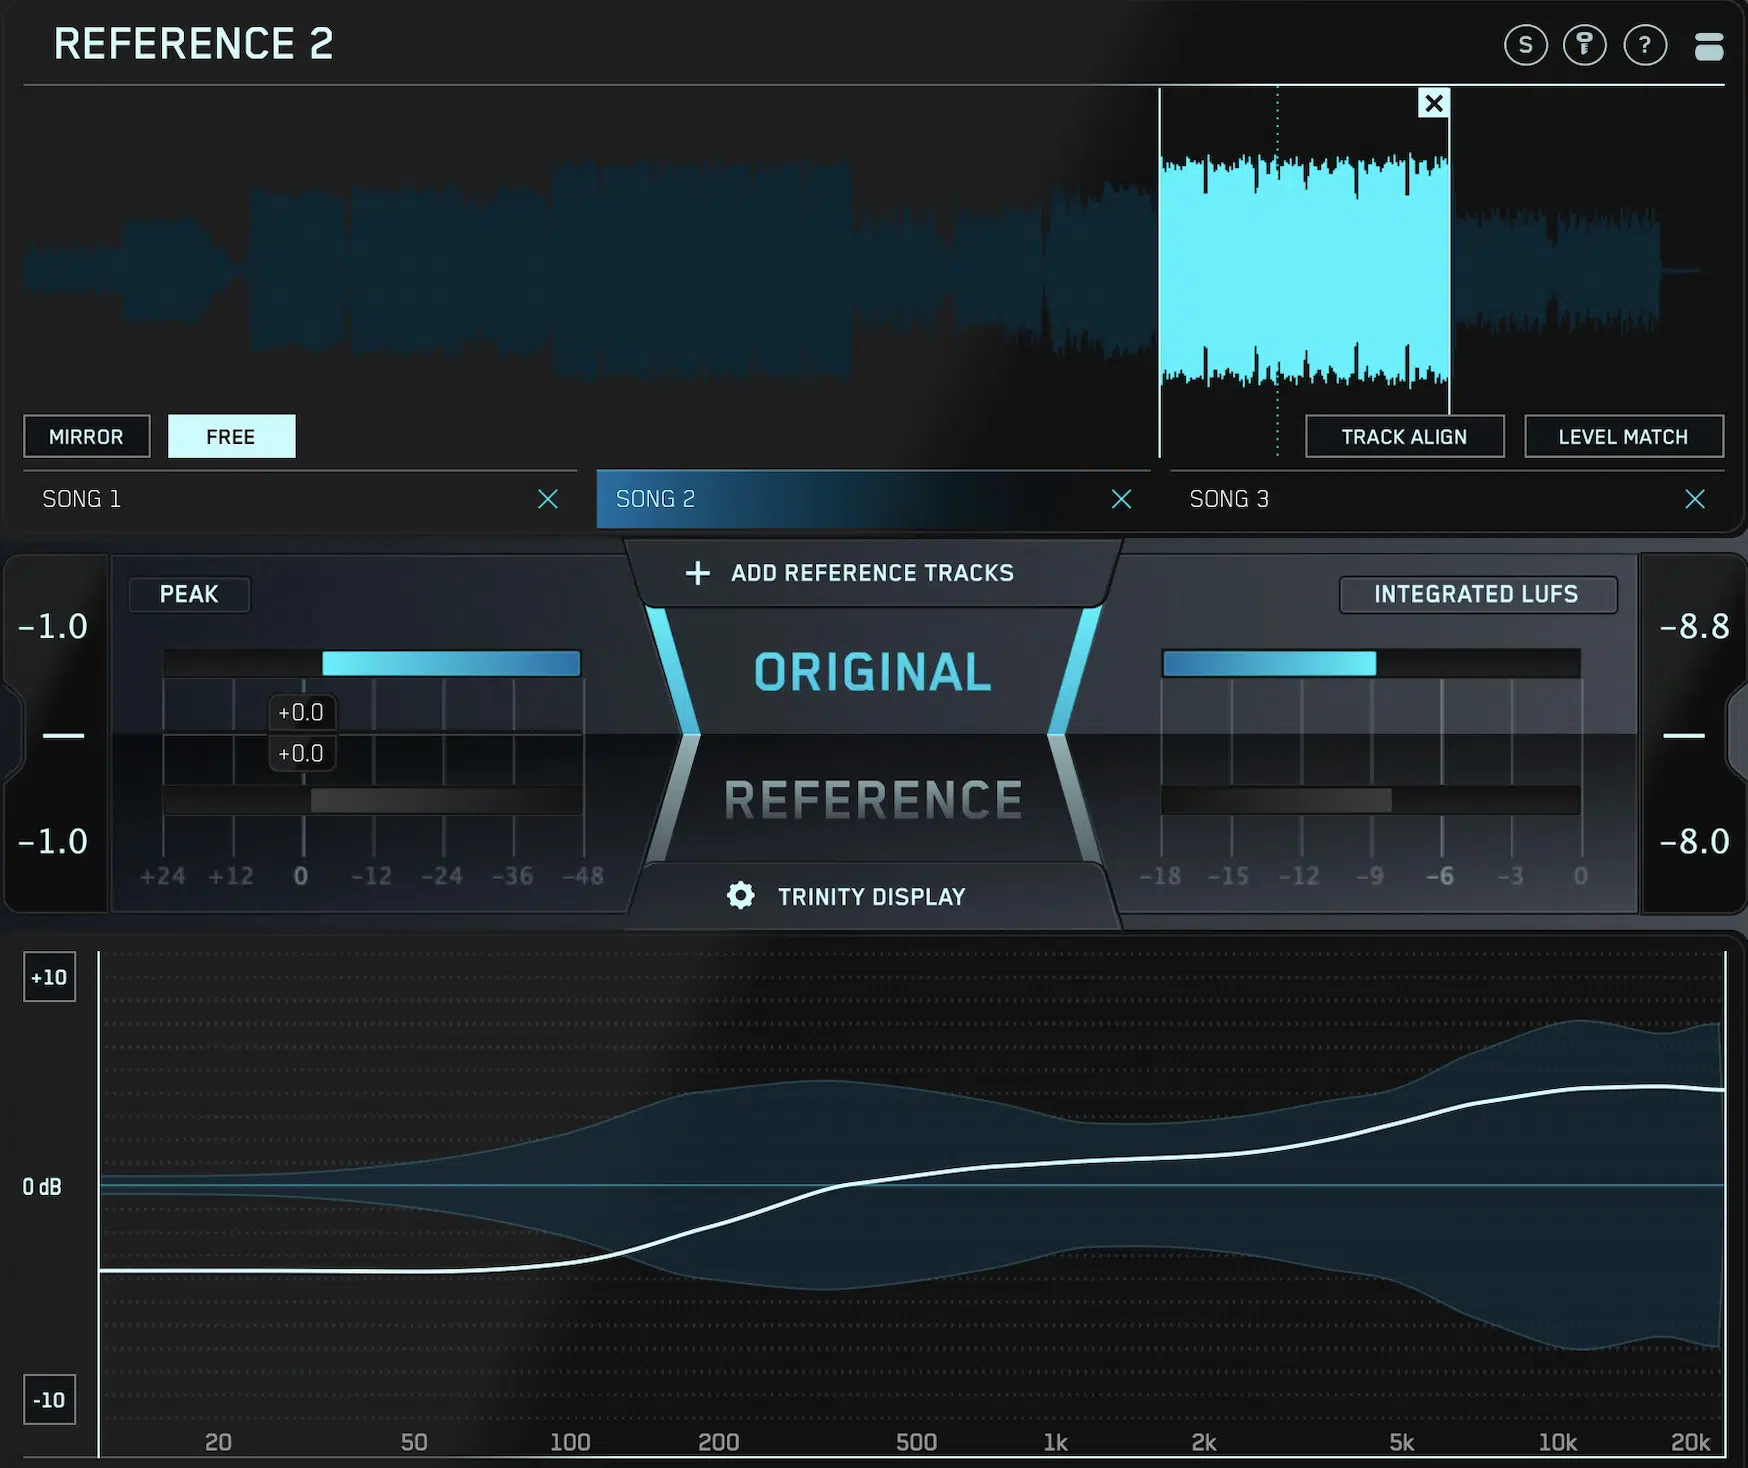
Reference tracks are professionally mixed and mastered songs that you can use as a benchmark for your own mixes.
A reference track can help guide your decisions about:
- Level balance
- EQ
- Dynamics
- Stereo width
- Overall vibe
When using reference tracks, it’s important to match the levels with your mix.
It’s proven that a louder track will generally sound better to our ears, regardless if it’s an improvement or not.
So, be sure to level-match your session to your reference track 一 ensuring a correct level for an accurate comparison.
Use a loudness meter to help with this, aiming to match the LUFS (Loudness Units relative to Full Scale) levels.
By A/B comparing your mix with your reference tracks on the same monitoring system and at the same volume, you can identify areas in your mix that need work.
Perhaps your mix is too bass-heavy or lacks clarity in the upper mids compared to your reference track…
Use these insights to tweak your mix and master bus processing.
Mix Processing: Enhancing the Mixing Process
Getting the most out of your mix involves more than just having the right equipment.
It involves a deep understanding of your tools, including gain staging and output, your DAW’s interface and input, and how to process your master bus with mastering plugins.
-
Gain Staging & Output
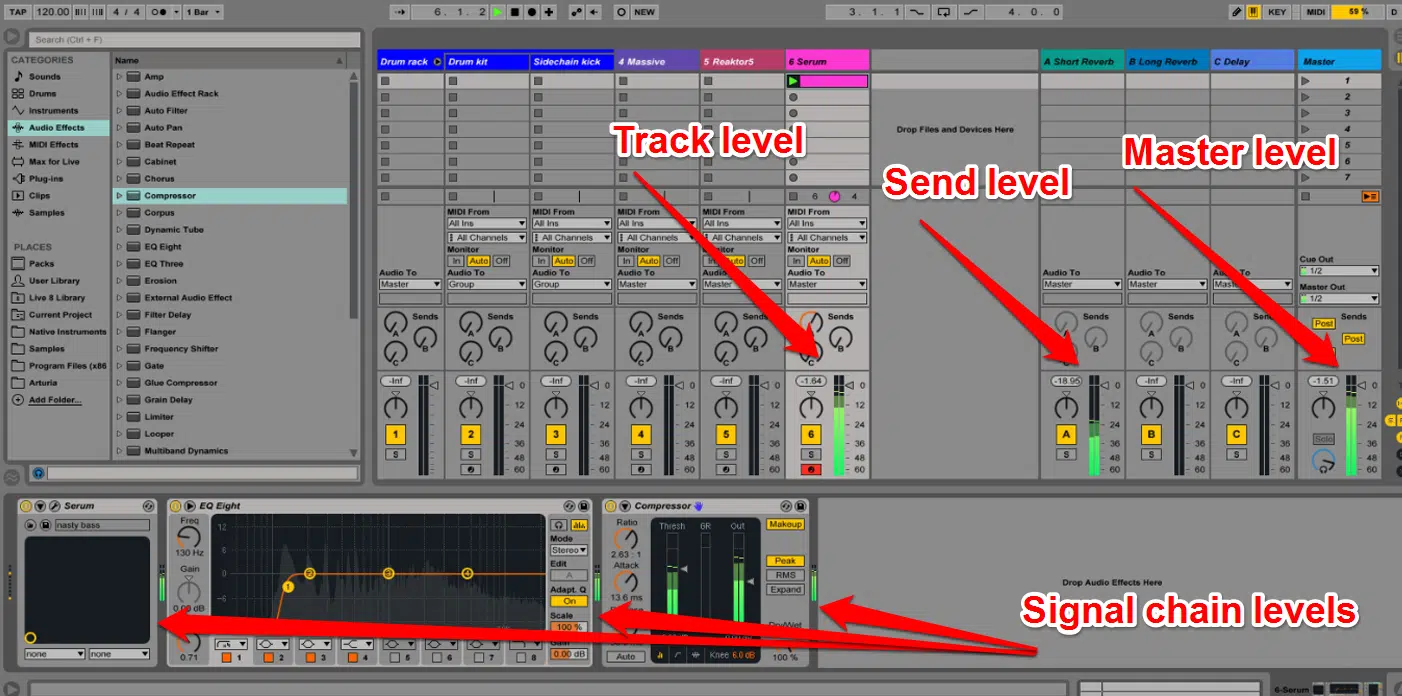
Gain staging is the process of managing the levels of your audio signals throughout the signal chain, from input to output.
Proper gain staging:
- Ensures optimal signal quality
- Prevents distortion caused by clipping and certain effects
- Provides adequate headroom for mix bus processing & mastering
In digital audio, it’s essential to keep your levels below the maximum limit of 0dBFS (decibels relative to full scale) to avoid digital clipping.
Therefore, it’s crucial to leave yourself much more room.
Aim for peak levels of around -6dBFS on your master bus for the loudest parts of your mix.
This leaves sufficient headroom for the mastering stage.
Your DAW’s metering can help you monitor your levels throughout the mixing process.
Remember that changes in volume, EQ, compression, and other processing can affect your levels.
So, make sure to check your meters regularly and adjust your gain staging as needed.
NOTE: If you’re wondering about the mastering chain, wonder no more, as we’ve got you covered.
-
Stereo Bus Processing
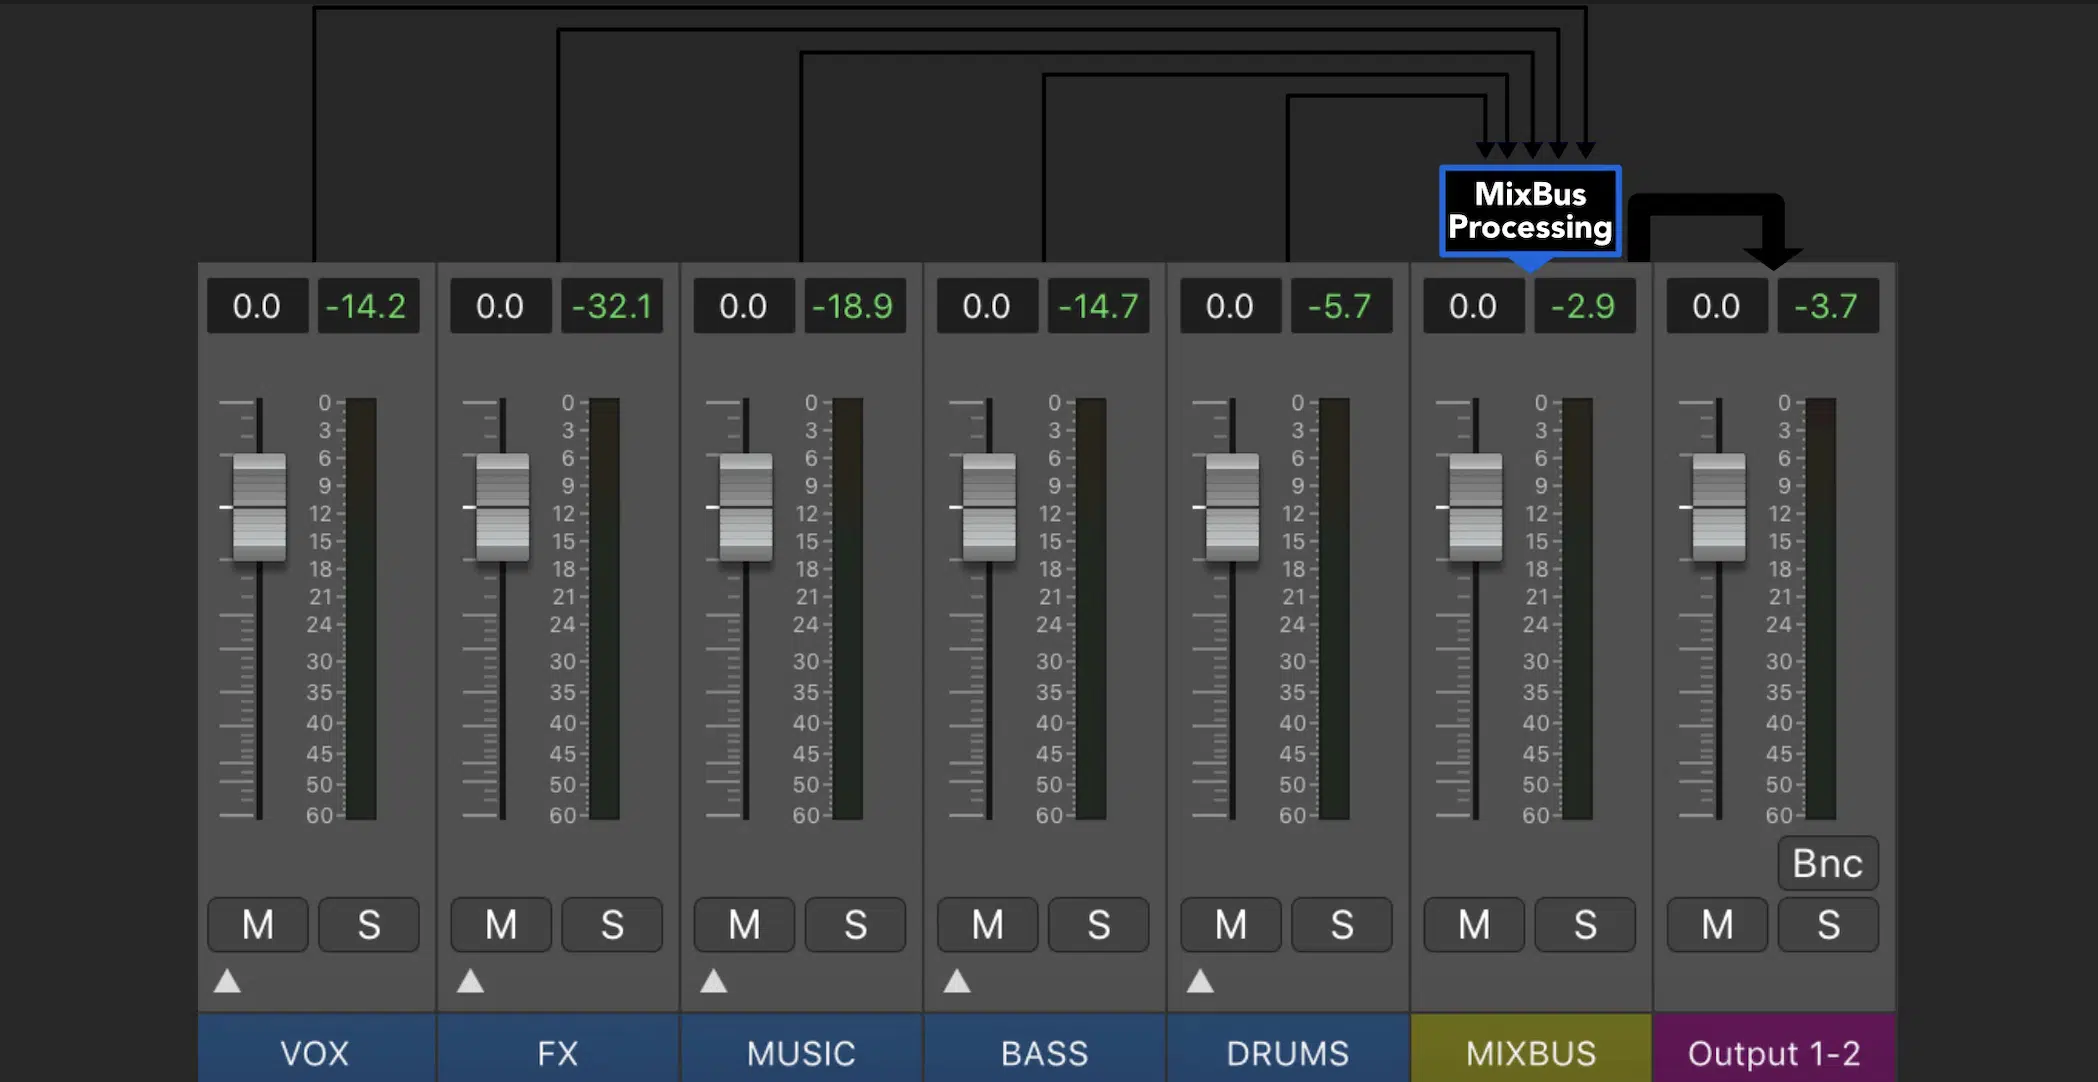
Stereo bus processing, another term for the master bus, refers to the final stage of processing applied to the stereo output (the final stereo channel that’s routed to your outboard gear) of your mix: the master.
This is where you can apply final chain of plug ins to polish your mix for an overall better sound, like:
- EQ adjustments
- Compression
- Saturation
- Stereo enhancement
It’s important to be mindful of your mix’s stereo image when applying stereo bus processing.
A balanced stereo image can create a sense of space and depth in your mix.
An imbalanced stereo image, on the other hand, can cause problems 一 such as a lopsided soundstage or phase issues when the mix is summed to mono.
One advanced techniques for stereo bus processing include Mid-Side processing.
Mid-side processing is when the center (Mid) and sides (Side) of the mix are processed separately.
Multi-band processing is another favorite of mine, where different frequency ranges are processed independently.
These can provide additional control and flexibility in shaping your mix.
Master Bus Processing: Final Thoughts
Master bus processing is indeed a game-changer, and by now, you should have a pretty solid understanding of how to use it to enhance your mixes.
But remember, like any other skill in music production, mastering the master bus requires practice, patience, and an open mind.
Don’t forget that sometimes the best way to learn is by examining a professionally produced mix.
For that reason, I highly recommend checking out the FREE Famous Beatmaker Template Essentials.
These game-changing templates can provide an in-depth look into how professionals use the master bus within a mix to achieve that pristine, polished sound we all strive for.
It’s an incredible tool to examine, learn from, and apply to your own music production process.
The journey to becoming a proficient music producer is filled with twists and turns 一 but each step brings you closer to creating mixes that resonate with your listeners and stand the test of time.
So, continue experimenting, continue learning, and most importantly, keep the music playing.
Until next time…


Leave a Reply
You must belogged in to post a comment.