Vocal layering is a powerful technique that can completely transform the sound of your vocals and make your tracks pop.
It can add depth, create epic harmonies, and give your mixes that polished, professional feel that will help you stand out.
Plus, it helps your vocal tracks stand out by adding dimension, clarity, and fullness.
As producers, knowing all about vocal layering can seriously change the game, which is why we’re breaking down everything you need to know, like:
- What vocal layering is ✓
- Types of vocal layers (lead vocal, ad-libs, background vocal etc.) ✓
- The role of frequency ranges ✓
- Techniques for doubling vocals ✓
- Panning vocal layers ✓
- Recording vocals (like recording doubles) ✓
- Using effects like reverb and delay ✓
- Advanced vocal layering techniques ✓
- Much more about vocal layering ✓
After reading this article, you’ll be able to master vocal layering and create dynamic, professional-sounding vocal tracks like a boss.
Plus, you’ll know how to use tools like EQ, compression, and autotune to enhance every vocal layer 一 making sure your vocals sound full, clean, and on point.
This way, your vocal tracks, from your lead vocal to your backing vocals, will always have that big, full sound and never feel flat or cluttered.
Whether you’re singing your vocals or using vocal samples, your vocal layering skills will always be on point.
So, let’s dive in so you can become a real vocal layering champ…
Table of Contents
What is Vocal Layering? Breaking it Down
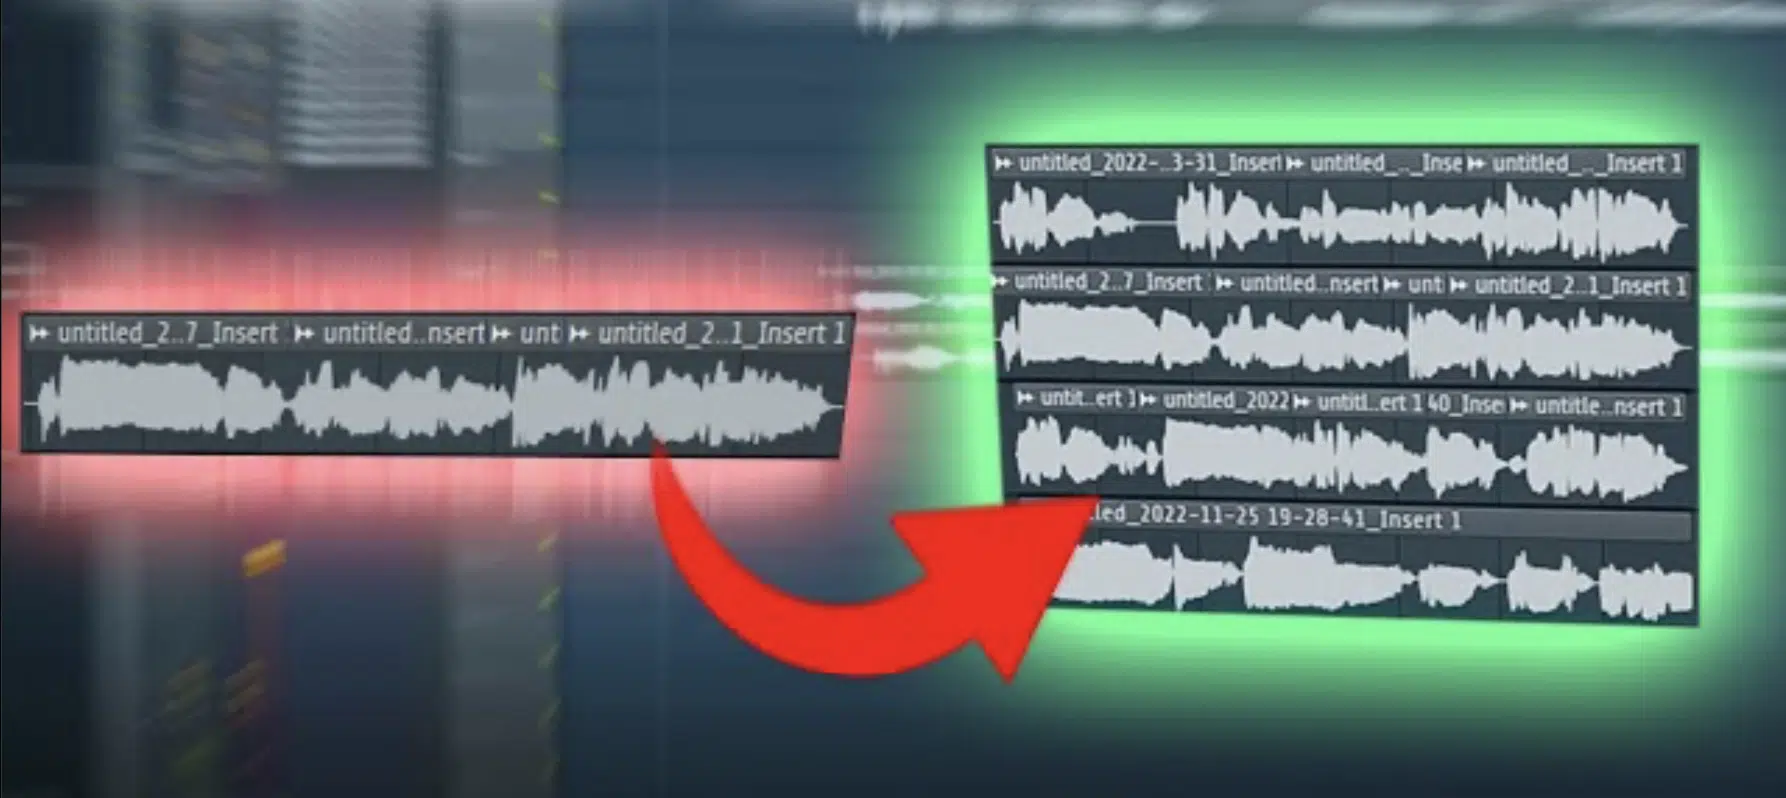
Vocal layering is when you stack multiple takes of a vocal to create a bigger, richer sound so your mix has depth and your vocals feel full/more engaging.
Think about it like adding layers of paint to a canvas… The more layers, the more dynamic and textured the final picture becomes.
You can use vocal layering to bring out important parts of a song, like the first chorus, or to make the lead vocals pop in genres like hip-hop and EDM.
Don’t worry, we’ll be breaking down everything throughout the article (in detail) so you’ll really get a solid understanding.
-
Pro Tip for Vocal Layering
To really layer vocals like a boss, try adding a whisper track underneath your main vocal track.
Simply record yourself whispering the same lines and layer it quietly beneath the lead.
This trick will add subtle texture and enhance the overall vocal sound without overpowering it (people won’t even know why they feel more intrigued, but they will).
Another key technique is to vary how you layer vocals in different sections of your song.
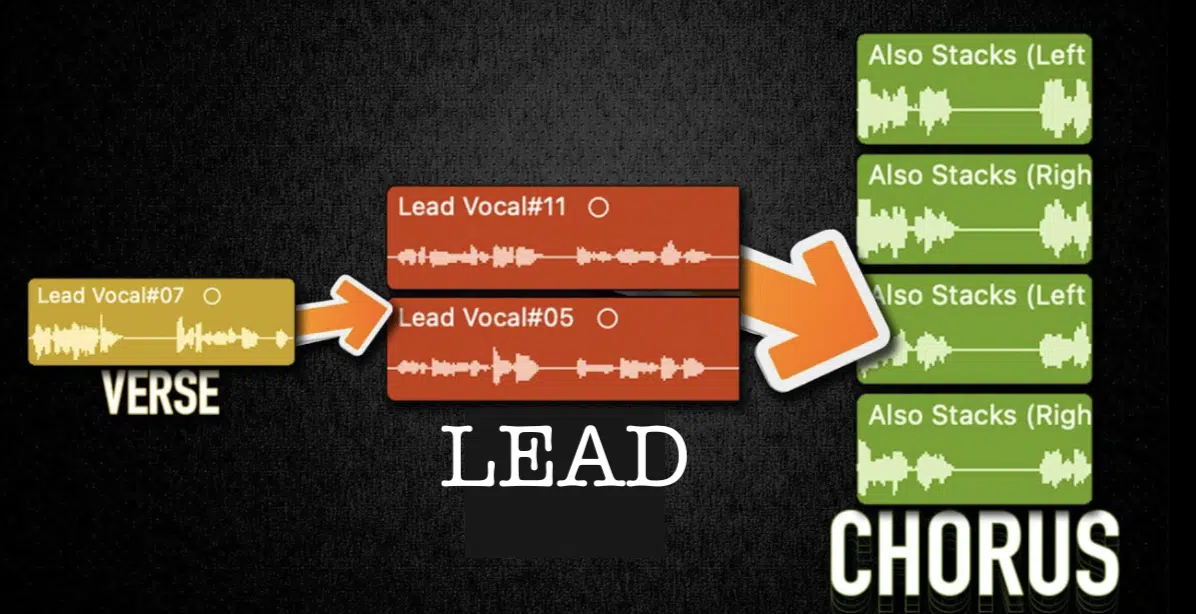
For example, in the verses of your songs, keep your layers simple, but in the chorus of your, go for a fuller, more dramatic effect by adding multiple layered vocal variations (as shown above).
Finally, always remember to adjust the volume of each new vocal track to ensure the layered vocals blend smoothly and nothing sounds out of place.
You always want your vocal recordings/tracks to sound clean and pristine.
Types of Vocal Layers
Now that you know exactly what vocal layering is, let’s look at the different types of vocal layers and how you can use them to elevate your mix. It’s the first step to becoming a vocal layering master.
-
Lead Vocals

Here you can see the lead vocal in two different octaves
Your lead vocal track is the main voice that carries the song, so you really want it to be clear and upfront in the mix.
When layering lead vocals, try recording several takes of the same performance with your vocal mic, then choose the best one as your main track.
You can use the other takes to layer underneath for more thickness if you feel like they are up to par.
For example, if you’re working on a pop track, you might want a couple of subtle doubles tucked underneath the lead to make it stand out more in the chorus.
Just be careful not to overdo it, or the lead could lose its clarity and you certainly don’t want that because it’ll sound amateurish.
A good tip is to lightly compress the layers so they blend well without overpowering the main vocal.
-
Harmony Vocals
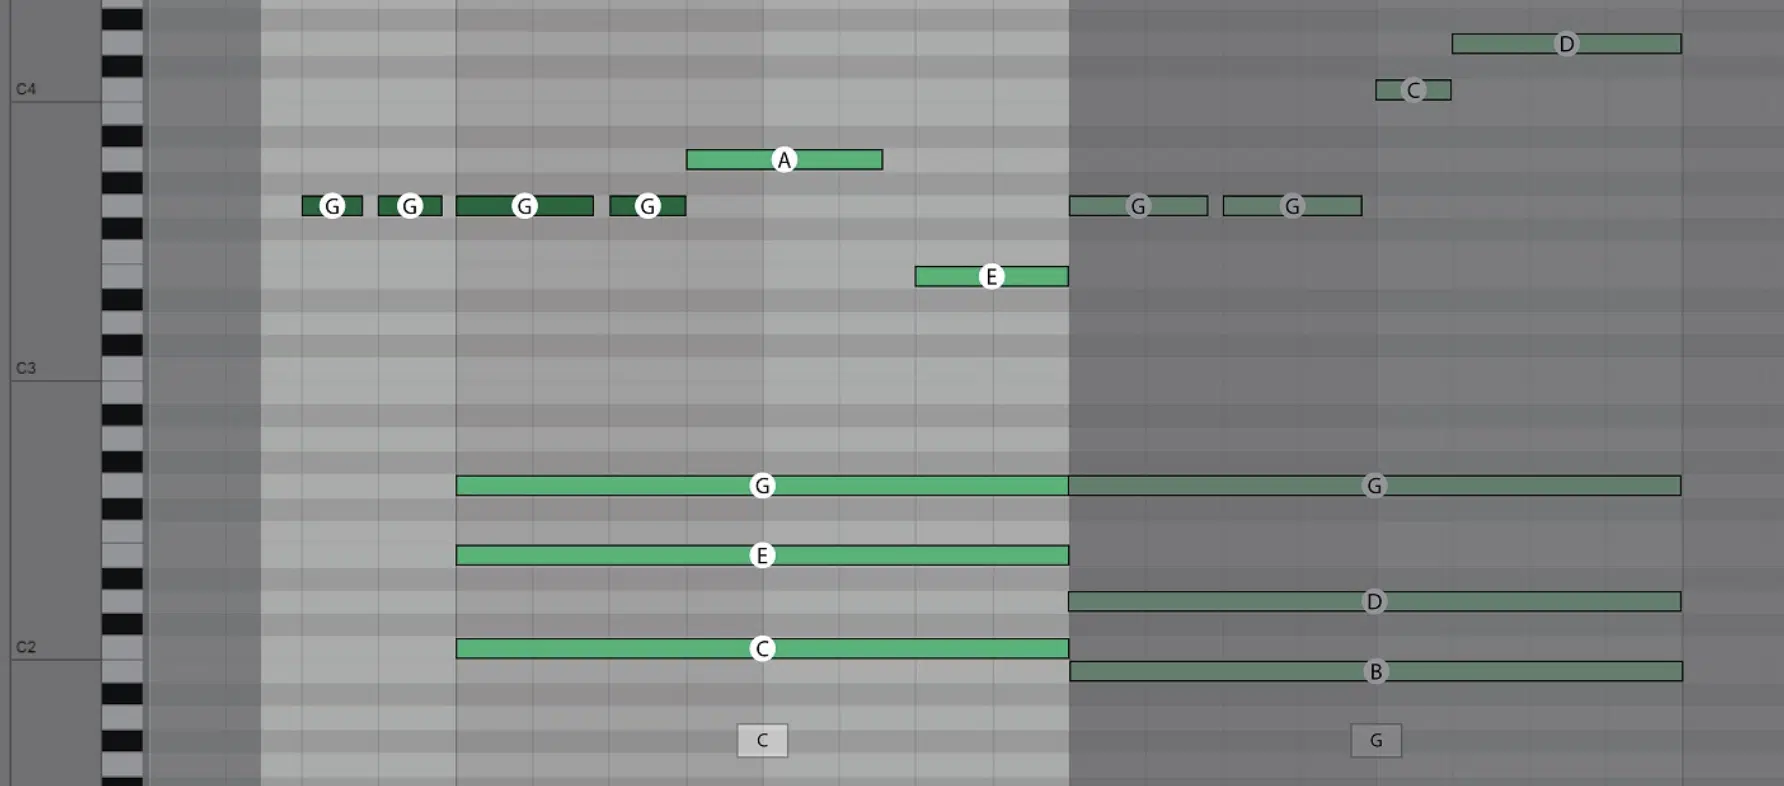
Shifted down by a third.
Harmony vocals add depth by supporting your lead with different pitches.
The most common way is when you record harmonies above or below the main vocal line to give your song more color/emotion.
Let’s say, for example, you’re working on an R&B track… you could layer harmonies in thirds or fifths to make the chorus sound bigger and more emotional.
Try recording your harmonies separately and pan them slightly left and right in the mix for a wider, more open feel 一 really nailing that immersive feel.
You can also use pitch correction to make sure each harmony fits perfectly with the lead, especially if you’re stacking several layers.
When done right, harmonizing vocals can completely transform how your track hits emotionally (almost hypnotic in a way).
You always want the harmony part to really hit home and stick with your listeners way after the song ends.
-
Ad-libs
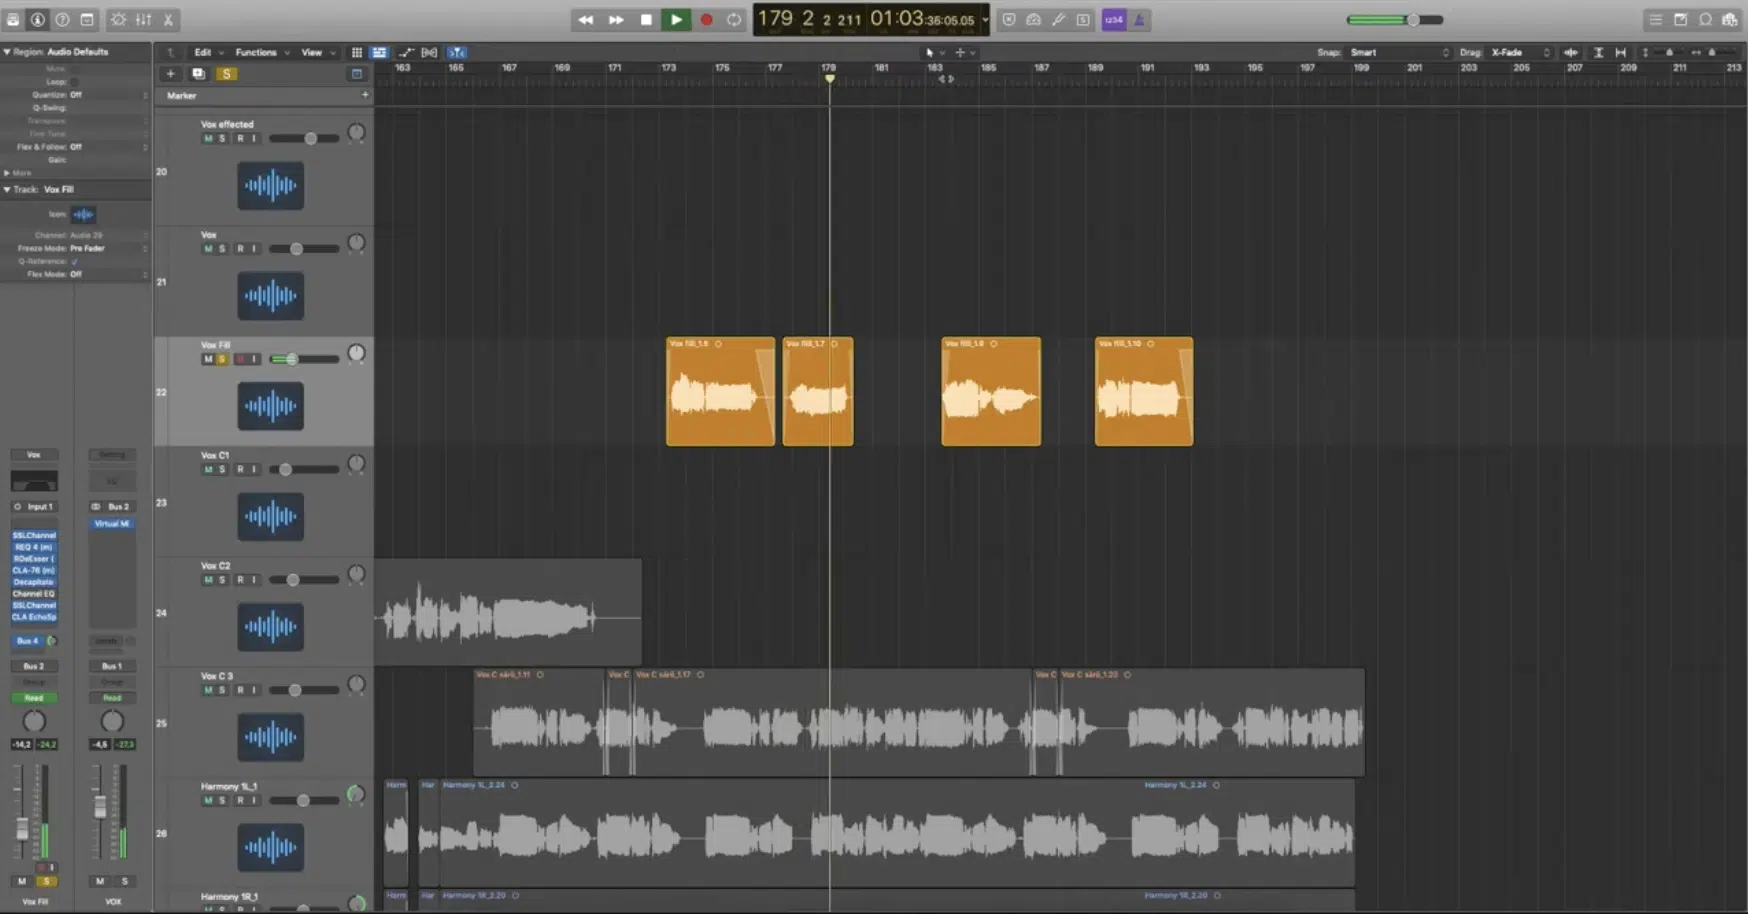
Ad-libs are those spontaneous (often improvised) vocal elements that add extra energy and personality to your track.
You can experiment by adding ad-libs after your lead vocal track is recorded, like:
- Short phrases
- Shouts
- Melodic runs
For example, in a trap beat or hip-hop songs, you might add quick ad-libs like “yeah” or “uh-huh” to keep the hype going between the main vocal lines.
Try panning ad-libs to different spots in the stereo field to give them more room without cluttering up the mix.
You can, for example, pan one ad-lib 75% left and another 75% right to create a call-and-response effect, or keep them moving by automating the panning to shift from left to right 一 dealer’s choice.
It’ll add a sense of motion and excitement to the vocal arrangement.
Adding reverb or delay can help push them back, so they don’t compete with the lead vocal track but still give a sense of space and energy, so play around with that as well.
You can also use automation to make certain ad-libs pop out only during specific moments when people listen, like in the chorus or bridge.
Side note, if you’re looking for the sickest acapellas in the game, we got you.
-
Background Vocals/Backing Vocals
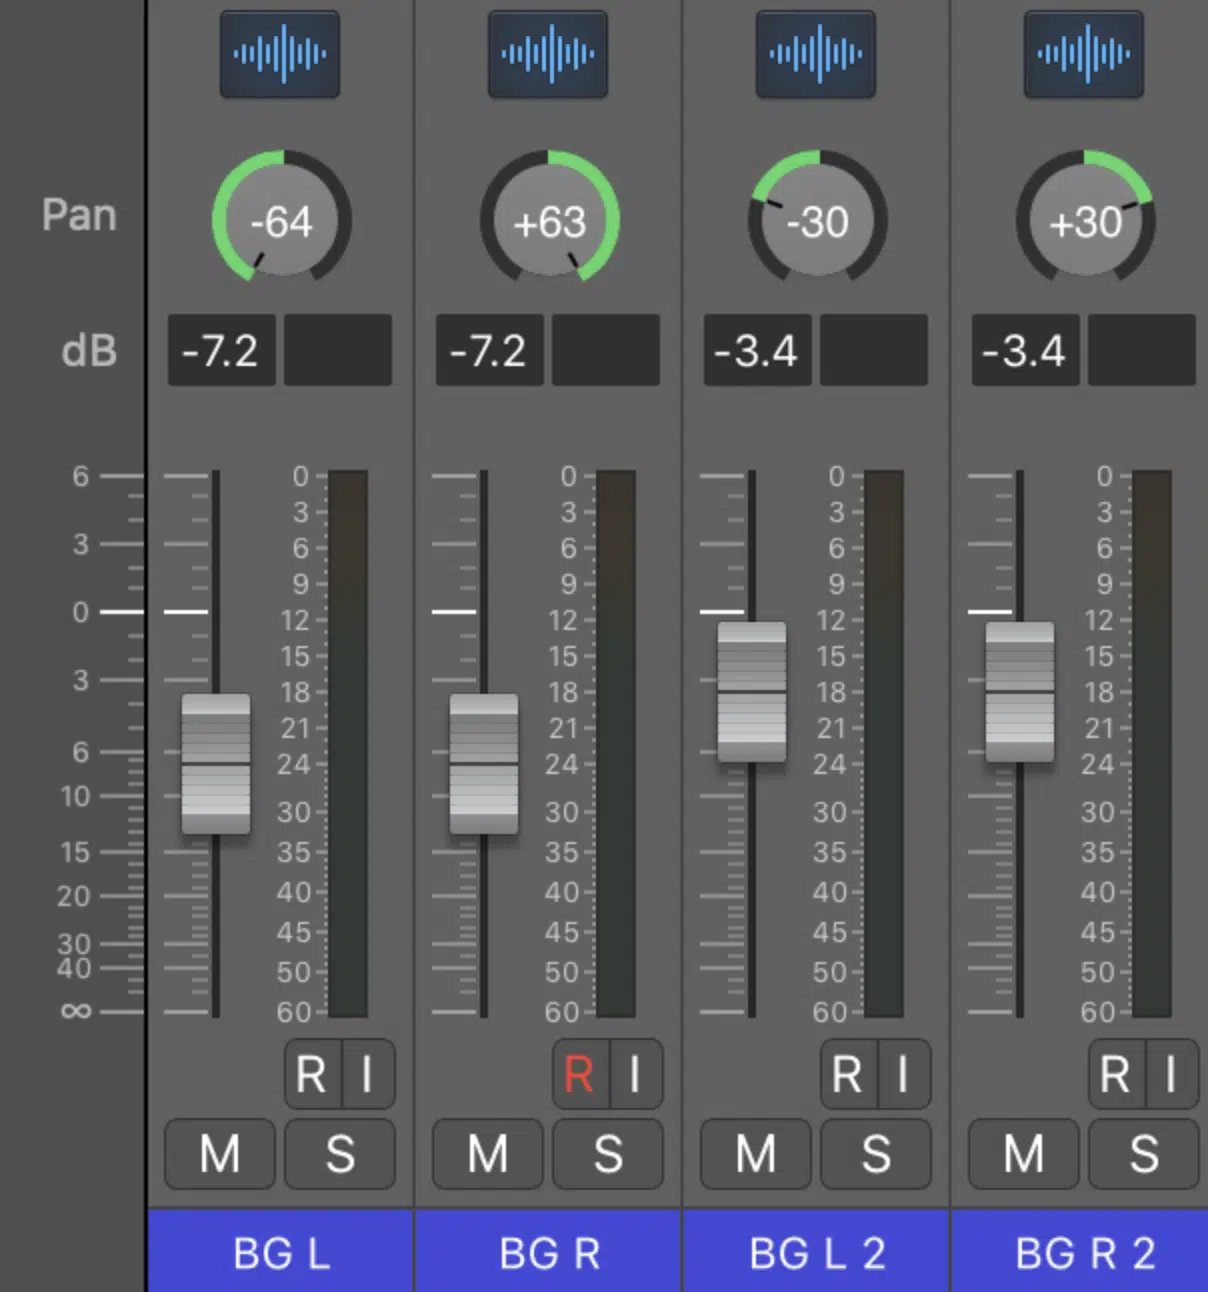
Panning background vocals.
Background vocals/backing vocals play a supportive role 一 adding texture and depth to the main vocal without drawing too much attention.
You might layer several background vocal takes, each panned differently, to create a sense of width in your track.
For example, in an EDM track, you can record a few takes of background vocals/backing vocals and pan them hard left and right to create a wider, more atmospheric sound.
It’s important to keep background vocals quieter than the lead to maintain balance.
You can also experiment with effects like chorus or subtle distortion to give background vocals/backing vocals a more ethereal or gritty quality.
It all depends on the vibe of the track you’re aiming for, of course.
NOTE: When mixing, make sure to EQ the background vocals so they don’t interfere with the frequencies of your lead (we’ll talk about it later on).
-
Vocal Doubles
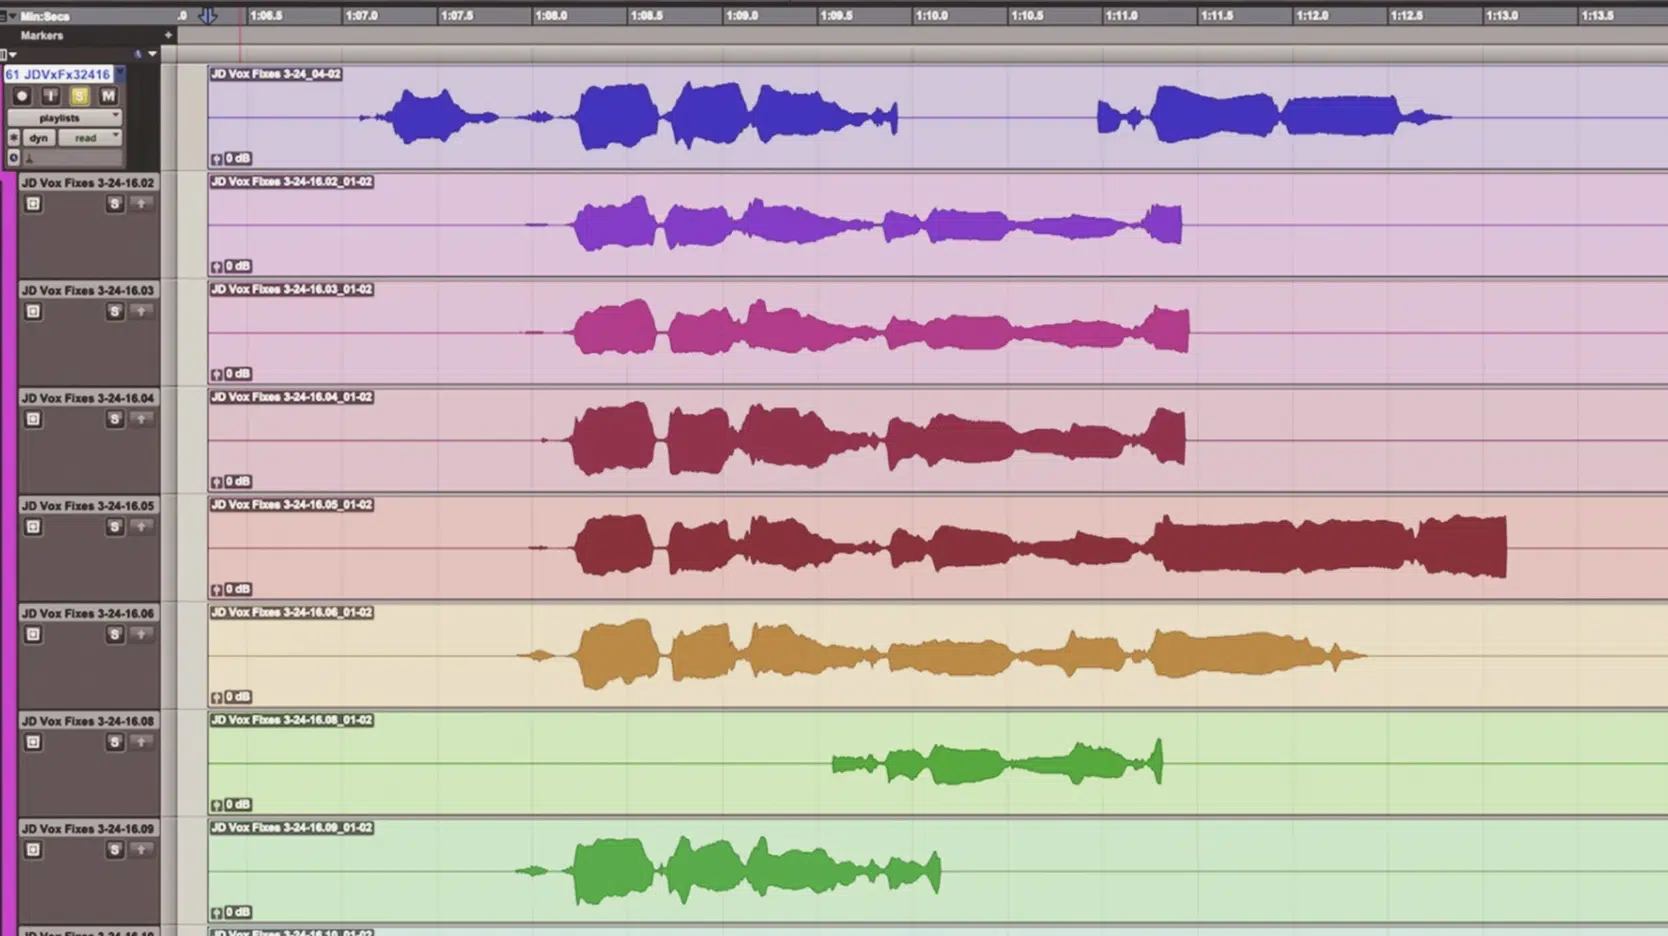
Vocal doubling is a great way to thicken your lead vocal track without adding too much complexity and taking away from the big picture.
You can do this by recording an identical take of your lead and layering it underneath.
In pop music songs, doubling is often used in the chorus to give the vocals more punch, while still keeping the natural sound of the lead.
If your vocals are slightly off, you can adjust the timing in your DAW to make sure the double lines up perfectly (unless you’re going for that, of course).
Another trick is to lightly compress and EQ the doubled vocal differently from the lead to make them sit together better in the mix.
If you’re going for a more modern sound, like in hip-hop, you can use pitch-shifting on the lead double to create a subtle variation from the main vocals (for depth).
-
Pro Tip: The Role of Frequency Ranges in Vocal Layers
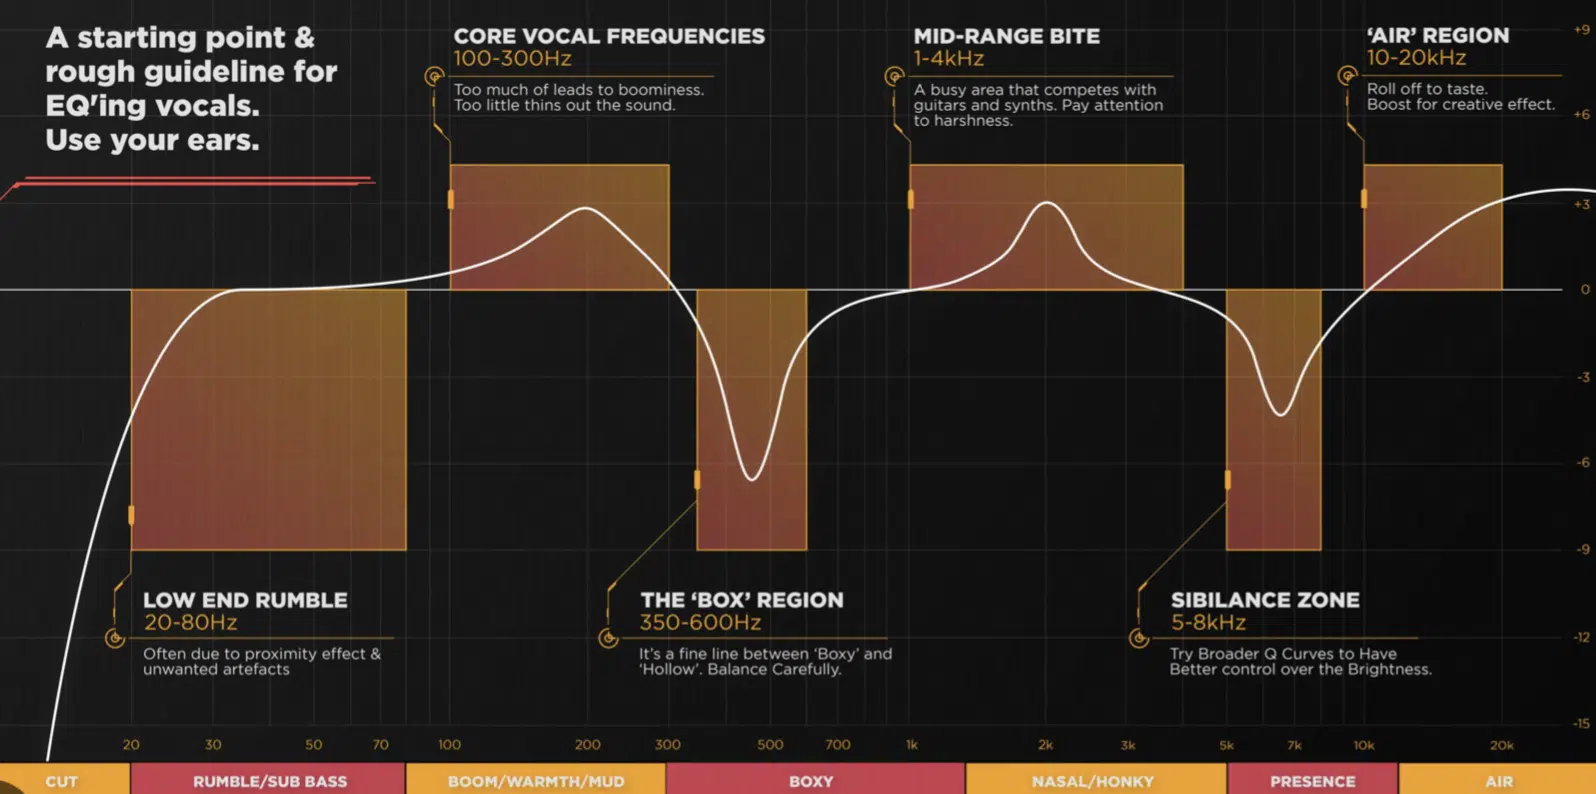
When layering vocals, each layer should occupy its own frequency range to successfully avoid any clashing.
For example, your lead vocal may sit comfortably in the 1-3 kHz range (as a general rule), where it cuts through the mix.
To avoid competition, you can use a parametric EQ to reduce that same range in your background vocals 一 leaving space for the lead.
You might also boost the low-mids (around 200-500 Hz) on your harmony vocals to add warmth without affecting the clarity of your lead.
Techniques for Professional Vocal Layering
Now that you’ve got the basics of layering vocals, let’s look at some professional techniques for bringing out the best in your vocal layers and making them sit perfectly in the mix. This way, you’ll become a vocal layering master in no time.
-
Doubling Vocals for Emphasis (Expanded)
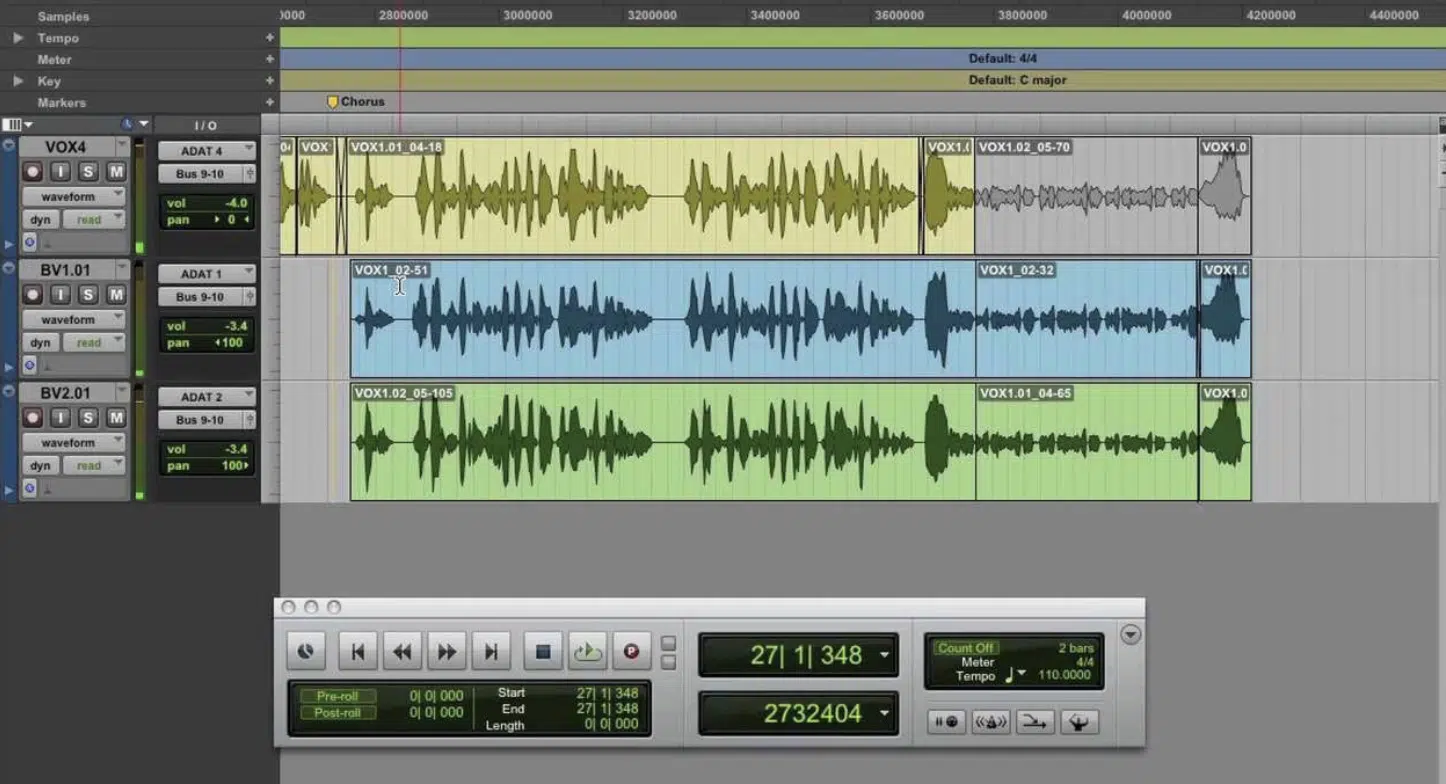
Doubling vocals is a great way to add thickness and energy, especially when it comes to the chorus or other high-impact sections of your track.
Simply record/use at least two takes of the same vocal line and layer them together.
In genres like pop or rock, you can use a tighter double in the chorus to give the vocal a stronger punch… Think of it like doubling a guitar riff to make it hit harder.
You can also use pitch shifting as we touched upon, where you detune one of the vocal layers by a few cents (up or down).
It’ll add more depth without the listener hearing it as a completely separate vocal.
A common trick is to detune the double by 5 to 10 cents down, which creates a slight variation that thickens the sound.
Don’t forget to apply a subtle reverb or delay to your double to blend it into the mix 一 it keeps the vocal sounding natural while still adding emphasis.
A short plate reverb on the double can make it sit just behind the lead vocal without sounding too distant or whack.
You can also try using a slapback delay on the double with around 70-100ms delay time to add rhythmic depth, which works especially well for faster, more energetic tracks.
-
Panning Techniques for Vocal Layering
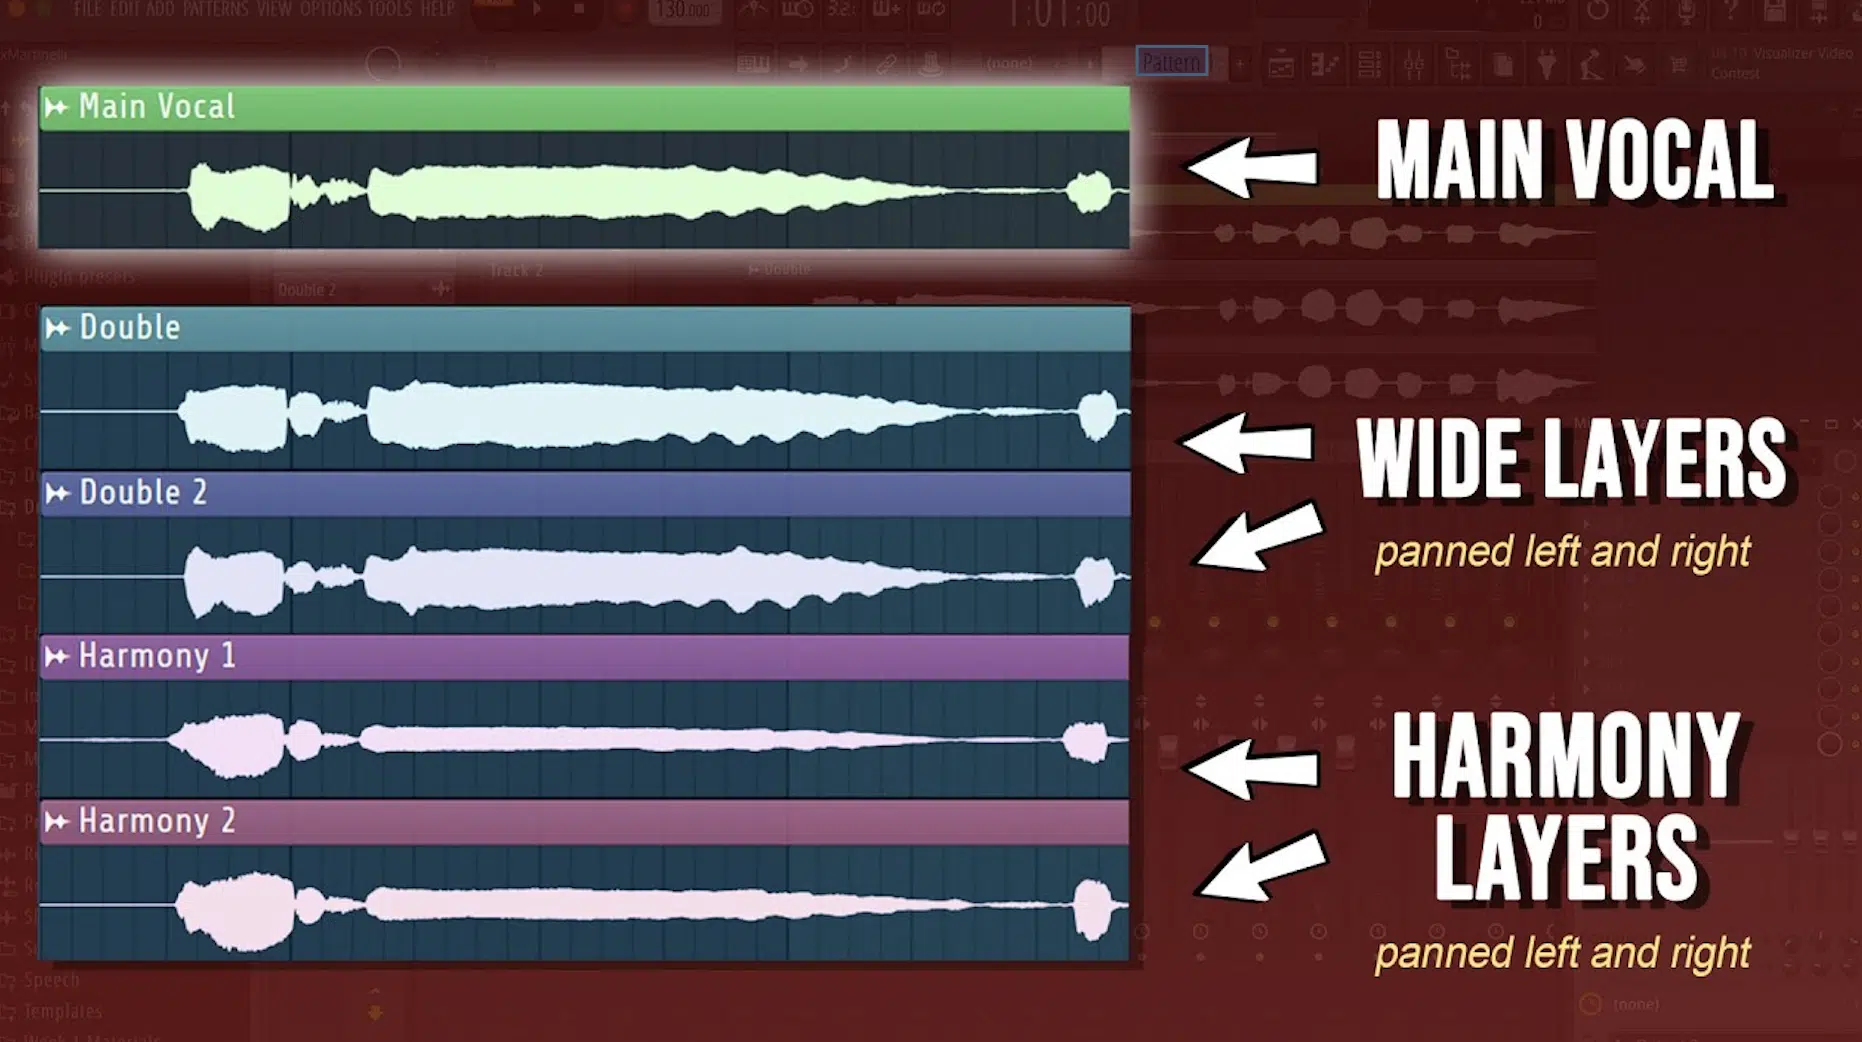
Panning is super important when you’re layering vocals because it helps create space for each element and ensures your music sounds professional.
You can pan your harmonies left and right (say, 30% left and 30% right for a balanced sound) while keeping the lead centered.
In hip-hop or pop, you might try hard-panning ad-libs 100% left and right to create a call-and-response effect with the single lead vocal.
To take it a step further, you can automate panning throughout the track.
For example, in the chorus, you can gradually move the panned vocals closer to the center for a tighter sound, then spread them back out in the verse.
This gives the listener a sense of expansion and really draws them in, especially if they’re listening on headphones.
-
Vocal Harmonies in Vocal Layers
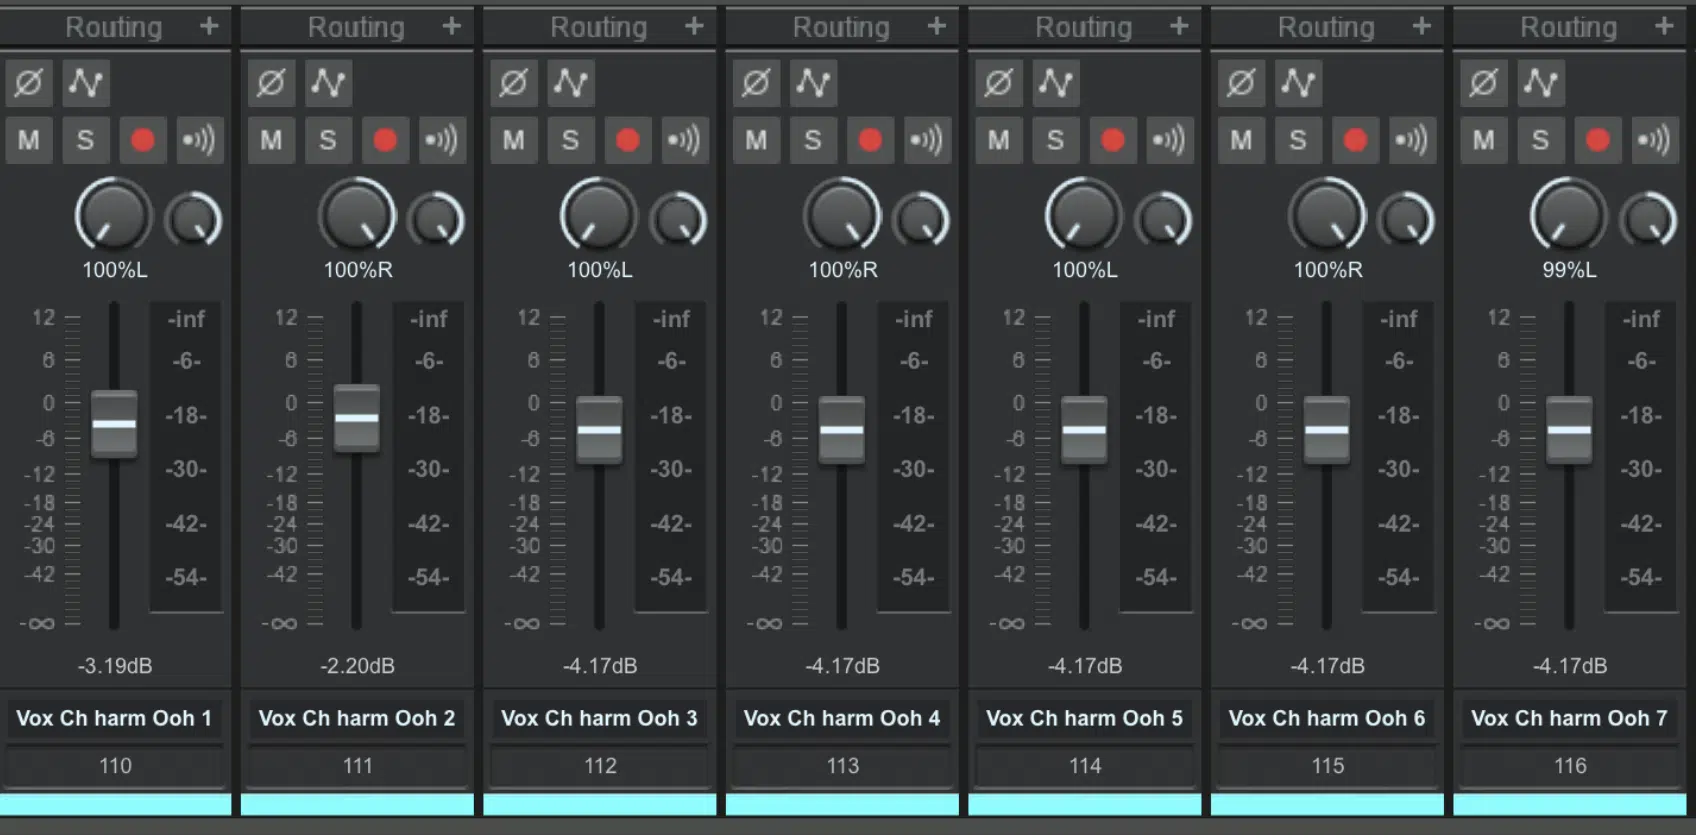
Doubling harmonies.
When you add harmonies, it can seriously elevate your single track by adding a layer of emotion and depth that brings it to life.
You can record harmonies a third or a fifth above your lead to complement the melody, but make sure each harmony stays in its own lane (sonically speaking).
This means avoiding frequency overlap that can muddy the mix.
If you have a lead vocal with a lot of brightness or high-end energy, it’s a good idea to make the harmonies warmer by boosting around 200-300 Hz.
This subtle EQ adjustment gives the harmonies more body, while the lead remains crisp and prominent.
You can even roll off some of the high frequencies on the harmonies to keep them from competing with the lead vocal’s shimmer.
For example, if your lead vocal is bright and airy, you might want your harmonies to have a warmer tone, which you can achieve by boosting the low-mids (around 250 Hz).
When mixing, try sending the harmonies to a different reverb bus than your lead vocal.
- A longer reverb time on harmonies can make them feel more atmospheric and push them further into the background.
- Keeping the lead vocal dry and upfront helps maintain clarity.
If you’re working on a pop track, you can add stereo widening plugins like iZotope’s “Ozone Imager” to your harmonies to give them extra width.
Just make sure the widening effect doesn’t pull the harmonies too far from the center because you still want them to feel connected to the lead vocal.
Vocal Processing for Layering
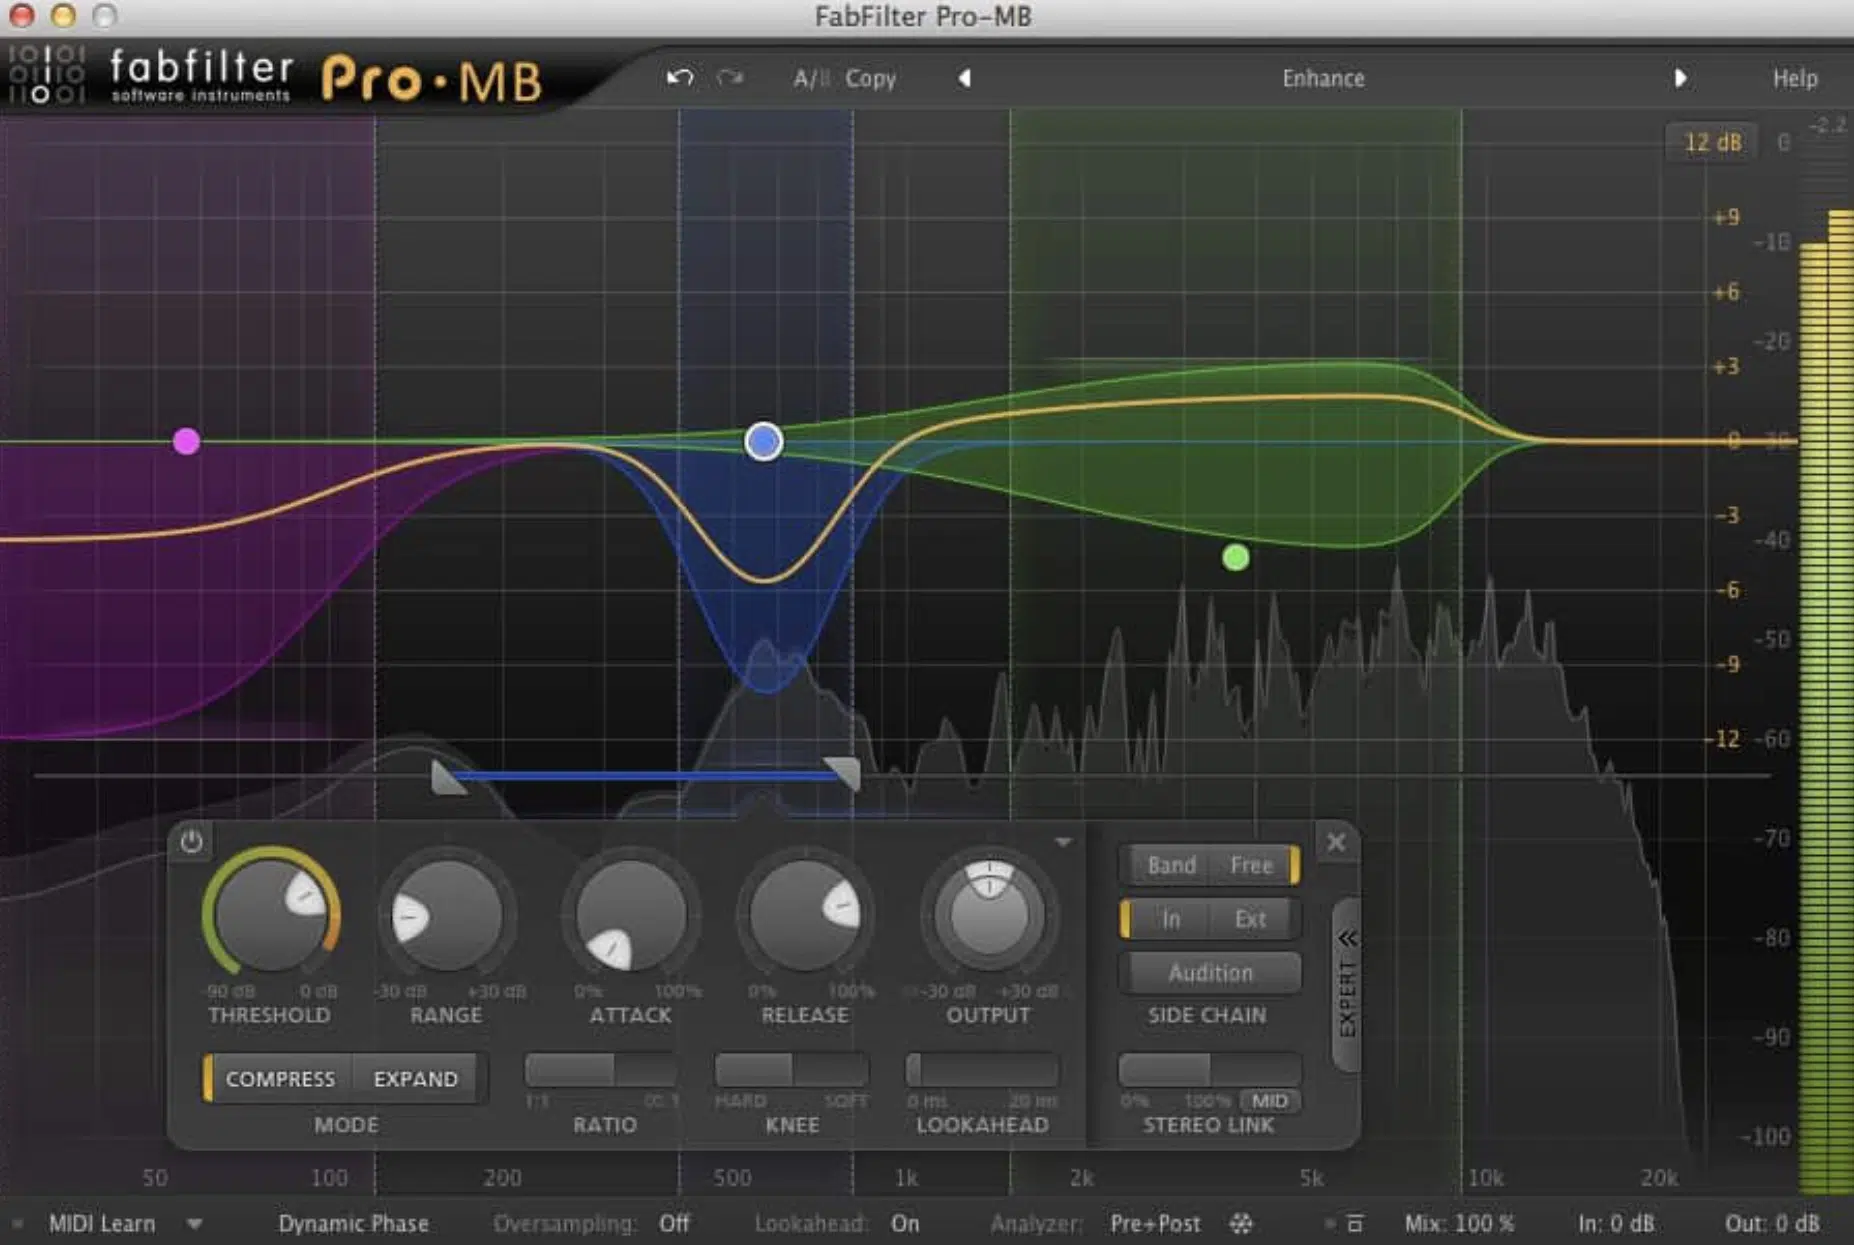
Vocal compression.
Vocal processing is a key step in making your vocal layers sit well together, so let’s start by using EQ to carve out space for each layer…
Cut the lows from your harmonies (below 100 Hz) to avoid muddiness and boost the mids in your lead vocals to ensure they cut through the mix.
When it comes to vocal compression, you can apply light compression on background vocals to even out the dynamics.
Keep in mind that you’ll want to use more aggressive compression on the lead to maintain consistency.
For example, you can apply a 4:1 ratio on the lead with a fast attack to catch peaks without making it sound too squashed.
NOTE: Reverb and delay can be used to create depth, but a common trick when vocal layering is to use a shorter, more intimate reverb on lead vocals and a longer reverb on background layers to push them further back.
You can also use a slapback delay on ad-libs or background vocals for a rhythmic feel 一 keeping the mix spacious without muddying it up as we talked about.
Just make sure it sounds how you want when you listen back as things could get a little extra.
Advanced Vocal Layering Techniques
Once you’ve mastered the basics, it’s time to explore some advanced vocal layering techniques that can take your productions to the next level.
-
Using Pitch Correction and Autotune for Vocal Layers
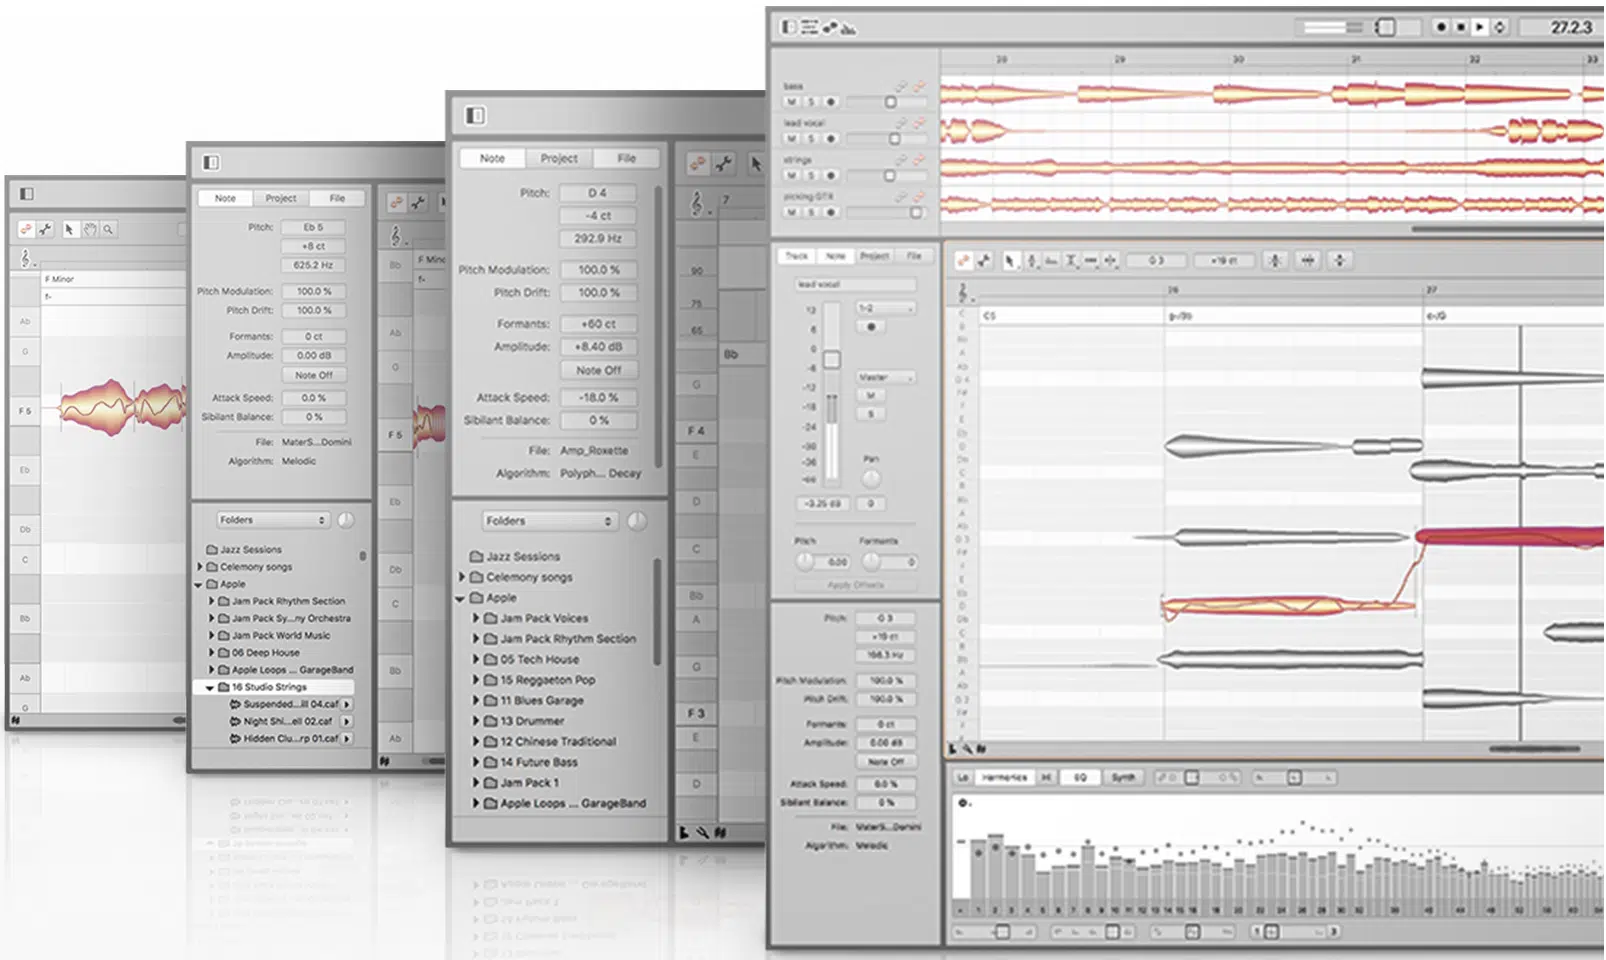
Pitch correction and autotune aren’t just for fixing mistakes 一 they can be powerful creative tools for vocal layering.
For instance, you can apply autotune more heavily on your harmonies to create a robotic, polished sound that contrasts with a more natural-sounding lead.
A good example of this is in modern pop music or trap music, where autotuned harmonies are used to give a futuristic feel while leaving the lead slightly raw.
Again, if you’re working with background vocals that need tight tuning, you can use tools like Melodyne to manually correct any off-pitch notes while maintaining a human touch in your melody.
Don’t be afraid to experiment with extreme settings on harmonies or vocal doubles to create unique effects, as long as they complement the lead.
For example, you can take a vocal double, apply extreme pitch shifting combined with autotune, and create a pitch-bent, almost glitchy effect that adds depth and surprise.
You could even experiment with layering heavily tuned harmonies underneath a spoken-word vocal for a haunting, unconventional texture.
Just make sure these effects complement the lead vocal, so the overall sound stays cohesive… If it makes you cringe when you hear it/listen to it, trust your ears.
-
Creative Vocal Effects for Layering
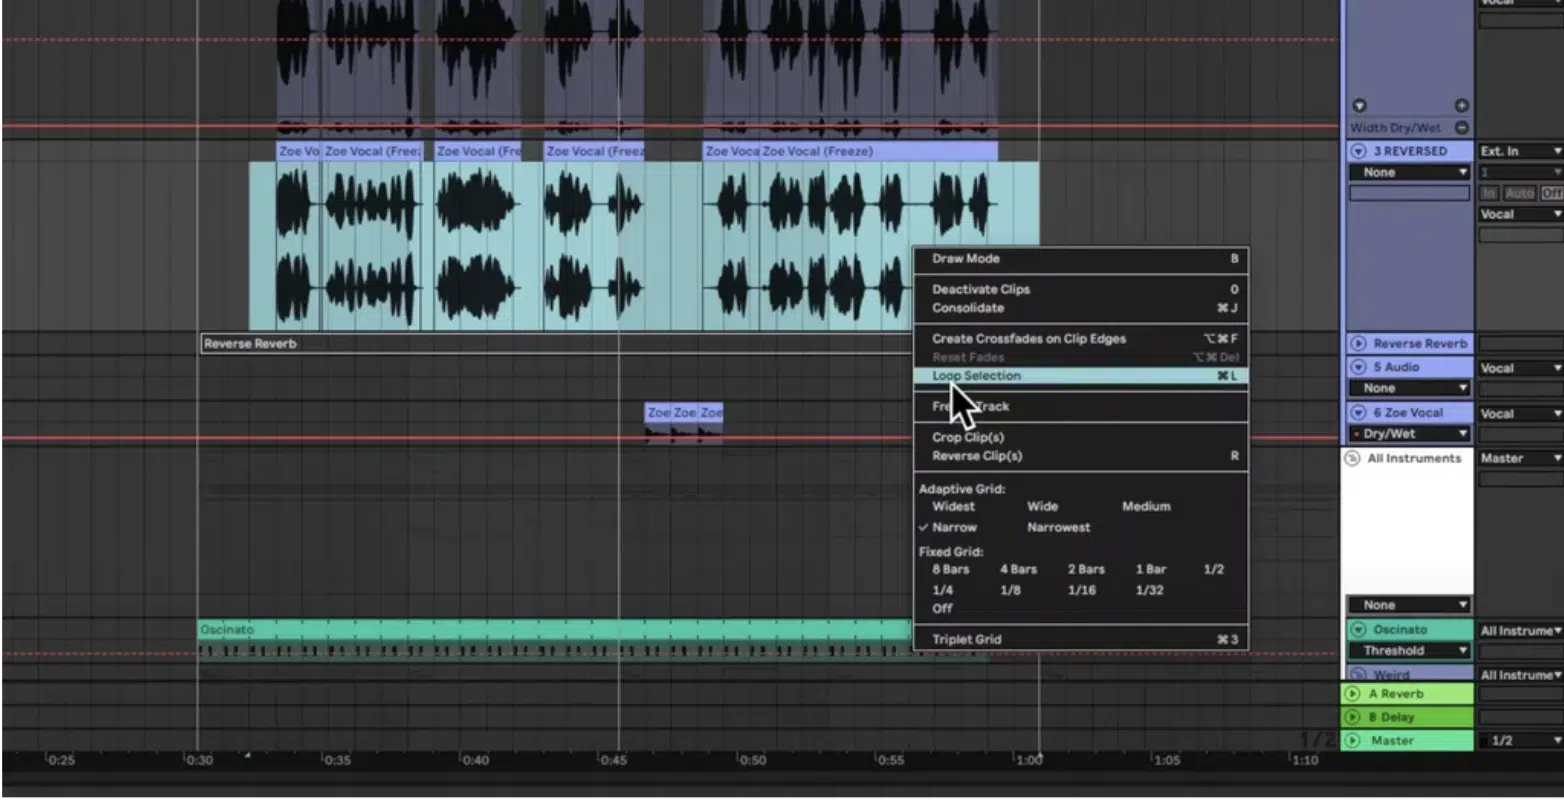
Reversing my vocal sample.
Creative effects can give your vocal layers a distinct, unique flavor that sounds great.
You can add a subtle chorus effect to your background vocals to give them a dreamy, swirling feel so they stand out without competing with the lead.
If you’re going for a more gritty vibe, try adding distortion or saturation to certain layers (this works especially well in genres like rock or EDM).
You can also experiment with vocoders to turn your harmonies into a synthetic, robotic layer that blends with the lead, like in Daft Punk’s signature vocal style.
Pro tip: Another fun trick is to reverse a vocal layer, apply reverb, and then reverse it back to create an eerie 一 swelling effect leading into a chorus or breakdown.
These music effects can add a whole new dimension to your track and set your vocal part from the rest, making sure your track sounds official.
-
Taking it Up a Level
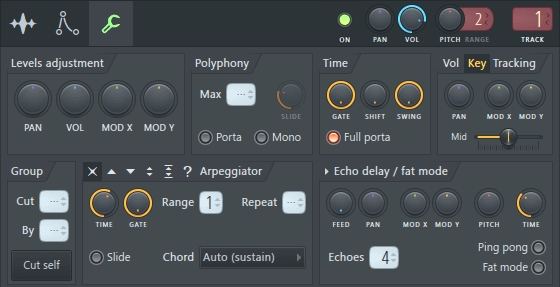
We talked about the stereo image when you layer vocals, but keep in mind that they really play a huge role in achieving a professional sound.
During your recording session or after you download your pack, experiment with how you pan different vocal layers to enhance the stereo image.
A great trick is using a voices module in your DAW to subtly shift the pitch or timing of your vocal take, which creates depth without muddying the mix. This is a way imparting your own pseudo-stereo chorus/unison effect without the need of an extra CPU intensive plugin.
For example, you can pan your harmonies 30% left and right while keeping the lead vocal centered or slightly detune one of the layers and pan it wider to create a fuller sound.
Or, pan your ad-libs hard left and right (100%) to create a call-and-response effect or use subtle automation to move background vocals from left to right during transitions.
Just keep in mind how many layers you’re adding because too many can take away from the main focus of the lead vocal.
If you notice the vocals starting to clash, try muting certain layers during verses or quieter sections to give the lead more room to breathe
Properly balanced layered vocals should always expand the stereo image without overpowering the core vocal performance of your songs (that’s the key).
By keeping the stereo image clean and the layers strategically placed, you’ll maintain both the fullness and the clarity that make professional mixes stand out.
-
Bonus: Adding Formant Shifts to Your Layers

Formant shifting is a great way to add unique textures to your vocal layering by altering the tone of vocals without affecting pitch. In fact, this is an ideal tricks for producing vocal layers when you only have a single vocal track to work with.
Lowering the formant can make harmonies sound deeper and more grounded, perfect for genres like EDM or trap where contrast is essential.
For example, you can shift a harmony vocal down by 2-4 semitones to create a darker layer beneath a bright lead.
Raising the formant, on the other hand, creates a thinner, airy sound, ideal for background vocals or ad-libs that float above the mix.
You could use my favorite, Little AlterBoy, to tweak the format of each layer individually for added depth and some much-needed variation (start with 1-2 semitones).
You’ll be able to hear the tonal changes in real time, and adjust accordingly.
Just be subtle with your adjustments… Small shifts can enhance your layered vocals without making them sound unnatural.
Vocal Layering: Final Thoughts
Vocal layering is super important for creating rich, professional-sounding tracks.
And, as you now know, it can help your vocals stand out and add depth and emotion to your mix like never before.
Plus, it can bring creativity and texture to your tracks in a really unique, captivating way.
By using all the tips and tricks we talked about today, you’ll be able to layer vocals and blend them like a true professional (just remember to practice).
As an added bonus, since we’re talking about vocals, you’ve got to check out the #1 Free Vocal Sample Pack in the games, containing 20 free vocal samples that add that missing piece to your tracks.
It includes vocal loops, chops, and one-shots that are out of this world, created by top professionals, and 100% royalty-free.
Using what we talked about today, you can layer these samples flawlessly and enhance your beats tenfold.
And yes, they’re all perfectly processed and ready to drop straight into your project for that polished sound.
Bottom line, by mastering vocal layering, you’re not only improving your mixes but also expanding your creative possibilities.
So keep experimenting, trust your ear, and watch your tracks skyrocket to the top.
Until next time…


Leave a Reply
You must belogged in to post a comment.