In the music production world, you’re going to run across clipping, that’s inevitable.
It can completely ruin your audio signal, destroy your sound quality, and make your tracks sound harsh, distorted, and unprofessional.
That’s exactly why we’re breaking down how to prevent clipping like a true professional today.
This way, you’ll be able to control your signal strength, maintain proper headroom, and successfully produce clean/polished audio every single time.
To avoid clipping, we’ll be covering:
- Proper gain staging ✓
- Managing input levels ✓
- Using limiters like a professional ✓
- Applying compression for dynamic control ✓
- Monitoring your master channel ✓
- Cleaning up background noise ✓
- Tools and plugins to avoid audio clipping ✓
- Intentional clipping audio for creative effects ✓
- Balancing distortion with audio quality ✓
- Much more about how to prevent clipping ✓
By knowing all about how to prevent clipping, you’ll be able to completely eliminate unwanted distortion and produce clean, professional audio.
Plus, you’ll make sure your audio file stays balanced and loud without hitting the dreaded red zone.
Your tracks will seriously stand out in terms of sound quality, and you’ll successfully deliver mixes that hit hard and sound crystal clear like a boss.
Table of Contents
What is Audio Clipping Exactly?
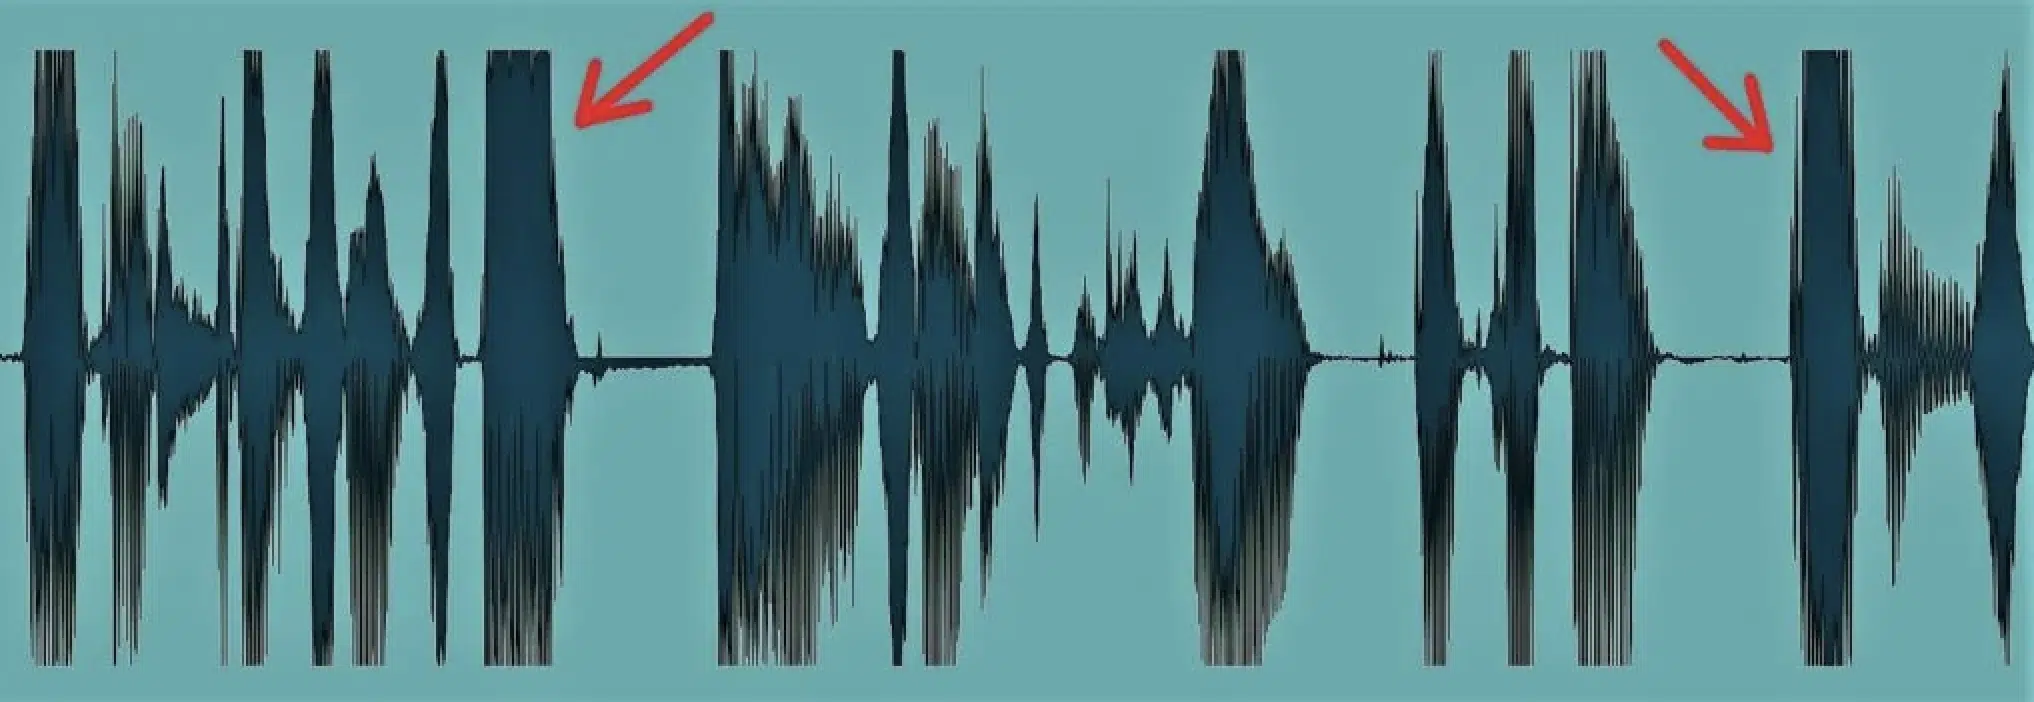
In order to learn how to prevent clipping, you first need to know what clipping is, of course, so let’s break it down.
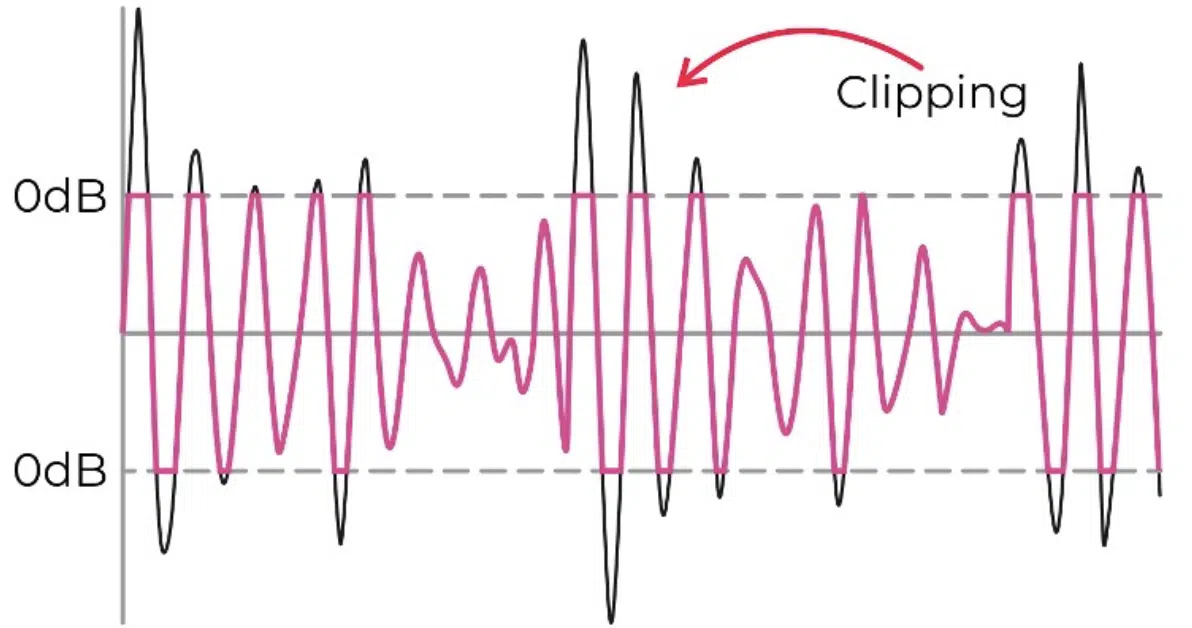
Clipping happens when an audio signal exceeds the maximum level your system can handle, and this results in harsh, distorted audio.
Let’s say your input gain or volume gets pushed beyond 0 dBFS in your digital audio workstation (DAW); the top point in the digital scale…
Instead of a smooth waveform, the peaks get clipped or cut off, which turns your sound into a jagged mess (super unprofessional).
Unlike the warm saturation of analog magnetic tape, digital clipping produces unpleasant, unnatural distortion that can’t be ignored.
For example, if you’re recording vocals and yell into a microphone with the gain turned too high, you’ll immediately hear that harsh, crackling distortion in your test recording.
You’ll also see red clipping indicators light up on your audio interface or master channel.
When clipping occurs, you not only destroy the sound quality of your original recording, but it also becomes difficult to fix in post-production.
Don’t worry, though 一 we’ll break everything down in detail throughout this article so you’ll learn how to prevent clipping and keep your audio quality on point.
I mean, this is a comprehensive guide, after all.
Causes of Clipping: Breaking it Down
To learn how to prevent clipping in your recordings and mixes, you need to understand why it happens in the first place. So, let’s dive into the most common causes of audio clipping and how to avoid audio clipping in real-life/common scenarios.
-
Excessive Input Levels
Clipping starts at the very beginning of the chain when your input levels are set too high during audio recording.
Let’s say you’re recording a loud vocal take or even an electric guitar…
If your microphone or instrument feeds a strong signal into the audio interface with its gain set past 70%, you’re almost guaranteed to hit the maximum level.
This will give you that harsh clipping audio you’re trying so hard to avoid.
For clean recordings, you’ll want to aim for -12 dBFS to -6 dBFS as your target range.
For example, if you’re setting your input gain on a Focusrite Scarlett interface, turn the knob until your signal peaks between green and yellow 一 never red.
Always record with enough headroom to account for sudden peaks or volume jumps/volume inconsistencies.
PRO TIP: If you’re recording vocals, set up a quick test recording and adjust the input gain while having the vocalist perform the loudest part of the song.
If you still notice distortion, consider stepping back from the microphone or using a pop filter to manage plosives and/or mouth noises that can spike the signal strength.
Side note, if you want to know the absolute best audio interfaces in the game right now, we got you covered (all price ranges).
-
Improper Gain Staging
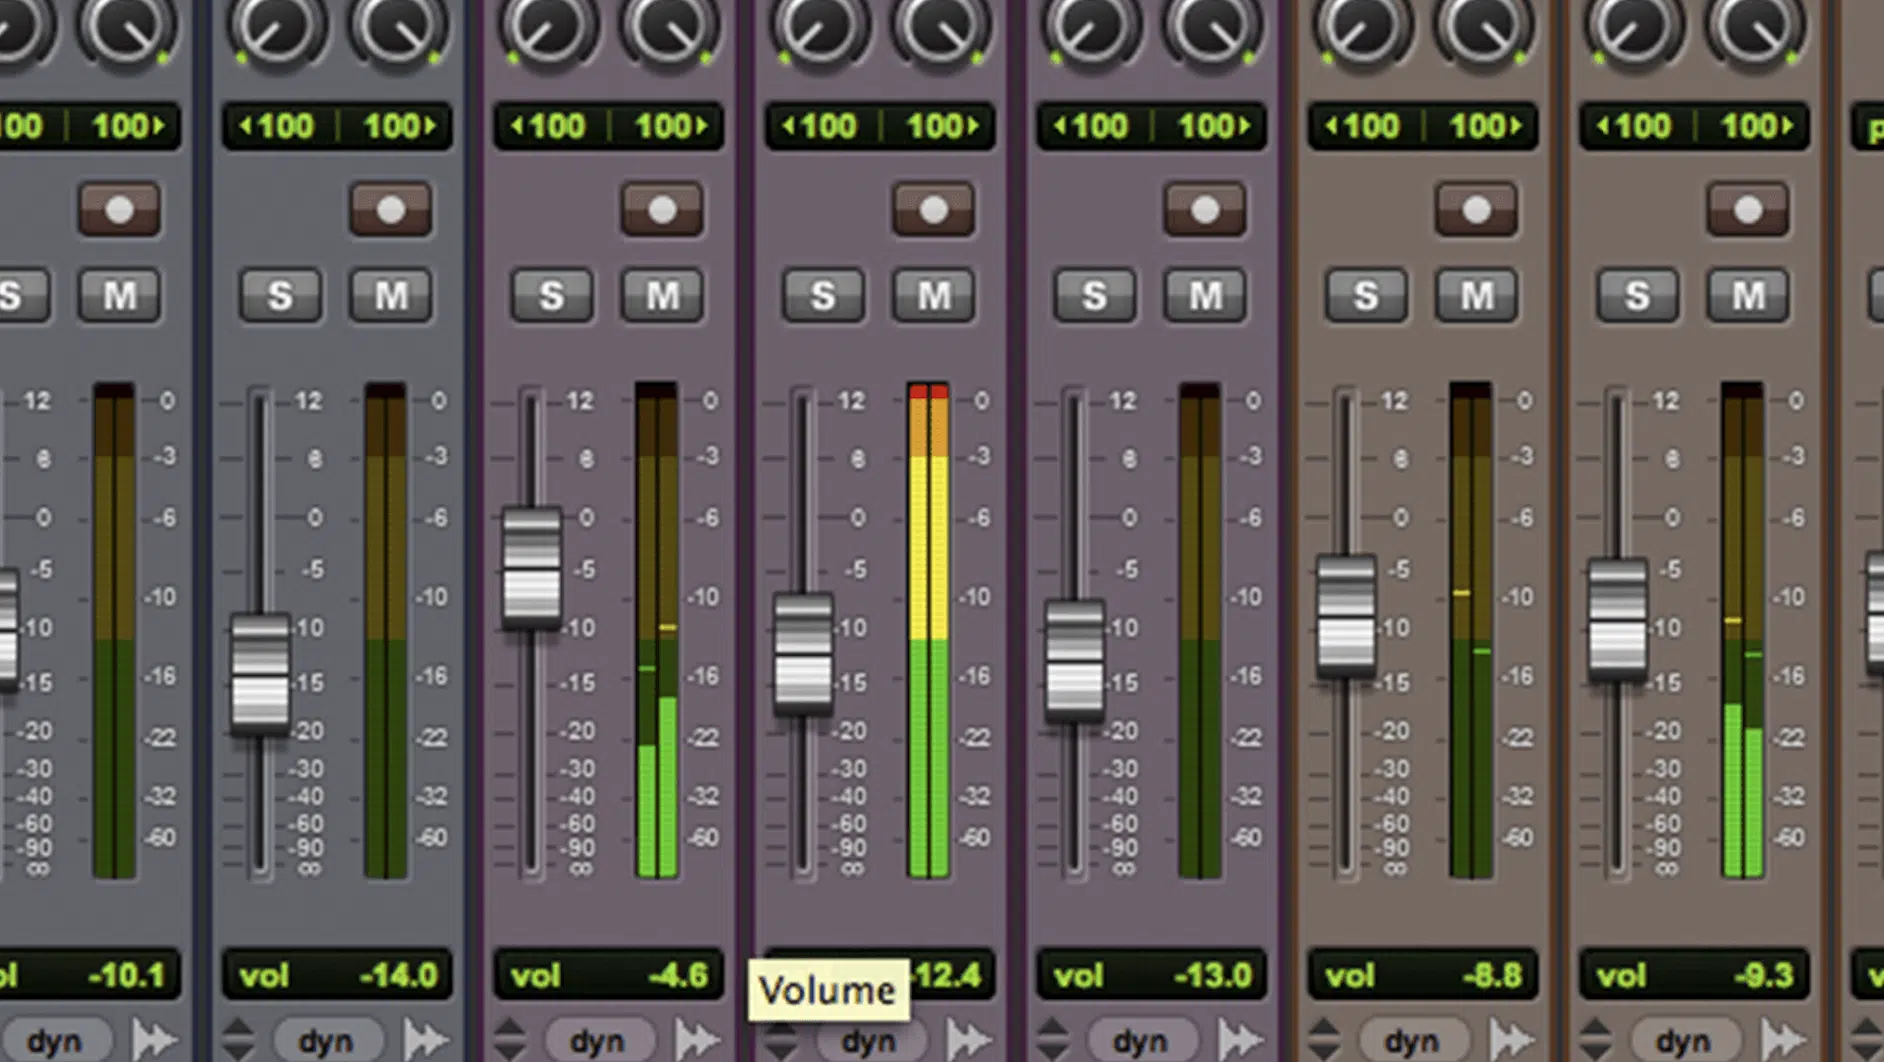
Gain staging is all about managing your signal levels throughout your entire production process to avoid clipping.
It starts with your recording source (microphone, instrument, or synth) and continues through each and every plugin, master channel, and final output.
If you’re stacking EQ boosts, compression, and reverb without paying attention, the signal strength can easily snowball and cause clipping results.
For example, when using a plugin like FabFilter Pro-Q 3 to boost high frequencies, keep the output gain knob at 0 dB or below to prevent excessive peaks.
You should always, always, always monitor the gain reduction meters in your digital audio workstation to make sure no stage is overloaded or sloppy.
NOTE: In most DAWs, shoot for signals to hover around -12 dB to -8 dB before hitting your master fader.
If you’re working on multiple tracks, solo each track to identify which one is causing the audio clipping, then adjust its gain accordingly.
Believe it or not, a lot of people overlook this step, and you do not want to be one of those people, believe me.
-
Overuse of Effects and Processing
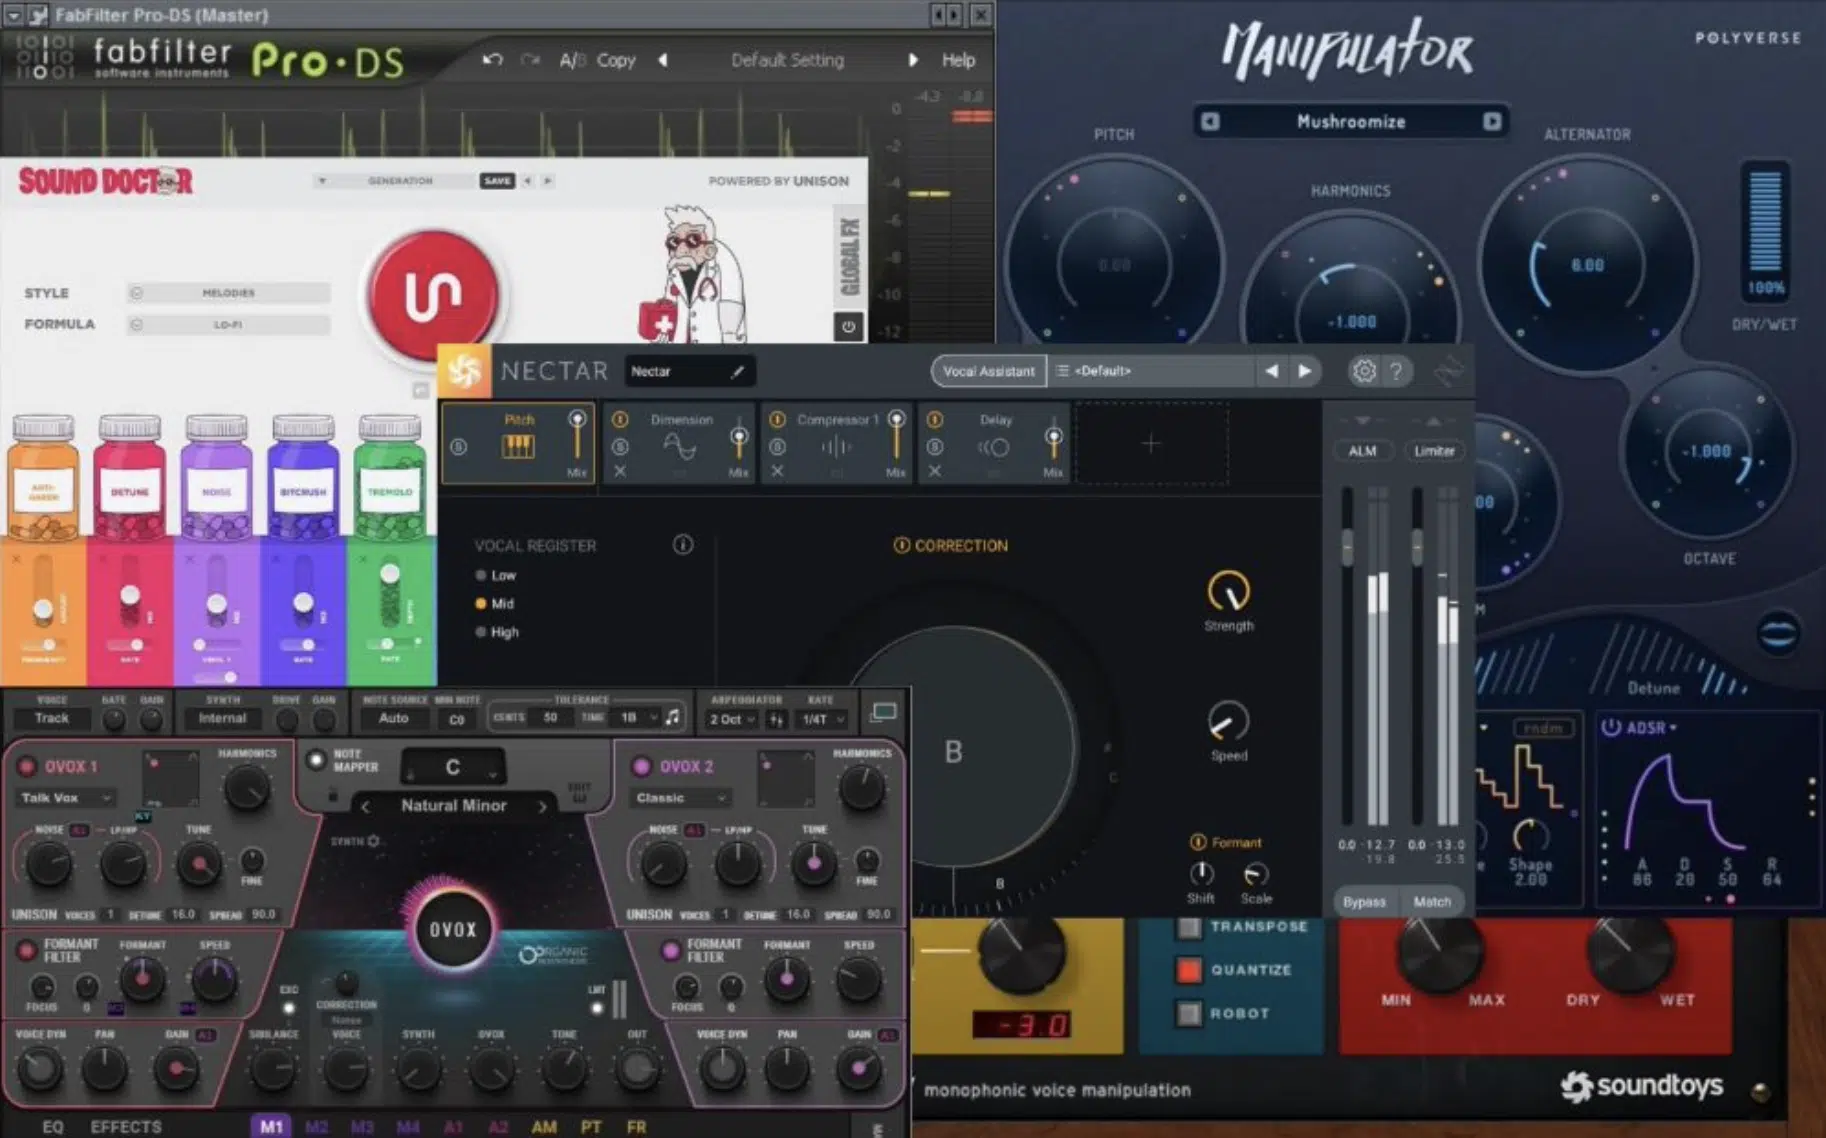
It’s easy to get carried away with effects, we’ve all been there (no shame), but over-processing your audio can lead to unexpected clipping.
Compression, saturation, or heavy reverb plug-ins sound great of course, but unfortunately they also increase the signal strength.
In turn, it pushes the levels even higher.
For example, let’s say you’re compressing a snare drum to control its dynamic range…
A 4:1 ratio with an attack of 10 ms and a release of 80 ms can sound punchy, but watch out for the makeup gain.
Even a 2-3 dB boost can hit the maximum level and result in clipping audio, which is why you should lower the output gain slightly to compensate for the compression instead.
When applying reverb or delay, remember that these effects amplify existing background noise and low-end rumble.
For instance, adding a long reverb tail (3-4 seconds) to a vocal will naturally emphasize breathing and plosives.
Before stacking these effects, always clean up your audio file first.
PRO TIP: Insert a high-pass filter at around 80-100 Hz to eliminate unwanted low frequencies and background noise from your signal before adding effects.
This way, only the necessary parts of the signal are processed 一 reducing the risk of clipping in a major way.
If you’re stacking multiple plugins on a single track (e.g., EQ > saturation > compressor > limiter), check the output gain of each plugin individually.
For safety, add a limiter as the last plugin in the chain and set the ceiling to -1 dBFS to keep peaks under control and prevent any nasty surprises at the end of your mix.
You’ll also want to use tools like iZotope Insight 2 or the built-in meters in your DAW when you’re learning how to prevent clipping to track levels visually.
Bottom line, by cleaning up your signal first and carefully managing gain with each effect, you’ll get clear, professional audio quality without sacrificing any creativity.
How to Prevent Clipping (Pro Techniques)
Now that you know what causes audio clipping, it’s time to focus on how to prevent clipping like a true professional. Below, we’ll break down proven techniques that will help you maintain clean audio quality throughout your production process.
-
Proper Gain Staging/Maintaining Adequate Headroom
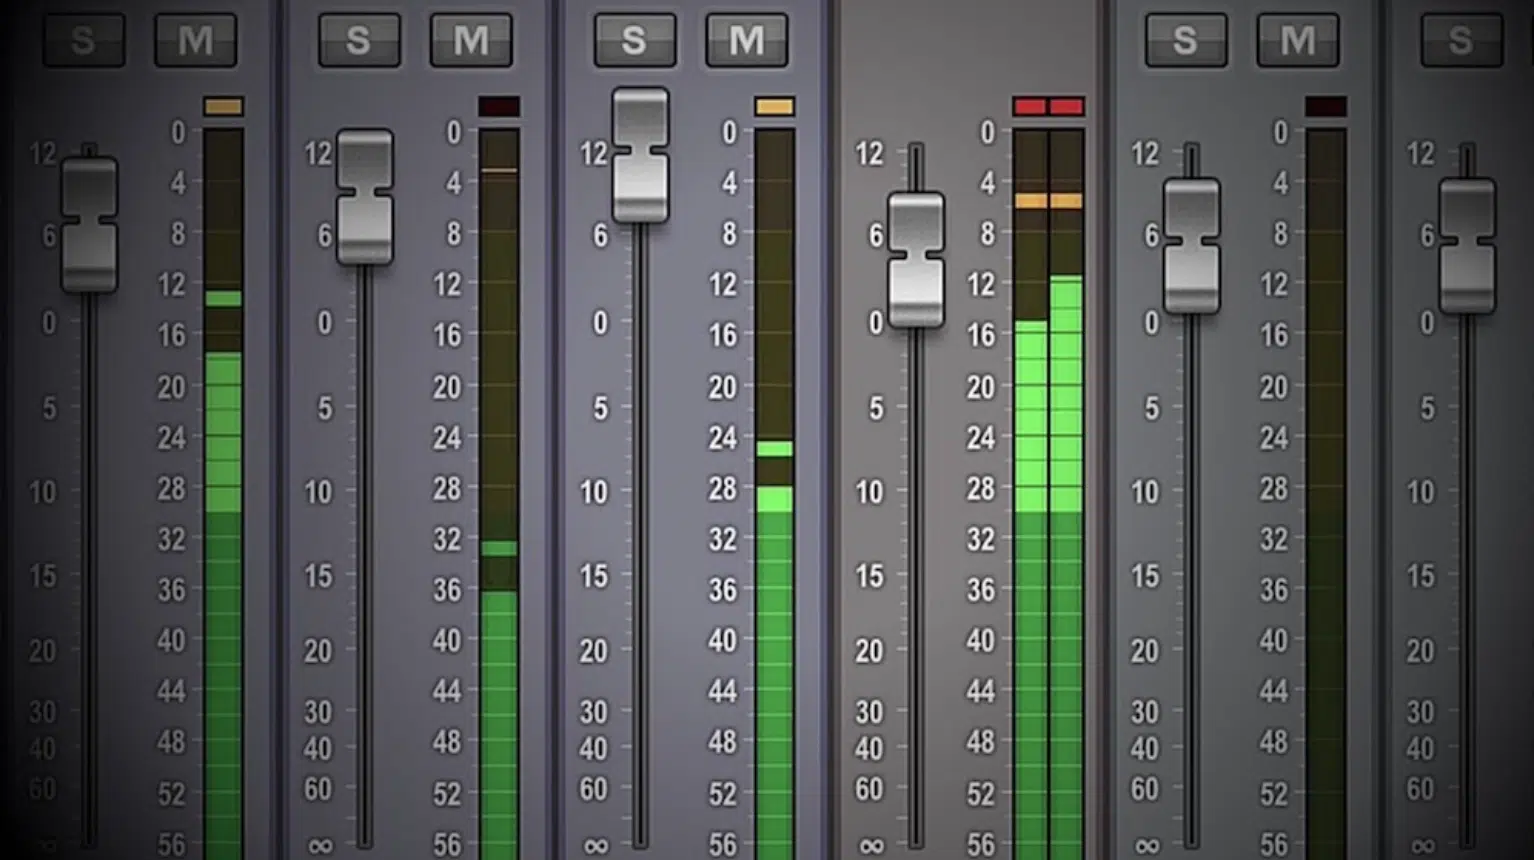
As I said before, proper gain staging is the lifeblood when it comes to getting your audio recording and mixing super clean, so let’s break it down even more…
Start at the source by setting your input gain on your audio interface to capture a strong but clean signal without pushing levels too high.
For vocals, aim for -18 dBFS to -12 dBFS as a target range, with peaks reaching -6 dBFS for loud passages.
For example, if you’re recording a vocalist with a Shure SM7B, make sure you’ve got a clean preamp, like a Cloudlifter or FetHead, to give it the extra gain boost.
Also, perform a test recording of the singer’s loudest chorus to check for any unwanted peaks.
If you were recording an acoustic guitar, on the other hand, you’ll want to:
- Perform a test recording of the loudest strumming part
- Check the meter on your digital audio workstation (DAW)
- Tweak your input levels until you stay safely below 0 dBFS
Once you move into mixing, gain staging becomes even more important 一 maintain headroom across all your tracks.
For tracks like drums, bass, and synths, keep individual track fader levels around -6 dBFS to guarantee they don’t add up and overload the master channel.
For example, if you’re stacking 12-14 tracks of layered synths and percussion, lower each track by -3 dB to compensate for the ‘cumulative’ effect.
A common mistake a lot of producers make is boosting levels across multiple plug-ins, but remember to adjust the output gain of each plugin so your signal stays consistent.
Let’s say you EQ a snare drum to add more high frequencies, like a 5 dB boost at 3 kHz, and then compress it with makeup gain…
If you don’t adjust the output gain of each plugin, you’ll end up hitting your master channel too hard (also, always check the output signal after each added effect).
When learning how to prevent clipping, it’s all about balance, levels, and perfection.
Use a meter plugin like Youlean Loudness Meter to monitor peak levels and ensure you have at least 6 dB of headroom before your master channel.
This extra space will help you avoid audio clipping in the mastering stage.
NOTE: Aim for a final LUFS of -14 to -10 for streaming platforms to avoid unnecessary compression in playback.
-
Using Limiters and Compressors & Regularly Checking Clipping Indicators
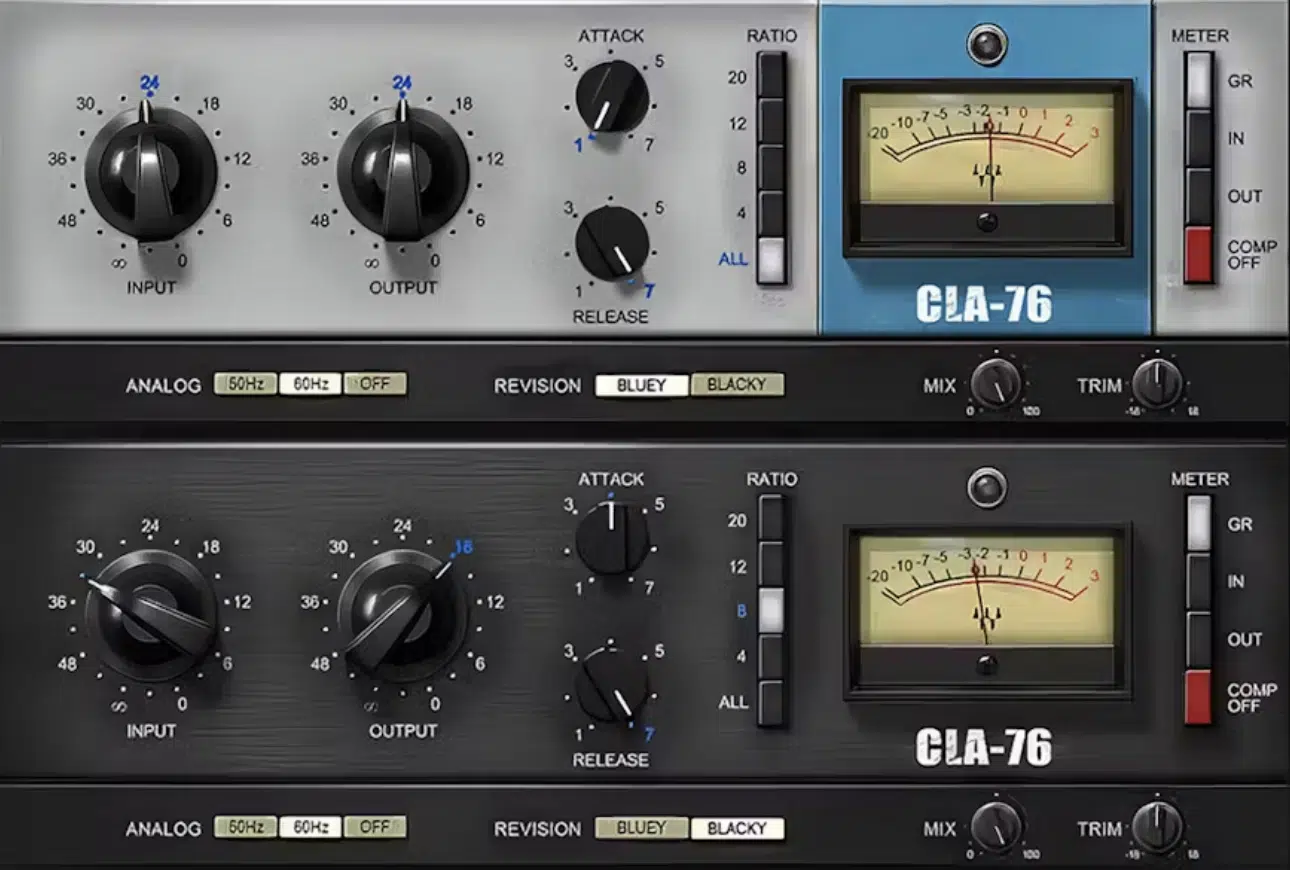
Limiters and compressors are your best friends when it comes to controlling peaks and swerving any messiness, especially when you’re first learning how to prevent clipping.
A limiter works by setting a hard ceiling on your signal so it doesn’t exceed the maximum level (very simple and straightforward).
For example, apply a limiter like FabFilter Pro-L2 to your master channel and set the threshold to -1 dBFS.
This keeps your peaks from hitting 0 dBFS, saving you from unwanted digital clipping.
Compressors help manage dynamic range, which is the difference between the loudest and quietest parts of your audio.
For a snare drum that’s too punchy, set a compression ratio of 4:1 with an attack time of 10 ms and a release of 100 ms.
This smooths out peaks while retaining your drum’s energy.
Again, always check your meters — in most DAWs like Ableton or Logic Pro, clipping indicators turn red when clipping occurs, so keep an eye on these visual cues.
When using a limiter or compressor, lower the makeup gain or output gain to avoid accidentally boosting the signal into clipping audio.
For extra safety, apply a high-pass filter to remove unnecessary background noise and prevent low frequencies from eating up your headroom.
And also, use your DAW’s master fader to catch any unexpected peaks. Keep your final mix peaking at -1 dBFS to leave just enough room for any post-mastering adjustments.
-
Understanding the Role of Bit Depth and Sample Rate
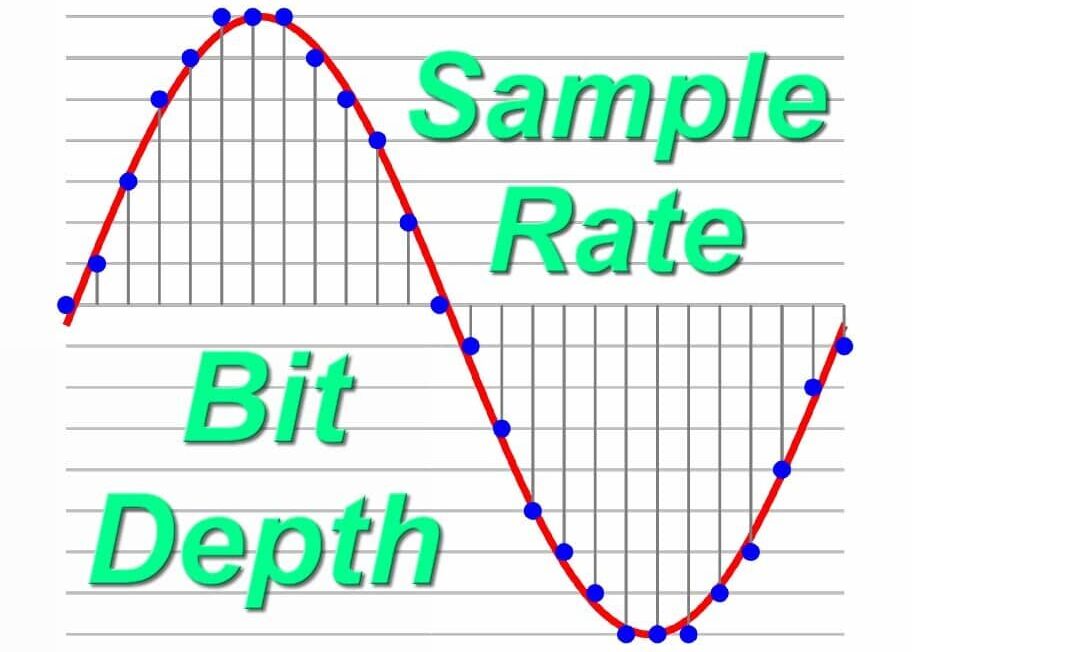
The bit depth and sample rate of your audio recording directly impact your audio quality and headroom, so don’t take them lightly.
Bit depth determines the dynamic range (the difference between the quietest and loudest parts of your signal).
For cleaner audio with less clipping, record at 24-bit instead of 16-bit.
That extra bit depth provides more headroom and allows for smoother dynamics so you’ll have fewer issues with audio clipping in post.
For example, a 24-bit recording offers a dynamic range of 144 dB, compared to just 96 dB at 16-bit 一 reducing the chance of peaks causing clipping audio.
The sample rate affects how accurately the audio signal is captured.
Recording at 48 kHz or higher makes for a more accurate representation of high frequencies, especially for instruments or vocal quality with complex overtones.
Keep in mind that most modern interfaces default to 44.1 kHz or 48 kHz, which are ideal for audio recording without pushing the digital domain too hard.
If your system allows, use 24-bit/48 kHz settings for both recording levels and mixing.
This combination balances audio quality and system performance while minimizing risks of clipping results during processing.
-
Pro Tip: Repairing Clipped Audio in Post-Production
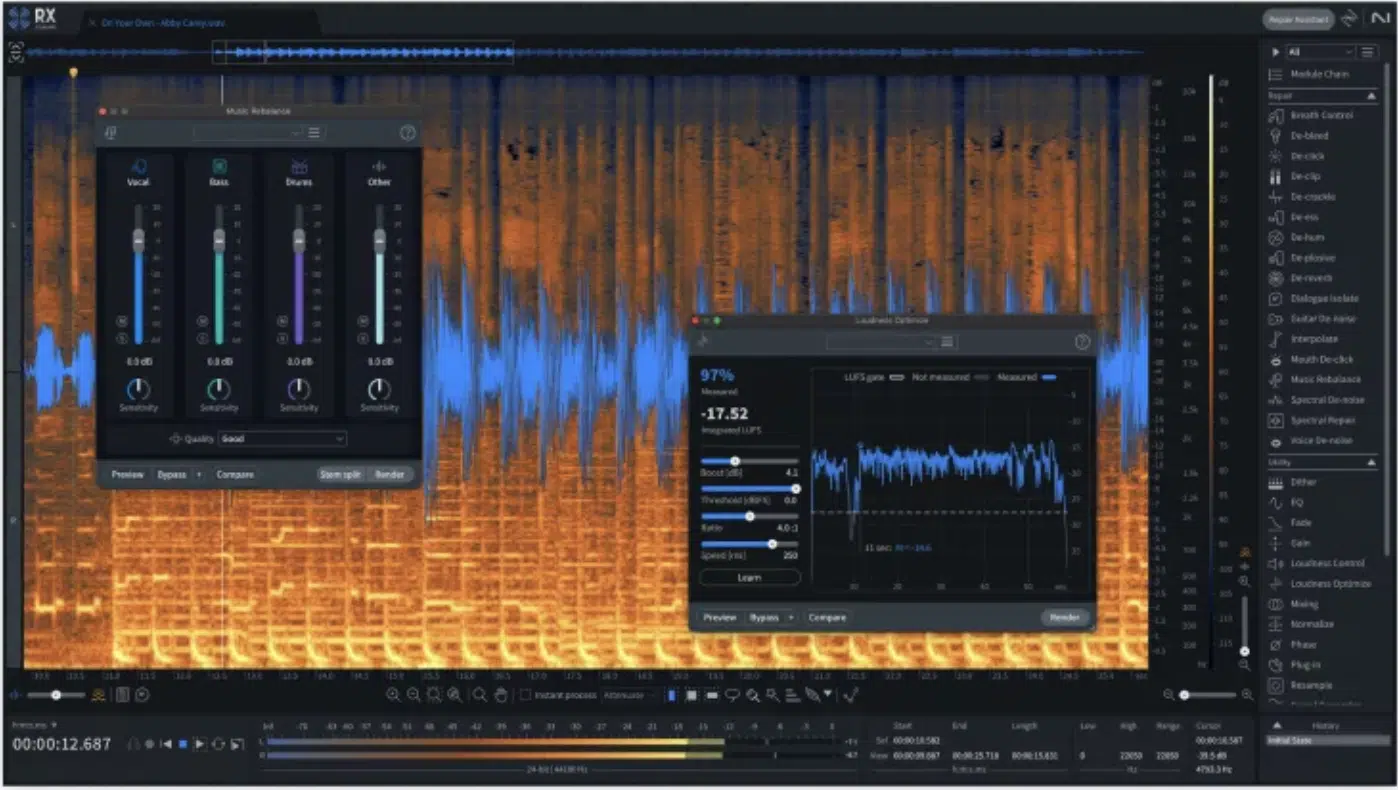
When you’re learning how to prevent clipping, sometimes you’ll still end up with clipping audio in your mix or audio file even though you did everything right.
The good news is that it’s possible to repair these issues in post-production using specialized tools (I don’t recommend it, but it’s doable).
First, you’ll get a plugin like iZotope RX De-clip, which can restore clipped waveforms by reconstructing the missing peaks.
For example, after loading the damaged audio file into iZotope RX 11, select the De-clip module, and set the threshold to around -1 dBFS to target the distorted areas.
Then, run a preview to make sure it catches the clipped sections without affecting the rest of the signal, and once you’re happy, render the changes and export the file.
Another good technique is to use clip gain adjustments…
In DAWs/software like Pro Tools or Logic Pro, select the clipped portion of the audio recording and reduce the gain by 2-3 dB to recover some lost audio quality.
For extremely damaged tracks that are just a mangled mess, apply a soft limiter with a gentle threshold (like -2 or -3 dBs) to smooth out any harsh distortion.
If the clipping results in audible cracks or clicks, add a high-pass filter to clean up only background noise below 80 Hz.
Follow it up with subtle EQ adjustments to retain as much of the original sound as possible without over-processing.
Remember, it’s always better to get a clean input signal during recording than rely on post fixes, but these tools can be a lifesaver in such cases.
PRO TIP: Sound proofing your recording environment is a preventative step that can help reduce the chances of peaking.
Excessive reflections or background noise can cause unexpected spikes in your signal and proper sound dampening techniques, like using foam panels or blankets, can reduce noise and give you cleaner recordings upfront.
Bonus: Creative Uses of Clipping
While audio clipping is typically seen as a problem, in some cases, it can be used creatively to add unique character to your sound. Let’s explore how intentional clipping and controlled distortion can enhance your productions in unexpected ways.
-
Intentional Clipping for a Pretty Cool Effect
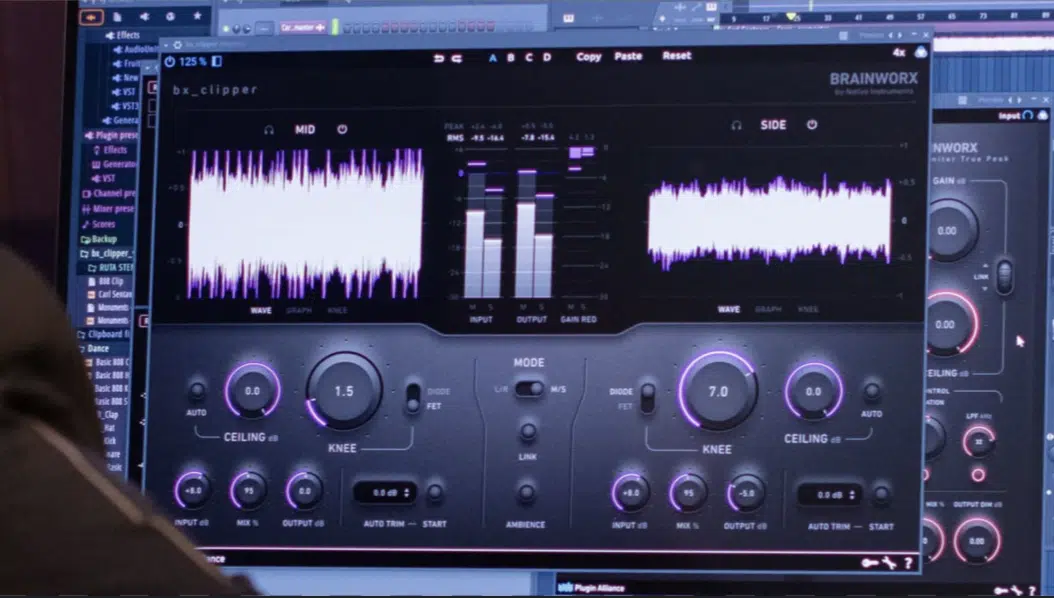
While most of us try to prevent clipping (and for good reason), sometimes introducing clipping audio intentionally can add a unique edge to your sound.
In genres like hip-hop, trap, and aggressive electronic music, controlled distortion and clipping on drums, 808s, or vocals can make them sound punchier/more aggressive.
For example, you can use a clipper plugin like Kazrog KClip 3 or StandardCLIP on an 808 bass line and set the input gain to push the signal slightly above 0 dBFS.
Then, adjust the soft clipping mode to blend saturation with the original sound.
This controlled clipping introduces harmonic distortion 一 enhancing the sound quality and making it cut through the mix.
On the same note, if you’re working with a snare drum, you can apply slight clipping for a super gritty attack, which is dope.
Simply use clippers with an output ceiling of -1 dBFS to avoid harshness while retaining the drum’s impact.
PRO TIP: To ensure the effect doesn’t sound too harsh, combine intentional clipping with EQ adjustments or a high-pass filter to clean up unwanted low-end background noise (yes, I’m really saying it again because it’s vitally important).
And, always monitor the master fader to maintain balance and avoid turning your entire mix into a distorted mess.
-
Balancing Creative Distortion with Audio Quality
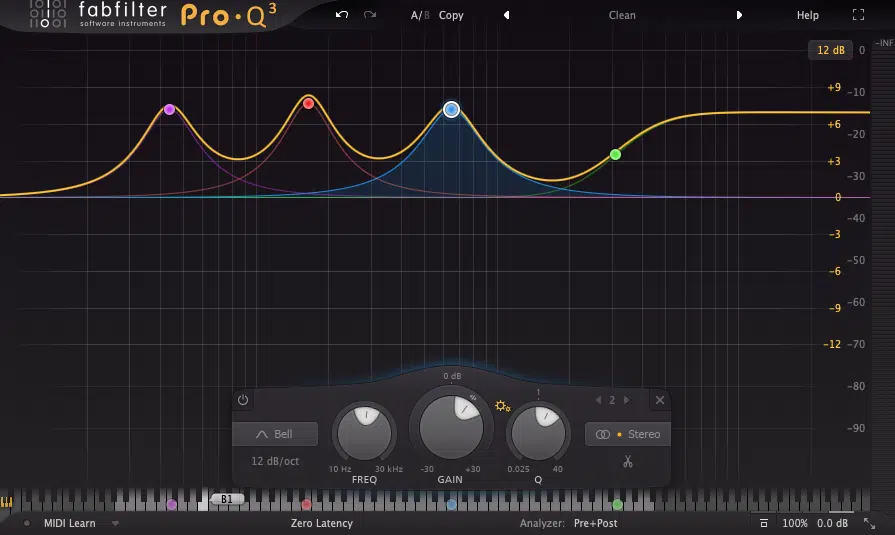
When using creative clipping or distortion, the key is finding a balance between raw power and clean audio quality.
- Too much clipping can quickly destroy a mix
- Just enough adds character and warmth
Start by applying distortion plug-ins like Soundtoys Decapitator (my fav) or FabFilter Saturn on individual tracks, such as synths, vocals, or drums.
Use the drive control sparingly…
For example, increase the input to 2-3 dB while keeping an eye on the clipping indicators to make sure the signal strength stays under control.
A great technique is to blend the distorted signal with the clean original recording using parallel processing.
Send the distorted track to an auxiliary bus and adjust the mix to about 50% for a controlled effect that doesn’t overpower your audio file.
To maintain clarity, apply sound dampening techniques to reduce any excessive background noise or artifacts caused by the distortion.
Finally, if you notice any part of your track sounding overly harsh or sound distorted, run it through a noise reduction plugin to clean up unwanted spikes.
Use a soft limiter on the master channel to cap the maximum level and ensure the audio signal retains its punch without sacrificing sound quality.
This balance ensures your mix still sounds polished while benefiting from the creative use of clipping 一 it takes a little learning curve, but trust me, not that long.
Final Thoughts
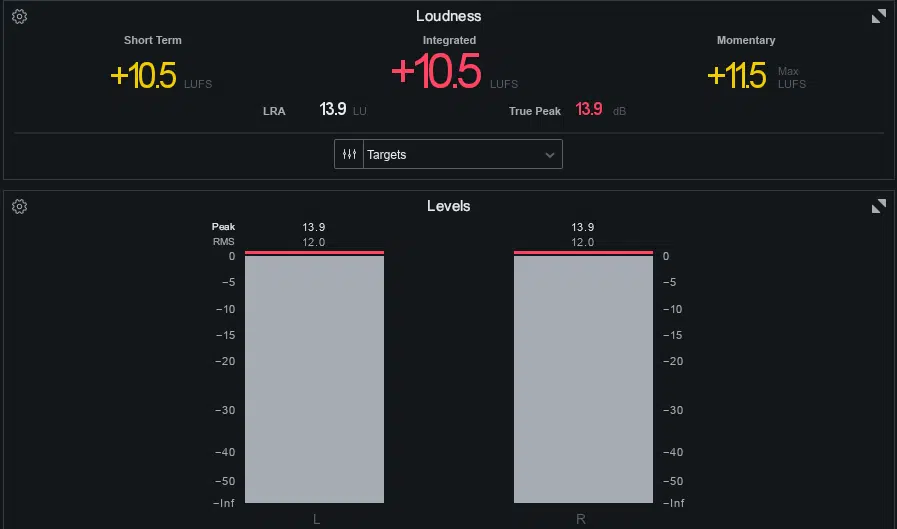
And there you have it: everything you need to know about how to prevent clipping like a boss (and even how to use it creatively when the moment calls for it).
With the techniques you’ve learned today, you’ll be able to control your signal strength, manage your headroom, and make sure every audio file sounds clean and on point.
Just remember, it’s all about managing your input levels, keeping an eye on those peaks, and not overloading your master channel.
As long as you stay aware of your levels and make smart adjustments, you’ll master how to prevent clipping in no time.
And, as a special bonus, since we’ve mentioned vocals so many times, you’ve got to check out the dopest Free Vocal Pack in the industry.
It includes 20 professional-quality vocal loops, chops, and one-shots.
They’re the perfect way to make your tracks catchy and give them that competitive edge while also helping you see what ideal vocal levels should look like to avoid clipping.
Created by expert vocalists and producers, these vocals are 100% royalty-free, so you can use them however you’d like.
They’re super versatile, clean, and mix-ready, making them an absolute must-have for your next project.
Don’t miss out on these killer vocals — they’re sure to take your tracks to the next level every single time.
Bottom line, learning how to prevent clipping is all about staying in control of your levels, keeping enough headroom, and using tools like limiters and metering plugins.
So, just remember to monitor carefully, clean up your audio signal, and enter every stage of your mix with precision.
By doing so, your audio quality will stay crystal clear, and your tracks will hit hard without ever sacrificing professionalism.
Until next time…


Leave a Reply
You must belogged in to post a comment.