As a music producer, learning how to use VST plugins is absolutely crucial.
These versatile tools hold the key to expanding your sonic palette 一 unleashing your creativity and truly defining your unique sound.
Understanding and utilizing VST plugins can elevate your work from amateur to professional status.
In this comprehensive guide, we’re going to explore the exciting realm of VST plugins together.
Here’s a rundown of what we’ll be covering today:
- Uncovering what VST plugins are ✓
- Different types of VSTs ✓
- The critical role of a VST host & the VST format ✓
- Choosing between free and paid plugins ✓
- Installing a new VST plugin on your system ✓
- Mastering VST plugins in your DAW ✓
- Understanding plugin formats & ensuring compatibility with your DAW ✓
- Getting the best out of your VST plugins ✓
- Troubleshooting common issues ✓
By the end of this article, you’ll have a solid foundation on how to use the VST plugin format.
You’ll understand their potential, know how to install them, and be able to seamlessly integrate them into your production workflow.
No longer will you be intimidated by the vast array of VST plugins at your disposal.
Instead, you’ll be ready to embrace them as powerful allies in your quest to produce legendary music.
So, let’s dive in…
Table of Contents
- Understanding VST Plugins: Your Digital Tools
- Getting Started: How to Install VST Plugins
- Mastering VST Plugins in Your DAW (Digital Audio Workstation)
- Ensuring Compatibility: Plugin Formats & Your DAW
- Tweaking & Tuning: Getting the Best out of Your VST Plugins
- Troubleshooting Common Issues
- How to Use VST Plugins: Final Thoughts
Understanding VST Plugins: Your Digital Tools
As we dive into the world of Virtual Studio Technology (VST), it’s essential to grasp what most VST plugins are and how they function as key components in the digital music production realm.
-
What are VST plugins?
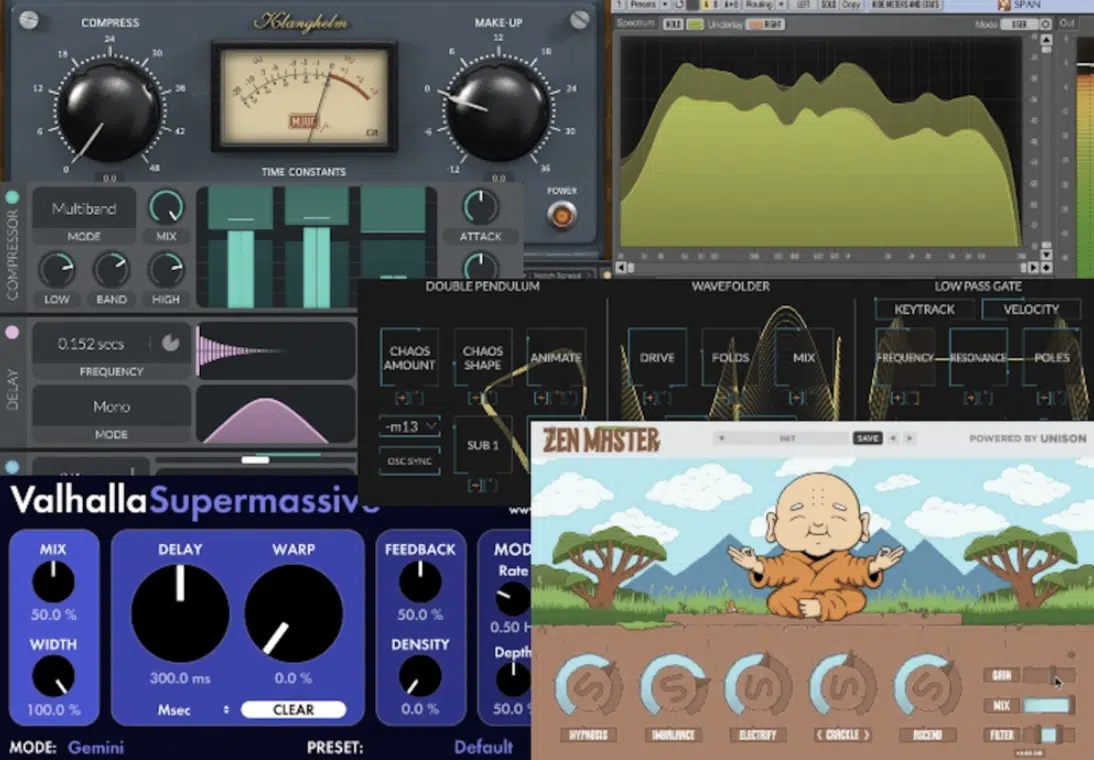
In its simplest form, a VST plugin acts like a standalone application within your Digital Audio Workstation (DAW).
It’s an essential tool in the music production process, serving to enhance, modify, or create sound.
You’ll often find VST plugins in the form of:
- Instruments (VSTis)
- Audio effects
- Other sound processors (such as MIDI FX)
Moreover, VST plugins can transform your DAW into a high-powered music production station.
It allows you to emulate classic studio hardware, create new sounds, and explore unique audio effects.
Having a good understanding of how to use VST plugins can truly elevate your tracks.
If you’d like to learn all about virtual studio technology in and of itself, we’ve got you covered.
-
Difference Between VST plugins, VST Instruments & Audio Units
As we delve deeper, it’s crucial to distinguish between VST plugins, VST instruments, and audio units.
These terms may seem similar, but each has a unique role in the music production ecosystem.
Firstly, ‘VST plugins’ is an umbrella term that includes VST instruments (or VSTi).
#1. VST instruments are a specific type of VST plugin that generates sound instead of processing it.
Think of:
These are all examples of VST instruments.
#2. Audio Units (AU) are another type of plugin format.
They are essentially Apple’s proprietary version of VST plugins 一 designed specifically for their own operating systems, Mac OS, and iOS.
So, while you might use VST plugins on a Windows system if you’re using Logic Pro on a Mac, you’re likely going to be dealing with Audio Units.
Logic Pro, the popular DAW from Apple, primarily uses Audio Units.
As a producer, this gives you flexibility in choosing your tools, whether they are VST plugins or audio units, depending on what you are most comfortable with.
NOTE: Most major plugins come in all plugin formats (including AAX; the proprietary Pro Tools format).
All are identical when it comes to how the plugin operates and looks…
The difference is what format your computer/DAW accepts and which specific format you choose.
-
Role of a VST Host & The VST Format
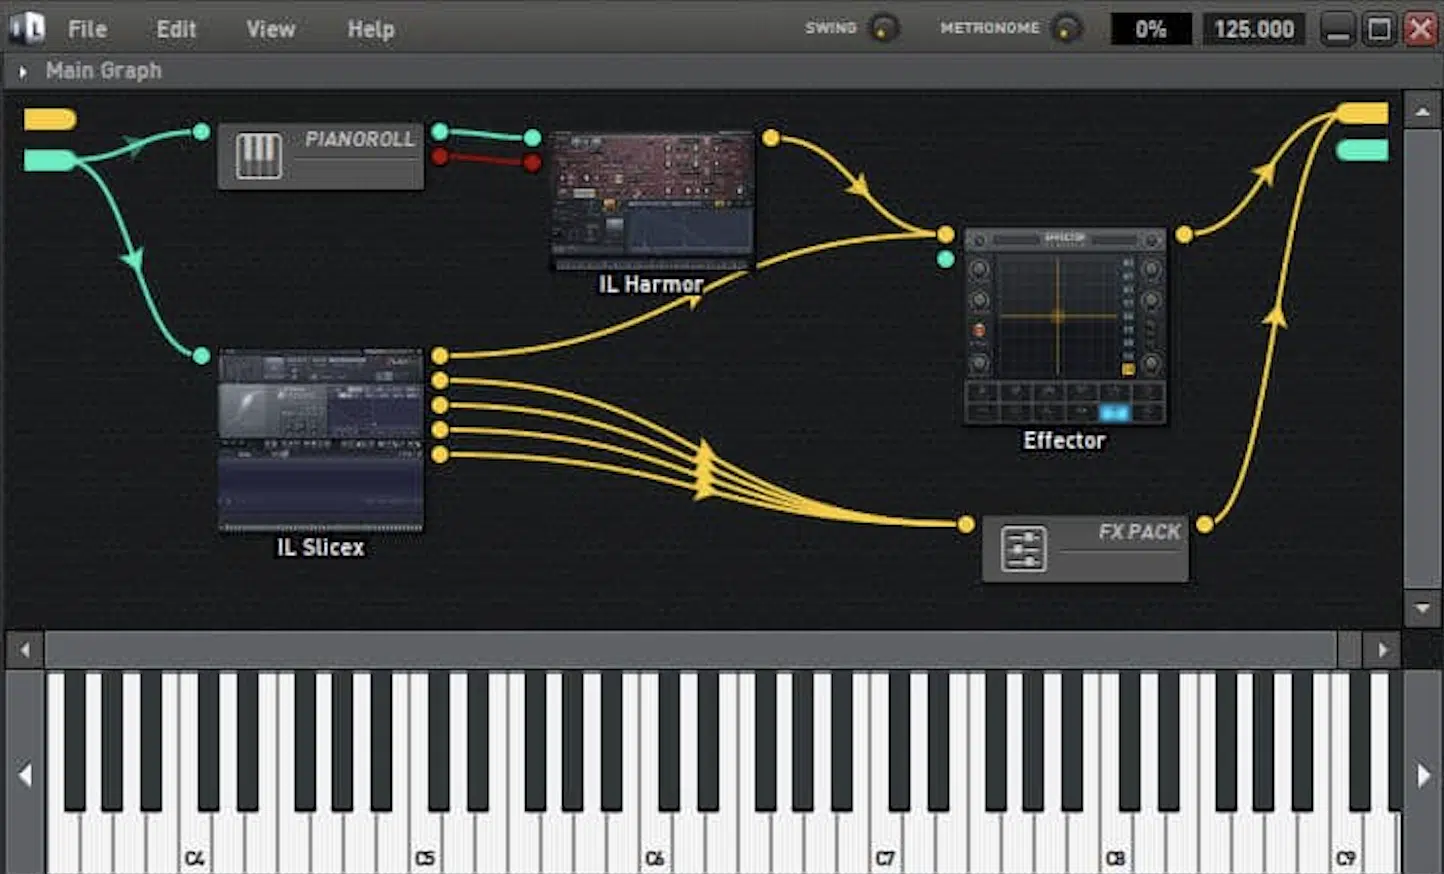
Now, to utilize any VST plugin or VST instrument, you need something called a VST host.
This is usually your DAW (like Ableton Live, FL Studio, or Logic Pro).
The VST host is where you’ll load your plugins, and it’s the platform that facilitates the operation of these plugins.
The VST host enables you to:
- Manipulate your plugins
- Use them in a recording and mix/master setting
- Tweak their parameters
- Turn them on or off
- Automate their controls
It’s the control center, the hub where all the magic happens (typically your DAW).
For instance, if you’re using a VST instrument 一 the host allows you to play it like you would with a MIDI keyboard.
Side note, if you’d like to check out the best MIDI keyboards of 2023, we’ve got you!
With that said, there are many plugin hosts available that simply allow you to load and use the plugin without the ability to record and automate the results.
The trade-off is much lower CPU usage and near-instant boot/load times.
Lastly, it’s important to understand the role of the VST format itself. The VST format ensures that your plugins can communicate effectively with your host.
It’s like a common language spoken between your plugins and your DAW.
Ultimately, it’s what makes it possible for you to use all your VST plugins from many different developers within the same project.
Getting Started: How to Install VST Plugins
Ready to start adding plugins to your production toolkit?
Let’s look at how to go about this 一 from choosing your plugins to installing and managing them in your DAW.
-
Free VST plugins vs. Paid Plugins
When it comes to expanding your arsenal of new VST plugins, you’re presented with a myriad of choices: free VST plugins and paid ones.
Free VST plugins 一 Can be a great starting point, especially if you’re new to music production.
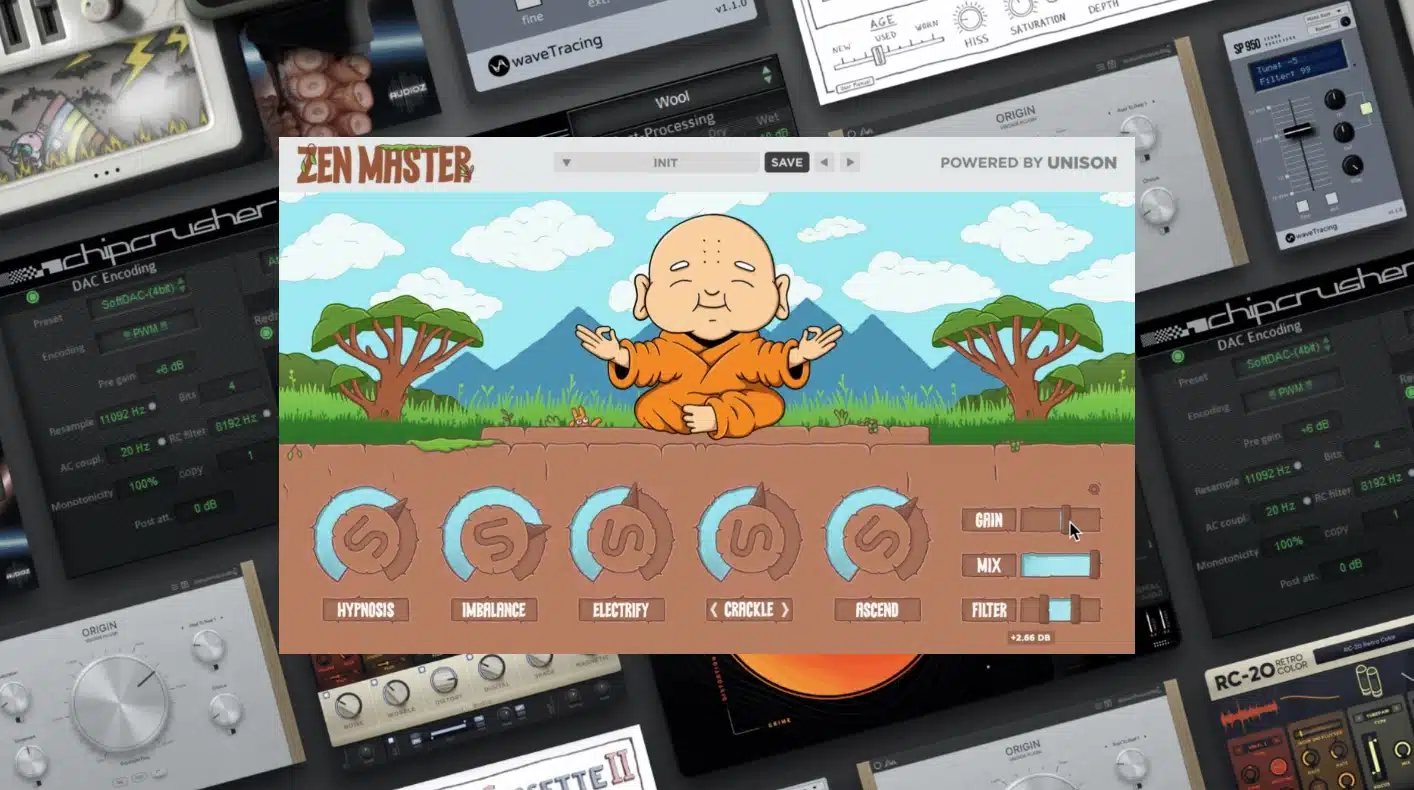
There are plenty of high-quality free options available that can provide you with an array of sounds and VST effects.
Paid plugins 一 Often offer more comprehensive features and often superior sound quality.
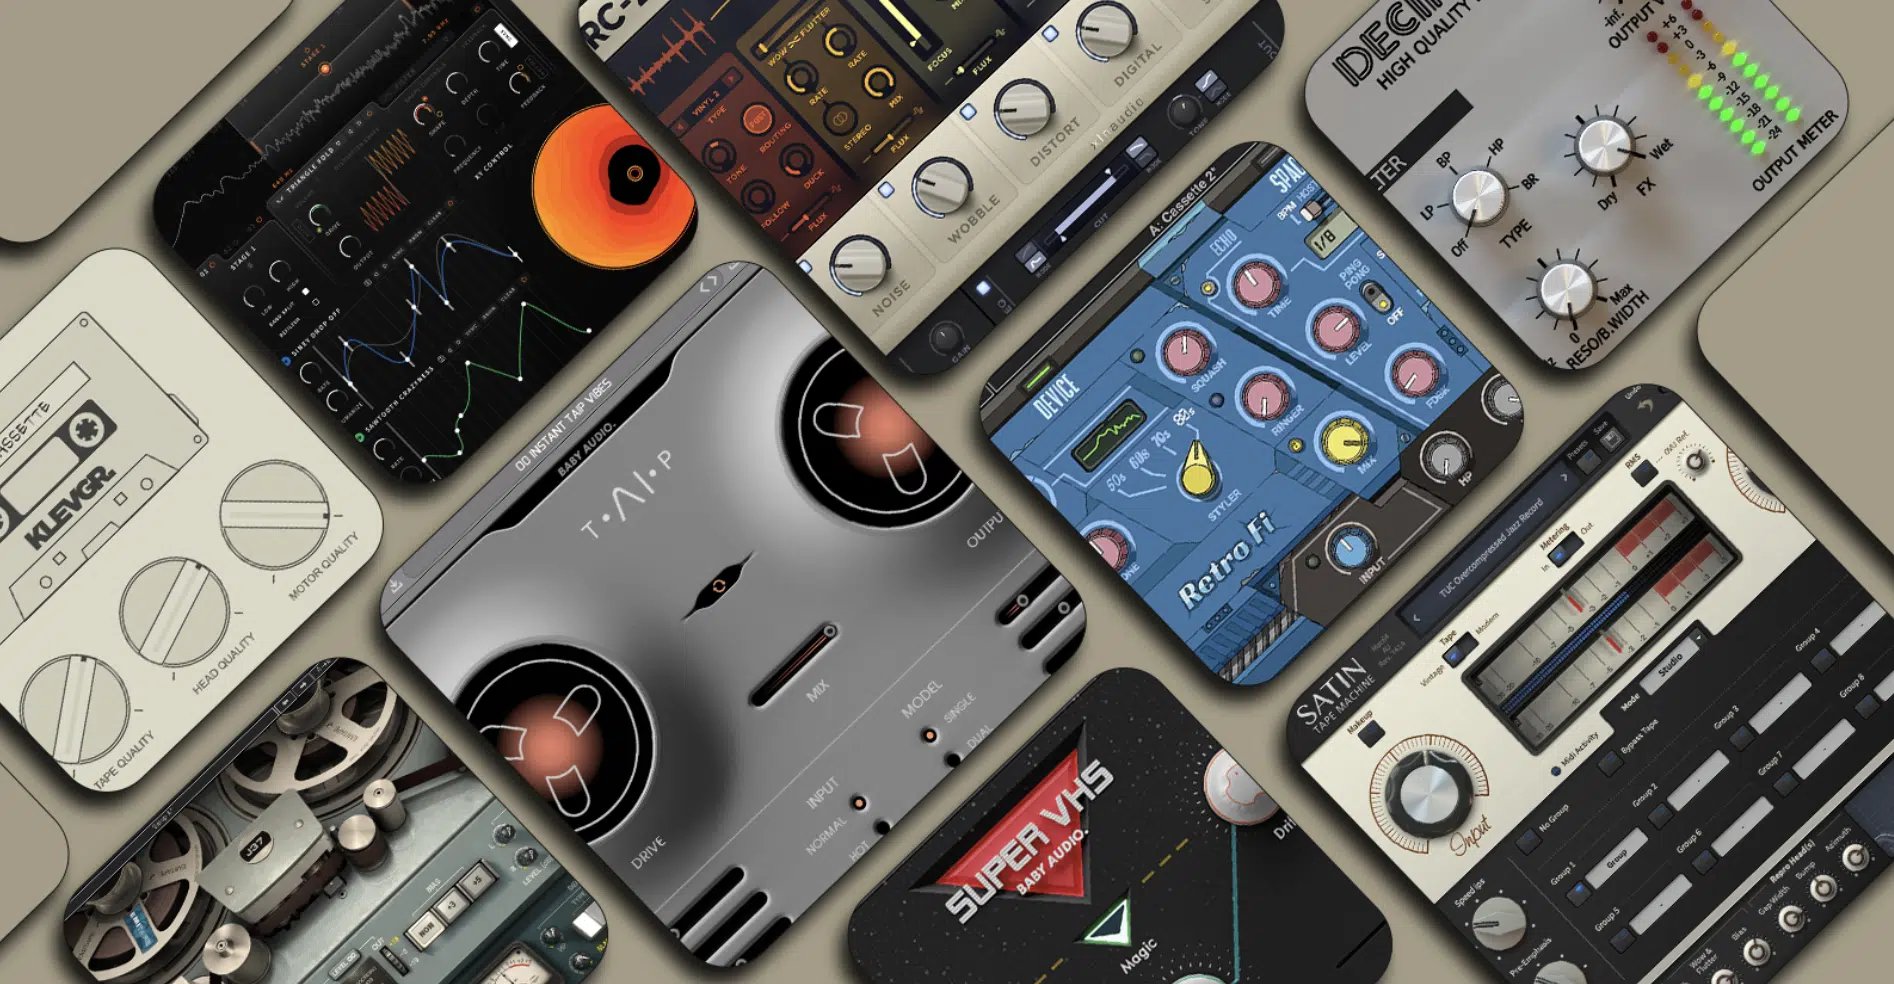
If you’re serious about your music production, investing in some top-notch paid plugins can go a long way, as they sound amazing.
Remember, the key is to find a balance that suits your needs and budget.
Many free plugins are just scaled-down versions of a paid plugin, usually with limited feature sets.
Those paid plugins without a “light” or “freemium” version typically provide either a time, recording, or save-state-restricted demo.
Or, a 14-45 day free trial without any limitations.
-
How to Install Plugins on Windows & Mac OS
After you’ve extracted your plugin files, it’s time to install them.
The process can vary slightly depending on your specific operating system.
On Windows, you’ll generally copy the extracted DLL file or VST file to your VST plugins folder.
This is usually located under Program Files, but it could also be in Common Files or another location, depending on your DAW.
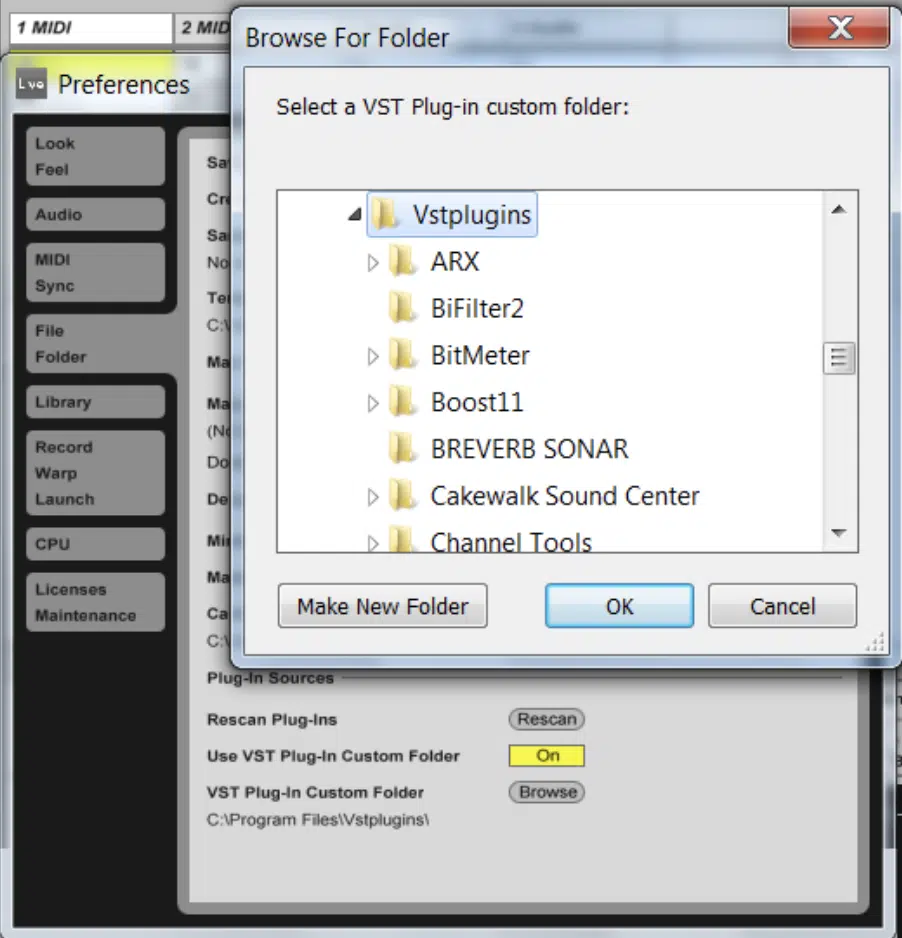
For instance, Ableton Live typically uses a custom VST folder which you can specify in the program’s preferences.
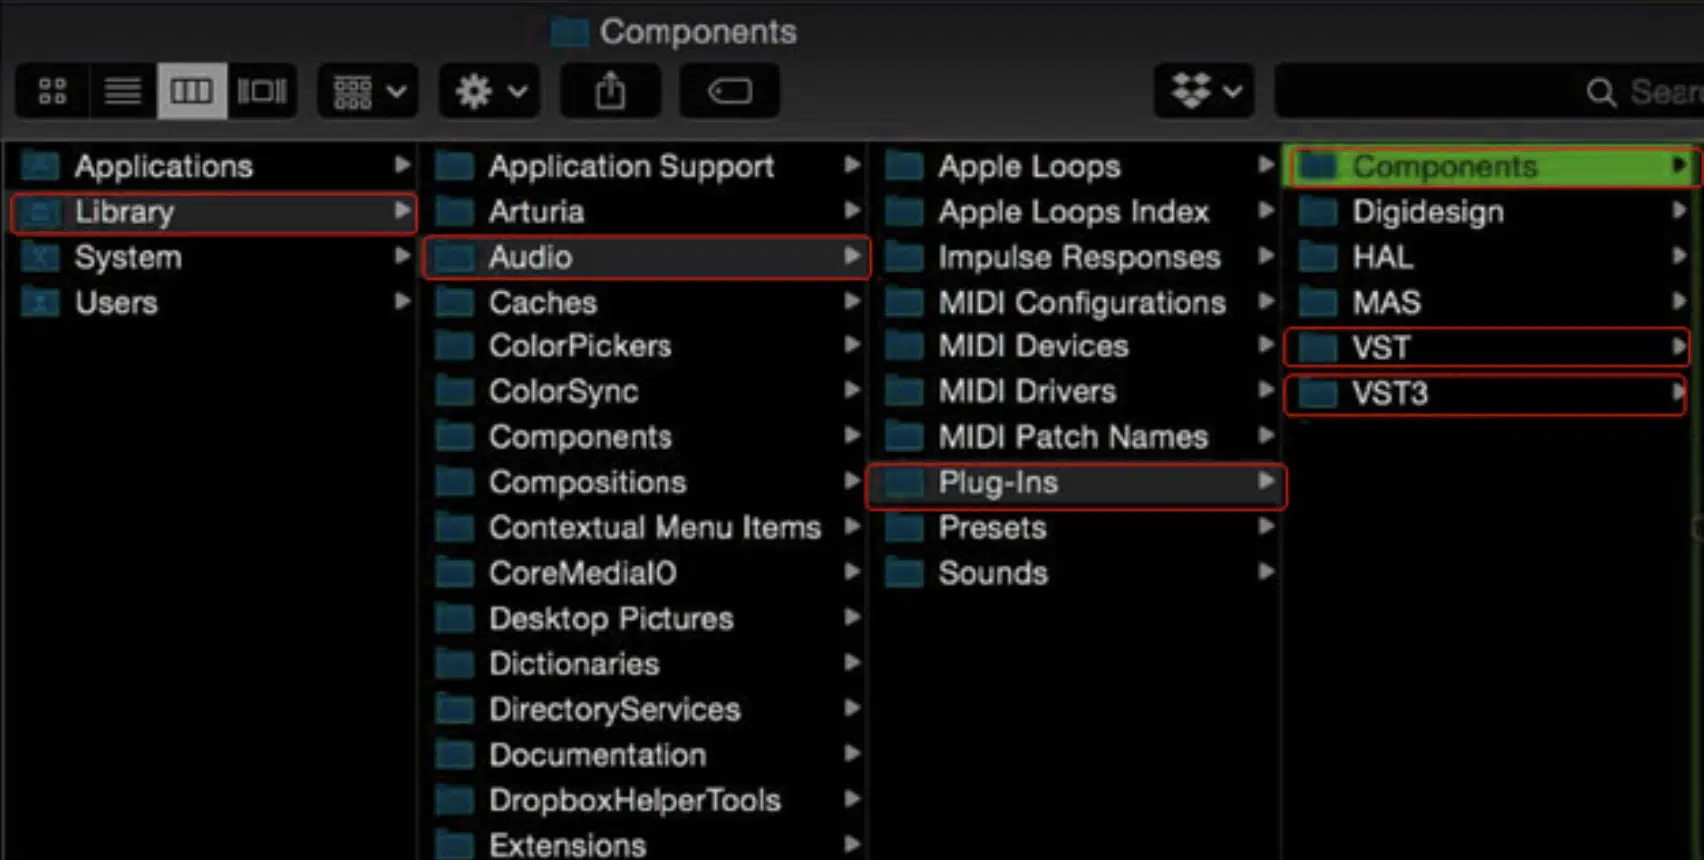
On Mac OS, you’ll move the VST file or the entire VST plugin folder to your system’s VST folder.
This is usually located in Library -> Audio -> Plug-Ins -> VST.
However, it can vary based on your specific DAW.
Always make sure to refer to your DAW’s documentation for the correct VST folder location.
You might need to rescan your plugins or restart your DAW to recognize the new plugins.
-
Handling DLL Files & VST Files in Your VST Folder
When you’re dealing with your VST plugins, you’ll encounter:
- DLL files (on Windows)
- VST files (on Mac)
These files are the actual plugins themselves, and they’re what you’ll need to move to your VST folder to install the plugin.
Make sure to keep your VST folder organized to make managing your plugins easier.
You might have separate folders for different types of plugins 一 such as effects, instruments, and others.
This can help you find and load your plugins more efficiently when working in your DAW.
Lastly, ensure that your DAW is correctly pointed to your VST file folder in its settings.
If it’s looking in the wrong place, it won’t be able to find your installed VST plug ins.
This is a common issue that can usually be resolved by checking your DAW’s preferences and making sure the VST folder location is correct.
Creating a custom folder for all the plugins (favorite plugins, single plugin, new plugin, etc.) and default location is always encouraged.
Mastering VST Plugins in Your DAW (Digital Audio Workstation)
Now that you have your VST plugins installed, it’s time to start using them in your DAW.
So, let’s break down what you can do in order to master the art of VST plugins.
-
Getting Familiar With the Interface of Ableton Live
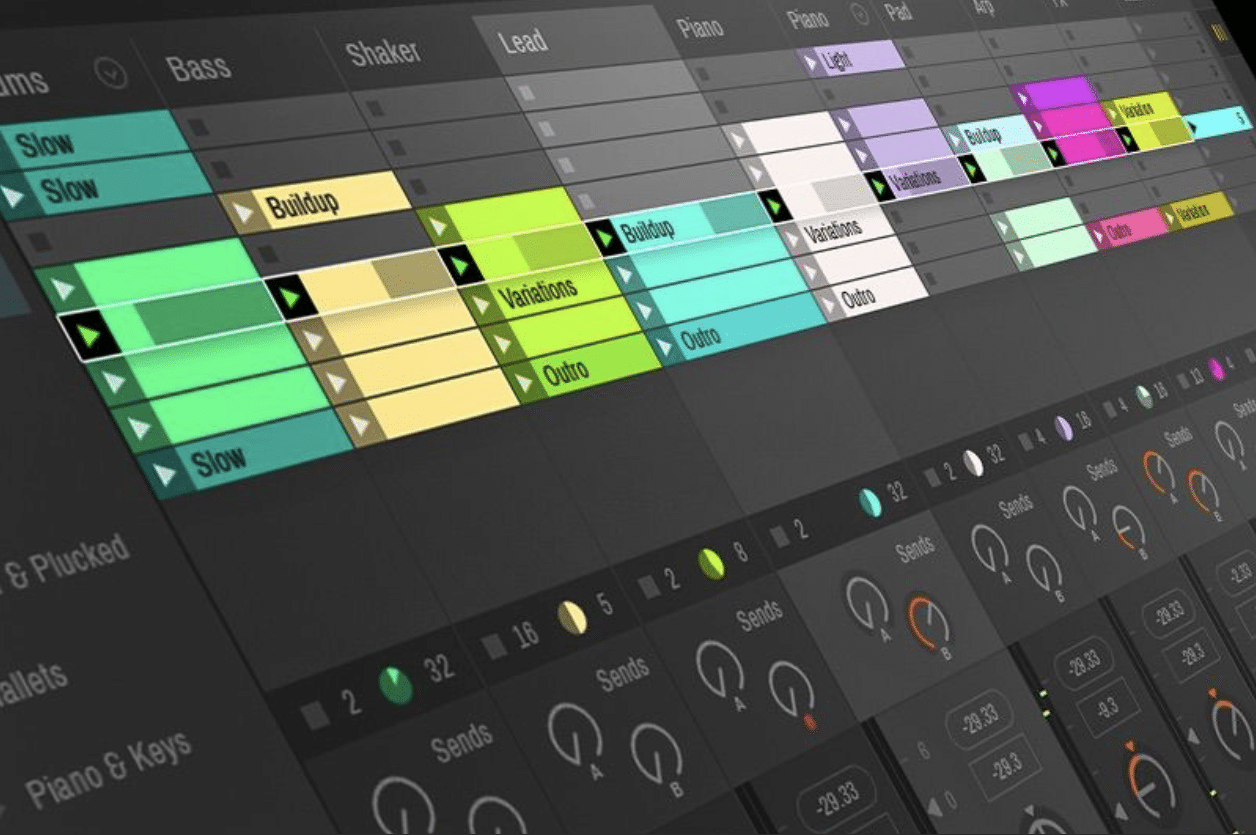
When it comes to working with VST plugins in Ableton Live, understanding the interface is paramount.
Within Ableton Live, your VST plugins will appear in the browser section, under the ‘Plug-ins’ label.
Here, you can view all your installed plugins.
To use a VST plugin, you simply need to drag and drop it from the browser onto a track.
Ableton Live provides the flexibility to use your VST plugins on both:
- Audio tracks (for effects)
- MIDI tracks (for VST instruments/virtual instruments)
When a VST plugin is loaded, its interface can be viewed and adjusted by clicking on the wrench icon in the bottom left of the plugin window.
-
How to Use VST Plugins in Logic Pro & FL Studio
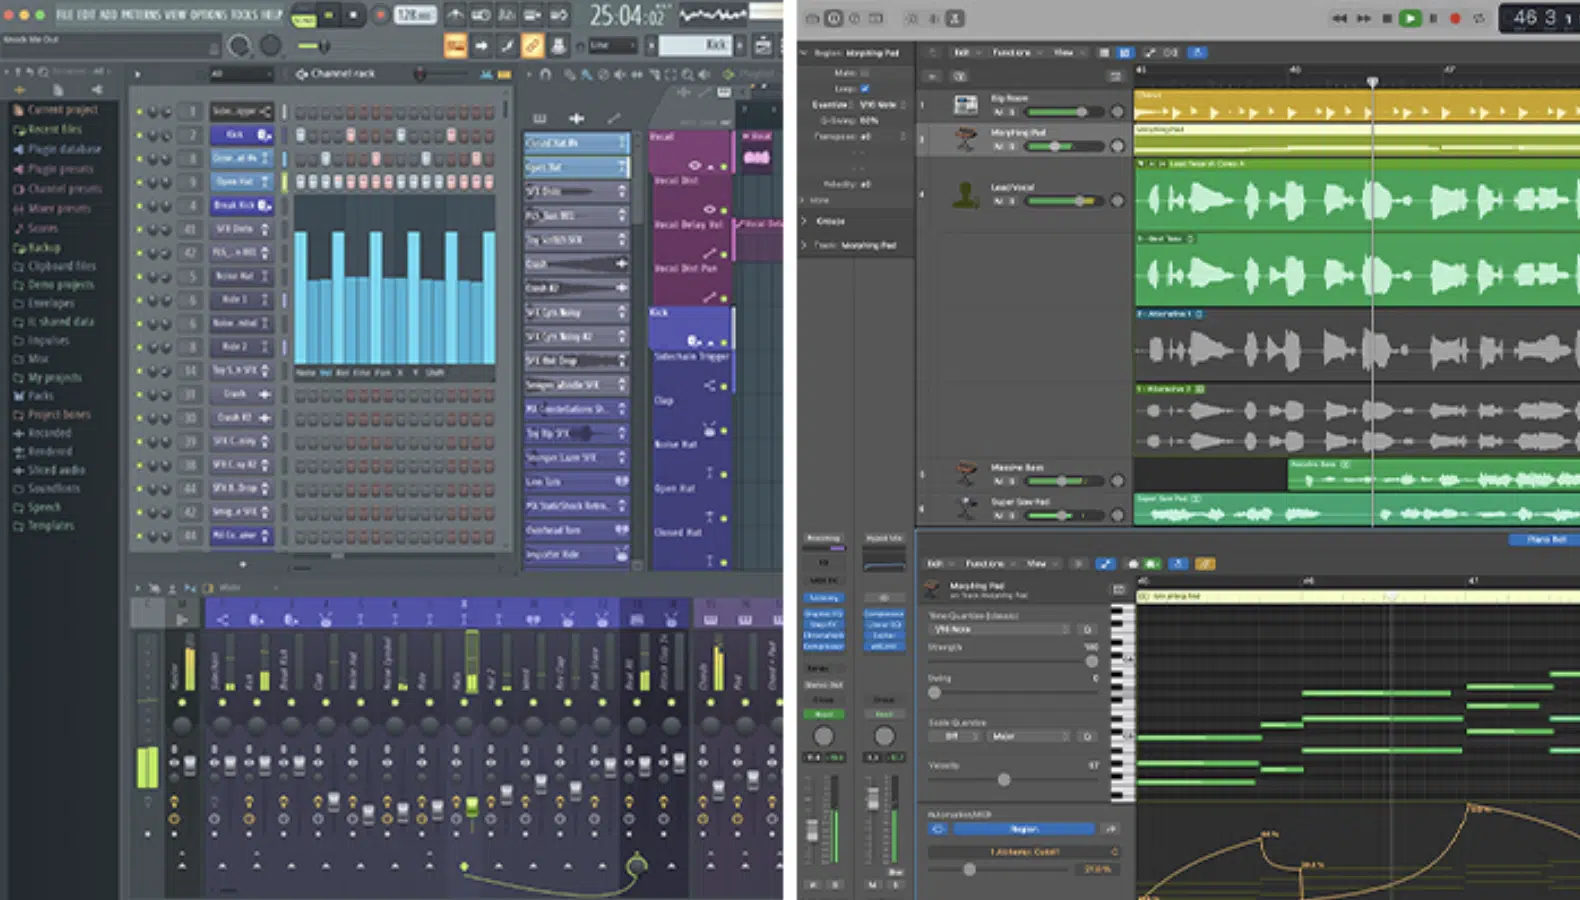
In Logic Pro, the use of VST plugins is a bit different due to the platform’s preference for Audio Units (AU).
However, with the use of a third-party software instrument such as a VST to AU adapter (like Blue Cat Audio’s “Patchwork“), you can make VST plugins work.
Once installed, these plugins will appear under the ‘AU Instruments’ or ‘AU Effects’ section in the plugin browser.
They can be added to a track by simply selecting the desired plug in from the dropdown menu in the channel strip.
FL Studio, on the other hand, fully supports VST plug ins.
You can find your installed plugins under the ‘Plugin database’ in the FL Studio browser.
To add a VST plugin to a track, you can simply drag and drop it from the browser or select it from the ‘Channel Rack’ window.
Remember to refresh your plug in list in the ‘Manage plugins’ window if you’ve recently installed new plugins.
Each DAW provides a unique workflow for using VST plug ins, but the fundamental principles remain the same.
You simply:
- Load the plugin onto a track
- Adjust its settings
- Use it to shape your sound
It’s very simple and straightforward, so after a few times doing you apply this process, it will feel like second nature to you.
Also, it will help you create unique music and epic beats.
-
Organizing Your Library (Audio Plug Ins) Using the Plugin Manager
Organization is key when dealing with a wide array of VST plugins.
Many DAWs feature one plugin manager that can greatly simplify this (oftentimes grueling) task.
A plugin manager 一 Allows you to categorize your plug ins, deactivate those you don’t use often, and even create custom categories.
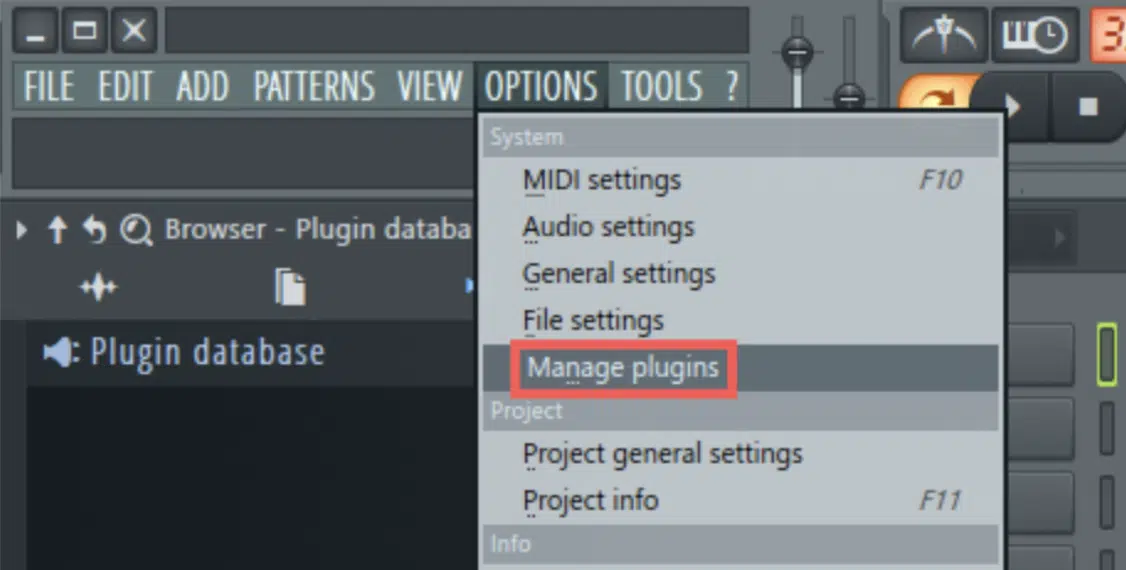
In FL Studio, the plugin manager can be accessed via the ‘Manage plugins’ option in the ‘Options’ pop up menu.
Here, you can:
- Scan for new plugins
- Activate or deactivate plugins
- Organize your plugins into custom categories
This can help streamline your workflow by ensuring that only your most frequently used plugins appear in your plugin browser.
Similarly, Ableton Live and Logic Pro also have built-in systems for managing and organizing plugins.
By spending a bit of time organizing your plugins, you can enhance your workflow and make the process of producing music a more streamlined experience.
Ensuring Compatibility: Plugin Formats & Your DAW
Ensuring that your plugins are compatible with your DAW and operating system is essential to a smooth workflow.
So, let’s discuss how you can make that happen.
-
Understanding Plugin Formats & Their Compatibility With Different Operating Systems
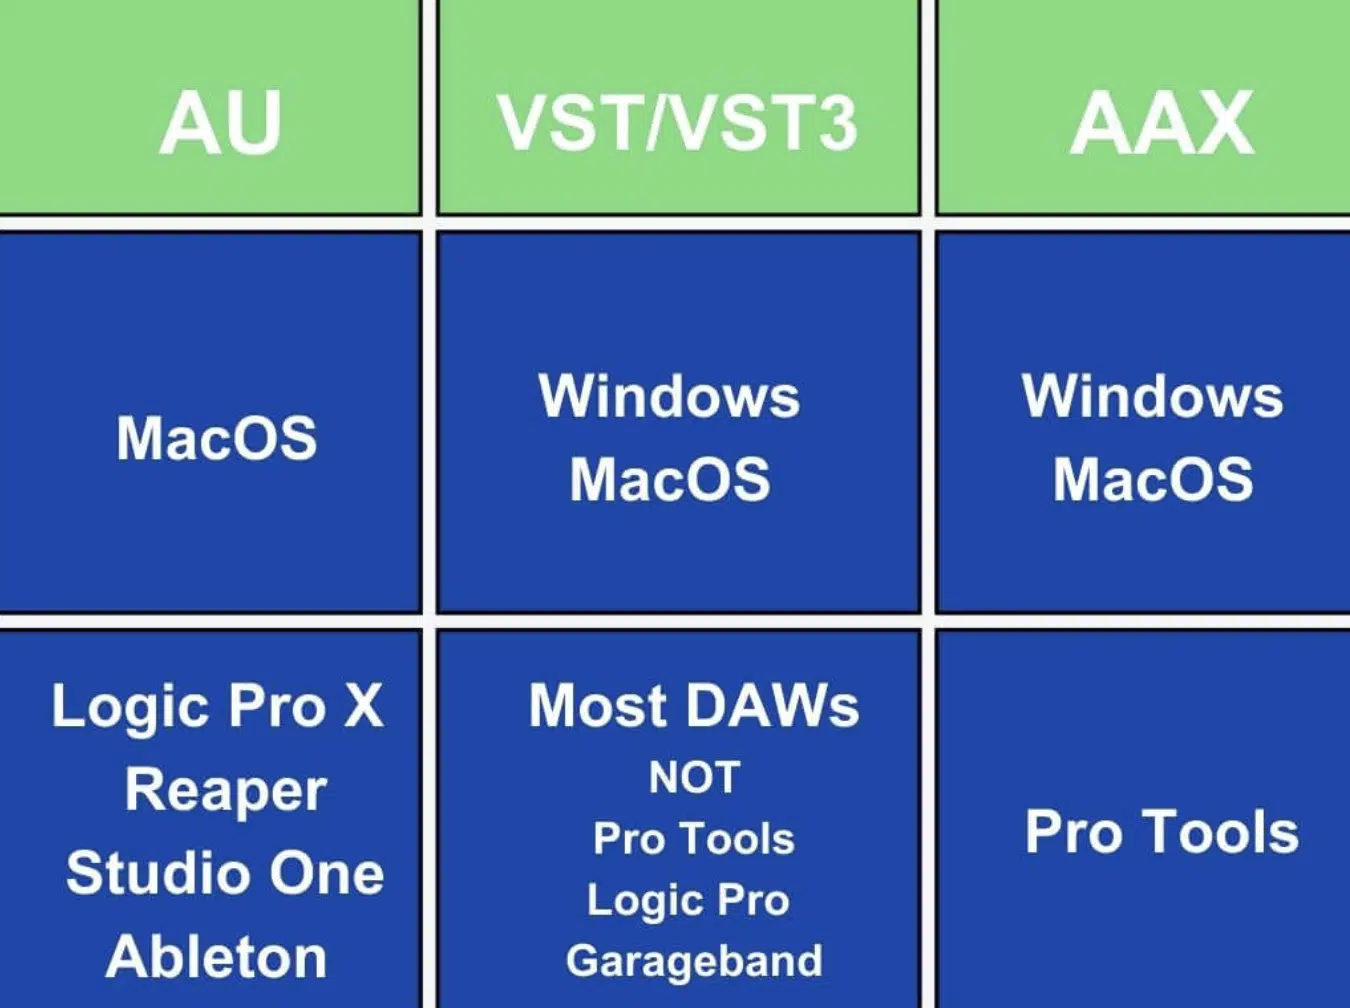
In the realm of digital music production, several plugin formats coexist.
The most common formats are:
- VST (Virtual Studio Technology) 一 The most universal, compatible with both Windows and Mac OS, and supported by most DAWs.
- AU (Audio Units) 一 A format developed by Apple. Typically used within Logic Pro & other Mac-based DAWs, since this plugin format is exclusive to Mac OS devices.
- AAX (Avid Audio Extension) 一 A format specific to Avid’s Pro Tools software.
When choosing your plugins, it’s crucial to make sure that they’re compatible with your DAW and operating system.
Most plugin developers provide this information on their websites.
Keep in mind that some plugins may require specific versions of your DAW or operating system.
So, always check the requirements before downloading and installing a new plugin.
This doesn’t always mean keeping your system updated, but rather checking before updates to your audio system, DAW, and VST plugin to make sure it’s fully compatible with your current version(s).
Sometimes you may need an update, other times it may be smarter to hold off.
Keep in mind you may have hundreds of VSTs, so it’s an intricate balance of your update schedule.
And, due to conflicting developer updates, it’s usually best to focus on your most vital plugins.
This way, you’ll prevent your system (and mind) from going nuclear.
Tweaking & Tuning: Getting the Best out of Your VST Plugins
Once you’ve got your plugins installed and organized, it’s time to explore the potential of these powerful tools and how they can enhance your music production process.
-
How to Use VST Plugins to Modify Audio Interface
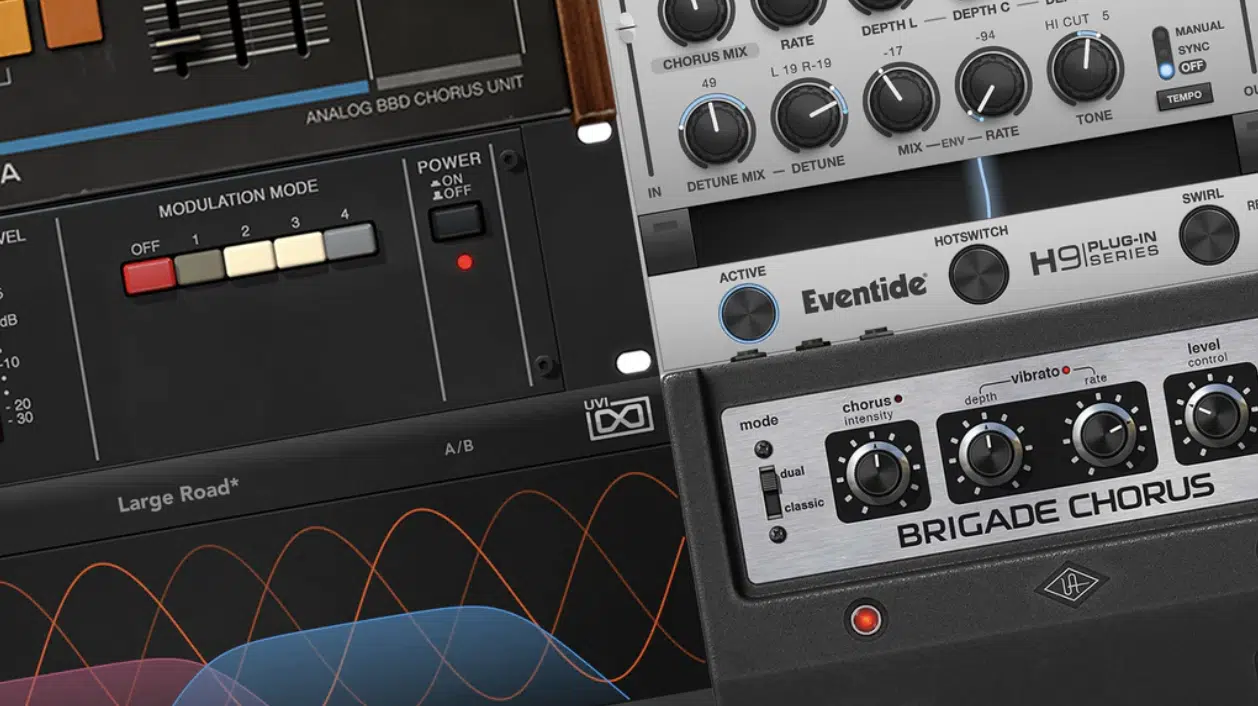
VST plugins can significantly alter your audio interface, providing unique and creative ways to manipulate sound.
Effect plugins are a staple in this regard.
From equalizers and compressors to reverb plugins and delay plugins, these can shape and color your tracks in a myriad of ways.
The key to utilizing these plugins is experimentation, so make sure to:
- Learn the controls
- Tweak the settings
- Don’t be afraid to push the boundaries
Every plugin will have a different audio interface and feature set, but common elements include:
- Knobs and sliders: for adjusting parameters.
- Presets: for quickly dialing in specific sounds.
Always remember to get acquainted with the specific parameters/features of your audio interface.
That way, you’ll never have to wonder what a knob or element does.
-
Leveraging The Power of VST Instruments
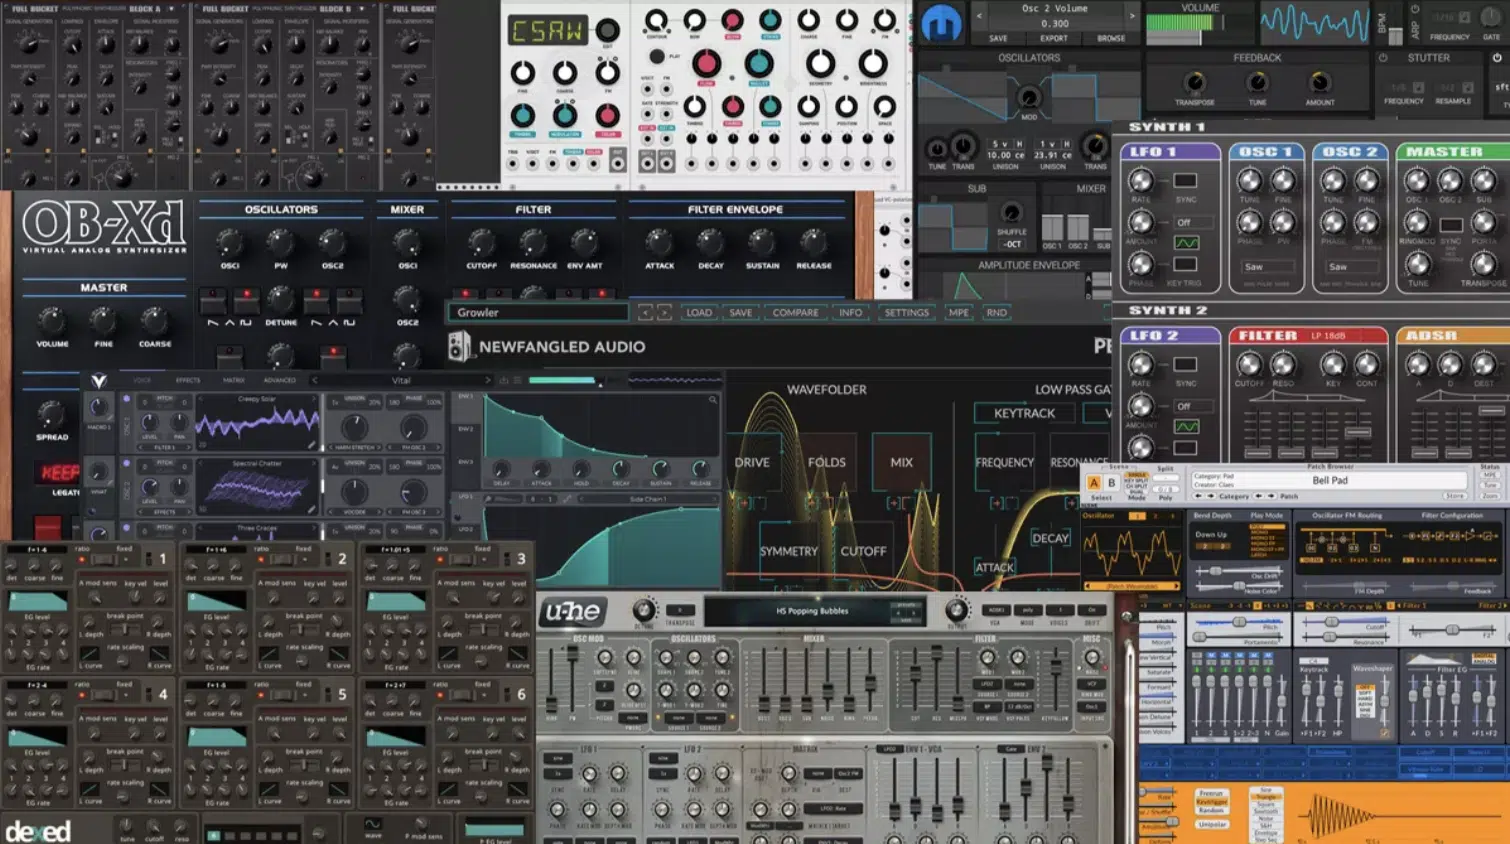
VST instruments, or VSTi, are a type of VST plugin that can generate sound, allowing you to create music without the need for physical instruments.
They come in all shapes and sizes 一 emulating everything from classic synthesizers and drum machines to entire orchestras.
Using VST instruments is similar to using effects plugins.
They’re loaded onto a track in your DAW and then controlled via a MIDI input.
This could be a MIDI keyboard, or it could be notes drawn directly into your DAW’s piano roll editor.
To get the most out of your VST instruments, take the time to explore their features.
Many come with a range of presets, providing a great starting point for creating your sounds.
Then, you can delve into the plugin’s controls to tweak and shape the sound to your liking.
Remember, the power of VST instruments lies in their flexibility and the wide range of sounds they can create.
Troubleshooting Common Issues
Despite our best efforts, there will be times when things don’t go as planned.
Let’s look at some common issues that may arise with VST plugins and how to troubleshoot them.
#1. My DAW Doesn’t Recognize My VST Plugins
Perhaps the most common issue with installed VST plugins is the DAW not recognizing them.
This usually means:
- The plugin is not installed in the correct location.
- The DAW is not scanning the correct folder.
Double-check your VST folder’s location in your DAW’s preferences, and ensure the plugin file is in the correct folder.
#2. Compatibility Issues
Another common issue is compatibility.
As we mentioned before, some older plugins may not work with newer operating systems, or they may not be compatible with your DAW (and vice versa).
Always check the plugin’s system requirements before installing.
If you’re running into compatibility issues, you may need to use a different version of the plugin or find an alternative that is compatible.
#3. Constant Crashes & Stability Issues
Crashes and stability issues can also occur with VST plugins.
When a particular plugin is causing your DAW to crash, try updating the plugin to the latest version.
If the problem persists, you might need to contact the plugin developer for further assistance.
This is because you may need to go back to a previous version (if possible) because your updated version is no longer compatible with your DAW/OS.
#4. CPU Overload
Finally, a common problem with digital music production, in general, is CPU overload.
Complex plugins or too many plugins used at once can cause your computer’s CPU to work overtime, leading to lag, glitches, or even crashes.
If you notice that your DAW is running slowly or experiencing performance issues, try:
- Reducing the number of plugins used in your project
- Freezing or bouncing tracks to audio
- Increasing your audio buffer size
Keep in mind that certain plugins are more CPU-heavy.
This includes sample-based instruments, advanced synthesis engines, analog-modeled effects/instrument engines, and advanced processes (like spectral, multiband/dynamic EQs and compressors).
Be sure to either limit the amount of these processors working simultaneously, bounce in place (if applicable) or disable any unused/unneeded processors of this type.
Remember, troubleshooting is a much bigger part of the process than any of us would like to believe, regardless of skill level.
You’re not only creating music but also learning how to manage a complex digital environment.
The more you understand how your plugins and DAW work together, the better you’ll be able to prevent, identify, and solve problems.
How to Use VST Plugins: Final Thoughts
With this knowledge, you should now have a comprehensive understanding of how to use VST plugins.
From understanding what they are, how to install them, and how to get the best out of them in your DAW, you’re now equipped to delve into VST plugins with confidence and creativity.
But as you venture into this world, remember that every master needs a masterpiece….
So, let me introduce you to Zen Master: your ultimate VST effects plugin.
This tool is a game-changer, offering a plethora of high-quality effects that can transform your sound from ordinary to extraordinary.
Zen Master, this revolutionary free lo-fi plugin, includes reverb, modeled tape saturation, a warp/wobble effect, a variety of noise sources, and many other revolutionary features.
When it comes to bringing some grit to your tracks, Zen Master has got you covered.
Its user-friendly interface and high-performance processing power make it a standout in the world of VST effects plugins.
Beyond its features, what truly sets Zen Master apart is its ability to inspire.
As you experiment with its myriad of effects, you’ll discover new textures and sonic landscapes you never thought possible.
It’s not just a tool, it’s a muse 一 encouraging you to push boundaries and completely redefine your sound.
As you continue your journey in music production, remember that VST plugins are just tools.
Your creativity, intuition, and unique sense of sound are the real driving forces behind your music.
Until next time…


Leave a Reply
You must belogged in to post a comment.