I’m sure you’ve come across the term ‘VST’ millions of times during your music production journey.
It’s one of those things that seem to pop up everywhere, from forums and blogs to product descriptions and tutorials.
But what is a VST, really?…
Well, today we’ll be breaking down every aspect of VSTs and their counterparts as well.
In this comprehensive guide, we’ll dive deep into the world of VSTs, and answer all of your burning questions, including:
- What is a VST? ✓
- The basics of Virtual Studio Technology & how it integrates with your DAW ✓
- The significance of VST plugins and their myriad types ✓
- The beauty of VST instruments and the different versions available ✓
- An in-depth look at VST effects ✓
- Pro tips to help you make the most out of your VST plugins ✓
By the end of this guide, not only will you fully understand what a VST is, but you’ll also have the skills to effectively incorporate VST plugins into your music production workflow.
So, let’s dive in…
Table of Contents
- What is a VST?
- The Basics of Virtual Studio Technology
- How Does Virtual Studio Technology Work?
- What Are VST Plugins?
- The Different Types of VST Plugins
- Free vs Paid Plugins: Which Should You Choose
- VST Instruments: The Heart of Modern Music
- The Different Types of VST Instruments
- VST Effects Plugins: Different Types
- The Power of MIDI in VST Effects
- Choosing the Right VST Plugin
- Common Mistakes to Avoid When Using VST Plugins
- What is a VST? Final Thoughts
What is a VST?
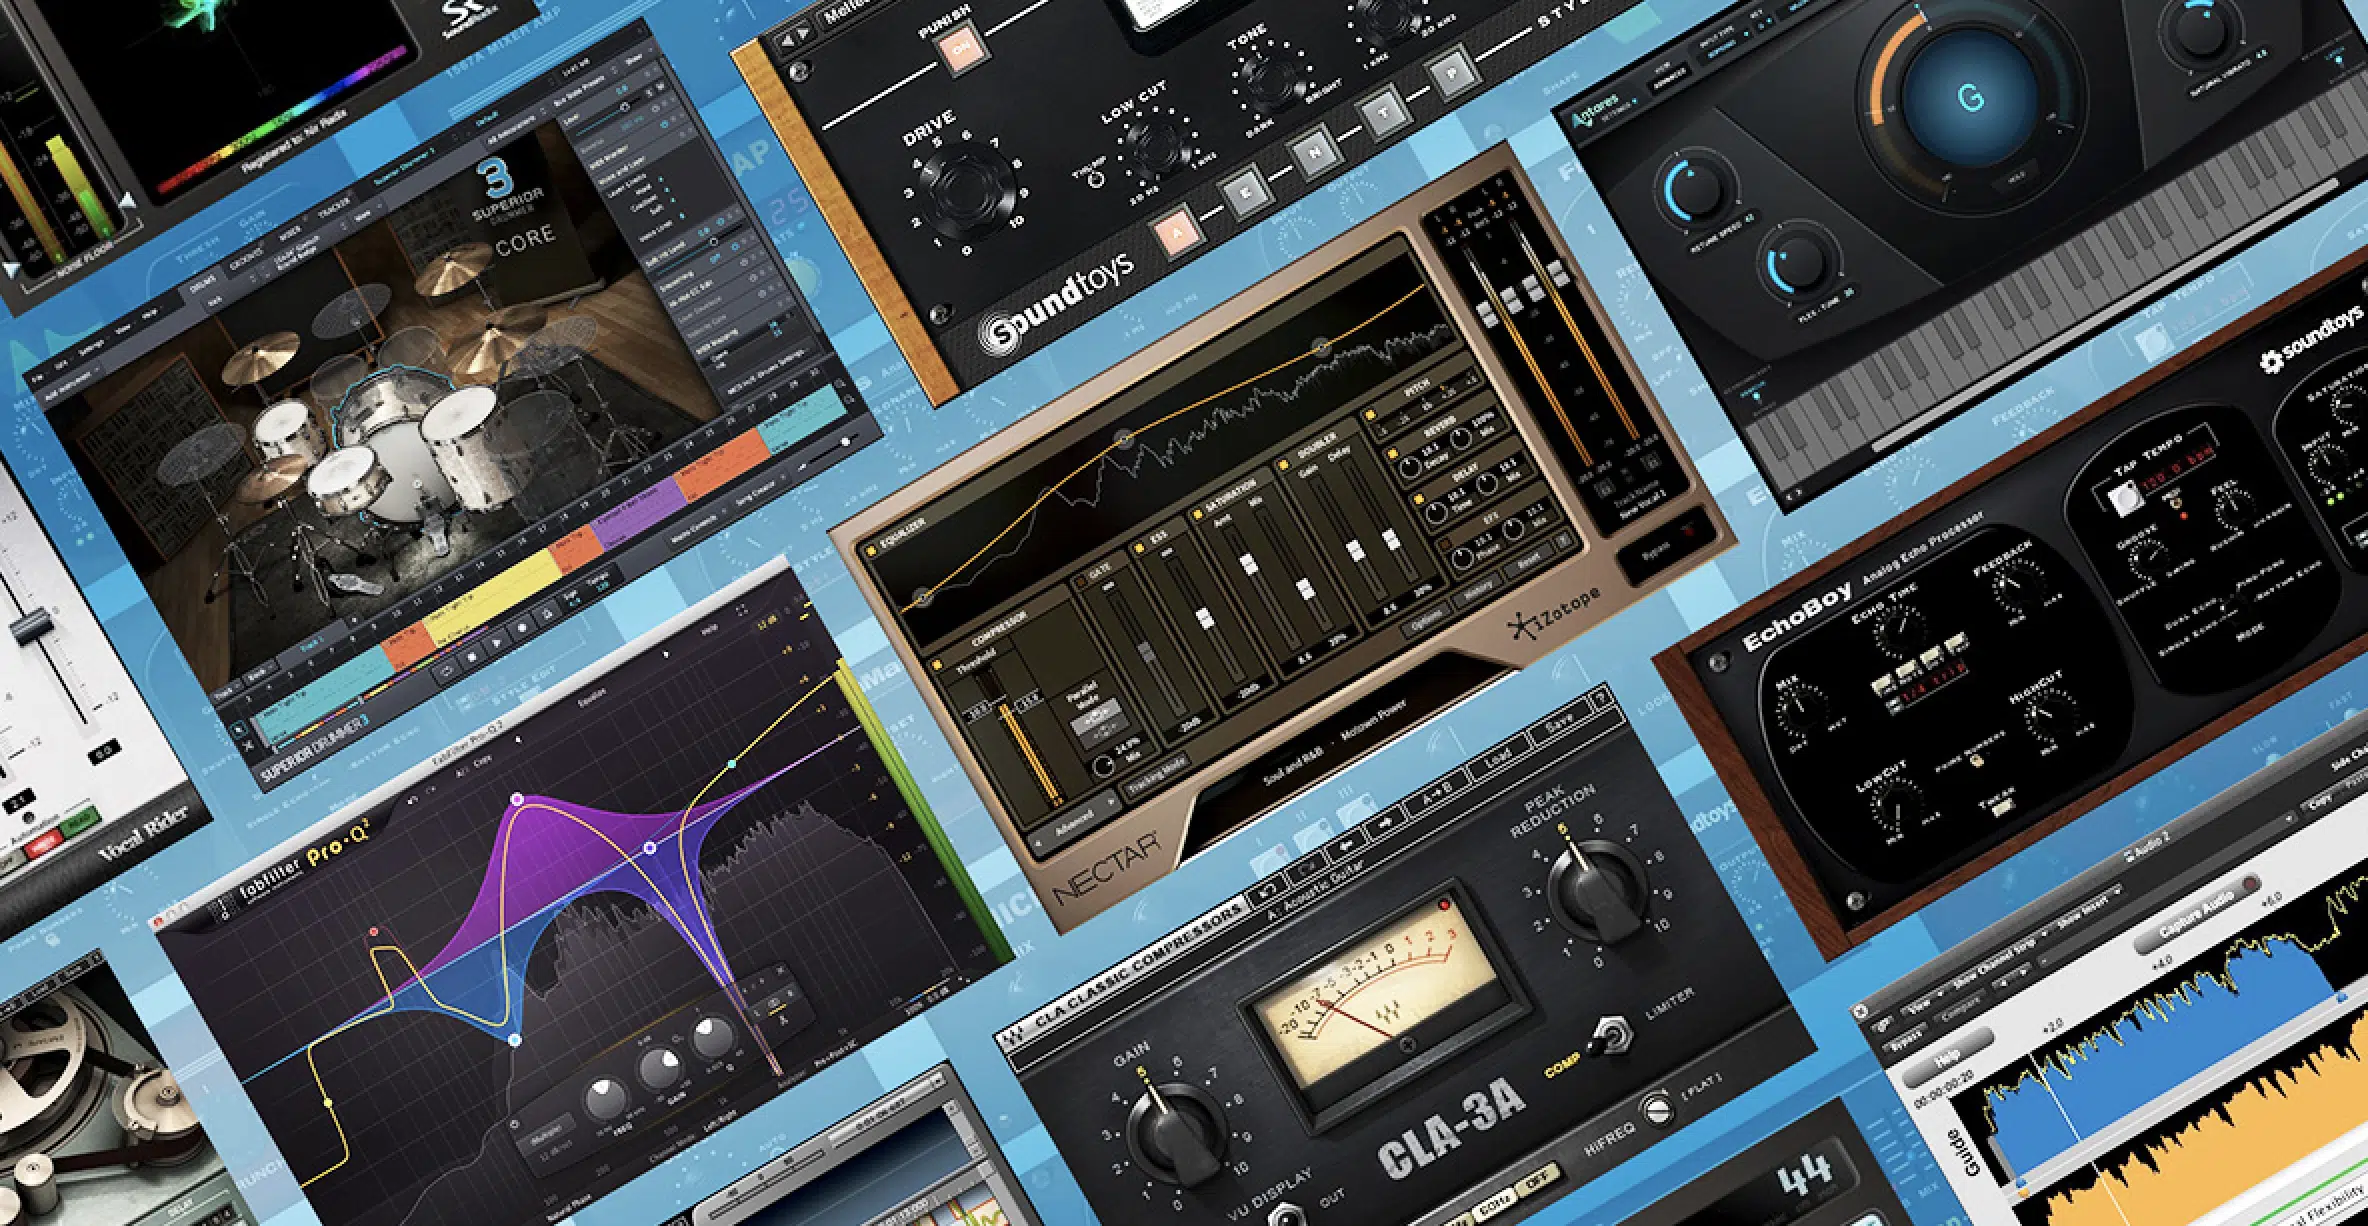
VST stands for Virtual Studio Technology, but what is a VST exactly?…
In simple terms, a VST is a software interface that integrates software audio synthesizer and effect plugins with audio editors and recording systems, such as a digital audio workstation (DAW).
VSTs have revolutionized the field of music production.
Before the advent of VSTs, music producers were reliant on bulky hardware audio processors and physical instruments to create audio.
But with VSTs, you can emulate these instruments and processors within your computer 一 dramatically reducing the cost and space needed for a professional studio setting.
VST plugins offer a wide variety of sounds and effects that you can use to create music.
From emulating classic synthesizers to simulating the acoustics of a concert hall, the possibilities are endless.
Plus, they provide visual feedback, which can help you make more informed decisions about your mix.
Additionally, VSTs allow you to work more efficiently.
With VST instruments and effects, you can tweak your sound with precision and professionalism, as well as save your settings for future use (super beneficial!).
You can also automate parameters, which can add movement, depth, and interest to your tracks.
The Basics of Virtual Studio Technology
Virtual Studio Technology (VST) is a protocol developed by Steinberg in 1996.
It’s designed to facilitate the integration of software synthesizers and effects plugins with audio editors and recording systems.
At its core, VST is a way for a computer to mimic the functions of traditional recording studio hardware.
With the right VST plugins, you can simulate everything from an electric guitar to a full orchestra, all within the confines of your computer.
VST has become the standard for software instruments and effects, supported by nearly all major DAWs.
Whether you’re producing music on a Mac or PC, chances are you’re using VSTs in some form.
Despite the technical nature of the subject, you don’t need to understand the inner workings of the VST interface specification to use VST plugins effectively.
All you need to know is:
- A. How to find VST plugins that fit your needs
- B. How to install them
- C. How to use them in your DAW
It really couldn’t be easier, and if you’re brand new, don’t worry, we’re covering all the basics.
How Does Virtual Studio Technology Work?

In essence, a VST is a piece of software that functions as a virtual instrument or effect.
When you play a note on a VST instrument, for example, the plugin generates audio data based on its internal algorithms and the parameters you’ve set.
This audio data then flows through your DAW, where you can process it further with other VST plugins; like effects and signal processors.
VST plugins typically come in:
- DLL files (on Windows)
- VST files (on Mac OS)
These are essentially packages of code that your DAW can execute.
When you load a VST plugin in your DAW, it “unzips” (unzipped VST plugin files) the code and runs it.
VST plugins also feature a graphical user interface (GUI) that provides a visual representation of the plugin’s parameters.
The GUI can make it easier to understand what the plugin is doing/capable of and how to tweak its settings.
It’s worth noting that while the term “VST” often refers to plugins, it can also refer to the host applications that run those plugins, like DAWs.
NOTE: In this context, the DAW is often called a “VST host.”
What Are VST Plugins?
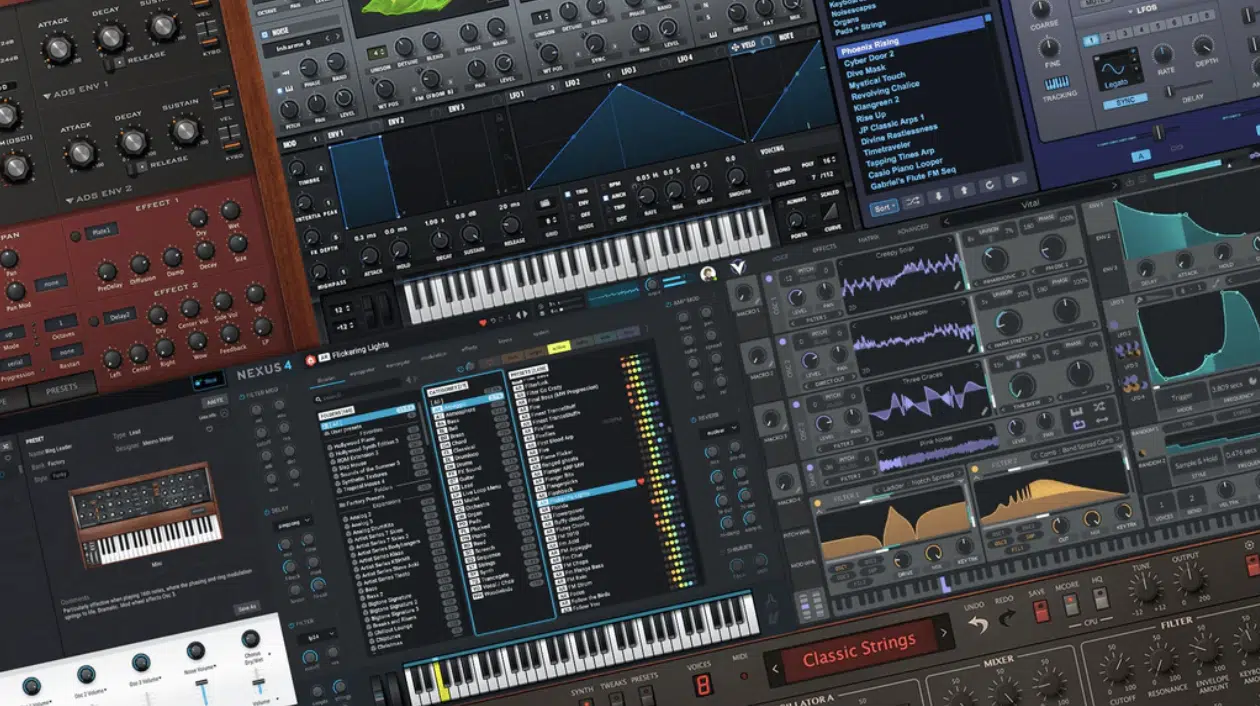
VST plugins are software modules that you can plug into your DAW to extend their capabilities.
They come in 3 main categories:
- VST instruments (VSTis) 一 Used to generate sound.
- VST effects 一 Process audio data.
- VST MIDI effects 一 Process MIDI data.
We’re going to break down these 3 types in the following section.
They provide an array of sounds and effects that you can use to creatively shape your music.
With VST plugins, you can emulate the sound of classic analog synthesizers, create complex layered sounds, and apply a wide variety of effects 一 from subtle reverb to wild pitch modulation.
VST plugins work within your digital audio workstation and seamlessly integrate into your workflow.
After a while, they truly seem like an extension of your own hand and can help you achieve your wildest production dreams.
You can control them using the same MIDI input devices you use to control your DAW, and you can automate their parameters just like you would with the built-in features of your DAW.
This tight integration makes VST plugins an indispensable tool for digital music production.
The Different Types of VST Plugins
There’s a wide range of VST plugins available, each designed to perform specific tasks.
Understanding multiple VST plugins can help you make the most of them, so let’s break it down a little bit.
-
Virtual Studio Technology Instrument Plugins (VSTis)
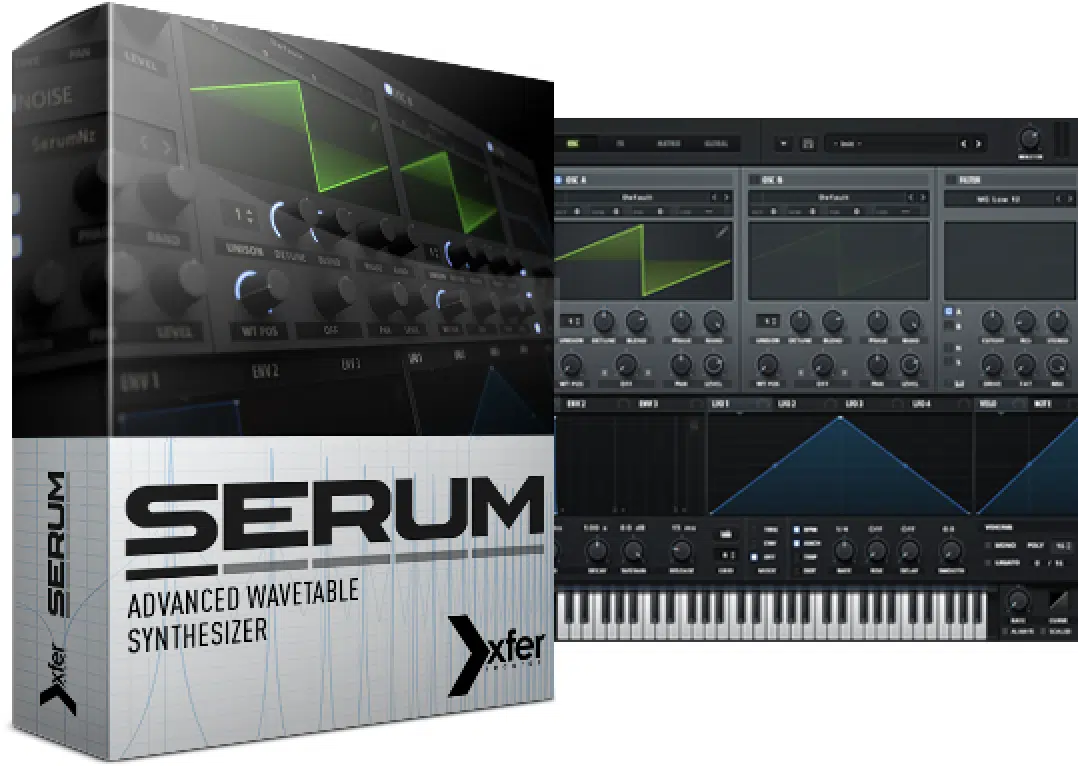
VSTi plugins generate audio/sound and have the ability to:
- Mimic real instruments like pianos and guitars
- Emulate classic synthesizers
- Create entirely new and unique sounds
Examples of my favorite VST instrument plugins include Serum by Xfer Records, a powerful wavetable synthesizer, and Kontakt by Native Instruments, a sampler that comes with a vast library of sounds.
-
VST Effects Plugins
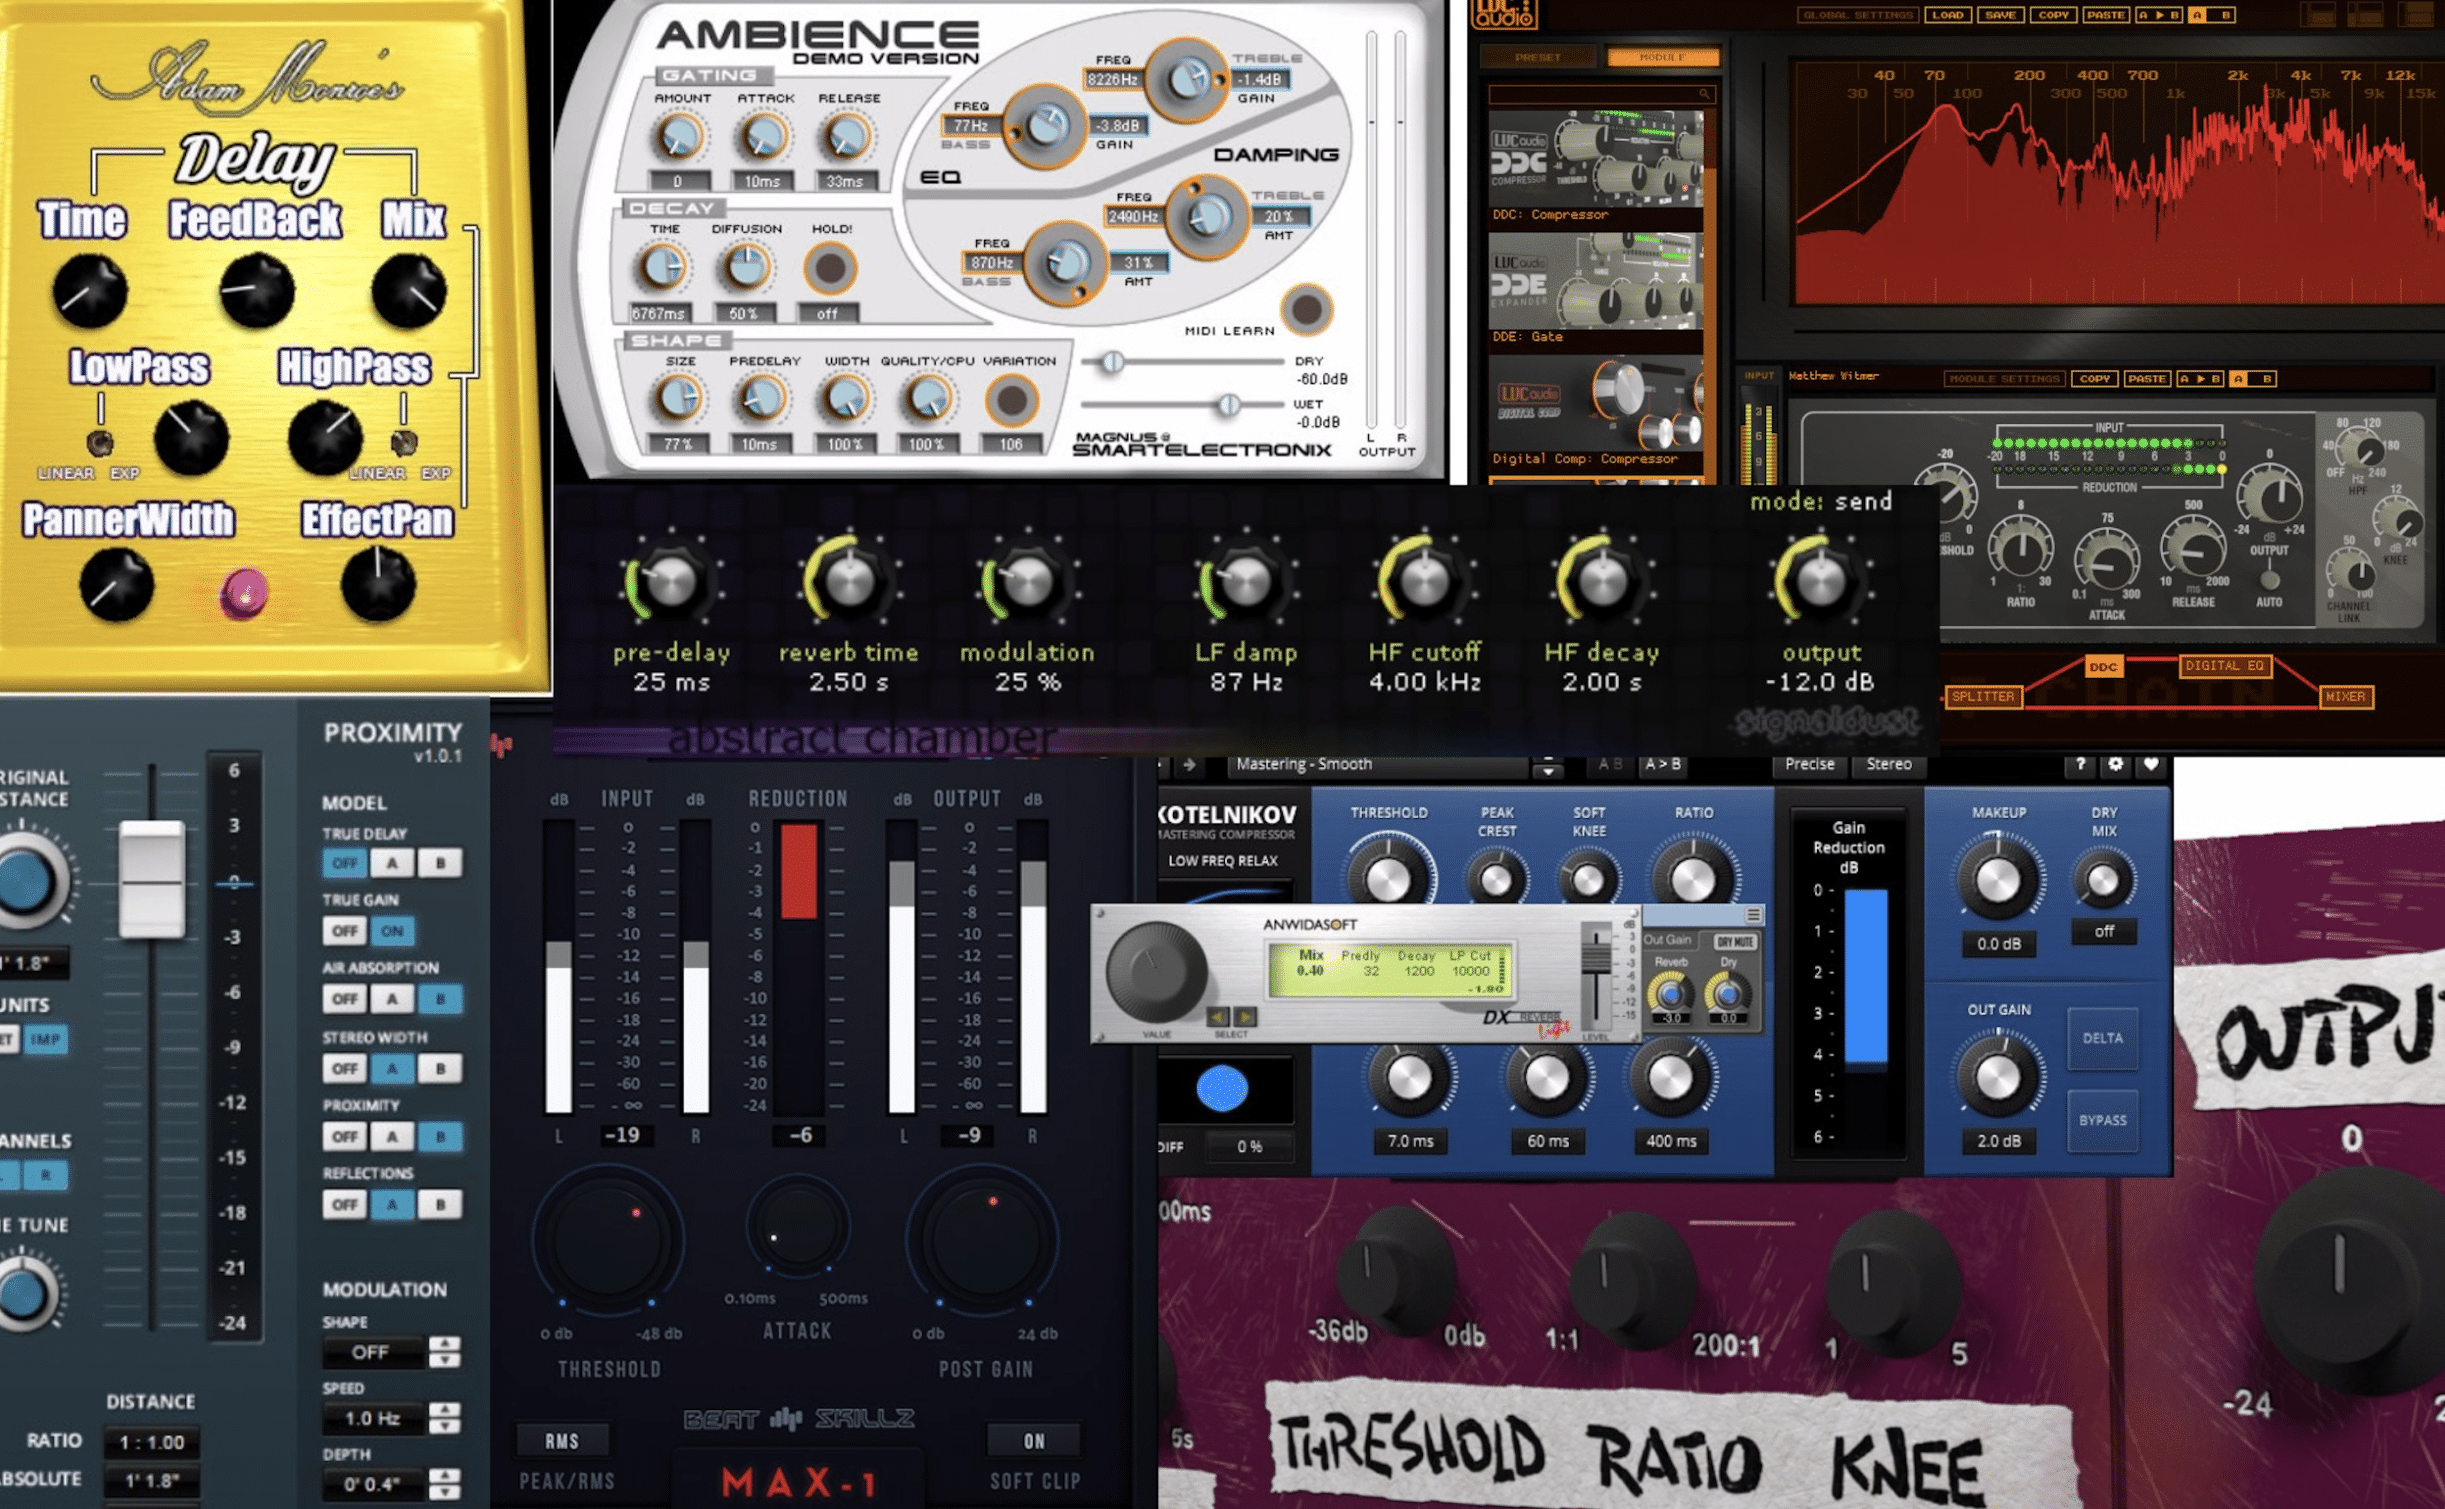
VST effects plugins process audio data.
They can add reverb, distortion, saturation, compression, and a multitude of other effects to your sound.
Some VST effects plugins aim to replicate the sound of classic hardware effect units, while others offer innovative features only possible in the digital realm.
Valhalla’s Vintage Verb, an emulation of classic hardware reverb unites, and FabFilter’s Pro-Q 3, a highly versatile equalizer, are examples of well-regarded VST effect plugins.
-
VST MIDI Plugins
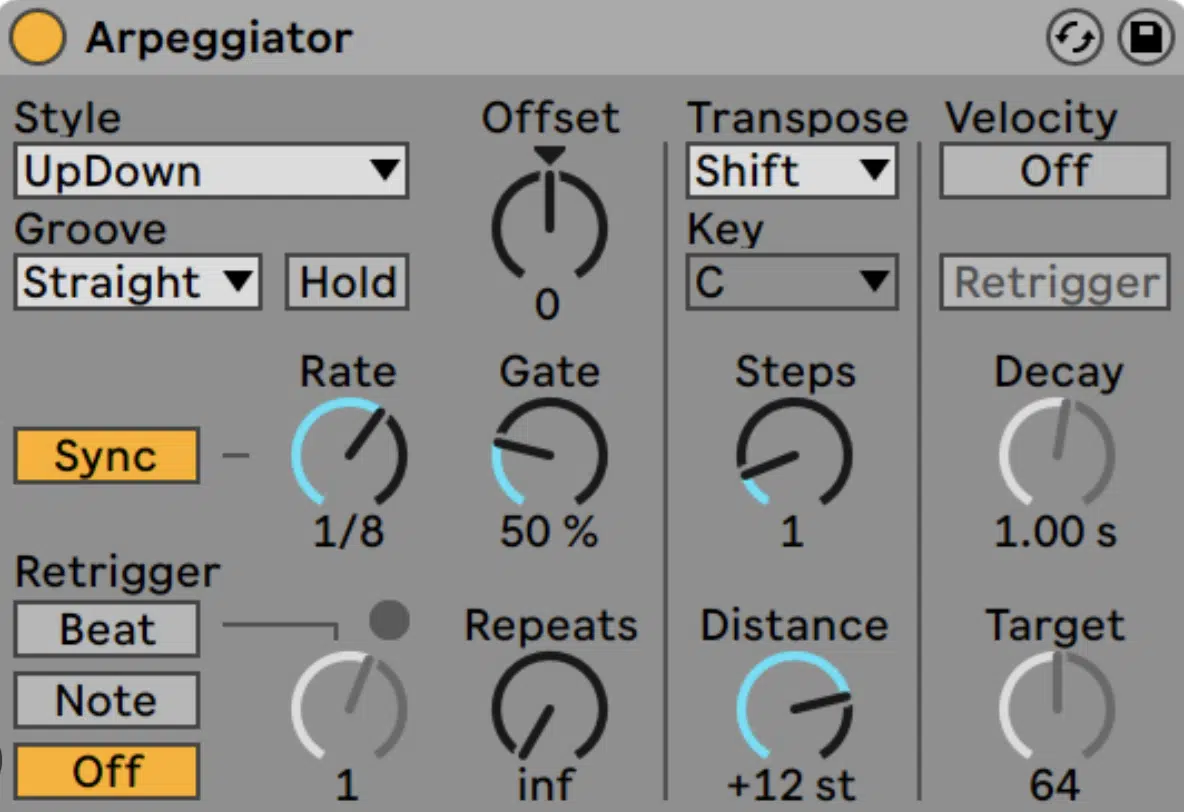
VST MIDI plugins, on the other hand, process MIDI data rather than audio.
They can generate MIDI notes and control messages, modify existing MIDI data, and even convert audio to MIDI.
These plugins can be a powerful tool for creating complex rhythms, harmonies, and melodies.
An example of a VST MIDI plugin is the Arpeggiator in Ableton Live, which can transform simple chord progressions into rapid, complex patterns.
Lastly, some VST plugins don’t fit neatly into any of these categories.
These include:
- Metering plugins that provide visual feedback on your audio levels.
- Spectrum analyzers that display the frequency content of your audio.
- Tuner plugins that help you tune your instruments.
While these may not directly affect the sound of your music, they can be invaluable tools for music production.
Free vs Paid Plugins: Which Should You Choose
The choice between free VST plugins and paid ones depends on your needs, your budget, and the specific tools you’re looking for.
There’s a wealth of both free and paid plugins out there, so it’s worth exploring both options.
Free VST plugins can be a great starting point, especially if you’re just beginning your music production journey.
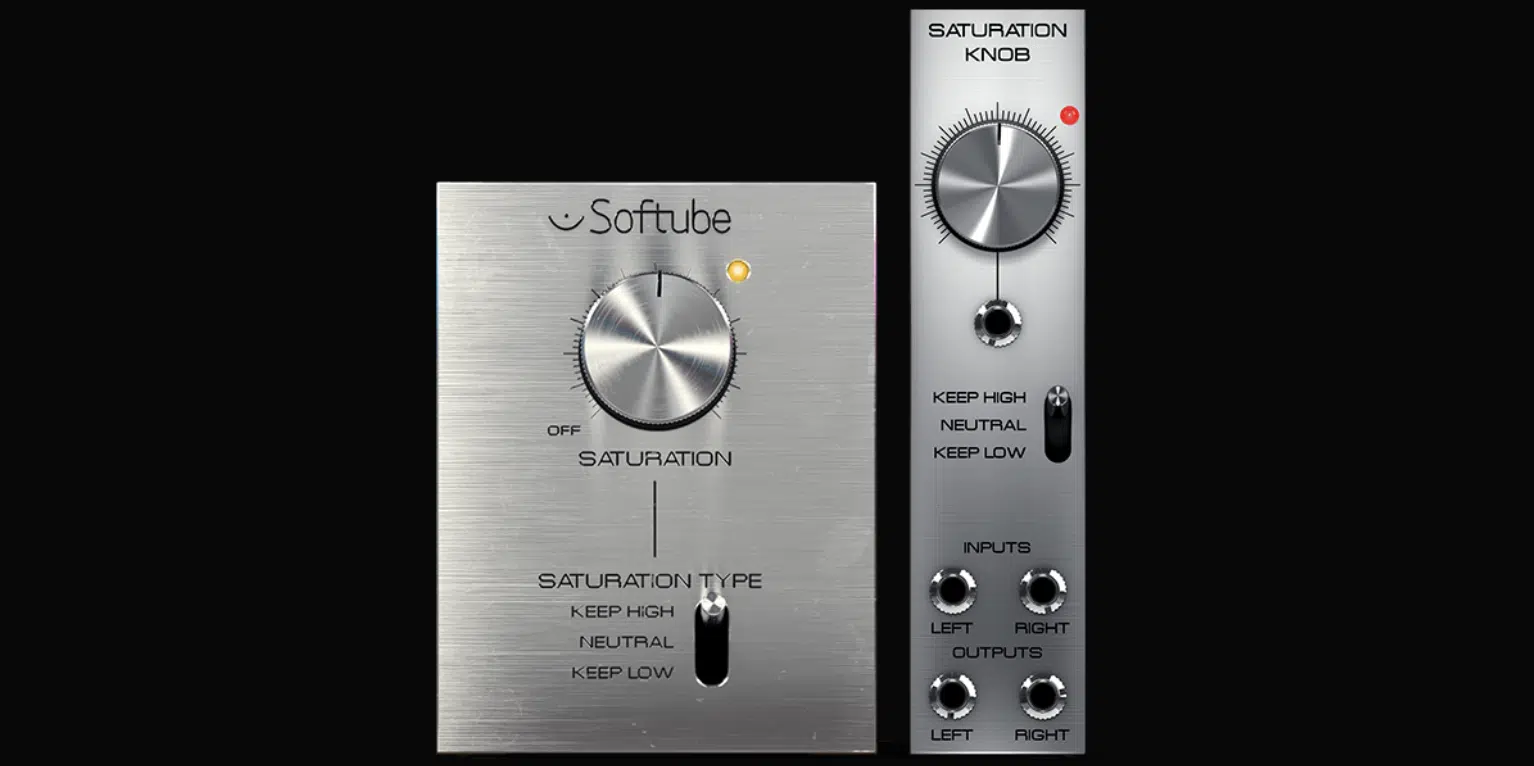
They often provide a subset of the features found in their paid counterparts, giving you a chance to learn the ropes without making a financial commitment.
Some free VST plug ins, like the Softube Saturation Knob, are also highly regarded and used by professionals.
Paid plugins often offer more comprehensive features, better user interfaces, and superior sound quality.
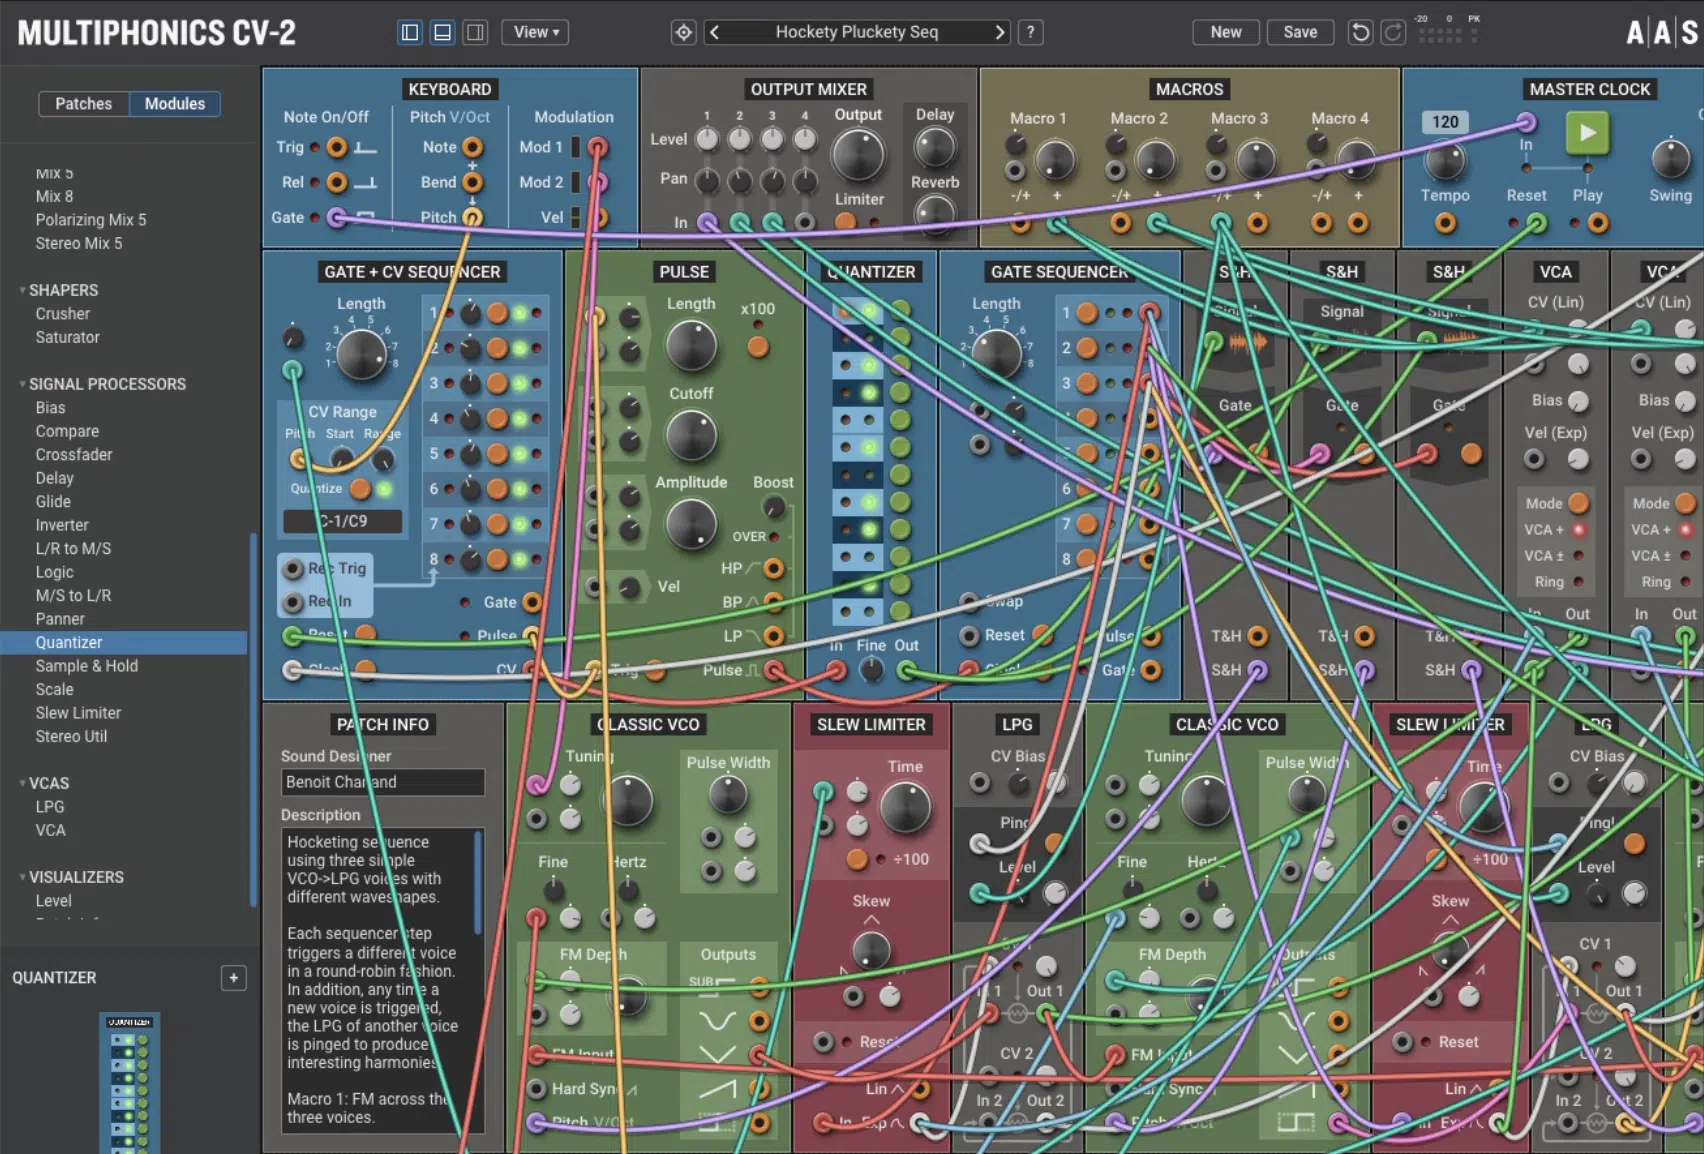
They also tend to come with better customer support, which can be a significant advantage if you encounter any issues.
While they require an investment, purchasing a few key plugins can dramatically improve your music production capabilities.
VST Instruments: The Heart of Modern Music
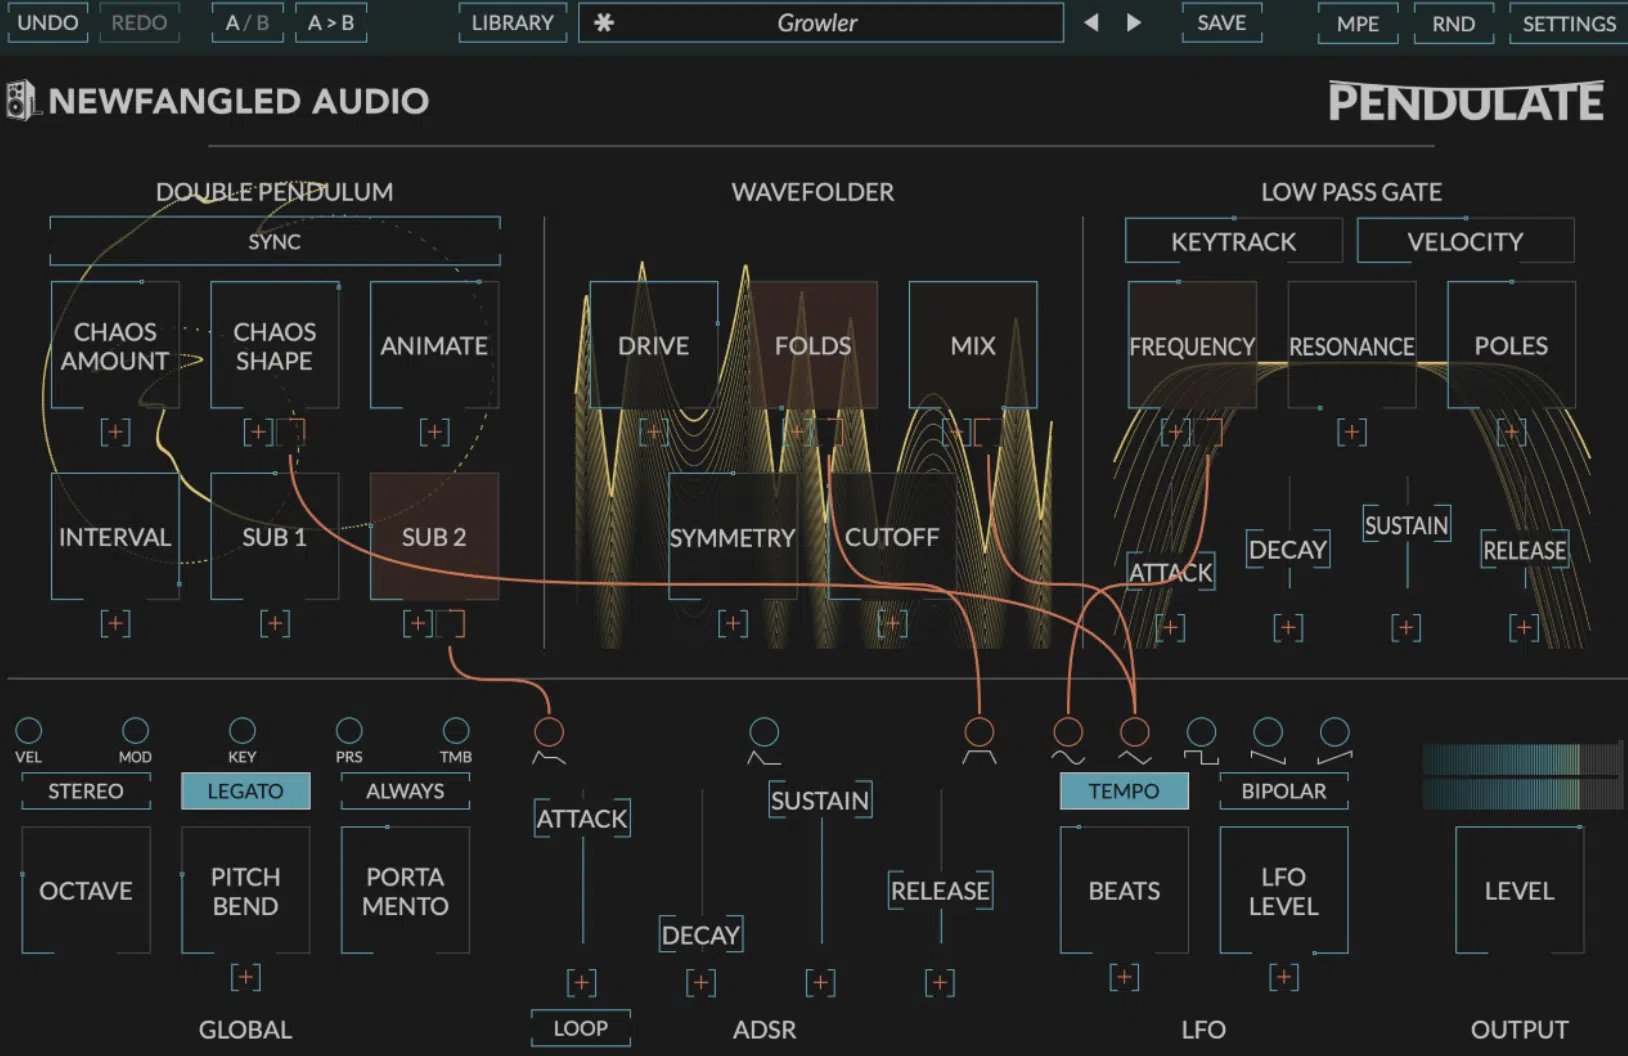
VST Instruments, often known as VSTis, are a crucial part of modern music production.
As the name suggests, these plugins function as virtual instruments within your DAW.
Whether you’re looking to recreate the sound of a classic piano or venture into the realm of the unknown with exotic synthetic sounds, VST instruments have got you covered.
Most VST instruments can be played using MIDI data.
Meaning, you can use your MIDI controller, such as a MIDI keyboard or a drum pad, to play them just like you would a physical instrument.
NOTE: You can also use your DAW’s piano roll or step sequencer to program your VST instruments.
One key advantage of VST instruments over physical ones is that they can be automated and manipulated in ways that physical instruments can’t.
Want to gradually morph from one sound to another? Or maybe you want to control a parameter with an LFO?…
With VST instruments, all of this and more is possible.
Of course, the sound of VST instruments can vary greatly from plugin to plugin.
Some aim to faithfully reproduce the sound of real-world instruments 一 while others offer unique sounds that can only be achieved in the digital domain with digital signal processing.
The Different Types of VST Instruments
The world of VST instruments is vast and varied, offering a plethora of options for all your sound-making needs.
-
Samplers
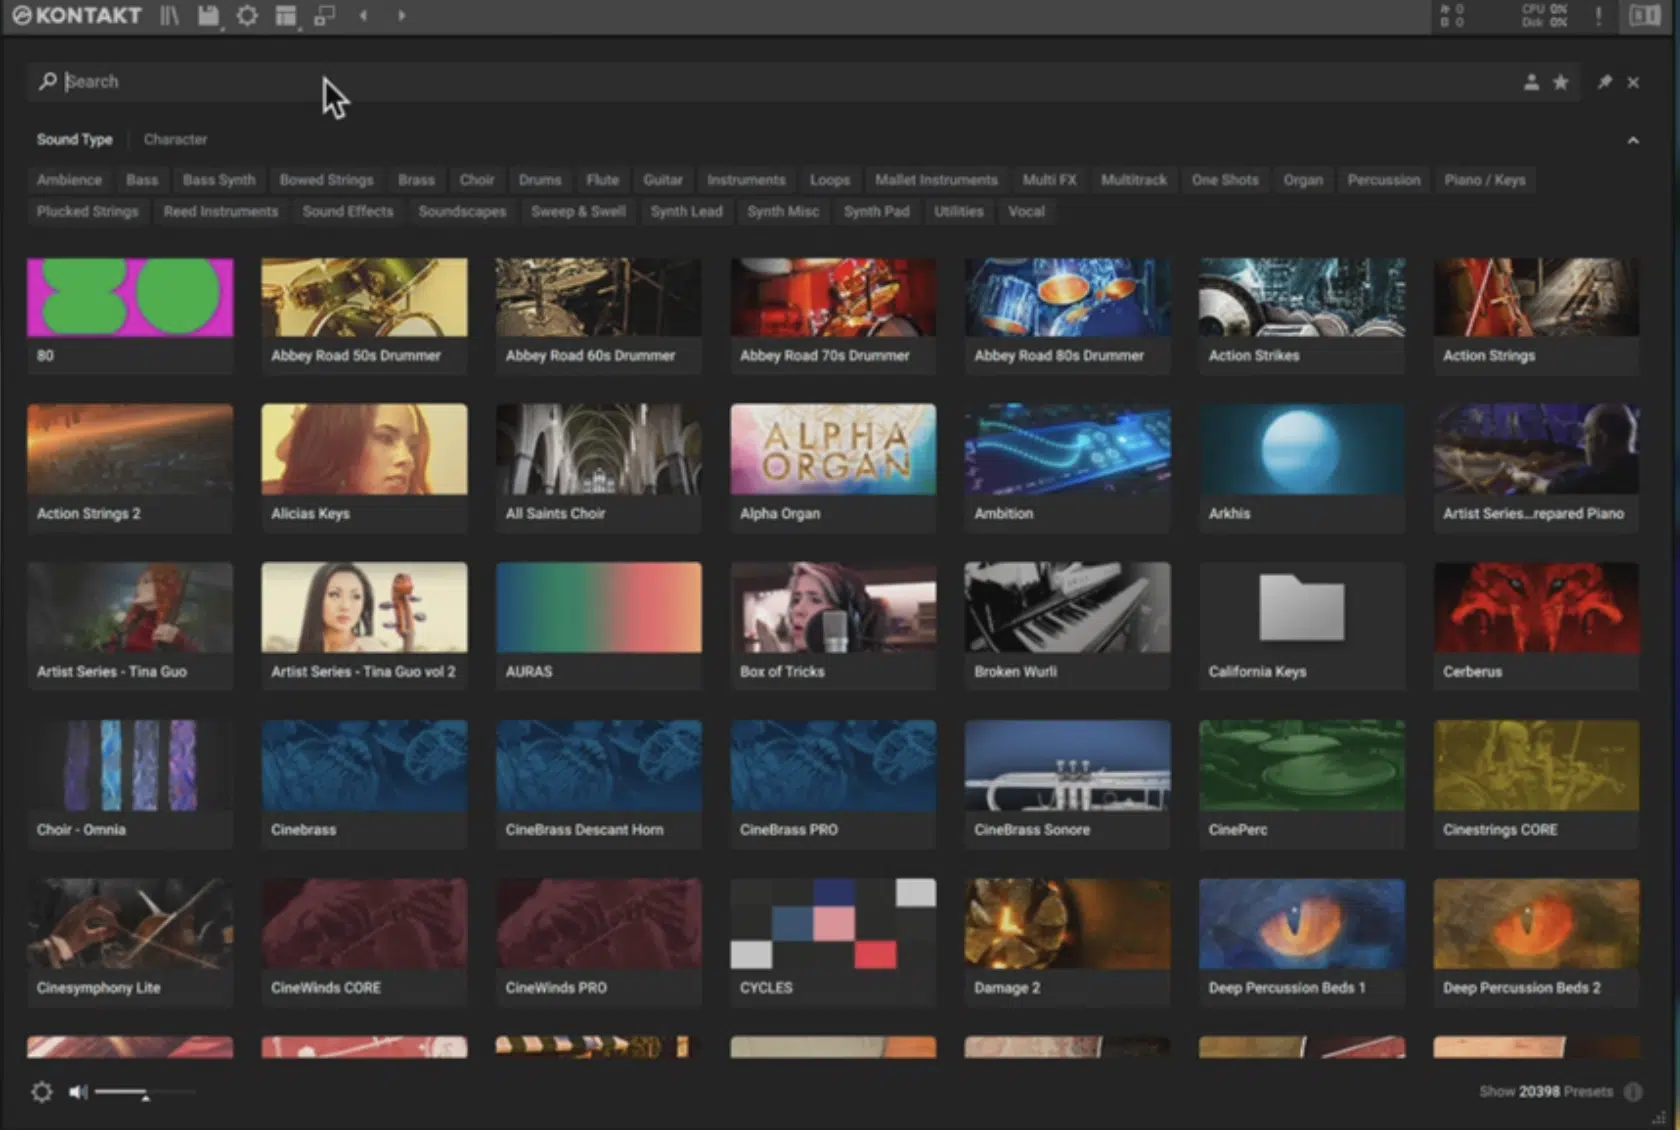
First, there are samplers.
These plugins can play back recorded audio, allowing you to incorporate a wide range of sounds into your music.
Samplers often provide controls for manipulating the pitch, timing, and tone of the samples, and some even let you morph between different samples.
Example: Kontakt by Native Instruments.
-
Synthesizers
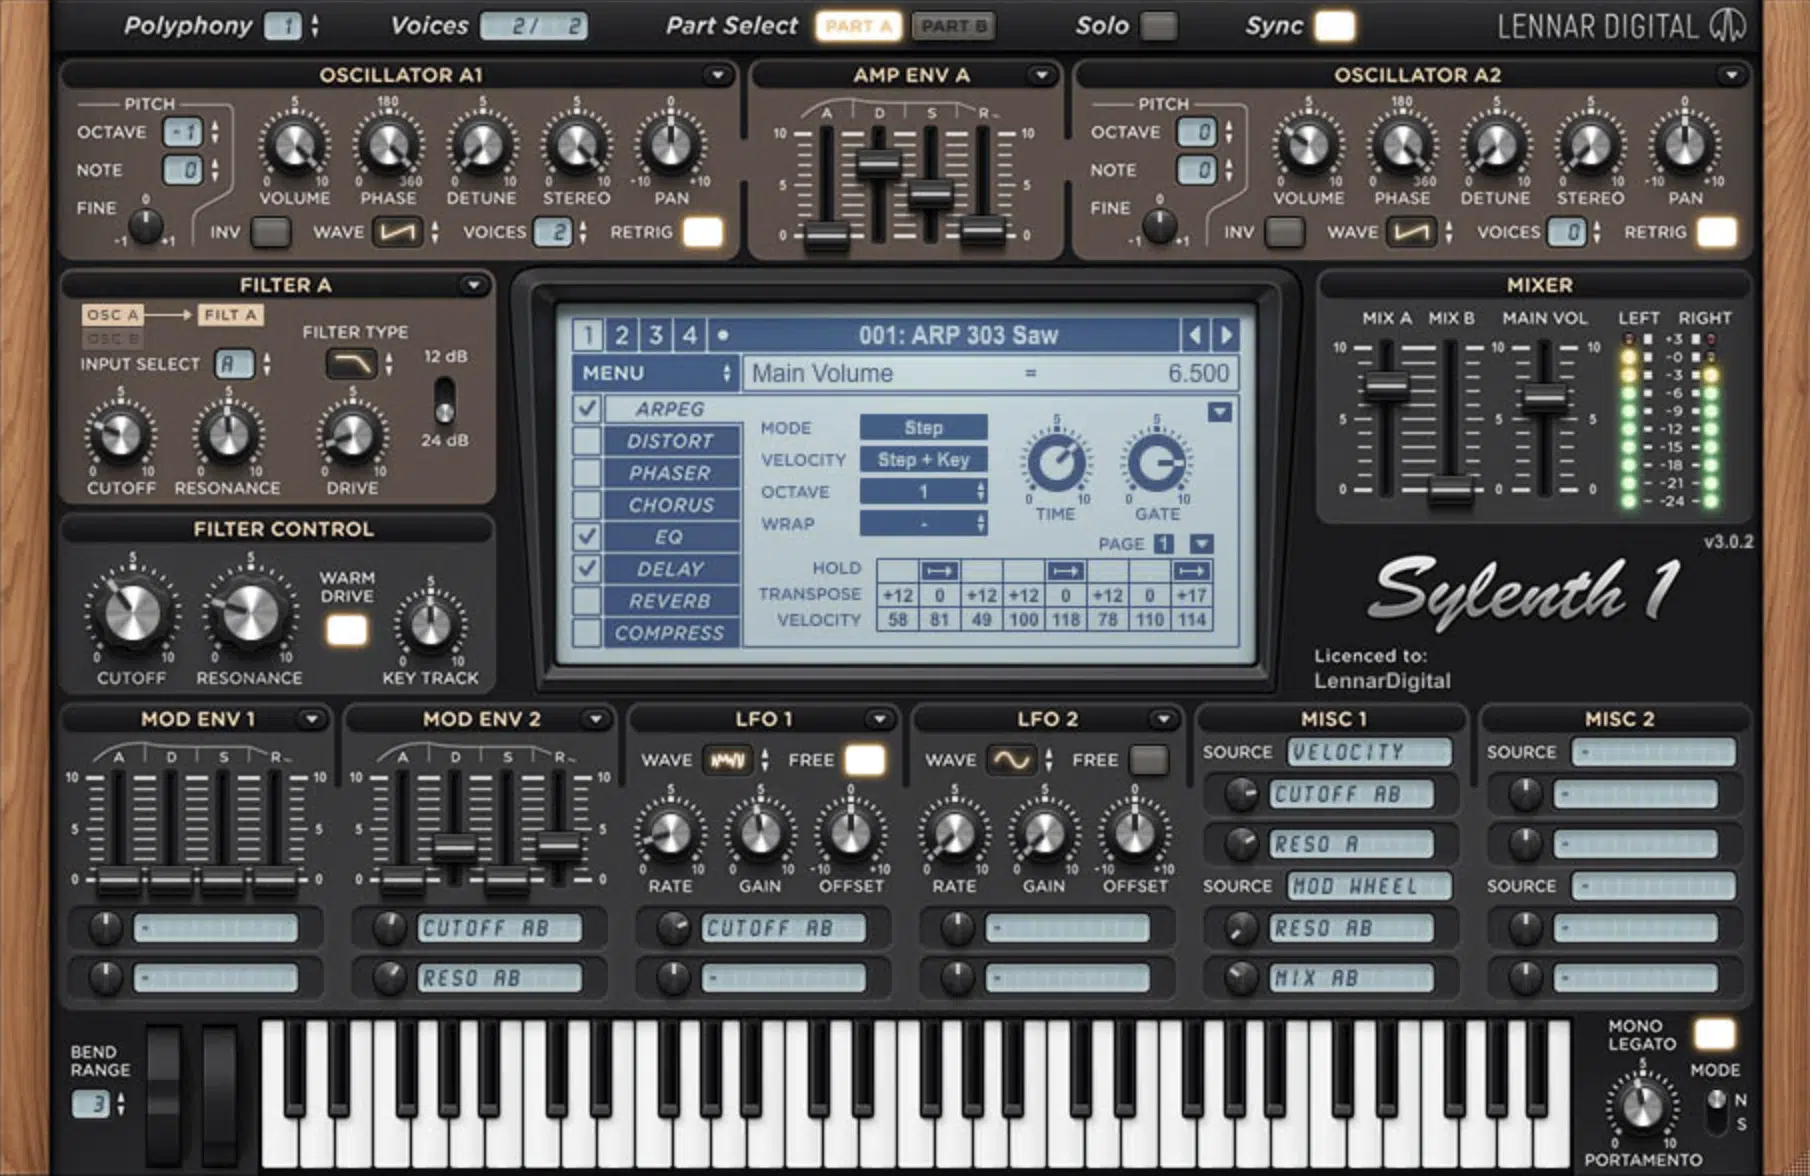
These plugins generate sound from scratch using various synthesis methods, such as wavetable, subtractive, additive, and FM synthesis.
They can produce a wide range of sounds, from classic analog tones to complex, evolving timbres.
Examples: Serum, Massive, and Sylenth1.
-
Drum Machines
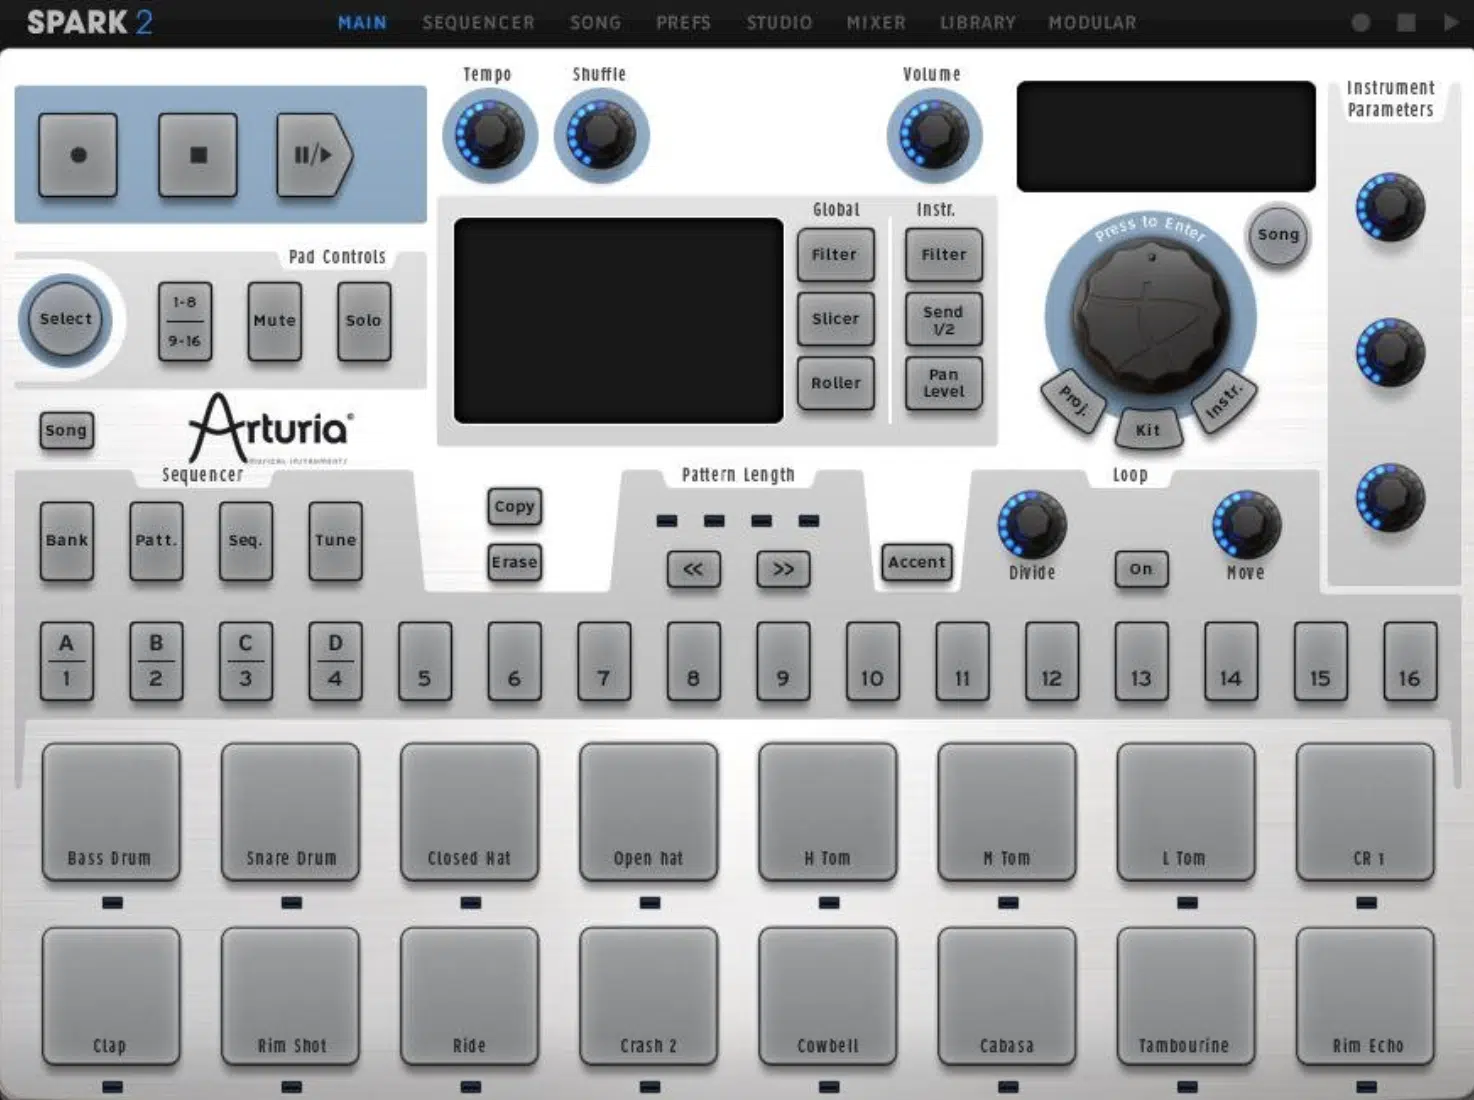
These plugins emulate the functionality of hardware drum machines, providing you with a palette of drum sounds that you can sequence to create beats.
Examples: Battery by Native Instruments and Spark 2 by Arturia.
-
ROMplers
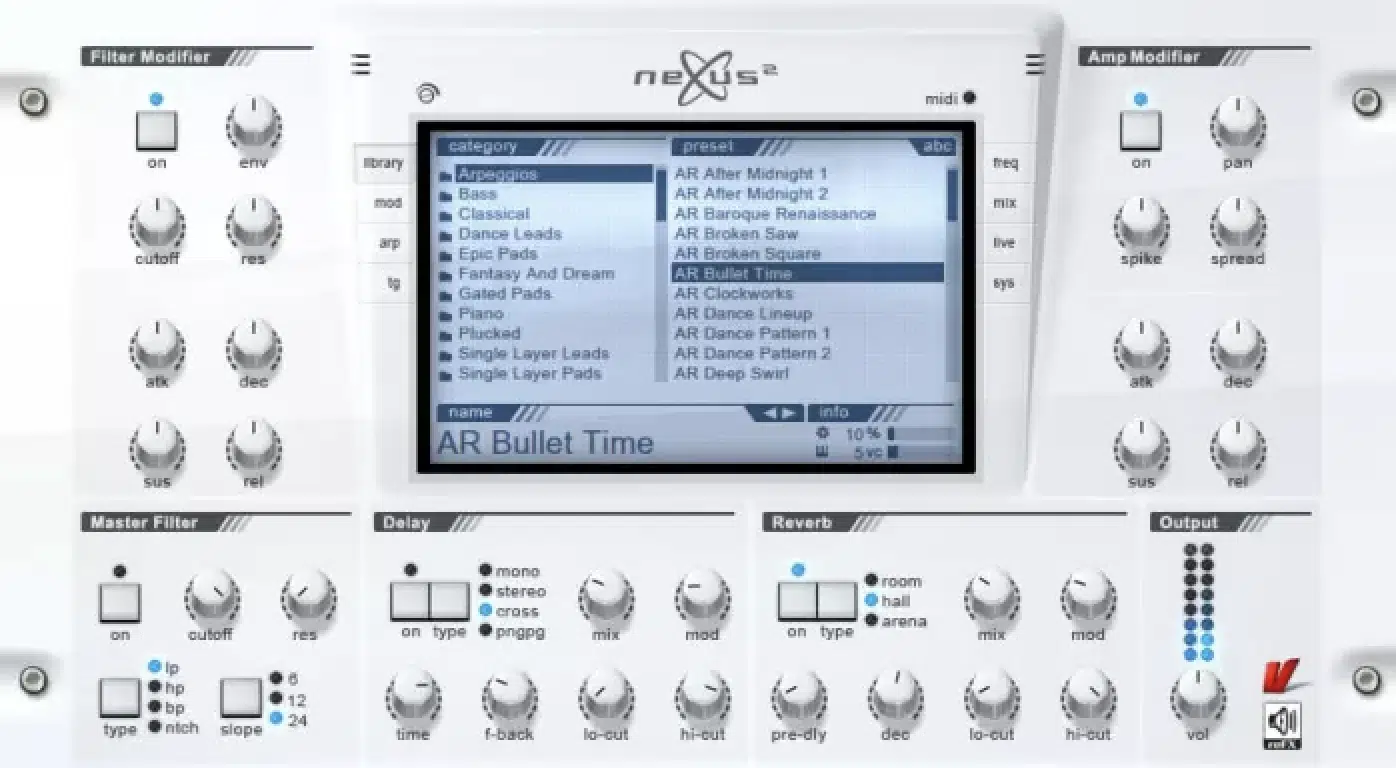
ROMplers are essentially sample playback instruments that come with a large library of pre-recorded sounds.
These plugins often offer a wide range of high-quality sounds, from orchestral instruments to choir ensembles, ethnic instruments, and more.
The advantage of ROMplers is the convenience and speed at which you can access a vast array of realistic sounds.
These sounds are meticulously sampled from their real-world counterparts with shocking precision.
Examples: Omnisphere by Spectrasonics and Nexus by reFX.
VST Effects Plugins: Different Types
Just as there are different types of VST instruments, there are also various types of VST effect plugins.
Each category of VST effects serves a unique purpose and can dramatically shape the sound of your mix.
-
Dynamic Processors

Dynamic processors control the volume levels of your tracks.
They include:
- Compressors 一 which squash the dynamic range
- Gates 一 which mute the signal when it falls below a certain threshold
- Limiters 一 which prevent the signal from exceeding a specific level
With dynamic processors, you’re able to manipulate and perfect the levels so your tracks sound balanced and professional.
-
Equalizers (EQs)
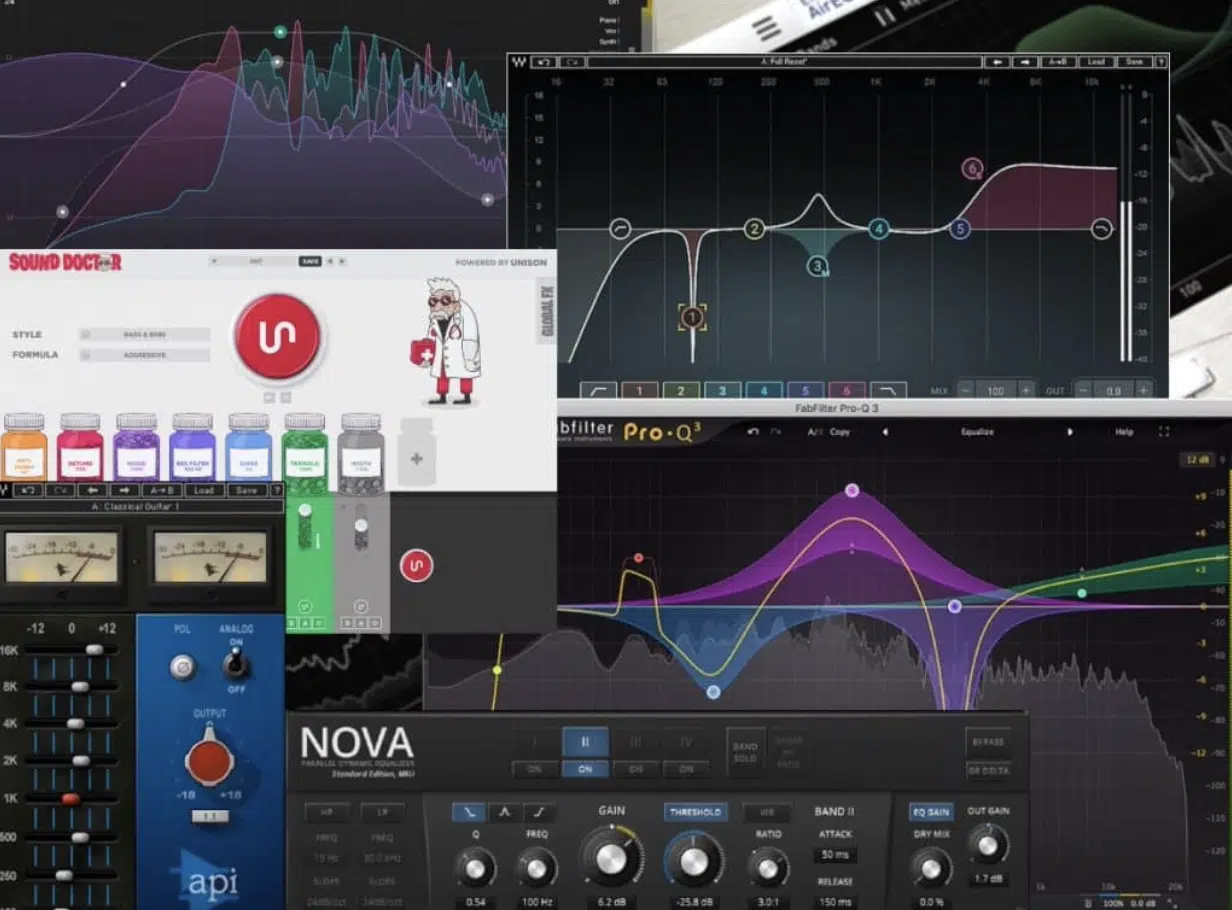
EQs allow you to adjust the balance of frequencies in your sound.
They can be used for corrective purposes, like reducing harsh frequencies or compensating for imbalances in a recording.
Or, creatively, like boosting the high end for a brighter sound or sculpting the tone of an instrument.
If you’re looking for the absolute best EQ plugins of 2023, we’ve got you covered.
-
Time-Based Effects
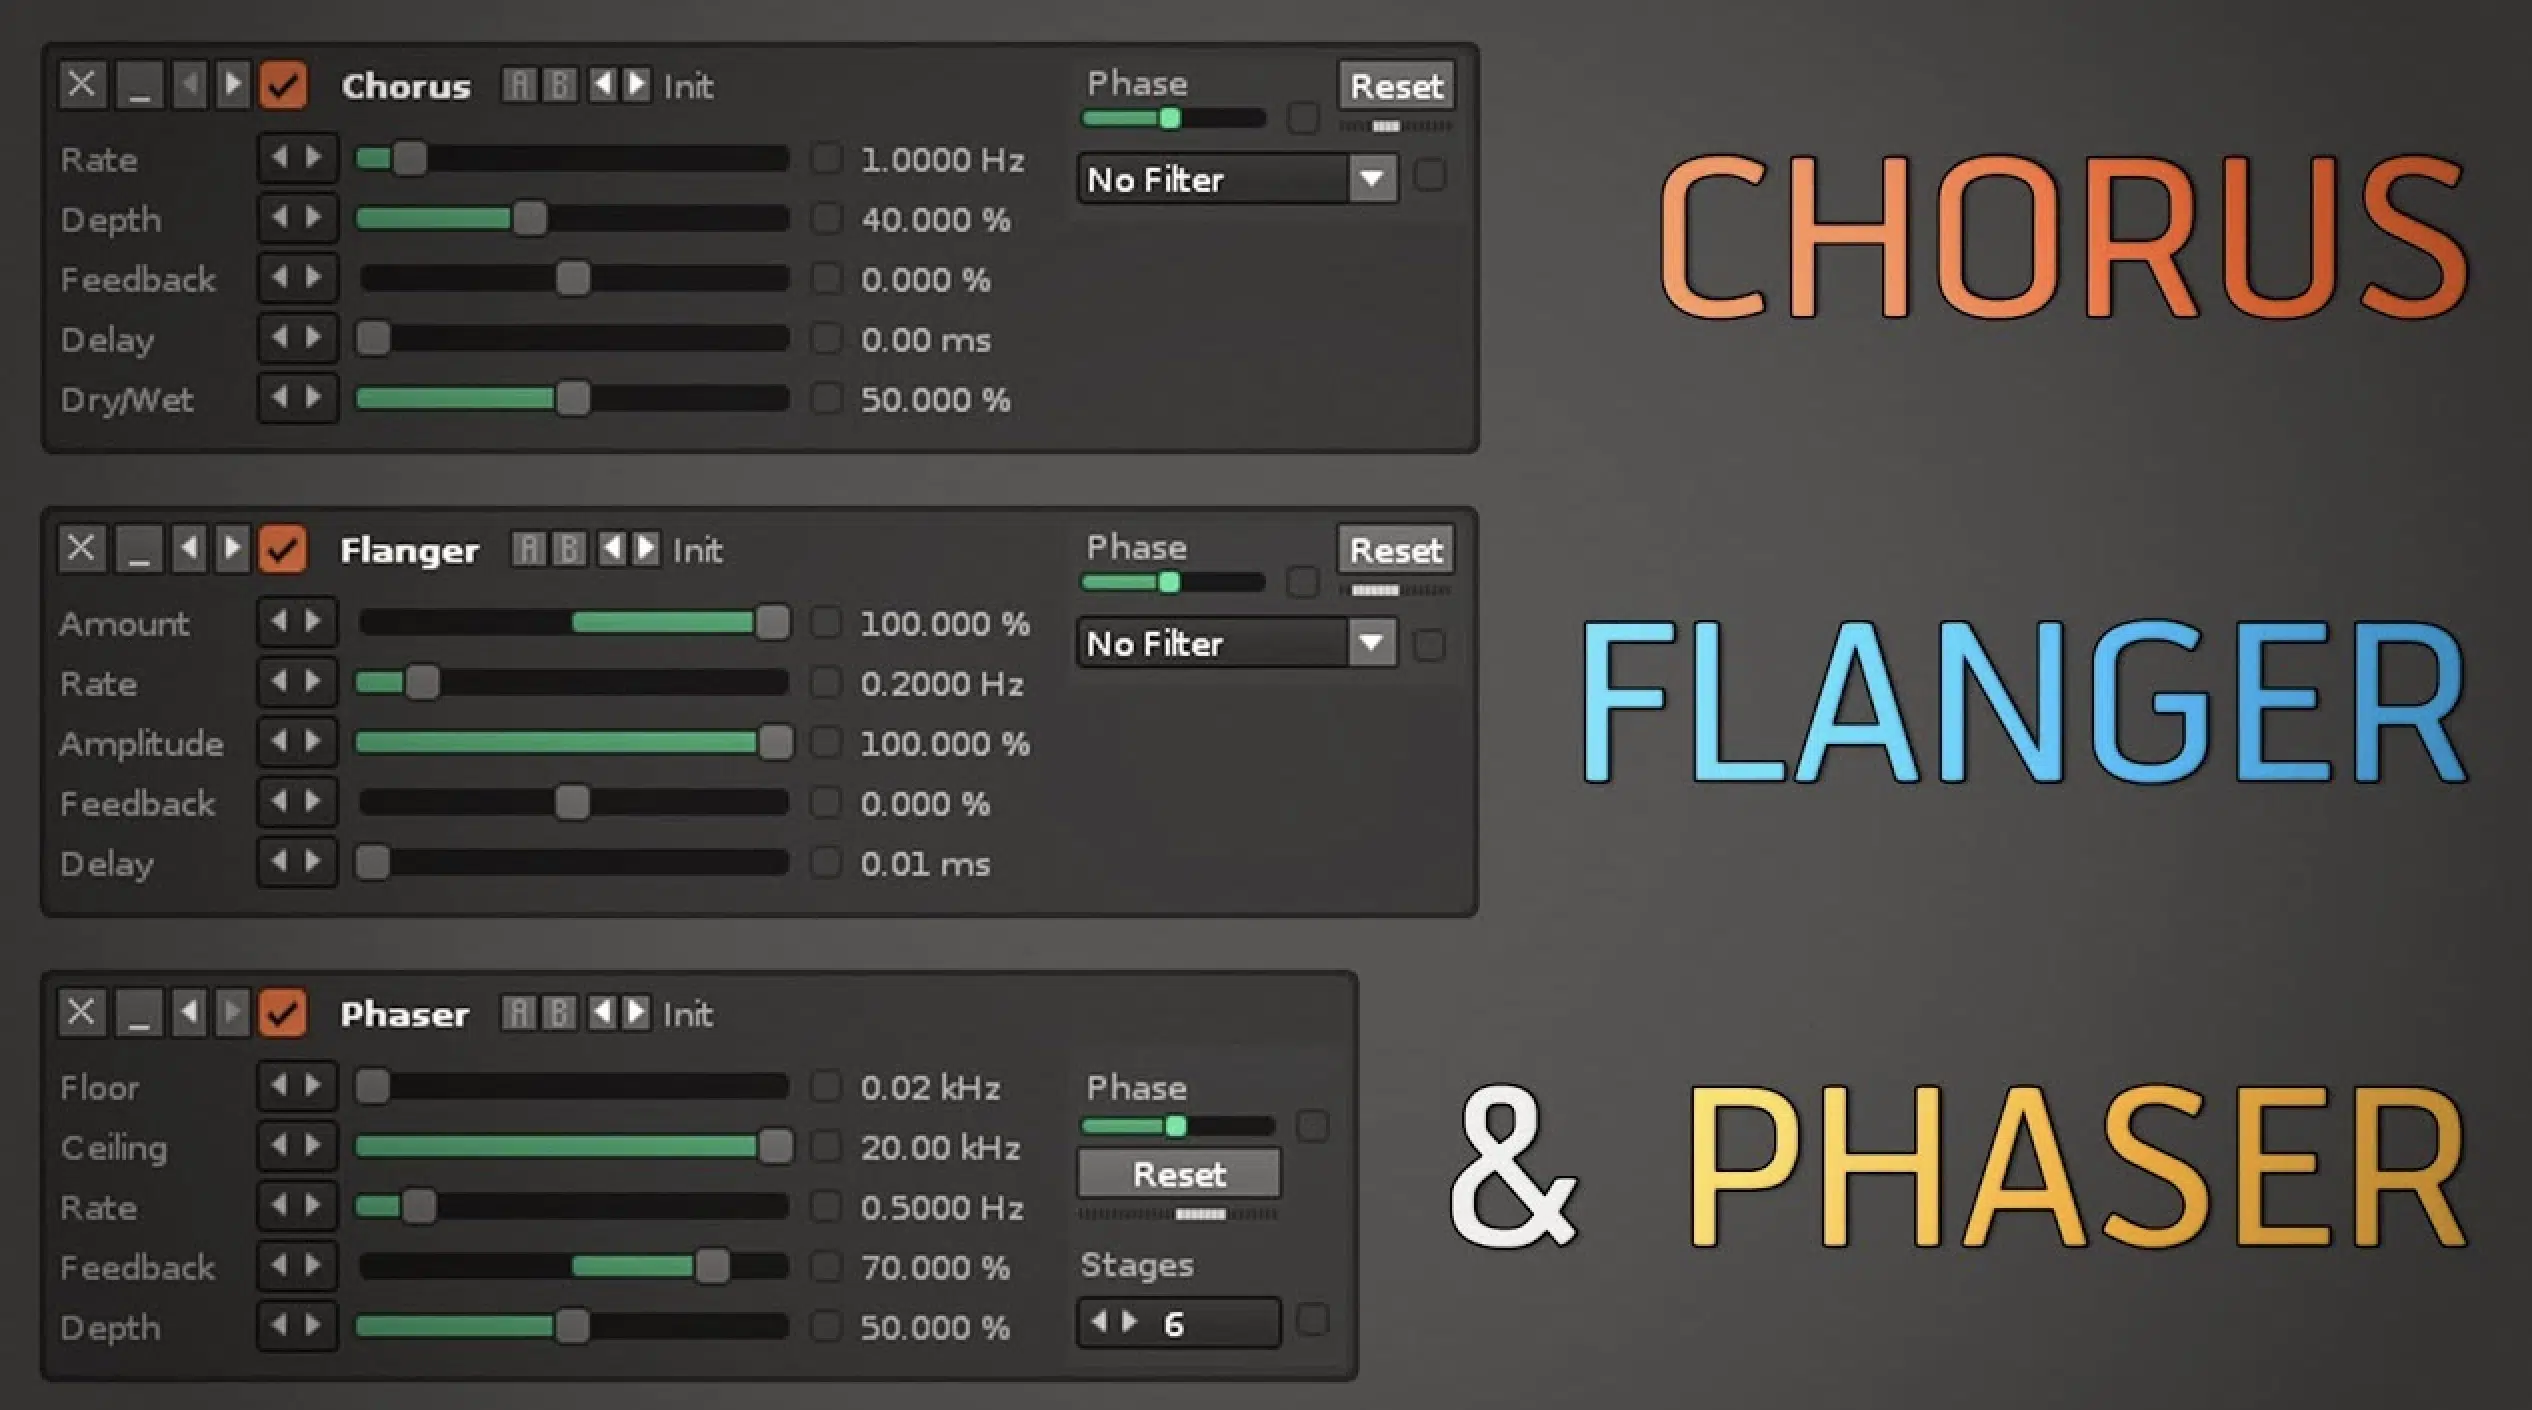
Time-based effects manipulate the timing of your sound to create various effects.
They include:
- Delays 一 Repeat the signal with a certain delay time
- Reverbs 一 Simulate the sound of different environments
- Modulation Effects (chorus, flanger, phaser) 一 Create a sense of movement by modulating various parameters of the sound over time
With these creative effects, you’re able to produce epic and unique sounds that will capture the attention of your listeners.
The Power of MIDI in VST Effects
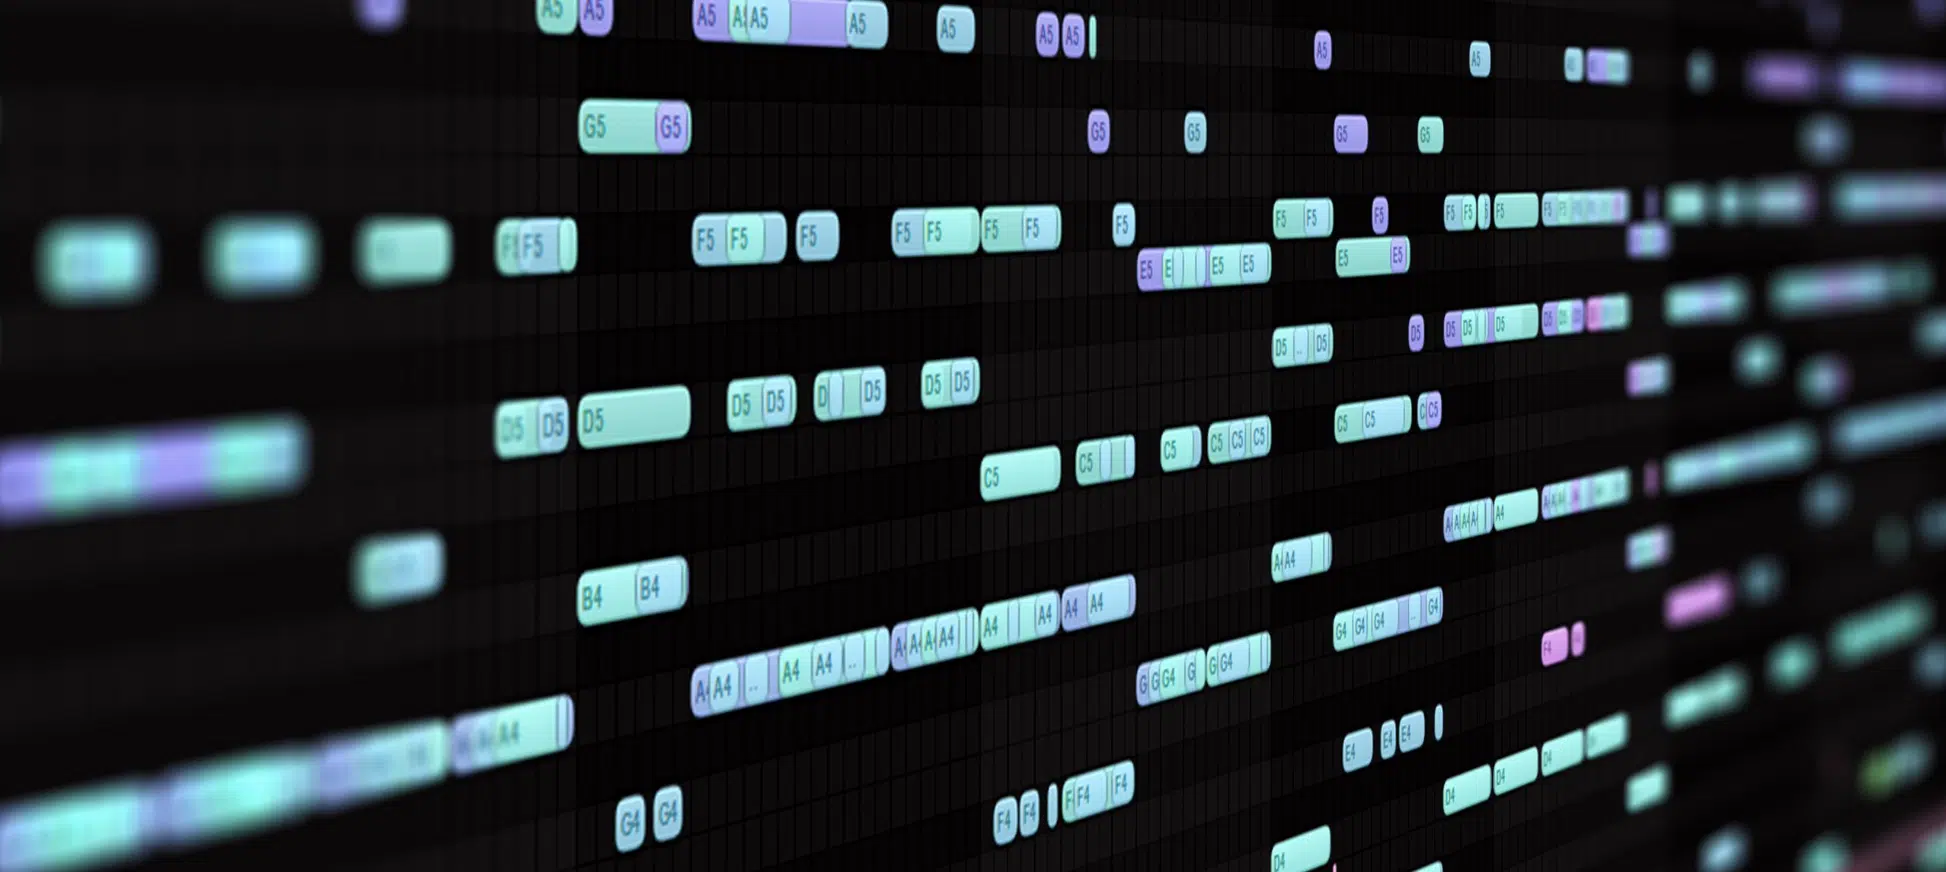
MIDI (Musical Instrument Digital Interface) plays a crucial role in the use of VST effects.
While it’s commonly associated with triggering notes in VST instruments, MIDI can also be used to control the parameters of VST effects.
This allows for dynamic, performance-based manipulation of your sound.
With MIDI control, you can use a MIDI controller to adjust the settings of your VST effects in real-time.
For instance, you can assign a knob on your MIDI controller to the feedback parameter of a delay effect 一 allowing you to create dramatic echoes during a particular part of your track.
Similarly, you could assign a fader on your controller to the dry/wet mix of a reverb effect.
This gives you the ability to gradually increase the sense of space in your mix.
But MIDI control of VST effects isn’t limited to real-time performance… you can also use your DAW’s automation features to program changes to your VST effects’ parameters over time.
This can be particularly useful for creating dynamic, evolving effects that change throughout a track.
Choosing the Right VST Plugin
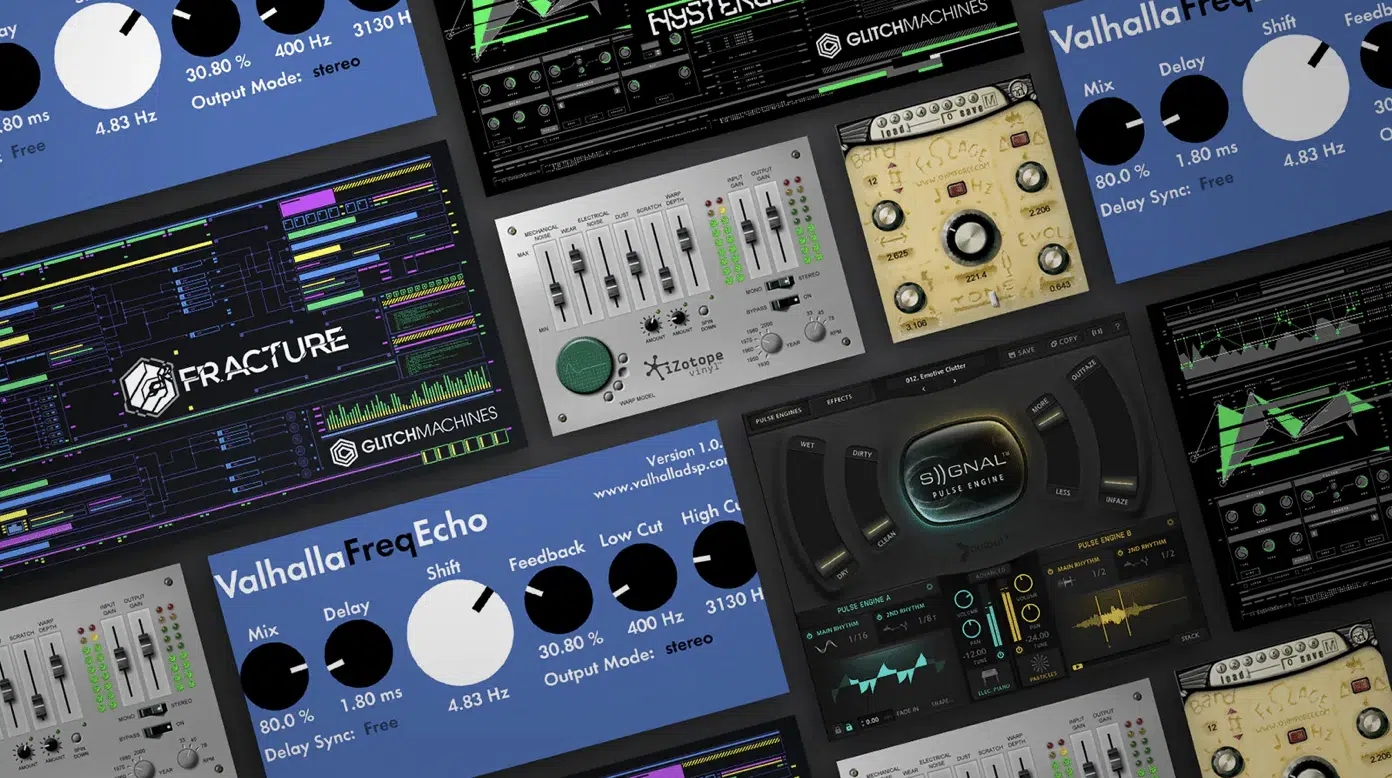
With so many VST plugins available, choosing the right one for your needs can be a daunting task.
However, there are a few considerations that can guide your decision.
#1: Think about the type of sound or effect you’re trying to achieve
If you’re looking for a specific sound, such as a vintage synth or a classic plate reverb, look for a plugin that specializes in that sound.
On the other hand, if you want versatility, consider a plugin that offers a wide range of sounds or effects.
#2: Consider the usability of the plugin
A plugin with a user-friendly interface can make a big difference in your workflow.
Additionally, consider the technical requirements of the plugin.
Make sure it’s compatible with your DAW and that your computer meets the necessary system requirements.
#3: Don’t overlook the importance of customer support & community
Having access to helpful resources and a community of users can be invaluable, especially if you’re new to the plugin or run into any issues.
Common Mistakes to Avoid When Using VST Plugins
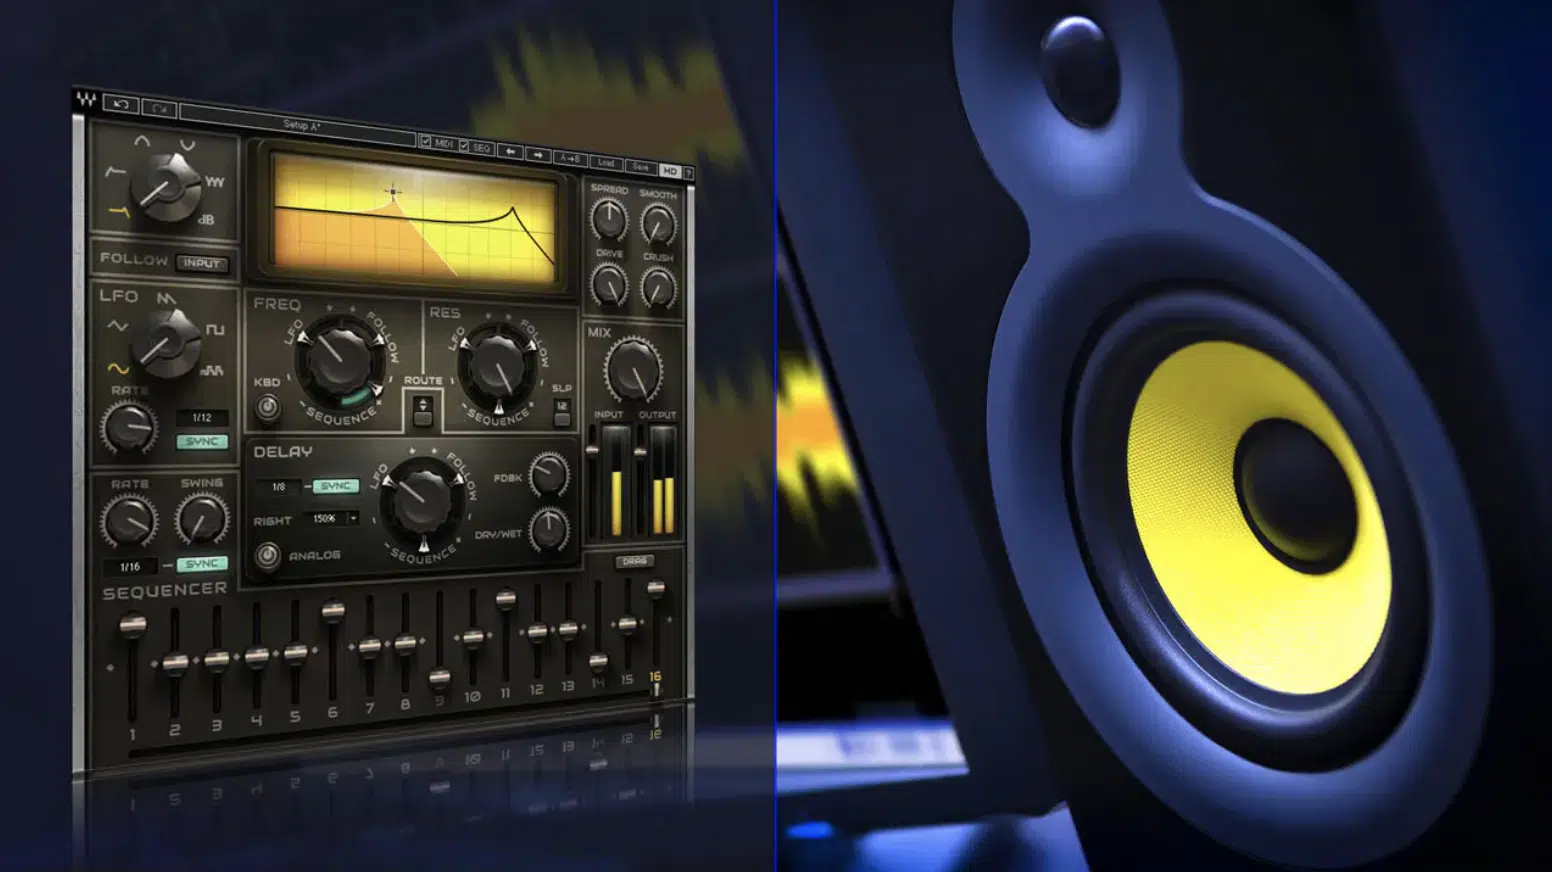
While VST plugins can greatly enhance your music production, it’s easy to fall into some common pitfalls.
#1: Overusing plugins
While it’s tempting to load up your tracks with multiple plugins, this can often result in a cluttered, over-processed sound.
Remember, less is often more when it comes to plugins.
Focus on using a few plugins effectively rather than cramming in as many as possible.
#2: Relying too heavily on presets
While presets can be a great starting point, they may not always be the best fit for your music.
Don’t be afraid to tweak the settings to suit your needs.
Understanding how to manipulate the parameters of a plugin is key to unlocking its full potential.
#3: Beware of getting caught up in the “gear acquisition syndrome”
With so many VST plugins available, it’s easy to feel like you constantly need to buy new ones.
However, it’s often more beneficial to learn to use your existing plugins to their full potential before moving on to new ones.
NOTE: Each unique plugin has its own learning curve, and mastering one can be more beneficial than superficially using many.
What is a VST? Final Thoughts
As we wrap up our journey through the evolving world of VSTs, you should never have to yourself “what is a VST” again, because you now have all the answers.
But what’s knowledge without practice, right?…
Now, it’s time for you to roll up your sleeves and get hands-on with the plethora of VST plugins at your disposal.
Whether you’re looking to manipulate your audio with intriguing effects or express your musical ideas with virtual instruments, there’s a VST out there that perfectly suits your creative vision.
One incredible way to quickly apply your new-found knowledge and skills is by utilizing templates, such as these highly-renowned free template essentials.
These templates are carefully crafted to provide a solid structure for your beats, with all the elements of a successful track laid out for you.
What’s even more exciting is that you can take these templates and replace the included effects and instruments with your favorite new VST options.
This way, you’re not just relying on the pre-configured settings.
Instead, you’re tailoring the templates to your unique sound, harnessing the power of VSTs to create something truly original and 100% your vibe.
In the ever-evolving landscape of music production, VSTs have undeniably carved out a significant space.
They empower us to break boundaries, experiment, and craft sounds that were unimaginable just a few decades ago.
So, go play around with all the different VSTs in order to let your true creativity shine.
Until next time…


Leave a Reply
You must belogged in to post a comment.