Mastering is the final and essential step in the music production process.
It ensures that your mix sounds polished, professional, and ready for the world to hear.
In today’s article, we’ll dive deep into the mastering chain 一 exploring the importance of its components and the correct order to achieve professional results.
We’ll cover:
- Mastering chain basics ✓
- Building your own mastering chain ✓
- Vital mastering chain components ✓
- Metering in your mastering chain ✓
- The master bus & master fader ✓
- Techniques for improving sound quality ✓
- Avoiding common mastering mistakes ✓
- Preparing your master for streaming services ✓
Get ready to level up your music production skills and create stunning masters with this in-depth guide on the mastering chain.
After this article, you won’t even need a mastering engineer, as you’ll be a master of mastering (pun intended).
So, let’s dive in…
Table of Contents
- Understanding the Mastering Process
- Importance of Mastering Signal Chain Order
- Different Types of Mastering Chains
- Mastering Chain Essentials
- Best Mastering Chain Practices
- Typical Mastering Chain Order
- Metering in Mastering Chain
- 5 Expert Techniques for Improving Sound Quality
- Reference Tracks & MONO Compatibility
- Mastering Chain: Final Thoughts
Understanding the Mastering Process
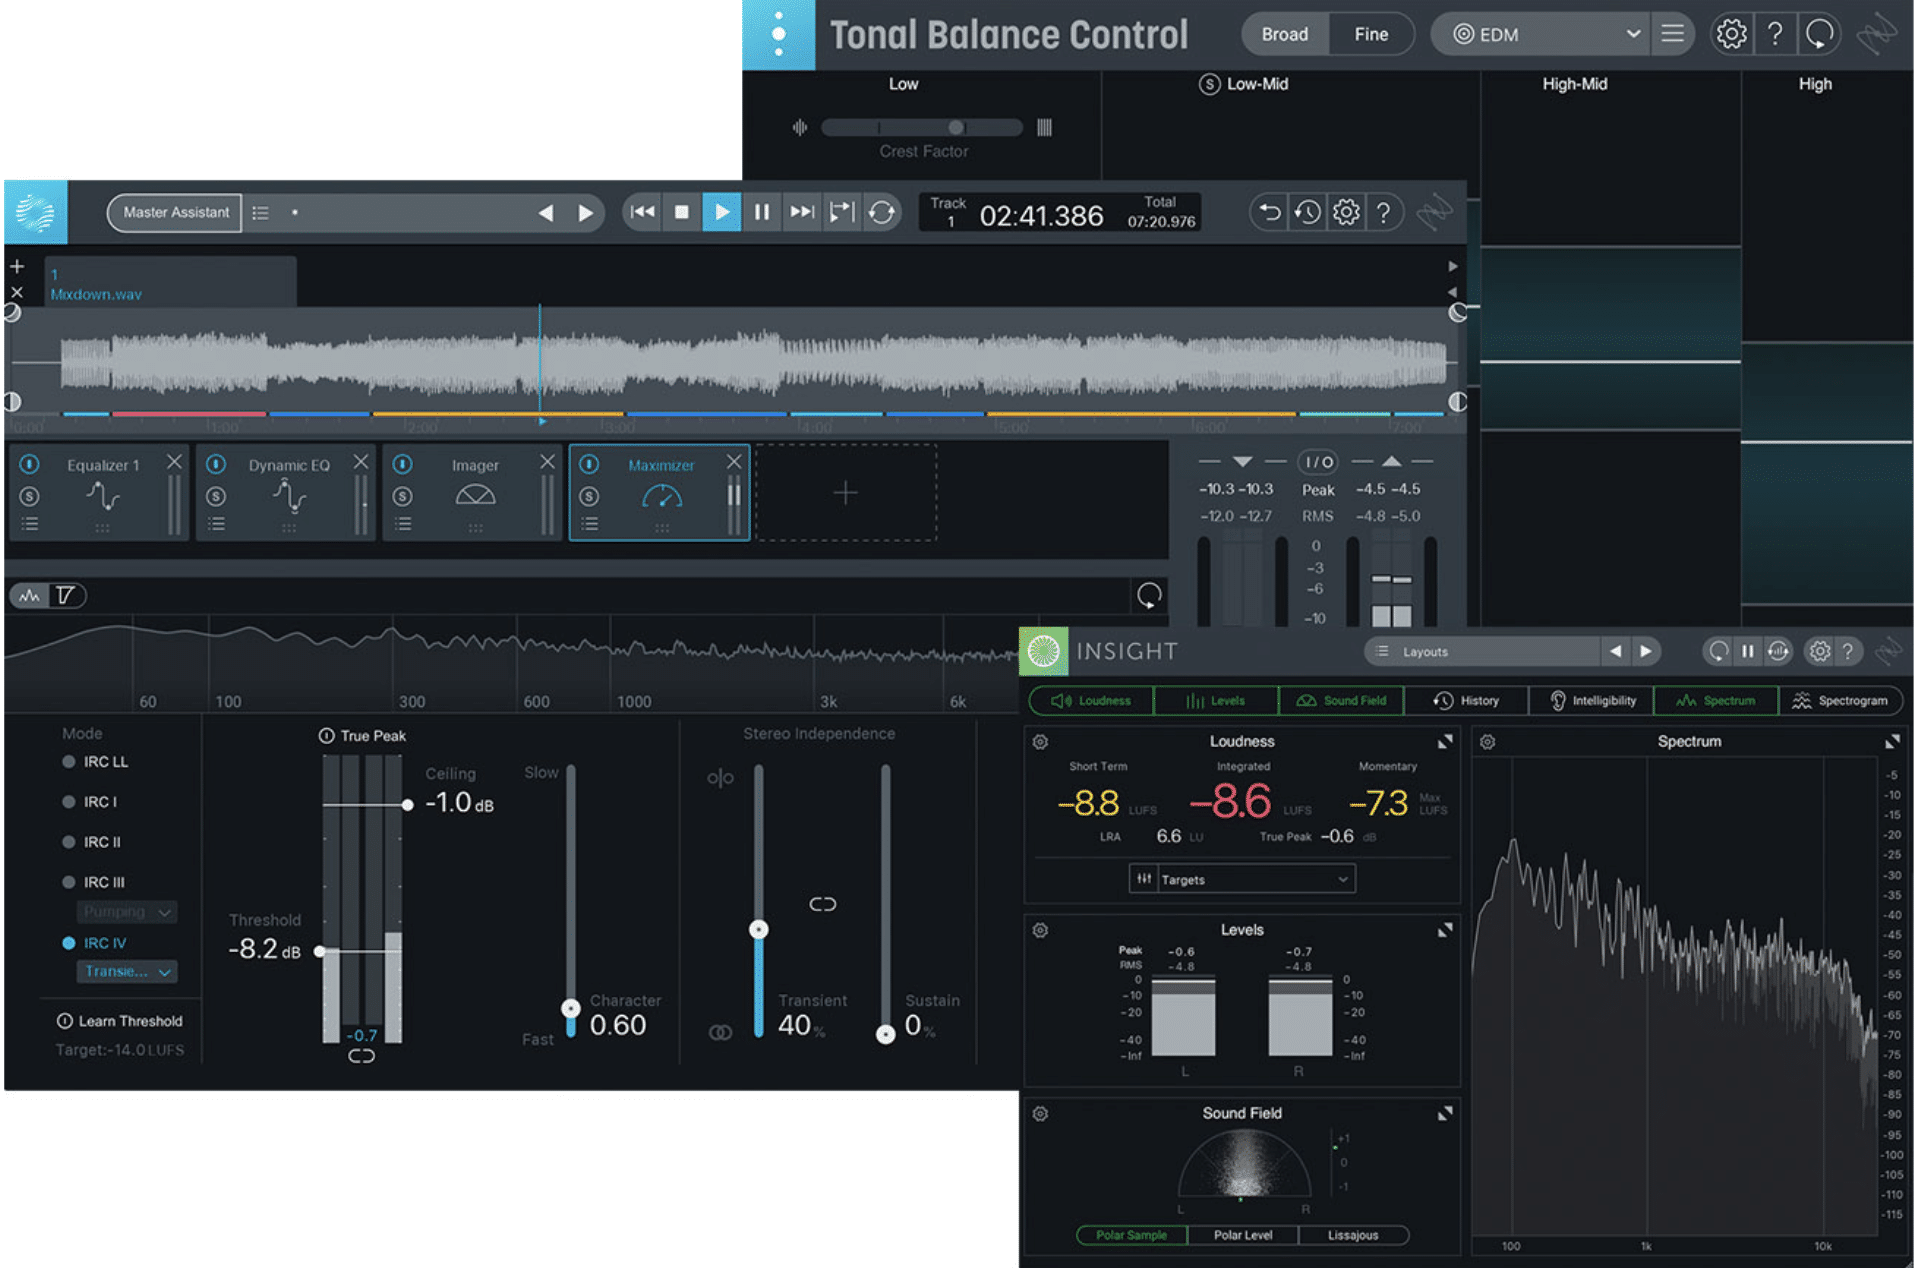
Mastering is the last stage of music production, where the final mix is processed, refined, and optimized for distribution.
The mastering process involves several key elements such as adjusting the overall tonal balance, controlling dynamics, and enhancing the stereo image.
This process ensures that your music will sound great on a wide range of playback systems (aka proper translation), from tiny earbuds to massive club sound systems.
The mastering chain plays a vital role in shaping the final sound of your music through the use of various audio processing tools, arranged in a specific order to maximize effectiveness.
This includes EQs, compressors, limiters, stereo imagers, and mid/side processors, which we will break down in detail throughout the article.
Mastering engineers typically have their own preferred mastering chain order and set of tools.
However, there are some general principles that can guide you in building your own mastering chain.
Importance of Mastering Signal Chain Order
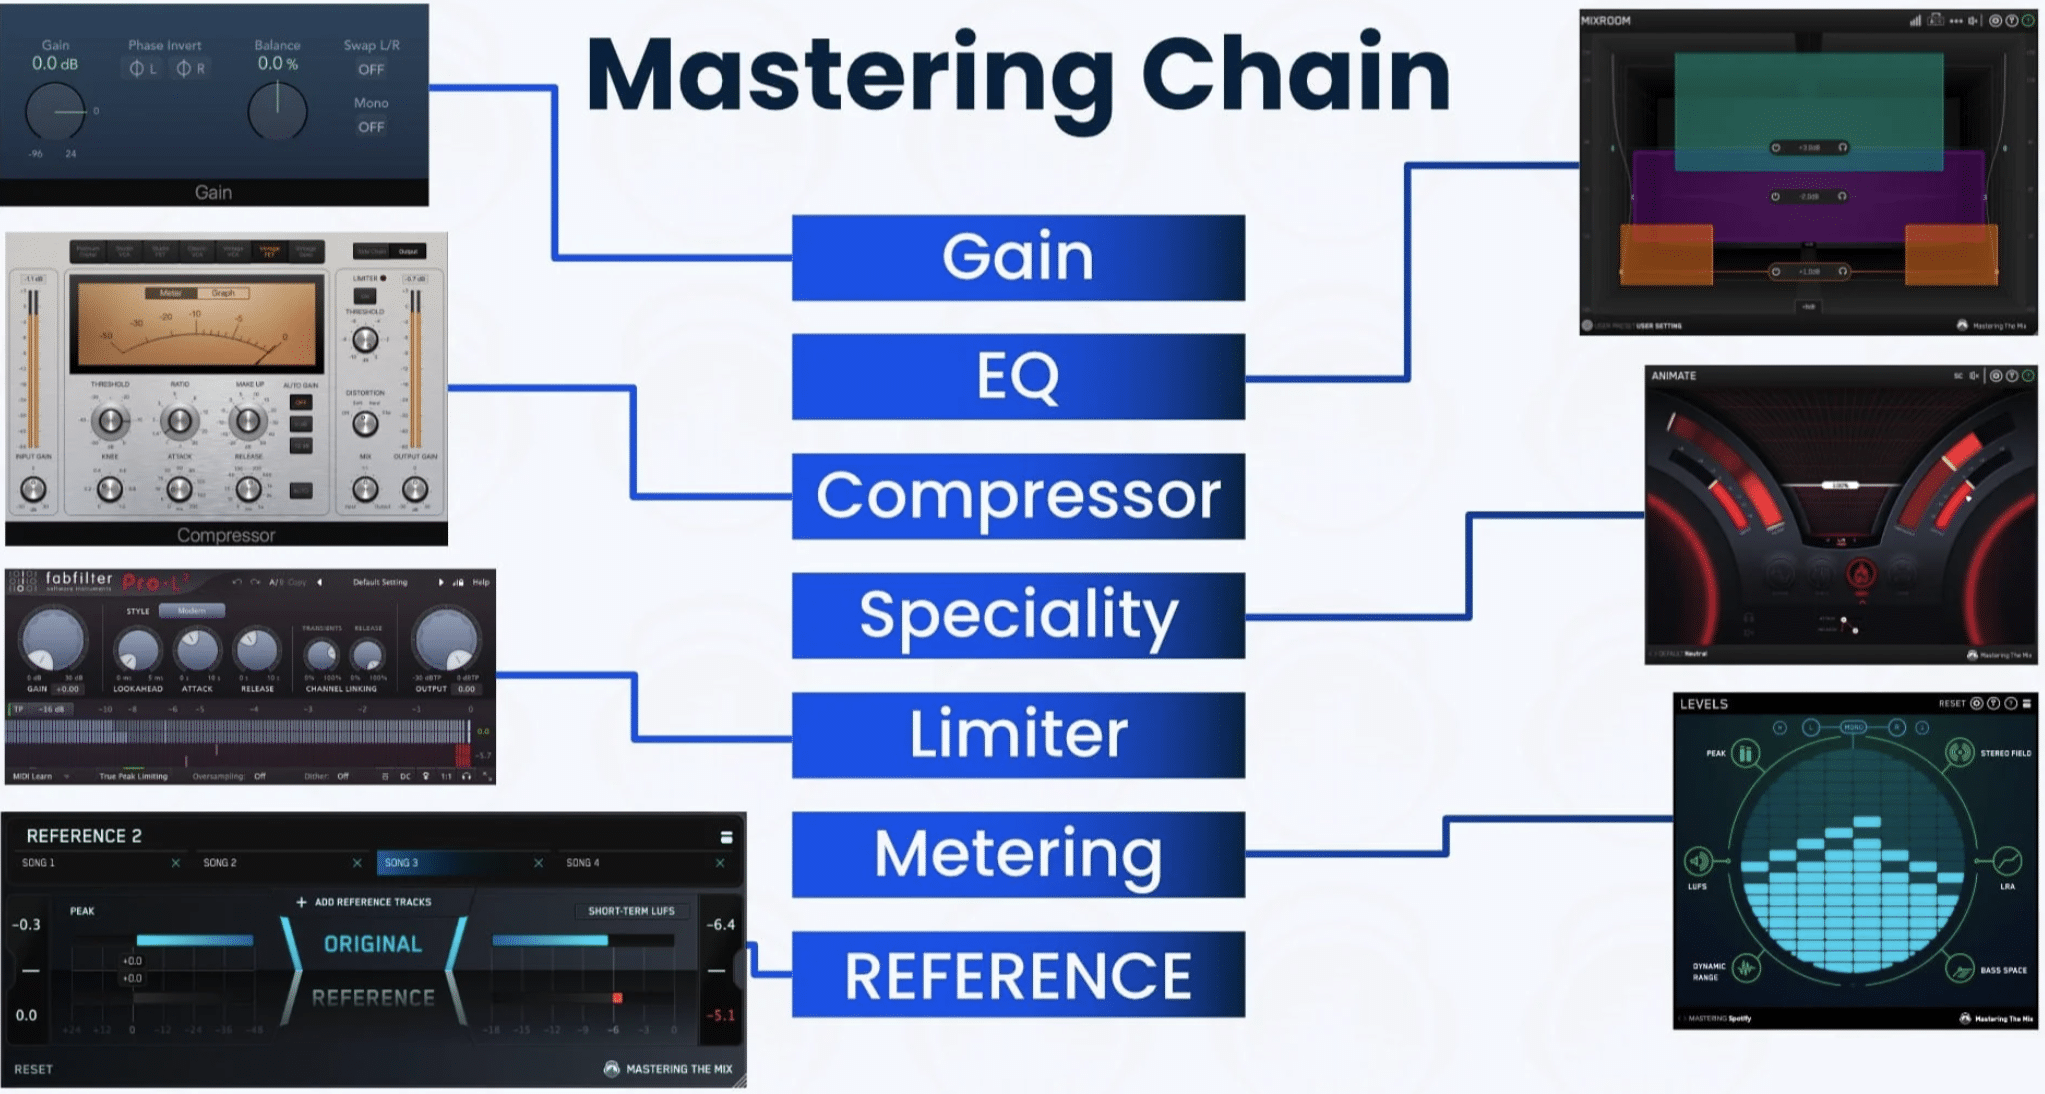
The order of your processors and components within your mastering chain will significantly impact the final sound of your track.
Each processing tool affects the audio signal in different ways, and changing the order of these tools can lead to entirely different results.
For example, applying compression before EQ can result in a more natural sound, as the compressor will react to the unprocessed (pre-EQ’d) audio signal.
On the other hand, applying EQ before compression can lead to more precise control over the tonal balance of your track, as the compressor will only process the already equalized signal.
There’s no one-size-fits-all approach to mastering signal chain order, as different music genres and production styles might require different approaches.
However, understanding the purpose and effect of each component in your mastering chain can help you make informed decisions about their order and help you achieve the desired sound for your track.
Different Types of Mastering Chains
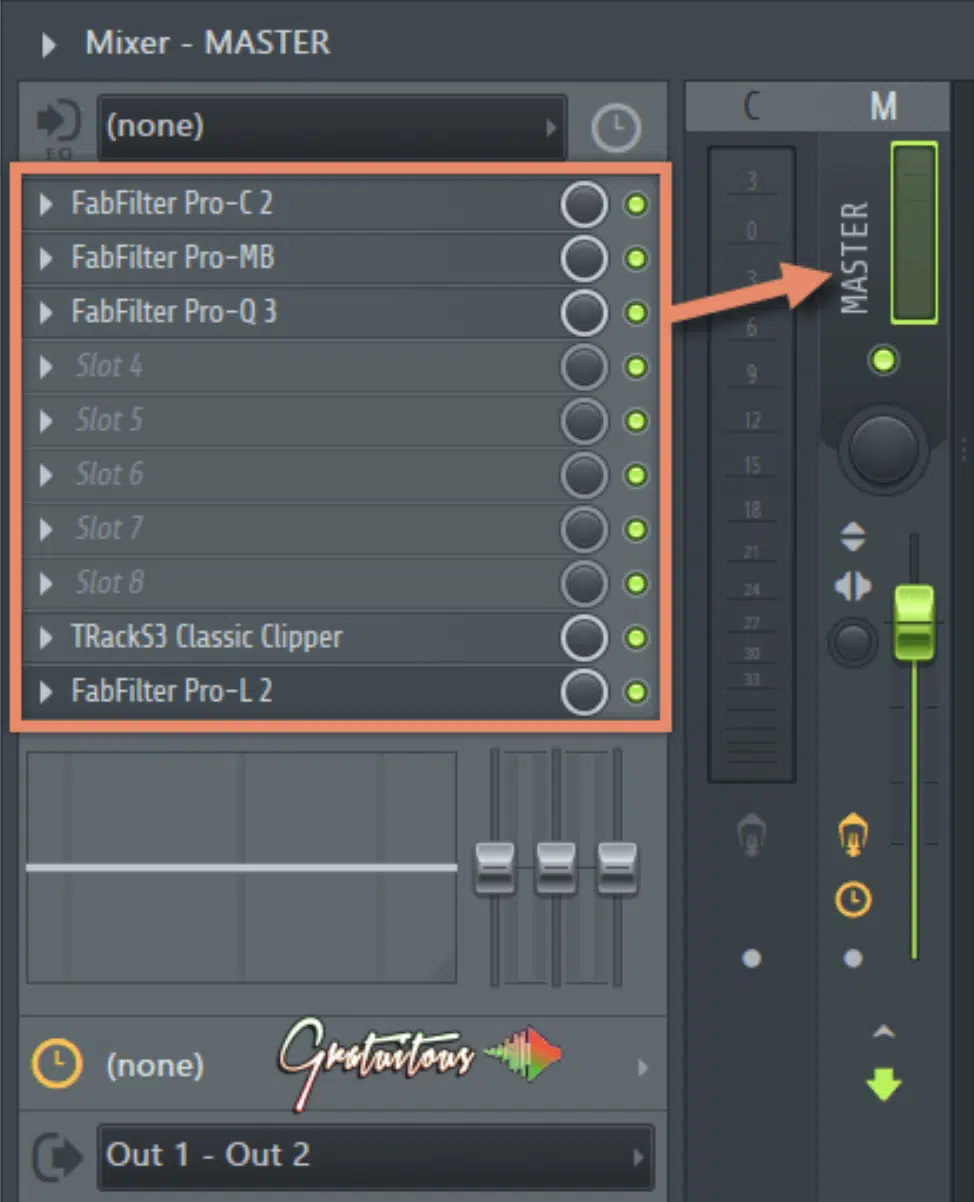
There are various types of mastering chains, each with its own unique characteristics and advantages.
Some mastering engineers prefer to use an entirely analog mastering chain.
This utilizes hardware processors such as tube EQs, solid-state compressors, and tape machines.
This approach can impart a warm, rich, and organic sound to your music, as analog gear is known for its unique harmonic characteristics and subtle saturation.
In contrast, digital mastering chains use software plugins to process the audio signal.
Digital mastering offers incredible flexibility and precision, allowing you to fine-tune your processing settings with surgical accuracy.
Mastering plugins often emulate the sound of classic analog gear, giving you the best of both worlds 一 the flexibility and precision of digital processing and the character/warmth of analog hardware.
NOTE: If you’re looking for the absolute best mastering chain plugins, including the all-time best mastering chain plugin of 2023, we’ve got you covered.
There are also hybrid mastering chains, which combine both analog and digital processing tools.
It allows you to take advantage of the unique benefits of both worlds, such as using digital processors and then “printing” the final result to an analog tape machine.
This technique offers even more versatility and creative possibilities in your mastering process.
Choosing the right type of mastering chain for your music depends on your personal preferences, budget, and the specific sound you want to achieve.
Mastering Chain Essentials
In order to truly comprehend the mastering chain, you need to be familiar with the essentials, so let’s break it down.
-
Gain Staging
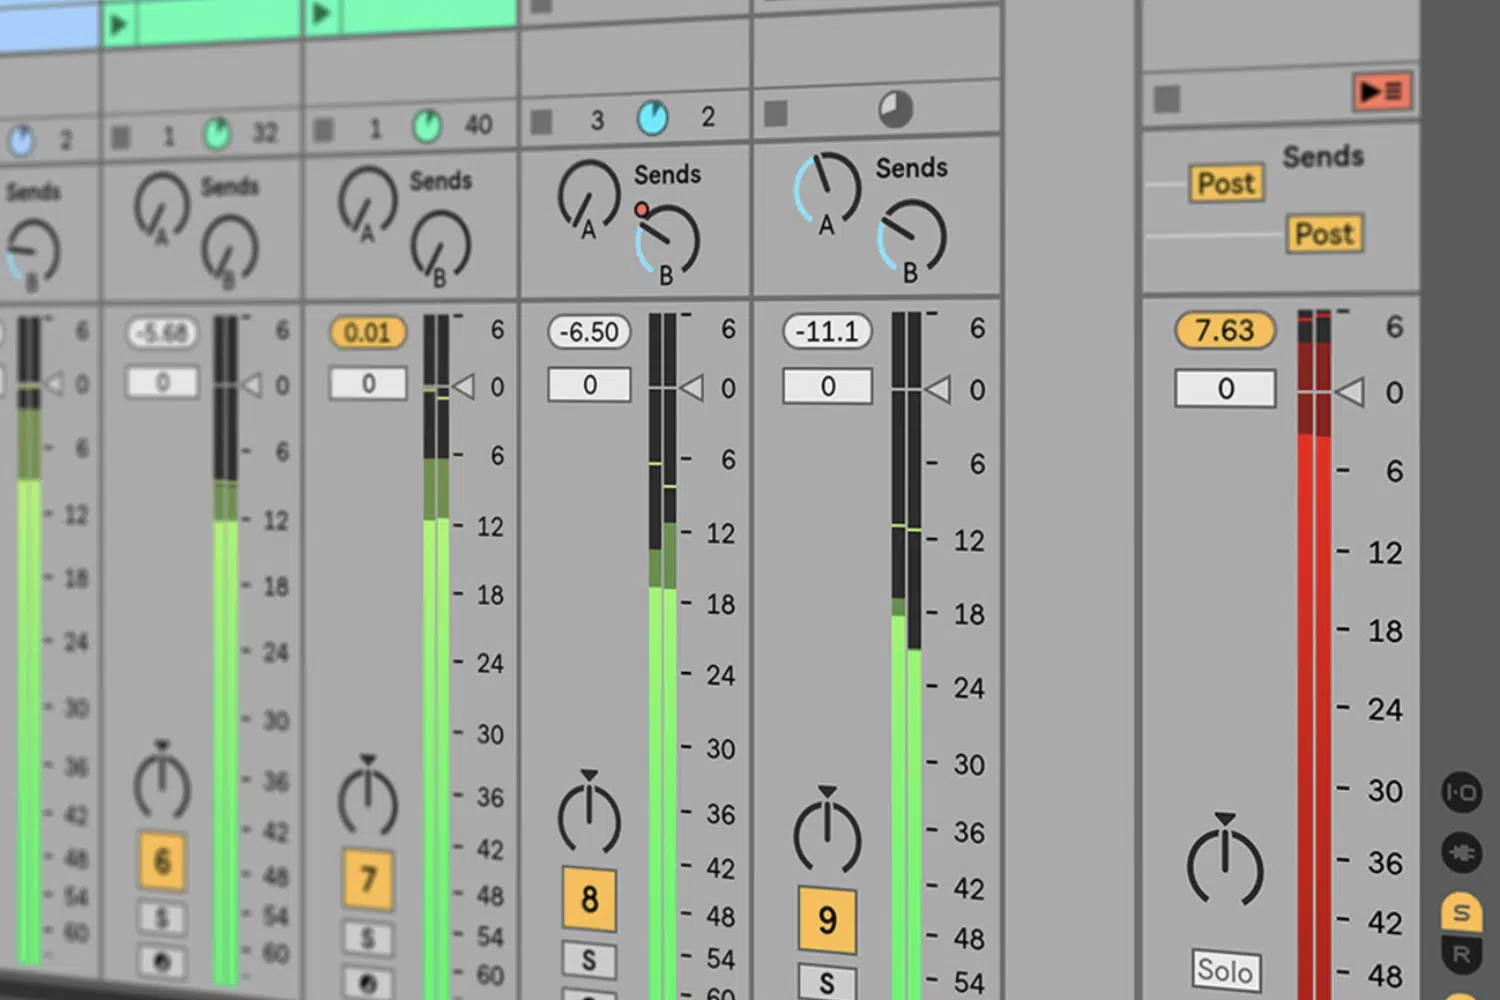
Gain staging is the process of setting the appropriate levels of your audio signal at each stage of your mastering chain.
It ensures that your signal is not too low or too high, which can cause unwanted noise or distortion and unsatisfactory results.
Proper gain staging is essential for maintaining audio fidelity and achieving the best possible sound quality in your final master.
The importance of proper gain staging cannot be overstated.
It can completely ruin your tracks and make your music sound unprofessional, sloppy, and over unpleasant.
By setting the correct levels at each stage of your mastering chain, you can prevent these issues and ensure the highest possible audio quality (which is always the goal).
-
Mastering EQ

Mastering EQ is a crucial component of any mastering chain, allowing you to fine-tune the tonal balance of your mix.
In the mastering stage, EQ adjustments are typically subtle and focused on addressing any remaining issues that may not have been addressed during the mixing process.
Remember, the mix is where you fix all the mistakes; here, and only here.
If you want or need to rectify anything done in the mix, it’s time to go back and do it there.
The mastering stage is not for corrective purposes, but rather for fine-tuning processes.
-
Compression & Multiband Compression
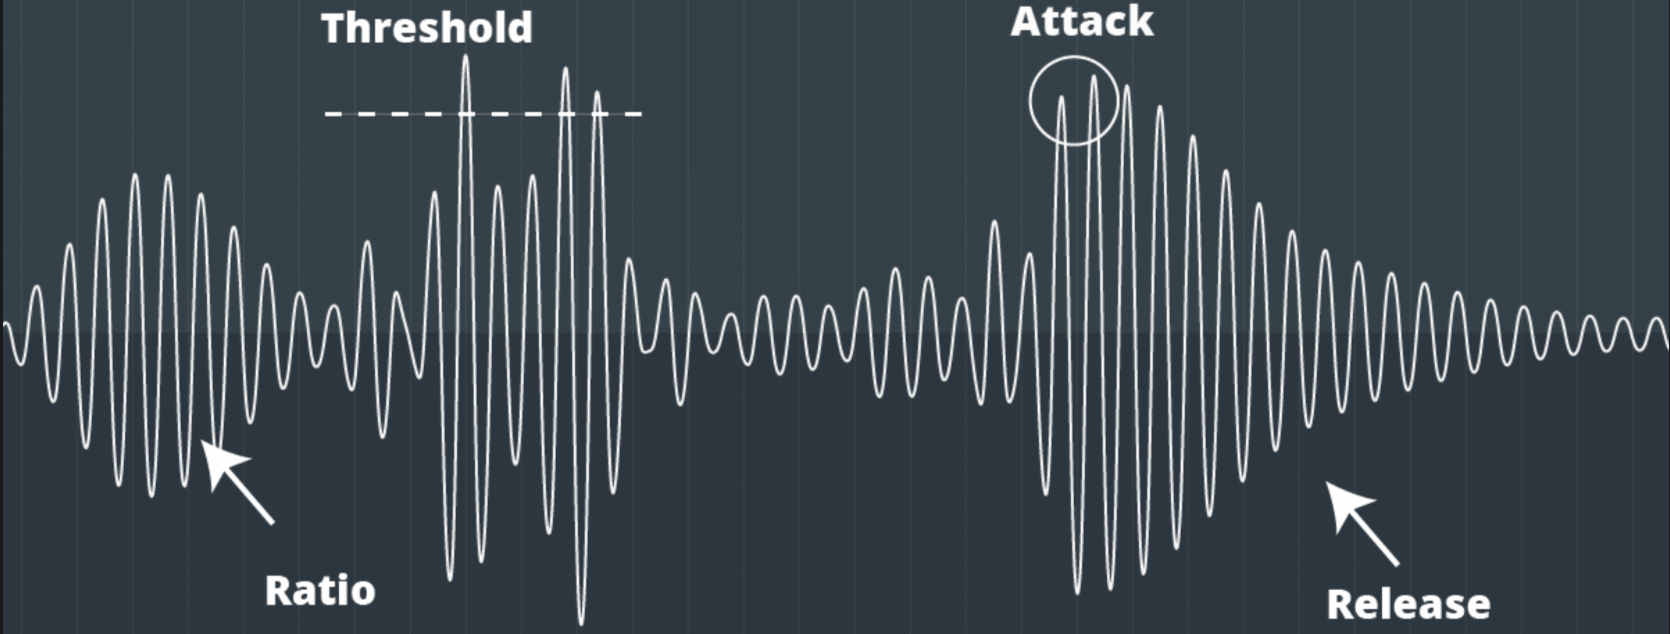
Compression is another essential component of any mastering chain, helping to control the dynamics of your mix and achieve a more balanced and consistent sound.
In the mastering process, compression is typically applied gently, with low ratios and minimal gain reduction.
The goal is to achieve a more cohesive sound by ‘gluing’ the various elements of your mix together without squashing the dynamics or altering the mix balance significantly.
Remember, major dynamic processing should be done in the mix, as the master is all about broad strokes.
Multiband compression is a more advanced form of compression that allows you to compress different frequency bands independently with special compression settings.
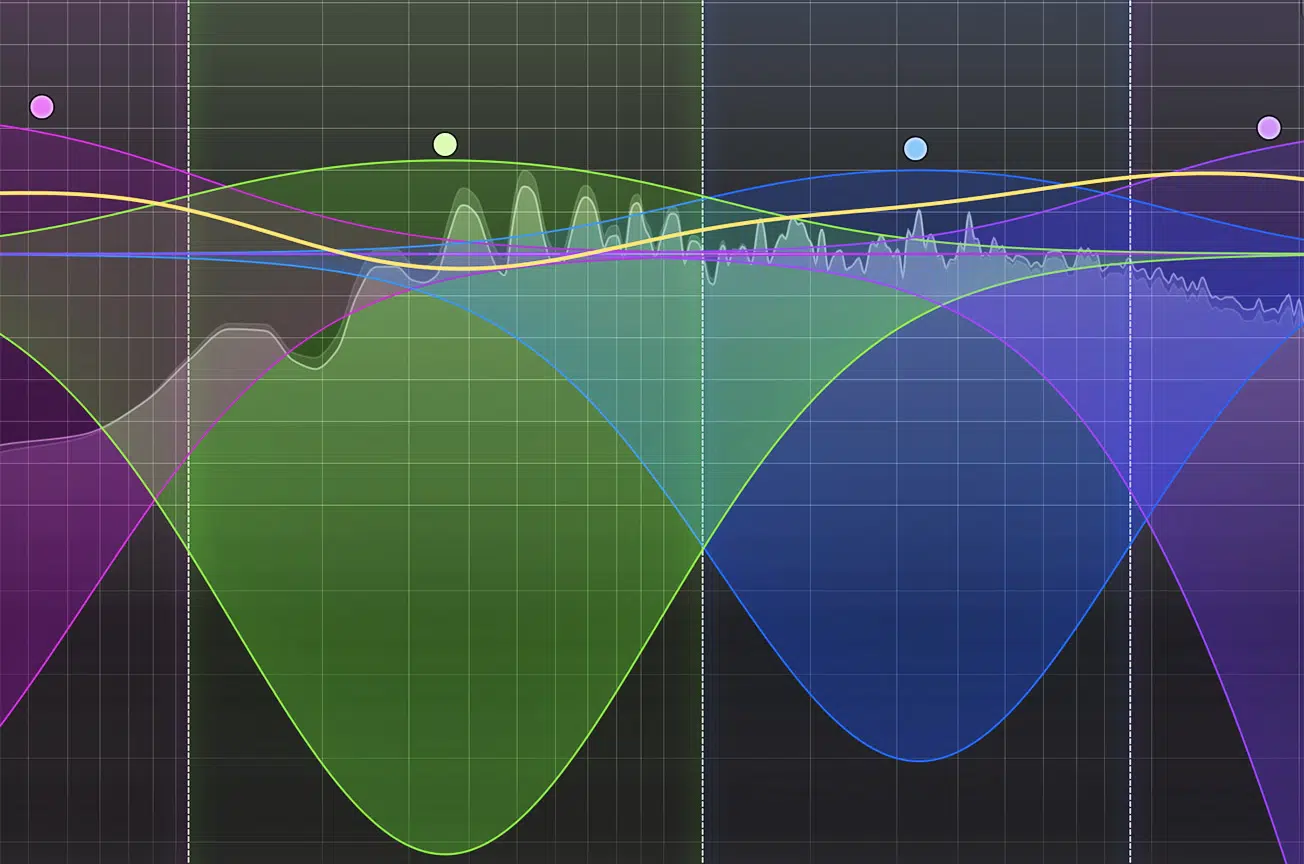
Using a multiband compressor can be particularly useful in mastering.
It enables you to address specific issues within a specified frequency range without affecting the rest of the mix.
-
Stereo Imaging
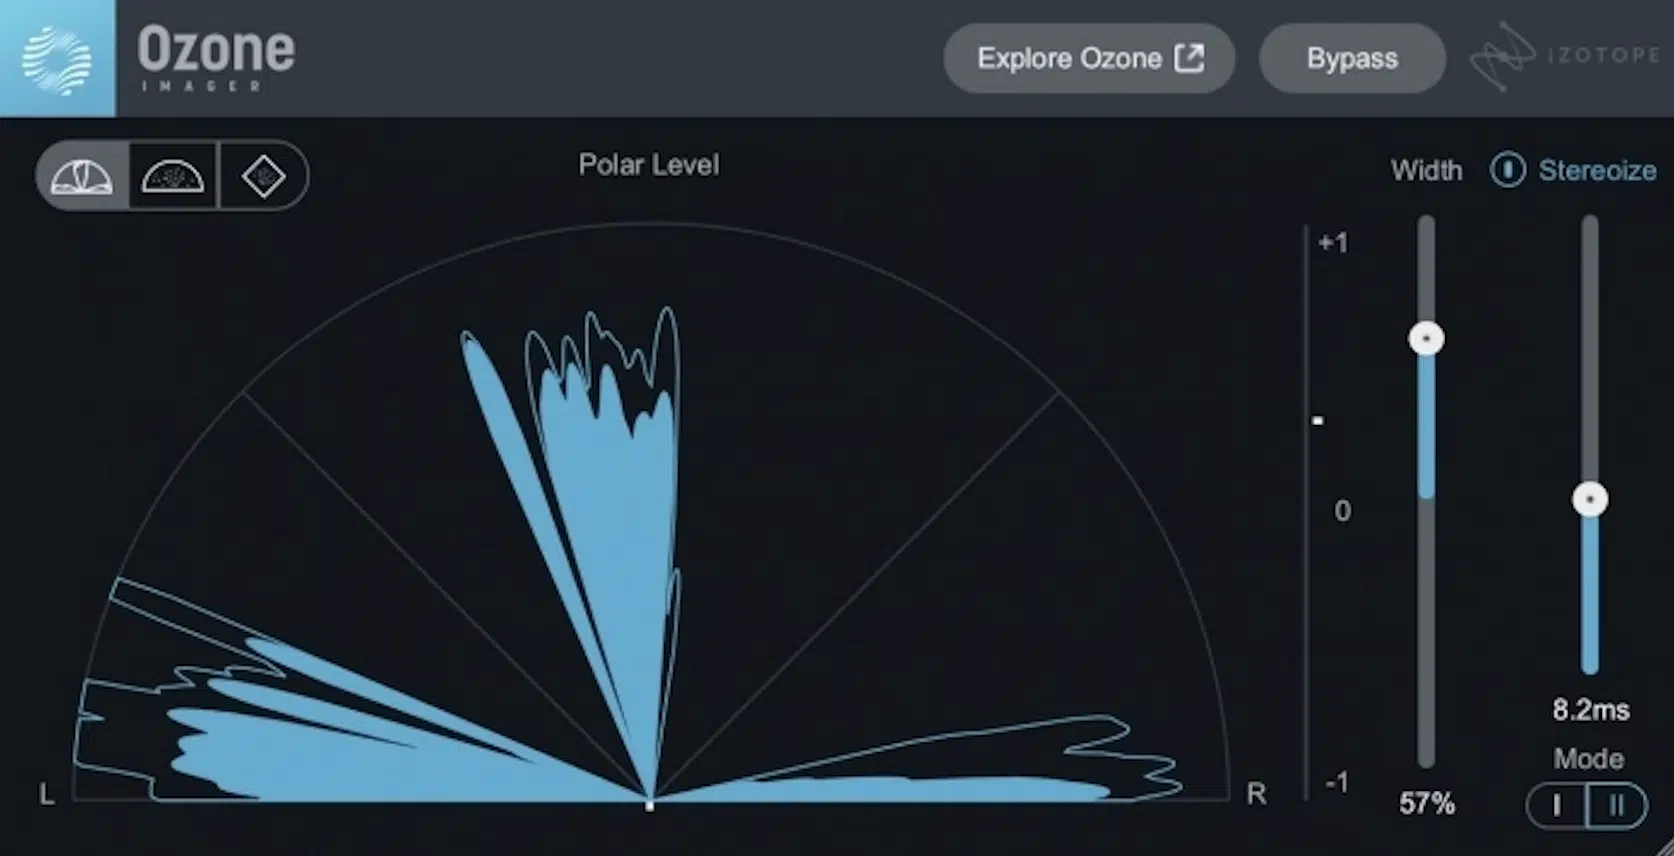
Stereo imaging refers to the aspect of sound recording and mixing that deals with the spatial placement of sound sources within the stereo field.
This includes techniques such as panning, stereo width adjustment, and mid/side processing.
Proper stereo imaging in the mastering chain can create a sense of depth, width, and space in your mix, enhancing the overall listening experience.
Good stereo imaging brings your music to life.
It can provide a sense of immersion and make your mix sound ‘bigger.’
It also aids in the separation of instruments, allowing each element of your mix to have its own space within the stereo field.
This results in a cleaner, more professional-sounding mix.
While creating a wide stereo image can make your mix sound impressive on stereo systems, it’s essential to ensure that your mix still sounds good when summed to MONO.
Many playback systems output in mono, so always check your mix in mono to ensure mono compatibility and that it translates well.
-
Mid/Side Processing
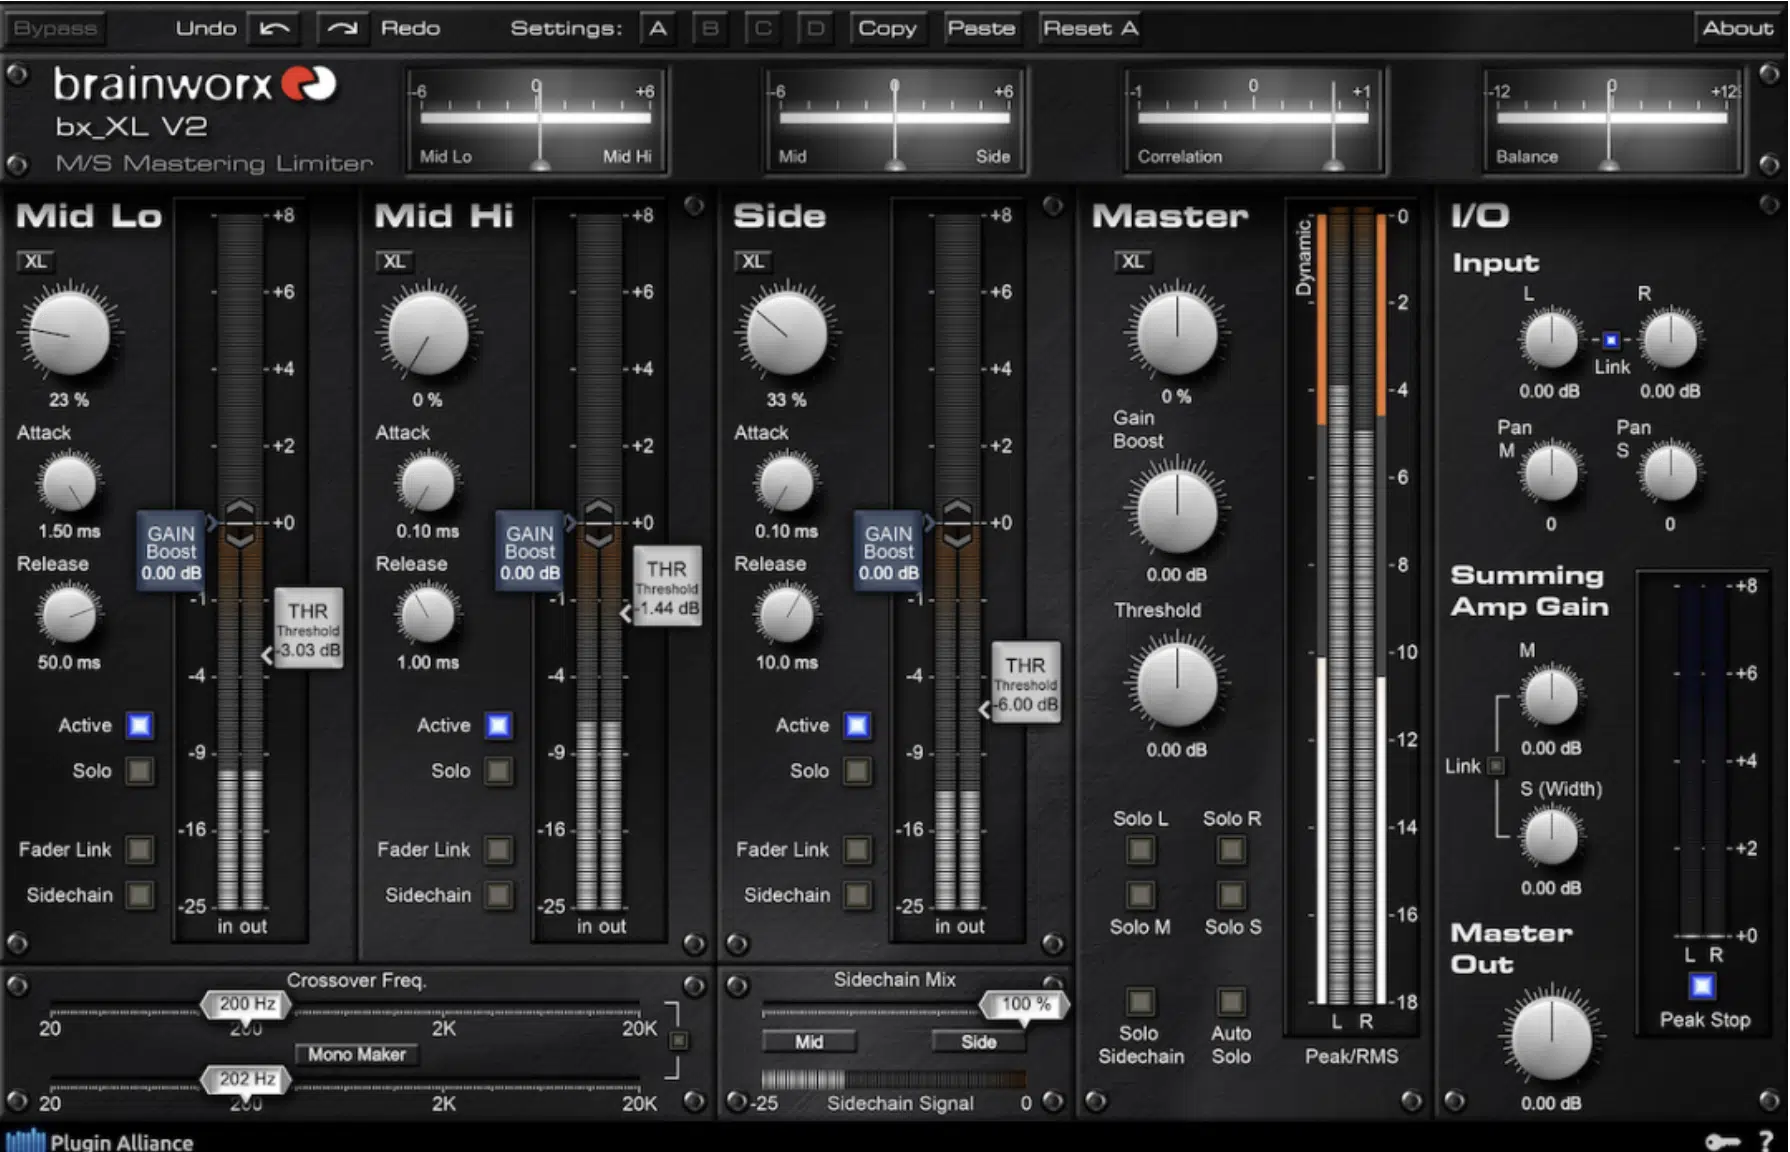
Mid/Side processing is a sophisticated technique used in the mastering process.
It involves separating the stereo signal into two components:
- The Mid 一 The sum of the left and right channels (the MONO information).
- The Side 一 The difference between the left & right channels (the stereo information).
This technique allows mastering engineers to process the center of the stereo image (mid) independently from the sides.
This is particularly useful for addressing issues that are present in one part of the stereo field but not the other.
For example, you might not want to apply EQ or multiband compression to the MONO information of your vocal, but rather, boost the top-end of the vocal only (for the stereo/side information).
Mid/Side processing also plays a crucial role in stereo imaging.
By adjusting the balance between the mid and side components, you can control the width of the stereo image.
One of the key benefits of mid/side processing is that it ensures MONO compatibility.
Since the mid signal represents what’s the same in both channels, it’s what you’ll hear when the mix is summed to MONO.
This means you can make your mix sound wide in stereo without worrying about phase cancellation issues when it’s played back in MONO.
Best Mastering Chain Practices

When building your own mastering chain, it’s essential to keep a few best practices in mind to achieve professional results.
First, always start with a high-quality mix that’s well-balanced and free of any major issues.
As discussed earlier, trying to fix a poorly mixed track during the mastering stage can lead to subpar results and compromise the overall sound quality.
Remember, mastering is about enhancing and polishing your mix, not fixing fundamental problems.
Next, be mindful of The Loudness War.
While it’s important to make your track loud and competitive, pushing the levels too hard can result in:
- Nasty distortion
- Loss of dynamics
- A horrible listening experience
Always strive for a balance between loudness and preserving the natural dynamics of your music.
Finally, always trust your ears and make decisions based on what sounds best for your specific track.
While there are general guidelines and best practices, the most important aspect of mastering is ensuring your music sounds great on a wide range of playback systems.
PRO TIP
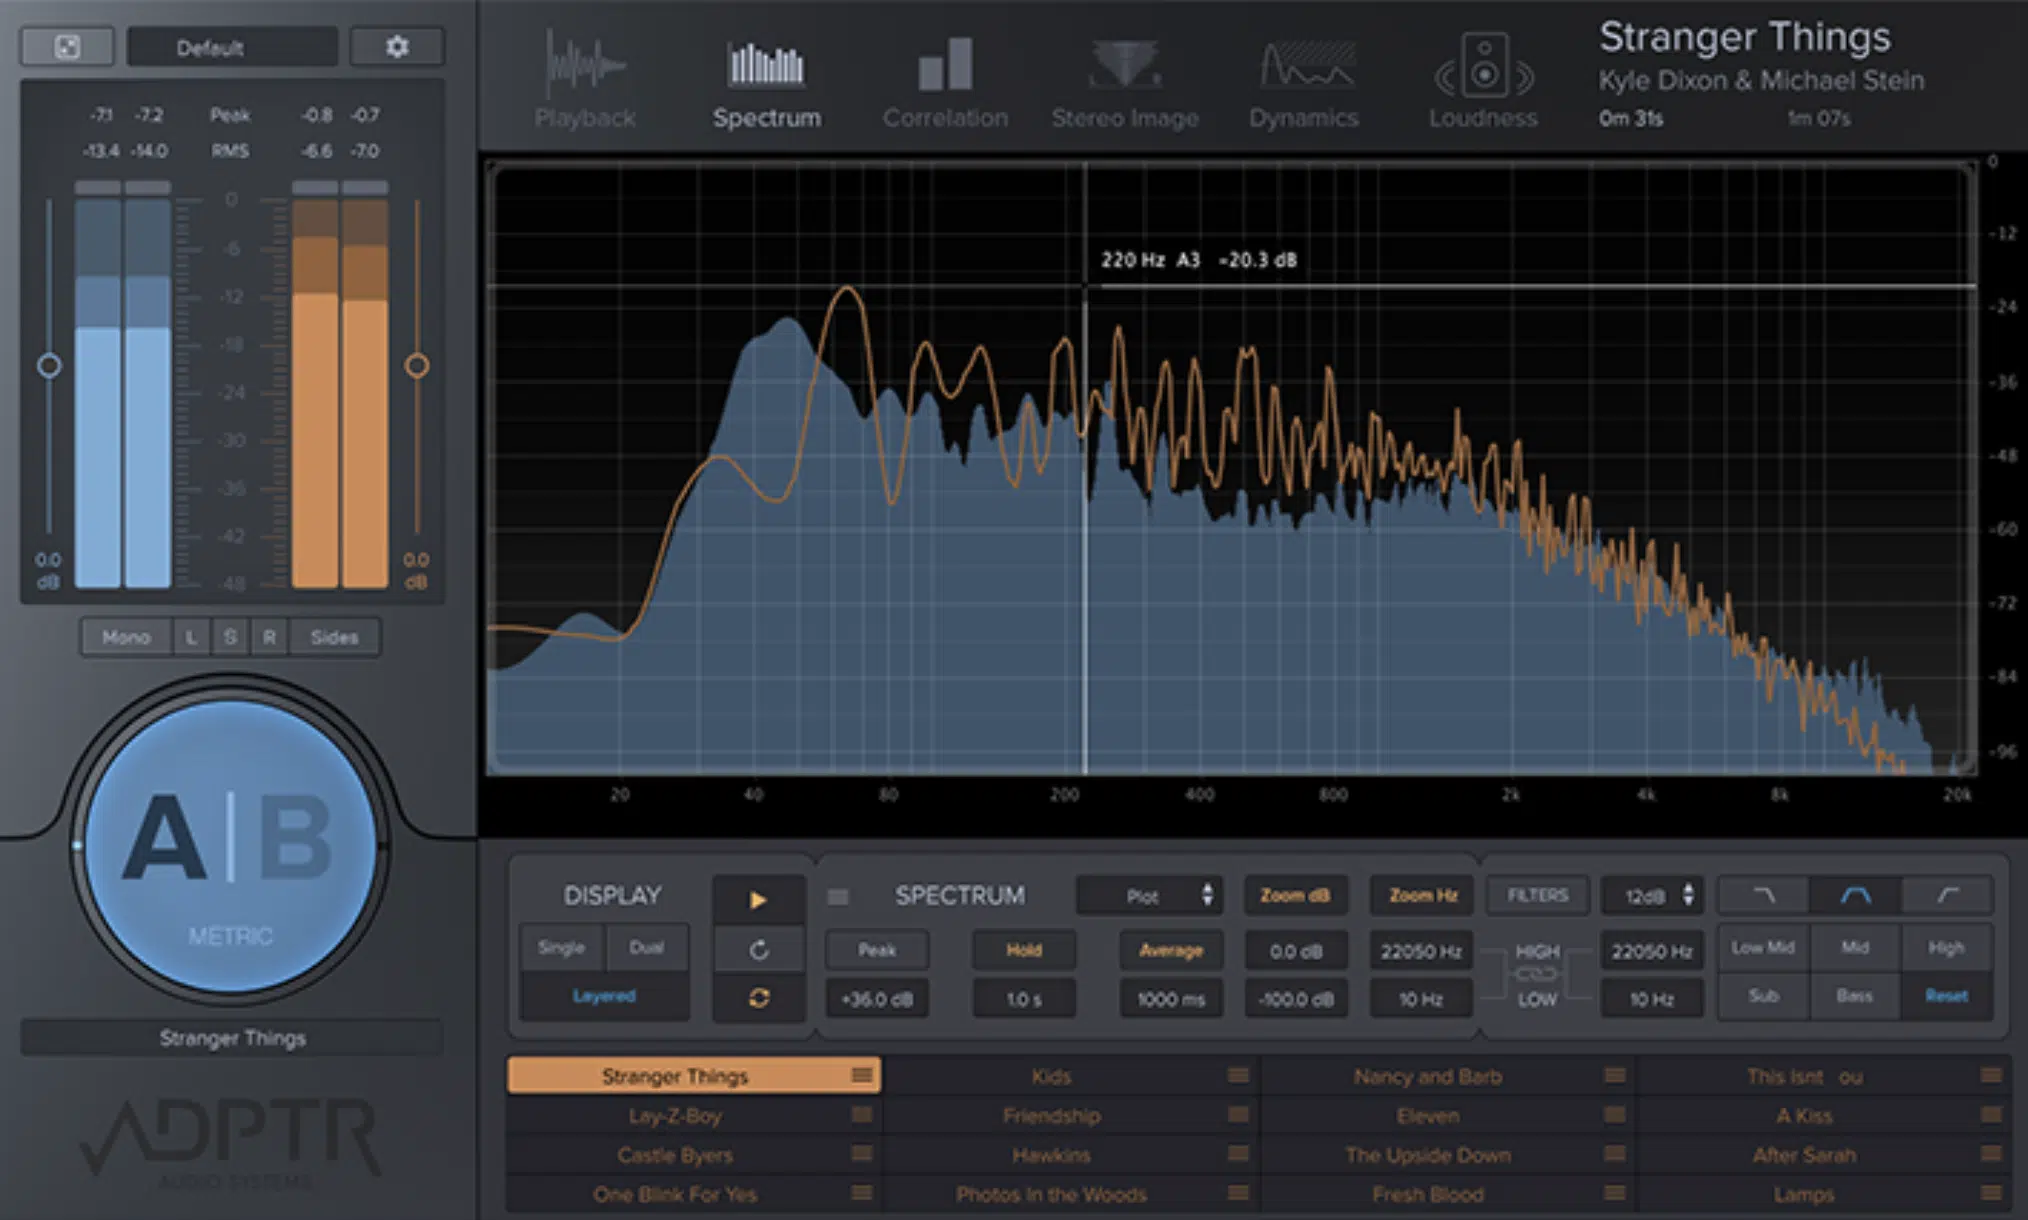
It’s oftentimes hard to trust our ears when we’re not sure what the end goal is, or when we’re not sure where to go next.
This is why you should use reference tracks that mimic the overall vibe you’re going for.
There are incredible tools out there that specifically help with this process, such as Metric AB.
It can help you do more than just listen and absorb the reference track 一 it lets you analyze all the aspects of that song and reverse engineer a mix and/or master.
Using tools like this can be super beneficial in achieving a professional end product and enhancing your skills.
Typical Mastering Chain Order
While the optimal mastering chain order depends on your specific track and personal preferences, here’s a general guideline (basic mastering chain) to get you started:
- Mastering EQ ー Make broad tonal balance adjustments, if necessary.
- Compression ー Apply gentle compression to control the overall dynamics of your mix.
- Multiband compression ー Tame specific frequency ranges that may be causing issues (low frequencies/high frequencies).
- Mastering EQ (again) ー Make any additional EQ adjustments to fine-tune the tonal balance.
- Stereo expansion & stereo field adjustments ー Enhance the stereo image and depth of your mix. This goes hand-in-hand with mid/side processing, as you’ll be striking a balance with every move you make.
- Subtle harmonic distortion & tape emulation ー Add subtle warmth and character to your mix.
- Limiting ー Apply a final limiter to achieve the desired loudness and prevent clipping. More aggressive limiting is right for some people, others prefer to be more cautious.
Remember, this is just a starting point, and my personal recommendation… feel free to experiment with different mastering chain orders to find what works best for your music.
PRO TIP
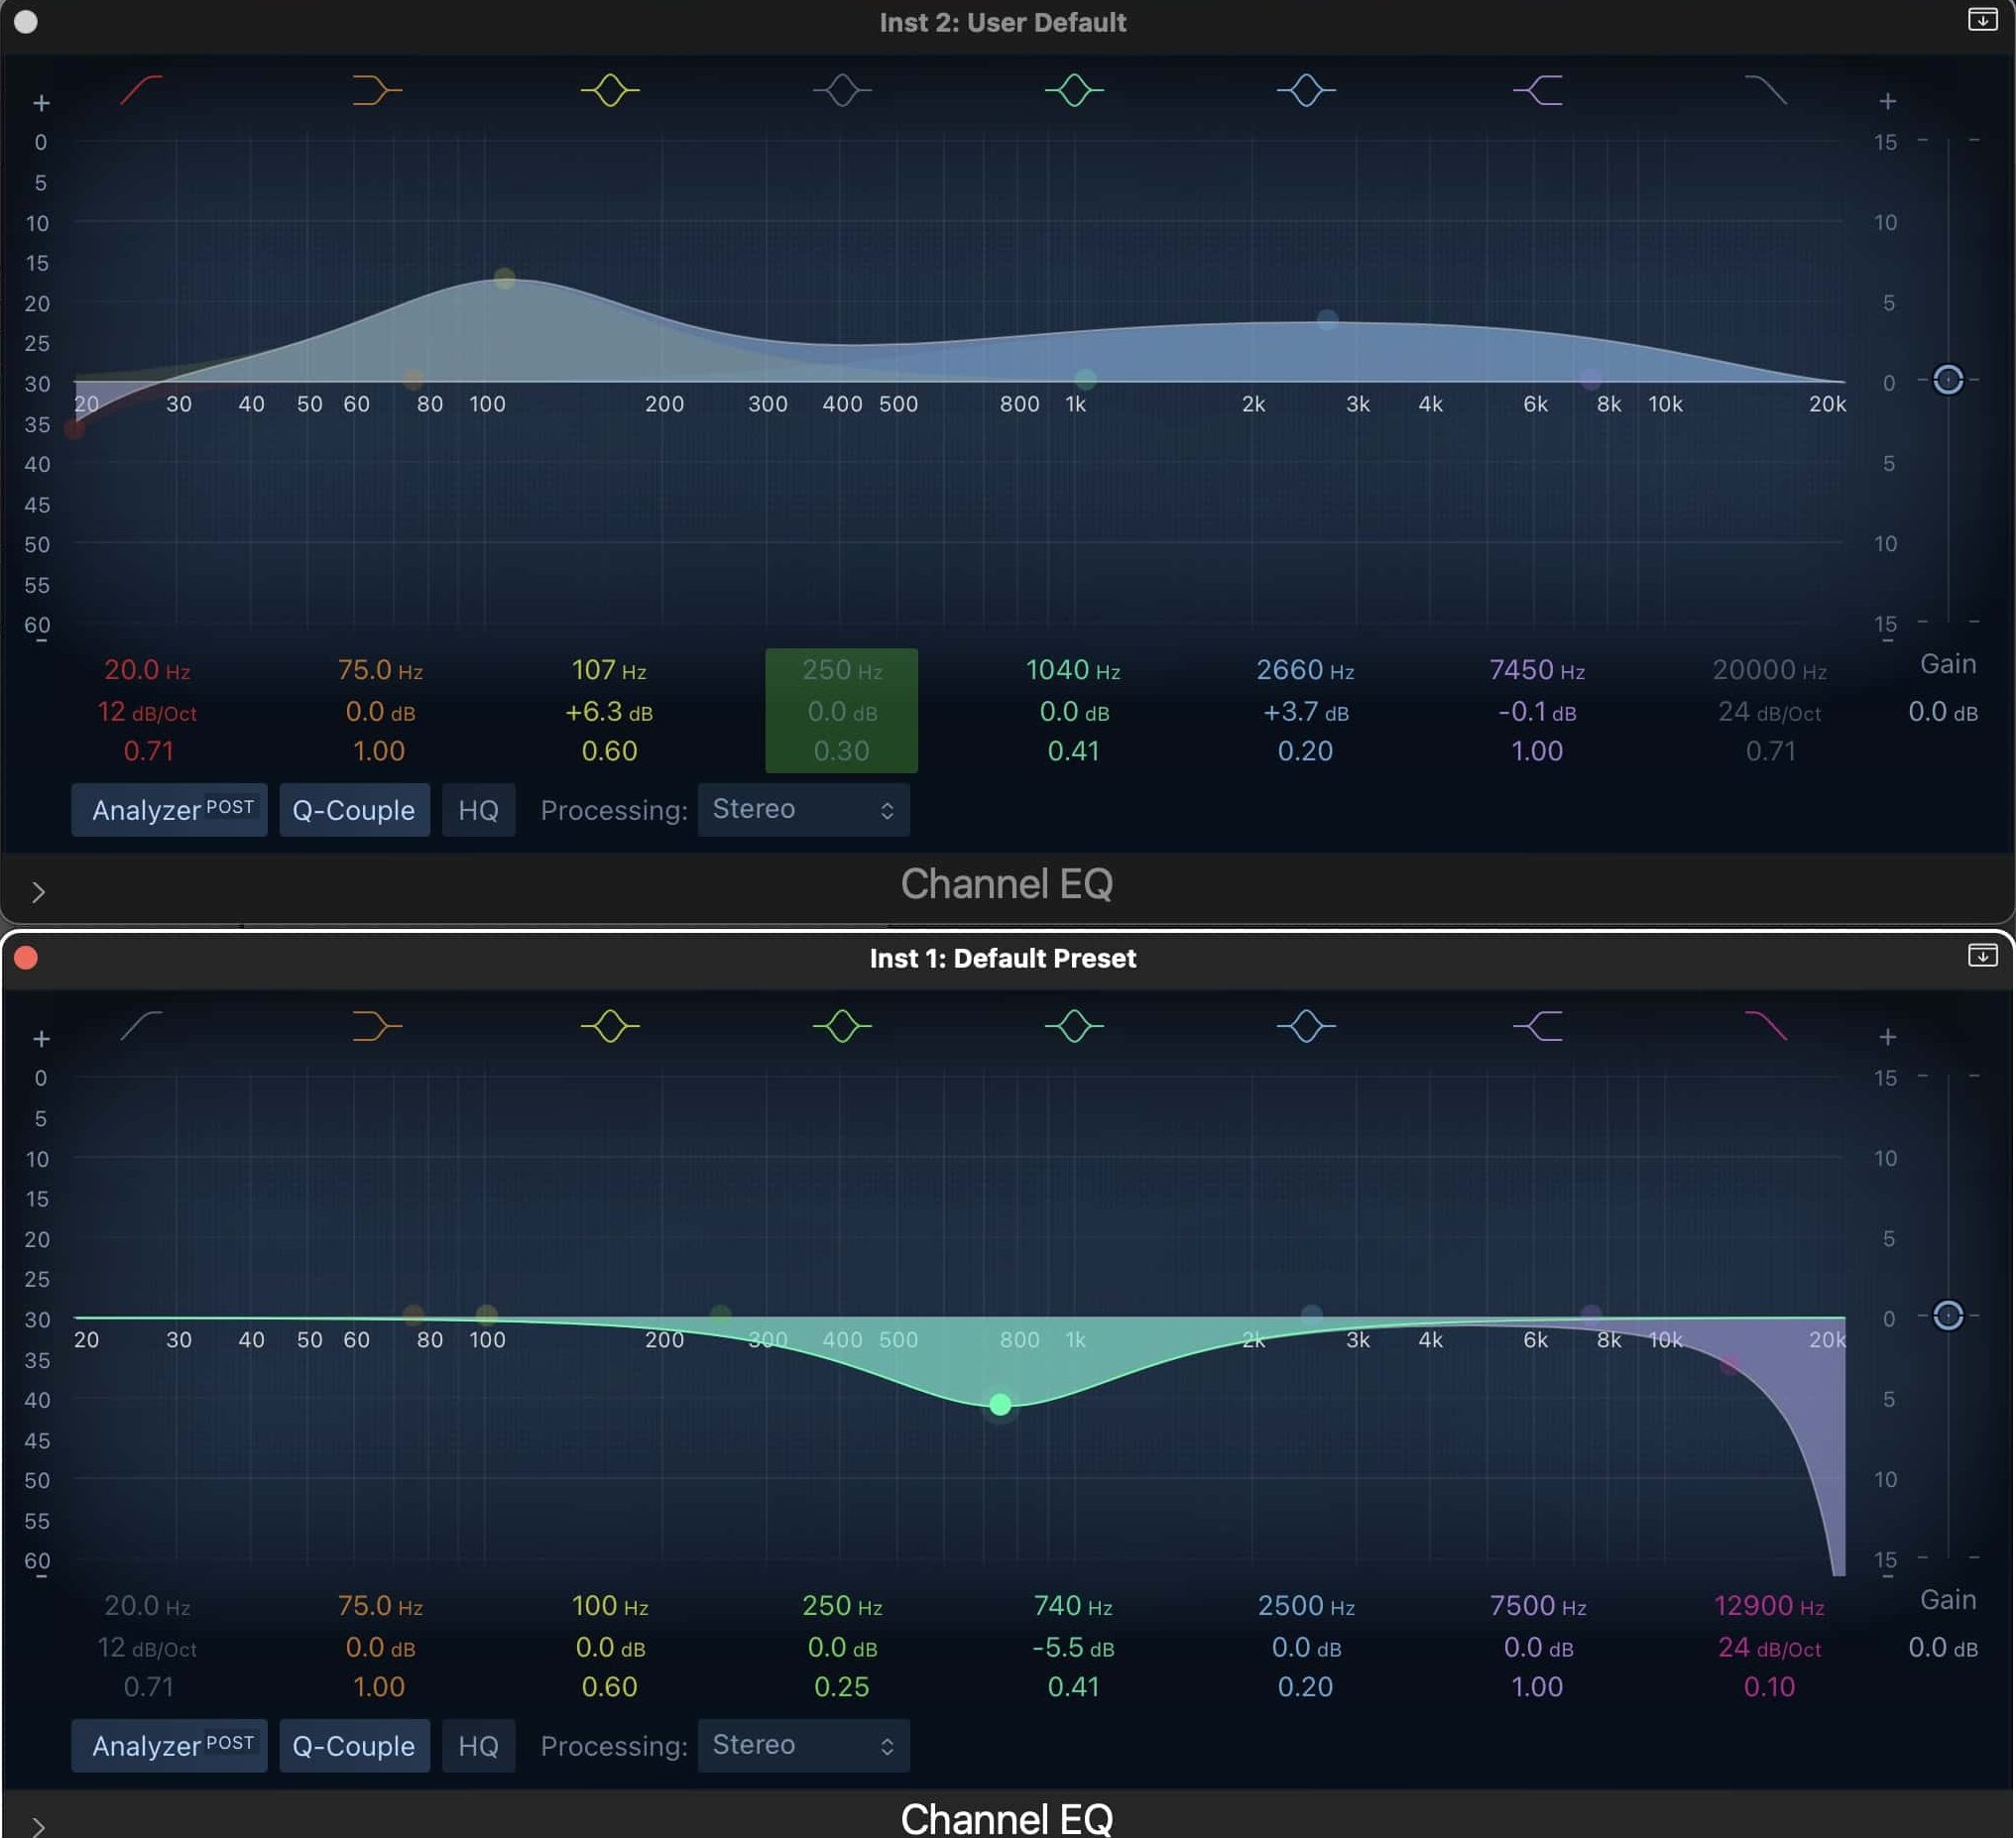
Try using 2 EQs as most professionals do.
Use the first EQ for subtractive duties (e.g., cuts to tame the frequencies at hand), and then you can add processing such as compression, saturation, etc.
Then, use the second EQ towards the end of the chain for additive duties (e.g., boosting).
This will lead to a cleaner, more balanced master that only has you boosting certain frequencies after the dynamic and additive processing.
Furthermore, you won’t ruin any frequencies through the processors you’ll be reducing/removing and only boosting signals once they’ve been somewhat processed.
Metering in Mastering Chain
Next, let’s talk about different types of ‘meters’ that you’re going to need to be familiar with in order to achieve a professional master.
-
True Peak Meters
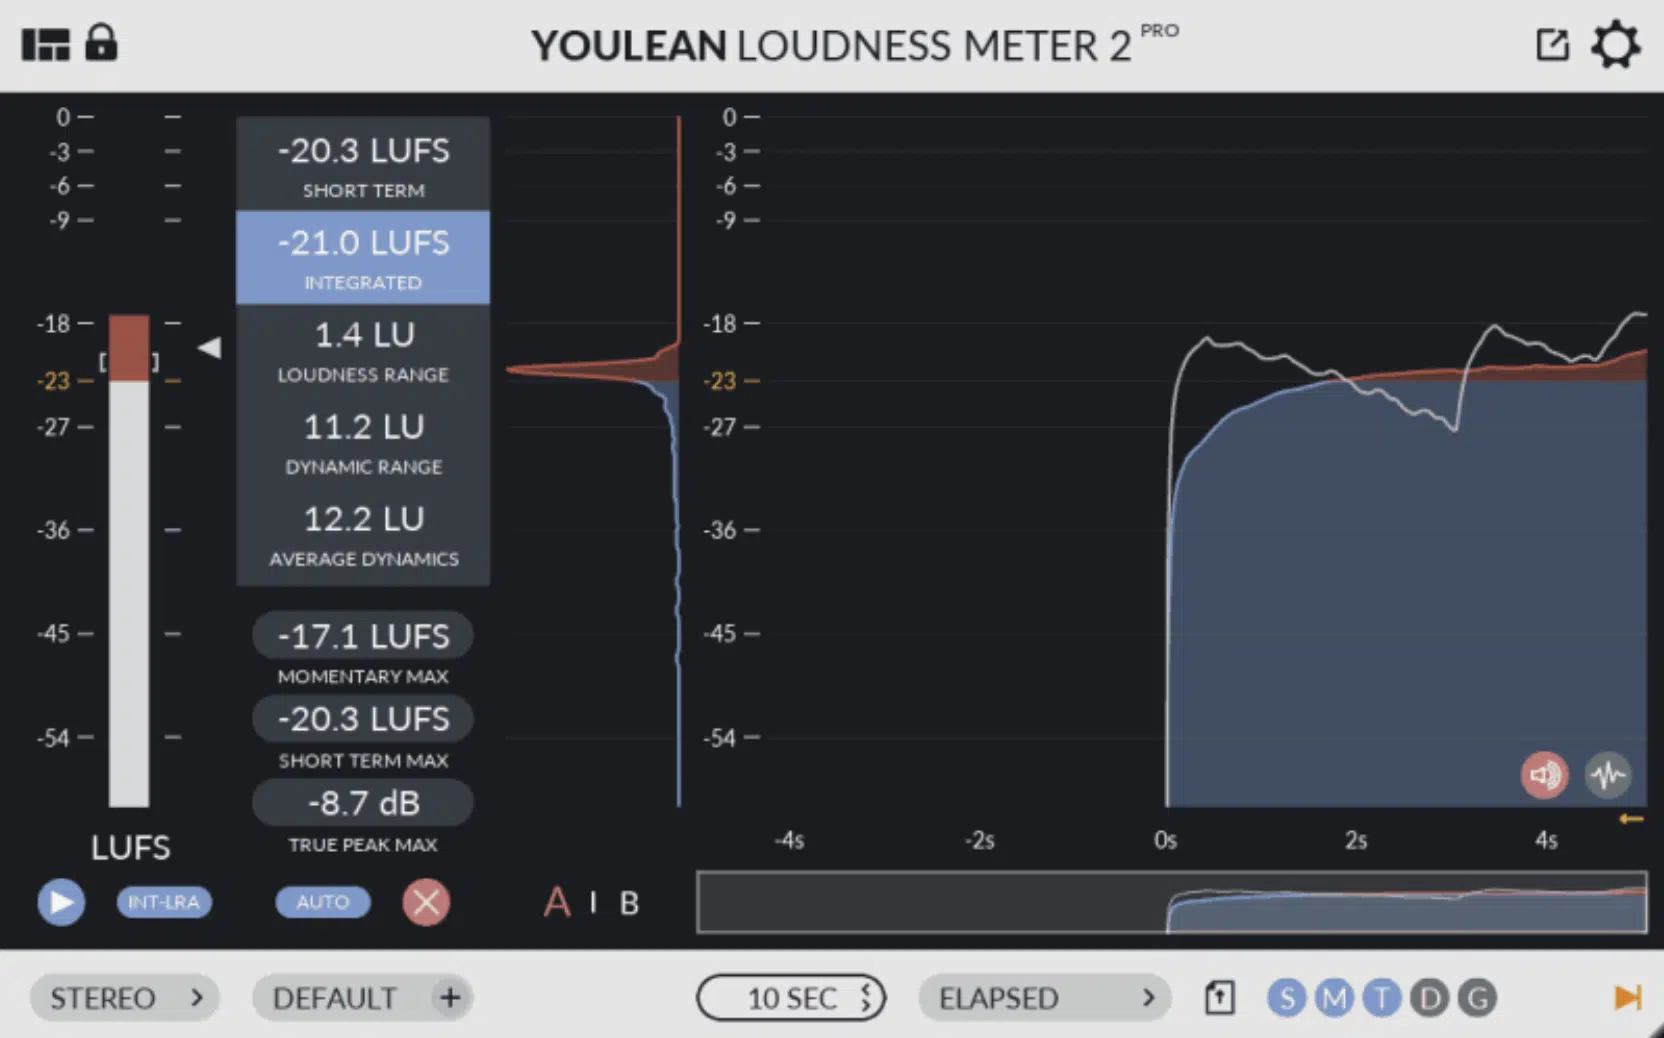
True peak meters are an essential tool in the mastering process, as they accurately measure the peak levels of your audio signal.
This includes any inter-sample peaks that may occur during digital-to-analog conversion (DAC).
These meters help you prevent clipping and distortion by visually helping you ensure that your final master stays within the safe headroom limits.
Using true peak meters during mastering ensures that your audio stays within the appropriate dynamic range ー minimizing the risk of distortion and other unwanted artifacts.
This is especially important when preparing your master for different streaming services.
Many platforms use loudness normalization, which can exacerbate distortion if your true peak levels are too high.
-
Loudness Meters
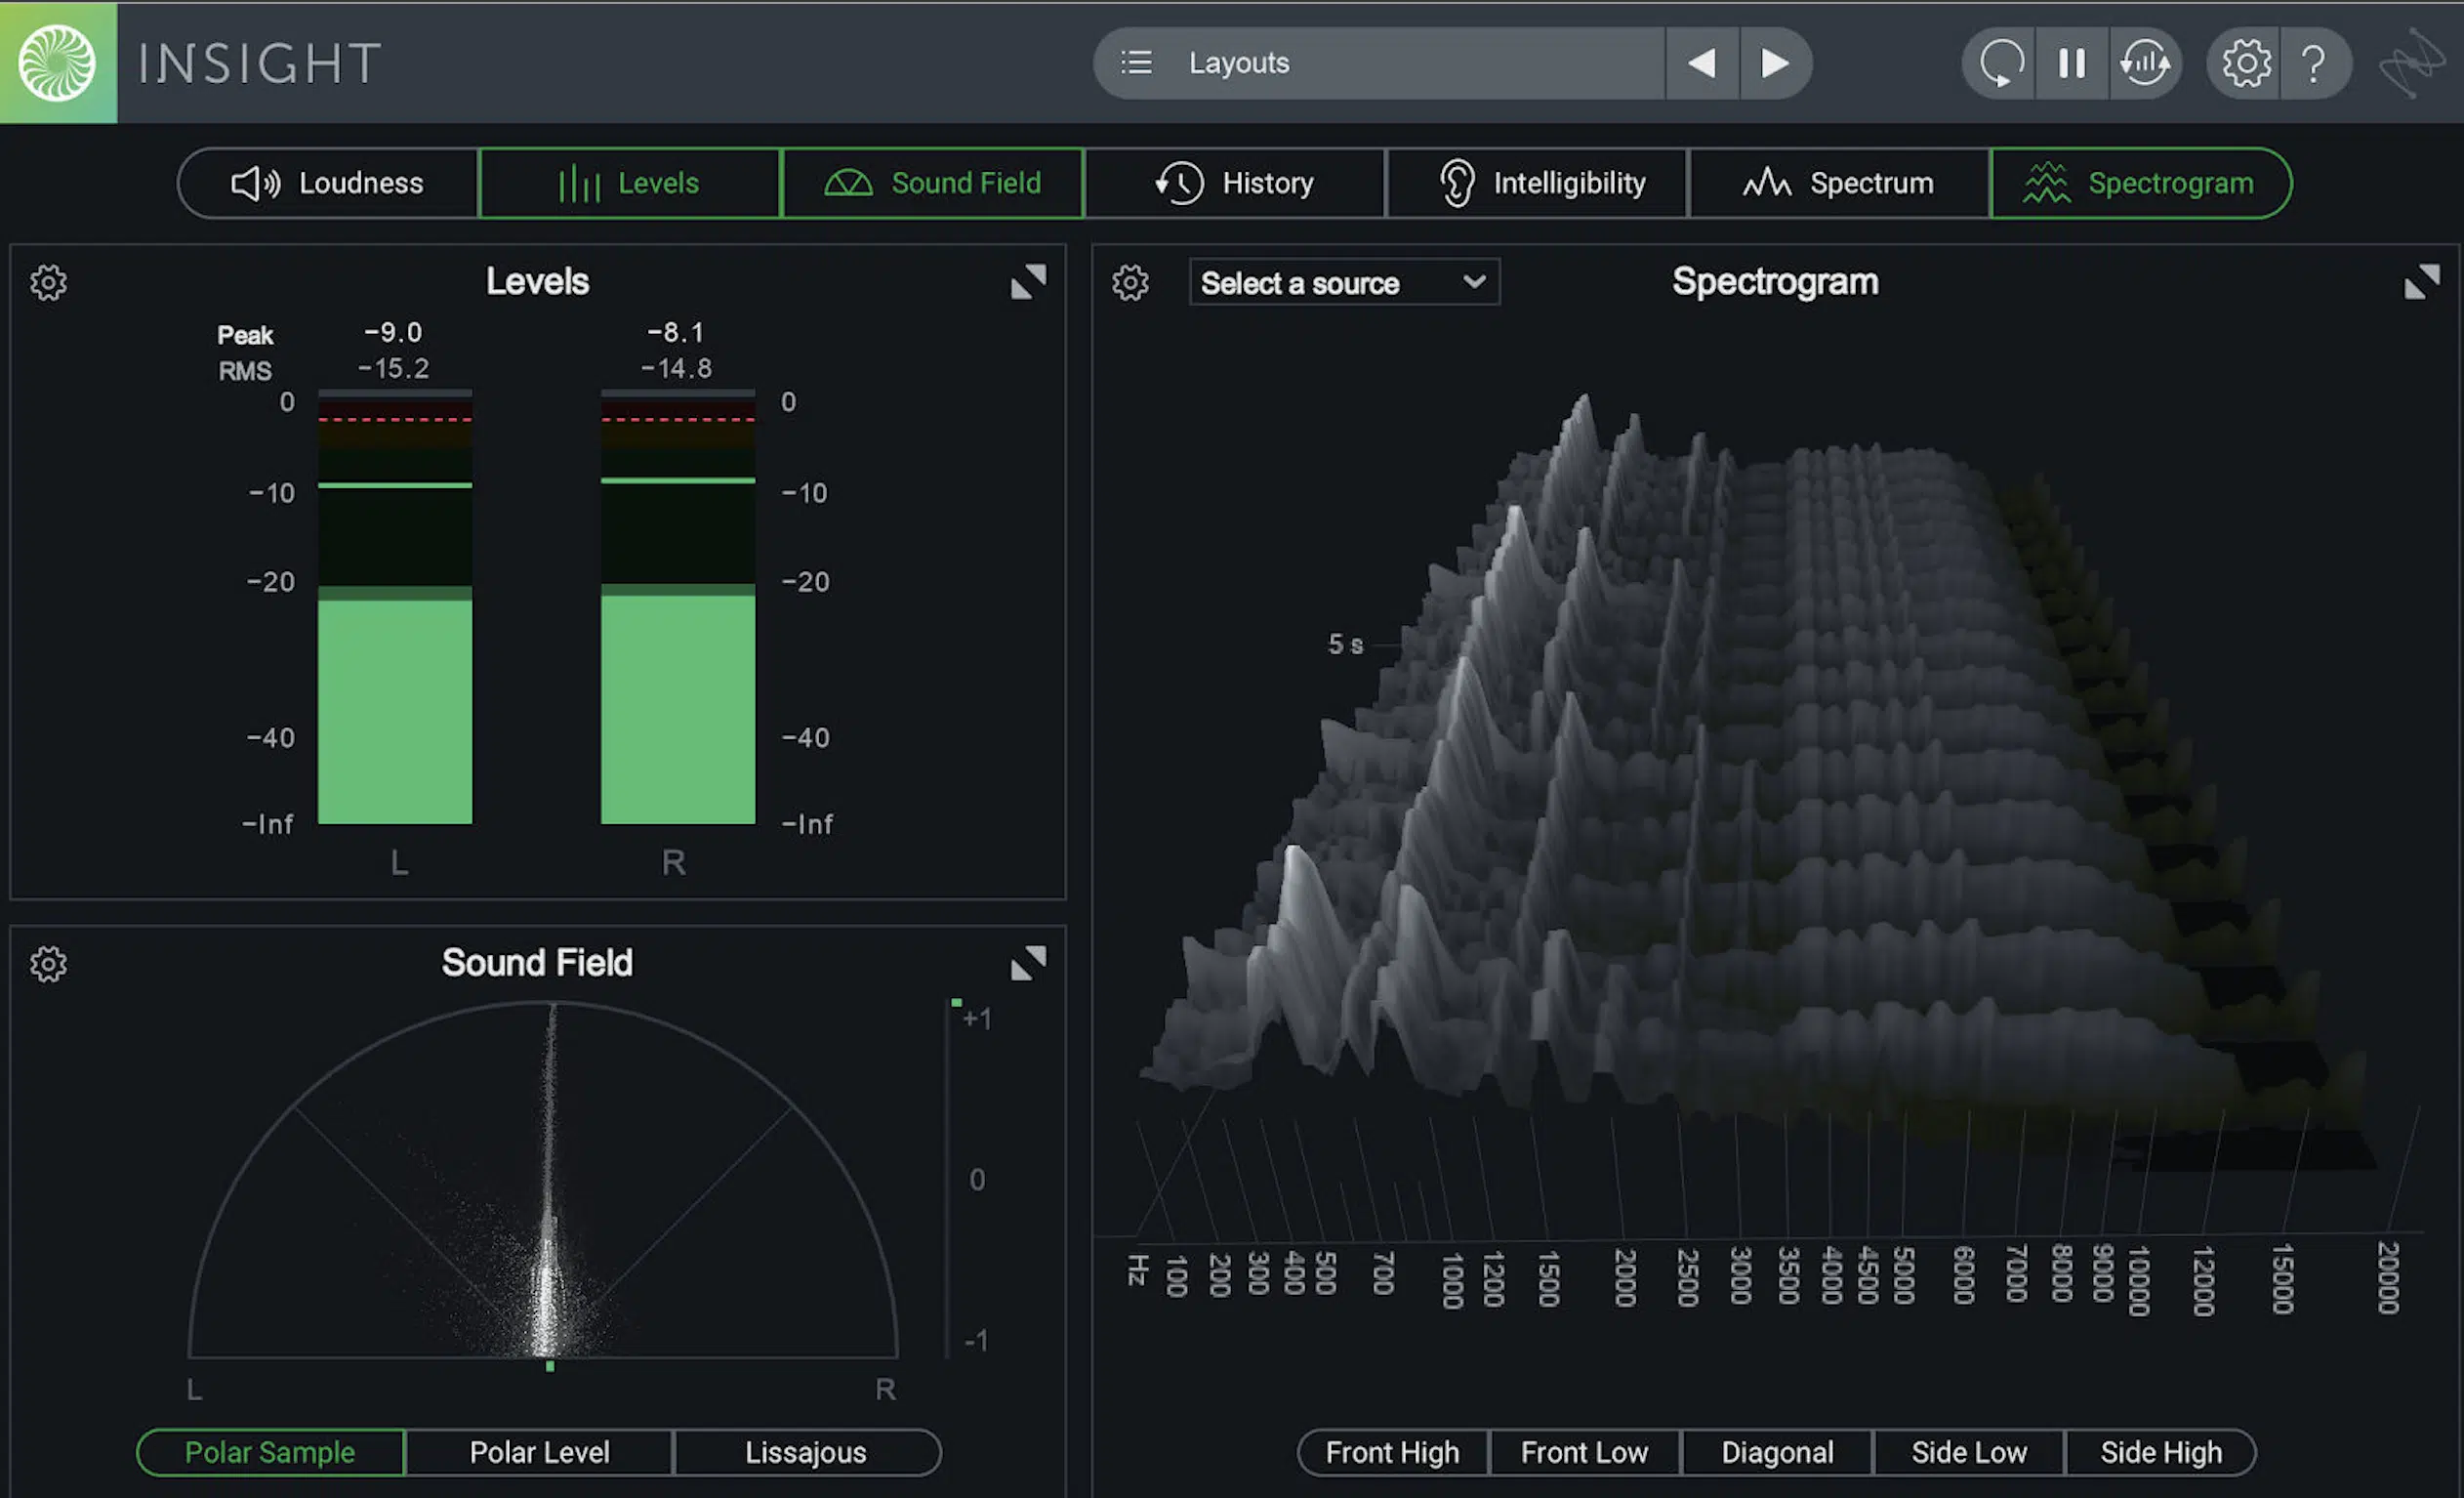
Loudness meters measure the perceived loudness of your audio signal, usually in traditional standards (LUFs).
They provide valuable information about how listeners will perceive your track.
By monitoring your loudness levels during mastering, you can ensure that your track is competitive and consistent with industry standards while still preserving its natural dynamics.
Proper loudness metering is crucial for achieving a competitive master that translates well across various listening environments and playback systems.
It helps you strike a balance between loudness and dynamics, ensuring that your track retains its impact without becoming fatiguing or distorted.
So, needless to say, incorporating them into every master is crucial.
-
Correlation Meters
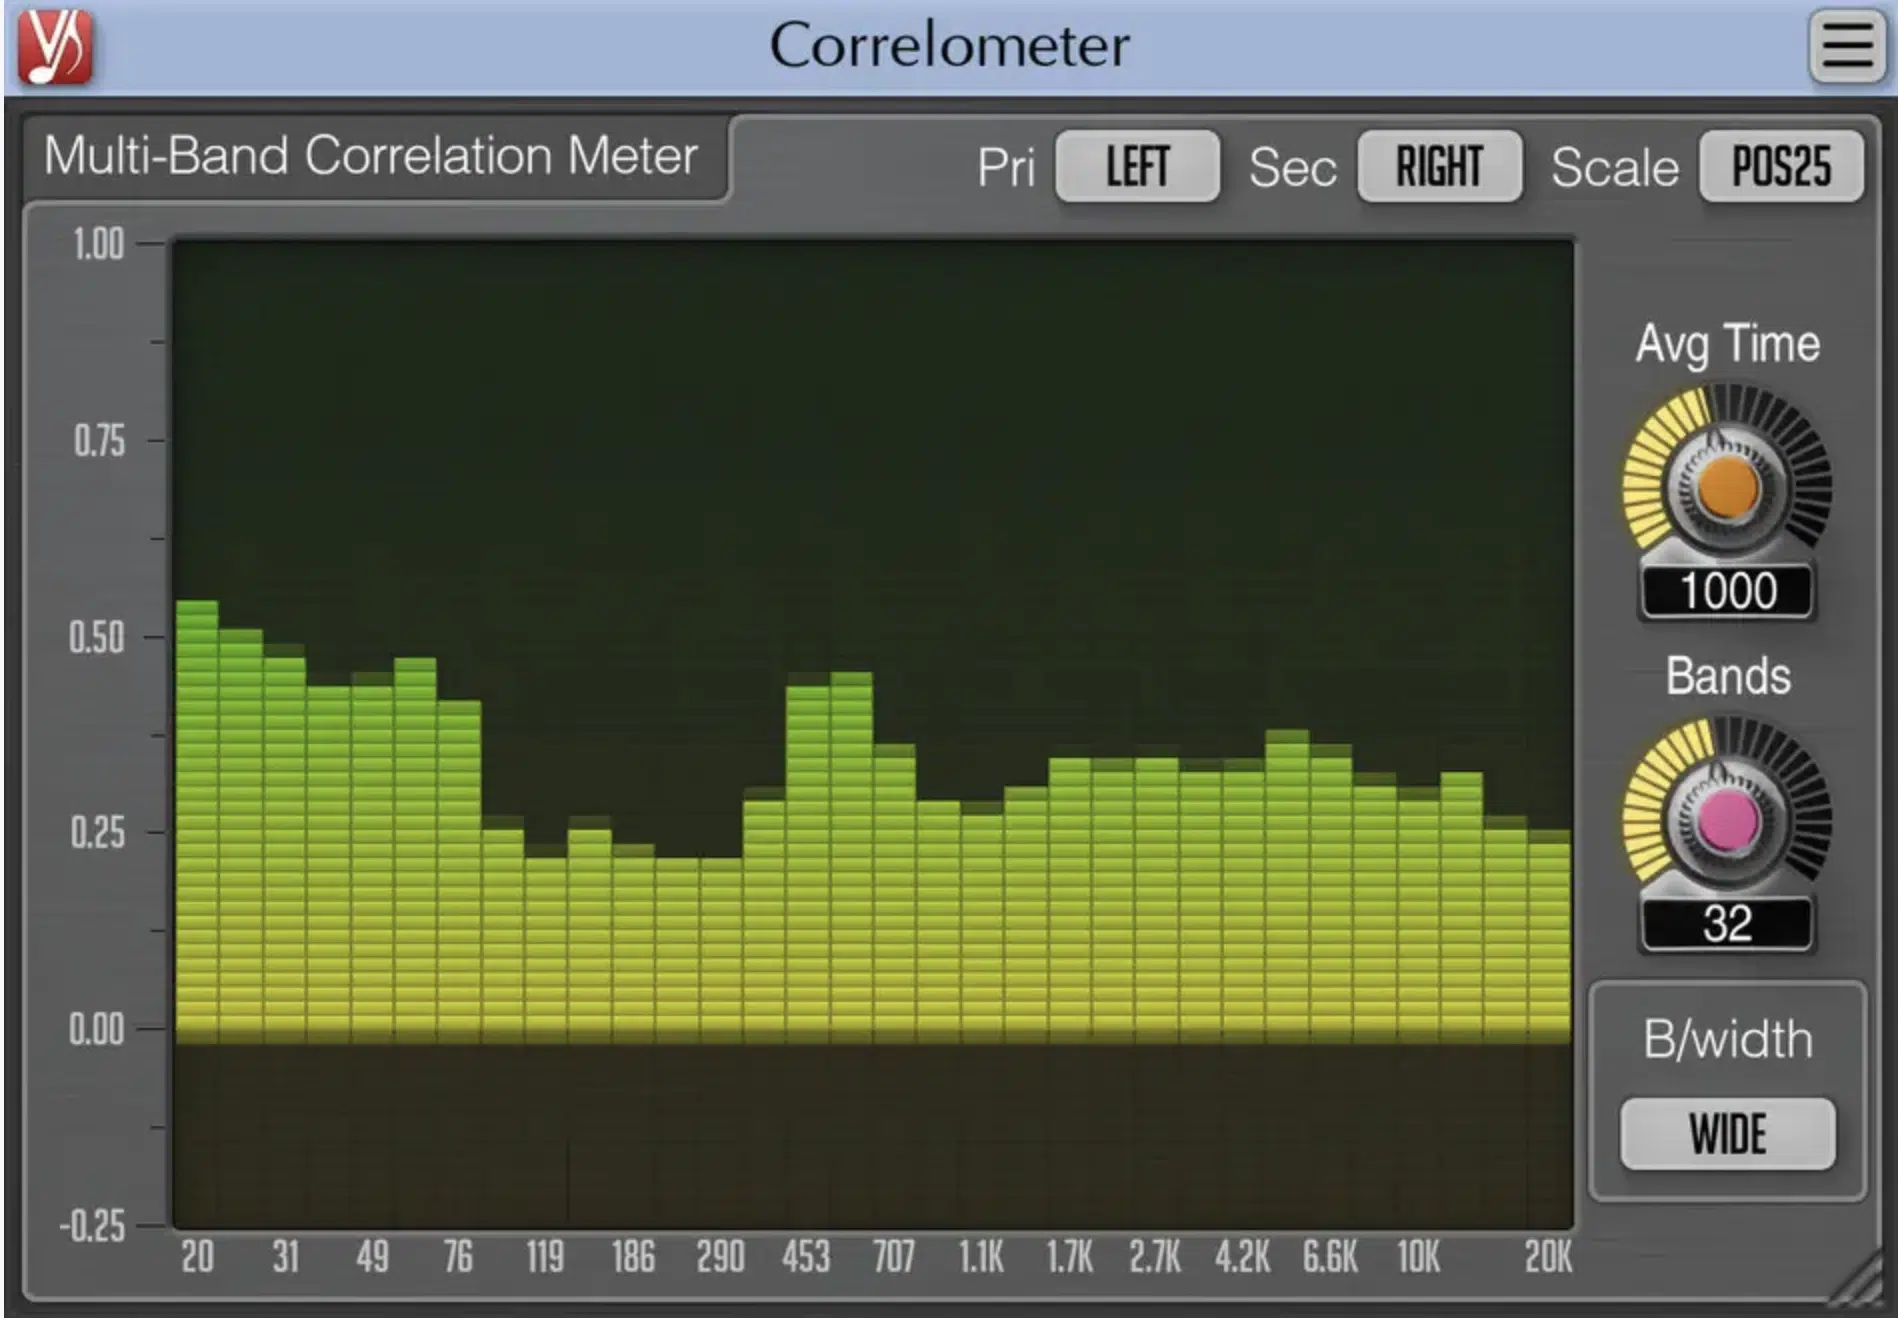
A correlation meter is a useful tool for assessing the phase relationship between the left & right channels of your stereo mix.
It helps you identify any phase issues that may cause your track to sound thin or lose its impact when played back in MONO.
Monitoring the correlation meter during mastering helps ensure that your stereo image is well-balanced and translates well across various playback systems (including MONO devices).
It can also help you identify any phase issues that may affect the clarity and impact of your mix, which is super beneficial.
With that said, it’s one of the more finicky meters, so to speak, given the sheer complexity of phase in itself.
So, similar to all other types of meters, be sure to use it in conjunction with other metering tools and, more importantly, your ears.
They are the best meters, after all.
5 Expert Techniques for Improving Sound Quality
Now let’s jump into some tips, tricks, and techniques that will help you improve your overall sound quality.
1. Tonal Balance & Frequency Spectrum
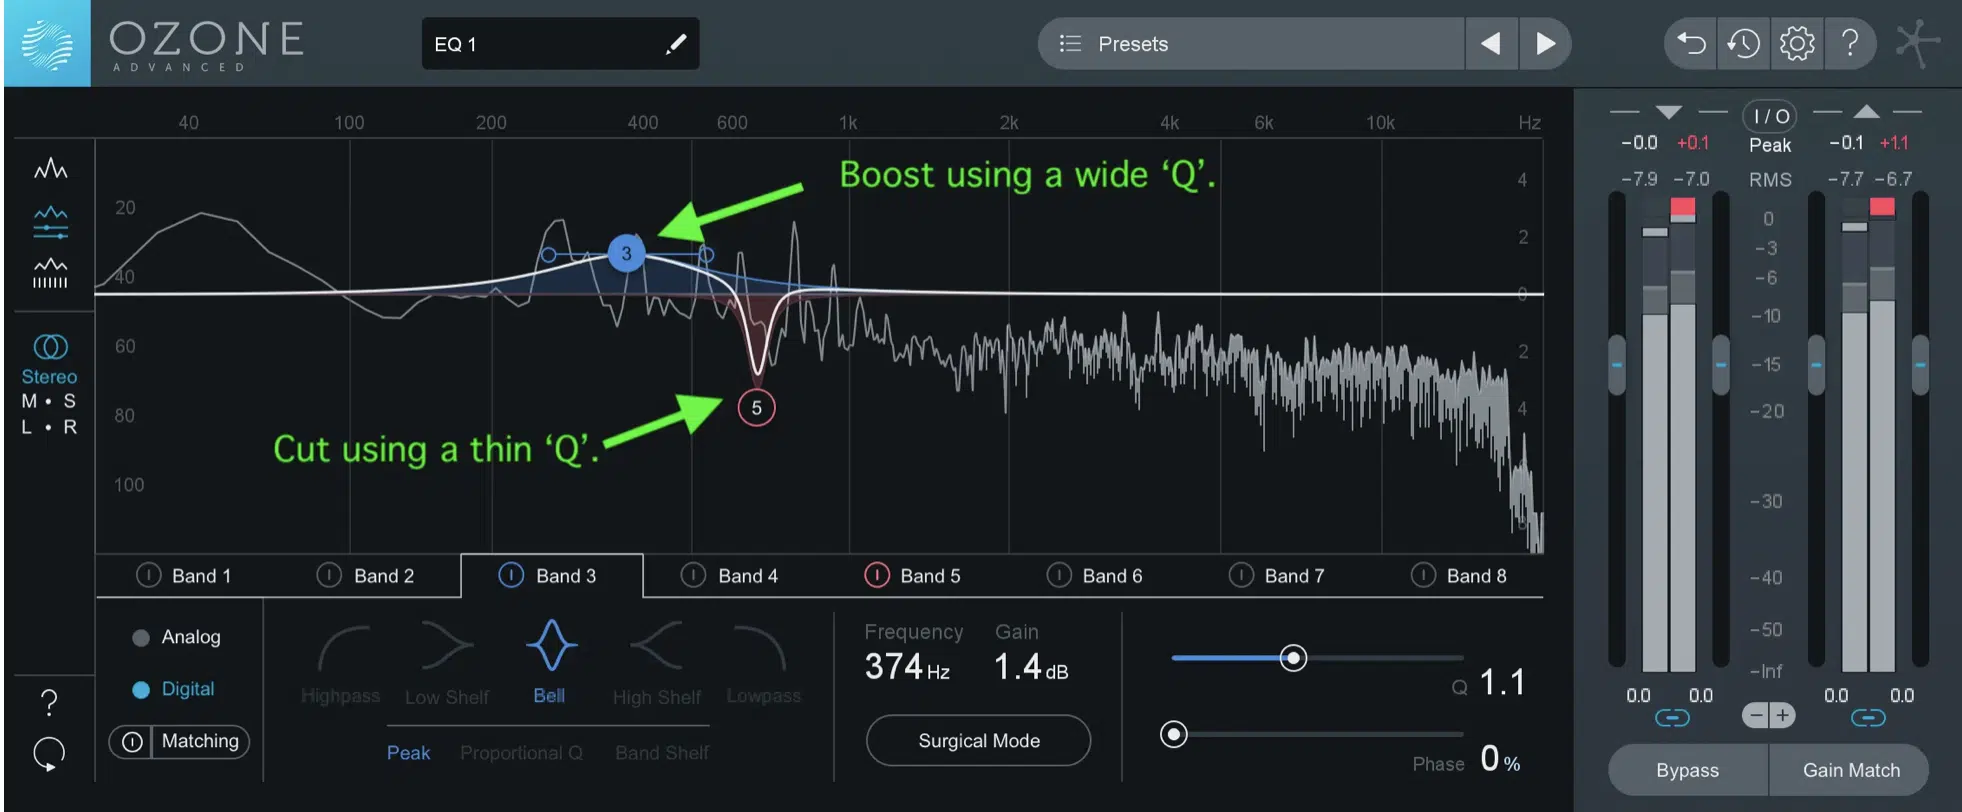
Achieving a well-balanced frequency spectrum is crucial for a professional-sounding master.
A balanced mix ensures that all the elements in your track are clearly audible and work together harmoniously.
This provides an enjoyable listening experience across different playback systems.
2. Using EQ to Address Imbalances
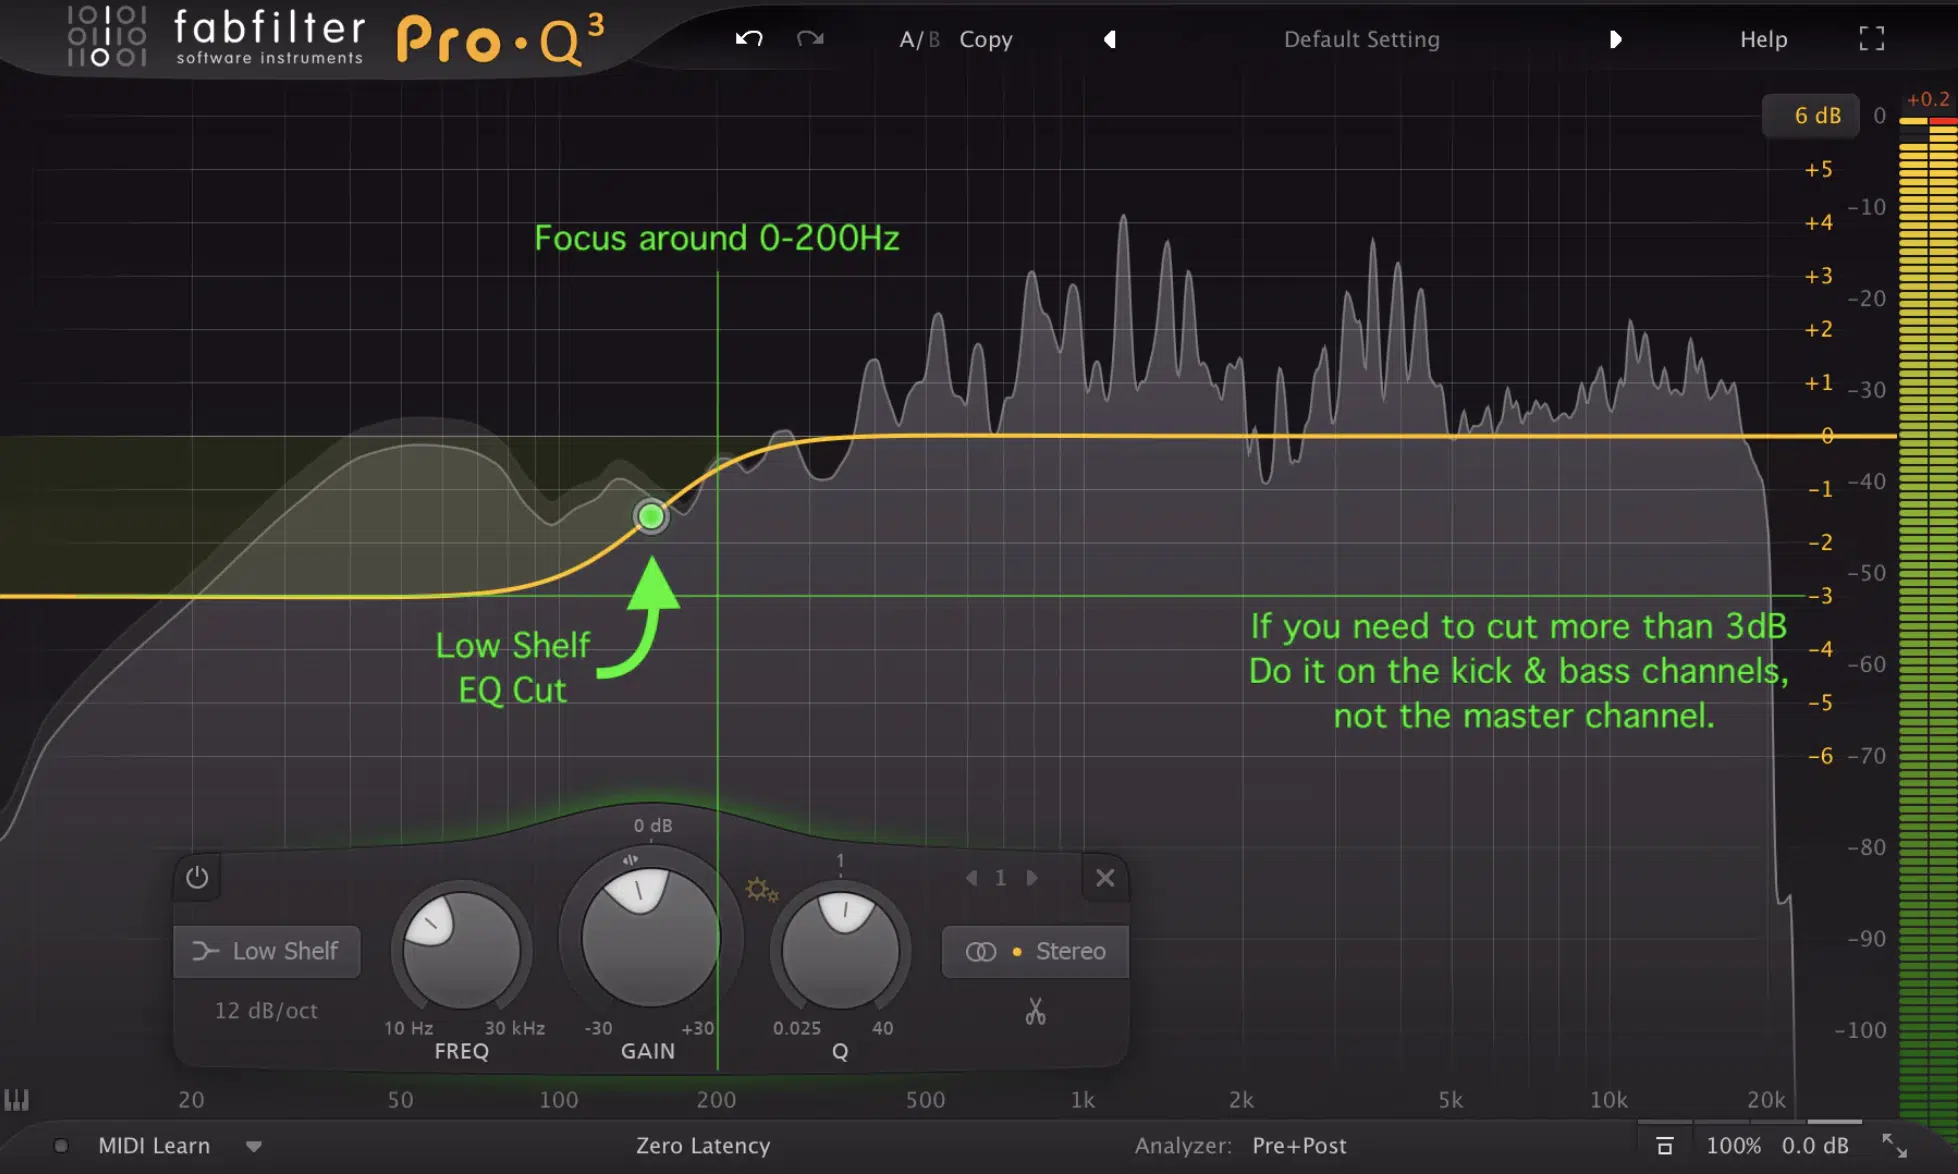
To achieve a balanced frequency spectrum, use a parametric EQ to make subtle adjustments to the tonal balance of your mix.
Identify any problem areas in your mix, such as overly prominent bass frequencies or harsh high-end, and use EQ to attenuate or boost these frequencies as needed.
Keep in mind that broad, gentle EQ adjustments are typically more effective than narrow, surgical cuts or boosts.
NOTE: Be sure to keep an eye/ear on the 3K range, as human hearing is most sensitive to that particular range.
Generally speaking, it can be responsible for the harshest frequencies in a mix/master regardless of the perception that it’s always the highest frequencies, so keep that in mind.
3. Dynamic Processing for Tonal Balance
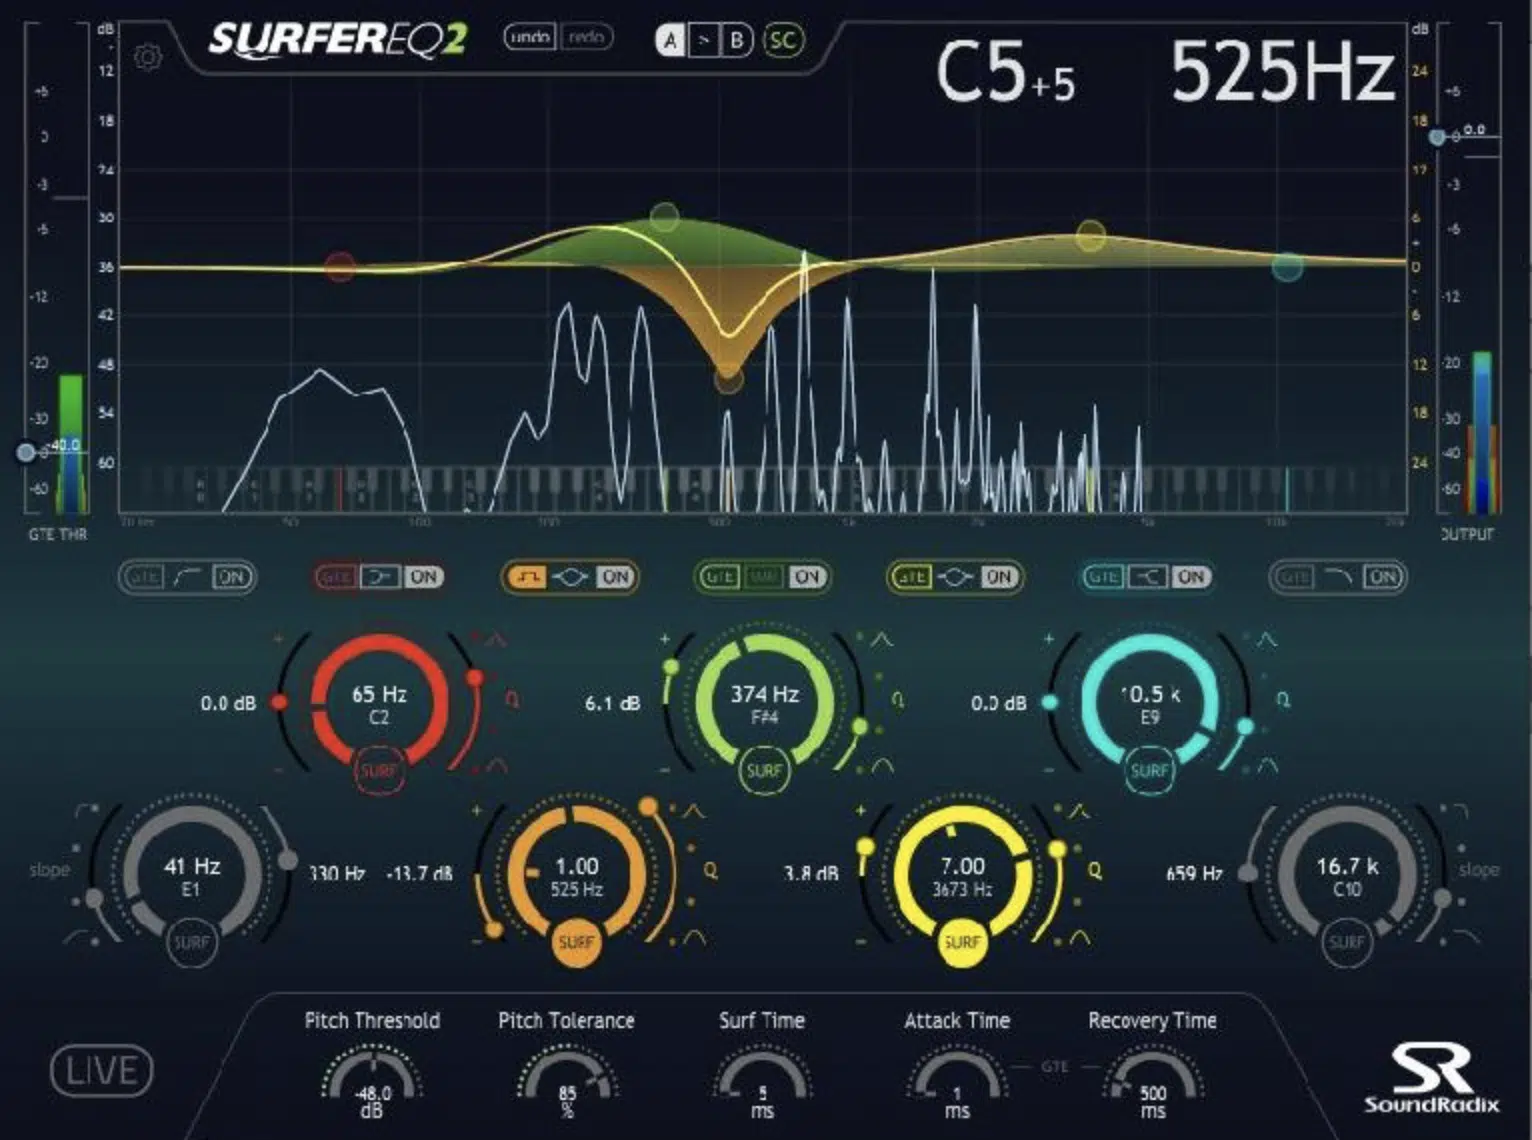
Dynamic processing tools like multi-band compression and dynamic EQ can help you manage specific frequency ranges more effectively.
Dynamic EQ is a powerful tool that can help address tonal imbalances and problematic or unwanted frequencies in your mix.
Unlike traditional EQ, which applies static adjustments to your audio, dynamic EQ responds to the input signal’s level.
Therefore, allowing you to make more transparent and precise adjustments.
It’s more on the order of a multi-band compressor, just with the compression and EQ swapped.
Sometimes, it’s a better, more accurate tool for a job such as de-essing and sidechain compression.
Use dynamic EQ to target specific frequency areas that need attention, such as controlling excessive low-end energy or taming harsh high-end frequencies.
4. Analyzing the Frequency Spectrum
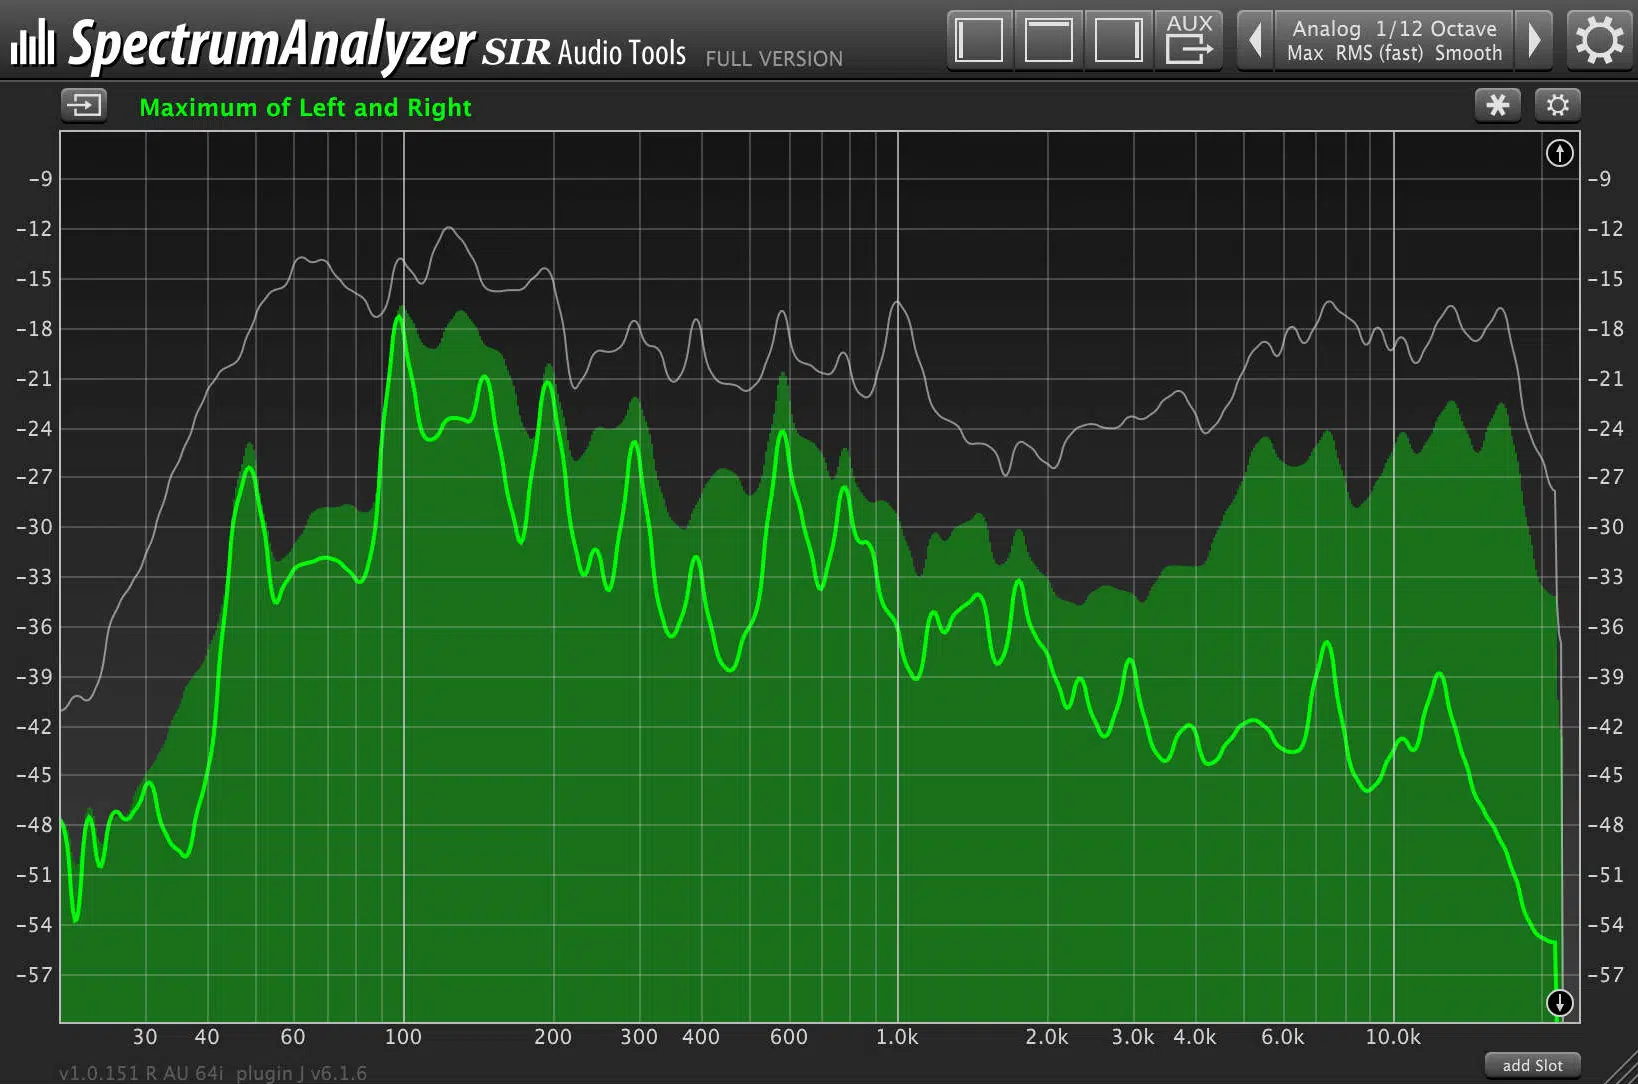
Use a spectrum analyzer to visualize the frequency distribution of your mix, allowing you to identify any imbalances or problematic areas more easily.
Compare your mix’s frequency spectrum to that of professionally mastered tracks in a similar genre to ensure that your mix meets industry standards.
5. Balancing Instruments & Elements
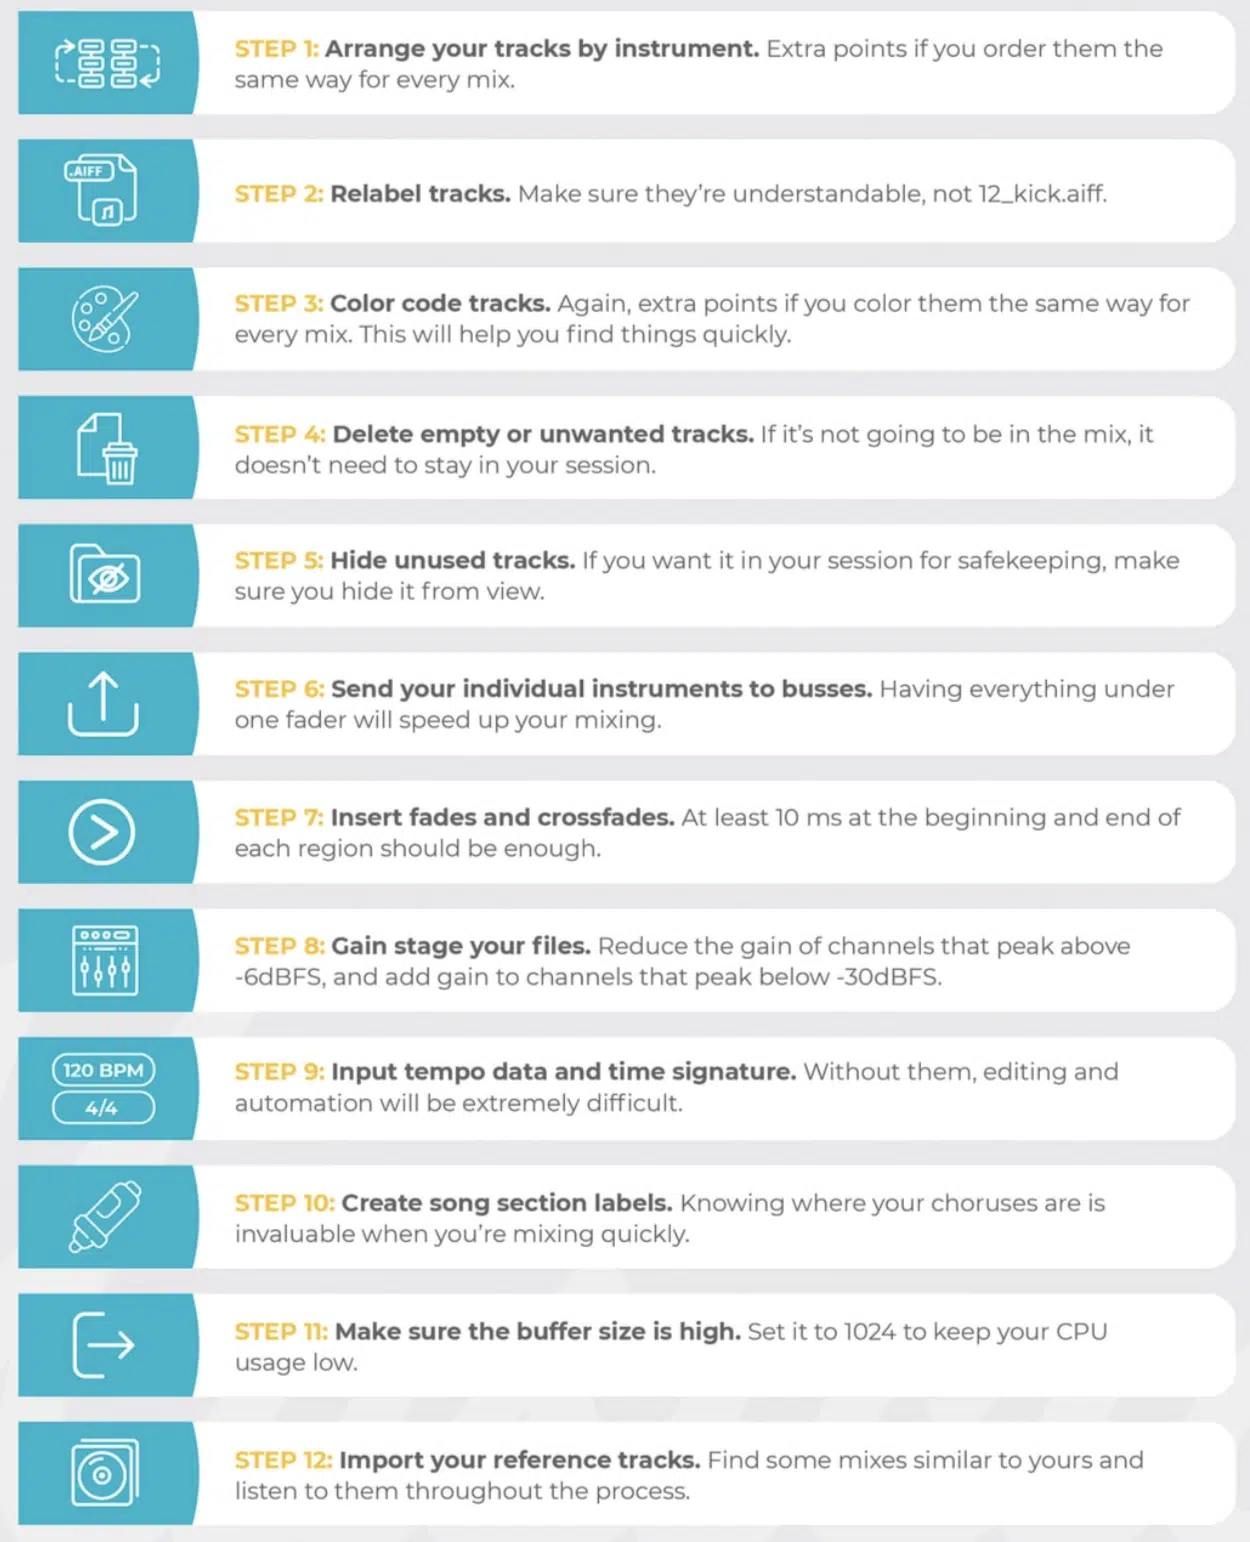
A well-balanced mix also requires careful attention to the relationship between different instruments and elements within your track.
This involves not only the frequency balance but also factors such as stereo placement, dynamics, and overall mix clarity.
The 12 steps above break it down perfectly, so follow those specific guidelines so you’ll never have to worry about a cluttered, messy mix again.
Strive to create a mix where each element has its own space and contributes to the overall cohesion of the track.
Reference Tracks & MONO Compatibility
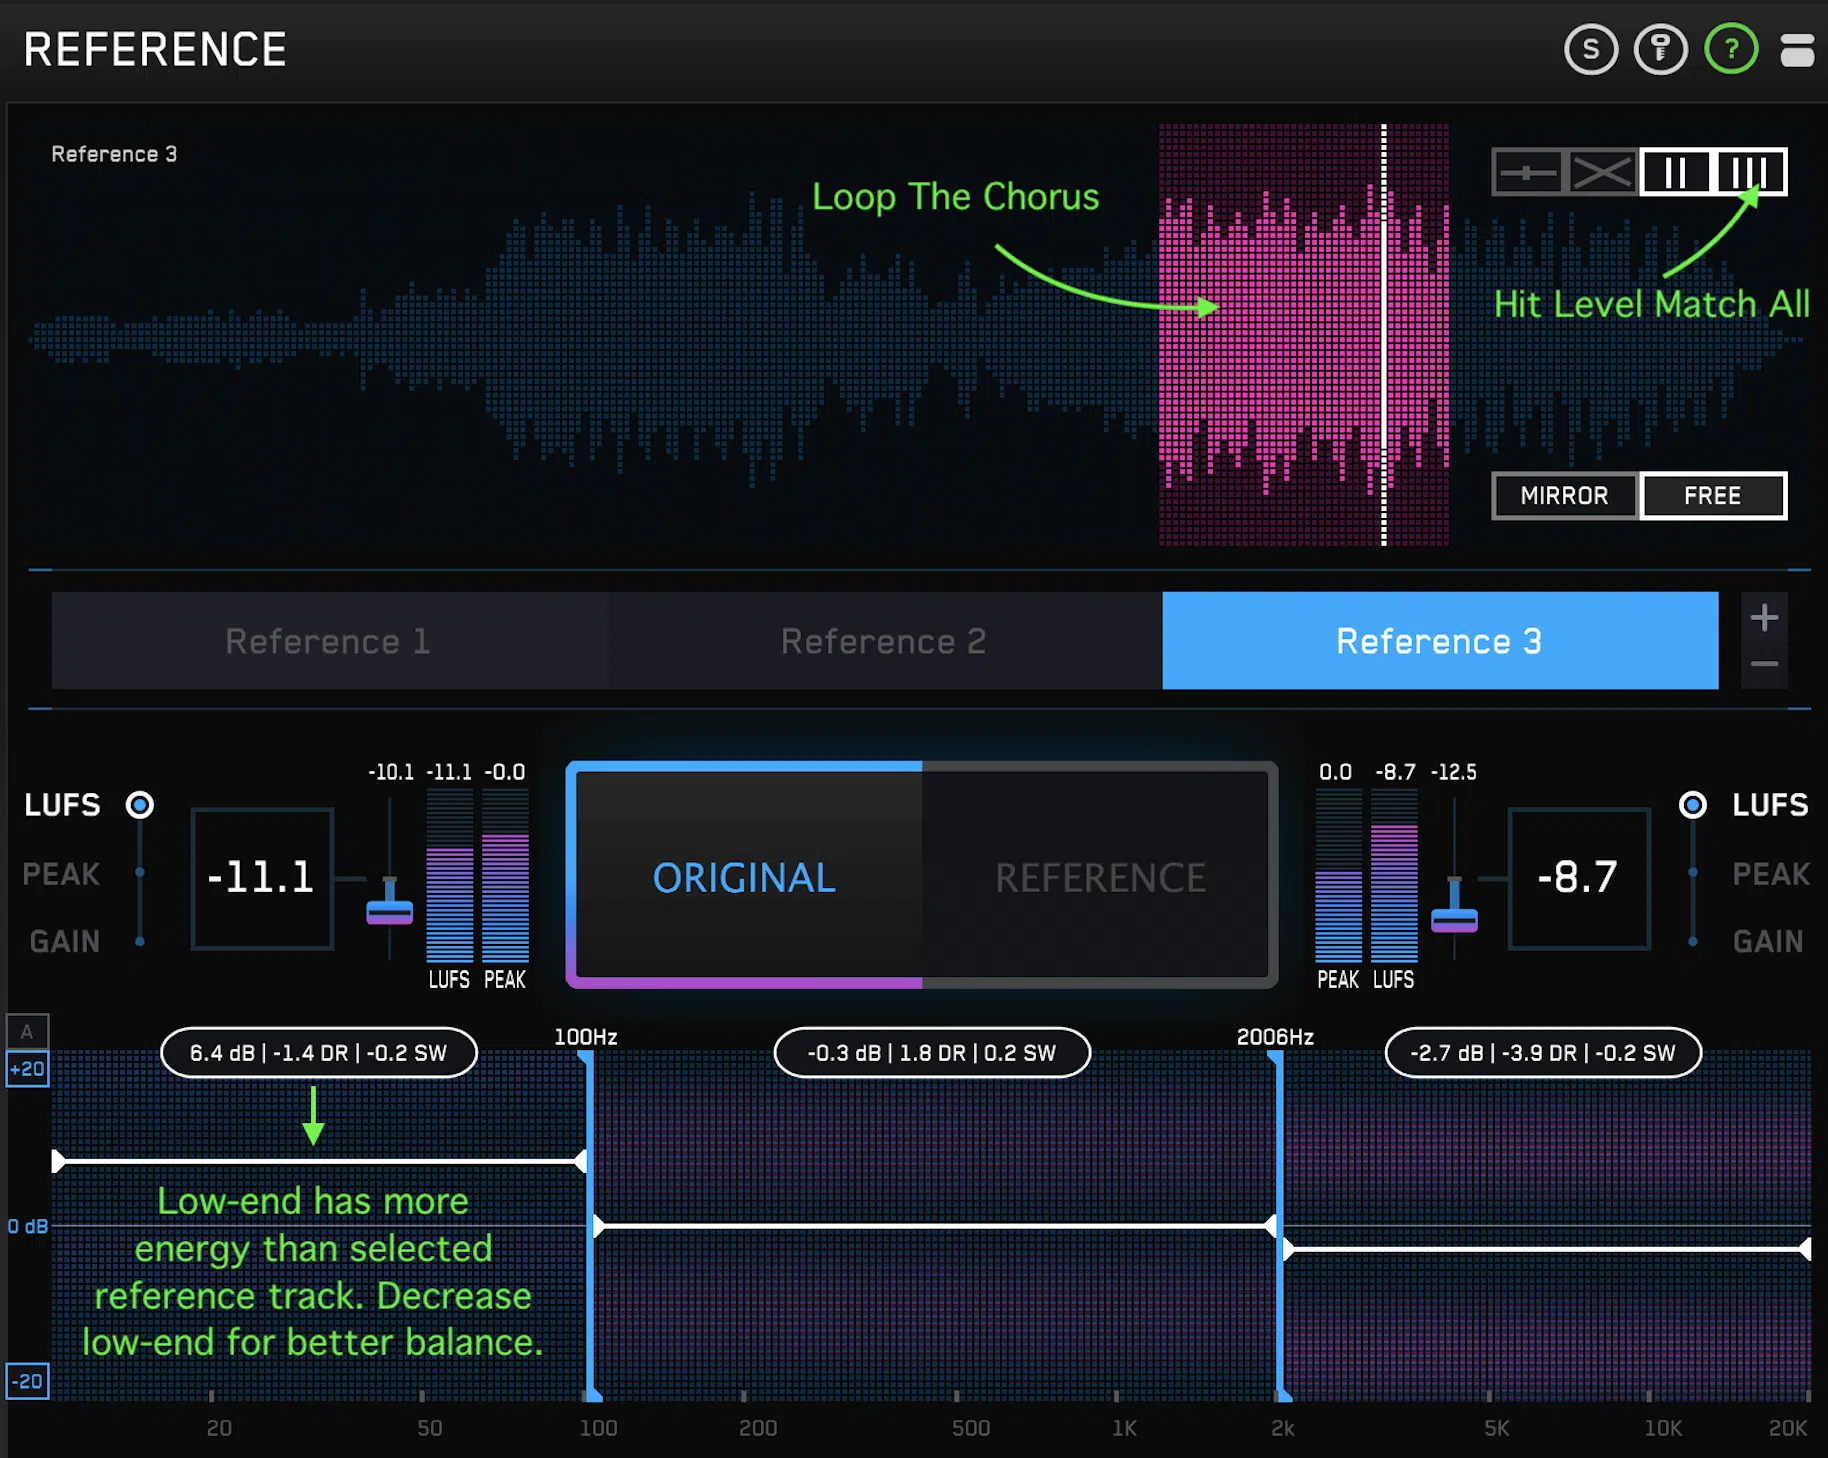
Reference tracks are any professionally mixed & mastered songs that share a similar genre (like hip-hop or trap), style, or sound to your own track.
They serve as a benchmark for your own mastering, helping you to achieve a competitive and professional-sounding master.
Import reference tracks into your DAW and switch between them and your mix to compare elements such as loudness, tonal balance, and stereo imaging.
This can help you identify any areas where your mix may need improvement.
Develop a playlist of multiple reference tracks that represent various aspects of the sound you want to achieve in your own master.
This could include tracks with exceptional low-end balance, impressive stereo imaging, or outstanding overall clarity.
Regularly compare your mix to these tracks to ensure that you are on the right track in terms of sound quality and industry standards.
-
The Importance of MONO Compatibility
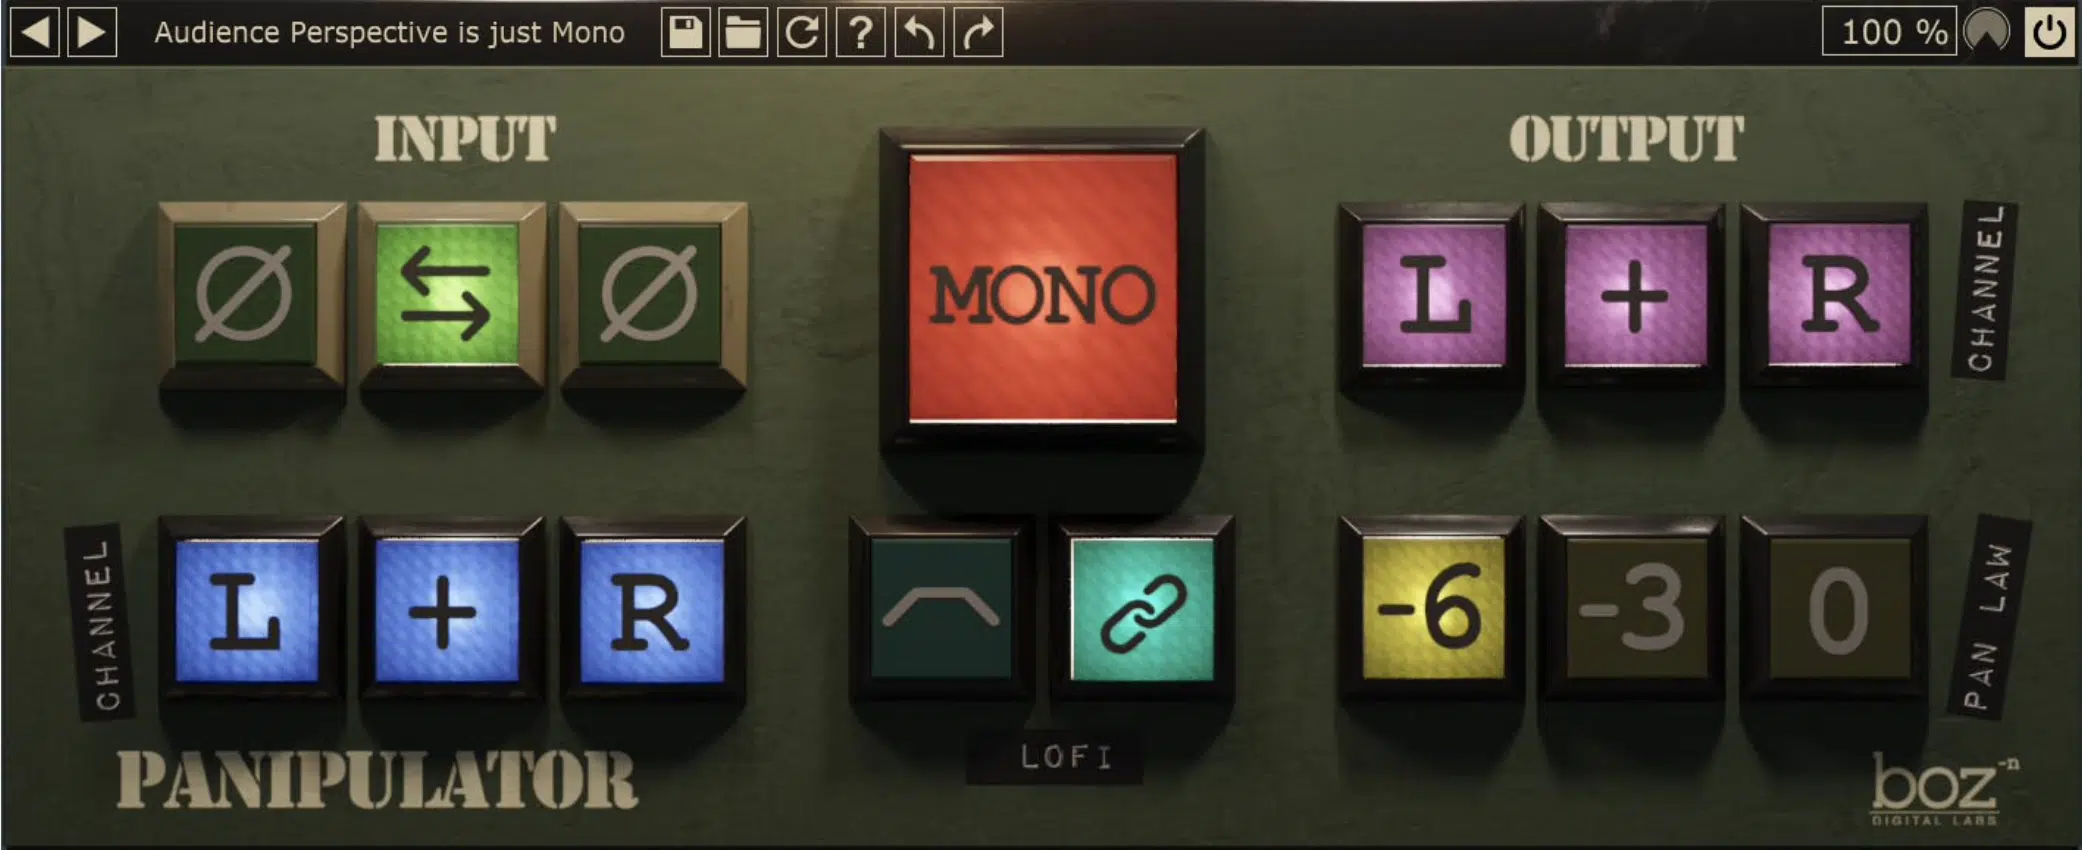
Mono compatibility refers to how well your mix translates when played back in mono, such as on a smartphone speaker or certain radio broadcasts.
Ensuring your mix is mono-compatible is crucial, as phase issues or stereo imaging problems can cause elements of your mix to become inaudible or lose their impact when played back in mono.
To check your mix’s mono compatibility, use a plugin or DAW feature that allows you to sum your stereo mix to mono.
Listen carefully for any elements that become inaudible, lose their clarity, or become distorted when played back in mono.
Use a correlation meter to identify any phase issues that may be contributing to these problems.
Then, make the necessary adjustments to your mix to ensure that it translates well in both stereo and mono.
Also, be sure to playback everything ー references, mixes, and masters ー in MONO!
Do not forget, many professionals mix in MONO because the old saying goes: if it’s good in MONO, it’ll sound good in Stereo.
Mastering Chain: Final Thoughts
From understanding the essentials of gain staging and EQ to exploring the nitty-gritty of compression, stereo imaging, and mid/side processing, you are now equipped with a strong foundation to master your own tracks.
Remember, a well-crafted mastering chain is essential to achieving that polished, professional sound we all strive for.
But the beauty of music production lies in the continual learning and experimentation process.
As you’ve seen, there’s no one-size-fits-all mastering chain ー what works best for one track may not work for another.
So, experiment with different orders and see what vibes with your personal style.
The challenge of mastering lies in the subtleties and nuances, so exploring that art form is key.
Speaking of which… you should begin your mastering chain journey by downloading these professional, captivating free drum loops.
These drum samples are a great place to start for any music producer.
Not only do they sound fantastic right out of the box, but they’re also mixed to perfection.
Meaning, you can put all your focus on mastering and applying the techniques, tips, and processes we’ve discussed today.
By using these flawlessly mixed drum loops, you’ll be able to hear the subtle changes that occur when you adjust and rearrange your mastering chain.
It’s an excellent way to practice your newfound mastering skills and truly understand the power of a well-ordered mastering chain.
Remember, keep exploring, keep experimenting, and most importantly, keep making music that moves you.
Until next time…


Leave a Reply
You must belogged in to post a comment.